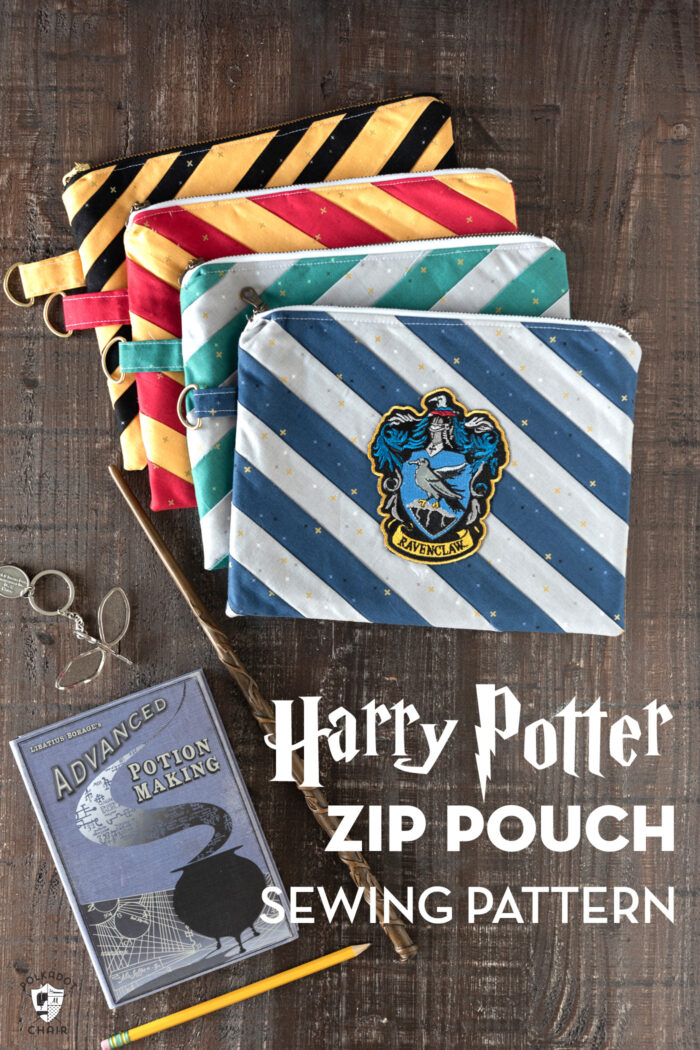
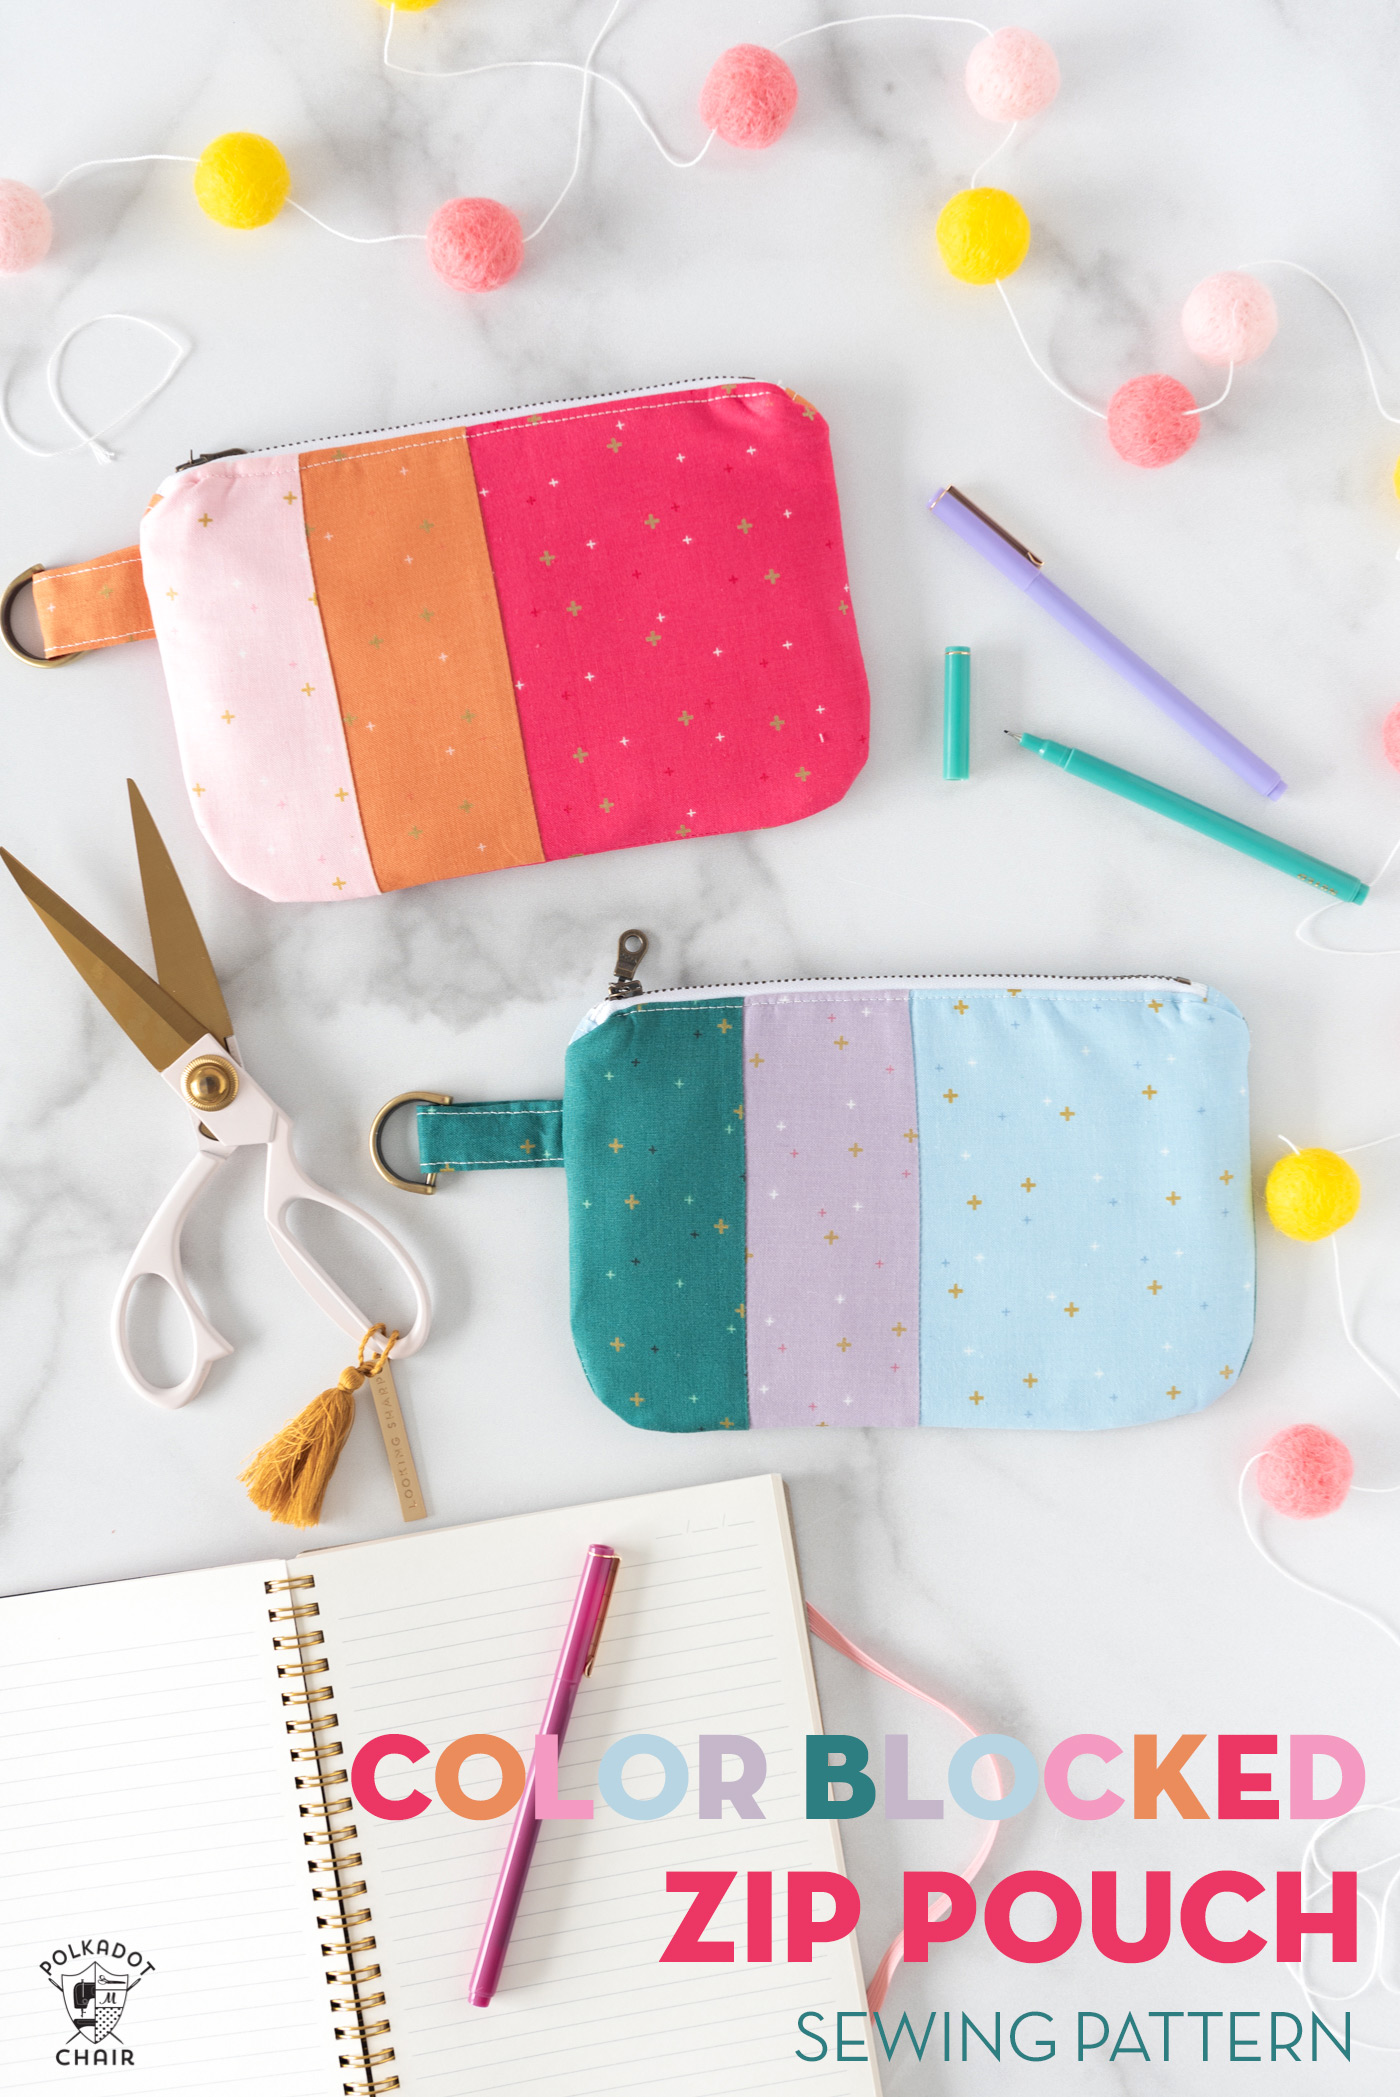
Harry Potter House Inspired Zip Pouch Tutorial
Create a set of zip pouches inspired by your Hogwarts house with this free striped zip bag tutorial. If you don’t want to create Harry Potter zip bags you can use the same technique to create a pouch in the colors of your favorite college sports team!
I don’t know if you’ve noticed, but there seem to be a lot of REALLY cute patches for sale in shops lately. I’ve noticed this especially when we travel. I’ve begun picking up a few patches here and there and think they are so cute, but never really know what to do with them.
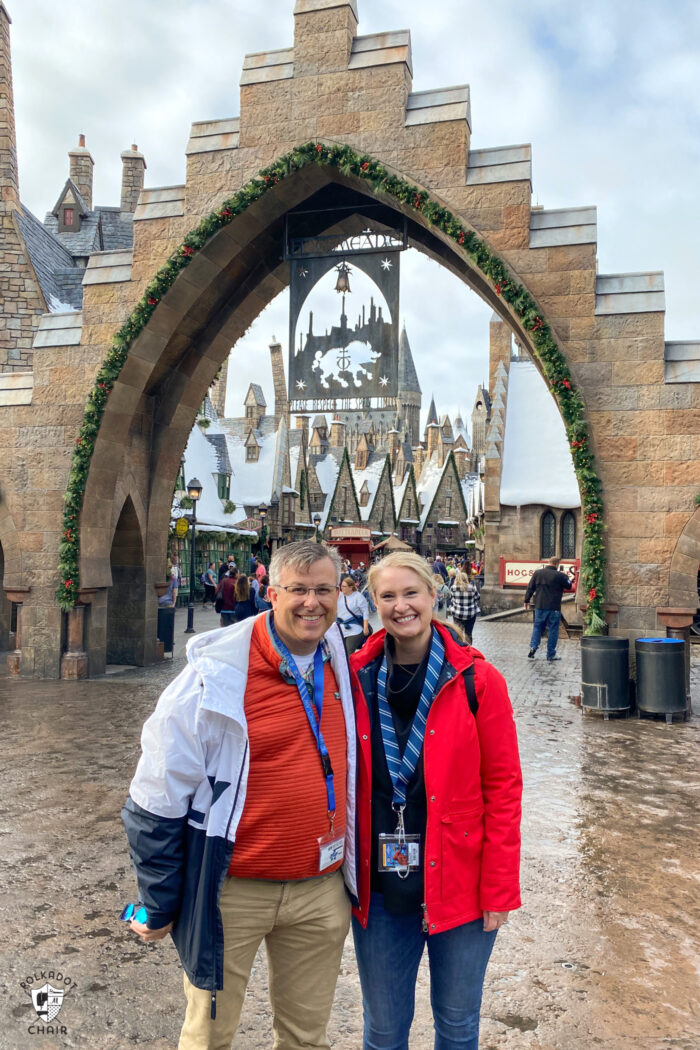
Recently I took a trip to Universal Orlando with my husband and like I always do, deiced to make something to take with me on the trip. Creating a project before vacation has always been one of my favorite things to do. To me, it helps me to stretch out that vacation magic just a little bit more!
I normally carry a small backpack around theme parks with me and thought a little zip bag would be great to use to hold a few things inside my bag.
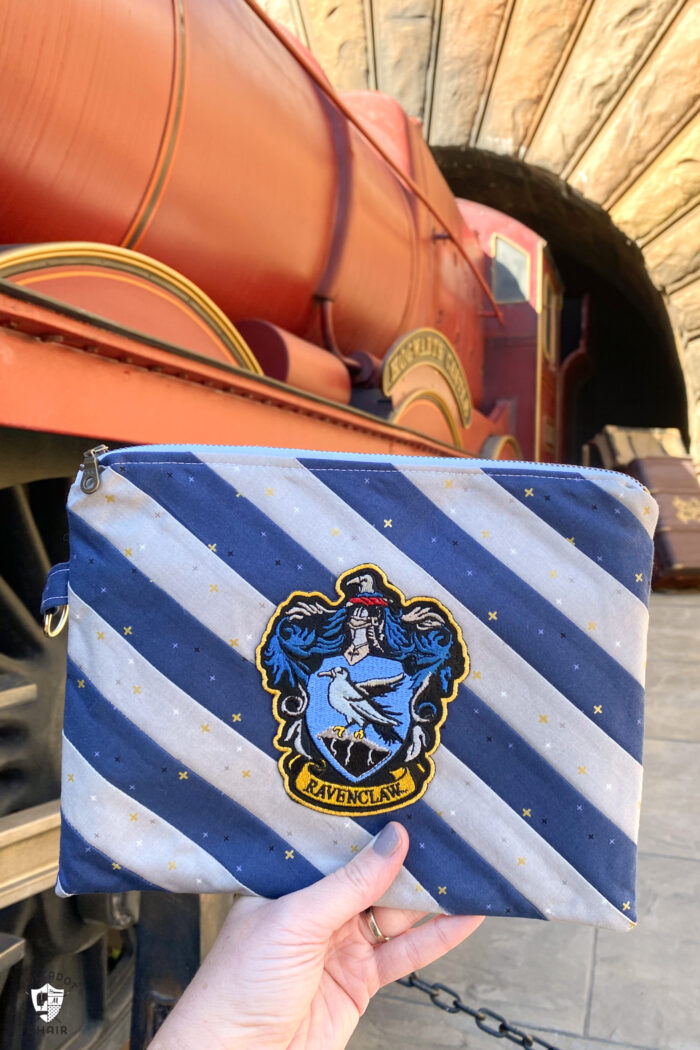
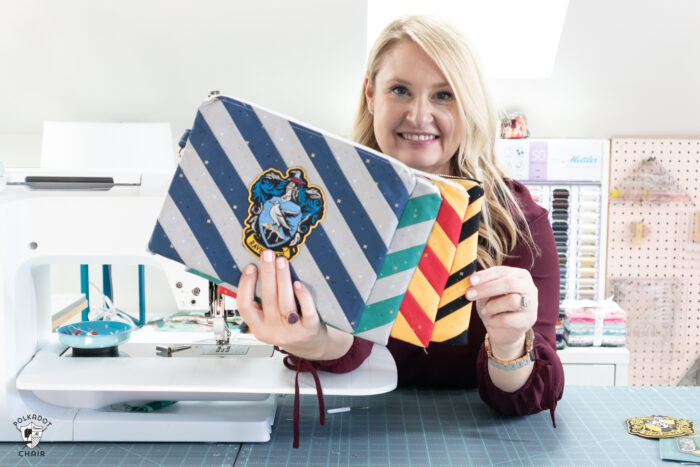
Since I was headed to the Wizarding World of Harry Potter it seemed only natural to create a bag with the same colors as my Hogwarts house (I’m a Ravenclaw).
While in Universal, I found a Ravenclaw patch to add to my bag and am thrilled with the finished project.
About the Materials
This zip pouch is created with fabric from my new Sparkler line from Riley Blake Designs. Sparkler is a basic fabric that features tiny plus signs and a bit of gold sparkle. To me, it seemed like the perfect fabric to use for a magical project!
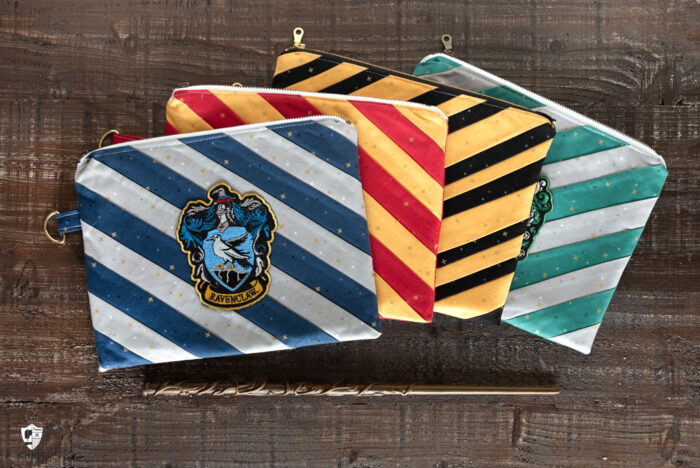
The colors I used:
- Ravenclaw: Navy & Gray
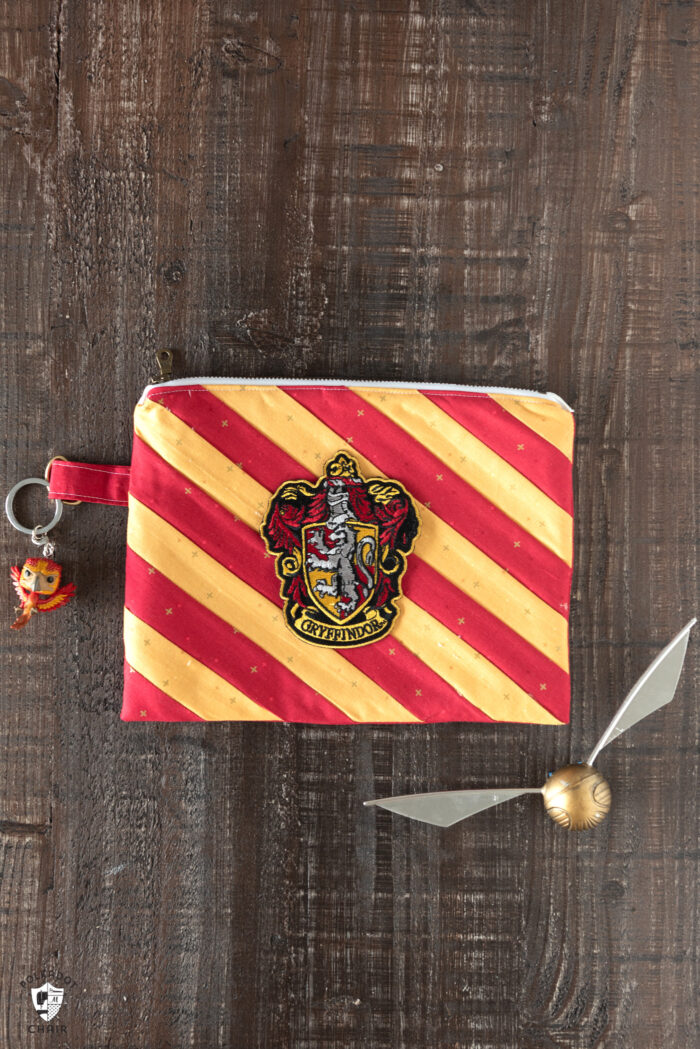
- Gryffindor: Redwood & Daisy
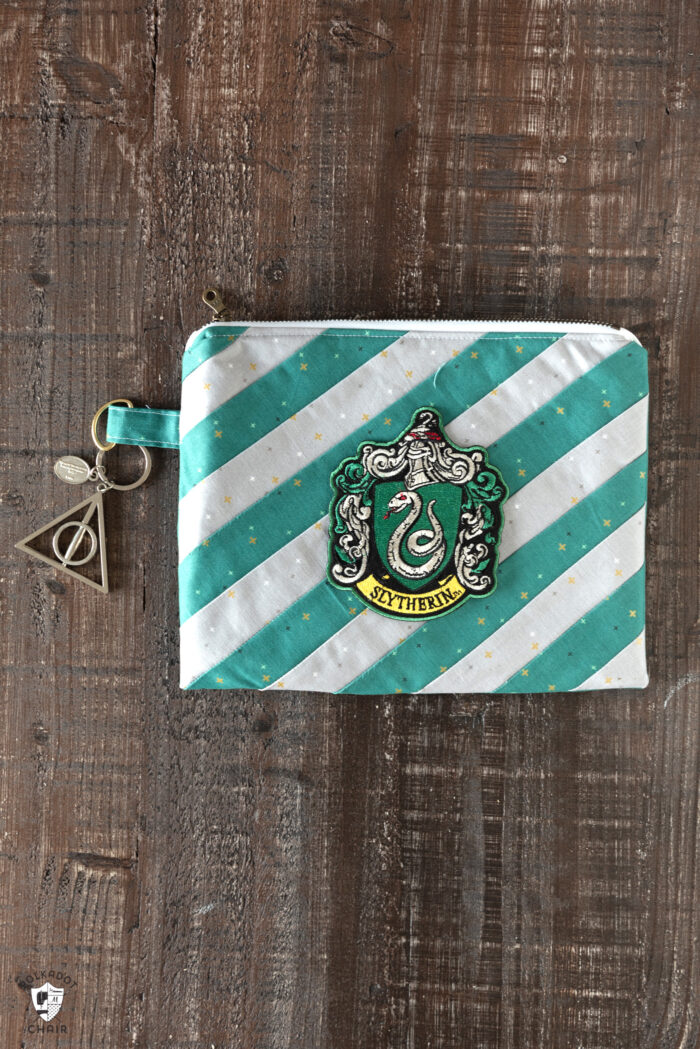
- Slytherin: Jade & Gray
- Hufflepuff: Daisy & Black
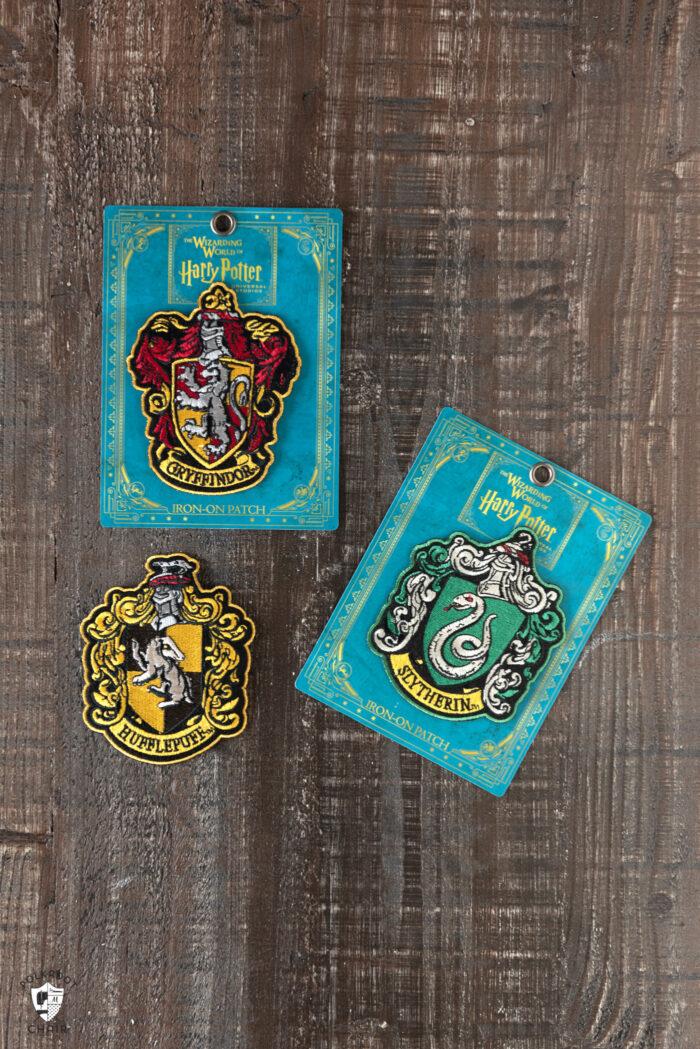
The patches on the front of the pouch are purchased. You’ll need to pick some up to create the bag. Mine are officially licensed patches that I purchased at Universal. You can find many Harry Potter House patches online.
Construction Technique
The stripes on the front of the zip pouch are created using a quilting method called Foundation Paper Piecing (also called FPP). In foundation paper piecing, you sew fabric to paper. The benefits of FPP include:
- More accurate seams
- Able to piece fabrics together at additional angles
- Create more intricate patterns.
The pattern used on this zip pouch is pretty straightforward. It’s just a bunch of stripes. However, it can be VERY hard to sew small strips of fabric together and have them look straight when you’re finished.
For this reason, I chose to create the diagonal stripes on the zip bags using FPP instead of traditional quilt piecing. If you don’t want to do that, you’ll just need to sew a bunch of 1 1/2″ strips of fabric together. Choose whatever is easier for you!
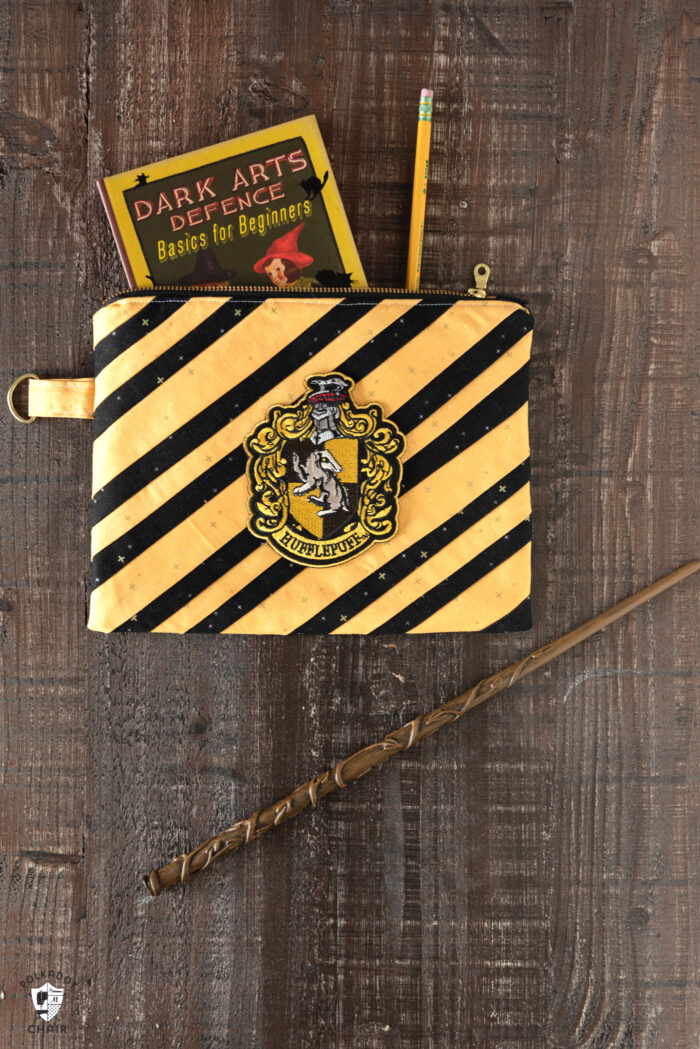
The lines on the Hufflepuff pouch go in the following order:
- 1″
- 1/2″
- 1/2″
- 1/2″
- 1″
That’s the only difference, the rest of the construction is the same.
How to Make College Zip Bags
You can use this same technique to create a zip bag to show off your team pride for your favorite high school or college team. You may even be able to find a patch for sale to compliment your bag. If not, try cutting one off an old sweatshirt and repurposing it on the bag.
Video Instructions
We have uploaded a video to our YouTube Channel walking you through all the steps to create the zip pouches. Find it below in the instructions or on YouTube.
About the Tutorial
The tutorial walks you through creating the diagonal stripes on the front of the zip pouch. I have a blog post dedicated to simple zip pouch construction, so I’m linking to it for the finishing instructions.
You can, however, use whatever zip bag construction method you like best. If you need help, there is a highlight saved on my Instagram profile called “Bag Sew Along” that walks you through all the steps to sew a zip pouch. Be sure to check it out!
Harry Potter House Zip Pouches
Equipment
- Pencil
supplies
- 1/4 Yard Fabric For Color A Stripes
- 1/4 Yard Fabric For Color B Stripes
- 1/4 Yard Fabric For Zip Pouch Outiside Piece
- 1/4 Yard Fabric For Zip Pouch Lining
- 1 9" Zipper
- 1 Hogwarts House Patch
- 1/4 Yard Shape Flex Interfacing
- 1/4 Yard Fusible Fleece Interfacing
- 1 Spool Thread I recommend Mettler Metrosene, the polyester thread helps to hold your project together after the paper is torn out.
- 1 Piece Paper I like to use Foundation Paper Piecing paper, but you can also use plain printer paper.
Instructions
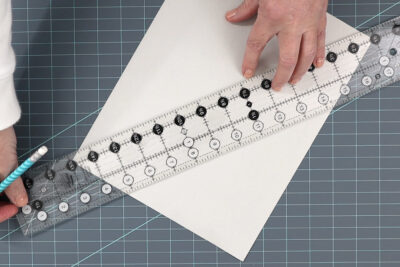
Prep
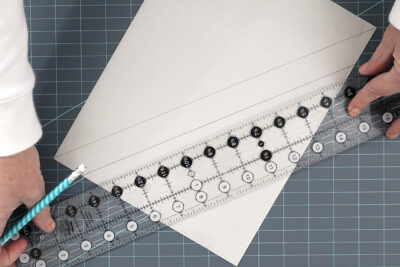
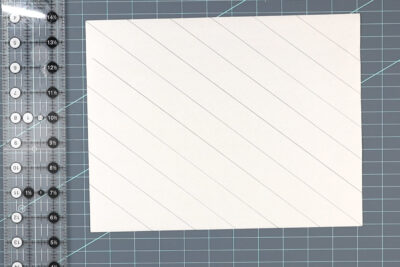
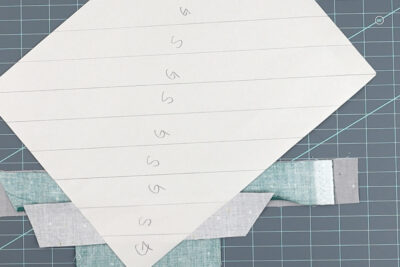
- Using your ruler, draw a diagonal line across your piece of paper.

- Continue drawing lines, 1” apart until you’ve covered the entire paper.
- Do not draw the last line on each side, leave that spot larger than 1” wide.
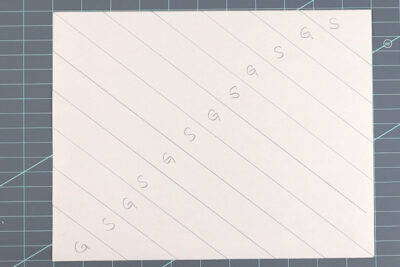
- Label your lines so you know which color of fabric you want in each section of the bag front.
- Cut 3 strips of each fabric 1 ½” wide.
- Cut 1 piece of fabric 3” x 3” to start.
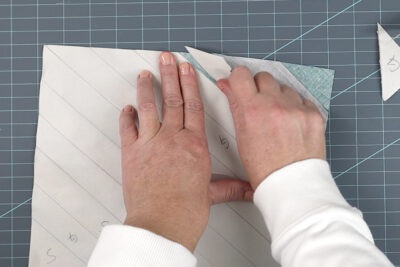
Sew the Fabric to the Paper
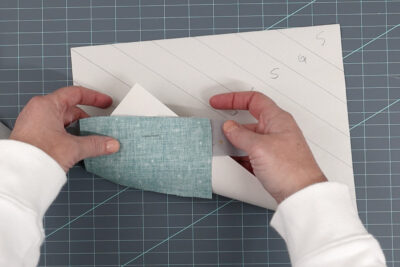
- Take your start fabric, and one of your cut strips in the alternate color, and place them right sides facing with the long raw edges even.
- Place your paper on top of this so that the fabric extends ¼” out from the line drawn in the bottom corner of the paper.
- Take this piece to your sewing machine and stitch on the line you drew. Sew with a small stitch length, I usually use a 1.5.
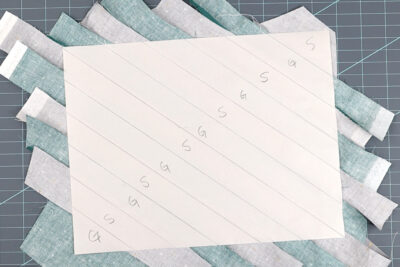
- On the back of the paper/fabric piece, flip the fabric so that it’s right side up and press.
- Repeat with subsequent strips.
- Note: My strips are 1 ½” wide and my sections on the FPP are 1” wide. For most of the project, I did not need to trim my strips between sections.
- However, if you’re new to this, I recommend trimming your seam allowance between each section.
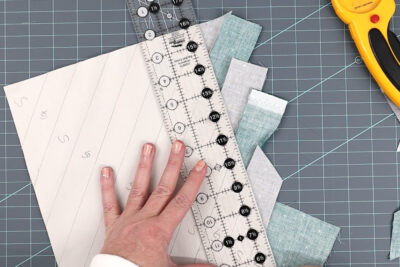
- To do this, with the paper right side up, fold the NEXT seam line back (use a piece of plastic or a postcard to get a straight fold).
- Then using a quilt ruler (I prefer an add a quarter ruler), trim the fabric piece so that you have ¼” of fabric extending past the fold of the paper.
- Then unfold the paper and keep sewing.
- Keep sewing strips until you’ve covered the entire paper. Press it one more time.


Finishing
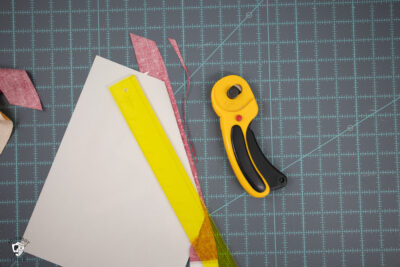
- Trim the excess fabric so that it’s flush with the edge of the paper.
- Carefully remove the paper.
- Following the directions on the package, adhere your patch to the front of your completed piece.
- Proceed to create your zip pouch.
How to Make the Zip Pouch
- You will need to cut:1 piece fabric 8 1/2" x 11" for Zip Pouch Back2 pieces fabric 8 1/2" x 11" for Zip Bag Lining2 pieces Shape Flex 8 1/2" x 11"2 pieces Fusible Fleece 8 1/2" x 11"
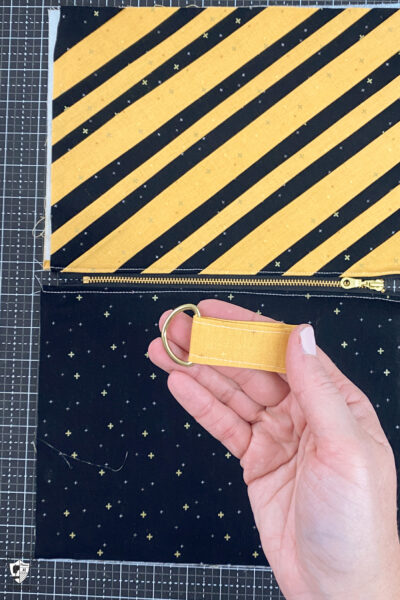
How to add a Key Ring Loop
- If you wish to add a key loop to your zip pouch, fold a piece of fabric that is 2” x 6” in half lengthwise and sew along the long edge.
- Turn right side out.
- Press, keeping the seam in the center.
- Topstitch on both sides of the strip.
- Feed a 1” D ring through the strip, then fold it in half.

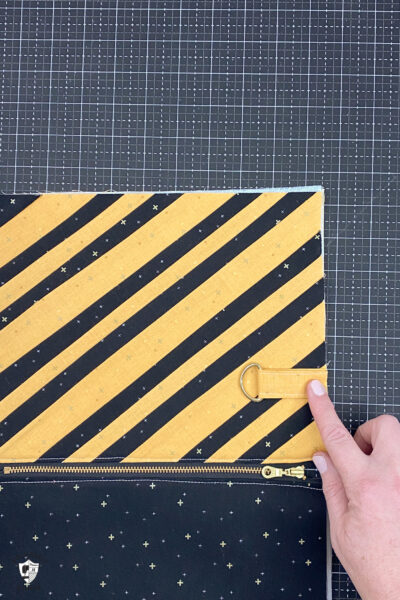
- During the construction of your zip pouch, baste the loop to the left side of the zip pouch front, so that the raw edge of the loop is even with the raw edges of the pouch. Baste in place.
- Continue with pouch construction.

Lovely bags.
FYI you have 2 other options for foundation paper piecing where you don’t have to tear out the paper. One is to use water soluble paper the other is to use a method whereby you fold the paper on the lines and sew next to the fold instead of on the paper. The first piece of fabric is lightly glued with school glue, and unless it’s a very complicated or very large block, it’s all that is needed. Then when completed, the paper pulls away from the block and can be reused. (Note: it’s best to pre-fold the paper on all the lines before starting.) There are multiple examples on line if you want to check it out for better instructions.