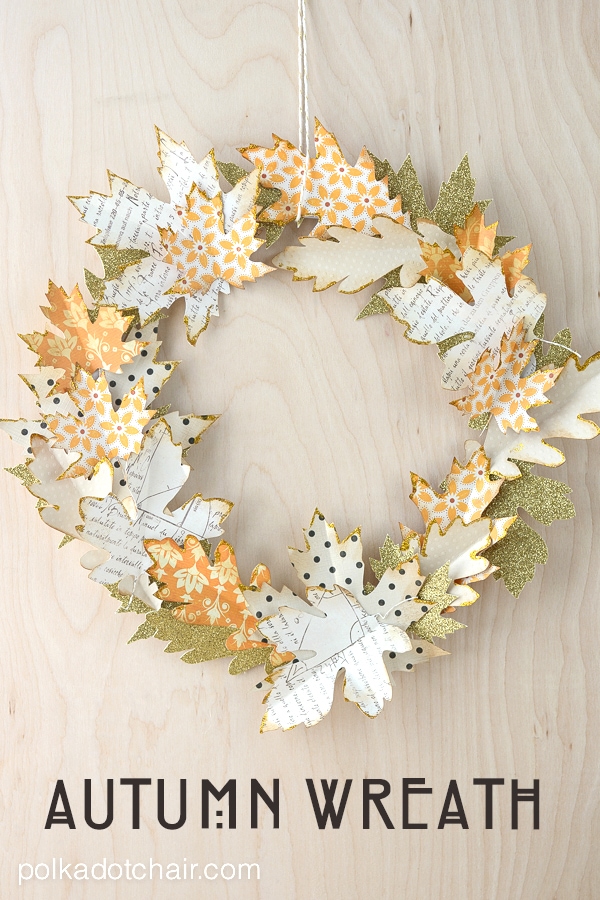
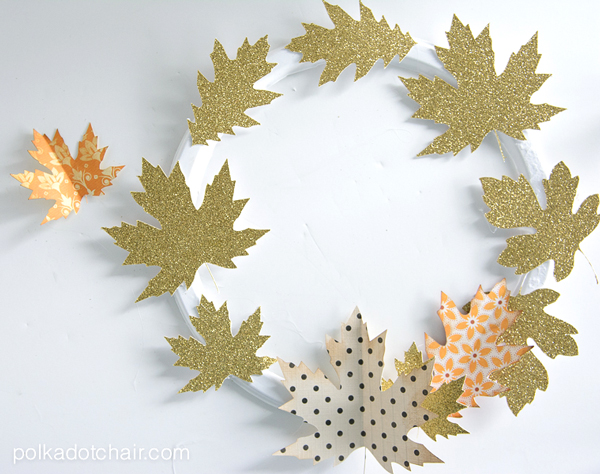
Autumn Paper Leaf Wreath Tutorial
Looking Fall wreath ideas? This Autumn Leaf Wreath is so simple to make! Since it’s made from paper leaves, you can adjust the size and colors of the wreath to make it fit in with your Fall decor perfectly! If you like this post then you may also like this post showing you a fun way to decorate a pumpkin with paper leaves!
It seems like forever since I’ve sat down and worked on a paper crafting project. I love working with paper almost as much as I love working with fabric. Last week I sat down and designed a few craft projects for Autumn and I have to say that it felt really good to be working with paper again.
Fall Wreath Ideas
I love to decorate with gold and cream in the Autumn. Right now our house is decked out for Halloween, but come November 1st, I’ll be breaking out the harvest golds and a gagillion pumpkins 🙂
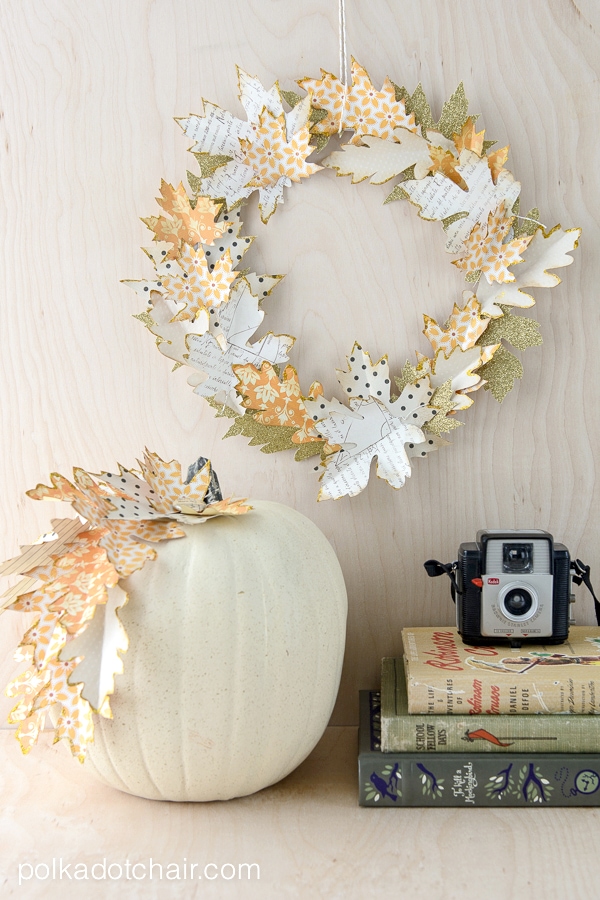
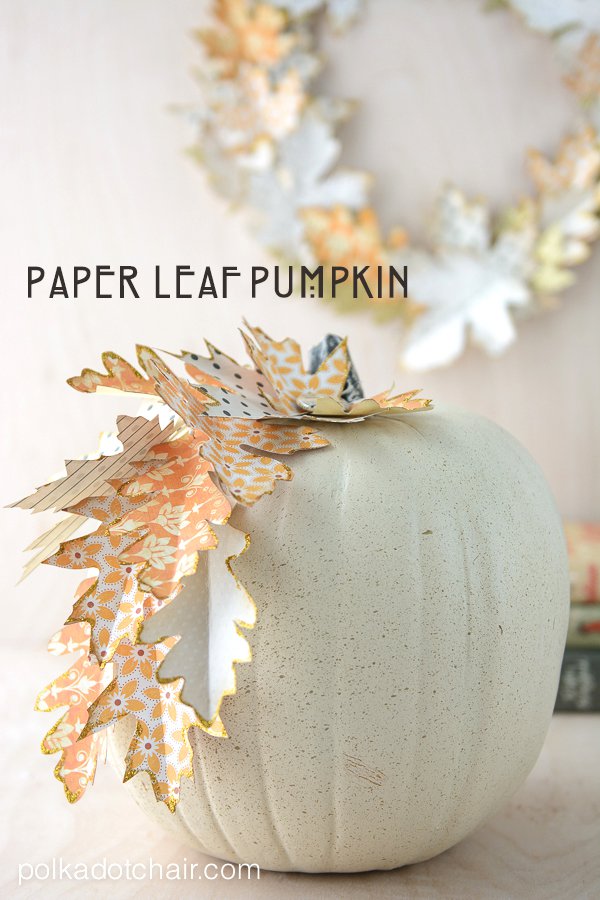
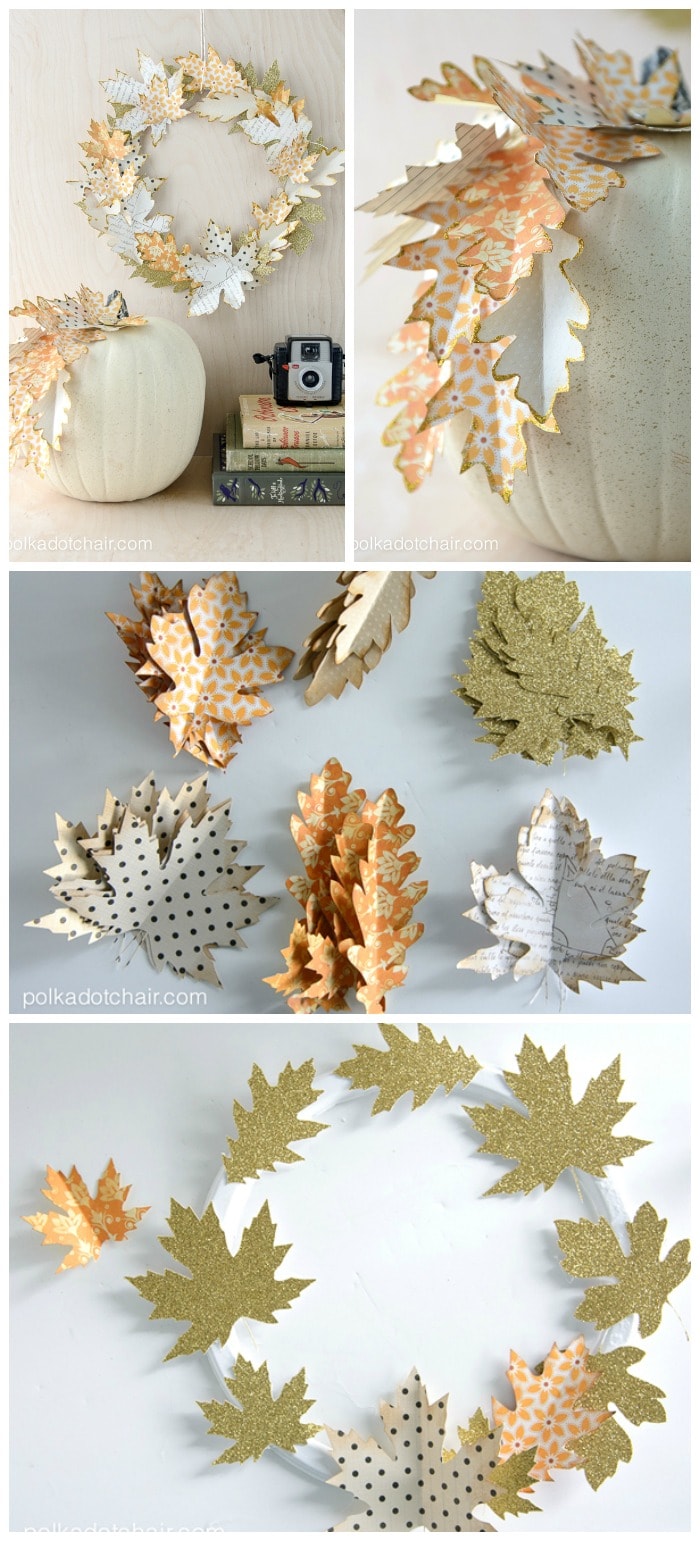
This year I decided to add to my collection of harvest-inspired projects by creating a simple paper leaf wreath. After I finished the wreath I had several paper leaves left over, so I added them to a plain ivory faux pumpkin that needed a little bit of “something”. If you’d like the tutorial for the pumpkin just CLICK HERE.
Supplies for Paper Autumn Wreath:
If you’d like to make either project it’s easy… here’s how you do it. contains affiliate links
You’ll need:
5-6 sheets of printed scrapbook paper in colors of your choice
Glitter Cardstock, this paper is similar to the one I used American Crafts Glitter Cardstock, 12 by 12-Inch, Gold (15 sheets per pack)
Straight Pins
Paper Plate (if you want your wreath to be larger, just use a wood embroidery hoop instead)
Distress Ink Pad, Vintage Photo & Sponge
Cricut Machine- Explore or Later, (you can also cut the leaves out by hand if you’d prefer)
Hot Glue Gun
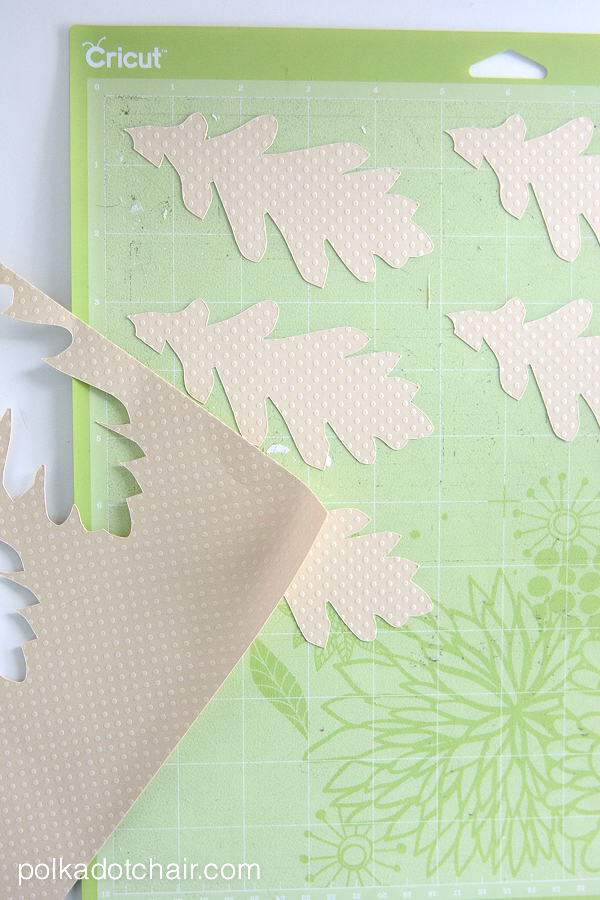
First UP! Cut out the Leaves:
First, you need to cut out several leaf shapes from the various sheets of cardstock.
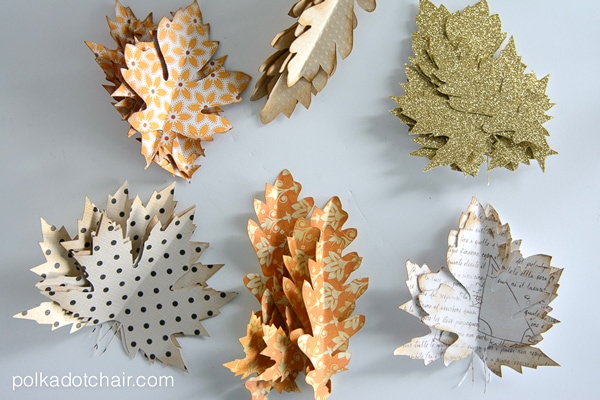
I ended up cutting out 6 sheets of cardstock and 5 different leaves in different sizes. I also cut out one sheet of glitter cardstock with 6 different leaves on it.
The glitter cardstock is thicker than normal cardstock, so make sure that you adjust your cut settings on your Cricut before you cut.
For my leaf template, I just typed “leaf” into Cricut Design Space and chose the leaf shapes that I liked the best.
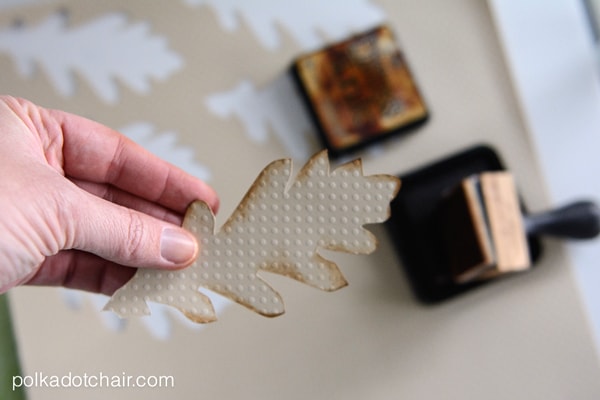
Step Two: Add Dimension with Distress Ink
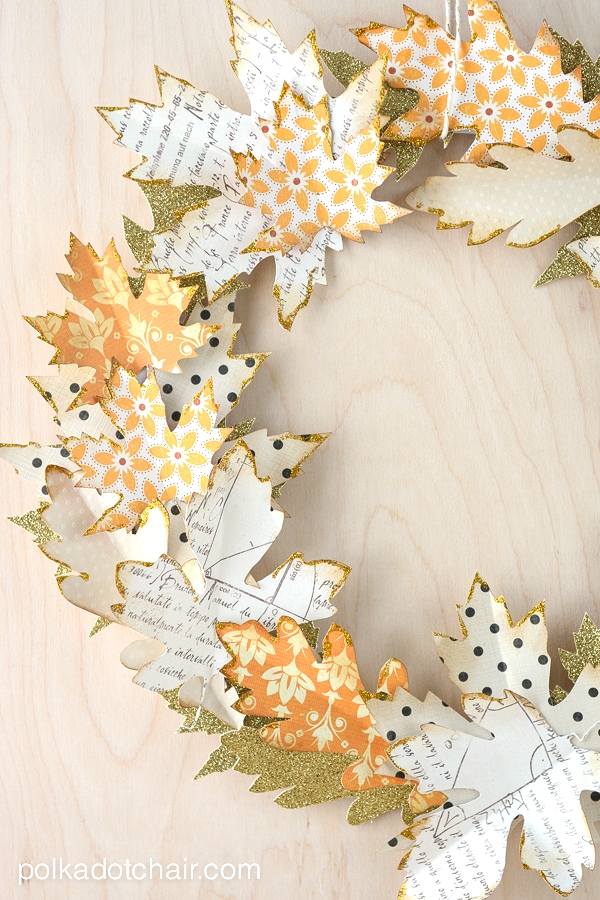
Next using your distress ink and sponge, lightly ink the edges of all of the leaves. It doesn’t seem like much, but it will add a lot to your finished project.
Fold the leaves in half and score. Don’t fold the glitter cardstock leaves, they will be too thick.
Step Three: Make the Wreath Form
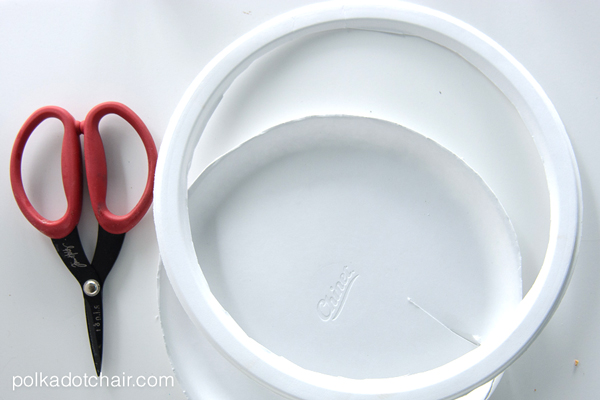
Next cut the center out of your paper plate, the outside ring will be used as your wreath form.
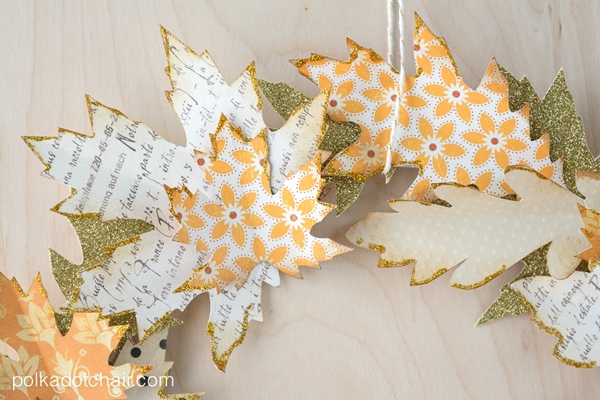
Begin arranging the leaves on the paper plate ring, I placed the glitter cardstock leaves down first, then began to add the other leaves. To attach the leaves to the form, just use hot glue.
Layer the leaves and bend until they are in an arrangement that you like.
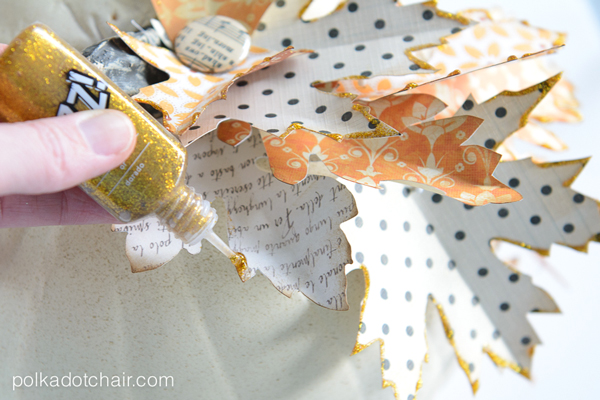
Step Five: Bling it Out with Glitter!
To finish up, apply glitter glue to the edges of the leaves. Let it dry, it takes longer to dry than you think it will.
More Fall Wreath Ideas!
I’ve teamed up with a group of 75 bloggers to share tons of Fall Harvest Ideas with you! From crafts to recipes, to home decor and more…we have you covered for Fall inspiration!

Check the links below to visit some of my blogging friends to see their awesome ideas!!
More Full Fall Crafts:
Free Printable Fall Bucket List