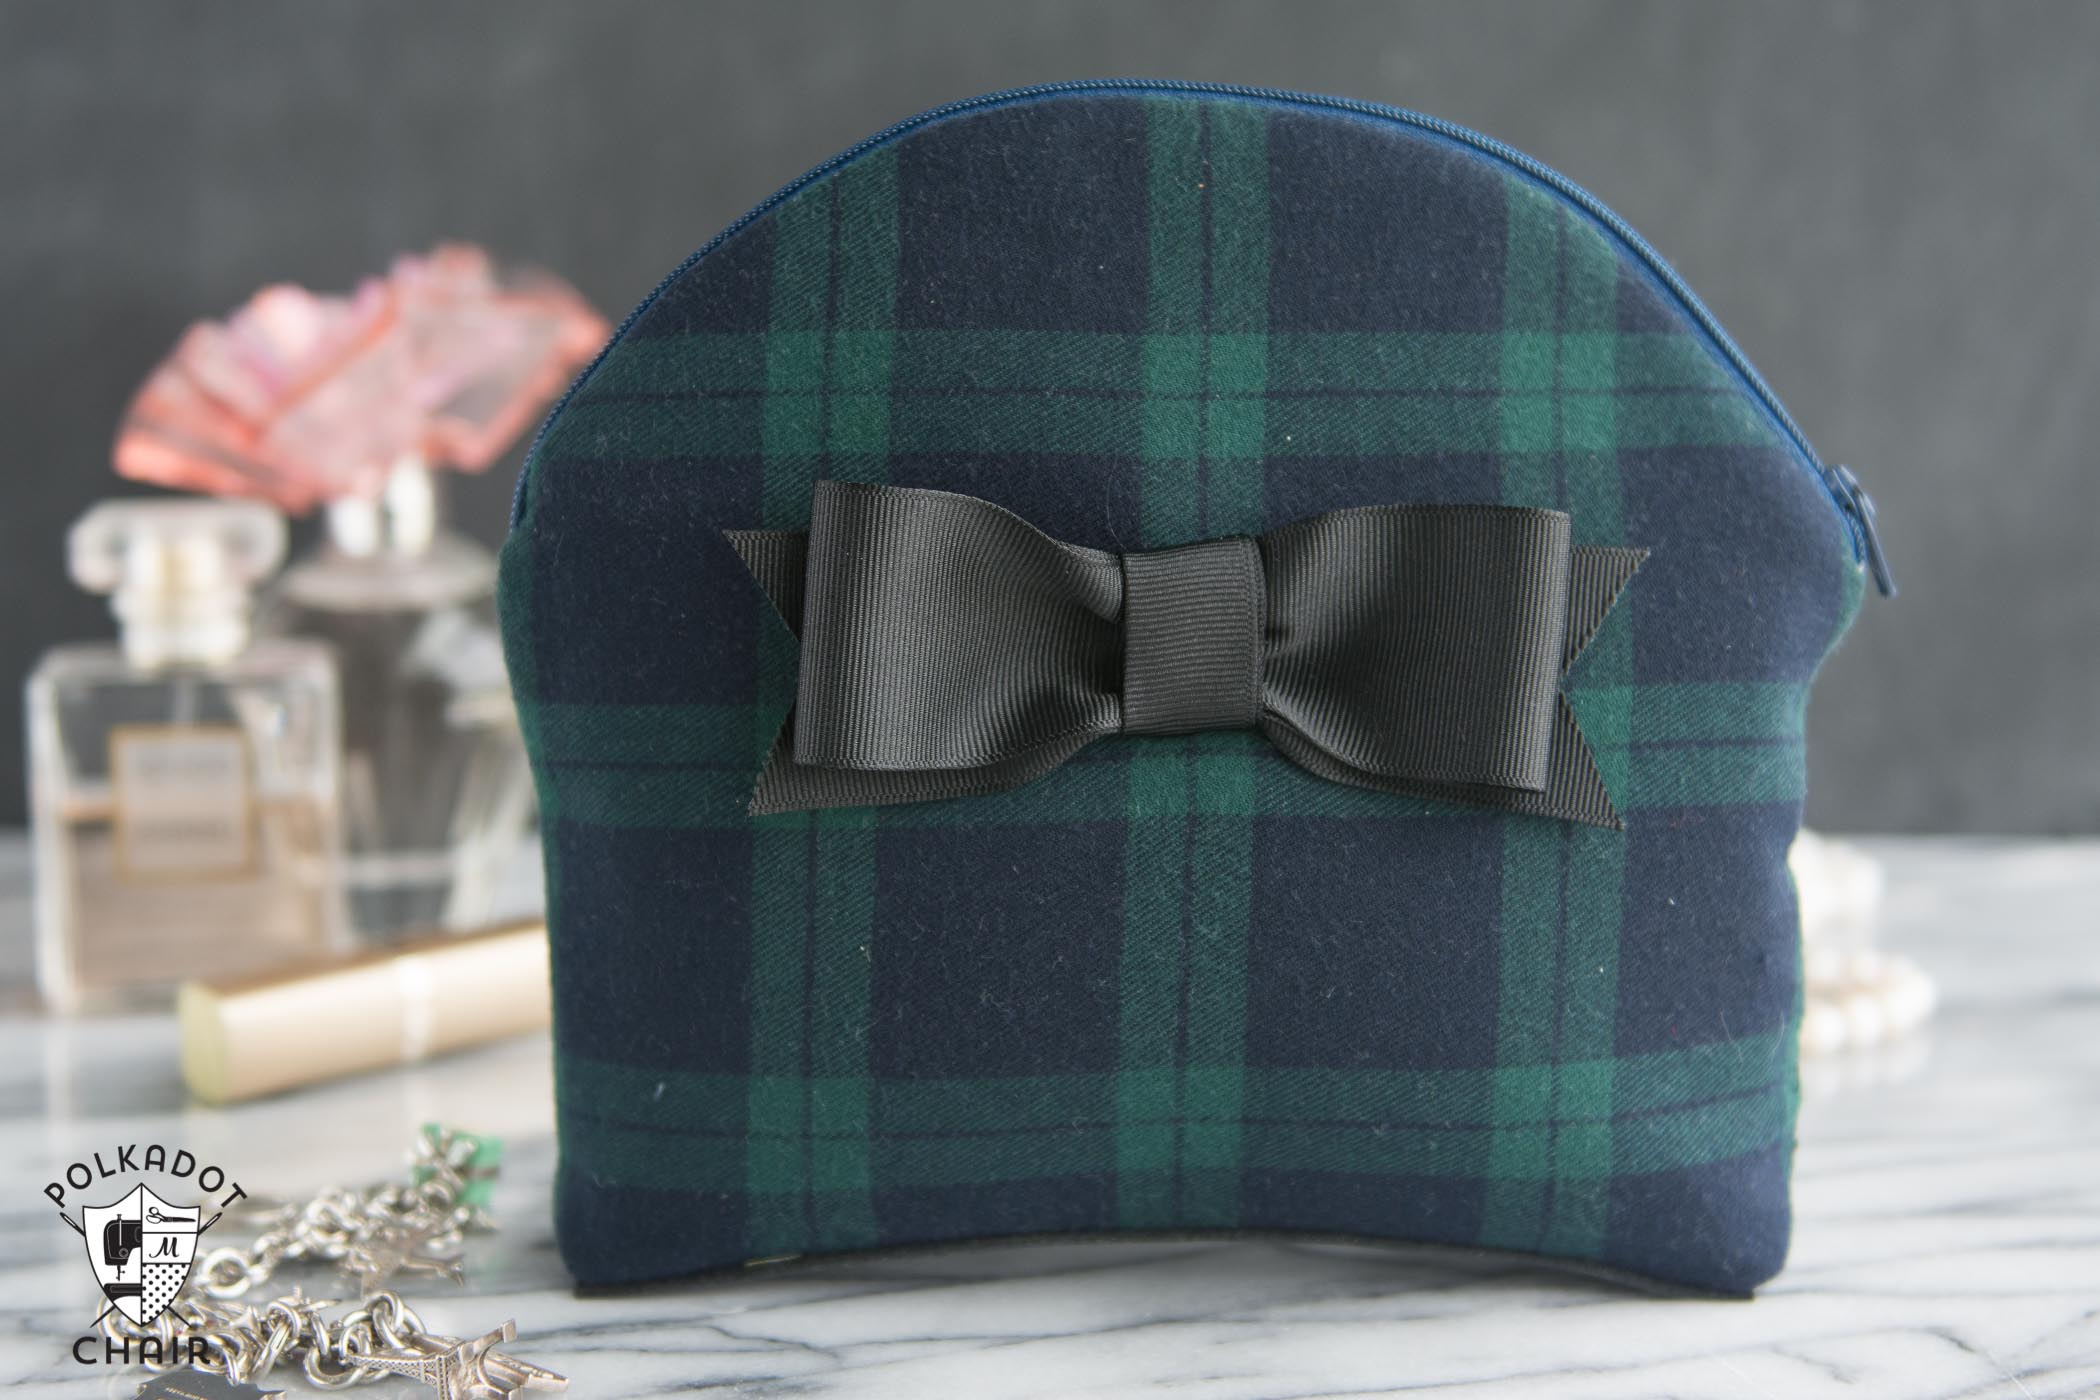
Cosmetic Bag Sewing Pattern
If you’re looking for a cosmetic bag sewing pattern that’s both stylish and practical, this project is a great place to start. This curved-top zipper pouch is the perfect size for makeup, toiletries, or small essentials, making it ideal for everyday use, travel, or gifting. It’s a satisfying sewing project that comes together quickly while still feeling polished and professional.
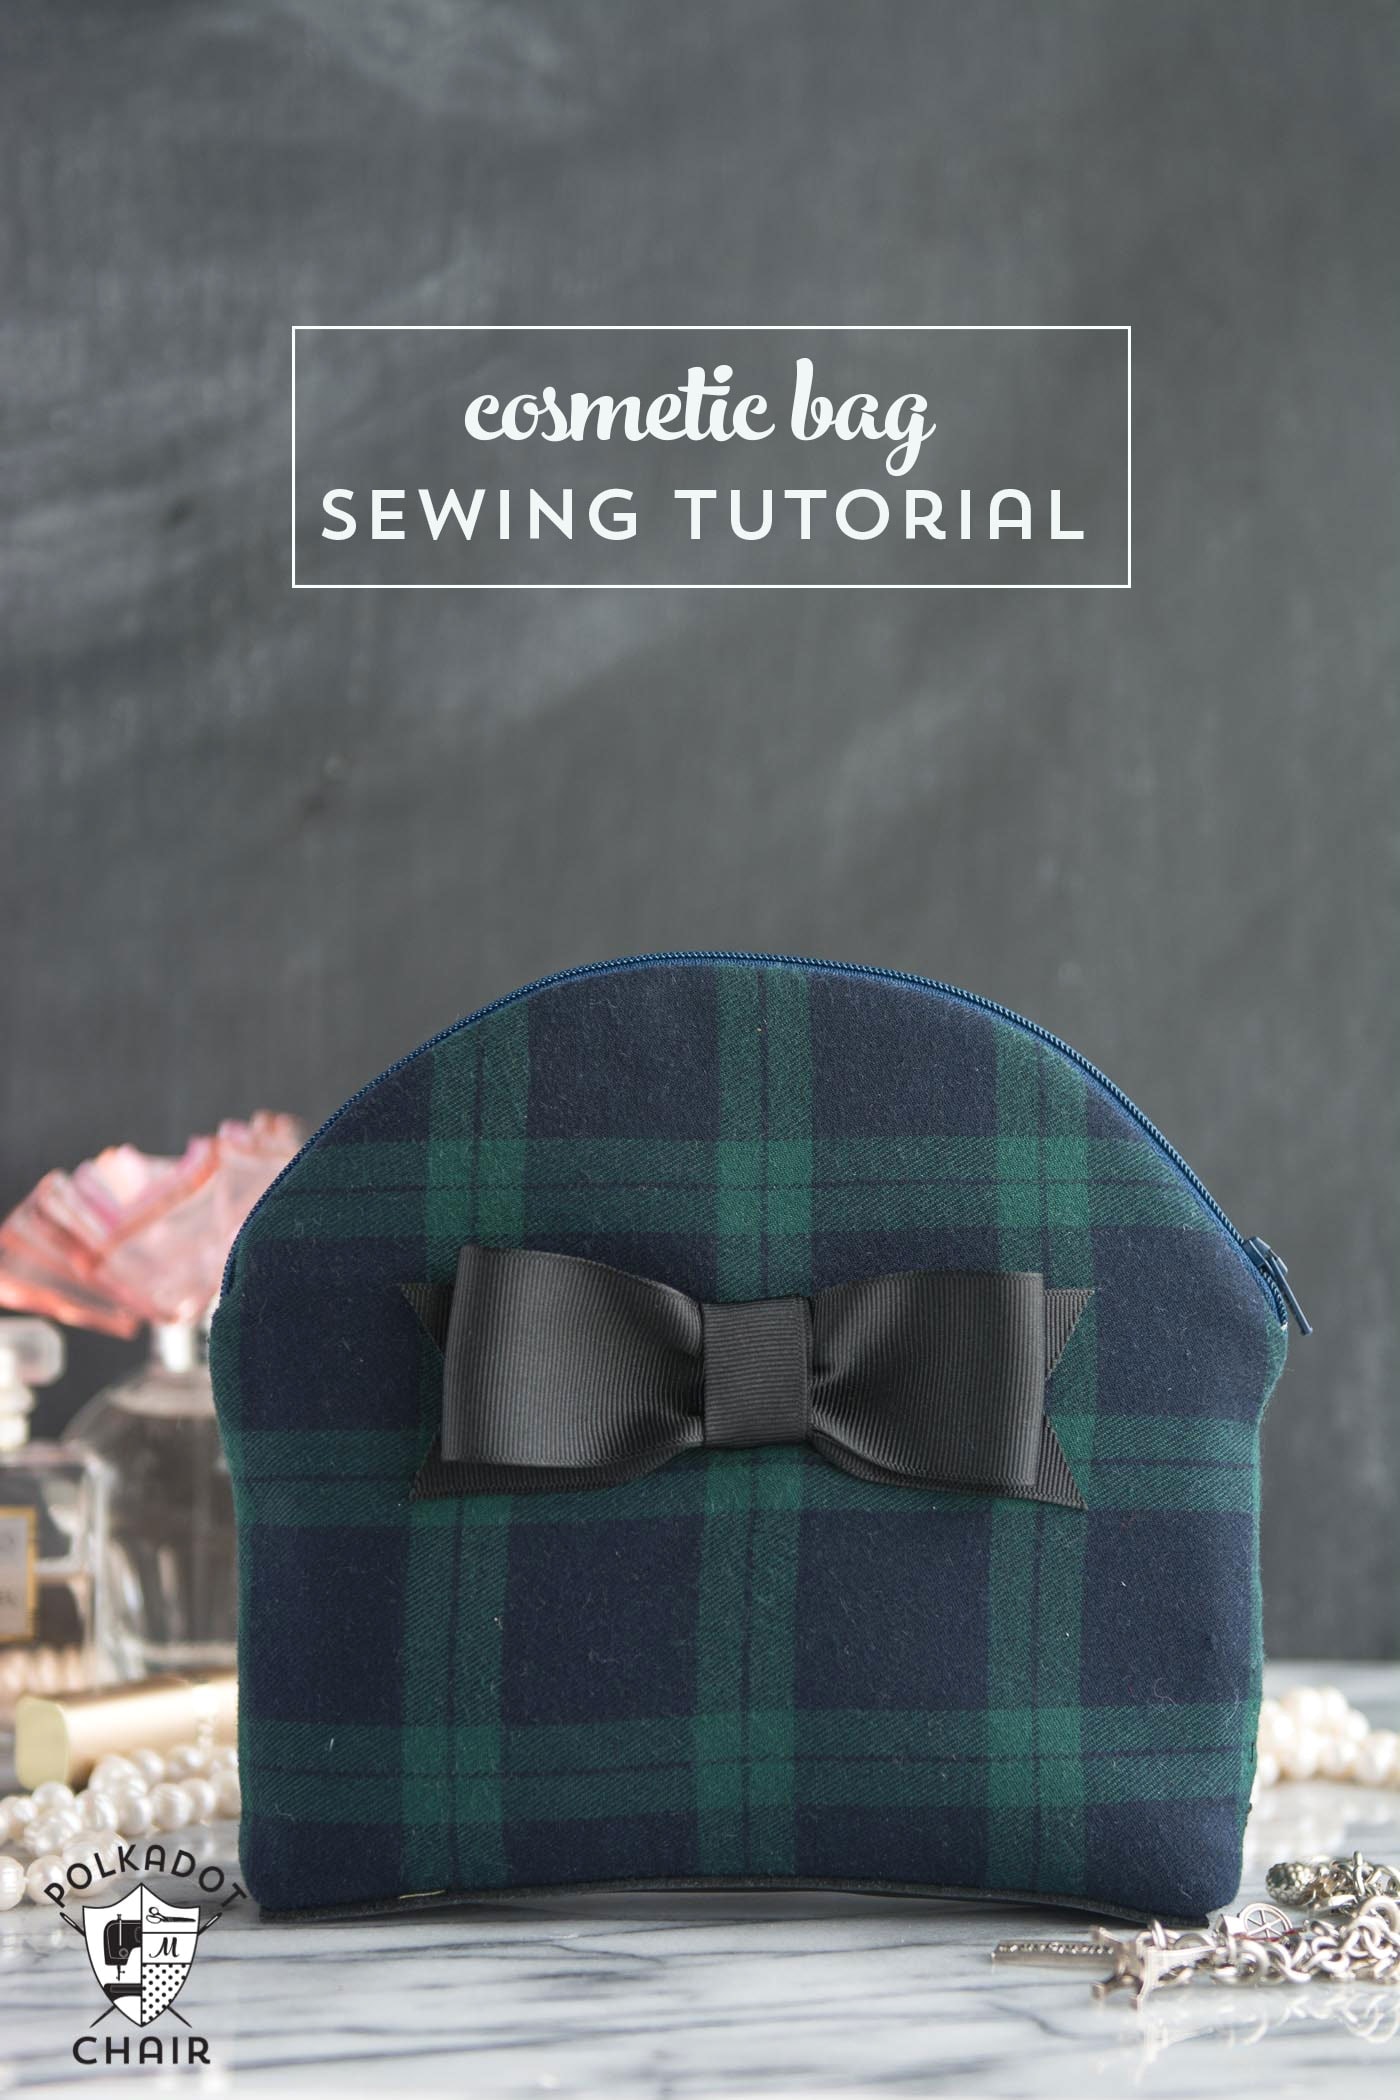
This DIY cosmetic bag pattern is beginner-friendly but includes thoughtful details that more experienced sewists will enjoy. The smooth, curved top gives the bag a clean silhouette, while the zipper closure keeps everything securely tucked inside. You can easily customize the look with your favorite fabrics, add a bow for a feminine touch, or experiment with contrast accents to make each bag unique.
About the Cosmetic Bag Sewing Pattern:
Whether you’re sewing this cosmetic pouch for yourself, as a handmade gift, or to use up favorite fabric scraps, this pattern is versatile and fun to make. In this tutorial, I’ll walk you through the steps to sew your own cosmetic bag, sharing tips along the way to help you achieve neat curves and a professional finish. Once you make one, you may find yourself sewing a whole set; they’re just that useful.
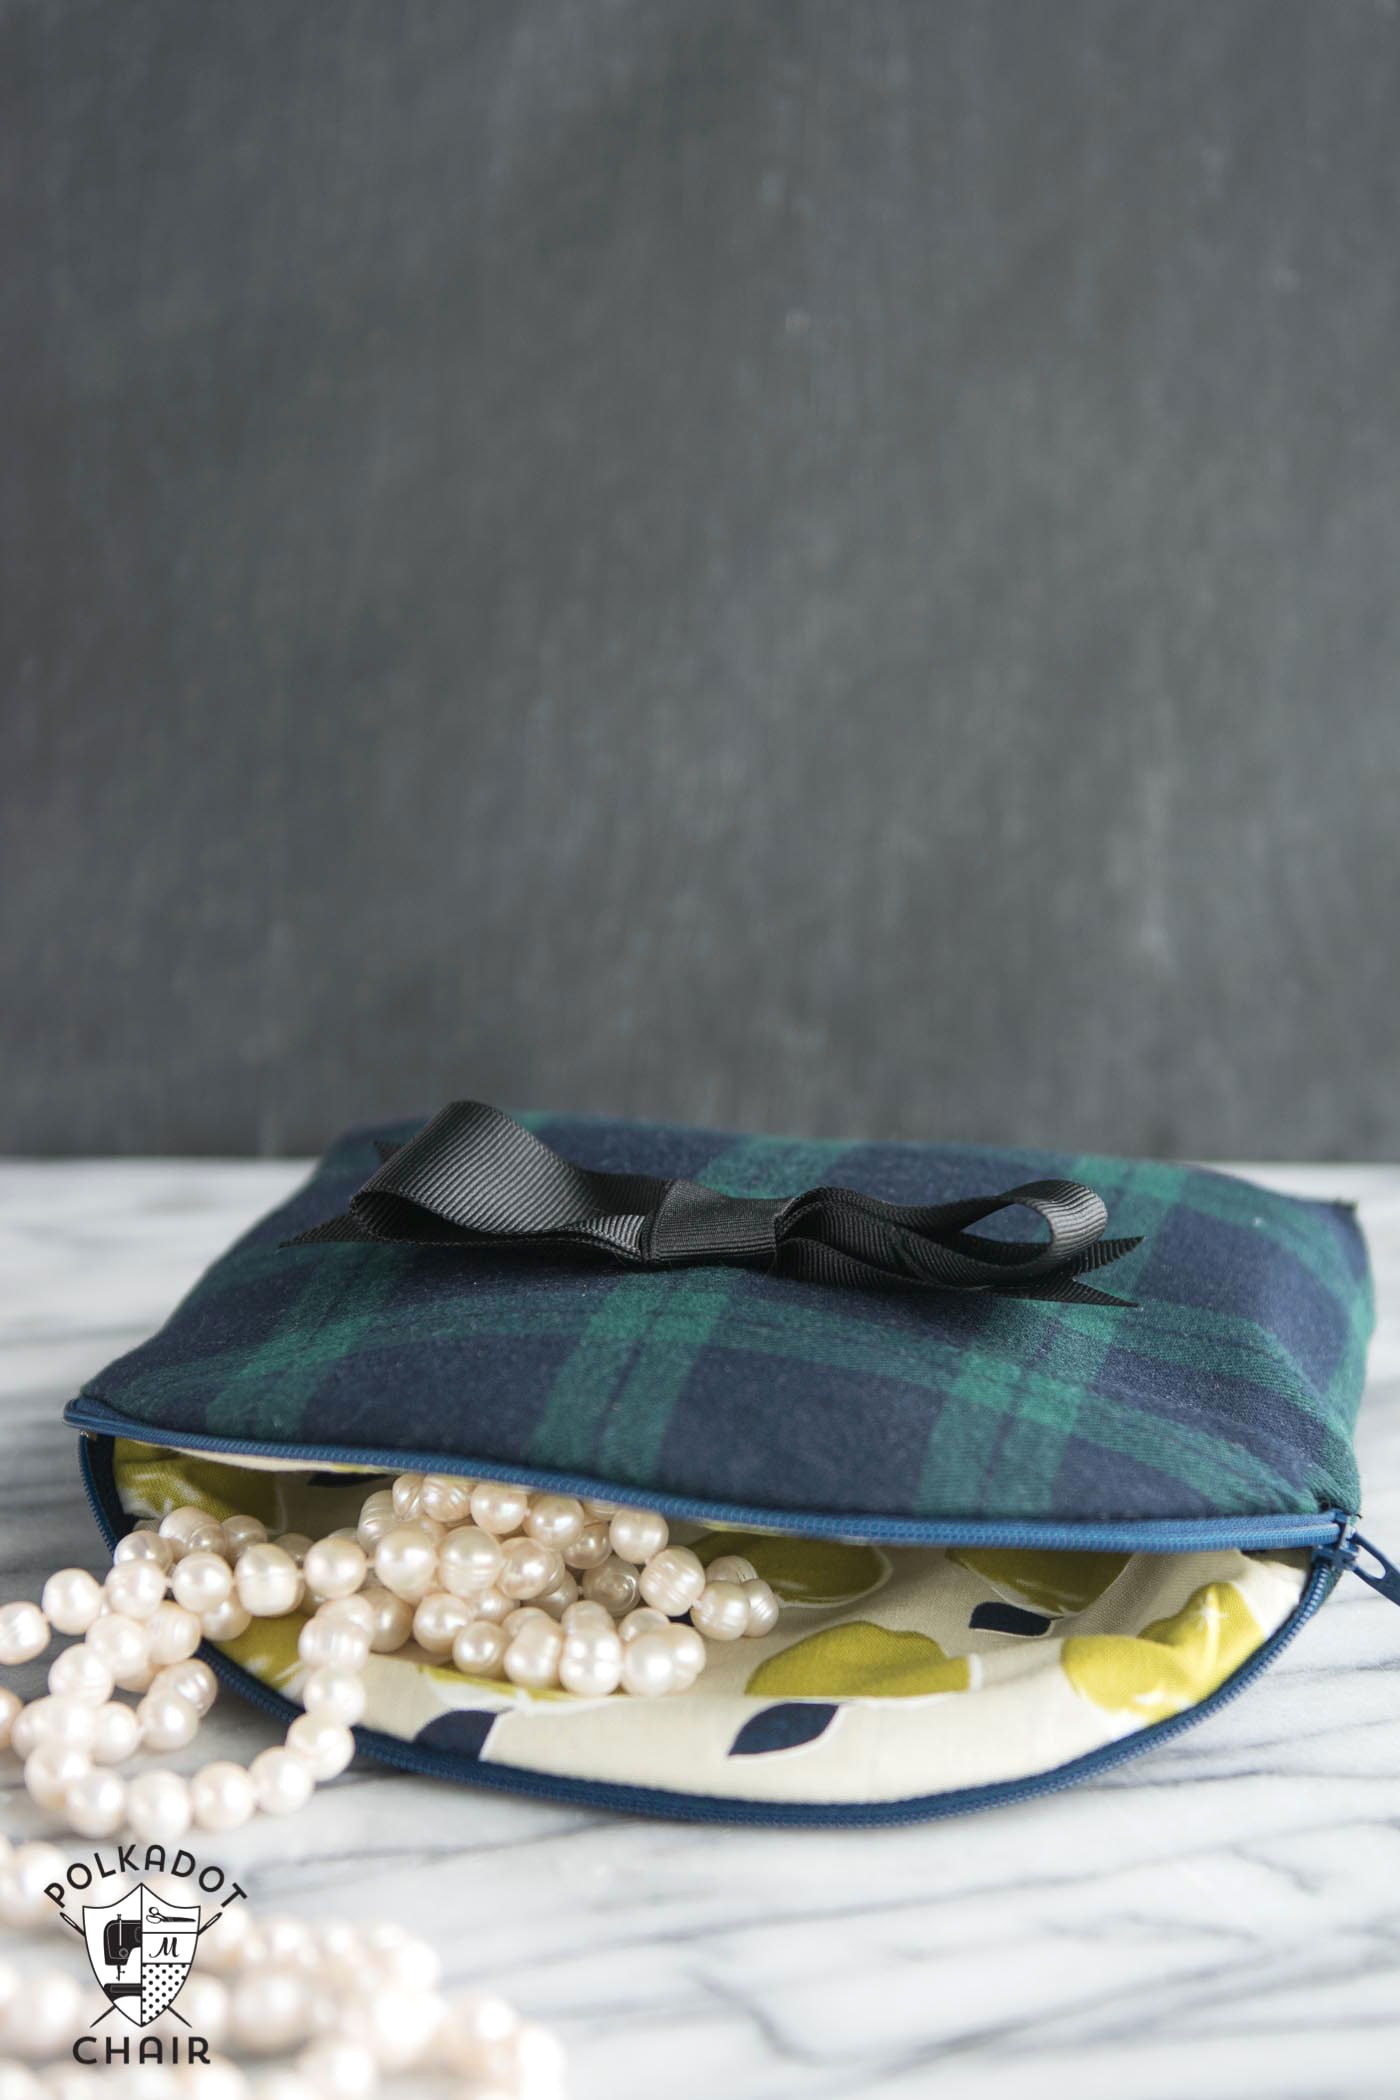
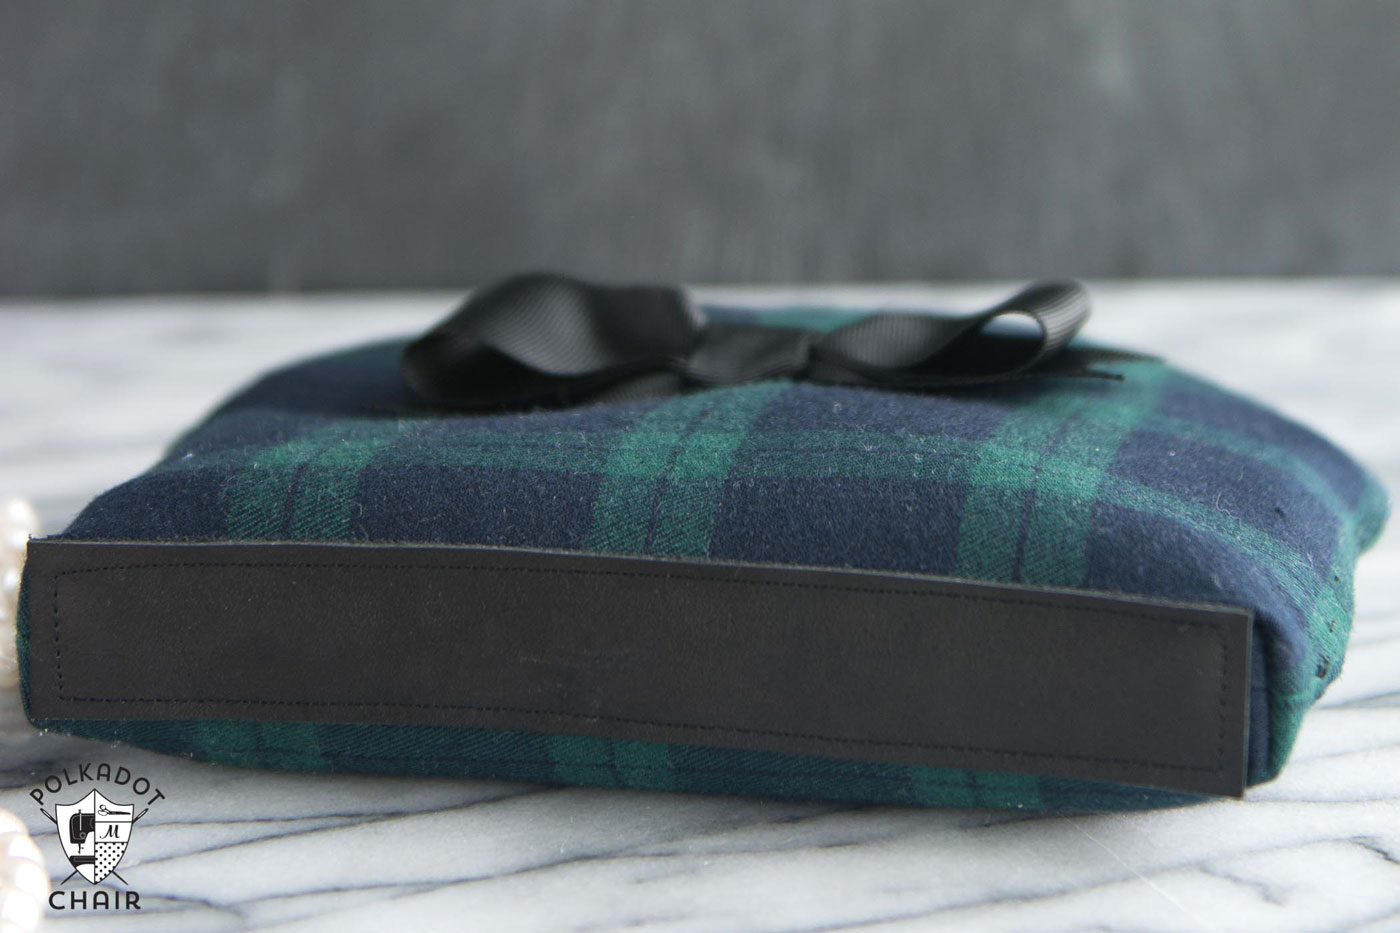
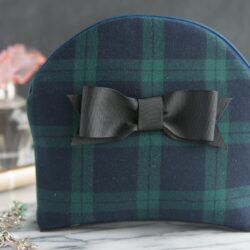
The pouch is made from wool, but you can also use cotton. If you use wool, just make sure it’s lightweight. For an extra bit of detail, I added a simple black bow to the front and a touch of leather to the bottom.
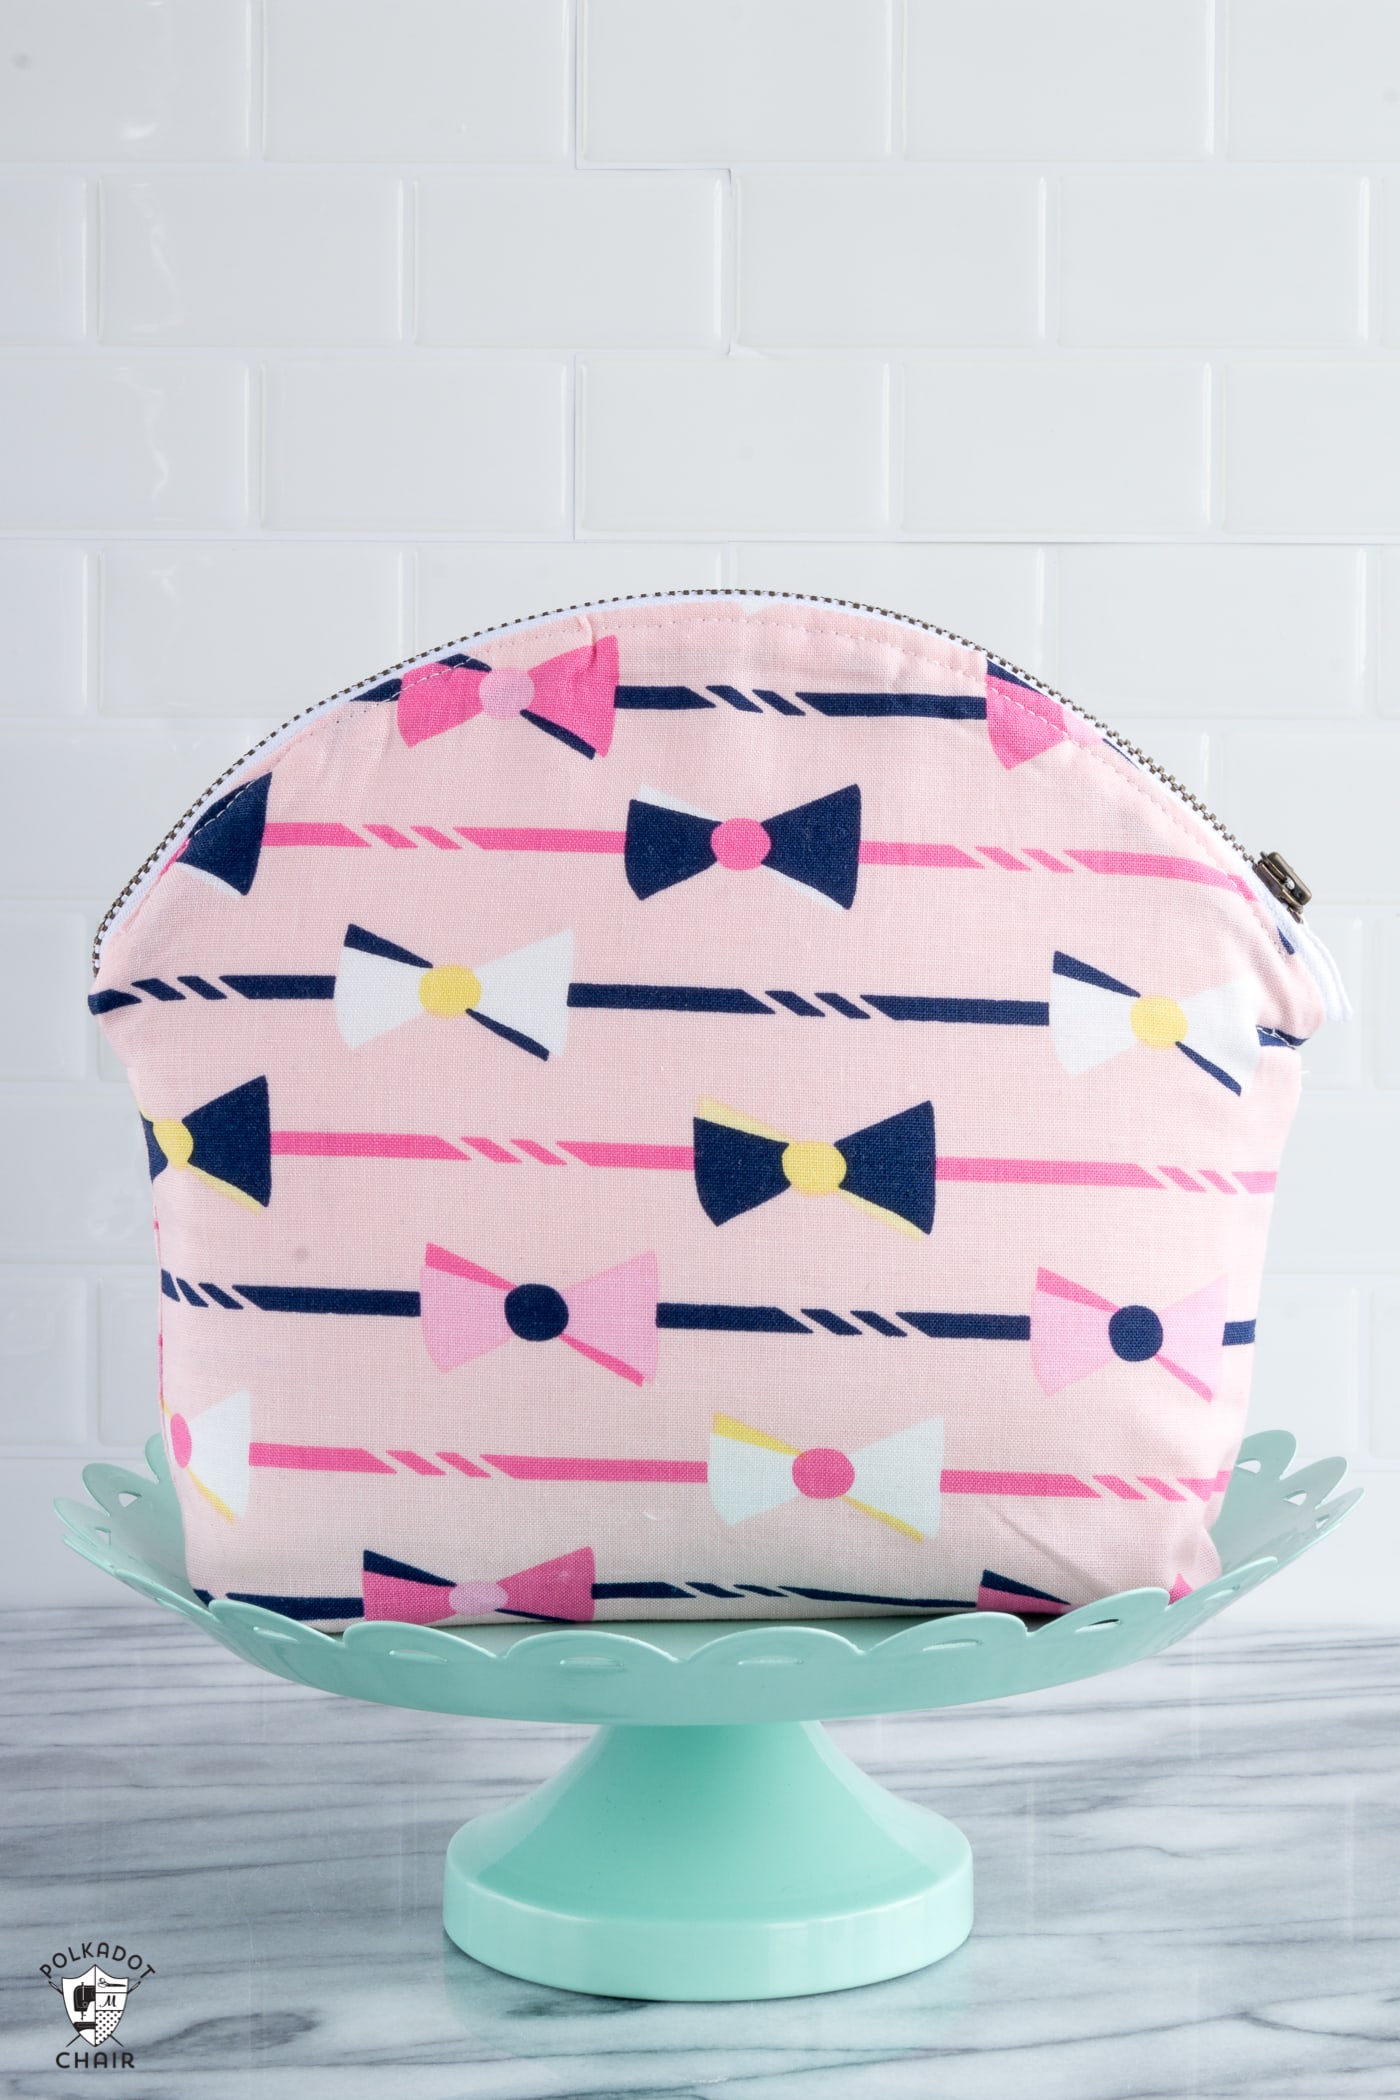
Here you can see the same pattern stitched up in brighter fabrics:
Cosmetic Bag Sewing Pattern
Equipment
- Leather Needle
- Glue Stick
- The pattern piece for the pouch (you can download it for free here)
supplies
- 1/2 yard of fabric for the pouch outside
- 1/2 yard of fabric for the pouch lining
- 14″ zipper
- 1/2 yard of Pellon Flex Foam
- 1/2 yard of Pellon Shape Flex
- 1 Scrap of Leather 1″ x 7″ this step is optional
- 1 yard of 1″ or 1 1/2″ wide ribbon
Instructions
- All seam allowances are 1/2″ unless otherwise noted.

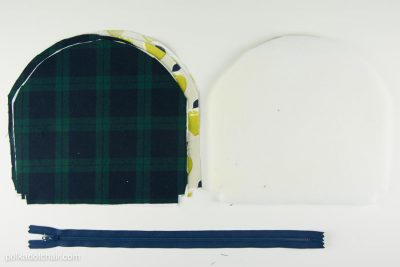
Cutting Directions for Cosmetic Bag:
- From the pattern piece cut:For the pouch front, cut 2 piecesFor Pouch lining, cut 2 pieces2 pieces of flex foam2 pieces of shape flex
Construction Steps:
- Press the shape flex onto the wrong side of the pouch outside pieces. If you’re using wool, this will help keep the pouch from stretching out of shape as you sew it.
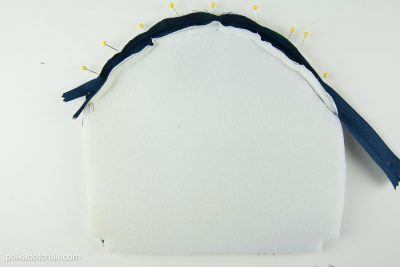
- Place the cut foam piece behind the cut pouch outside piece. Pin the right side of the zipper to the right side of the pouch along the top arch. The zipper is longer than the pouch; that is okay.
- Next, place the pouch lining piece on top so that the right side of the lining is facing the wrong side of the zipper. Pin in place. (You’ll have lots of pins).
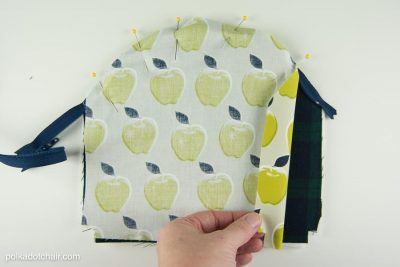
- Next, stitch through all the layers using your zipper foot; use the width of your zipper foot as a guide, your seam allowance should be between 1/4″ and 3/8″. Stitch with the foam side up so the feed dogs on your machine help feed the lining piece through evenly.
- Clip the curve.
- Repeat for the other side of the zipper.
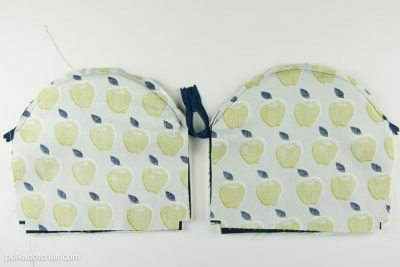
- When you’re done, you’ll have a piece that looks like this.
- Take a second and zip it up to make sure that you’ve inserted the zipper correctly.
- Unzip the zipper halfway.
- Bring the pouch outside pieces together, right sides facing, and stitch along the bottom seam only. Press seam open
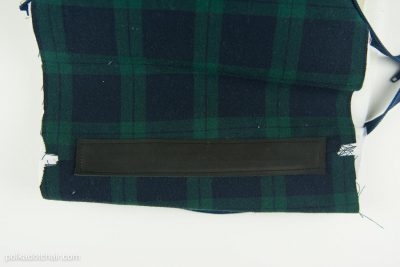
Optional Leather Bottom:
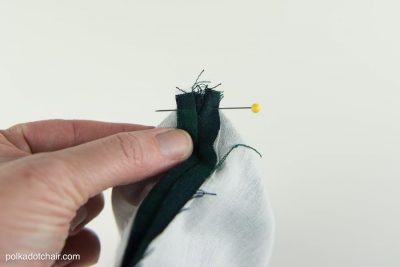
- Take the leather piece and apply a small amount of glue to the wrong side. Stick it onto the bottom seam of the pouch, centered and covering it. Secure it in place with binding clips if you have them.
- Insert the leather needle into your machine. Very slowly stitch around the perimeter of the leather piece. Remove the leather needle from your machine and insert a standard needle.
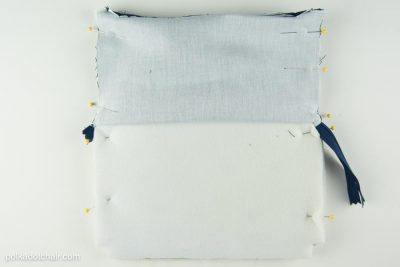
- Pin the right sides of the pouch’s outer piece together (including the foam), and pin the right sides of the pouch lining together.
- Stitch around the perimeter of the pouch, leaving a 3″ opening in the lining piece so that you can turn the pouch right side out. Leave the cut-out square shapes in the corners unstitched. Be careful not to “catch” any of the pouch in the seam as you sew. You’ll have to stitch inward and pivot when you get to the point with the zipper.
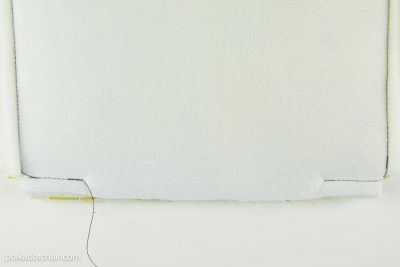
- Pinch all 4 corners of the pouch and stitch 1″ up from the cut raw edges. Cut off the extra part of the zipper. Turn the pouch right side out. Stitch the opening in the lining closed.
To make the bow for the front:
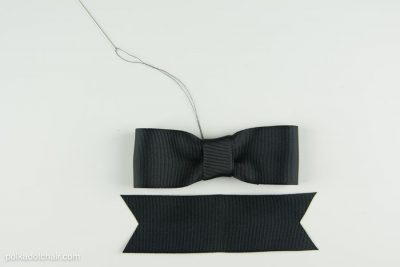
- “Guesstimate” how large you’d like the bow on the front of your pouch. Cut a piece of ribbon twice that length. Fold raw ends of the ribbon to the center and, using a needle and thread, stitch together, pulling slightly on the thread as you go. Fold a piece of ribbon in half and wrap it around the bow at the center point. Whip stitch in place. Cut a piece of ribbon slightly longer than your finished bow. Clip the edges. Stitch to the wrong side of the bow you made and then sew it to the front of the pouch.
- and you’re DONE!
Here are a few other projects on my blog that you may like!
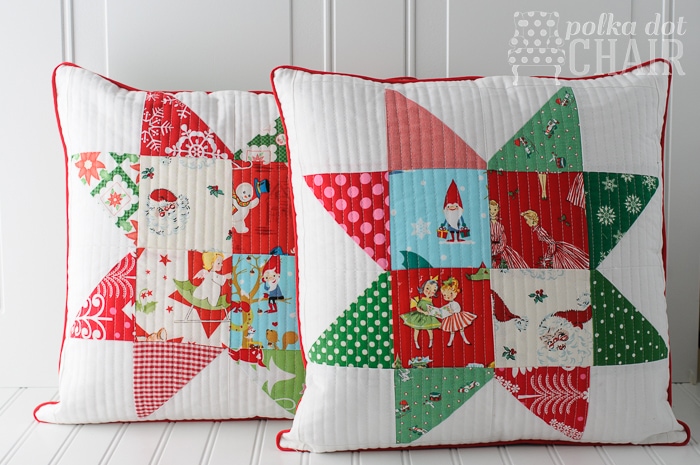
Quilted Christmas Pillow Tutorial
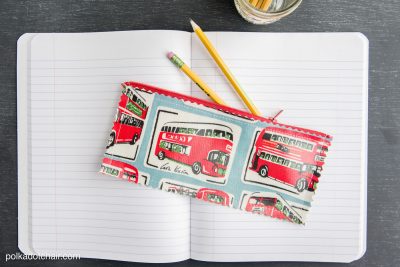
How to make a Pencil Pouch out of Oilcloth