Easy Fat Quarter Napkin Sewing Tutorial
Learn how to make fabric napkins from fat quarters of fabric with this free, easy-to-follow sewing tutorial.
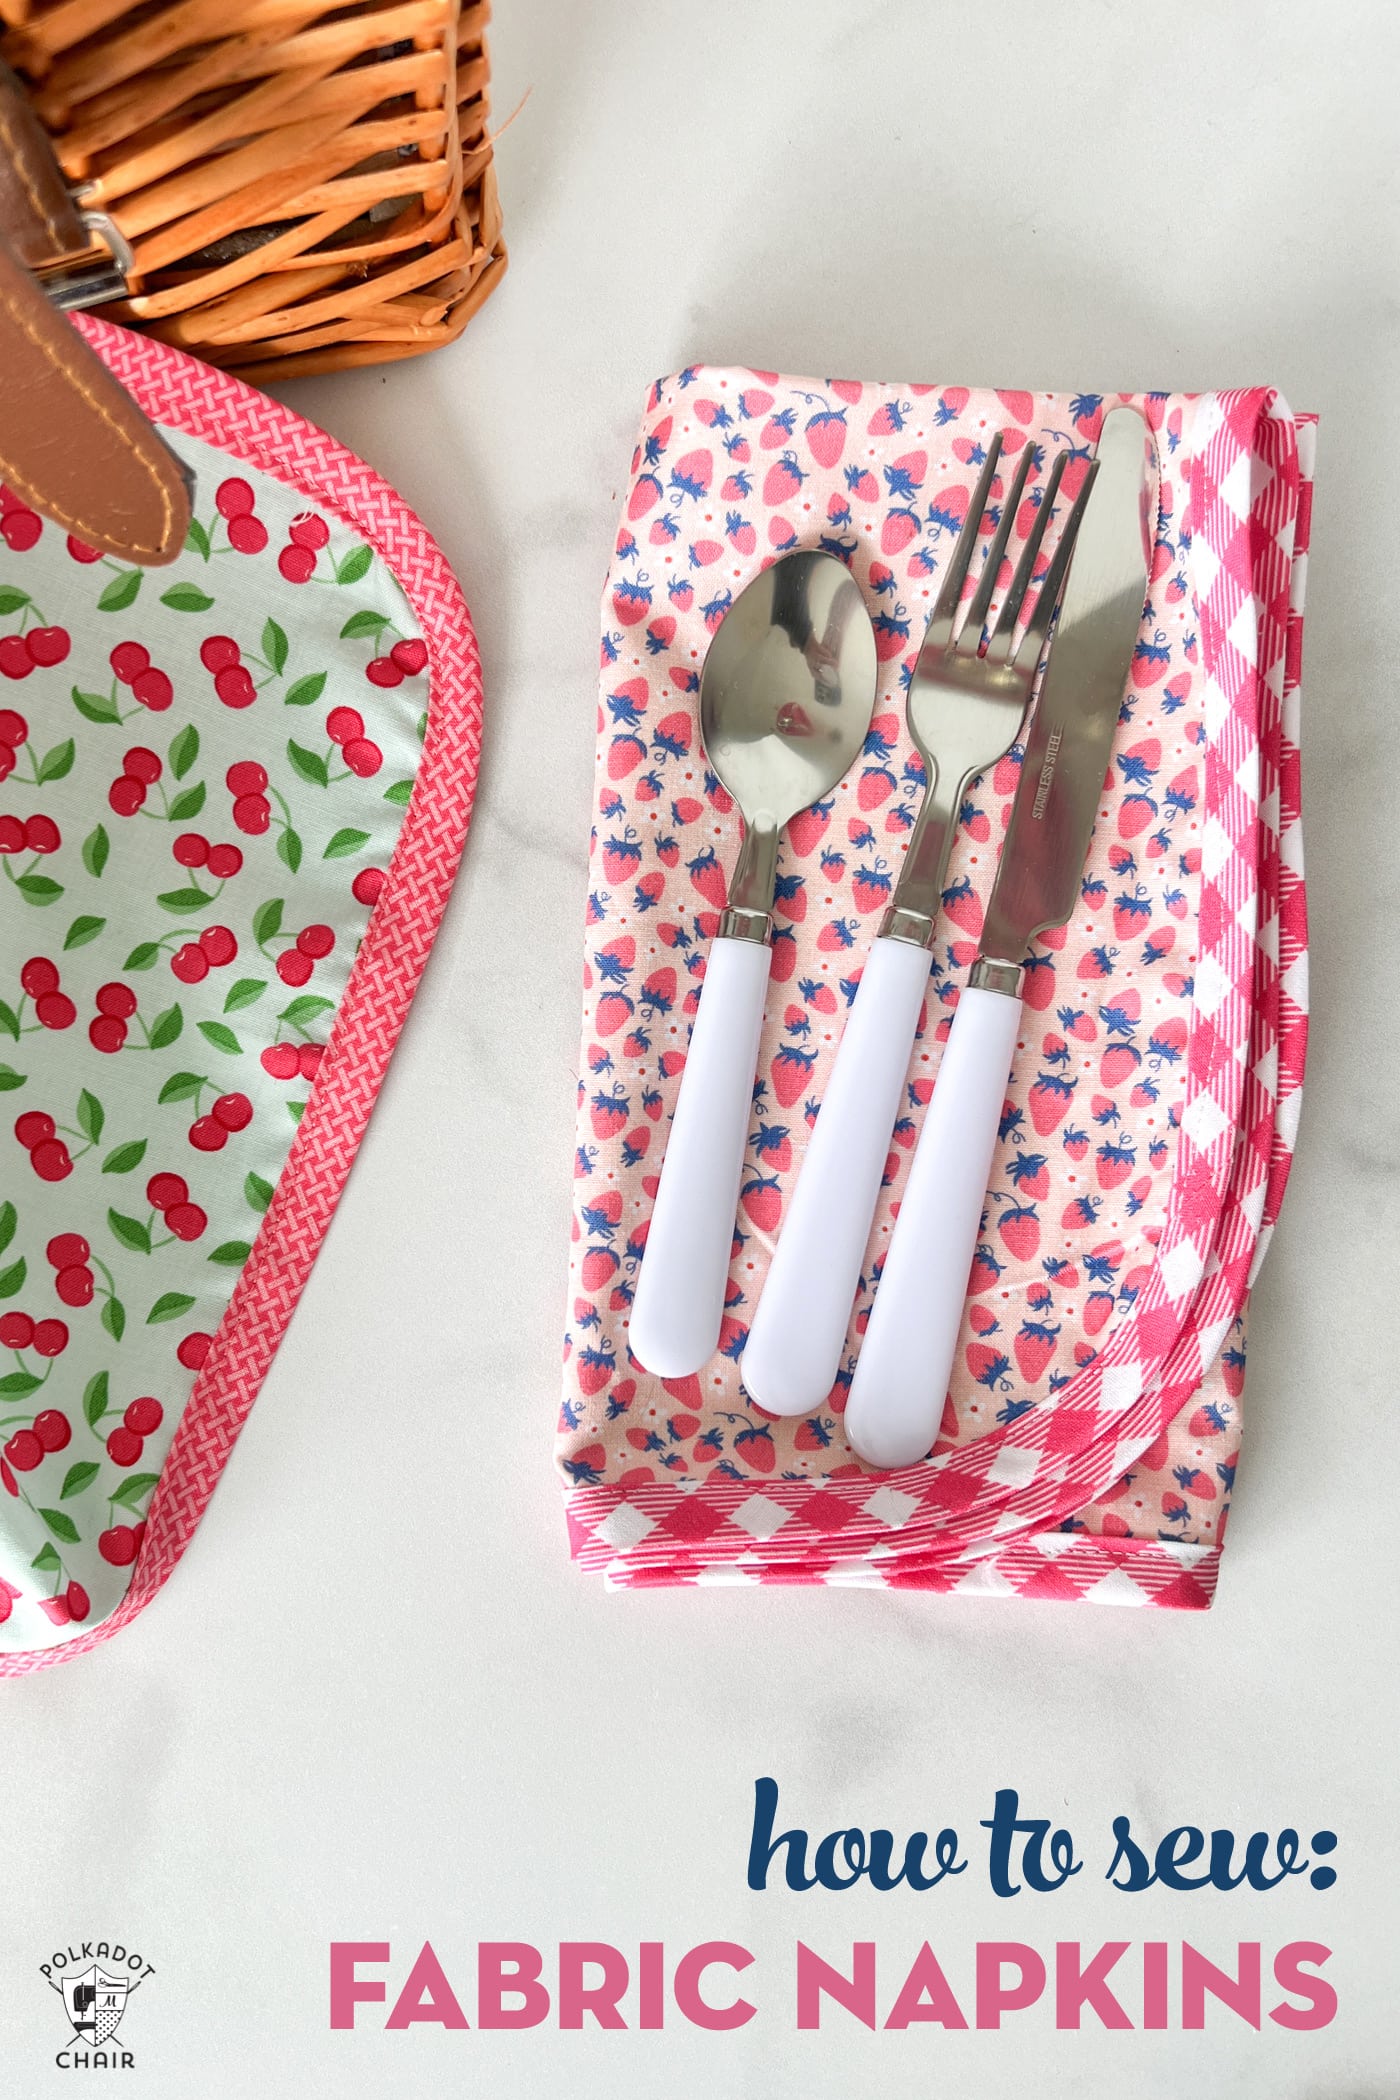
If you recently purchased a fat quarter of fabric and were wondering what you could make with it, I’ve got a fun tutorial to share with you today!
This project would also be a great way to use up a few left fat quarters left over from another project.
How to Make Fabric Napkins
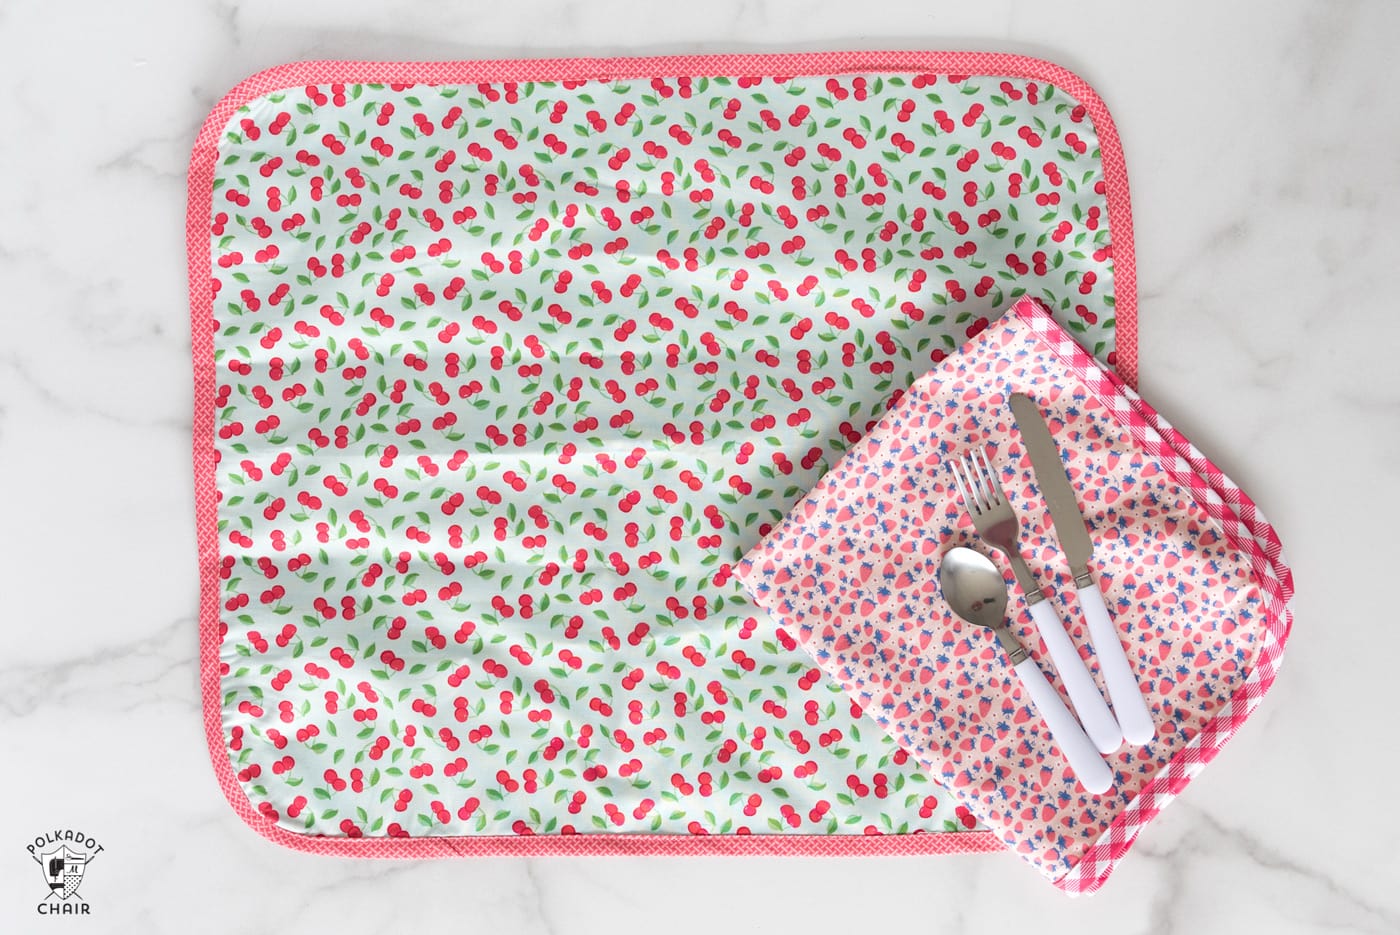
I love having a few small sets of “fancy” napkins to pull out for holidays or when we have friends over for dinner. Don’t get me wrong, 99% of the time, I’m a paper napkin person, but sometimes I like to mix it up a bit!
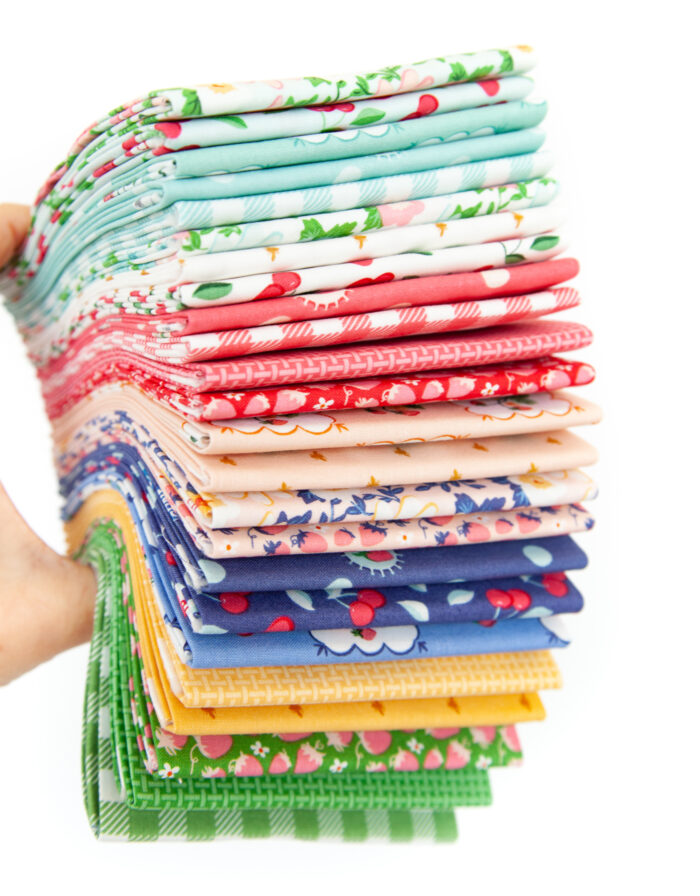
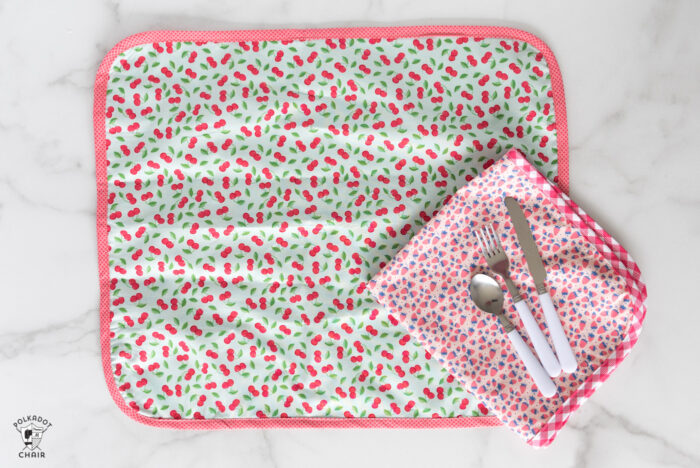
Since my Summer Picnic fabric collection was inspired by vintage linens, I thought it would be perfect use to create a set of fabric napkins perfect for summer. I added my napkins to our Picnic Basket, so they are ready for our next adventure.
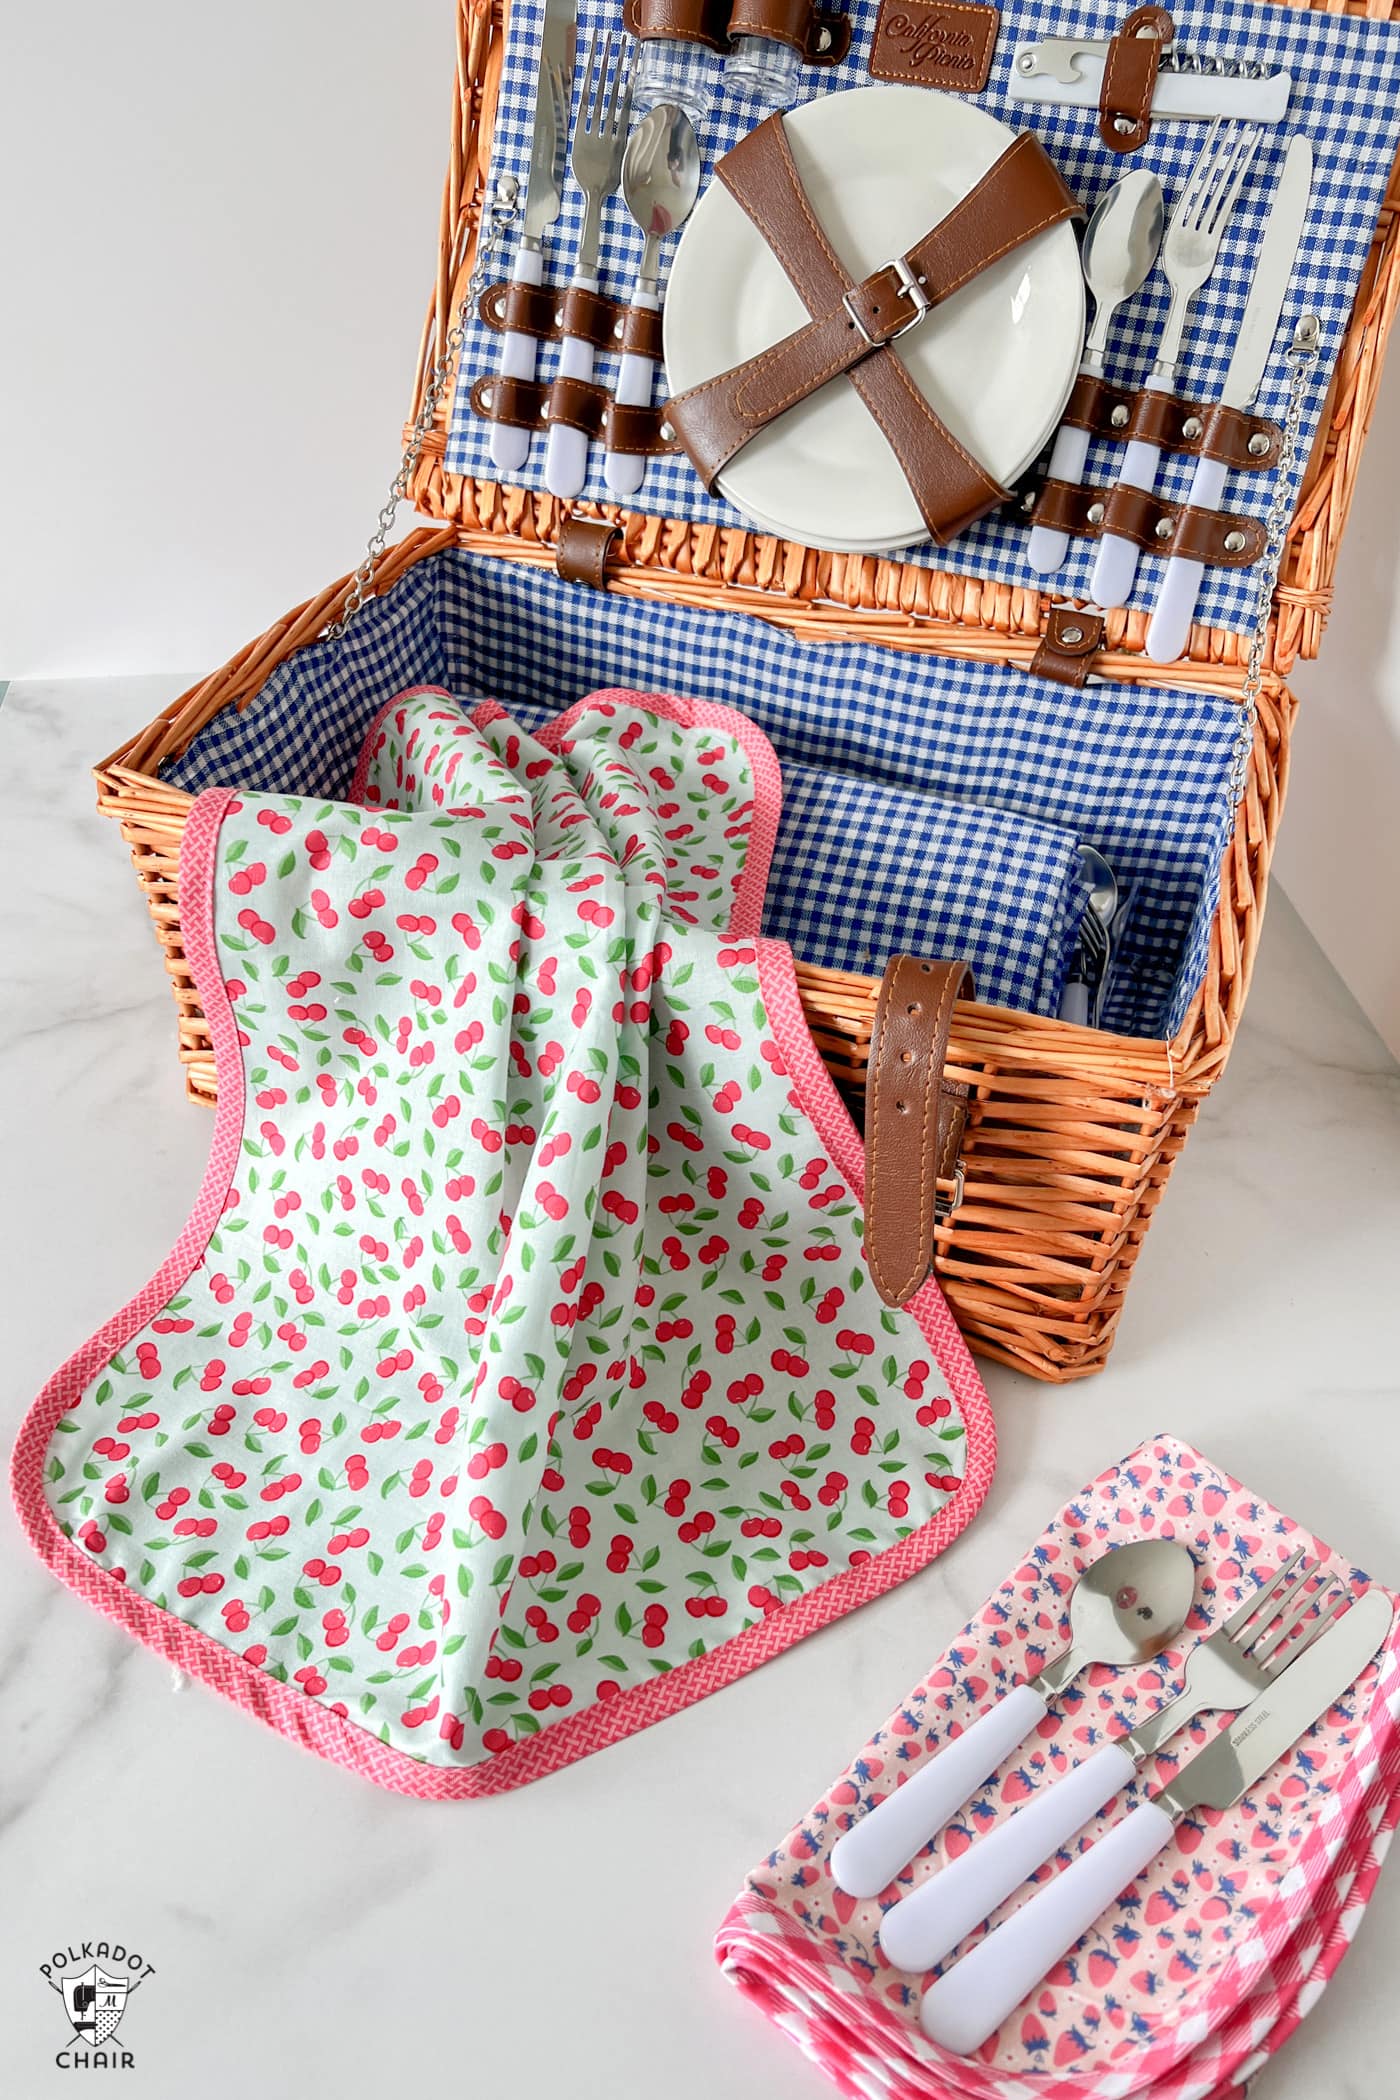
These napkins are one-sided and are finished with bias binding. I walk you through creating and sewing the bias binding in the instructions below.
What is a Fat Quarter?
A fat quarter of fabric is a quarter yard of fabric that is cut to yield an 18″ x 22″ piece of fabric rather than a 9″ x 44″ piece of fabric from a traditional cut. It is common to see pre-cut fat quarter packs of fabric for sale. Many designers write quilt patterns designed specifically for Fat Quarters.
Supplies for Fabric Napkins
- Fat Quarters of Summer Picnic Fabric
- 1″ Bias Tape Maker
- Iron
- Sewing Machine
- Curved Corner Ruler or round plate.
Why Bias Binding?
When fabric is cut at a 45-degree angle from the selvage edge, it is referred to as “cut on the bias”. Woven fabric stretches on the diagonal, so fabric cut on the bias will stretch around curves. Since these napkins have curved corners, the binding needs to be cut on the bias to stretch around the curves.
Video Instructions
If you’re not familiar with the process of creating bias tape from strips of fabric using a bias tape maker, I’ve created a short video walking you through the steps. (Note: there is no sound or voice on the video).
Instructions
Fat Quarter Napkin Sewing Pattern
Equipment
supplies
- 1 Fat Quarter Fabric for napkin
- 1 Fat Quarter Fabric for bias binding; you can get enough bias binding for approximately 2 napkins.
Instructions
Prep
- Iron your fat quarter and if necessary, trim off the selvage edge and straighten the edges.
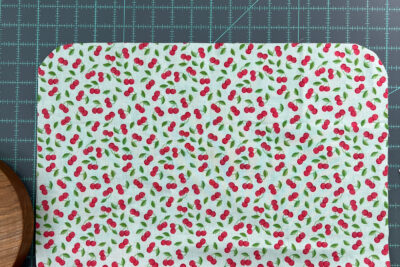
- Using a curved corner ruler, or other curved object, round all 4 corners of the fat quarter.
Create Bias
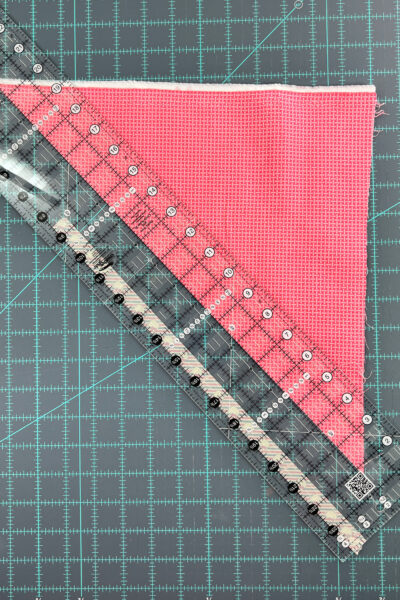
- Cut the fat quarter that is to be used for the bias binding at a 45 degree angle from the selvage edge.
- Using this angle as a guide, cut the fat quarter into strips each 2" wide.
- Sew the bias strips together at a 45 degree angle. Trim excess seam allowance and press.
- Run the bias strip through a 1" bias tape maker. I've included a video that shows you how to do this.
- Press the bias in half lenghtwise so that the raw fabric edges are facing in.
Sew to the Napkin
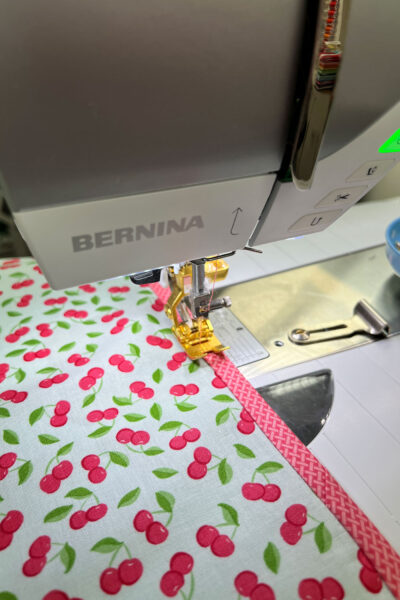
- Open up the bias tape and place the raw edge of one side of the tape flush with the edge of the napkin. Sew the bias tape to the napkin, right sides facing close to the 1st fold in the bias.
- When you get to the end, join the bias ends.
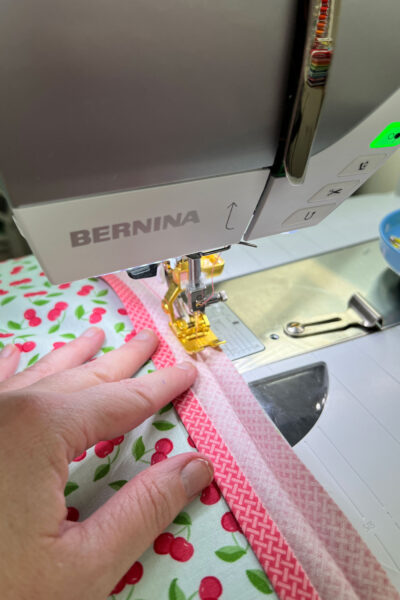
- Refold the bias so that it covers the raw edge of the napkin. On the right side of the fabric, stitch it in place close to the fold in the bias. Make sure to catch the bias on the back of the napkin as well.
Video
