3 Simple and Creative Gift Wrap Ideas
Christmas is just over a week away!! Are you ready?? I thought I’d pop in here and quickly share with you some simple and creative gift wrap ideas to help you finish up your Christmas gift giving. This post is sponsored by Hobby Lobby.
This year our family will be in Utah for Christmas (hello White Christmas!!!), I’m quite excited but also stressed about getting everything done before we leave. This has “forced” to be more organized than normal and finish most of my Christmas gift creating and wrapping earlier than usual (and by “usual” I mean 10pm Christmas Eve).
I’m down to just a few gifts to make before I hop on a plane, and am feeling “pretty okay” about the whole prep situation this year. I started earlier and it seems to have paid off, only time will tell.
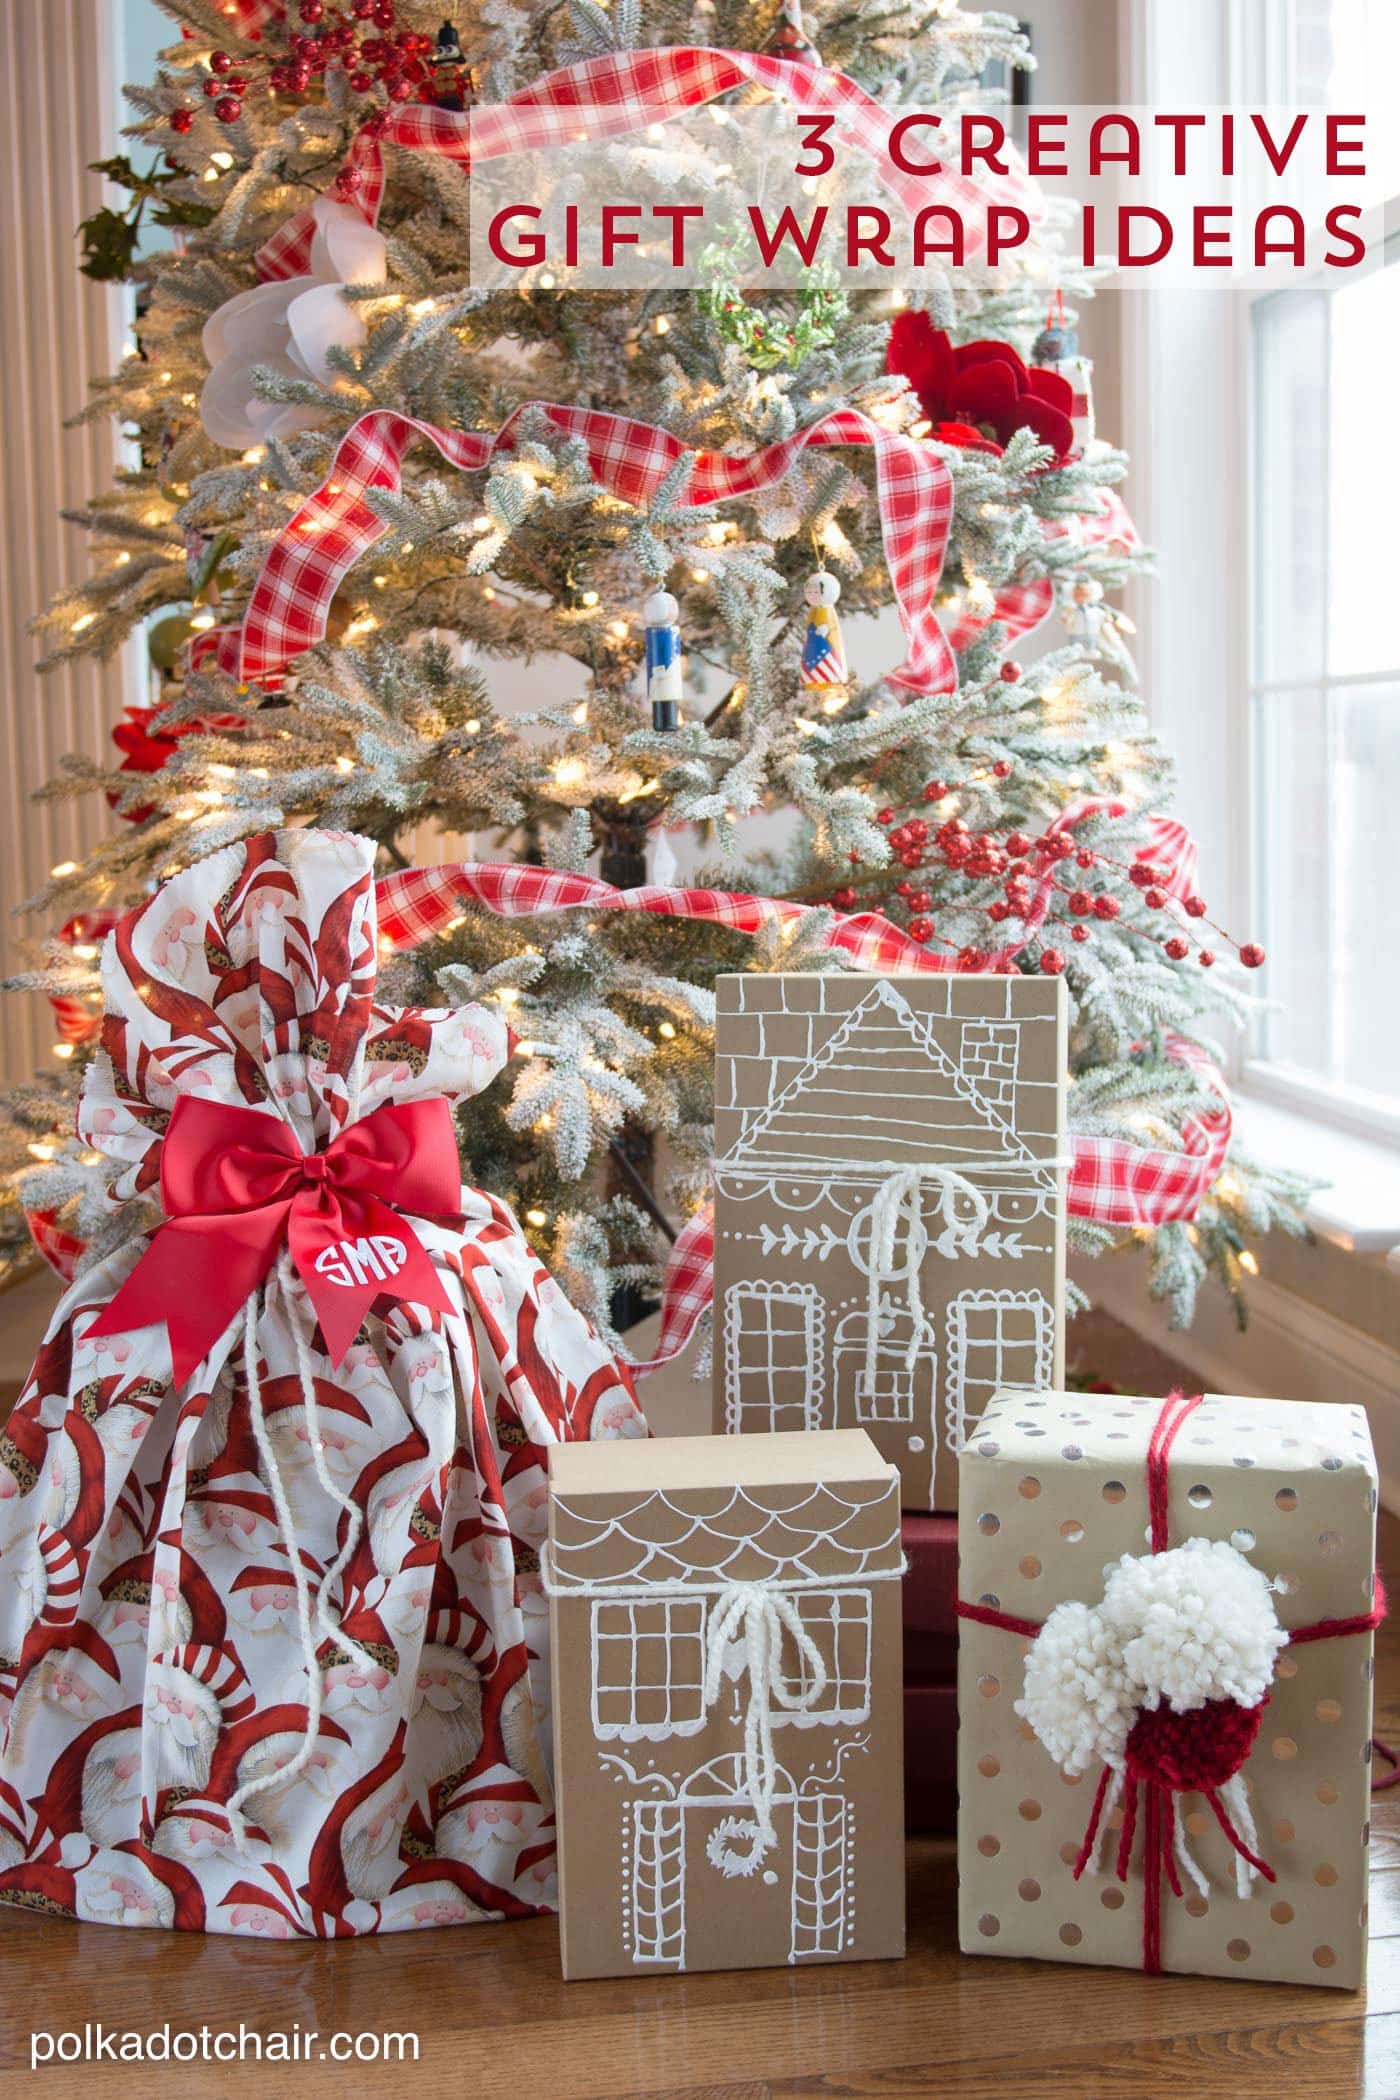
I headed over to my local Hobby Lobby last week looking for creative inspiration so that I could wrap the gifts I have already made before I leave. Since it’s “crunch time” I thought I’d share with you 3 of the simple and creative gift wrap ideas that I came up with after my trip to the store. A couple are craft projects and one is a very simple sewing project.
Idea #1:
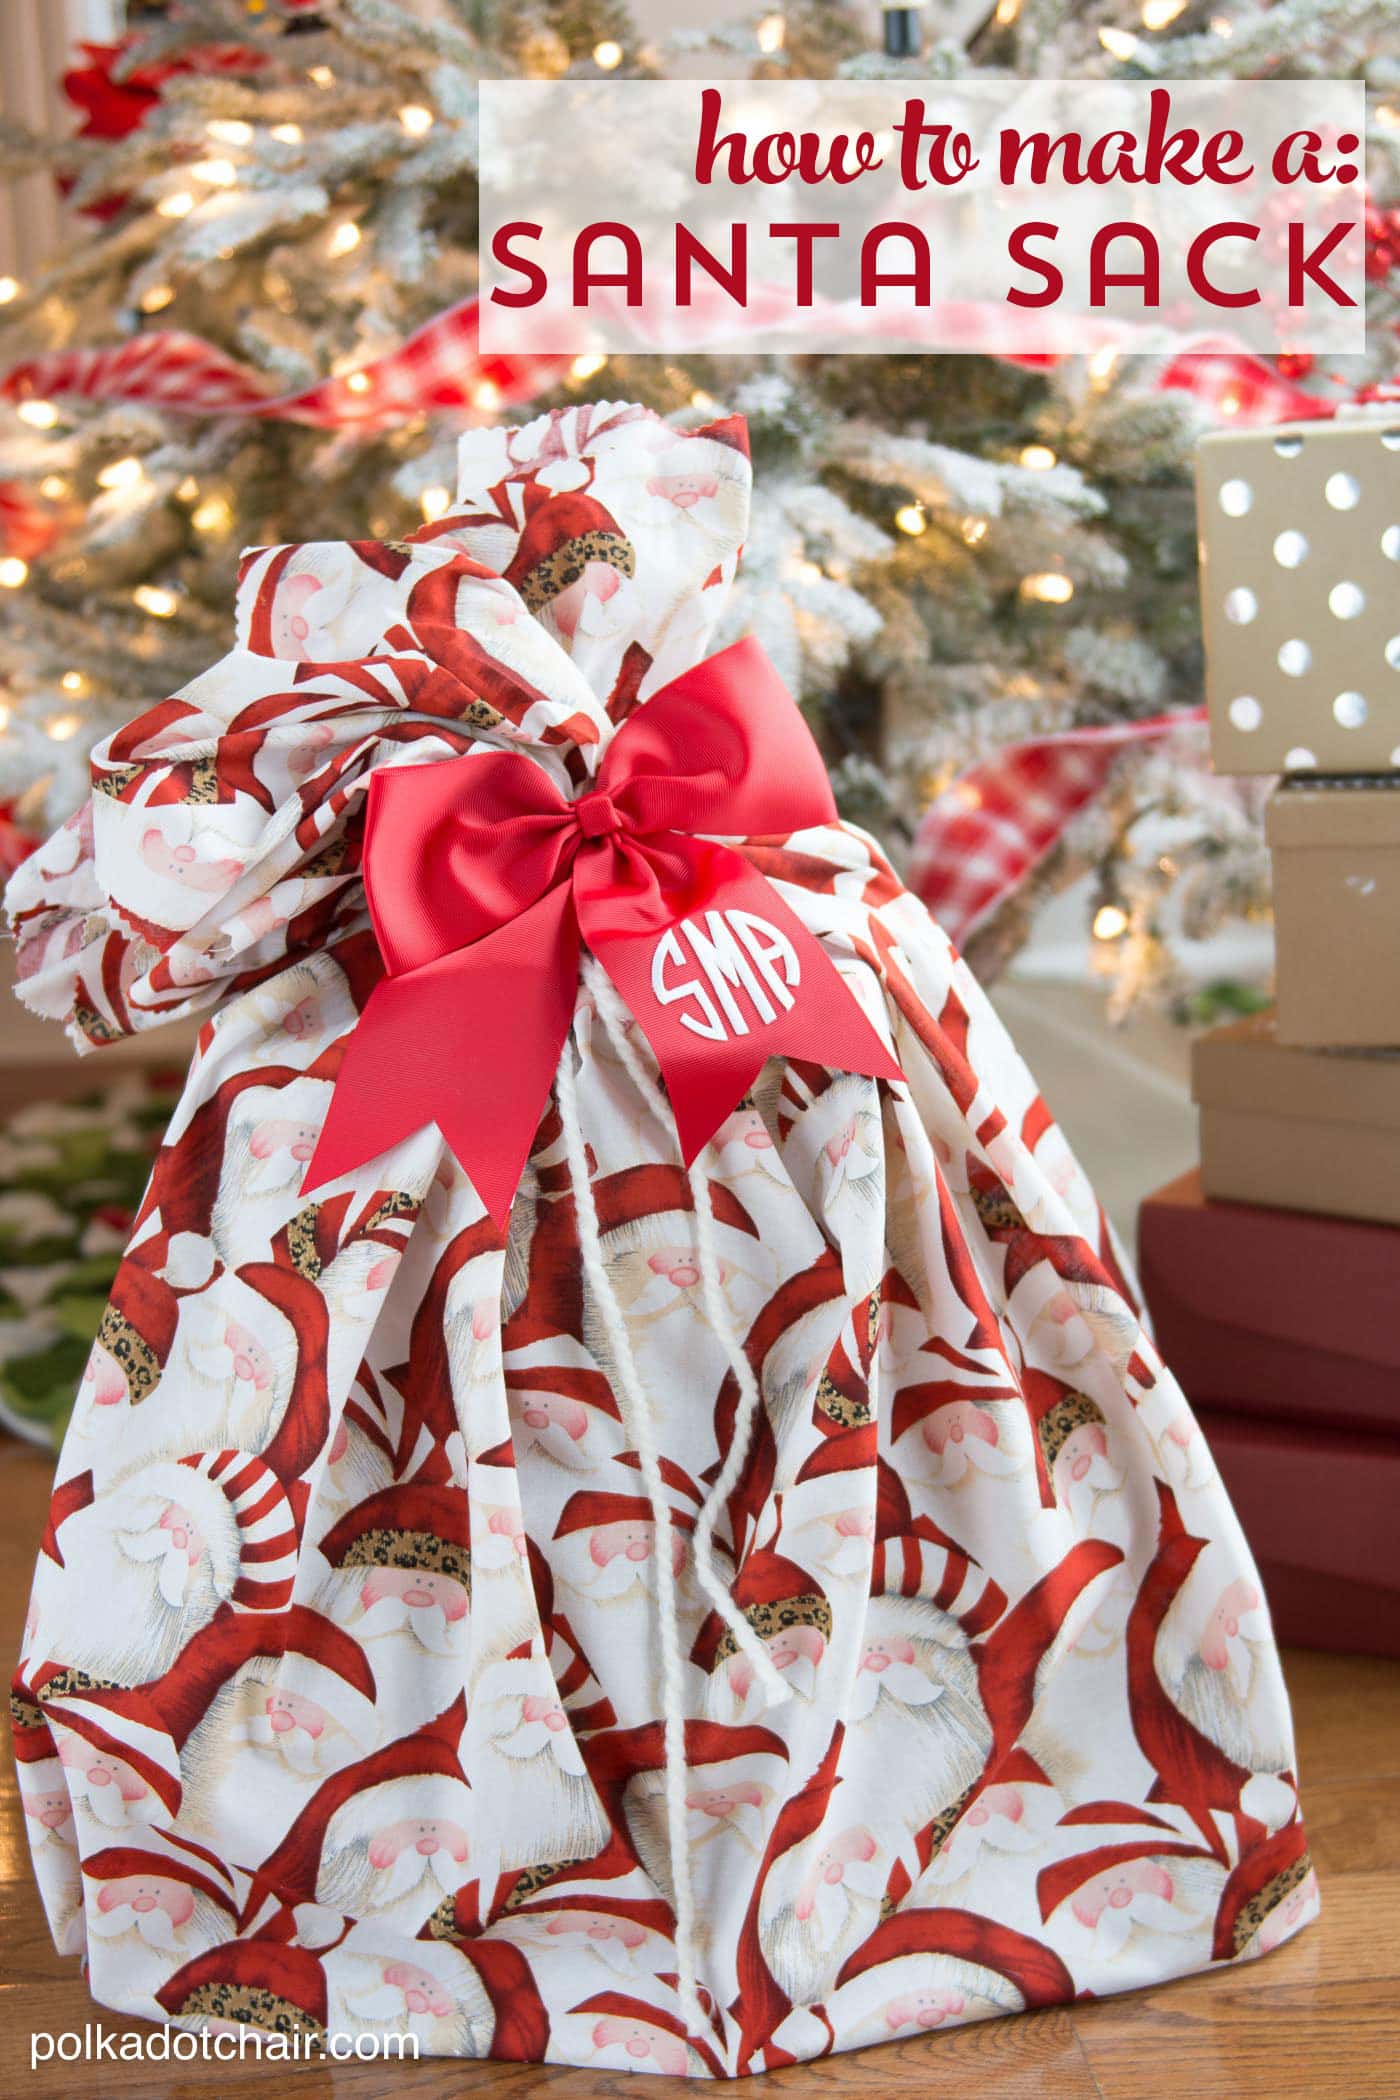
How to Sew a Santa Sack
I didn’t realize until a few years ago that whether or not Santa wraps his gifts BEFORE he delivers them to your house can be quite a contentions subject. He never wrapped them when I was a child, and hasn’t wrapped them for my kids. I learned recently that if the parents request it he will deliver wrapped gifts on Christmas Eve *wink*.
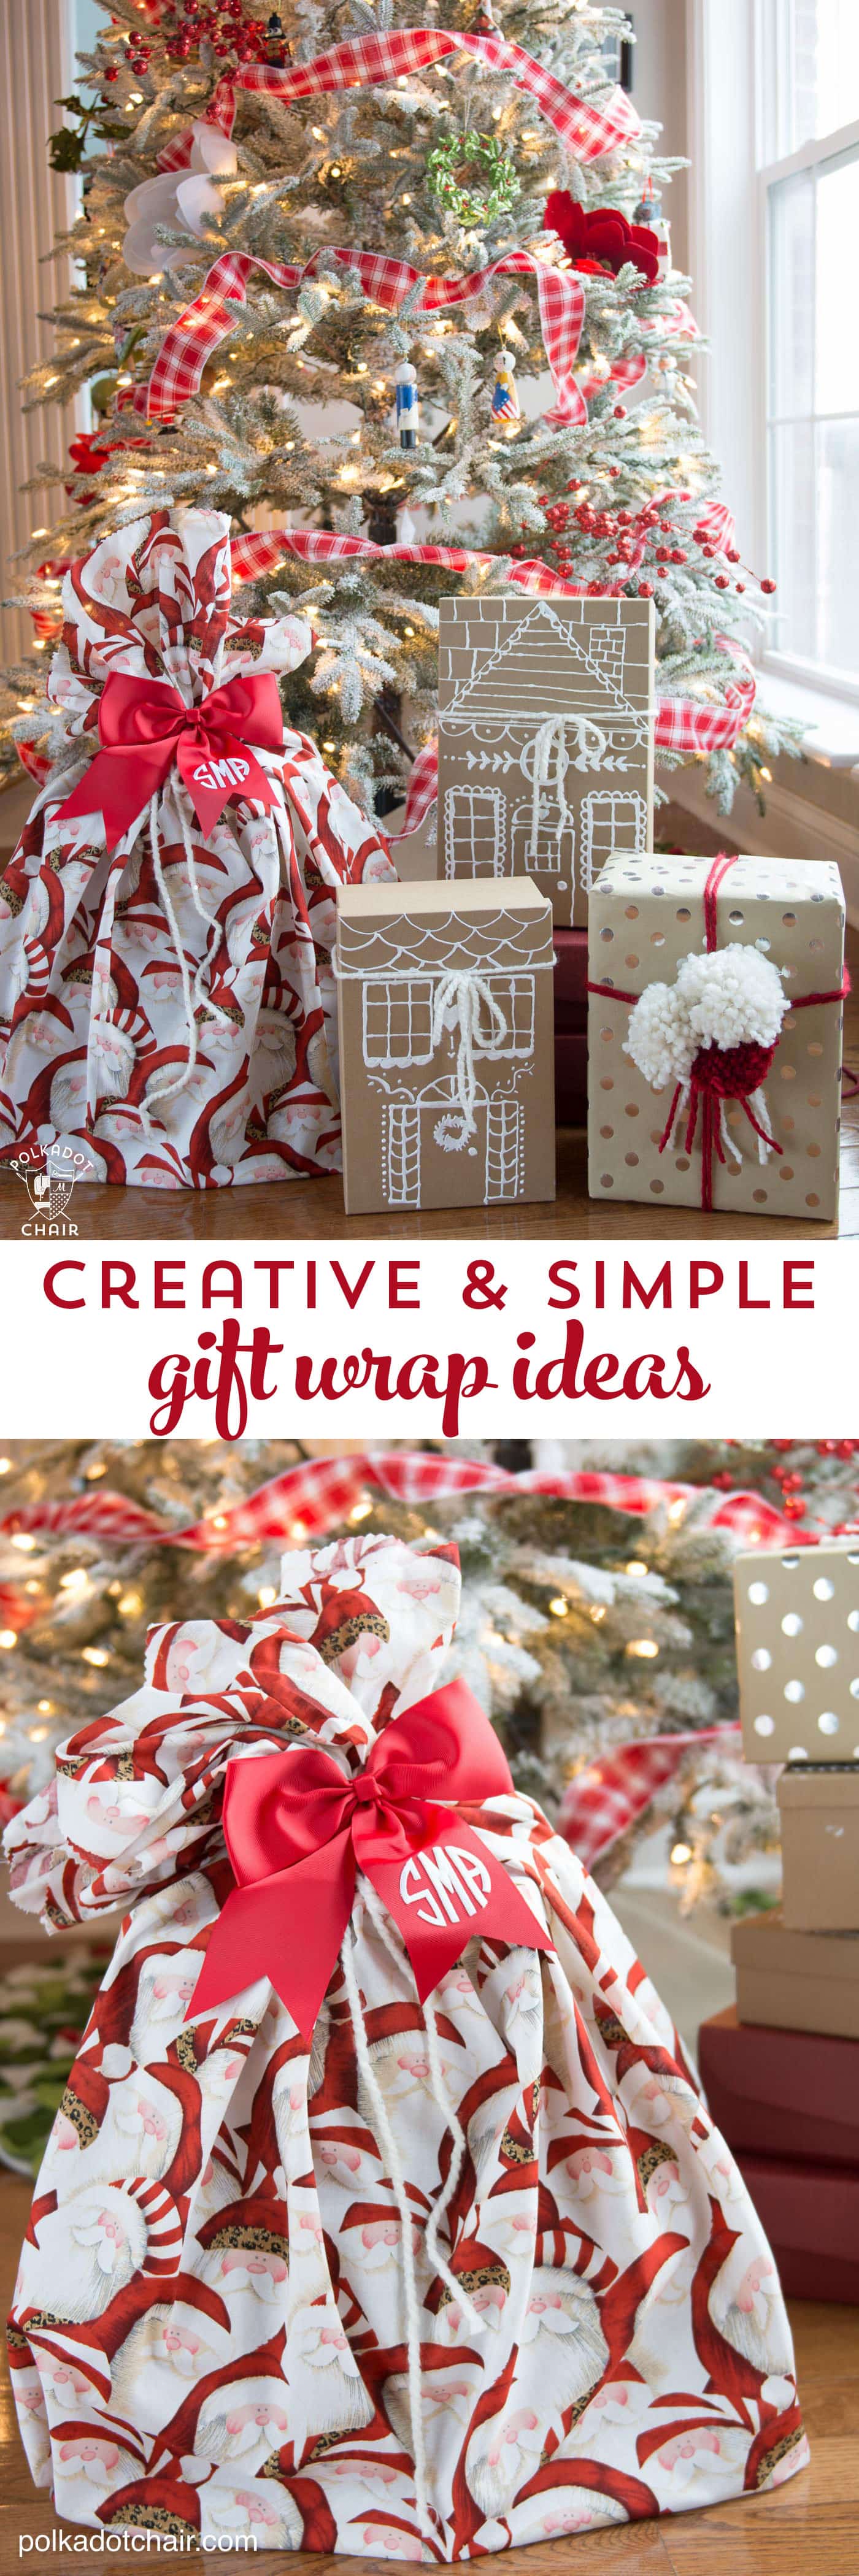
As we all know, sometimes the things we gift (or the things Santa brings) don’t always fit in rectangular boxes, and a bit of creativity is required at times. A DIY Santa sack is a great way to wrap an unusually sized gift, and since it’s made from fabric it can be used year after year. I know some families that leave the sacks out every year so that Santa can fill them.
I have an embroidery sewing machine, but I know that many of you don’t, and i was trying to think of a creative way to add a name or monogram to the front of the bag (so you know who’s bag is who’s on Christmas morning).
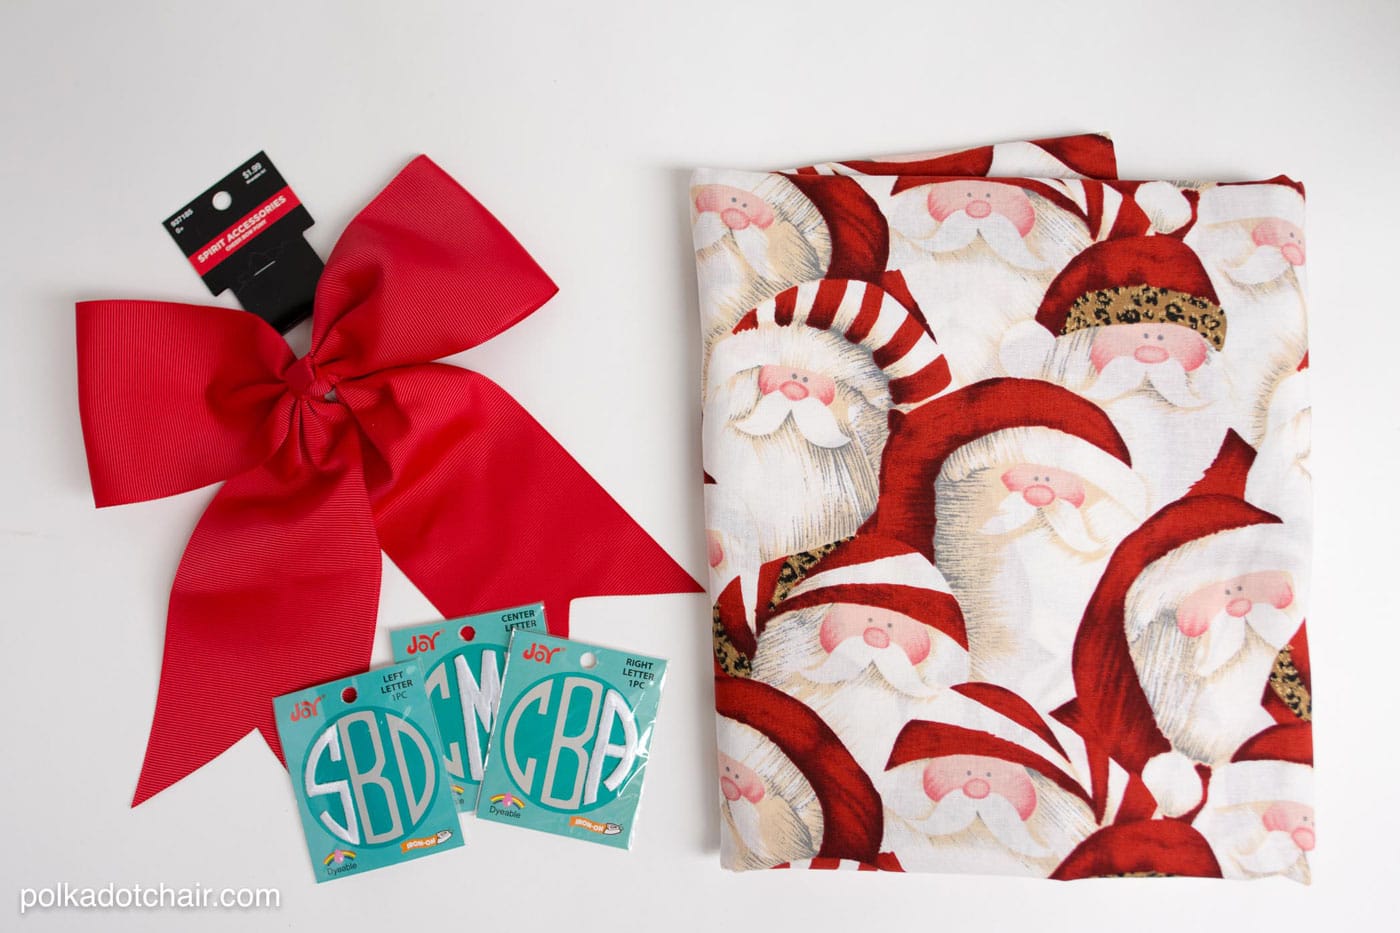
I was browsing the aisle of my local Hobby Lobby (don’t you just love that place?, I could spend hours in there) and spotted some giant cheer bows on the end cap. Right next to them were some iron on monogram letters. How genius is that?? Simple, easy monograms!
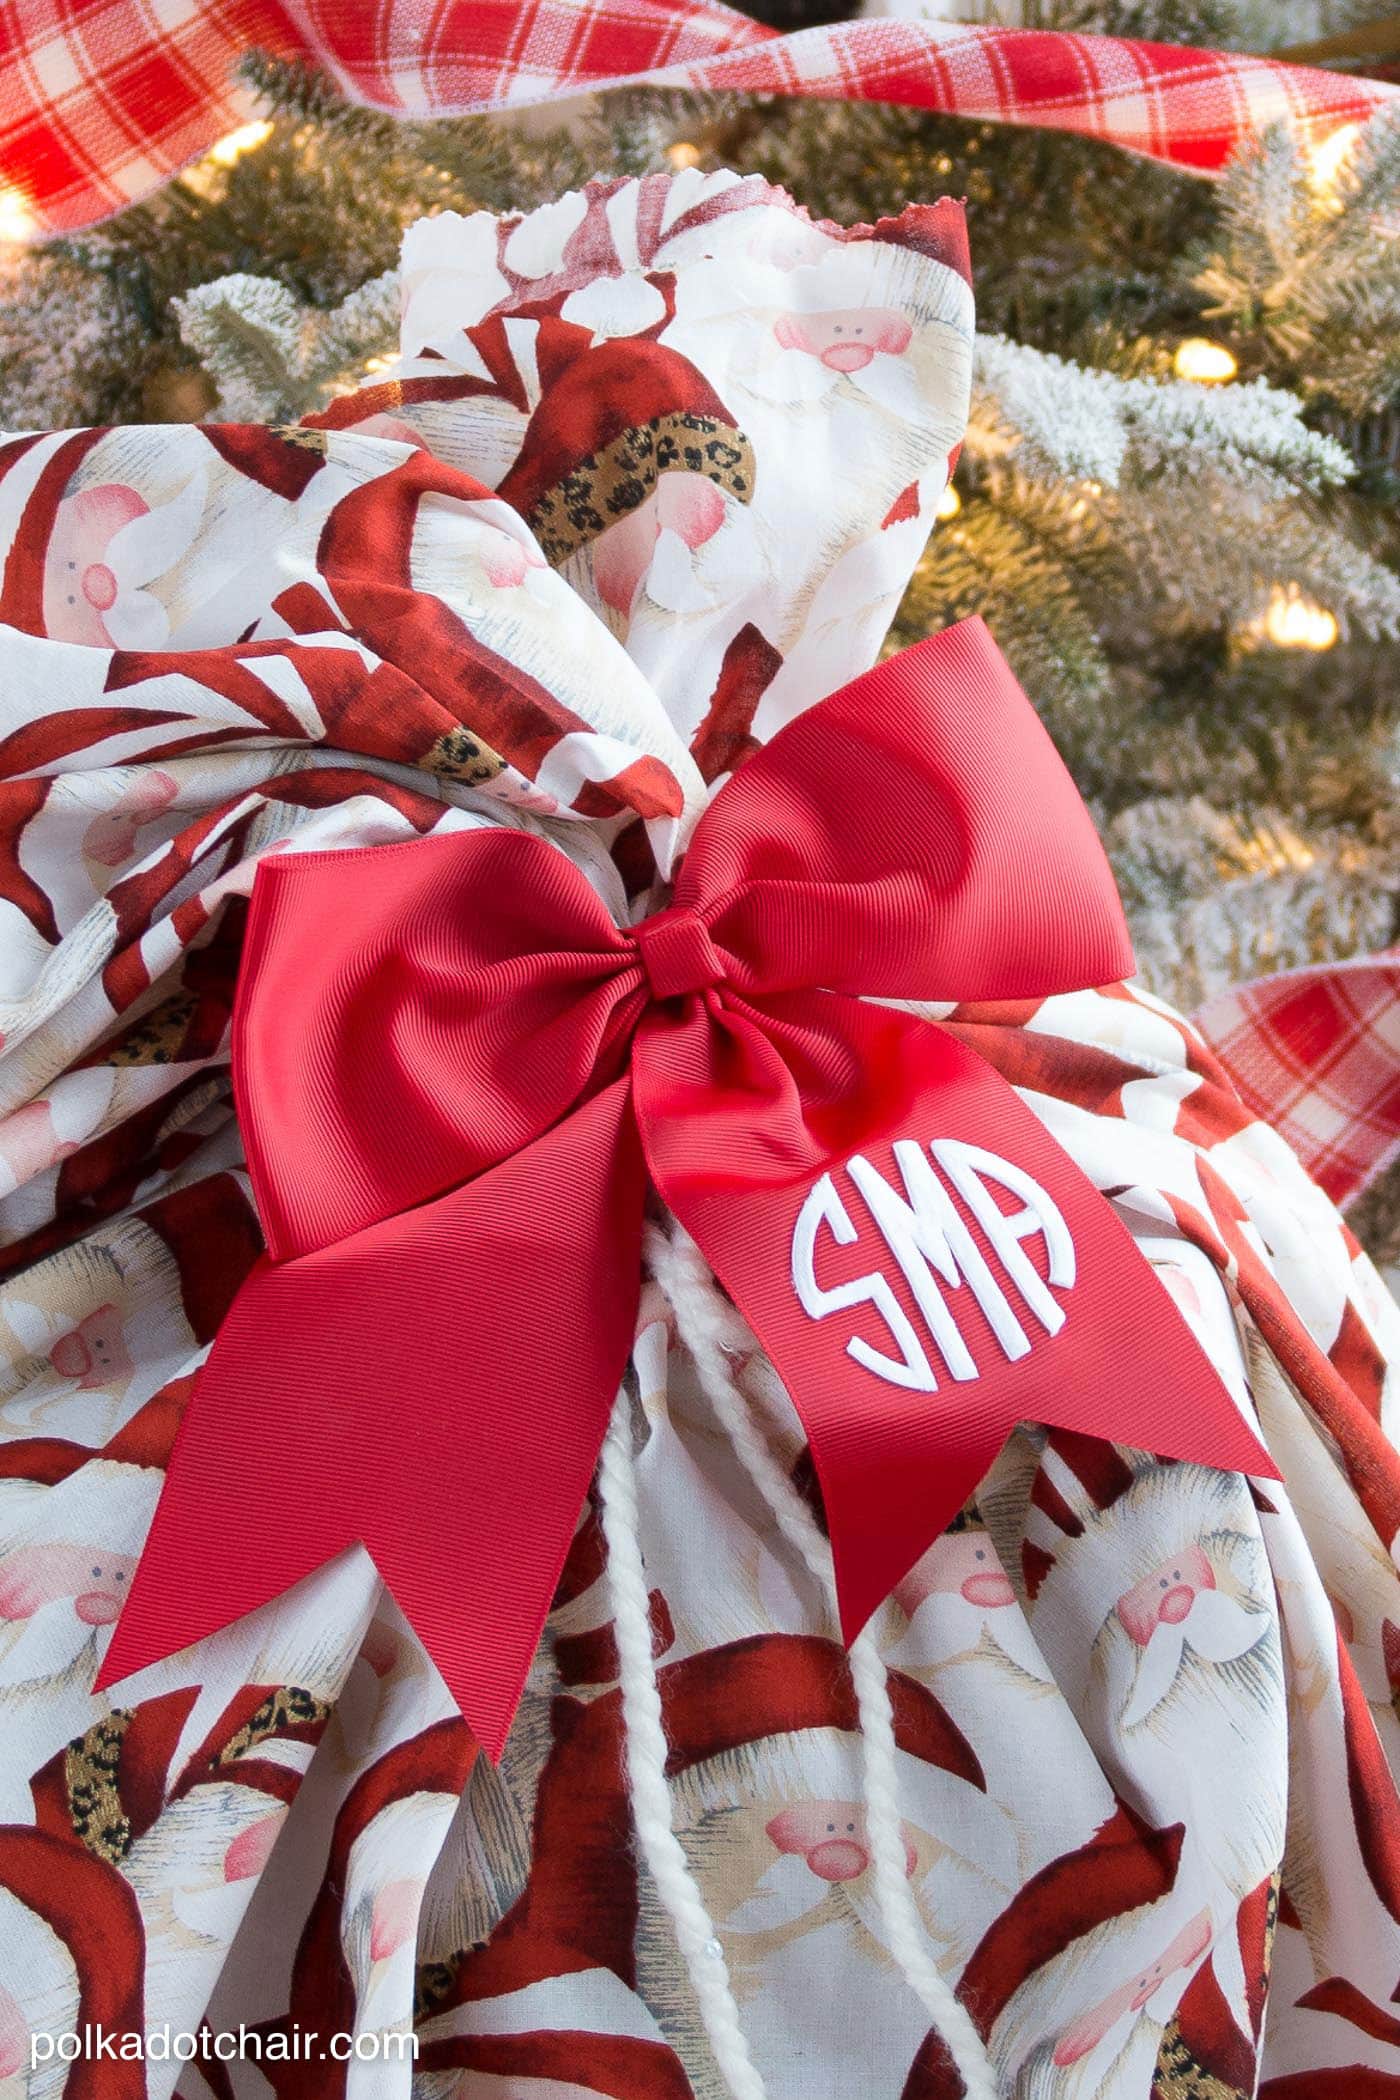
I picked up the letters that I needed and when I got home I simply ironed the letters onto the giant bow.
To make the sack you’ll need:
2 yards of fabric (mine was purchased at Hobby Lobby)
Pinking Shears or Pinking blade for your rotary cutter
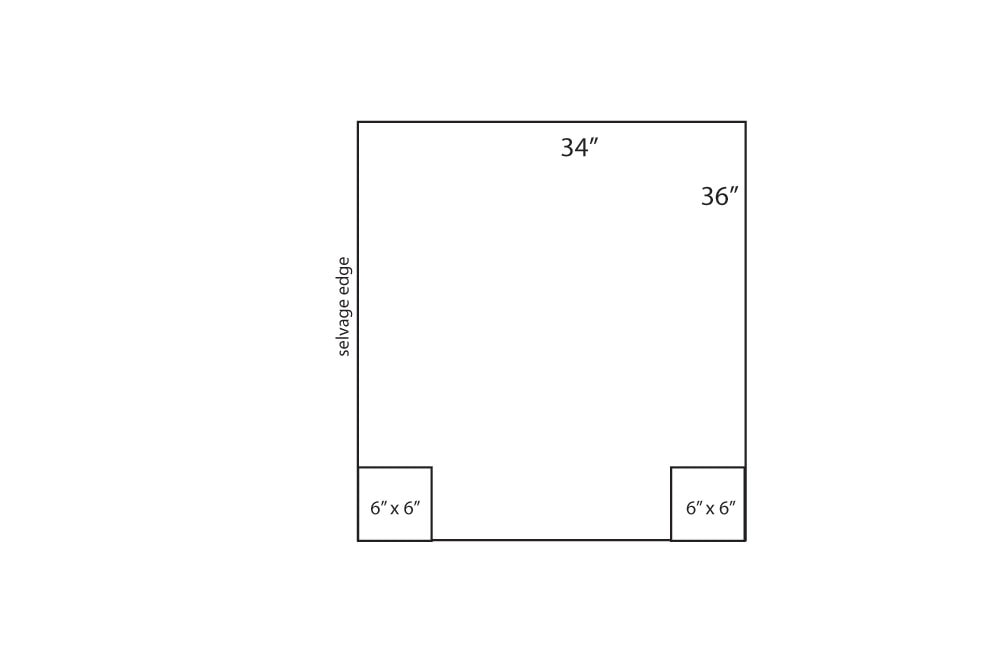
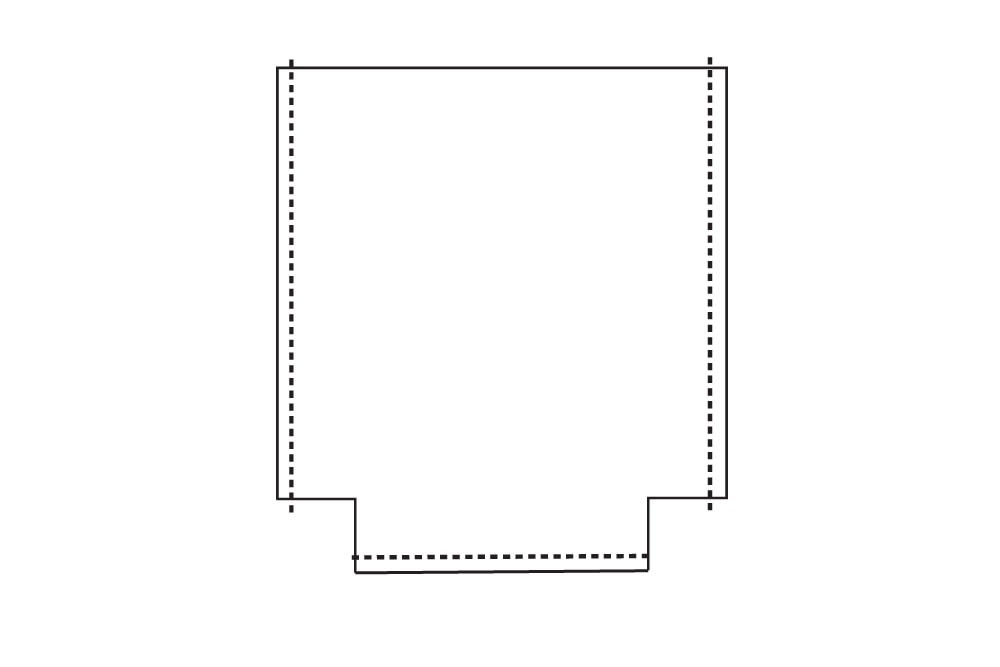
Cut the fabric into two pieces each 36″ long by 34″ tall, to get two pieces of fabric this size you’ll need to unfold the fabric and cut the 36″ from the length of the fabric and the 34″ from the width.
Next, cut out a 6″ x 6″ square from the bottom two corners of both pieces of fabric.
Stitch the two pieces right sides facing as shown in the illustration (seam allowance is 5/8″).
Press seams open.
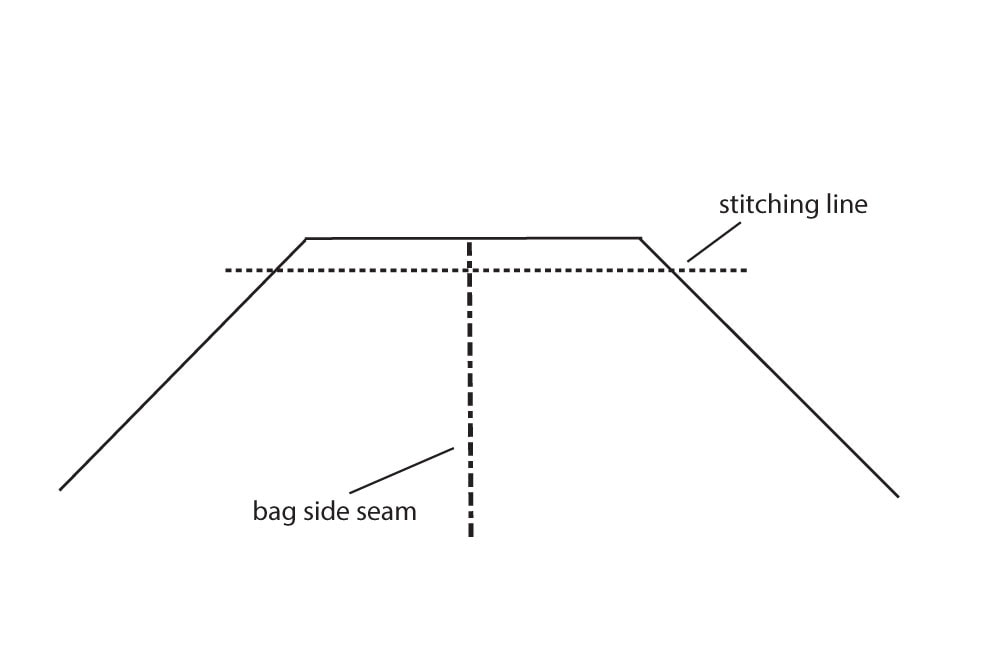
Pinch the bottom corner so that the side seam of the bag is on top of the bottom seam of the bag and the edges of the square that you cut out line up (right sides of the fabric are facing). Stitch with a 5/8″ seam allowance. Repeat for other bottom corner.
To finish, trim the edge of the bag with pinking shears (or blade) to prevent fraying.
The last step is to simply close the bag using the monogrammed bow.
Idea #2:
DIY Gingerbread House Gift Boxes
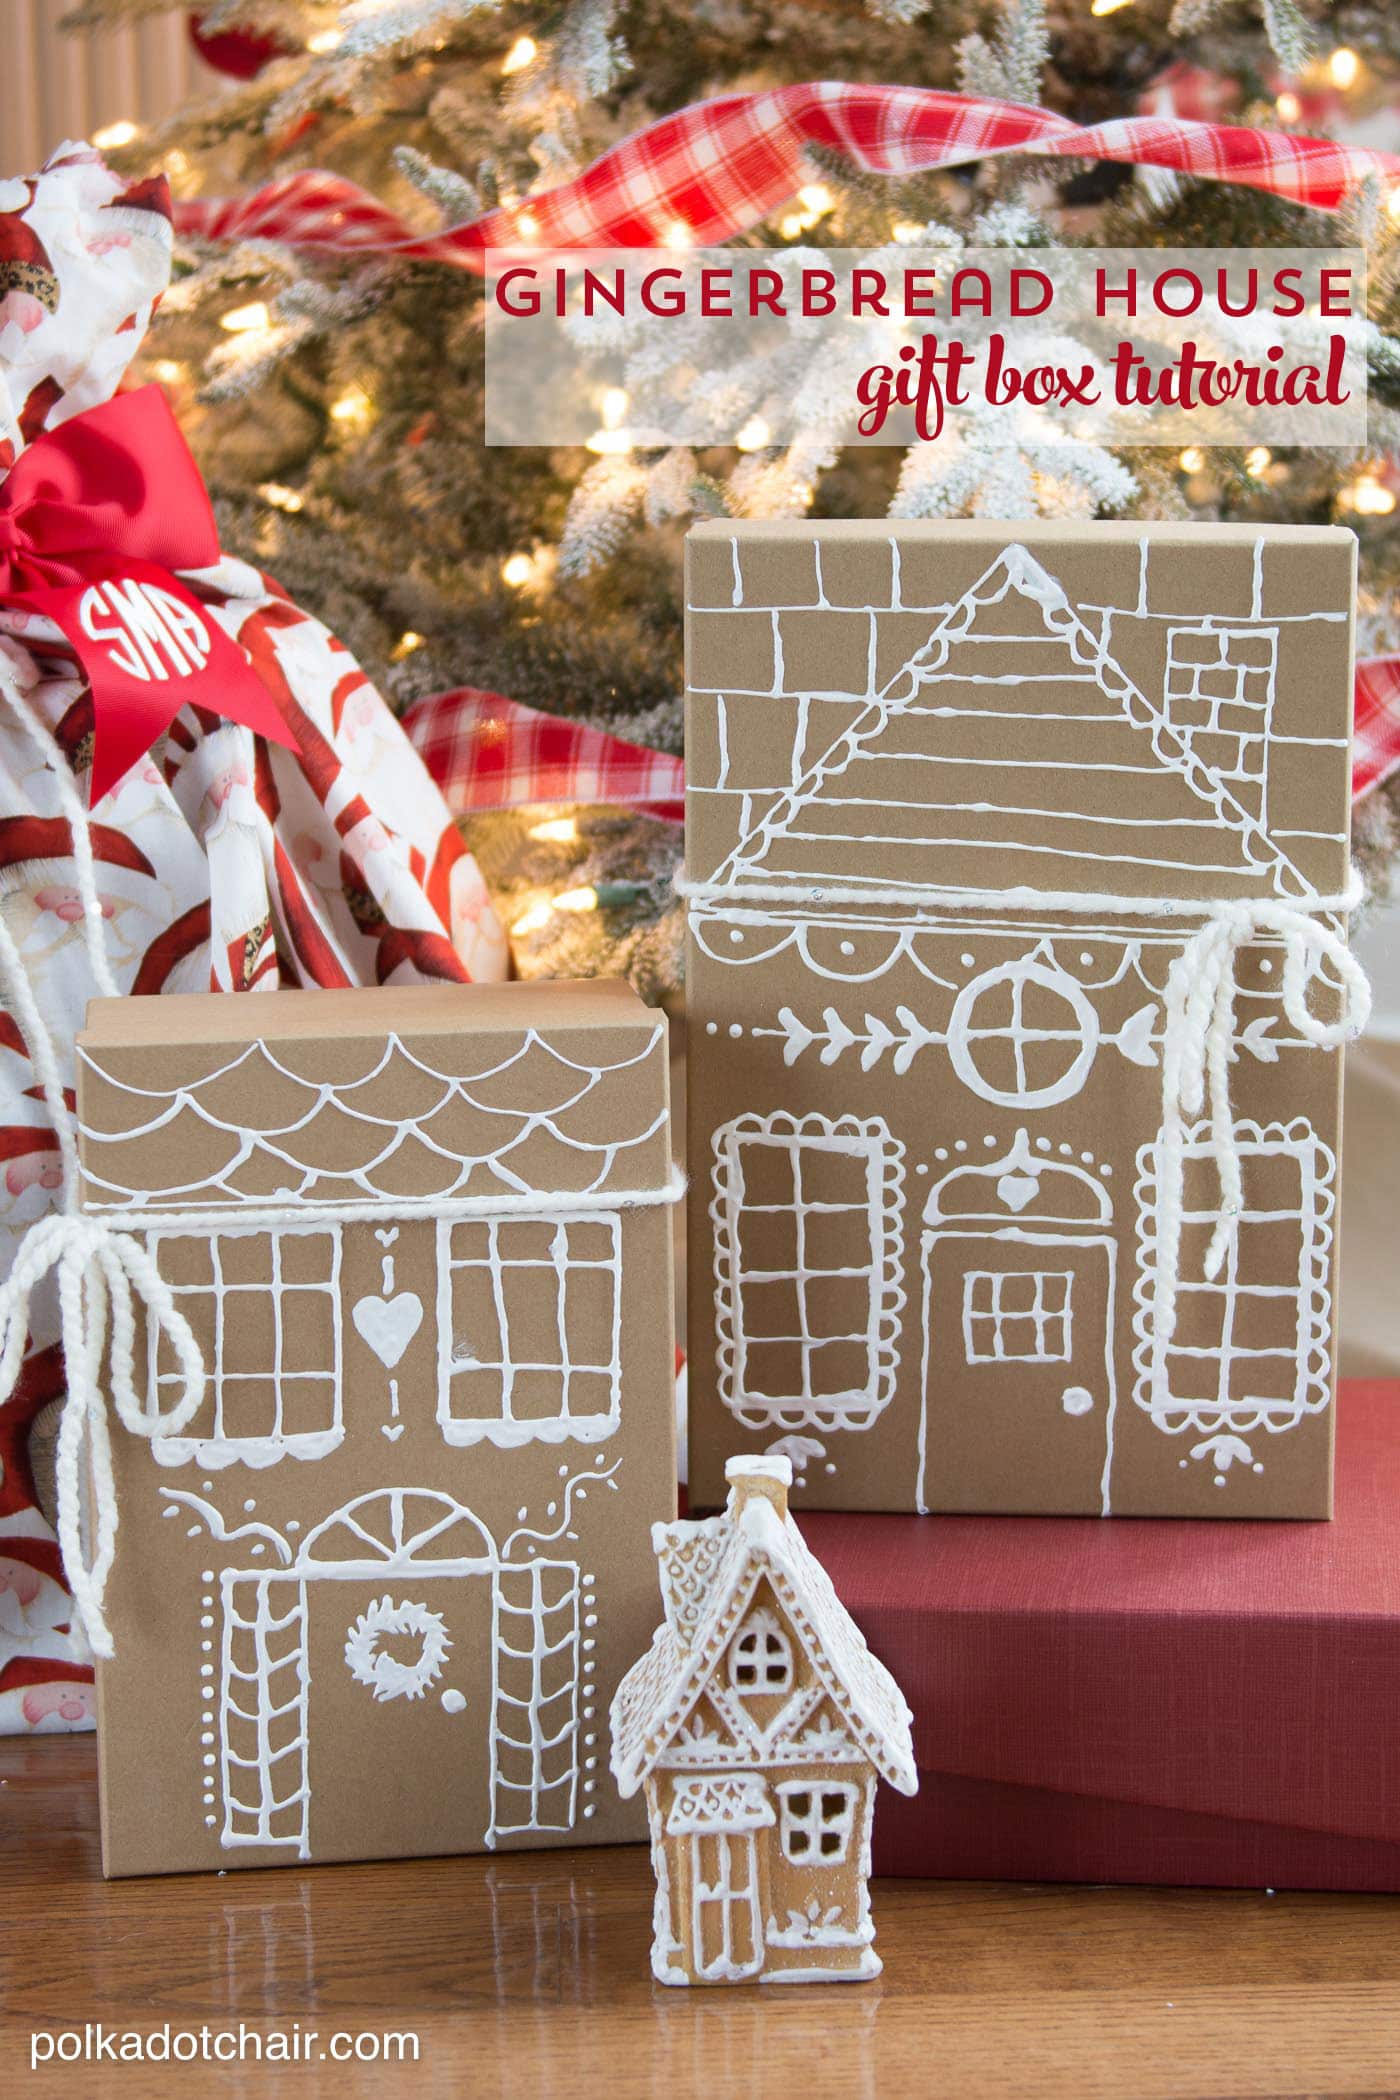
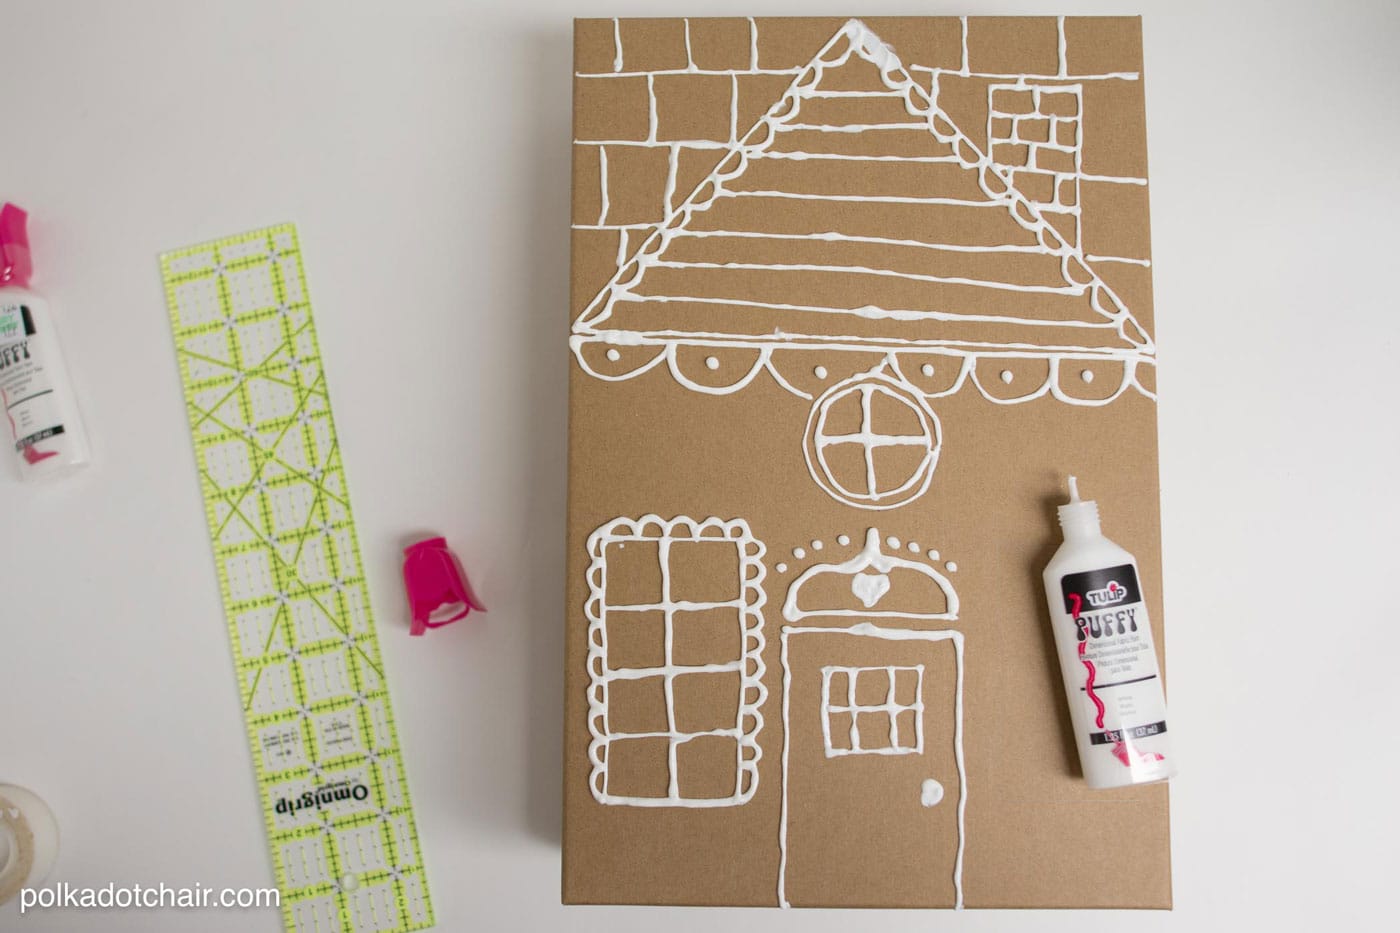
Also at Hobby Lobby I spied an entire wall of kraft gift boxes. I think they were meant to be painted or used for wrapping, but I thought it would be cute to decorate them to look like Gingerbread Houses.
This would be a great project to do with your kids too!
You’ll need:
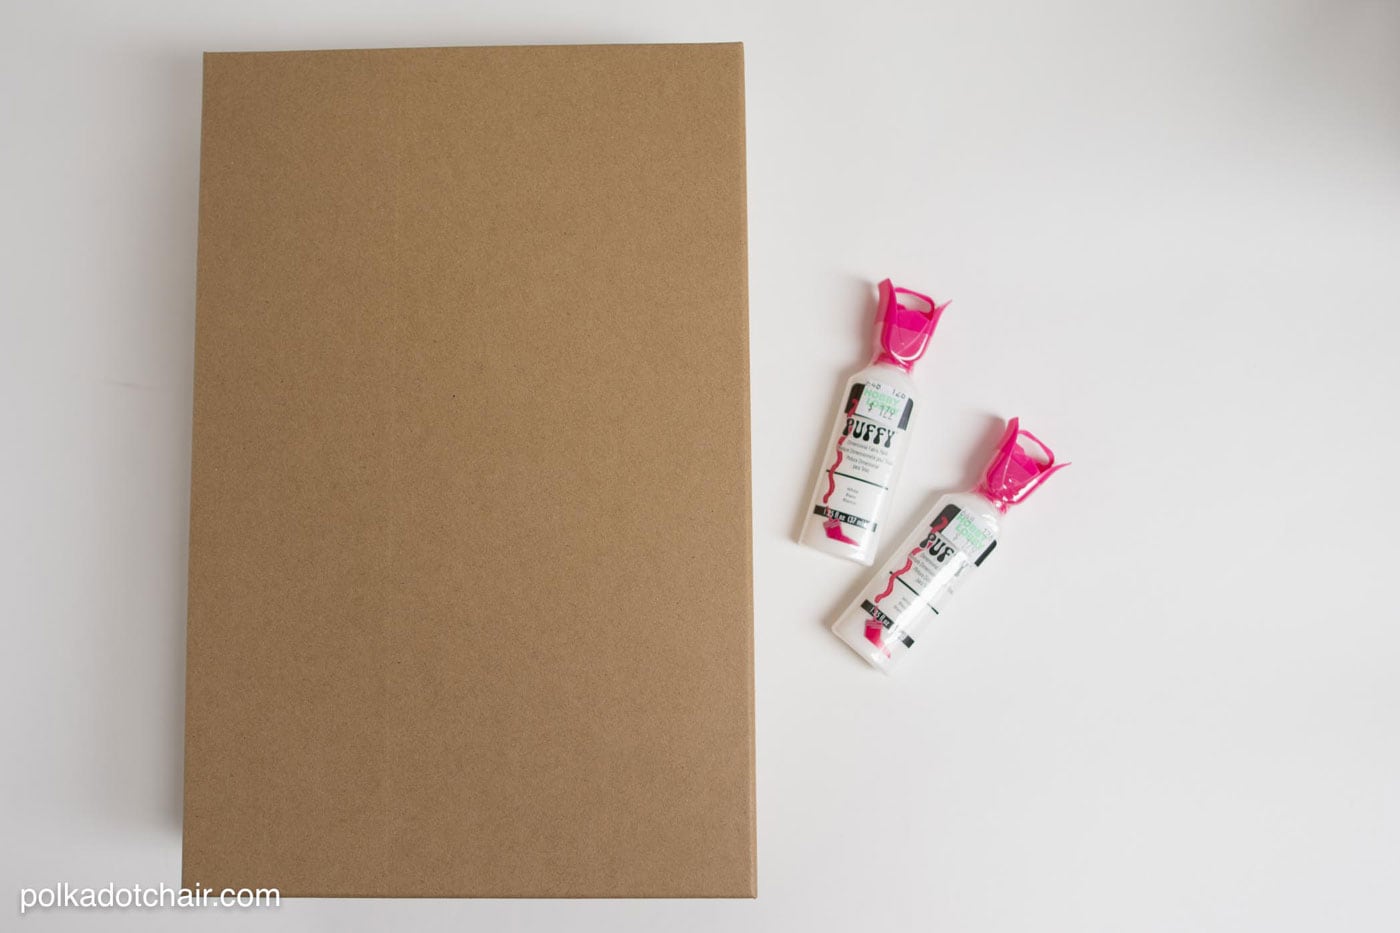
Kraft Colored Box
Puff Paint
Pencil
Ruler
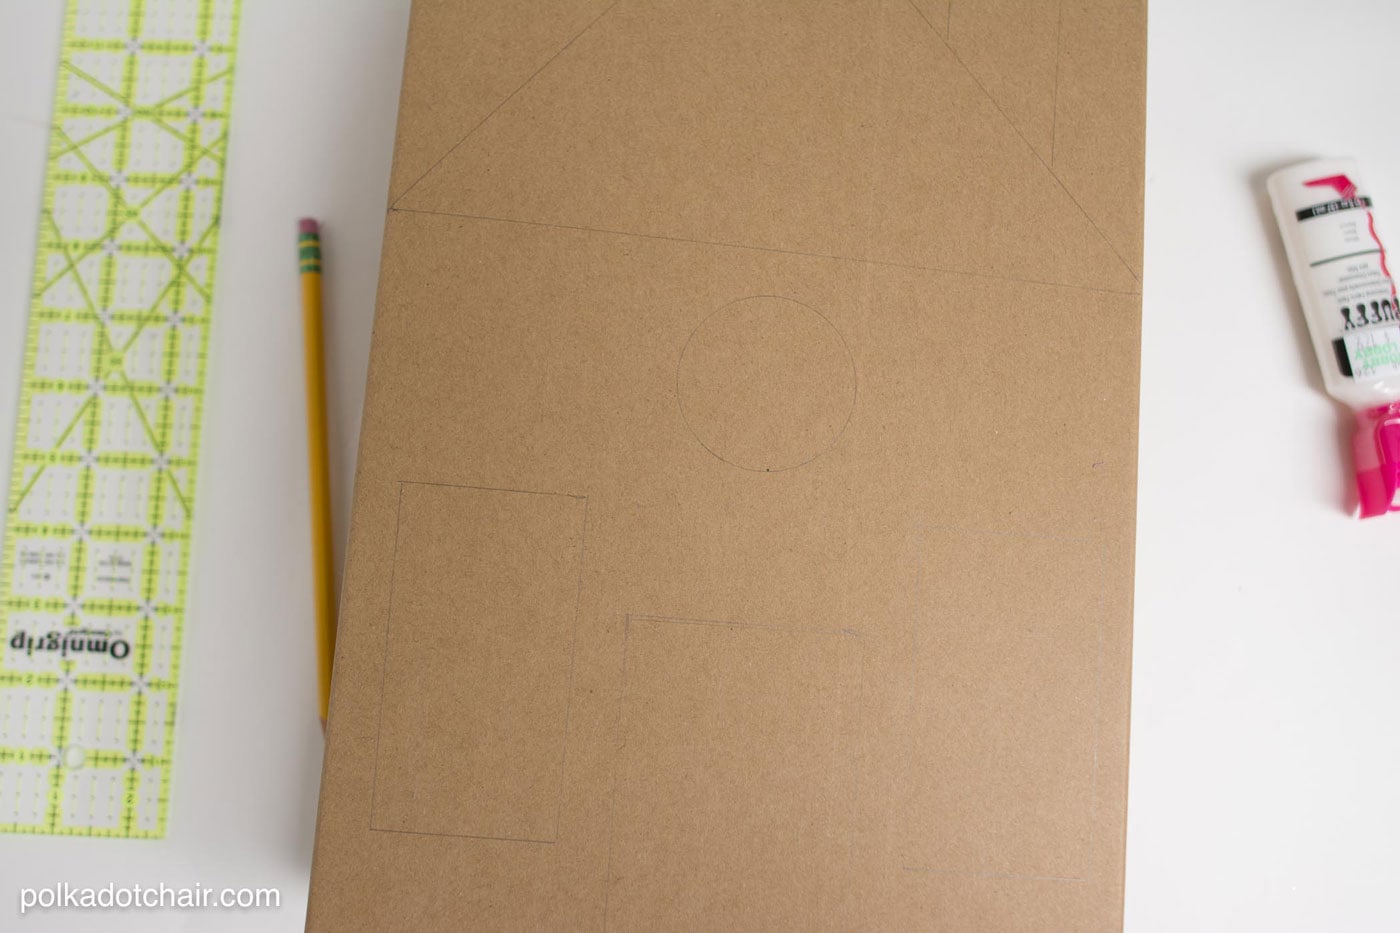
Begin by roughly sketching out your design onto your box using your pencil. Draw lightly so you can erase it if you need to.
When you’ve got the design the way you like it, begin filling it in with the puff paint. Work on one section of the box at a time, being careful not to smudge the paint.
When you’re done, let the paint dry (preferably overnight). After the box is dry use a bit of white yarn to add a bow and to “tie” the box closed.
Idea #3:
Yarn Pom Pom Embellishments
A friend told me a few years ago that Hobby Lobby has the BEST gift wrap. She was not wrong! They have a fantastic selection of really CUTE gift wrap prints especially at Christmas.
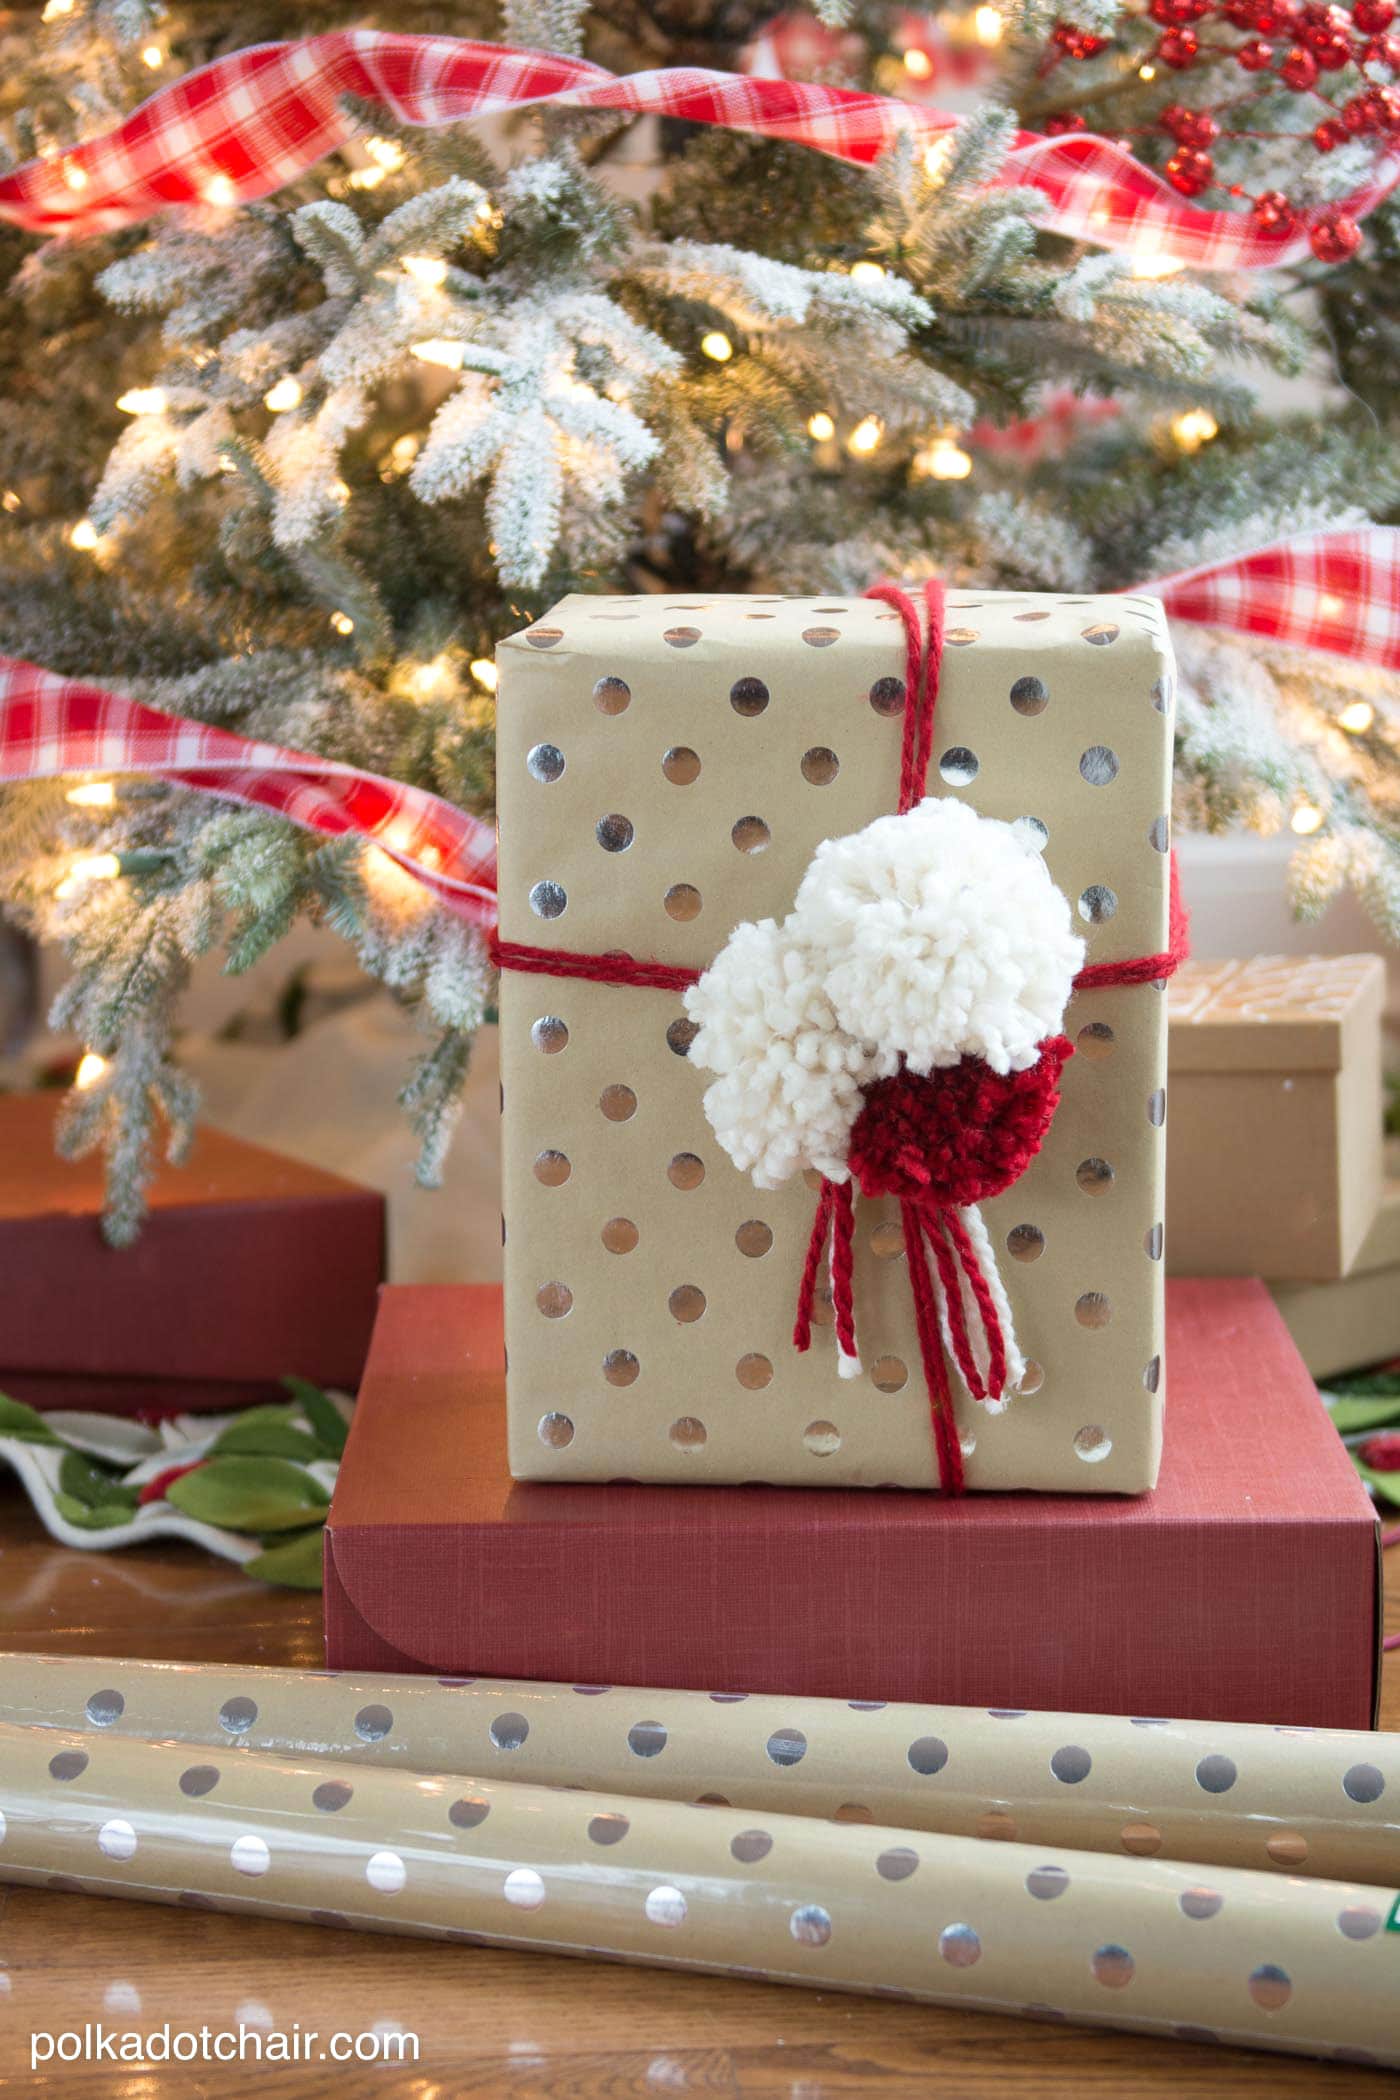
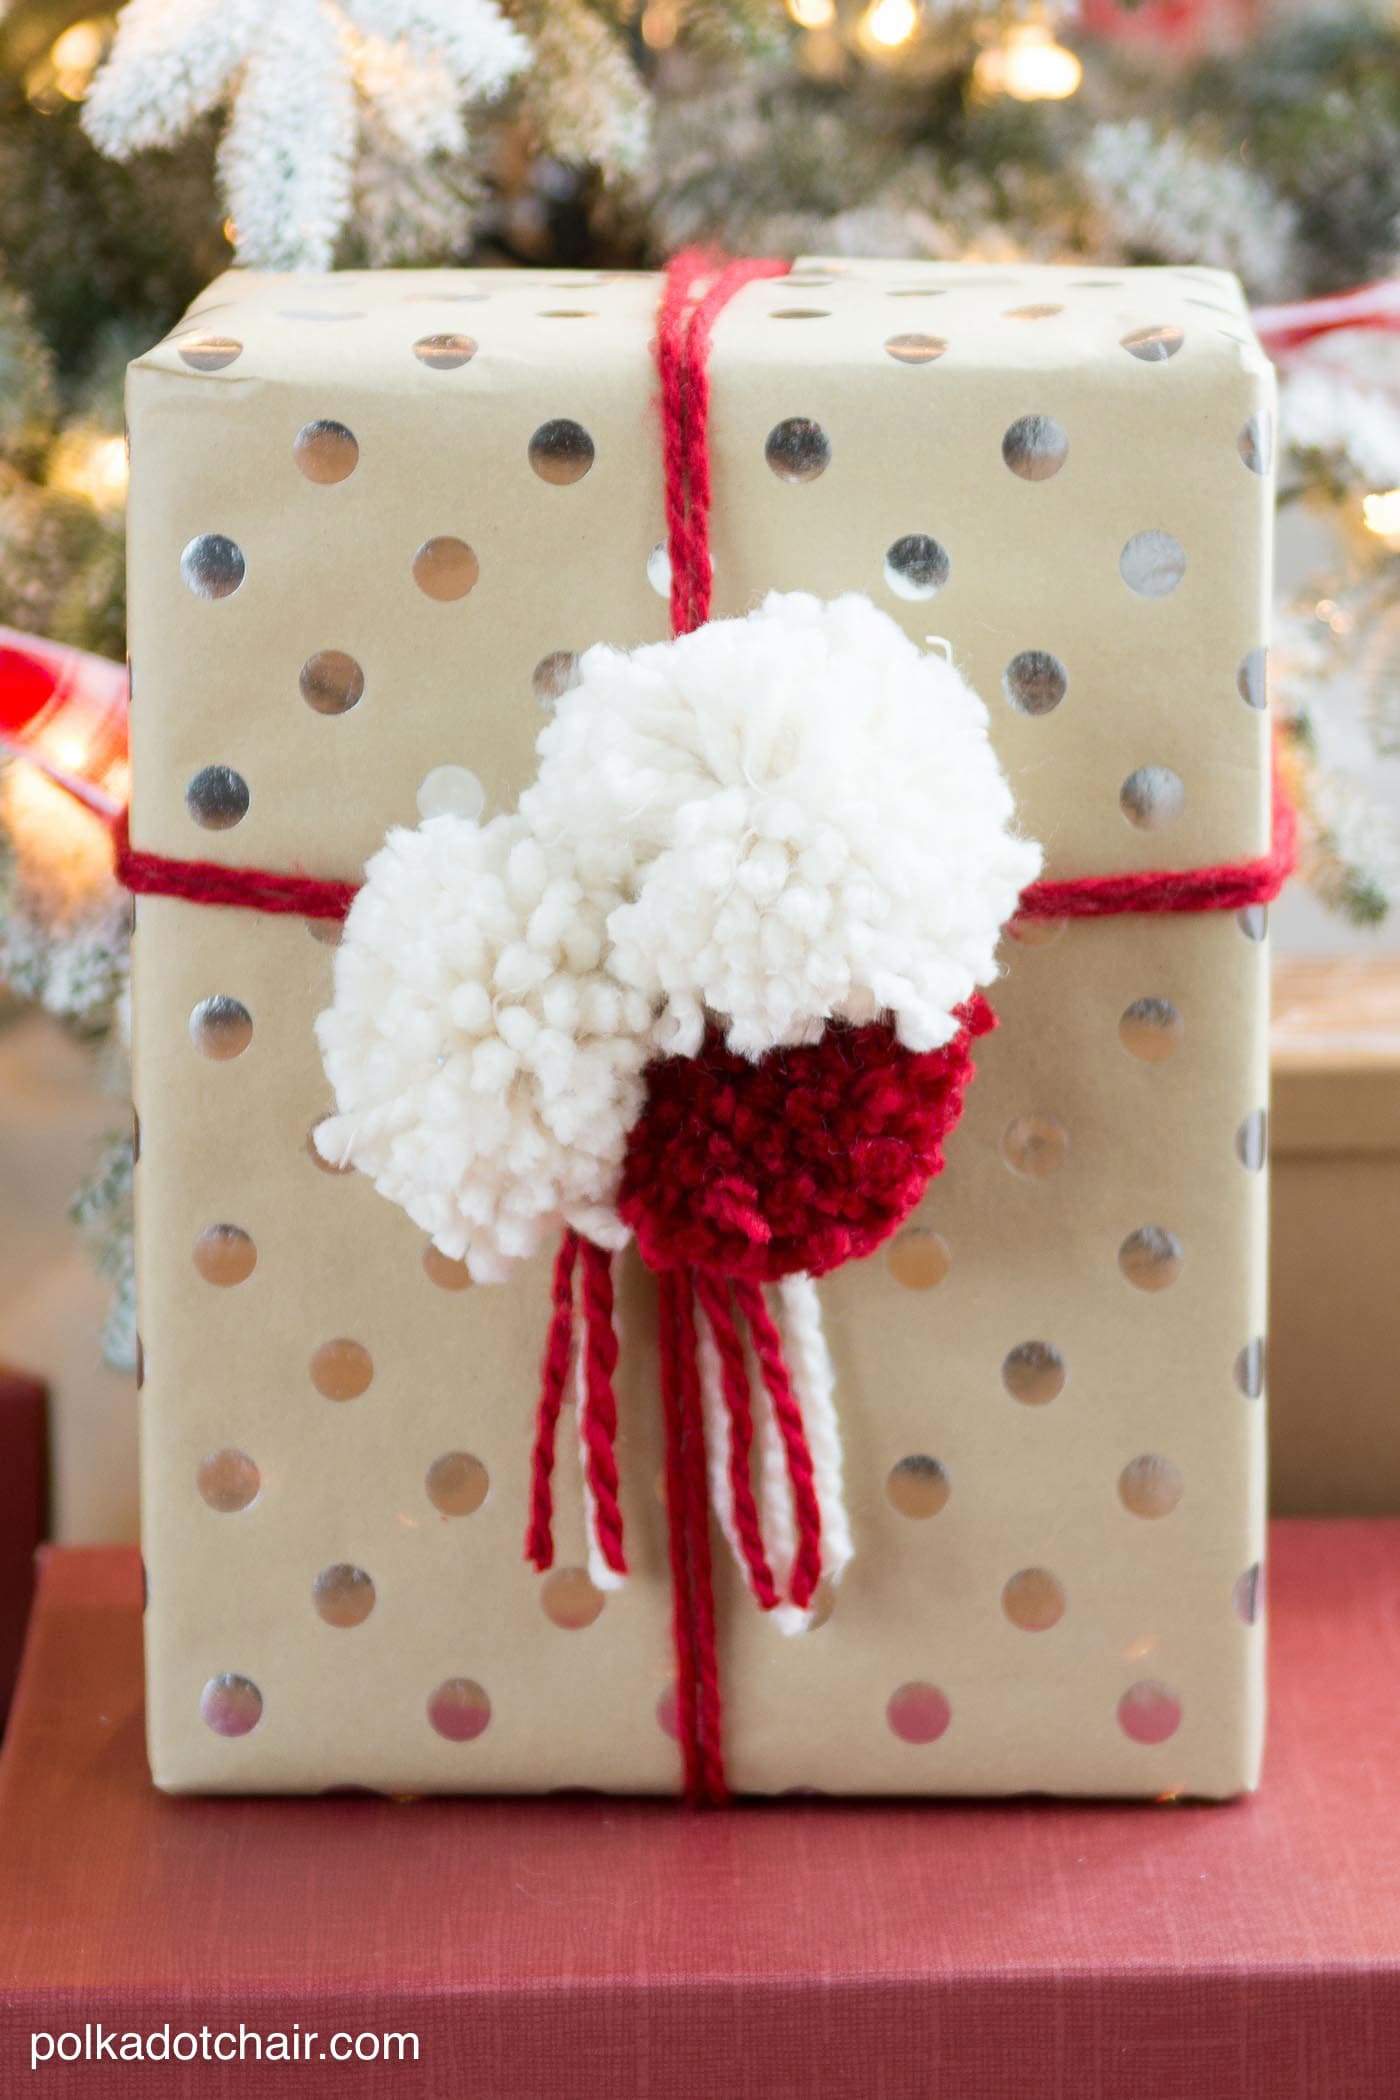
I thought it would be fun to dress up an otherwise simple wrapping paper with a bit of yarn by creating pom poms.
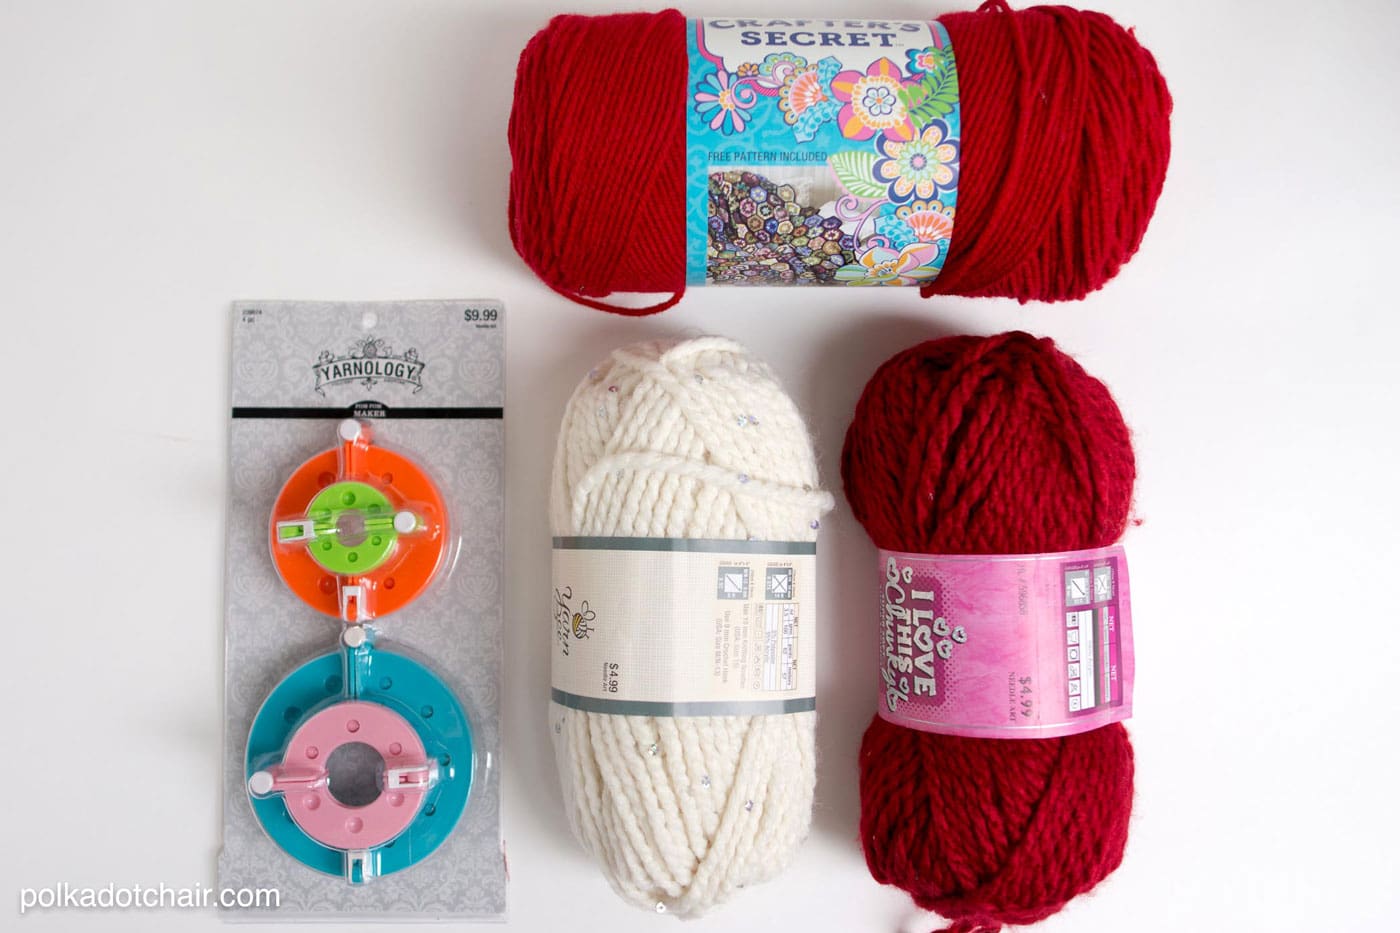
To do this you need:
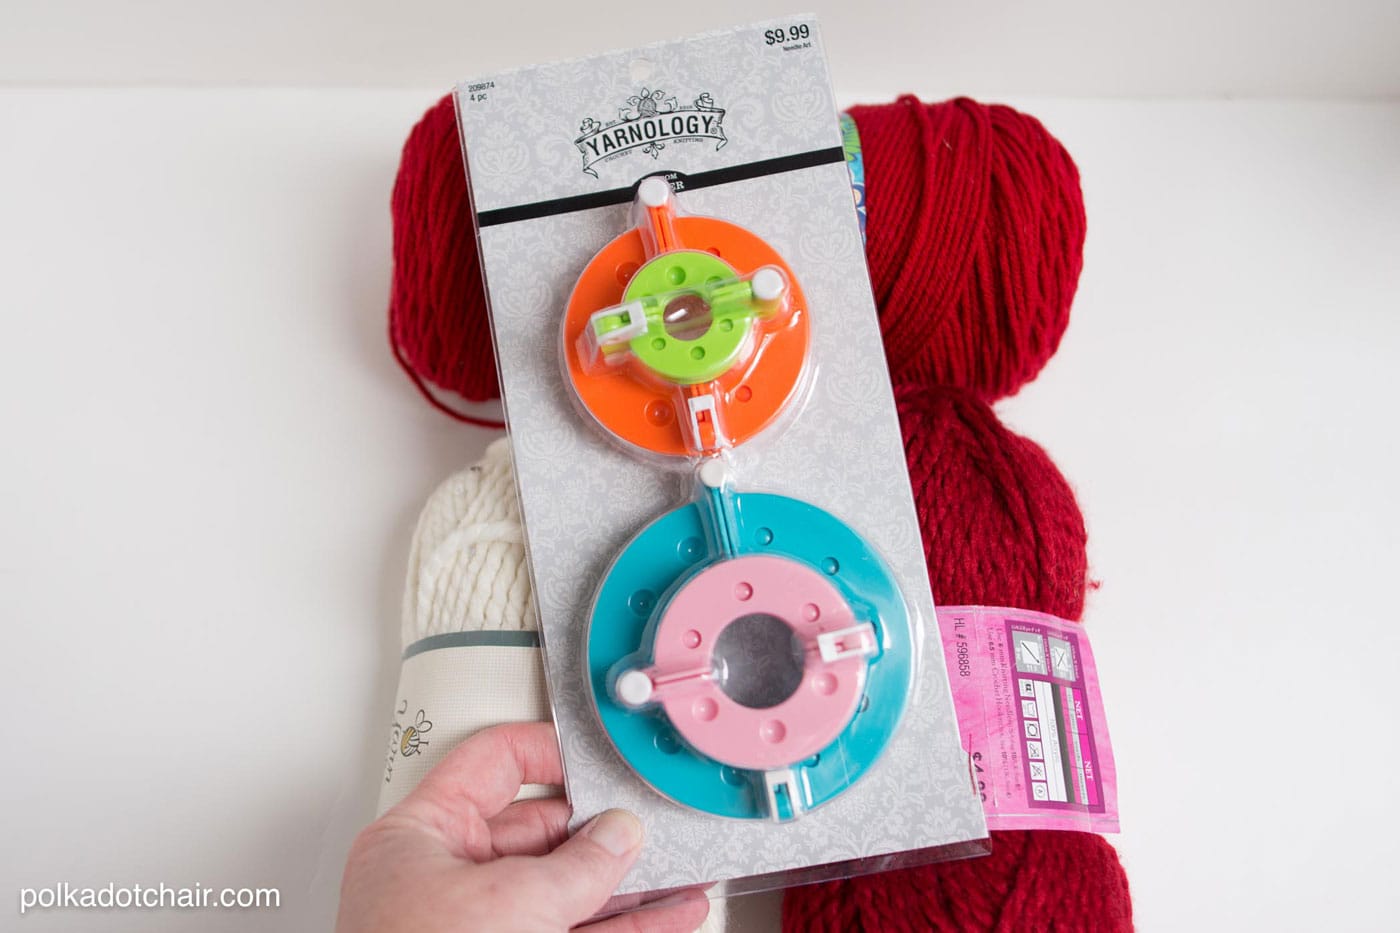
Yarnologly Pom Pom Maker
Yarn in various colors and weights
Sharp Scissors
The pom pom maker comes with several sizes of templates to make your pom poms. To create interest and texture I used 3 different sizes of pom poms and two different types of yarn.
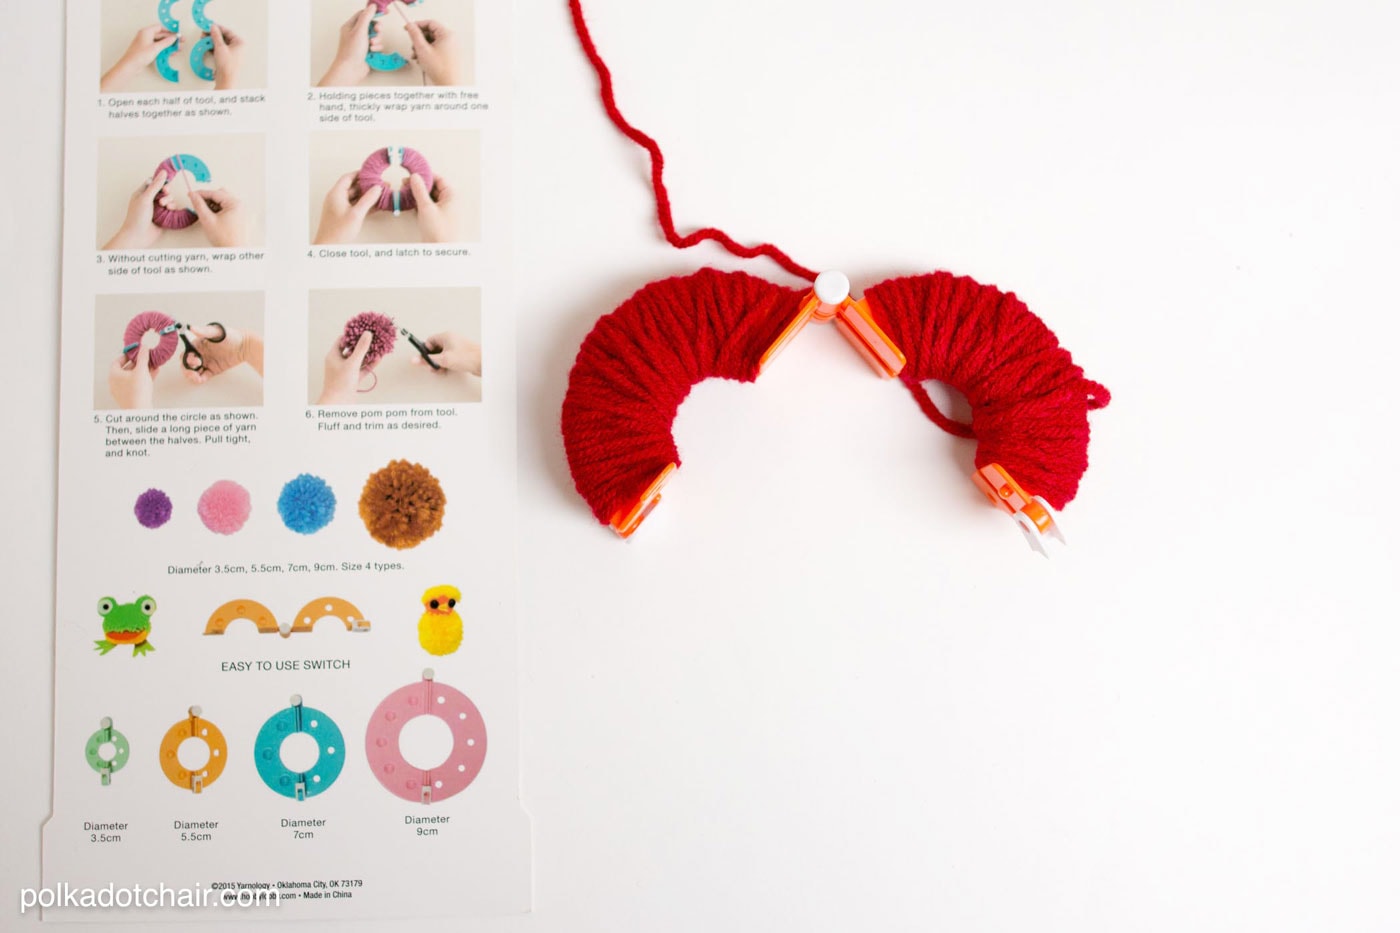
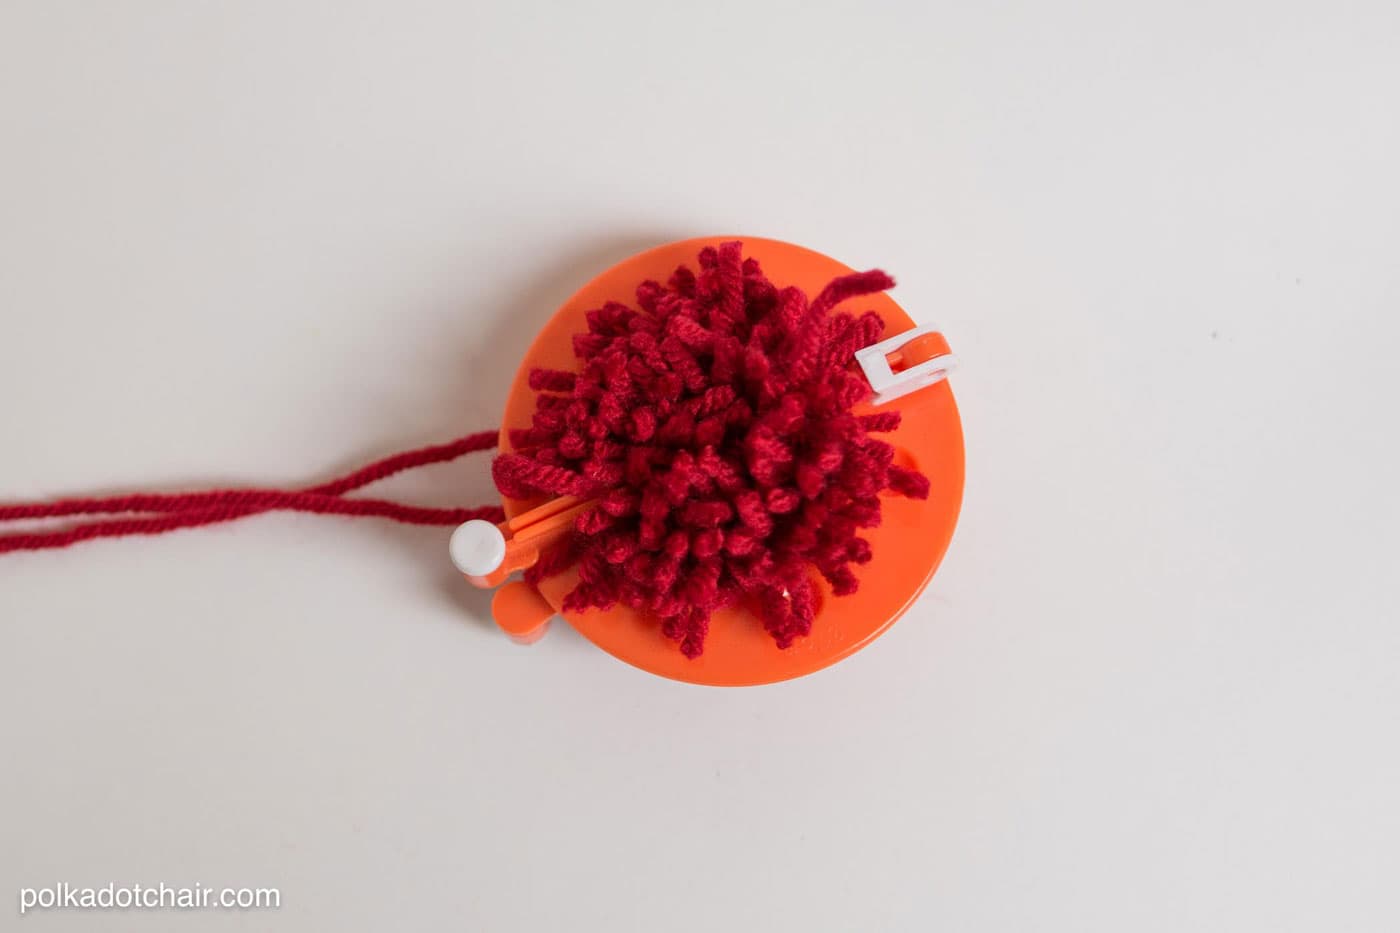
Just follow the directions on the back of the package to make the pom poms, the instructions are very clear and easy to follow.
When you get to the step to tie off your pom pom leave a long tail on your tie off piece, that way you can attach the pom poms to your gifts afterwards.
To create this gift I wrapped it a few times with plain yarn and tied a knot, then simply attached the pom poms and trimmed off the excess yarn.
Those are my 3 ideas, now have fun and go forth and WRAP!
This is a sponsored conversation written by me on behalf of Hobby Lobby. The opinions and text are all mine.

