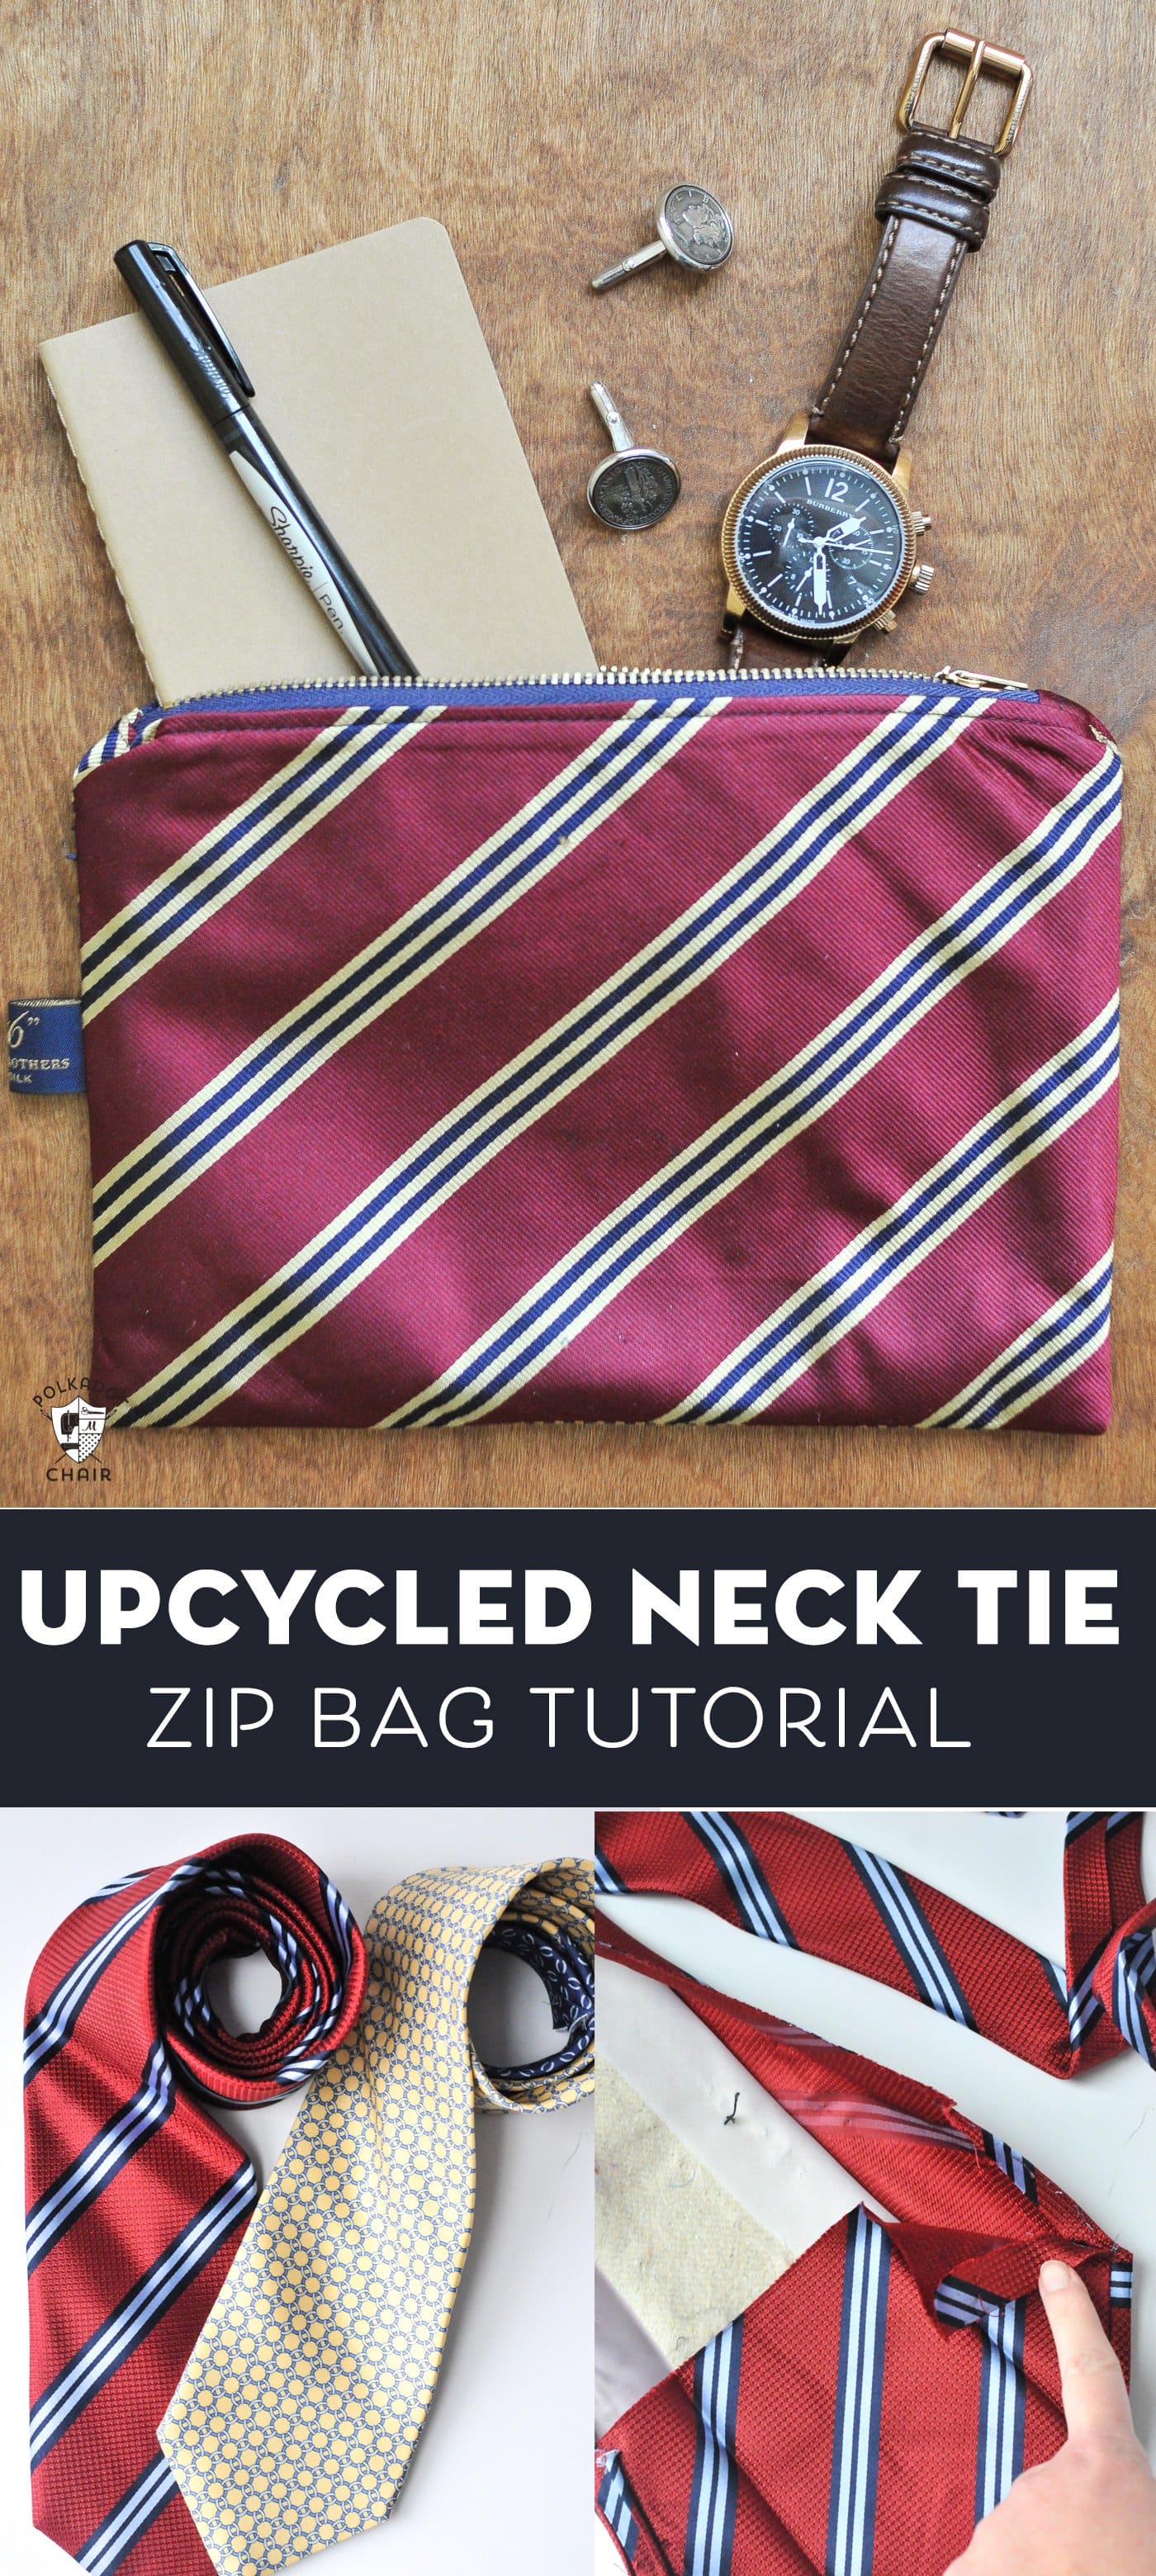
How to Make a Zip Bag from Old Ties
With this free sewing pattern, you can learn how to turn old neckties into beautiful and practical zip bags. This upcycle project is a great way to give ties with sentimental value a new life!
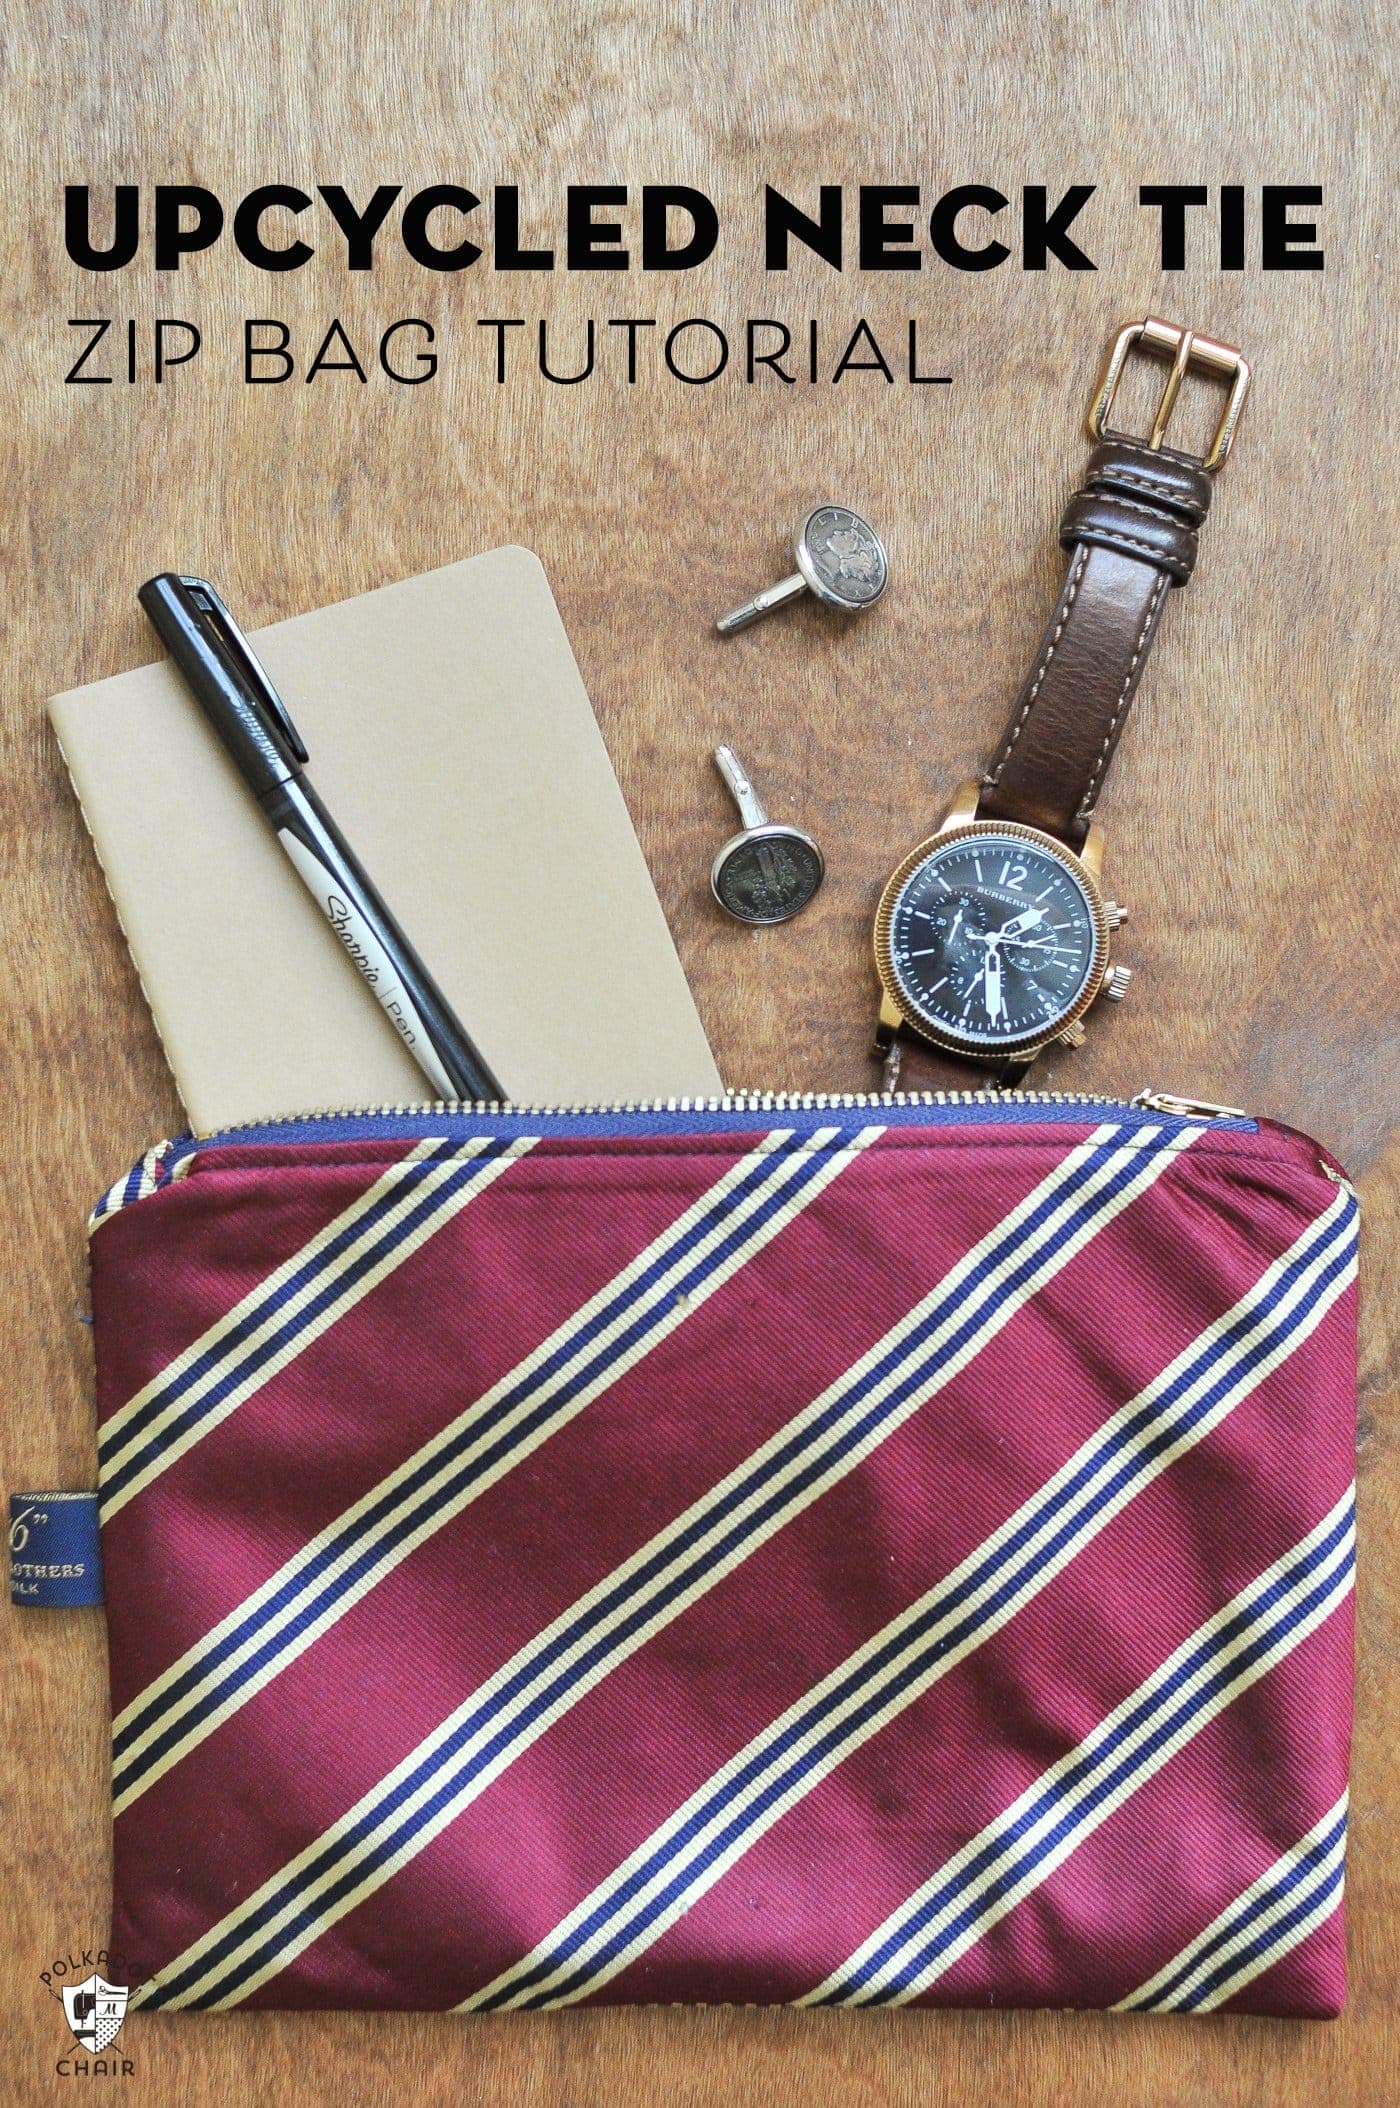
My husband was about to give away a bunch of stained and old neckties, and sensing a creative project, I snagged them before they were donated.
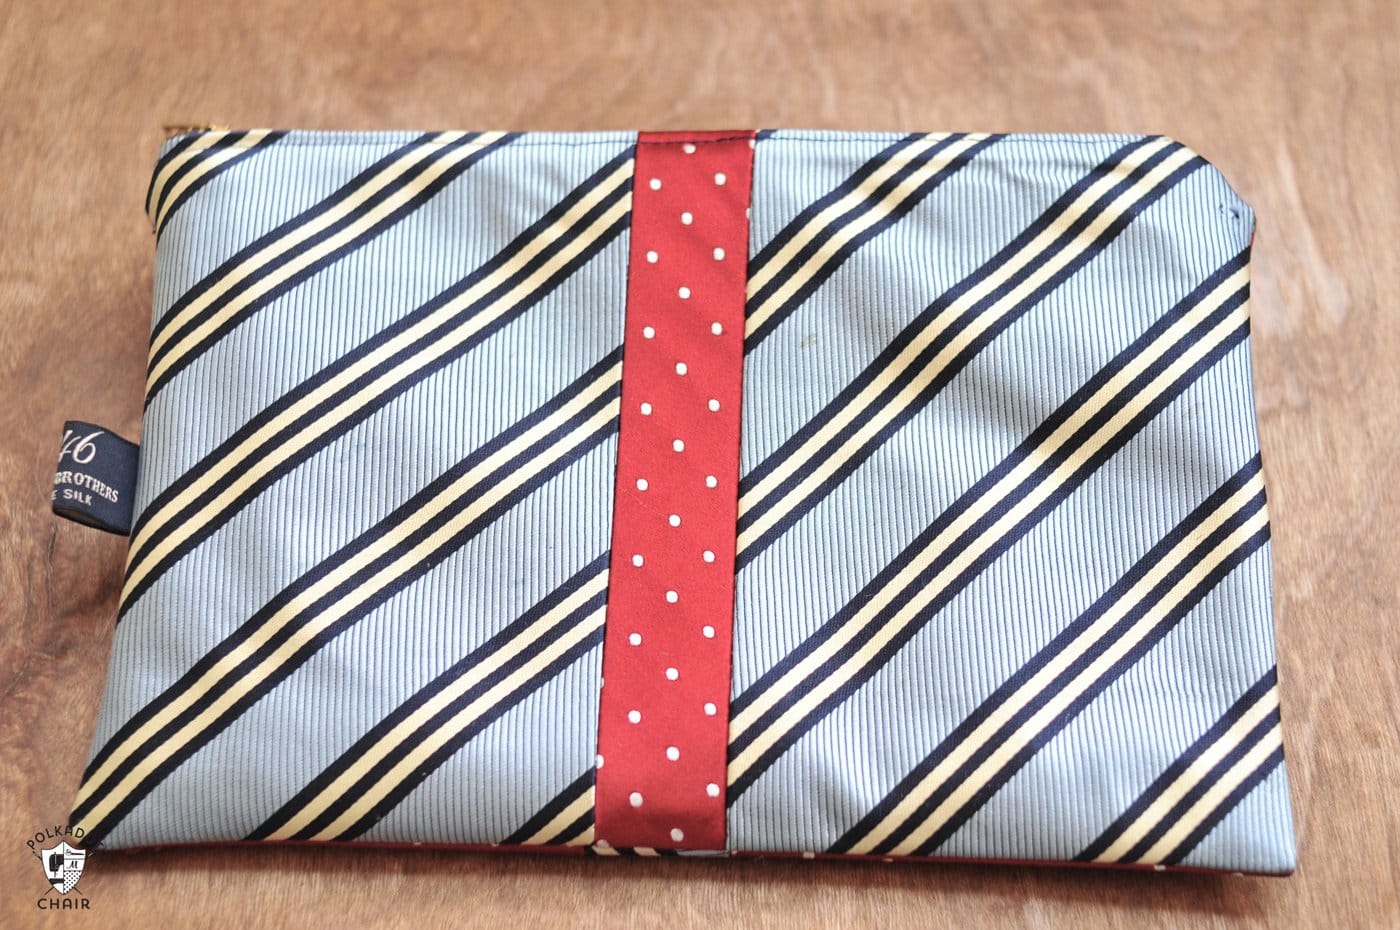
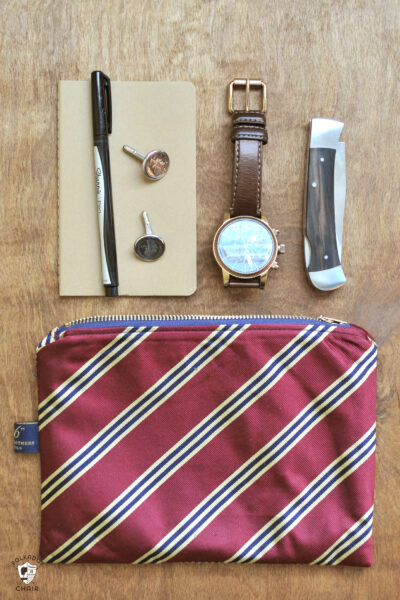
I turned the old ties into these DIY Necktie Zip Pouches. This is a very simple sewing project that would make great DIY gifts for your favorite guy!
What Can I Do with Old Neck Ties?
In the years since I’ve posted this Upcycled Neck Tie project, I’ve heard from many readers searching for something to do with old ties. Most of the time, it was because a special someone passed away, and they didn’t want to get rid of all of their precious items.
A friend of mine’s father-in-law passed away, he had had 12 grandchildren. As a keepsake for the grandchildren, my friend made one of these necktie zip pouches for each grandchild (boys and girls). I thought it was such a touching way to remember their loved ones.
Essential Details for the Neck Tie Zip Bag Tutorial
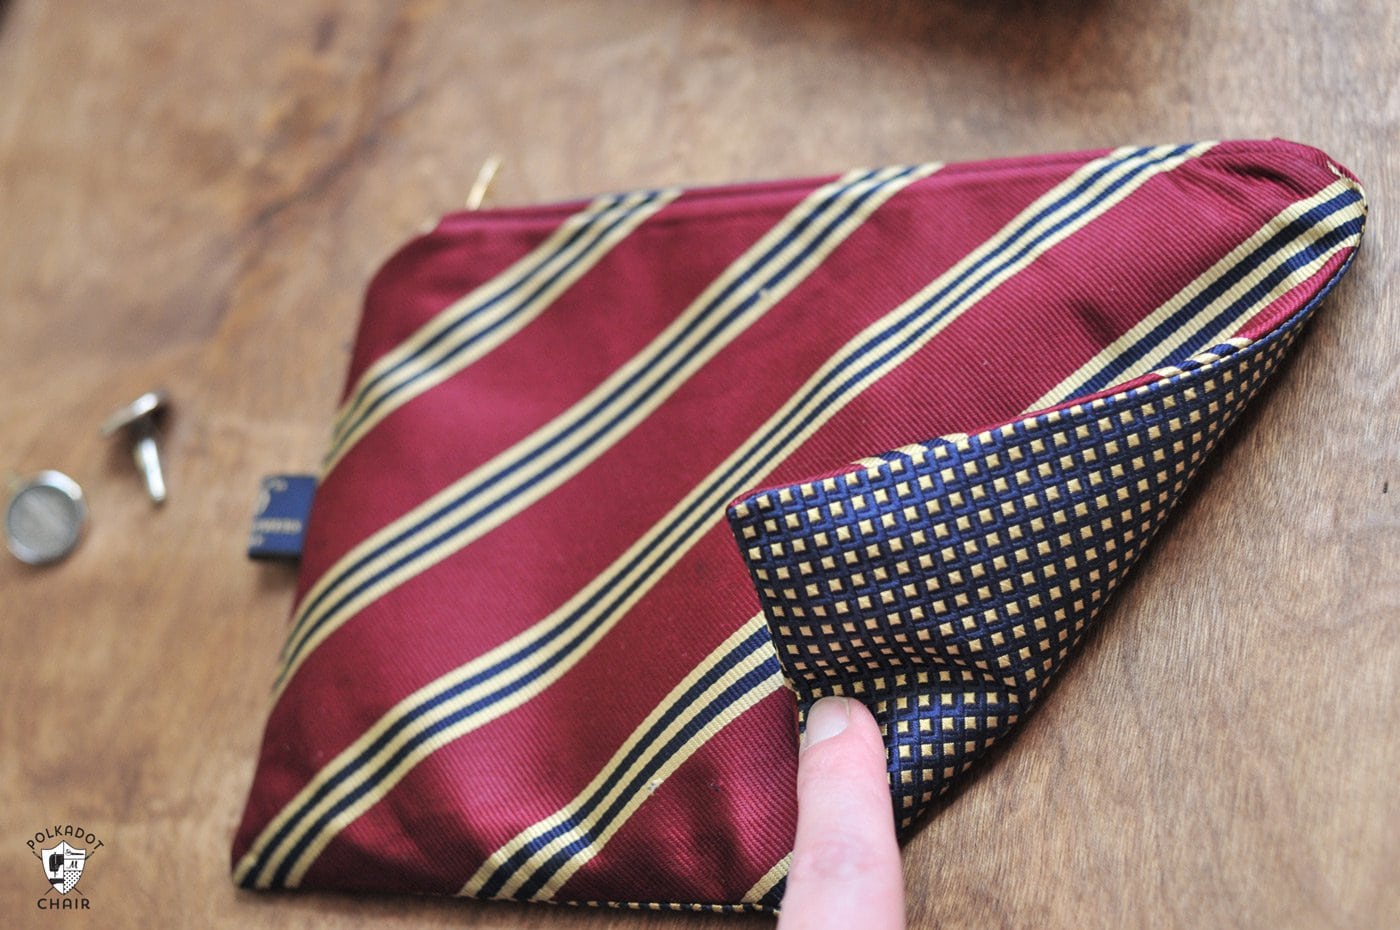
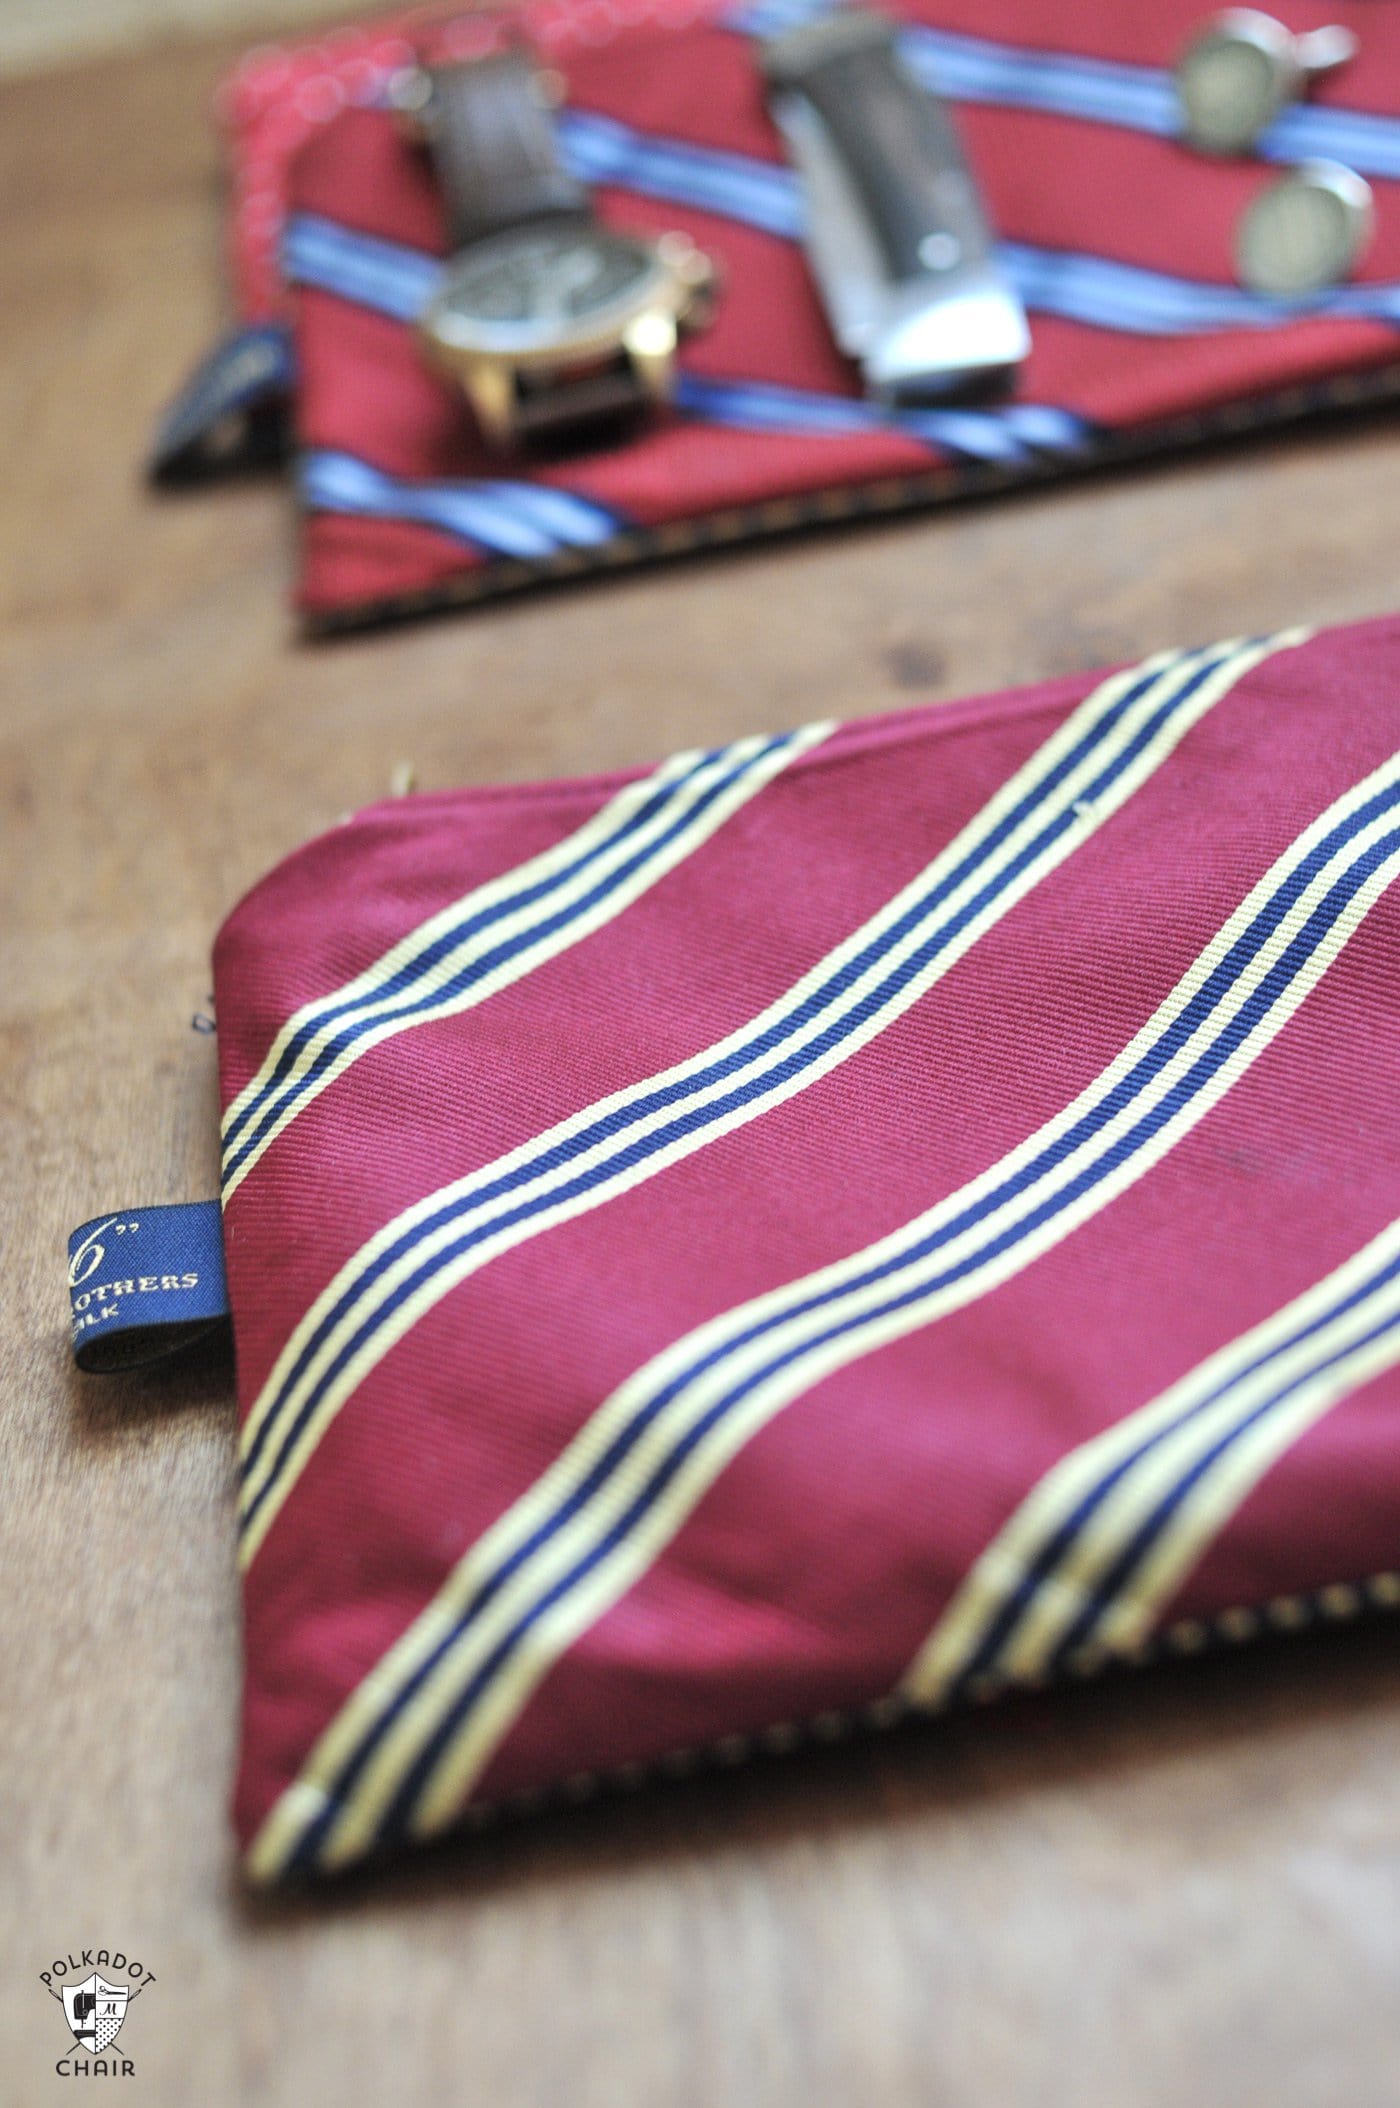
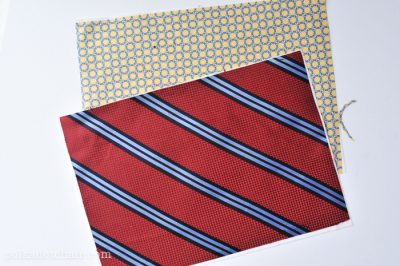
- Each pouch is made from 2 ties, one for the front of the pouch and one for the back.
- You will also need other supplies like interfacing and zippers. Those supplies are listed below.
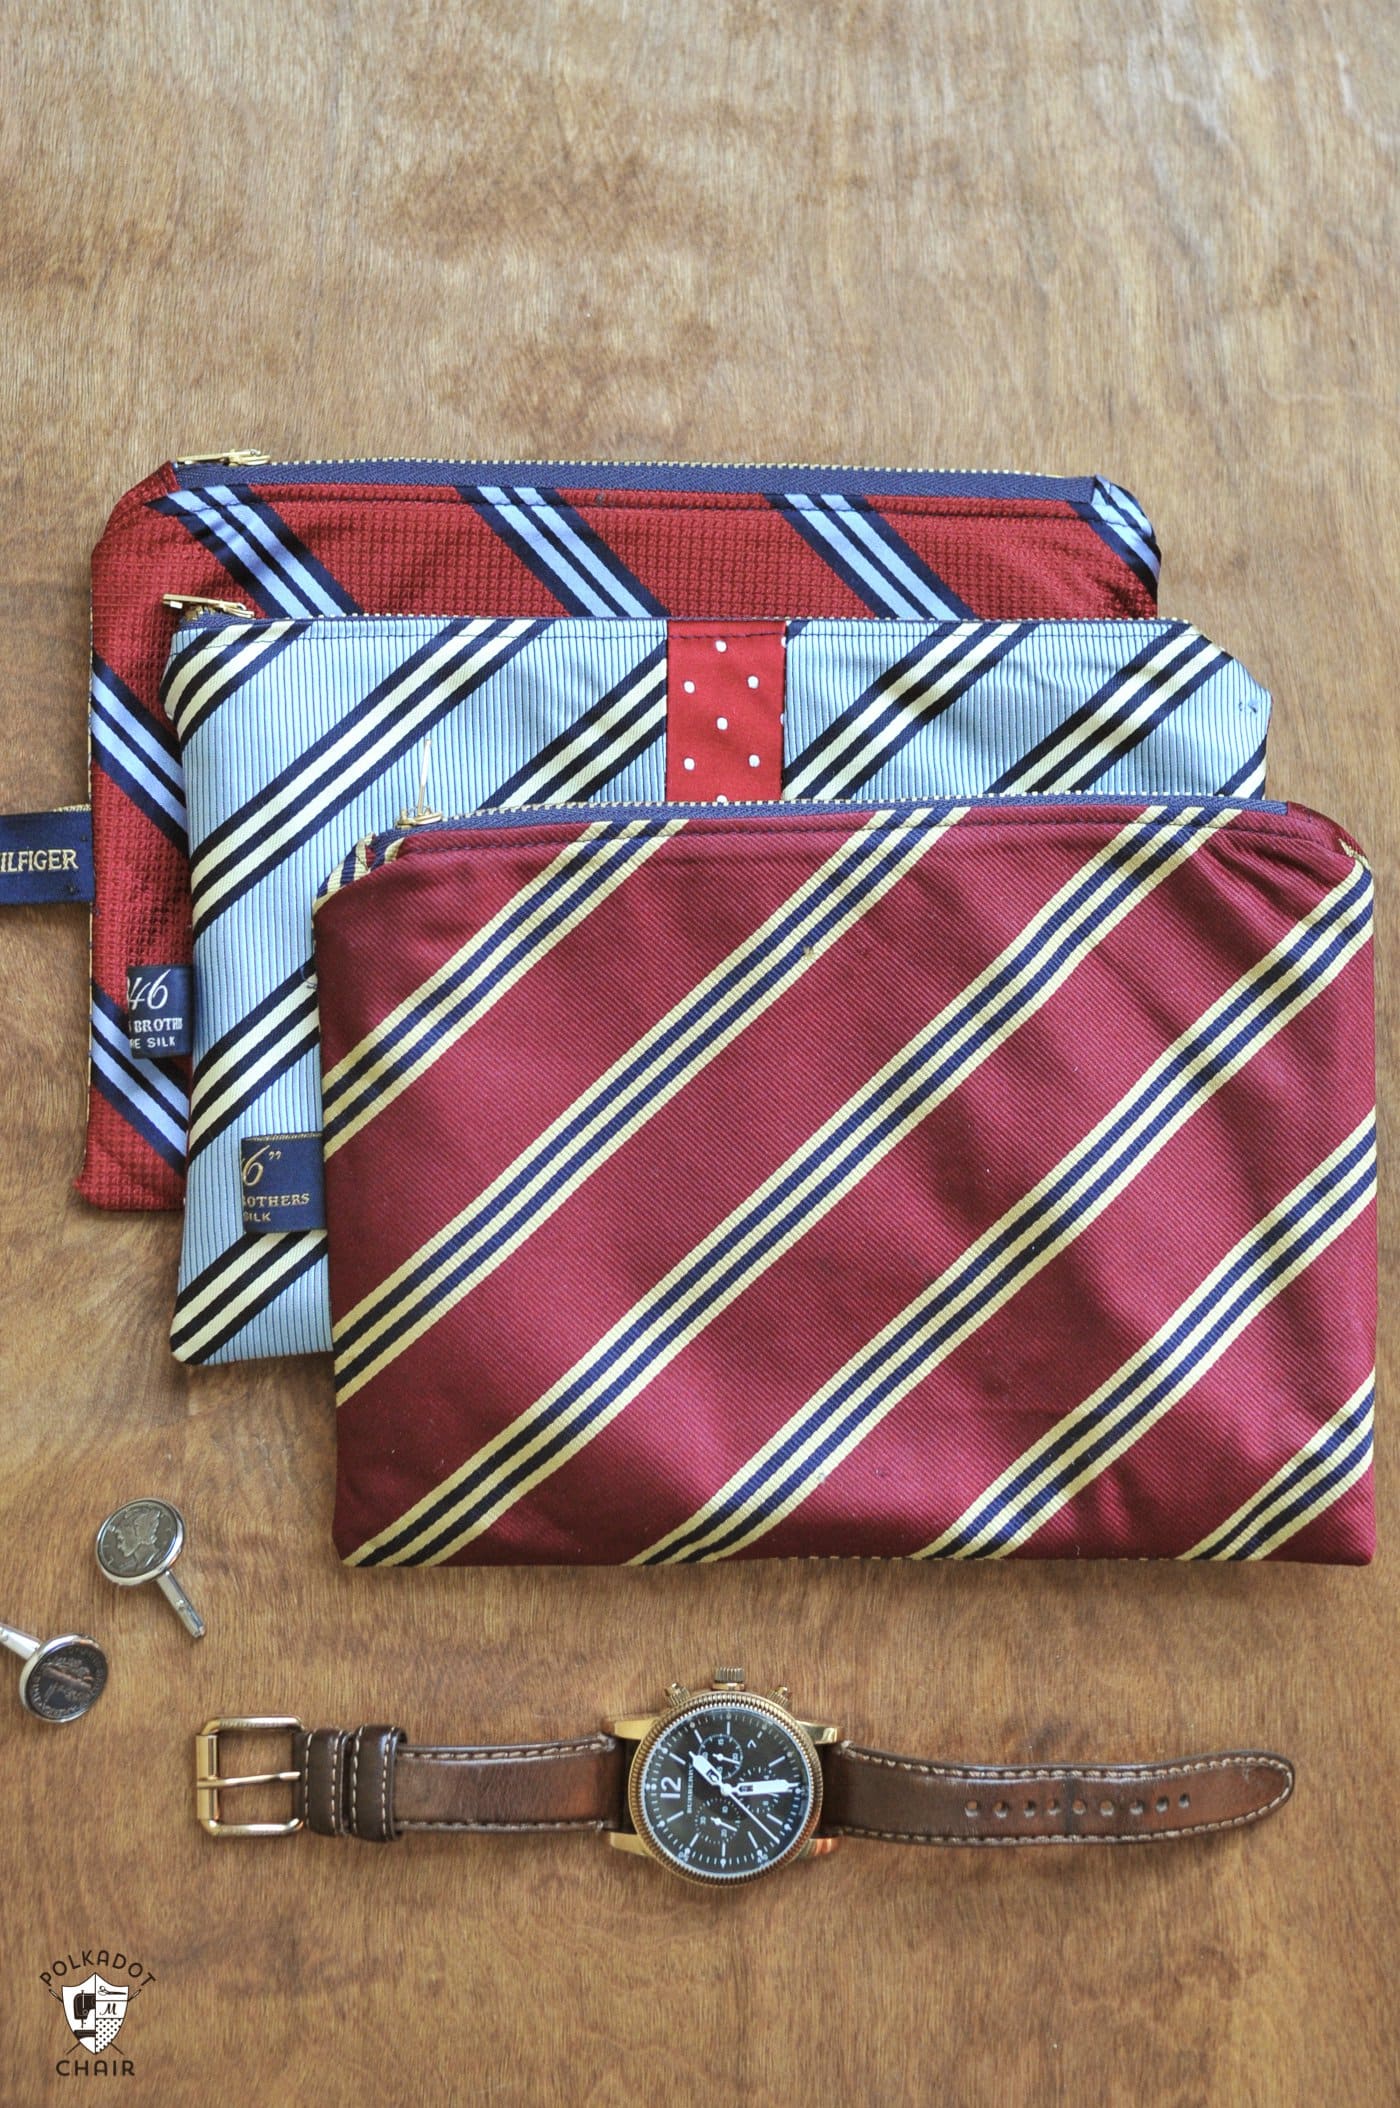
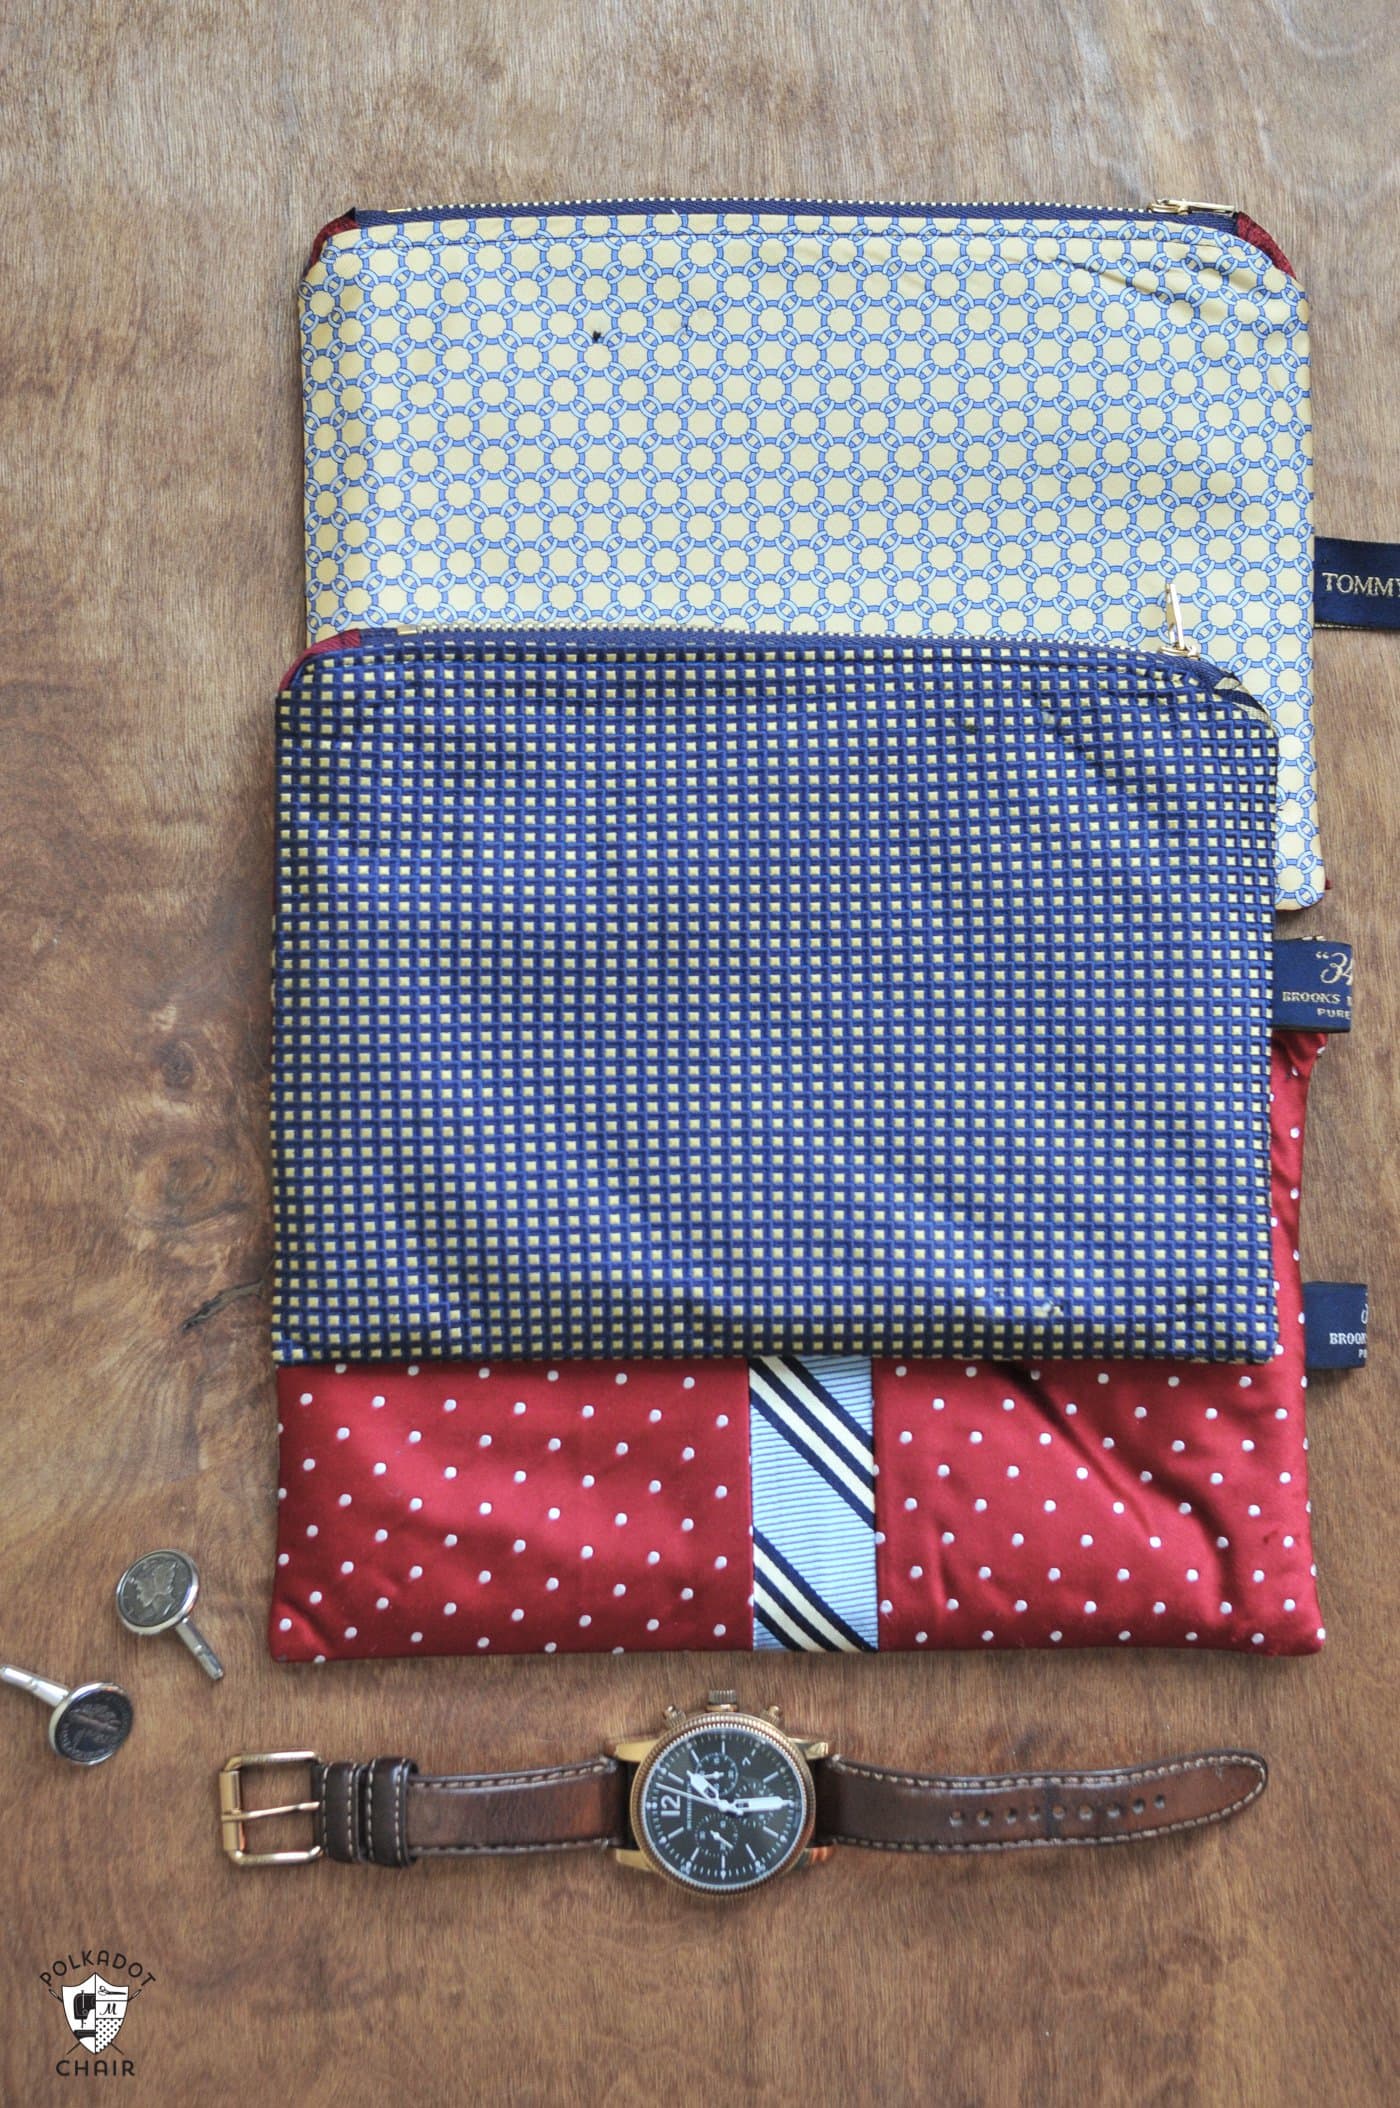
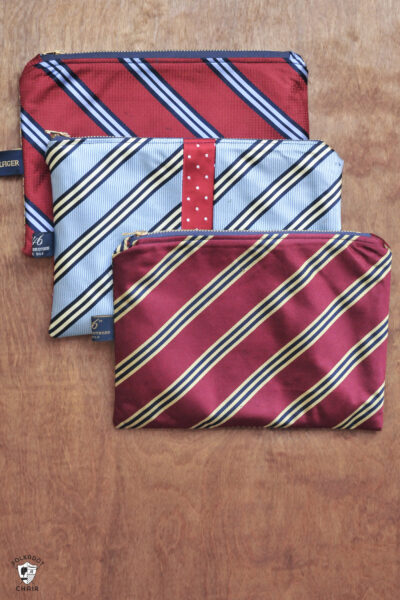
- I added a contrast stripe to the center (the fabric on the back) for one of the pouches. You could have a lot of fun mixing and matching the patterns of the ties.
- I reused the tag from the back of the tie, which was a fun little touch, especially if the neckties are sentimental.
I had so much fun making these that I continued and made more. This would be a great handmade Christmas gift for a man but would work equally well for a girl.
Want to make one? Here’s how!

Upcycled Necktie Zip Bag Sewing Pattern
Equipment
- Zipper foot for Sewing Machine
supplies
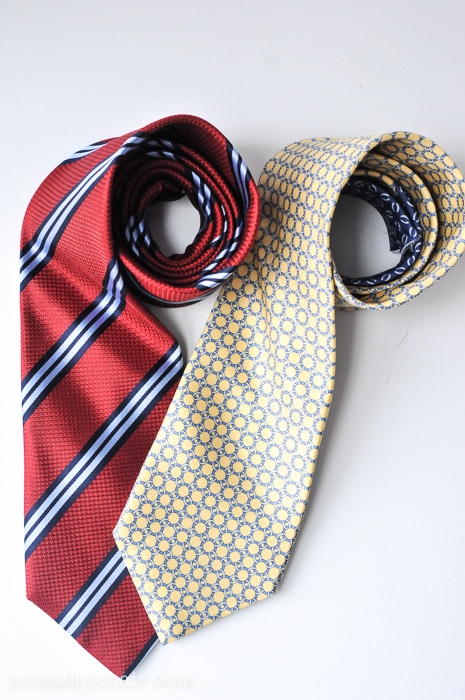
- 2 neckties
- 1 Zipper 7" long
- 1 package Shape-Flex Fusible Interfacing
- 1 package Fusible fleece
- 1 fat quarter Lining Fabric
Instructions
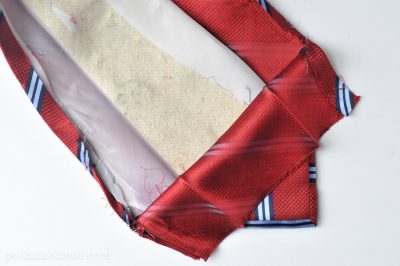
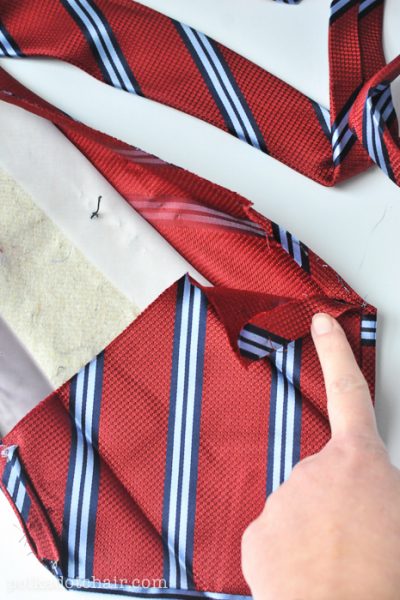
Step One: Pick the Tie Apart
- Begin by carefully pulling the stitches out of the back of the necktie. Most ties are basted together, and the stitches should come out quickly. Open up and continue unpicking the tie down to the point.

- Next, remove all the interfacing and press the fabric from the front of the tie well. You’ll need some steam to get it to lay flat again.

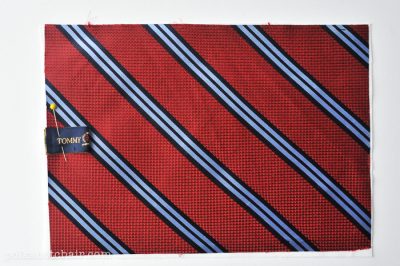
Step Two: Cut your pieces and apply the interfacing
- Cut a piece that is 10” wide and 7” tall from the tie. Start measuring 10” from the widest part of the fabric. You can adjust the size if you need to, based on the size of your tie, but this is pretty standard.
- Cut a second tie piece from your other Tie fabric.
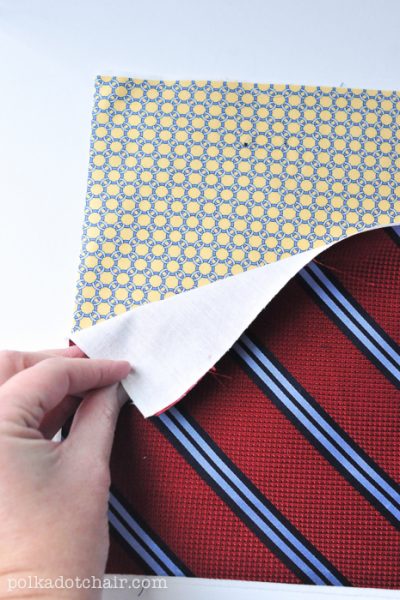
- From Fusible Fleece Cut:2 Pieces 7″ x 10″From Shape Flex Interfacing Cut:2 pieces 7″ x 10″From Lining Fabric Cut:2 pieces 7″ x 10″
- Iron the Shape-Flex interfacing onto the back of the two pieces cut from the tie.
- Iron fusible fleece onto the back of two fabric lining pieces.
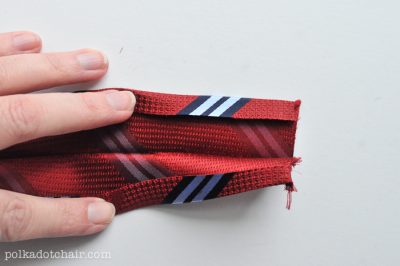
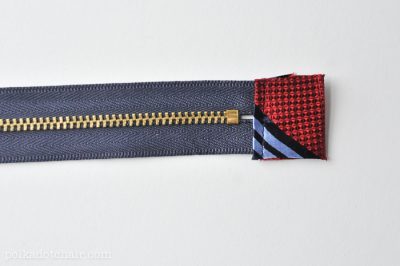
Step Three: Create Zipper Tabs
- Cut another piece of fabric 3” x 5” from the tie. Fold the fabric in half lengthwise and press. Open up and turn under each long end 1/4” and press.
- Cut this piece in half lengthwise so that you have two folded pieces.
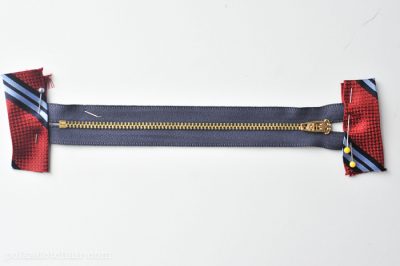
- Pin one folded piece over each end of the zipper so that the fabric covers 1/2” of the zipper. Top stitch in place. Trim the fabric to the width of the zipper.
Step Four: Attach the Tie Tag (optional)
- Fold the tie’s tag in half and stitch it to the right side of one of the cut tie pieces.
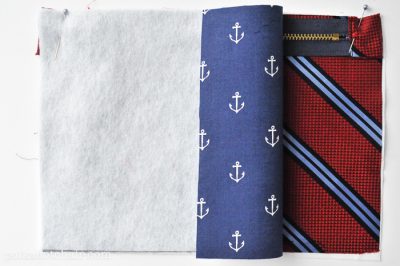
Step Five: Construct the Bag
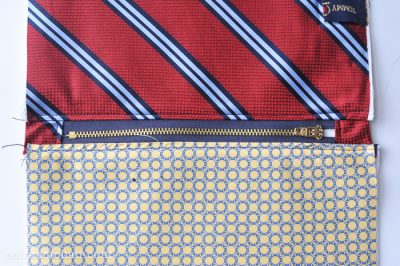
- Next, make a “sandwich” with the zipper in the middle.
- The right side of the zipper will face the right side of the tie fabric, and the wrong side will face the right side of the lining fabric.
- I recommend a 1/4” – 3/8” seam allowance using a zipper foot stitch for this seam.
- Repeat for the other side of the zipper.
- Press the seams away from the zipper and top stitch along both sides of the zipper. This will help keep your lining out of your zipper, and you zip and unzip the pouch.

- Unzip the zipper.
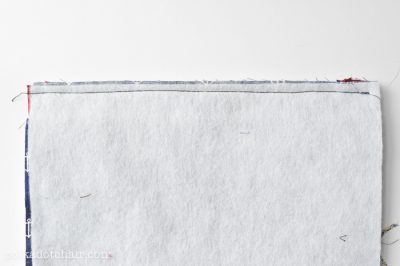
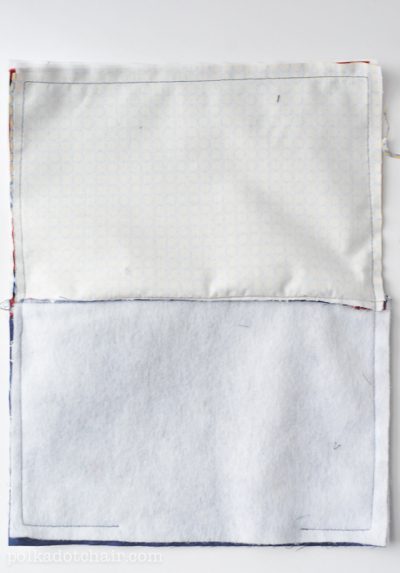
Finishing:
- Pin the pouch with the outside and lining pieces matching. Pin the zipper towards the lining pieces. Stitch with a 1/2” seam allowance around the entire pouch, leaving a 4” opening in the lining to turn the pouch right side out.
- Clip the corners and trim the seam allowances on the lining down to 1/8”. Turn the pouch right side out. Slip stitch opening closed and press well!
- Have fun making zip pouches!
More Things to Sew for Men:
(or anyone, for that matter! It doesn’t have to be just guys!)
How to Sew a Bow Tie (with free PDF Pattern)
Dad’s Travel Bag Sewing Pattern
Leather-Trimmed Dopp Case Tutorial


I can’t seem to download or print the neck tie pouches. Can you help me
Hi,This isn’t a download. Just scroll to the bottom of the instructions and hit the big green print button.
Im a little confused. The widest part of most of my ties is 7”-8”. But I can’t get 10” long due to the slant of the tie. Some of my ties are directional up and down. The picture doesn’t look like the bag is 10” long. Is the 7” zipper on the 7” side. If I add the zipper tabs, that makes it at least 8”. I can’t figure out from directions. Thanks.
The 10″ is cut from the length of the tie not the width of the tie. It depends on the tie and the manufacturer. If you notice on my example I have a few that I’ve made from sewing a few pieces from the ties to each other. These ties are older, perhaps they are wider than more modern ties? You just need a piece about 7″ tall. The tabs on the zipper add 1 1/2″ to each side, so 7 + 1 1/2 + 1 1/2 = 10 and covers the width of the tie. You can also make the zip bag tie smaller than 10″ if you want, it’s up to you.
Thank you for your response. I bought ties at 2nd hand store, so Im not sure how old they were. My concern was that some of the ties had directional designs going up and down, so I didn’t want the designs going sideways. I did make one with a strip down the middle and really like that design. Thanks again.
Yeah, when working with the ties, you have to take the 10″ from the length so you can’t really pick the direction the fabric runs.
Nice idea – but are you sure the measurements are right? I can’t see how you get a rectangle 10″ wide and 7″ tall out of a standard tie. And surely a 7″ zip is too short if you are putting it in the long side? You say to measure 10″ from the widest part of the tie – but there is no way measuring along the length of the ties can you get a rectangle that size. So I assume the problem is the orientation of the rectangle in relation to the tie material? Perhaps a diagram showing what direction to measure would help.
The measurements are correct. I have made several of these and am able to get a 7″ x 10″ piece from almost all the ties, if you look at the photos you can see that when you unfold a tie there is more fabric there than it seems. If your tie is too small you can adjust your rectangle, just adjust the lining pieces to be the same size. You can also sew a few pieces of the tie together to get a piece that is 7″ x 10″.
How do you clean ties that are soiled?
Thank you so much for sharing this pattern and idea with everyone. I have kept a lot of ties from my father-in-law who passed a few years ago. My two daughters were very close to him and this will be a great project for me to make for them so that they will have a little something more from him. I know that they will appreciate this thoughtful pattern.
Melissa, this looks like a great project. My husband has so many ties that he never wears now that he is retired. For almost 40 years he wore a tied almost every day so he has quite an assortment and almost never wears one. Question: I notice you said to use a metal zipper. I have lots of zippers from years of making clothing plus a stash recently acquired from my mother’s sewing stuff, now that she no longer sews. Is there a reason for using a metal zipper over the plastic one before I set out to make a bunch of these for the kids and the grand kids?
No reason, I just like the look of the metal zipper.
Melissa, thank you so, I love this idea! I have a box my uncle’s, my fathers’ oldest brother, and my fathers ties (both long past), this would be a very special gift to make all my cousins, siblings and nieces and nephews.
Lovely, and so elegant! Thanks for the tuto 😉
That is such a super cute idea!!! I’d love to share it!
A few years ago, upon his passing, my Nan gave me a bag of my Gramps’ ties. One includes his Royal Canadian Air Force tie. I’m going to do this with the ties and give them to my Nan, mom and sisters. I think they’ll love the keepsake of him. Thank you for such a wonderful idea.
These are so adorable! However, I don’t think I can pull this off! Any chance you sell these?
Thanks for your time and Happy Holidays!
I can’t seem to turn pouch right so lineing is inside pouch….am I laying pieces together wrong.is there
a utube demo….
Brilliant idea! Being a male on the older side & a sewer, I have a wardrobe of old ties I no longer use, but I will now!
Trying to find the shape flex. Is it in the interfacings?
Hello my family member! I want to say that this article is awesome, great written and come
with almost all significant infos. I would like to look more posts like this .
Melissa, Thank you so much for this tutorial. I found it on Pinterest and I’m making a bunch as gifts for my quilt group. Here’s one thing I learned that helped immensely:
When I used the older real silk ties, I found the fabric slid around and stretched out of shape so I thought I had a nice square cornered rectangle and then when I moved it, I did not…and then it didn’t match the other one I cut. So I finally got smart and cut the shape and flex FIRST, then ironed it onto the tie and cut. MUCH easier. Also, I could plan placement of pattern better that way too.