A Pumpkin Pincushion Pattern that’s Pumpkin Spice & Everything “Sew” Nice
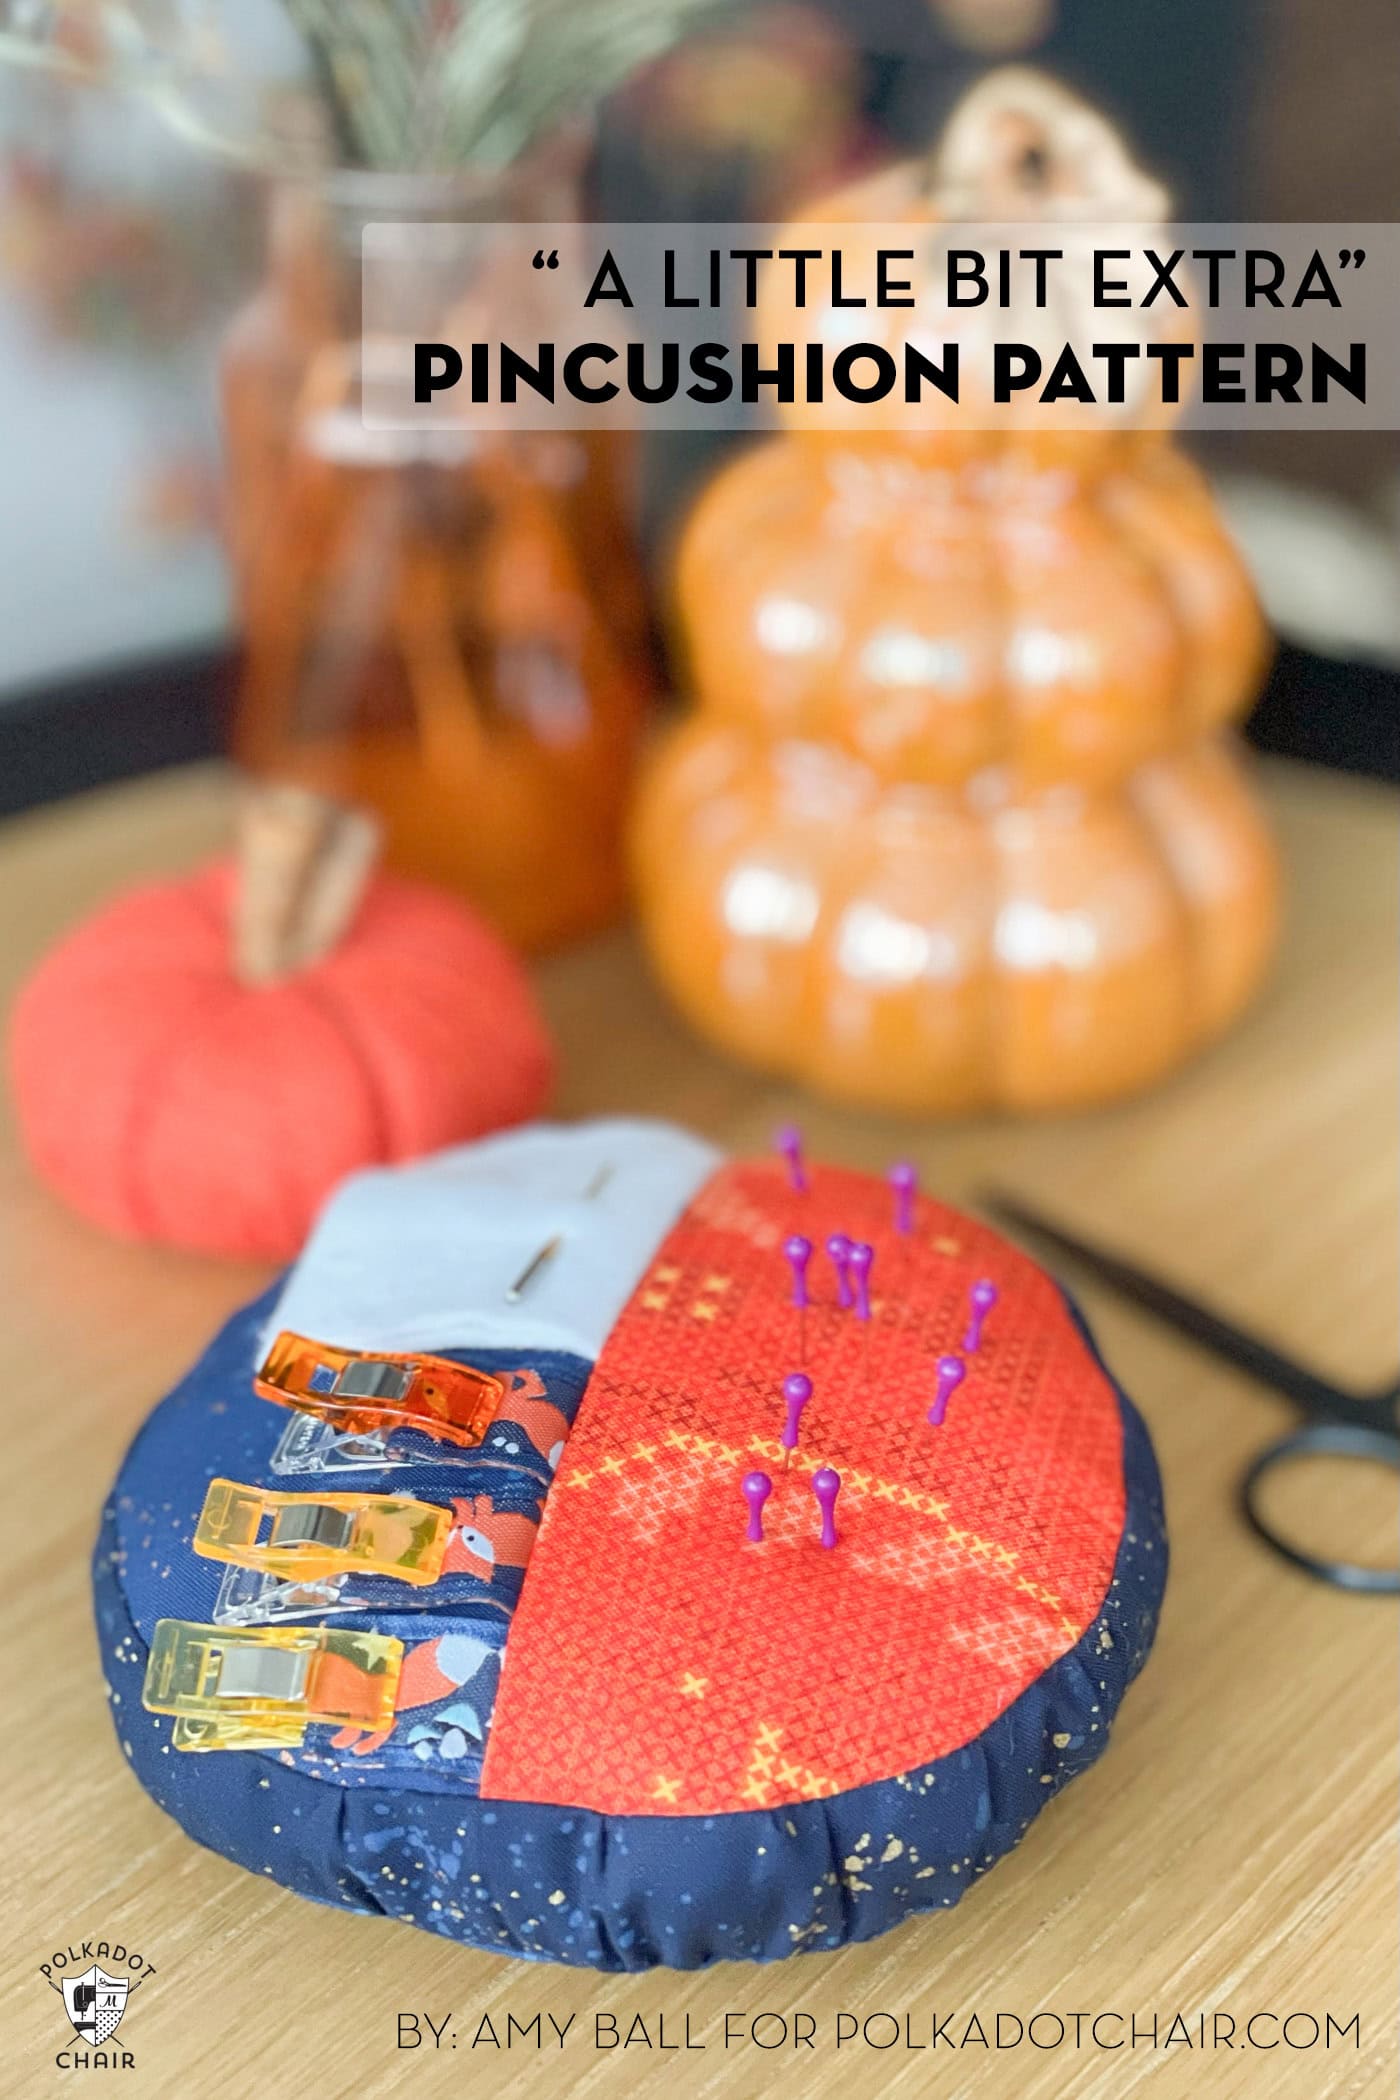
With our free pumpkin pincushion sewing pattern, you can learn how to sew a pumpkin pincushion, the perfect companion for Fall sewing projects.
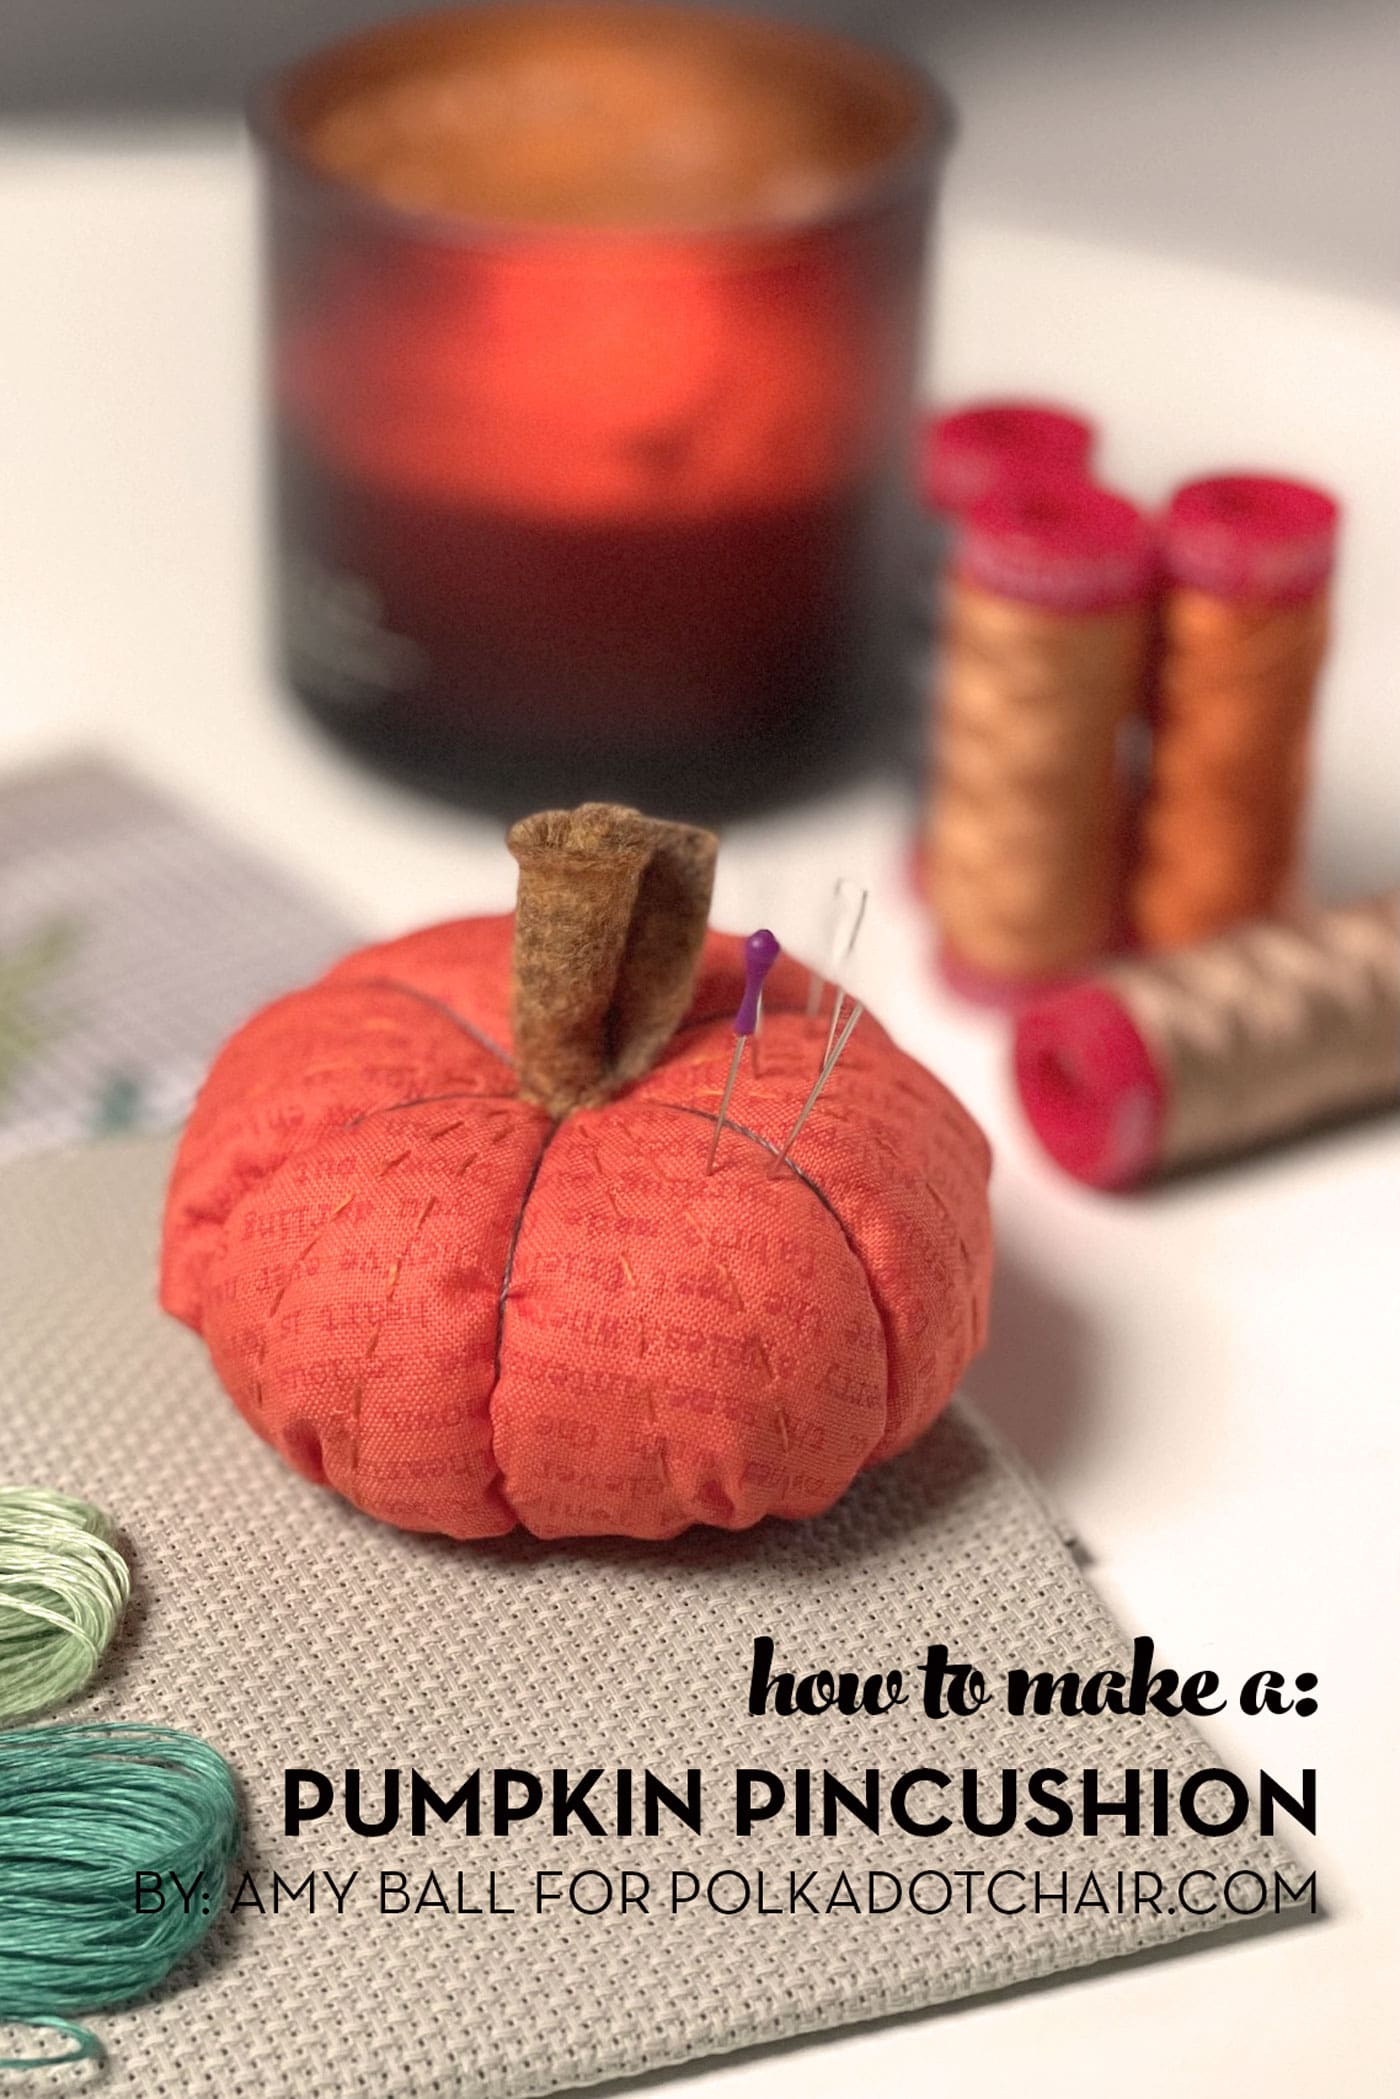
It has suddenly started to feel very autumnal here in the UK so it seemed like the perfect time for a pumpkin pin cushion…or should that be “pumpk-pin” cushion?!
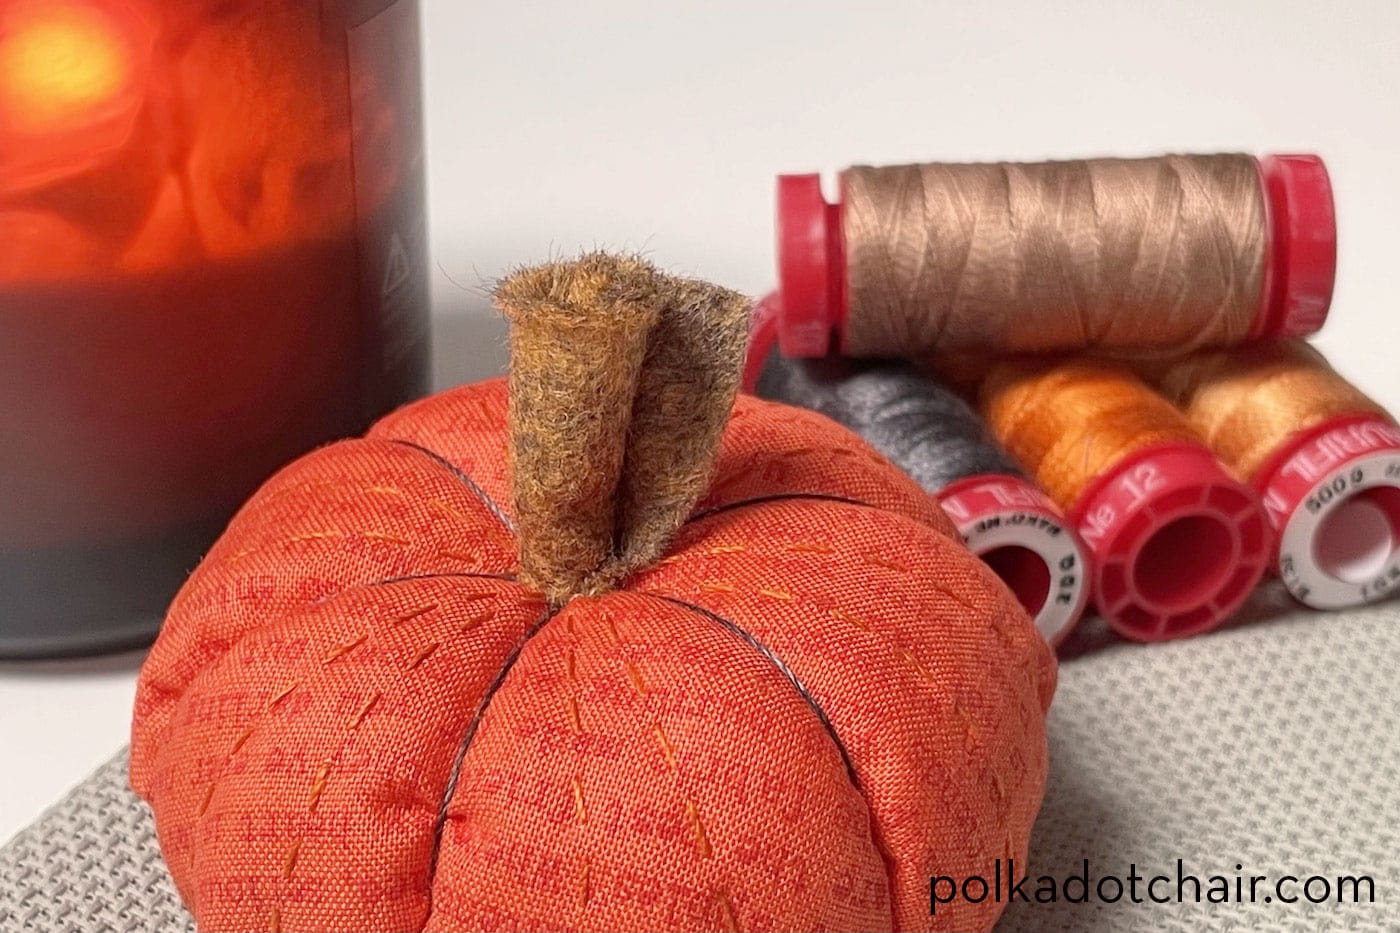
This pin cushion is a cute size that fits into the palm of your hand, but if you’d like it larger, you can start with a bigger fabric circle.
Looking for more Pumpkin Sewing Patterns?
If you’re not in the mood for a pin cushion, this make would also be the perfect addition to autumnal-themed decorations around the house.
Pumpkin Pincushion Sewing Pattern
Equipment
supplies
- 1 Fat Eighth Main Fabric
- 1 piece White Felt small scrap this can be any color of felt as it is used for the base
- 1 piece Brown Felt small scrap
- 1 package Stuffing
- 1 skein Orange embroidery or hand quilting weight thread
- 1 skein Brown or black embroidery or hand quilting weight thread
Instructions
Cutting:
- From the Main Fabric, cut 7” diameter circle (1).
- From White Felt, cut 1½” diameter circle (1).
- From Brown Felt cut 1” x 2” (1).
Construction:
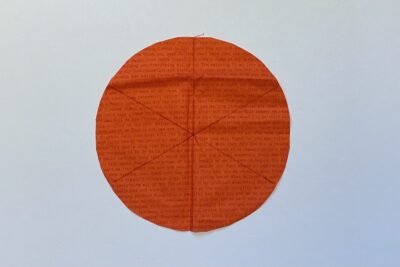
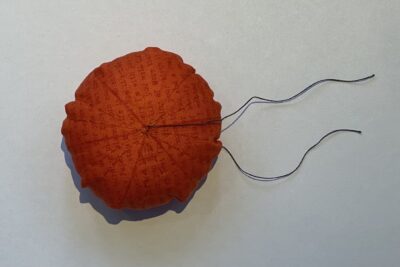
- Take the Main Fabric circle and mark three lines on the right side of the fabric, splitting the circle into six even sections. The easiest way to do this is to start with a vertical line down the center of the circle, then use the 60° guideline on a quilting ruler to add the other two lines. These lines will be covered with thread later on, but it's best to choose a fabric pen that will fade so you can’t see them once the pin cushion is finished.
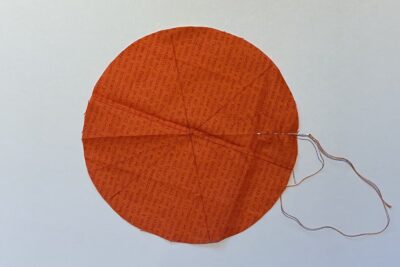
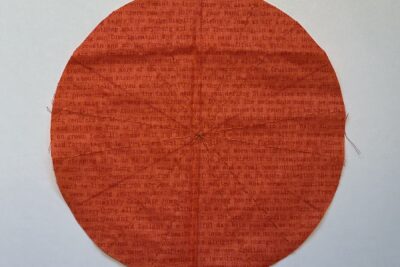
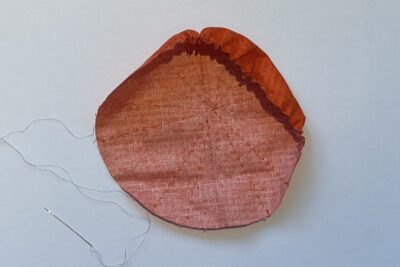
- Using the orange embroidery thread (or hand-quilting weight thread), add hand-sewn lines of running stitch to fill the space between the guidelines you draw in step 1.
- I added two lines in each section; you can add as many as you like. Don’t sew anything over the guidelines!
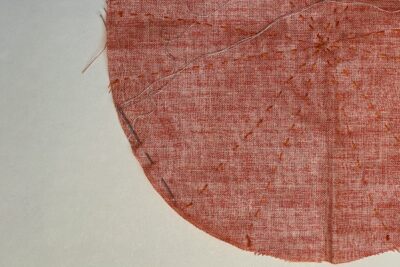
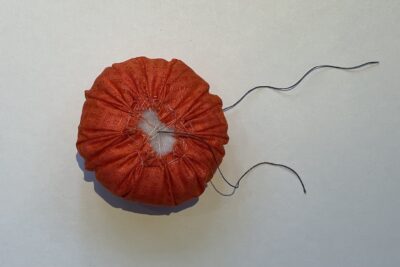
- Now, take the Main Fabric circle with the wrong side facing you. Using a long piece of thread, secure the thread with a couple of hand-sewn stitches and then sew a running stitch around the circle’s edge (about ¼” from the raw edge).
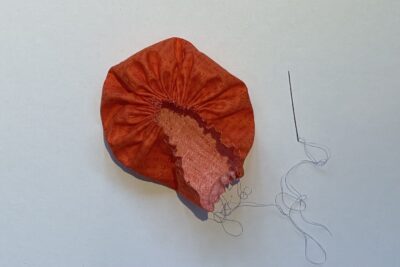
- Once you’ve reached about halfway around the fabric circle, start gathering the edge by gently pulling the thread and scrunching the fabric.
- Continue the running stitch until you get back to where you started.
- Gather the fabric again, but leave enough space to add the stuffing.
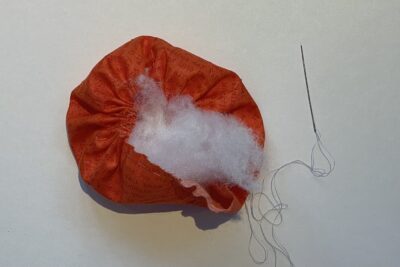
- Stuff the circle with stuffing. The amount of stuffing is up to you, but I’d recommend filling it out so you end up with a nice, puffy pin cushion.
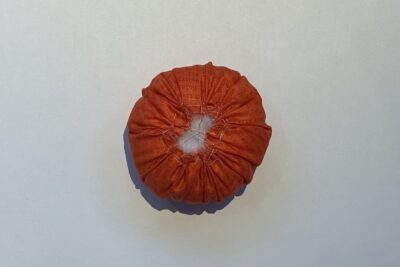
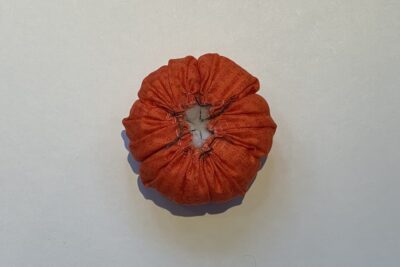
- Once the pin cushion is as full as you want it, gather the fabric more tightly (be careful not to snap the thread!) so that the fabric covers most of the stuffing.
- Leave it so there is a little stuffing still visible in the center. Sew a few stitches to secure all the gathers.
Finishing:
- Take a length of black embroidery thread and sew it through the center of the pin cushion. Guide your needle up through the stuffing in the base and come out through the Main Fabric where the drawn guidelines cross in the center.
- Pull the thread so you have a roughly even amount coming out of their base and out of the top.
- Turn the pincushion over, guide the thread over the drawn guidelines, pull the thread very tightly (to create a puffy shape in the pin cushion), and tie it with a knot at the base. Repeat this to cover all six of the guidelines that have been drawn.
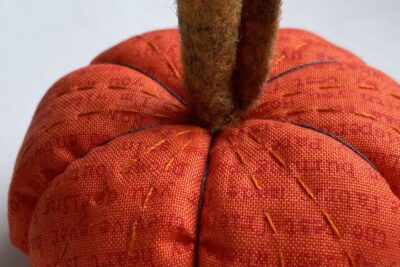
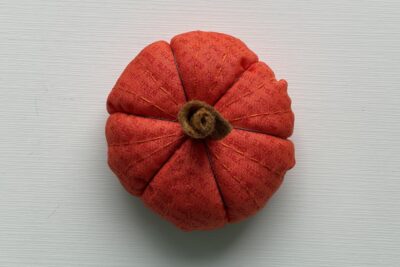
- Turn the pincushion back over again, and it should now look pumpkin-shaped.
- Roll the brown felt rectangle up to create a 1” tall stalk. Add a couple of stitches at one end to hold the roll in place.
- Hand-sew the stalk into the dip in the center of the pumpkin.
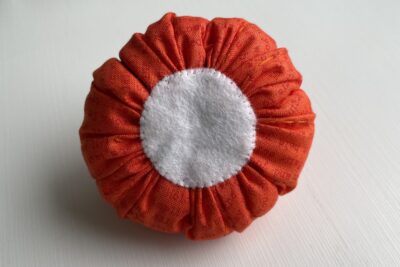
- Hand-sew the White Felt circle to the base of the pin cushion, covering the raw edges of the fabric and the black embroidery thread knots.
- To finish, spread out and roll over the top edge of the stalk.

About the Author

Amy lives in the north of England with her husband and son. When she’s not sewing and quilting, Amy can usually be found baking or reading. You can find her on Instagram @amyatthegate

