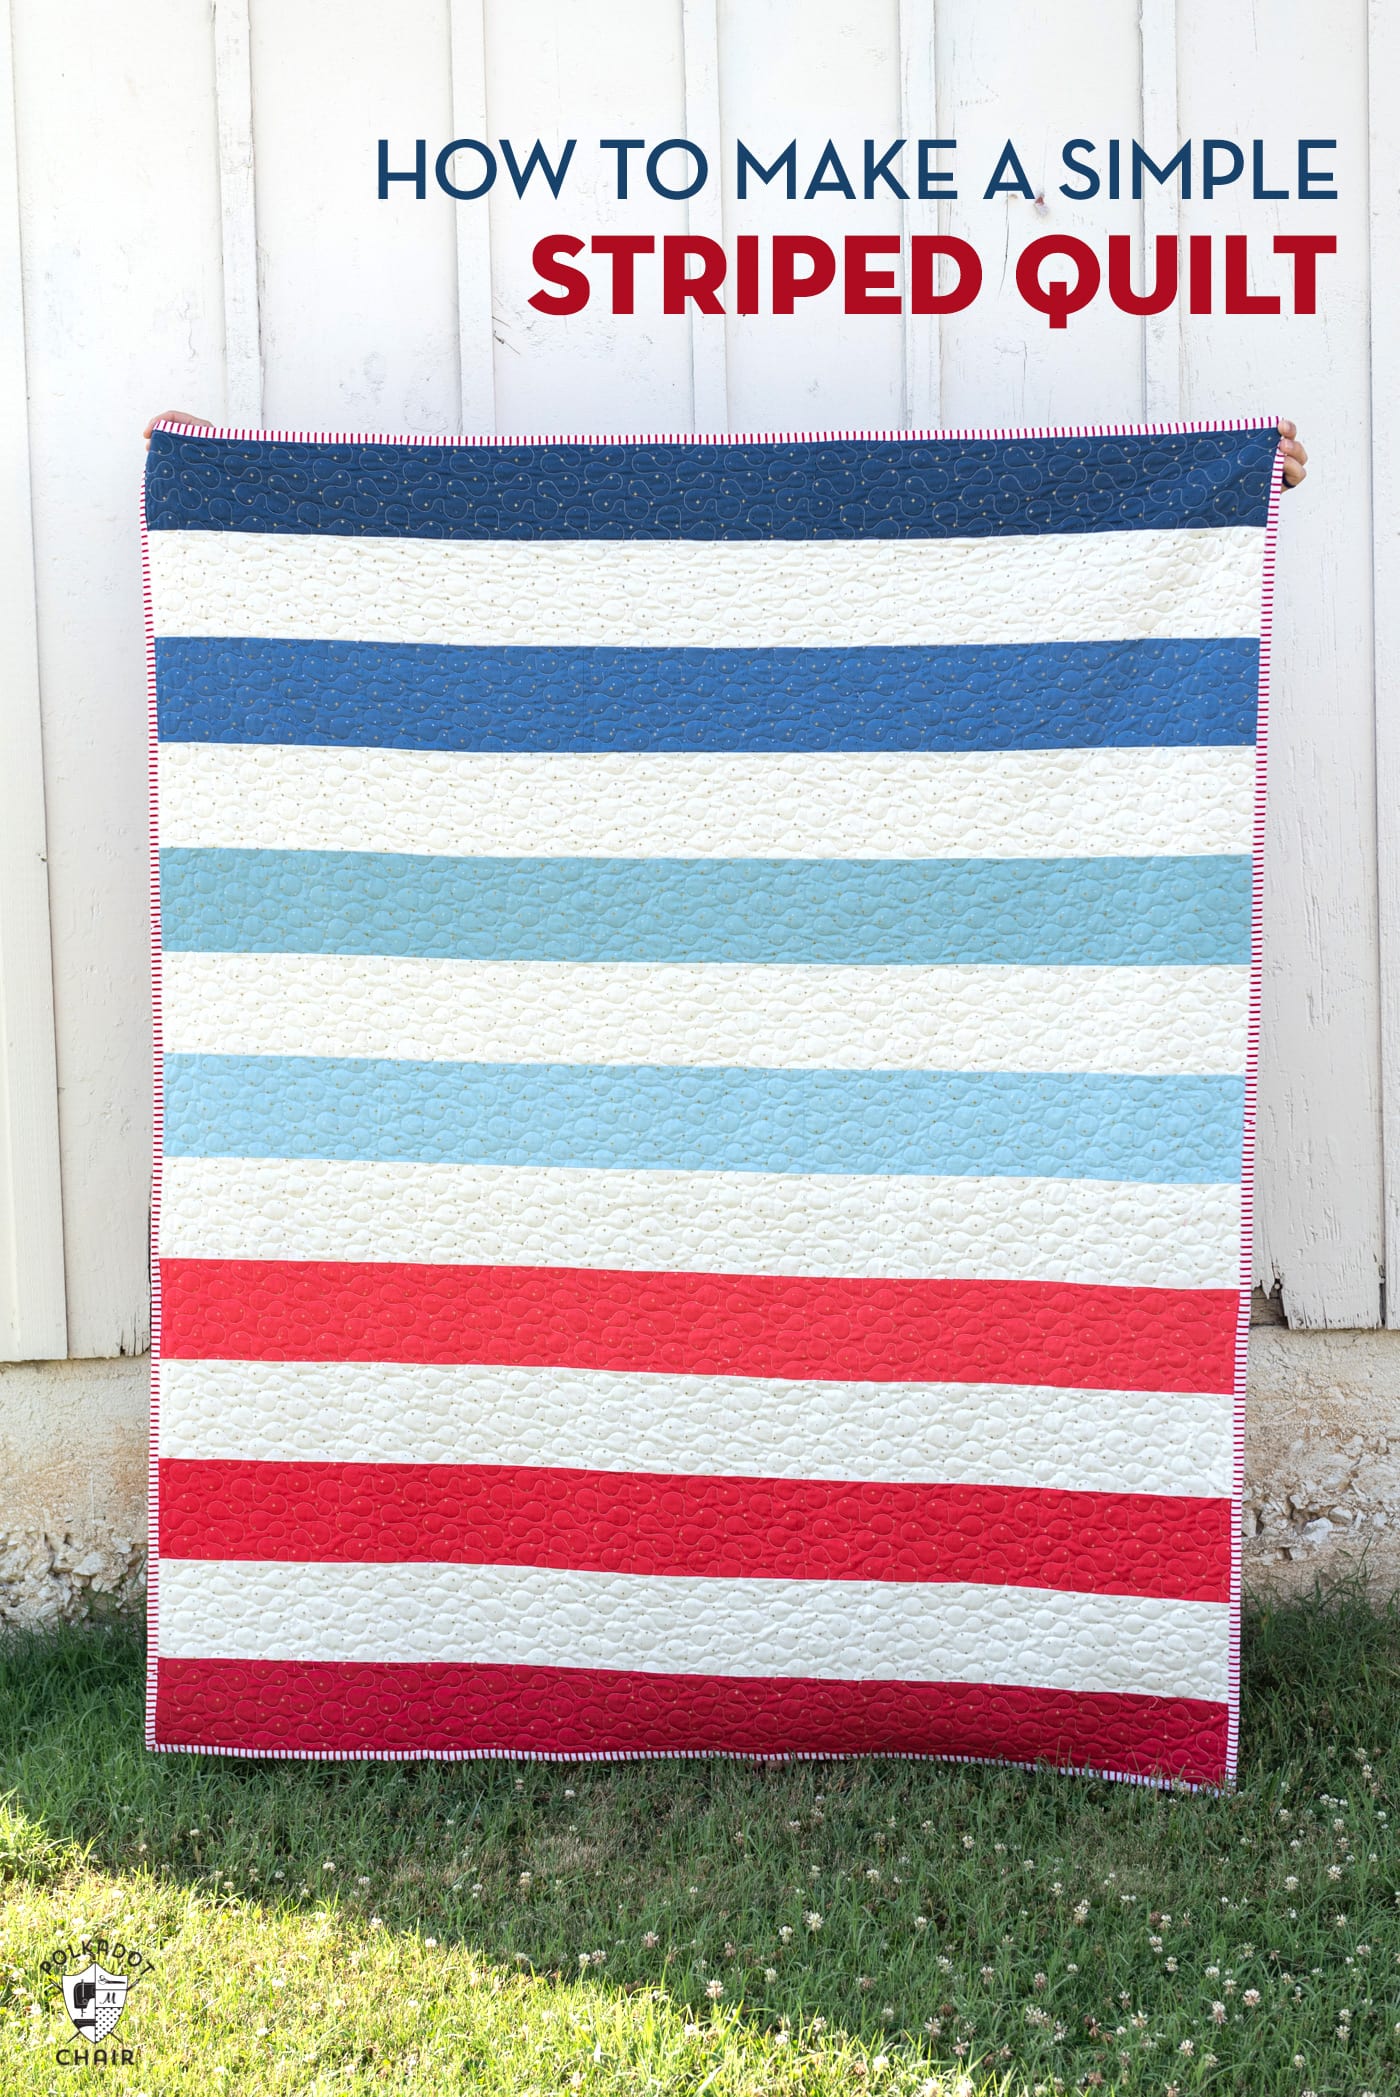
How to Make a Simple Strip Quilt
A simple strip (or striped quilt) is one of the easiest quilts that you can make. It requires only strips of fabric, so there are no corners to match, making it the perfect quilt for a beginner looking to make their first quilt. It’s also great if you’re looking for a simple to piece, fast quilt pattern!
I have wanted to make a red, white, and blue quilt for the 4th of July for several summers now! I even started a few (which I plan to finish, but not this year).
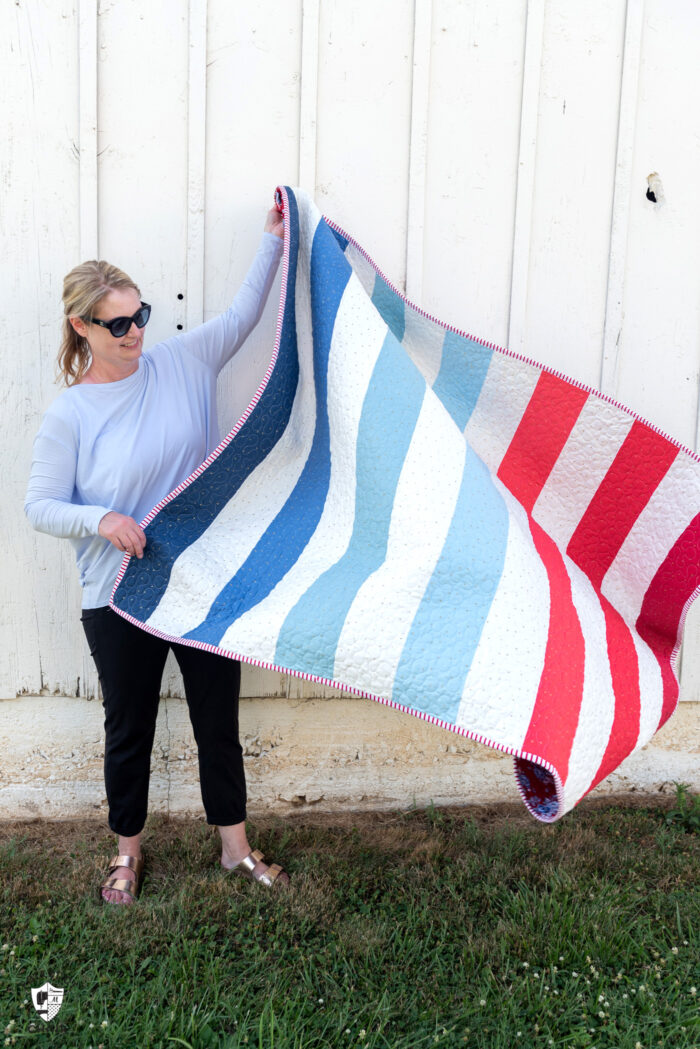
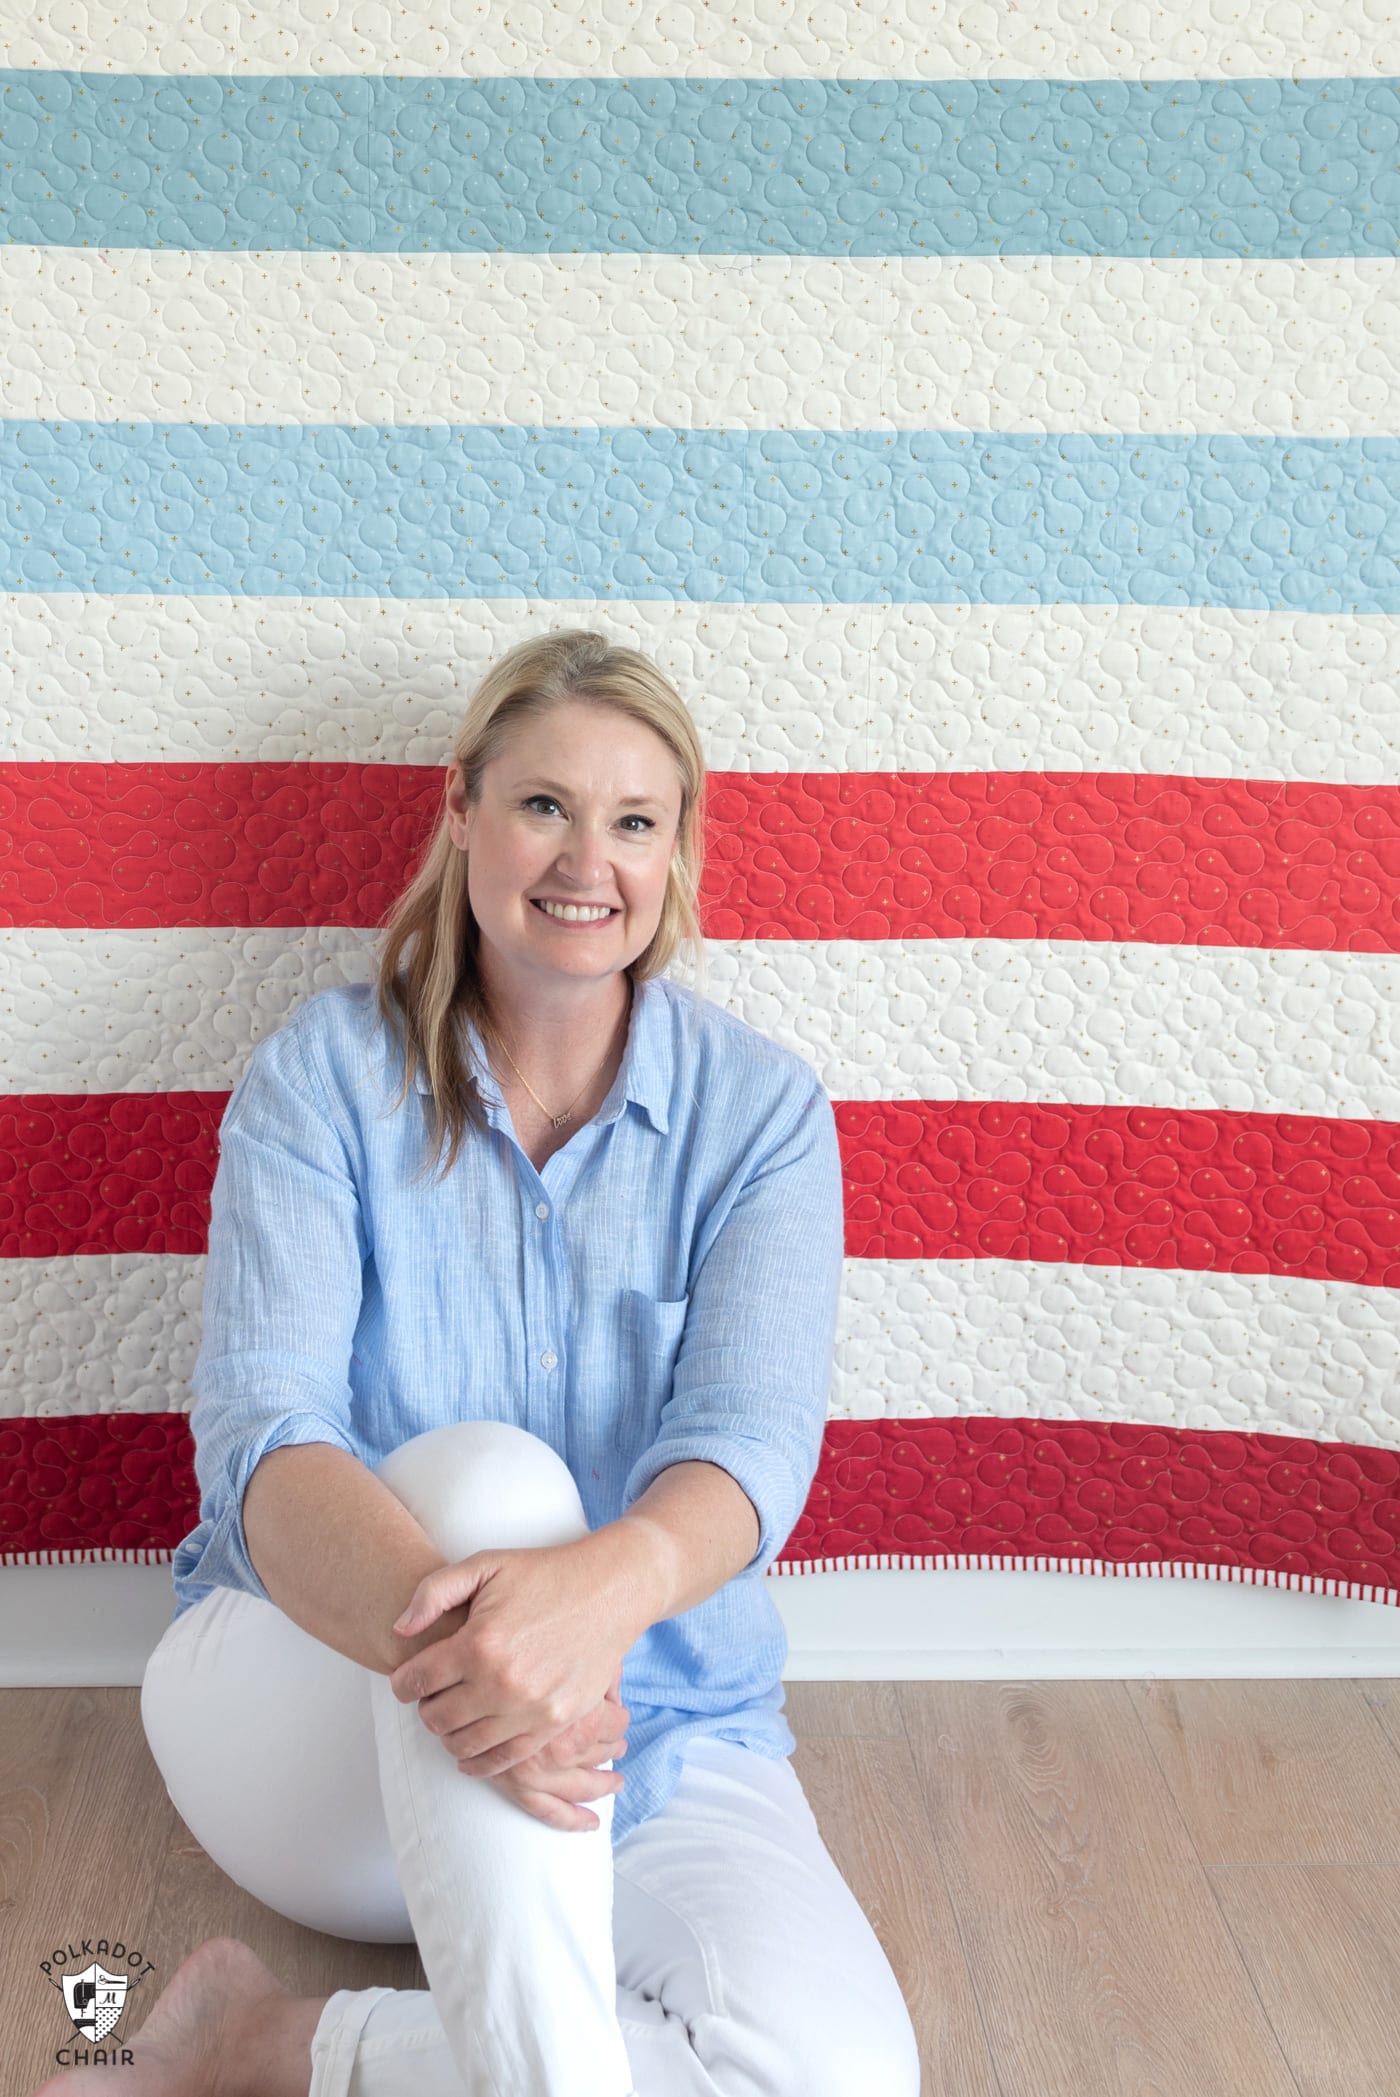
I debated about whether or not to make a flag quilt. I adore flag quilts and still plan to make one, but I realized this was not the year for me to tackle that project. I decided instead to create a quilt inspired by the flag, hence the red, white, and blue stripes.
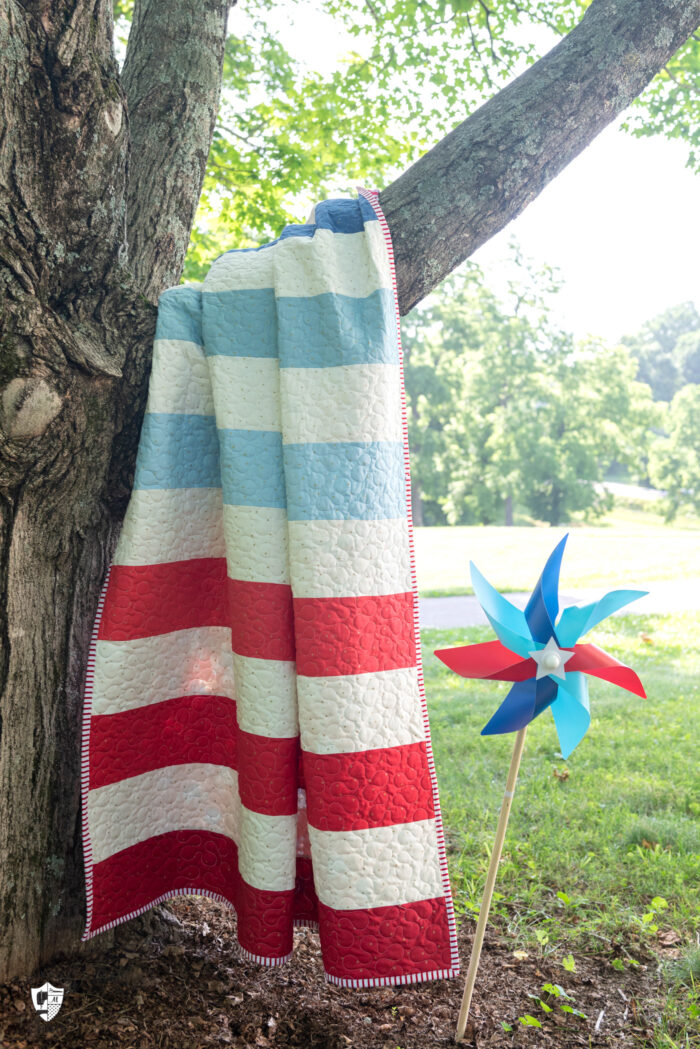
I’ve been deep in many long-term projects and needed a quick fix so I could feel like I finished something! Do you ever feel like that? I made this quilt in a day. One day! Can you believe it? It’s that simple to construct.
What is a Strip Quilt?
I’m frequently asked, “what is the best quilt for a beginner to make.” I usually advise them to tackle a simple patchwork quilt. However, I think today’s simple strip quilt might be easier to make than a simple patchwork quilt.
In a patchwork quilt, you need to match the corners of the squares, which can be challenging for a beginner. A strip quilt, however, has no corners to match. You literally sew the rows together.
Striped quilts are also a bit more modern and might appeal to you if you’re looking for cleaner lines in a quilt pattern.
What Size Strips Should You Use?
The beauty of a strip quilt is that you can make the strips in ANY size you want! If you only have 1/4 yard of fabric, make them each 4 1/2″ wide (1/4 yard of fabric is 9″ wide and nine divided by 2 = 4 1/2).
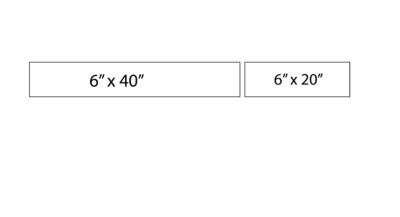
I chose to make my strips 6″ wide. With 6″ wide strips, you can get six cut sections from a yard of fabric, so it made the math easy.
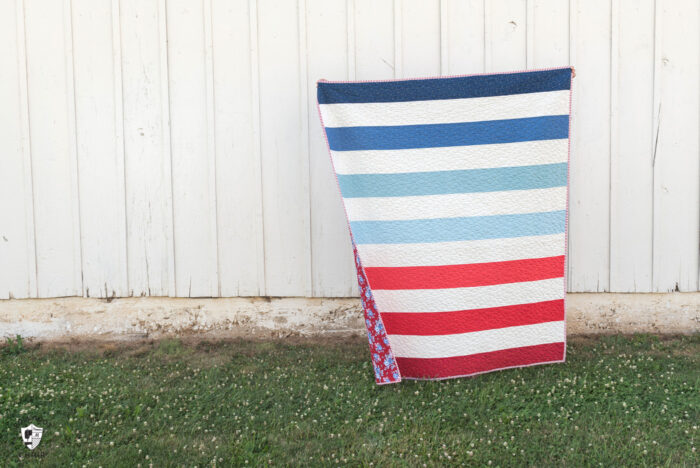
I made my quilt about 60″ x 72″, which is an excellent size for a lap quilt. If you want to make it larger, you can, just cut the strips wider or add more rows of fabric.
Would this Work for a Baby Quilt?
Most quilting fabrics yield about 40″ of useable material between the selvage edges. Since I wanted my quilt to be about 60″ wide, I needed to use 1 1/2 cuts of fabric to get 60″ (40″ + 20″). However, if you want to make this a baby quilt, it’s even easier.
Simply make your quilt 40″ wide. Then all you have to do is cut the strips of fabric can sew the rows to each other; you don’t have to sew pieces together to make the strips longer as I did.
If you want to make this a baby quilt, I recommend making it 40″ x 50″, which is nine rows of fabric.
Guide to a Few Common Quilting Terms
In the instructions, I use a few quilting terms, I thought I’d define them for you, so you understand what I’m talking about.
WOF: This is Width of Fabric. Quilting fabric comes on a bolt folded in half with the selvage edges even. Most fabric is 42″ wide with the selvage. Quilting fabric is sold by the yard. So 1 yard of fabric is 36″ of fabric. If you bought one yard of fabric, you’d end up with a 36″ x 42″ piece.
Most people do not unfold the fabric as they work with it. They cut it still folded. So when the term WOF is used, it means leaving the fabric folded (the way it came) and cutting your measurements that way.
So in our case, a 6″ wide by WOF piece will be about 6″ x 42″, but some of that 42″ is selvage, so you end up with a varying amount of useable fabric (depending on the manufacturer), but most of the time you get 40″.
Selvage: Selvage refers to the finished edges of the fabric. Selvages are created during the manufacturing process and usually have the fabric designer, manufacturer, or SKU printed on them.
How Do I Finish a Quilt?
I’m sure you have noticed that most free and printed quilt patterns do not come with finishing instructions. That is because there is a multitude of ways to finish a quilt, and it comes down to personal preference.
If you’re interested, check out my favorite ways to finish a quilt.
I also prefer to machine bind my quilts and have outlined my process, so be sure to check it out if that’s something you’d like to try.
What Fabric Should I Make a Quilt With?
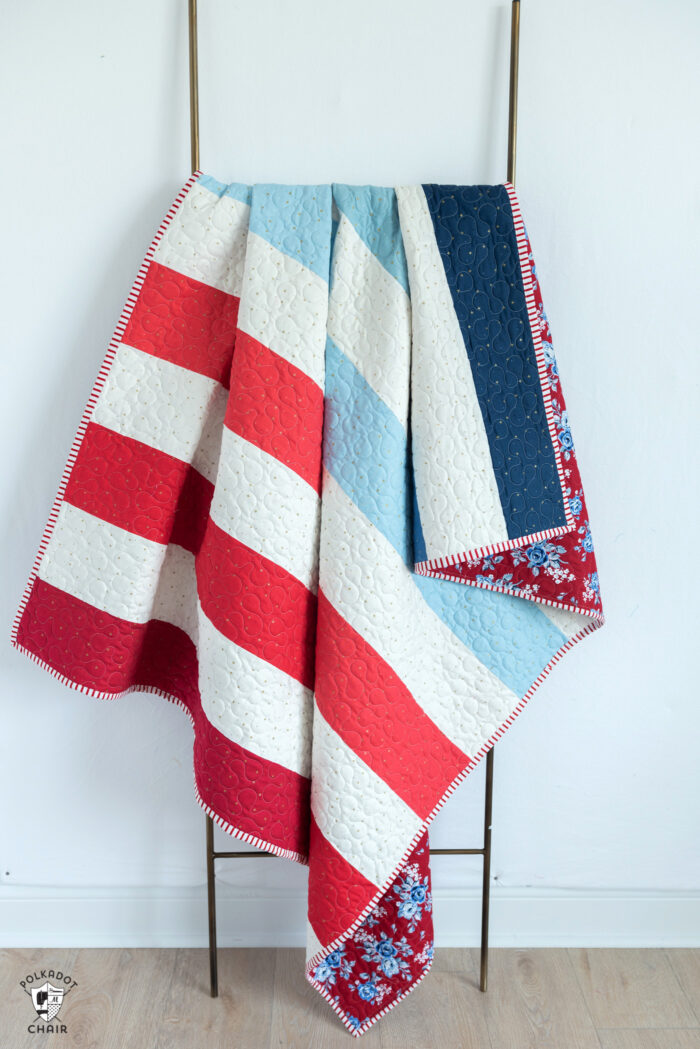
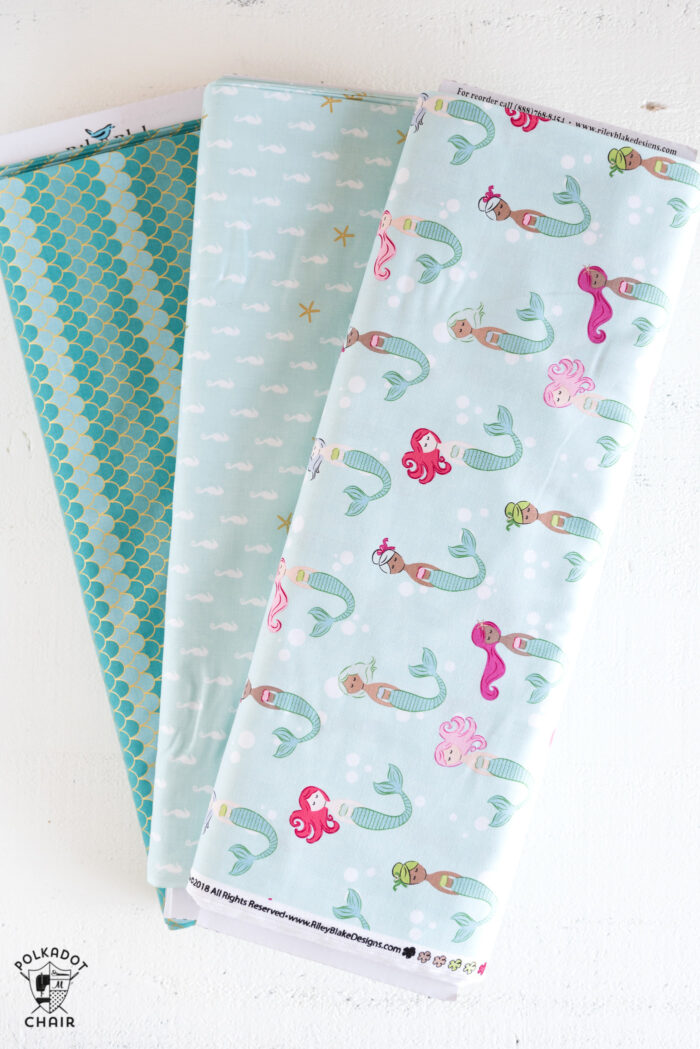
I used fabric from my Sparkler collection on this quilt. I mean, I had to make a 4th of July quilt with it; the name is SPARKLER, after all!
Sparkler is a great fabric to use for this quilt because it gives the appearance of a solid fabric, but since it has a subtle print, the finished quilt has a bit of extra texture. This gives visual interest to your project. That little something “extra” to take to a wow project.
In general, I recommend always sewing with high-quality quilting cotton. They have a high thread count, and generally, the colors hold up better after washing.
Simple Strip Quilt Pattern
supplies
- 1/3 Yard Red Fabric 1 I used Cayenne from the Sparkler Line
- 1/3 Yard Red Fabric 2 Riley Red Sparkler
- 1/3 Yard Red Fabric 3 Barn Red Sparkler
- 1/3 Yard Blue Fabric 1 Navy Sparkler
- 1/3 Yard Blue Fabric 2 Denim Sparkler
- 1/3 Yard Blue Fabric 3 Boy Blue Sparkler
- 1/3 Yard Blue Fabric 4 Lake Blue Sparkler
- 1 1/2 Yards White Fabric I used White Sparkler
- 1/2 Yard Fabric For Binding
Instructions
- Quilt Size is Approx: 58" x 72"
Cutting
- From each of the Red & Blue Fabrics cut:2 pieces 6" x WOF (width of fabric)From White Fabric Cut:9 pieces 6" x WOF
- For Red & Blue Fabrics:Cut one 6" wide strip of each color to 40" long.Cut the other 6" wide strip of each color to 20" long.For White Fabric:Cut 6 of the 6" wide strips to 40" long. Cut the 3 remaining 6" wide strips into two 6" x 20" pieces.
Sewing all seams are 1/4"
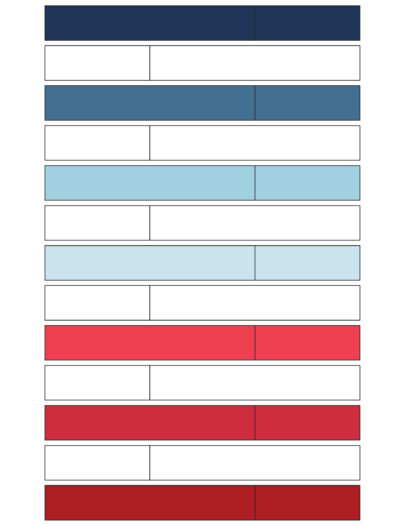
- For all fabrics:Sew one 6" x 40" wide piece of fabric to one 6" x 20" wide piece of fabric of the same color.

- You should end up with:6 strips of white fabric 6" x 58 1/2"One 6" x 58 1/2" strip of:NavyDenimLake BlueBoy BlueCayenneRiley RedBarn Red
Sew Rows Together
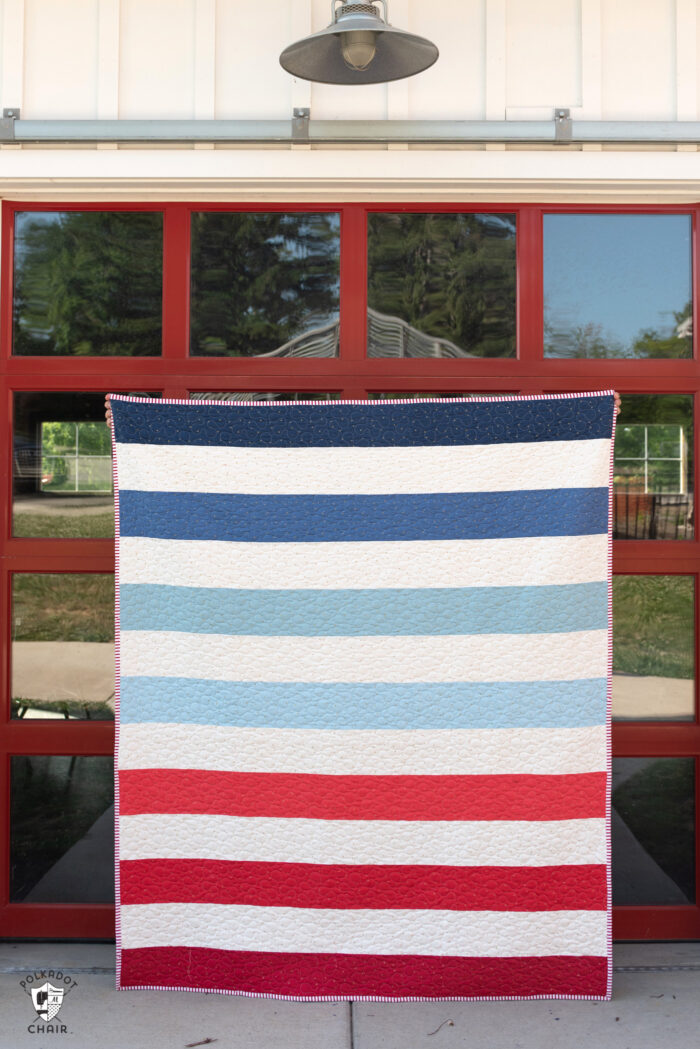
- Arrange the fabric strips into rows as shown in the diagram. Sew the rows to each other. Press the seams when finished.

- Finish the quilt using your favorite binding and quilting methods.
Thanks, Melissa for this instructions for this quick and easy quilt. I am in the process of making one at this time and enjoying it. The process I’m using is slightly different, as I am using strips of varying widths. I recently turned 82 and decided it’s time to start using more of my fabric stash. Thanks again for your fun and informative posts.
This is exactly what I need for a quick gift for my daughter who was just diagnosed with breast cancer. I wanted to make something quick so she can have it for her recovery after surgery. Thanks so much for sharing rhis! I am starting on it right now.
Love, love, love this pattern. I am working on collecting cute prints to make it this month. Any idea where I can find your fox farm red floral and red stripe fabric online? They are perfect for this design!!
It’s been out of print for a while, sometimes you can find older fabrics on Etsy.
Hello, One thing that needs to be addressed when cutting and sewing strips together is that they need to be alternated. Using width of fabric makes it easy. Since the salvage is visible, just alternate the salvages. If not, you’ll certainly have a bow in your quilt.. I speak from the voice of experience. I’m not sure if my explanation is clear. Perhaps you could add clarification.