DIY Applique Hocus Pocus Halloween Sweatshirt
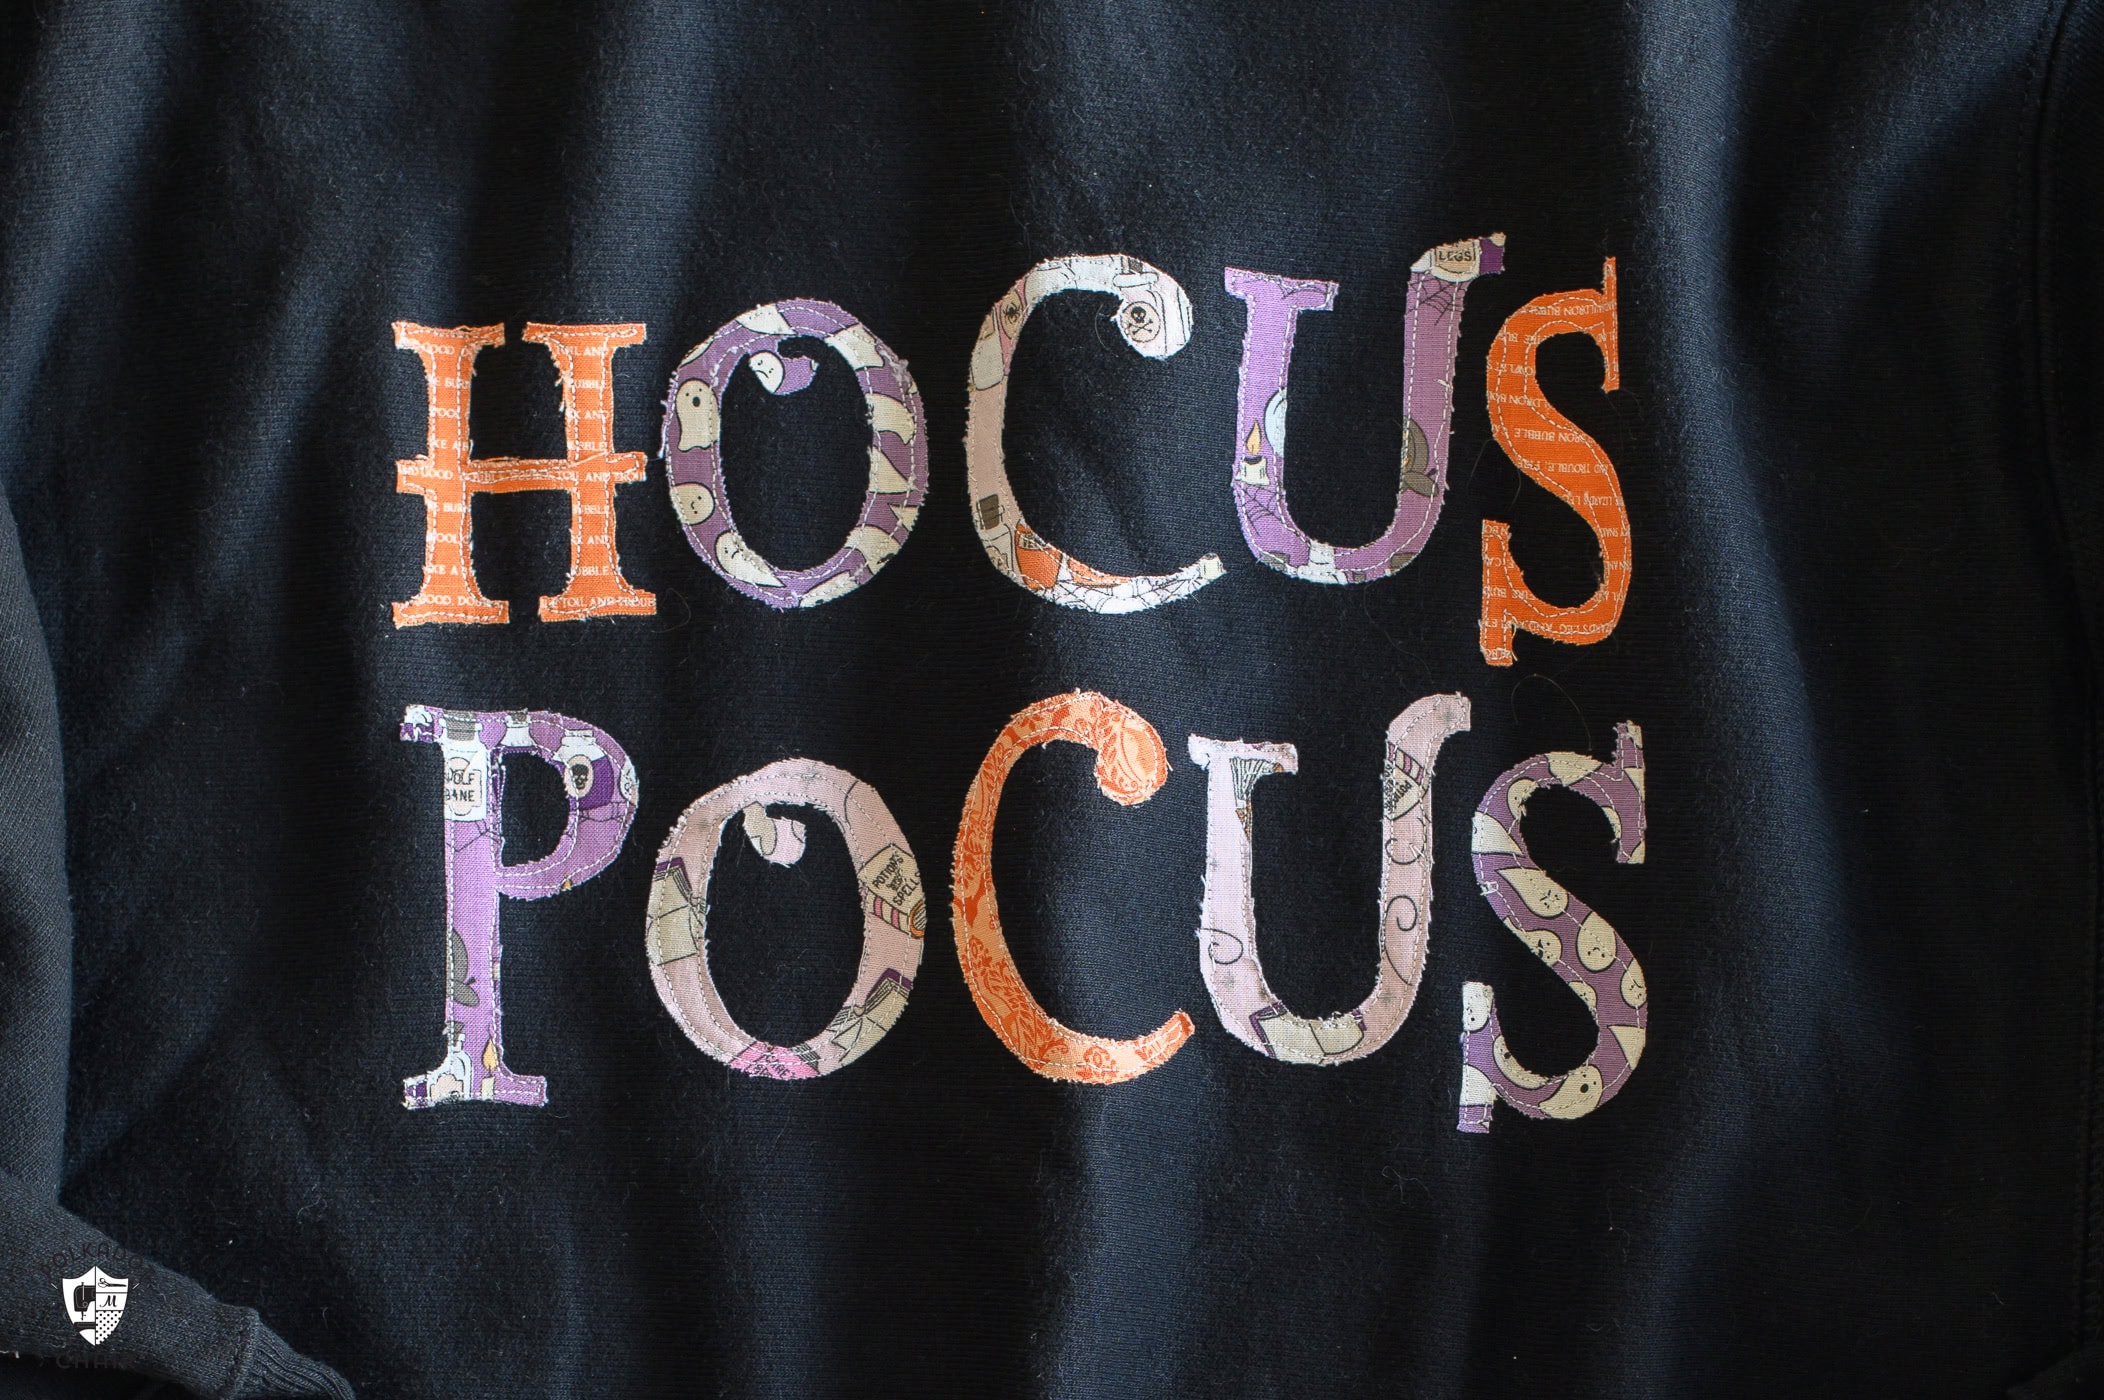
Make a Hocus Pocus Halloween shirt with a few favorite quilt fabric scraps and simple raw-edge appliqué. Mix up your favorite Halloween prints for a scrappy sweatshirt! It’s a great way to use leftover fabric scraps from one of your Halloween quilt projects!
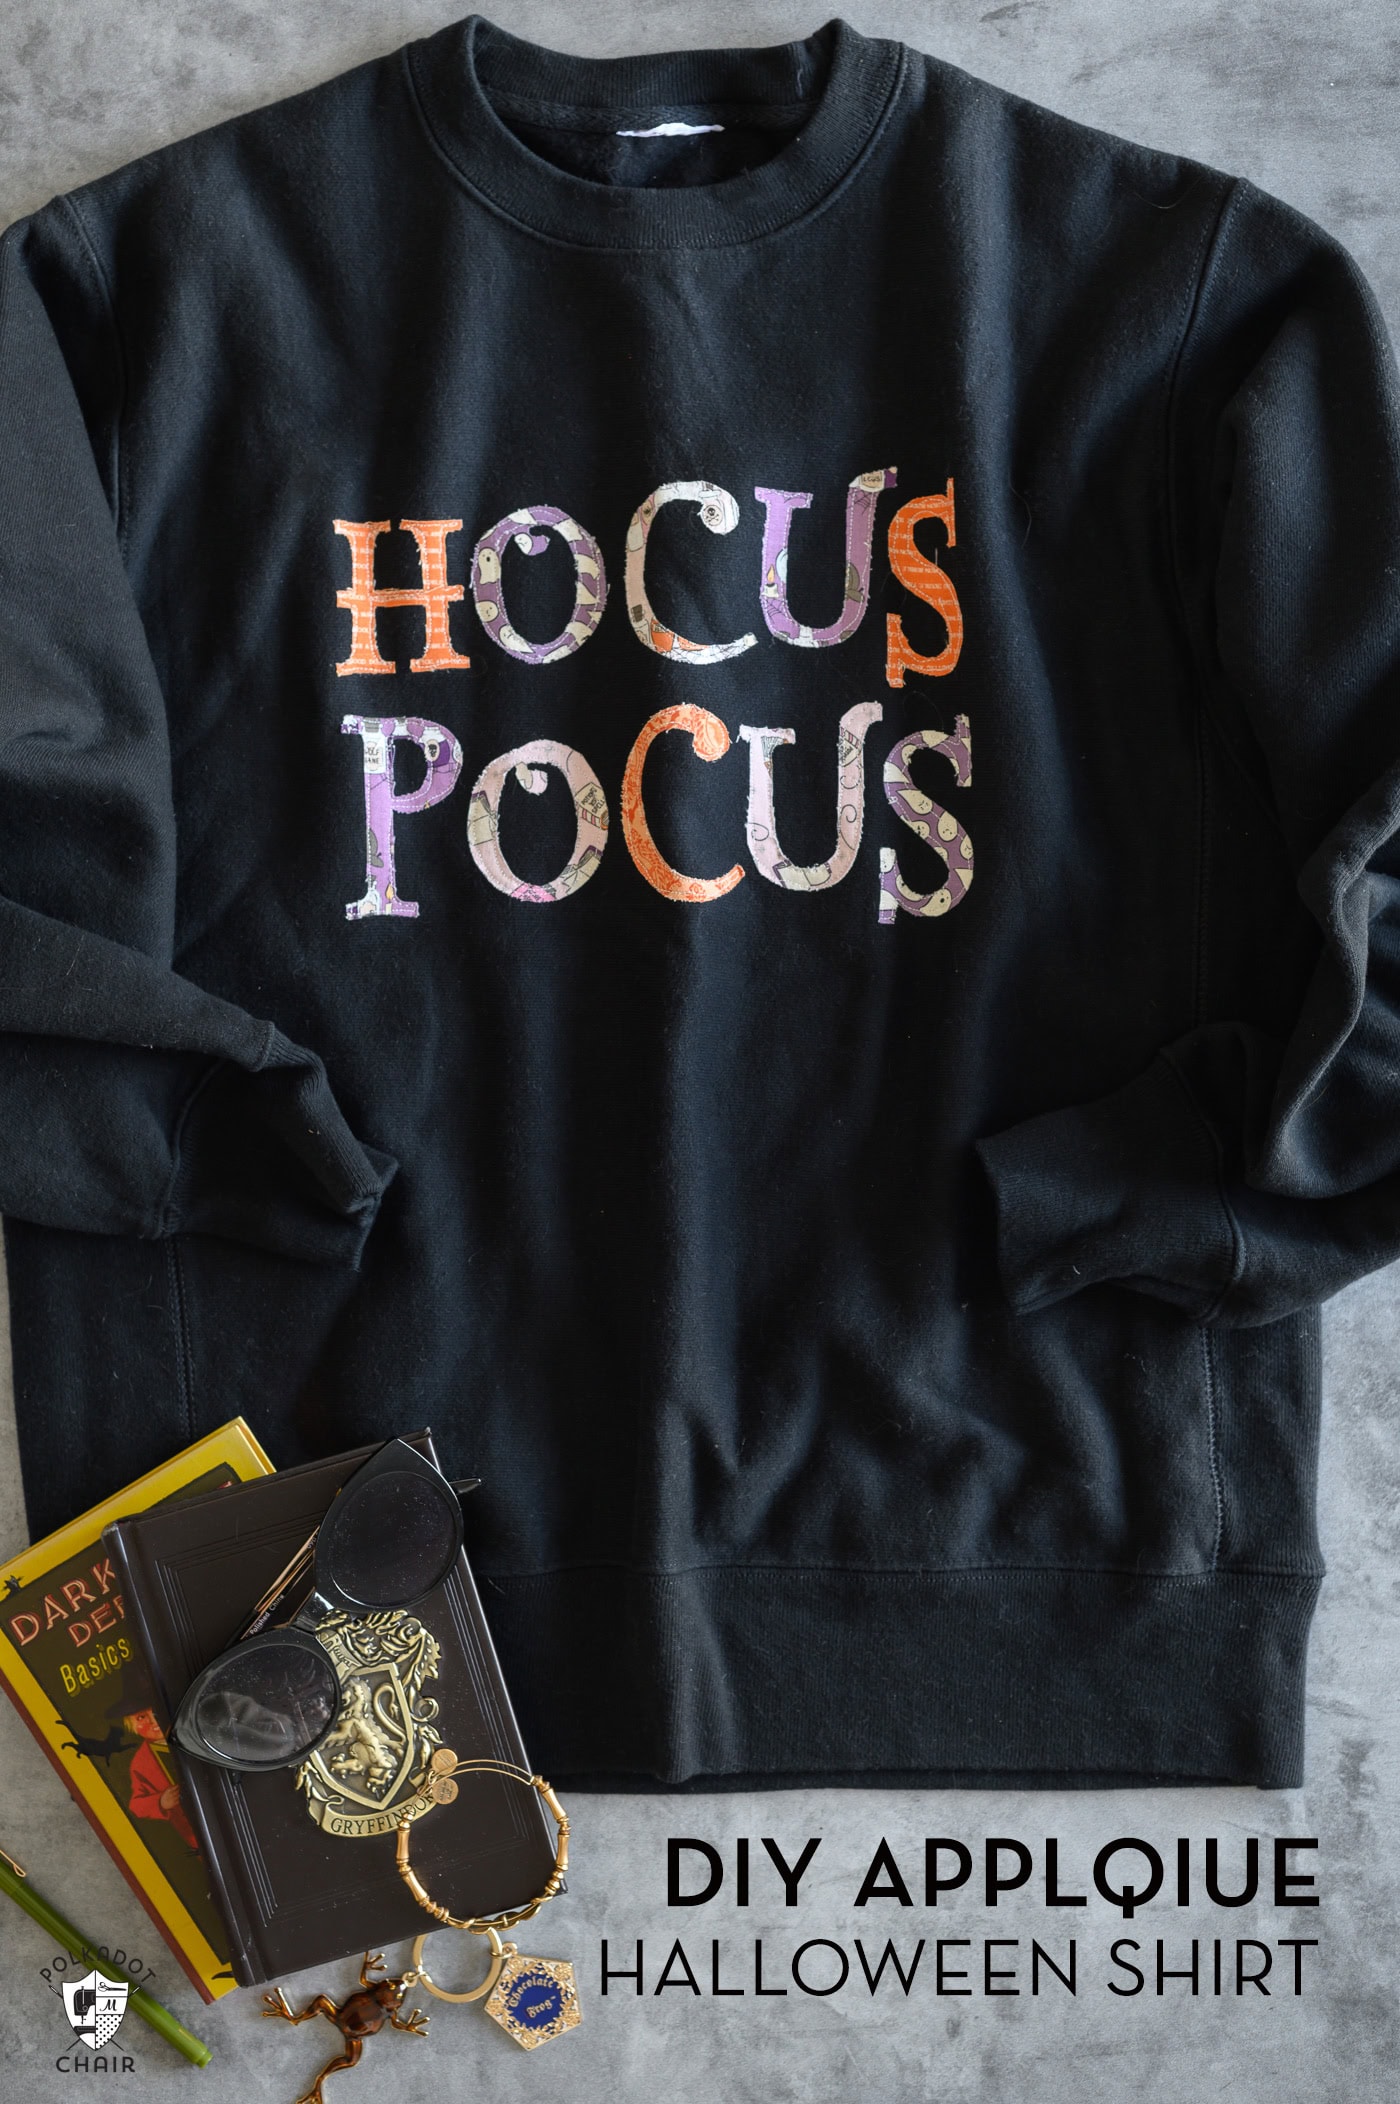
If you’re looking for a cute last-minute Halloween project, try making a custom applique Halloween sweatshirt. This project is super simple; it just takes a bit of patience to stitch around the letters. Go slowly, and remember the project is MEANT to be handmade, so a bit of imperfection will just add to the charm!
How to Get the Hocus Pocus Lettering Template
Fill out the form below, and we will email you a copy of the PDF of the letters for the project.

DIY Hocus Pocus Sweatshirt Sewing Tutorial

Make a Hocus Pocus Halloween shirt with a few favorite quilt fabric scraps and simple raw-edge appliqué. Mix Halloween prints for a scrappy look; it’s a great project to use some leftover fabric scraps from one of your Halloween quilt projects!
Equipment
- Thread
supplies
- 1 T-shirt or sweatshirt
- 10 Quilt fabric scraps large enough for your letters
- 1 package Lightweight paper-backed fusible web suitable for sewing I prefer Heat N Bond Lite
- “Hocus Pocus” lettering template – fill out the form on this page to get the PDF
Instructions
Step One: Prewash the Fabric
- For this project, I recommend prewashing your fabric and sweatshirt. Wash and dry the shirt and fabric scraps without fabric softener. After they come out of the wash, use an iron if your fabric is wrinkly. Choose fabrics that contrast with your shirt so the words are easy to read. Arrange your scraps next to one another to check the mix of colors and prints.
Step Two: Trace the Letters
- Print or draw “Hocus Pocus” at the size you’d like for your shirt. Bold letters with thicker strokes are easier to cut and stitch.

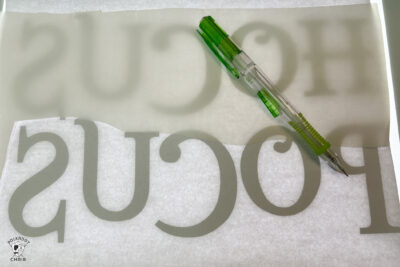
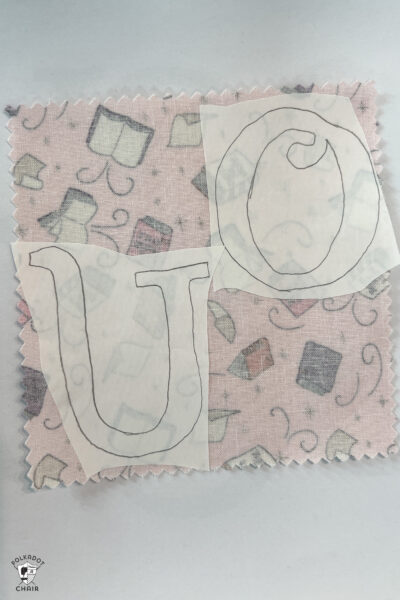
- Start by tracing the letters onto the paper side of the fusible web, leaving a little space between each letter. Reverse the letters for this step so they face the correct direction on the finished shirt.
Step Three: Fuse to the Fabric Scraps
- Roughly cut around each traced letter. Place the fusible web with the adhesive side against the wrong side of your chosen fabric.

- Press according to the fusible web manufacturer’s instructions. Let the pieces cool, then cut out each letter along the traced lines, including any inside openings.
Step Four: Place Letters on the Sweatshirt
- Lay the shirt flat and smooth the front. Fold the shirt lengthwise to find the center and mark it with a removable fabric marker (or you can use chalk, as I did since I am working with a black sweatshirt).
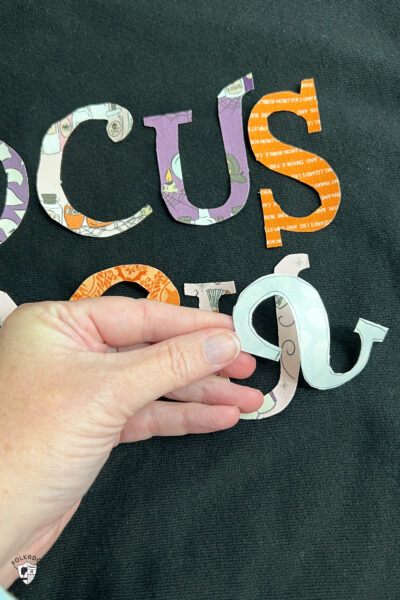
- Peel the paper backing from the letters and arrange “Hocus” above “Pocus.” Adjust the spacing and placement, then check that you’re happy with the design before pressing.

Step Five: Fuse the Letters to the Shirt
- Press the letters in place using the recommended temperature and timing from the fusible web package.

- Lift and lower the iron instead of sliding it across the letters. Let the shirt cool before moving it.

Step Six: Sew Around the Letters with your Sewing Machine
- Stitch just inside the edge of each letter using a short straight stitch. The shorter the stitch the easier it will be to go around the curves. Sew slowly around curves, don’t forget to pivot at corners, and stitch around the inside openings, too.
Finishing
- Trim loose threads and carefully remove any stabilizer. Give the design a final press following the fusible web instructions.
- The fabric edges are left exposed with raw edge appliqué, so some fraying with wear and washing is expected.
Love this tutorial? Get the behind the scenes on Instagram