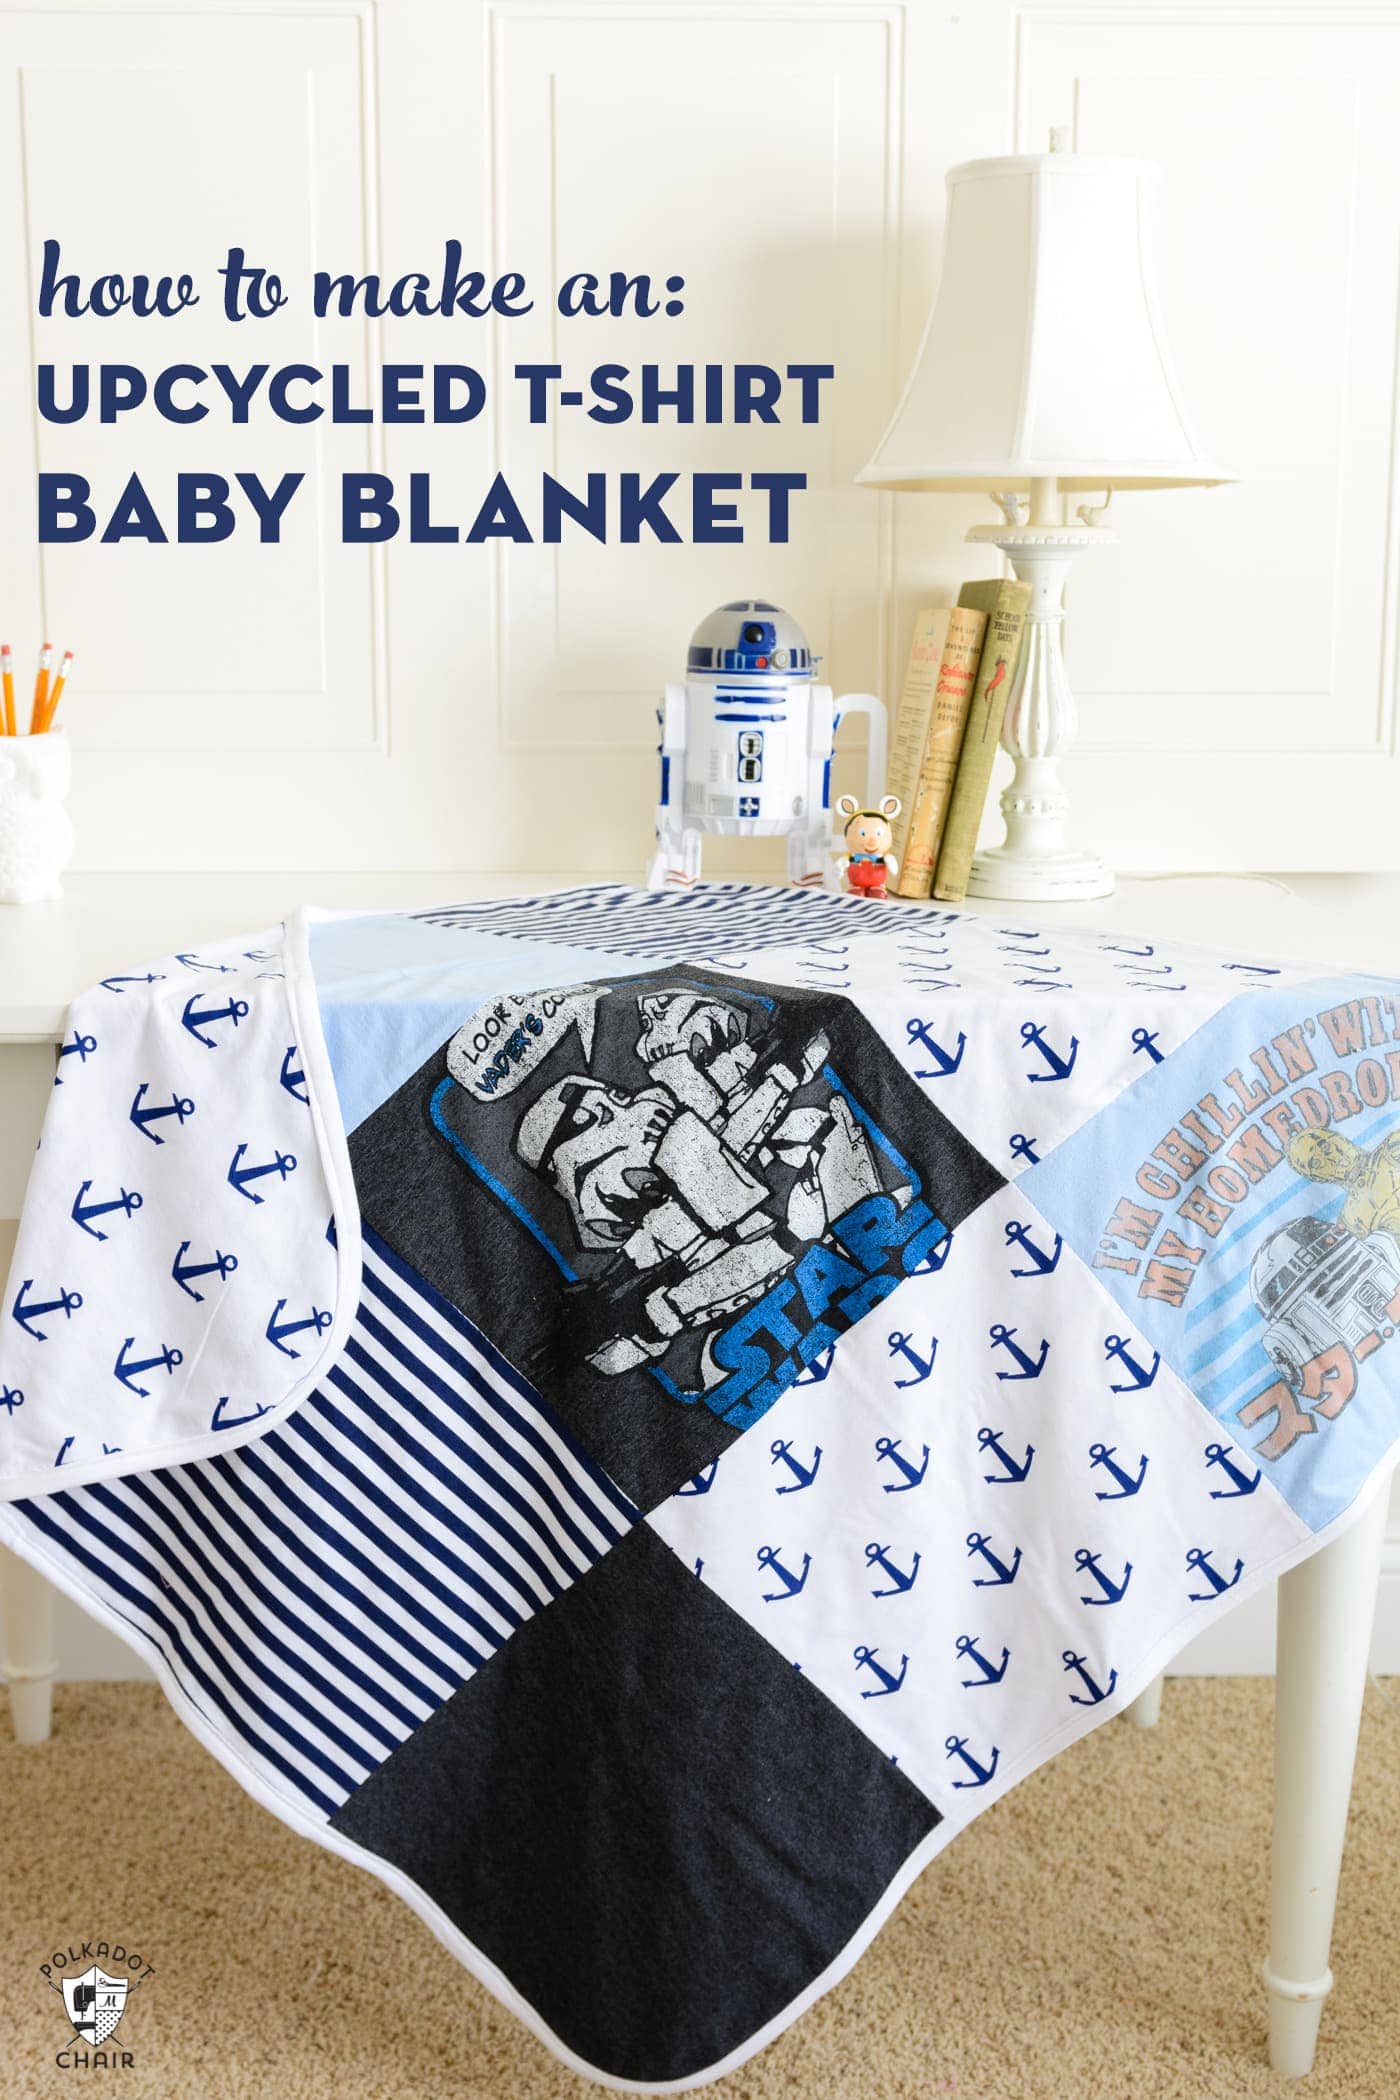
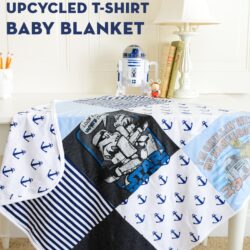
How to Make a T-Shirt Quilt Baby Blanket
Learn how to make a t-shirt baby quilt using upcycled t-shirts. It’s a fun and simple homemade baby gift idea and a great way to recycle some awesome t-shirts with sentimental value that you’re not quite ready to get rid of!
I don’t know about you, but sometimes I get attached to old T-shirts. Sometimes, it’s a t-shirt my son wore daily or a souvenir from a favorite trip.
Either way, I hate to get rid of things that have sentimental value. Today, I will show you how to upcycle a T-shirt into a baby blanket!
Upcycled T-Shirt Baby Blanket Patterns
This project was made from various T-shirts, from favorite sports team shirts to race shirts to travel souvenirs. Since the shirts are soft, they are perfect for upcycling into knit receiving blankets.
This t-shirt quilt would be best as a gift if it features t-shirts from someone they know and love. I probably wouldn’t make it from random t-shirts, LOL! But if you’ve got a stash of sentiment t-shirts, I think it’s a great project to make for a gift.
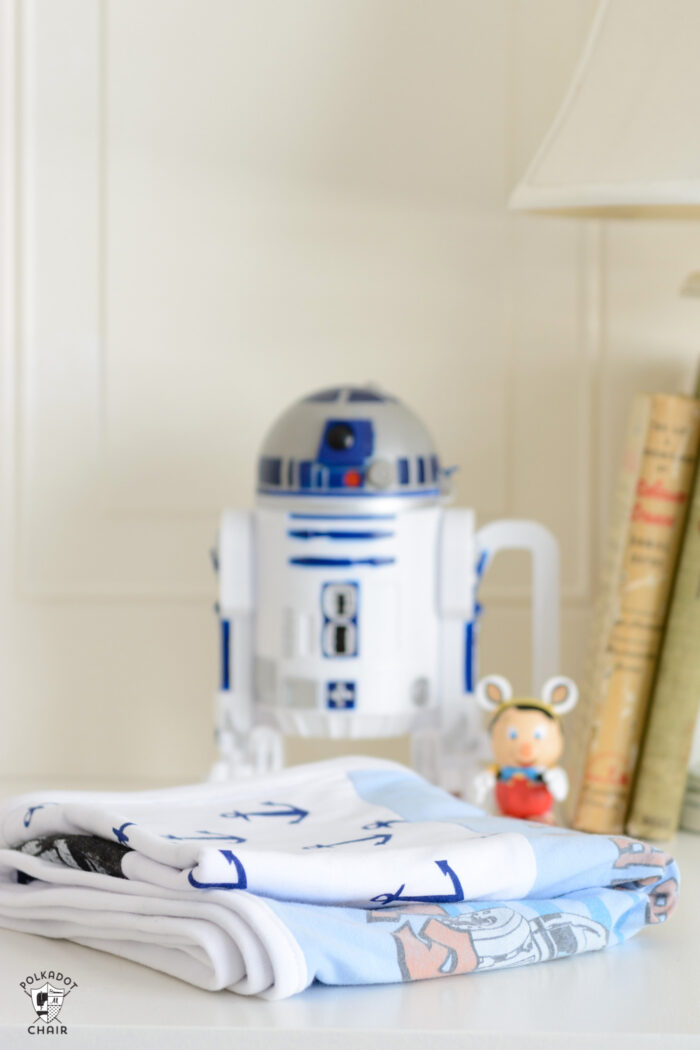
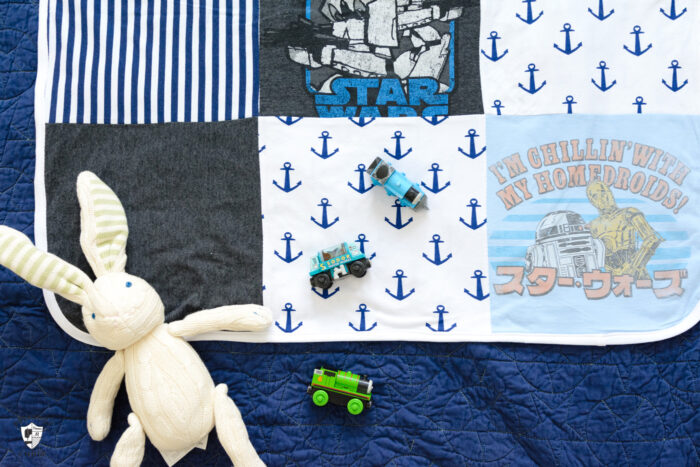
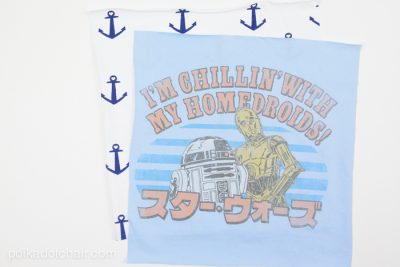
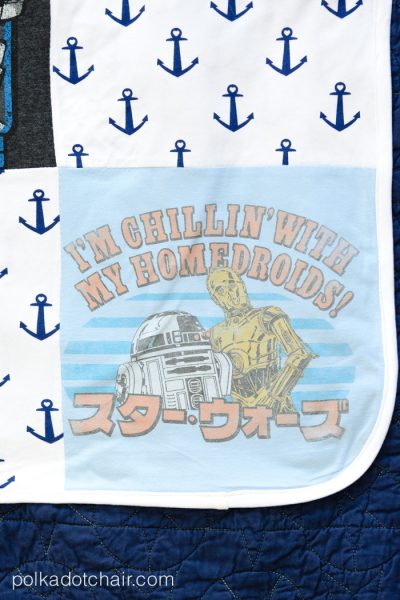
This project is made from a few of my son’s favorite Star Wars t-shirts. We don’t have a particular baby in mind for this blanket, but I thought the Star Wars theme would be universal enough to make a fun gift. I’ll most likely save this blanket for a “someday” grandchild *wink*.
About the T-Shirts Used in the Quilt
The blanket is made from a combination of old T-shirts and purchased knit fabric. If you’re new to sewing with knits, check out this post on “how to sew with knit fabrics.” If you’ve never shopped for knit fabrics before, check out this post on “how to shop for knit fabrics.”
How to Make a T-Shirt Quilt Baby Blanket
Note: I’m using the term “quilt,” but this project is not technically a quilt since there is no batting between the layers. Most of you would call it a baby quilt, so I’m using that term. A baby blanket would be a more appropriate title for this project.
How to Make a T-Shirt Quilt Baby Blanket
Equipment
- 12 1/2″ x 12 1/2″ Quilt Ruler Helpful but not required- The squares we use are 12″ after cutting, but this ruler would help you center your design before the final cut.
- 1 Stretch or Jersey Needle
supplies
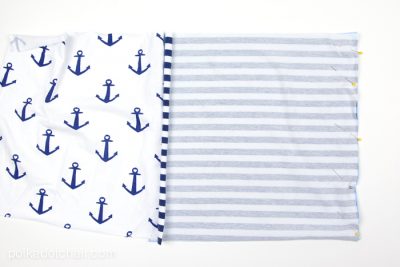
- 9 12″ x 12″ T-shirts cut into squares. I used the front and back of two t-shirts which took up 4 squares of the 9.
- A Variety of Knit Fabrics for the patchwork on the front of the blanket. If you are making this all from t-shirts you don’t need to buy extra fabric. This blanket needs a total of 9 squares for the front. Decide how you want to mix and match the fabrics and t-shirts. My knits were all purchased from Girl Charlee.
- 1 1/4 yards Knit Fabric for the back of the blanket
- 1/2 yard Rib Knit Fabric for the binding
Instructions
Step one: Cut up your T-shirts
- Cut one t-shirt into a 12″ x 12″ square with the “image” of your t-shirt in the center. The size of the t-shirts you are starting with will determine how well your image fits in the 12″ square.
- If you want, you can increase the size of the squares; you will just have to adjust the size of the backing fabric to match. My T-shirts were boys’ size M or L, so a 12″ square was not a problem. If you’re working with adult-size tees, you can go up to a 14 1/2 square, but then you will need to make your backing fabric larger as well.

- Cut 12″ x 12″ squares of knit fabric so that you have 9 squares in total.
Step Two: Lay Out the Cut T-Shirts and Sew Together
- Lay out the squares in a pattern you like in 3 rows of 3 squares.
- Pin the squares of the top row together.
- Insert the stretch/jersey needle into your sewing machine. Install your walking foot. Set your stitch to a slight zig-zag (about an offset of 1 or 2) and lengthen your stitch to 4 or 4 1/2.
- Using a 1/2″ seam allowance, stitch the 3 squares together.
- Repeat for the 2nd and 3rd row of squares.
- Stitch all 3 rows of squares together, matching seams.
- Press well.
Step Three: Backing
- Cut your backing fabric to 38″ x 38″ (if you made your t-shirt squares larger, measure your sewn squares to get the proper backing measurement).
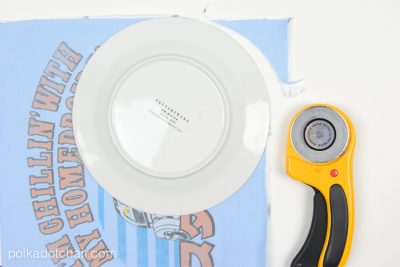
- Lay out your backing fabric on a flat surface, the wrong side up. Make sure it’s smooth. Lay your sewn fabric squares on top with the right side up. Smooth out so that all layers are even. If your fabric is on a cutting mat, use your rotary cutter to trim the backing fabric to be the same size as the sewn pieces. If it’s not on a cutting mat, use scissors.
- Using a plate, round off the 4 corners of the blanket.
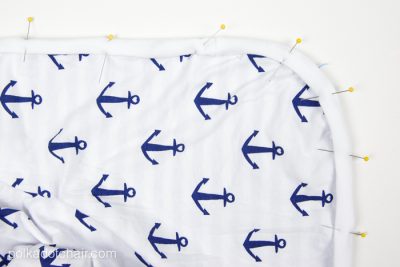
Step Four: Bind
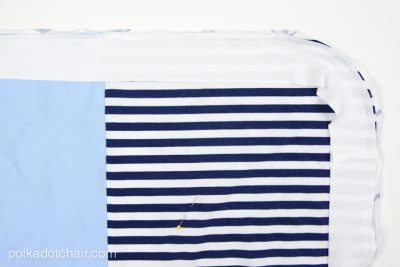
- Next, cut your rib-knit fabric into 2″ long strips. The number of strips you need will depend on the width of your fabric. You need 160″ of rib knit fabric to bind the blanket. Cut the strips, then sew them together end to end to make one long strip of fabric.
- Place several pins in the blanket. Pin the rib knit fabric to the right side of the blanket. Stitch it in place, curving around the corners. Use a 1/2″ seam allowance and make sure you catch all the layers of fabric. It’s very important that you use a walking foot (or dual feed foot) for this step. When you return to where you started, match the ends and stitch in place.
- Turn the fabric to the backside of the blanket and turn it under 1/2″ so that the fold is extending about 1/8″ over the stitching line. Pin well.
- On the front of the blanket, stitch the binding in place.
Finishing:
- After you finish, it will look a little wonky. TRUST ME, this is normal. Fix this and steam the binding well with an iron until it “behaves” again.

- That’s it!!
- It might take some time to get used to it, but try it, and soon, you’ll be an expert!
This post was originally published in 2015 and has been revised, updated, and improved.


Great idea but would be easier to quilt if the shirts and knits were stabilized before assembling the quilt.
Since it’s not a quilt, the t-shirts don’t need to be stabilized. They aren’t quilted and the backing is a knit fabric as well, so it’s meant to stretch.
This is a really great upcycle idea! It almost makes me wish I had another baby coming to put some of my first kid’s stuff to use again. (Almost.)
Gorgeous idea! There are some old tees with sentimental value in my closet too and I just can’t get rid of them. One is my girl’s first t-shirt, one is a gift from her grand-grand mother, there’s a souvenir too and few others and the best thing I could do till now was keeping them hidden and safe 🙂 Well now I can do some up-cycling and make a beautiful blanket for the newest member of our family. We are expecting our second daughter in December and this project is going to be her first blanket. Thank you for the inspiration!
Love this! Now i know what to do with all those shirts i can’t seem to part with.
I don’t sew but when I see projects like this it certainly makes me wish I did! This is adorable, and I bet so soft!
Thanks for sharing!
FAB use of favorite knit t- shirts cut in squares for a baby blanket! Up- cycling is certainly a “green” idea. Star Wars! Thanks for sharing!