How to Create Applique Shapes & Raw Edge Applique Tutorial
Learn how to create custom applique shapes that you can use on a variety of quilting, craft & sewing projects.
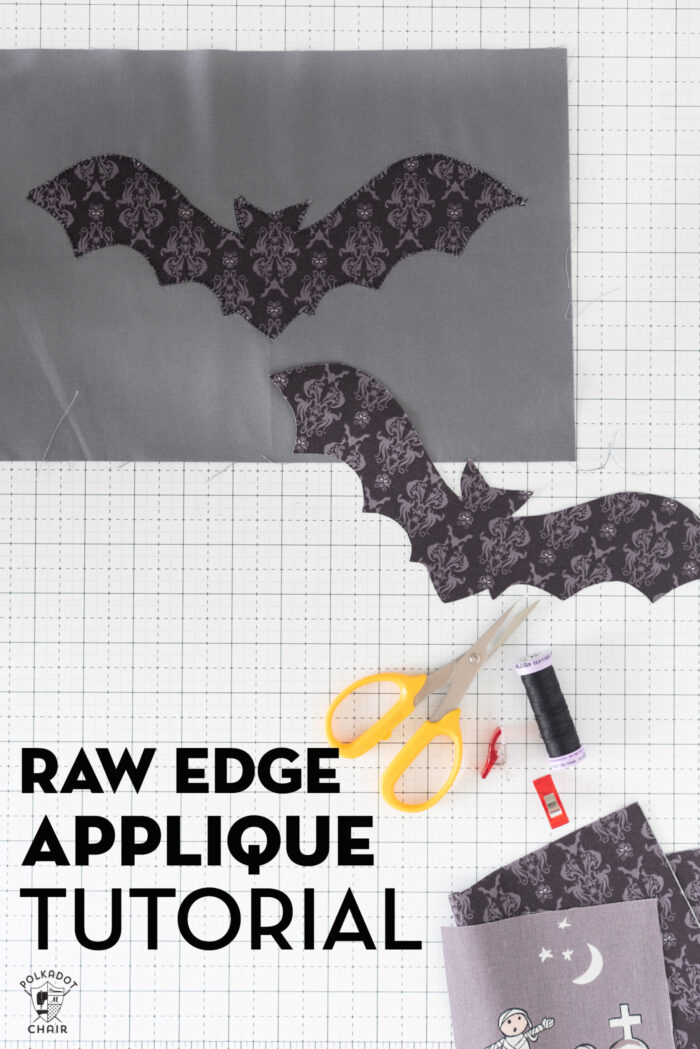
This week for the Spooky Sampler quilt, we are creating the bat, spider, & medium pumpkin blocks.
Both the spider & the bat blocks feature a technique referred to as Raw Edge Applique. It’s a method of attaching fabric (usually a specific shape) to a project without the need to “finish” or turn the edges of the shape under.
It’s a quick and reliable method to add specialty shapes to quilt projects.
Personally, I love raw edge applique. I have never been able to master the art of needle turn applique and creating appliques with this method has really opened up a lot of possibilities with me when it comes to designing quilt patterns.
Raw Edge Applique FAQ’s
Does the Fabric Fray?
No, I have washed several of my quilts created with this method many times and have yet to have a significant amount of fraying on the fabric.
Do you have to stitch it down?
Yes, I think you do. The only exception to this would be if you are using a product like Heat N Bond Ultra Hold and it’s a project that will not get a lot of wear and tear (like a seasonal project). I would NEVER leave an applique unstitched on a project for a child or a baby.
What product do you use?
For quilts, I like Heat N Bond feather-lite. It’s lightweight and does not add any extra bulk to the quilt. It also does not change the drape of the fabric.
Will it gum up your needle?
I have not had a problem with this, but like I said I always use feather-lite. If you use Ultra Hold or another product, you may use a non-stick needle in your machine.
Video Instructions
I’ve created a video walking you through the steps of creating the Bat blocks for the quilt. Even though I’m showing an example for a specific project, you can use this technique for ANY other project. You can create t-shirts, tote bags, quilt blocks, pillows, etc.
How to Create Applique Shapes & Raw Edge Applique Tutorial
Equipment
- Pencil
supplies
- 1 piece Paper Backed Fusible Web larger than your applique shape I prefer Heat N Bond Lite
- 1 Applique Shape Can be anything! Use your imagination.
- 1 piece Fabric Larger than your applique shape
Instructions
How to Create the Appliqué:
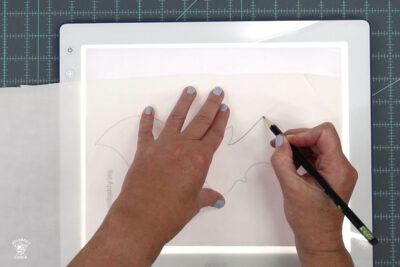
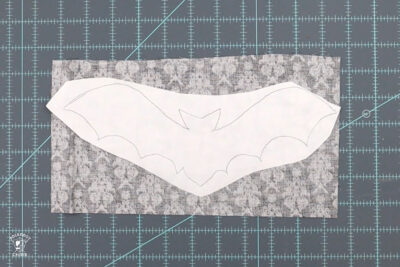
- Trace each piece you want to appliqué onto the paper side of the heat n bond feather-lite. You may want to use a lightbox for this step.If your image is not symmetrical make sure you reverse the image before you trace it (just put it upside down on the lightbox)

- Next, cut out each piece from heat n bond feather lite leaving a 1/2” border.
- Using your iron, press each piece (adhesive side down) onto the wrong side of your appliqué fabric. If your fabric is directional you’ll want to pay attention to the way each piece is oriented on the fabric.
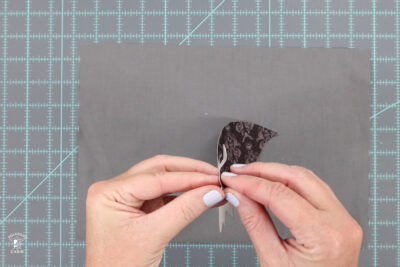
- Cut out each piece precisely. Remove the paper backing.
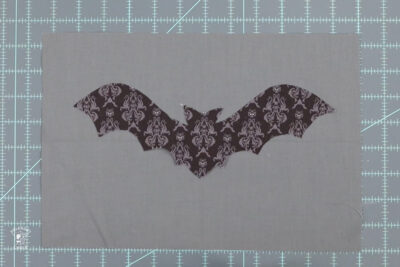
- Find the center of the appliqué piece and the center of the fabric piece it is attaching to. Adhere to the fabric according to the package directions.
How to Machine Appliqué:
- TIP: If you want your appliqué stitches to blend in well with your fabrics, make sure you use thread that matches your fabric exactly. You can also use invisible thread.
For Straight Stitch Appliqué:
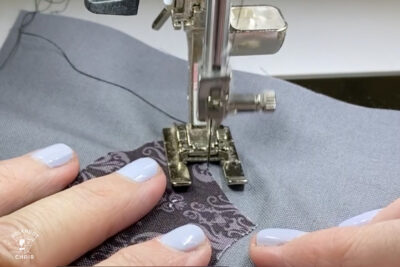
- After your appliqué is adhered to your fabric, begin outlining the entire appliqué using a straight stitch on your machine. Stitch close to but not over the edge of the appliqué. An edge stitch foot will help you keep your stitching lines consistent. I prefer my machine set to a stitch length of 3.
- When you get to a corner, put your needle down, raise your sewing machine foot and pivot. Begin sewing again.
- For curves you may need to do several small pivots to get a clean look.
For Blanket Stitch Appliqué :
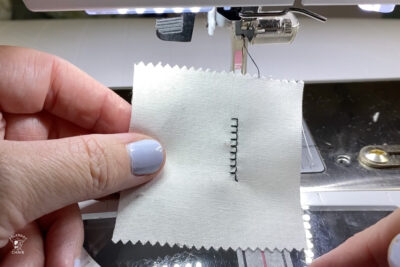
- Place your fabric in the desired spot. On your machine find the blanket stitch, it will look like this |_|_|_|_| .
- Begin stitching, the _ stitches will be along the edge of the fabric with the | stitches going onto the fabric.
- When you get to a corner, put your needle down and pivot. Make sure that you are at the appropriate spot in your stitch to do this. i.e. you need to know which direction the needle is going to go next.
- For curves you may need to pivot several times.
TIP:
- I recommend you practice on a scrap piece of fabric before you start working on your quilt. Experiment with other stitches on your machine besides the blanket stitch. A zig zag or chicken scratch stitch also looks great for appliqué
Video
Spooky Sampler Quilt Along Schedule
- Introduction
- Week 1: Ohio Star Quilt Blocks & Fussy Cutting Tips
- Week 2: Broomstick & Small Pumpkin Blocks & Piecing Tips
- Week 3: Bat & Spider Blocks & Raw Edge Applique Tips
- Week 4:
- Week 5:
- Week 6:
Free Patterns that Feature Raw Edge Applique
Summer Drawstring Backpack Sewing Pattern
Halloween Fabric Bucket Sewing Pattern (this is a for-fee pattern)