DIY Valentine’s Day Sweatshirts
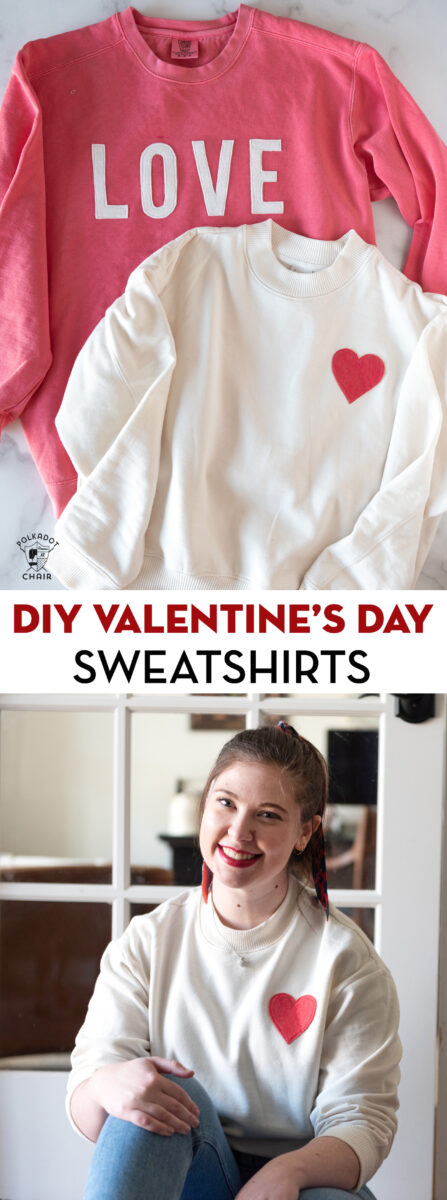
Make a cute sweatshirt perfect for a casual Valentine’s Day outfit! Choose between our “love” and “heart” DIY Valentine’s Day shirt tutorials with free applique patterns!
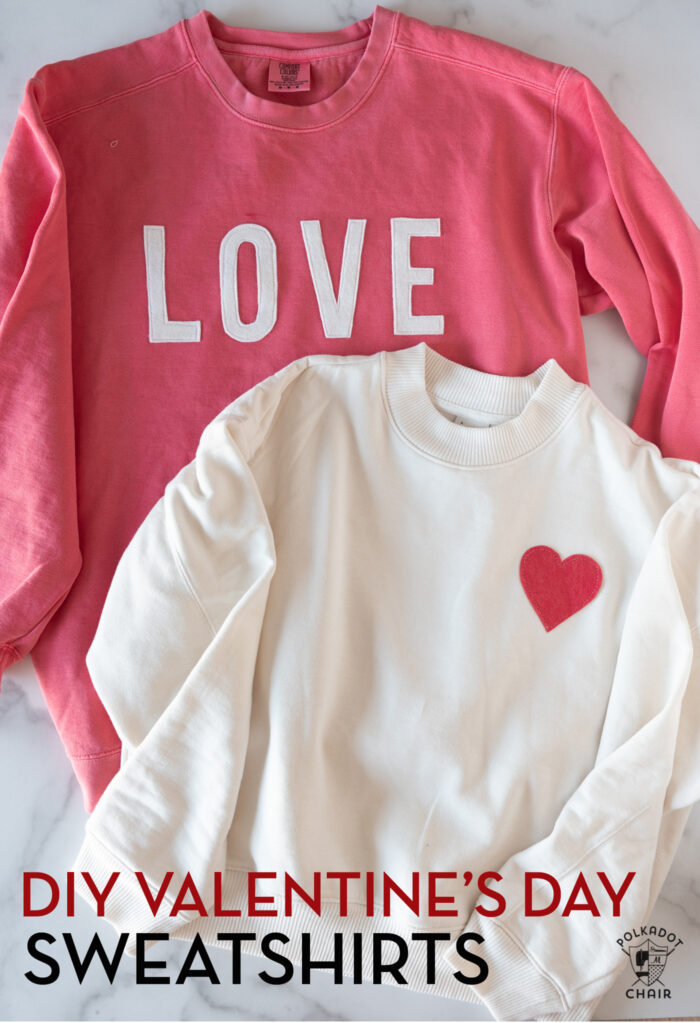
This tutorial, like many of my tutorials, started for selfish reasons. I wanted a cute sweatshirt or long-sleeved shirt for Valentine’s Day in February.
I was about to hit “buy” on a simple white shirt with a red heart when I realized that I could DIY it. Not only would it save me money, but it’s so crazy simple that I’d be dumb not to!
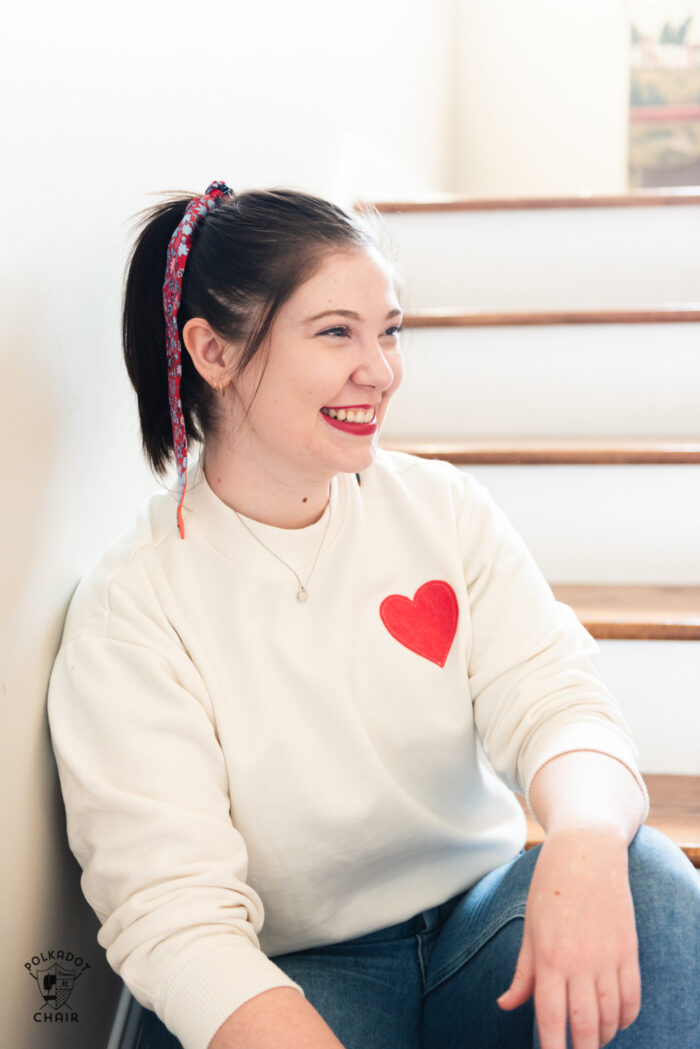
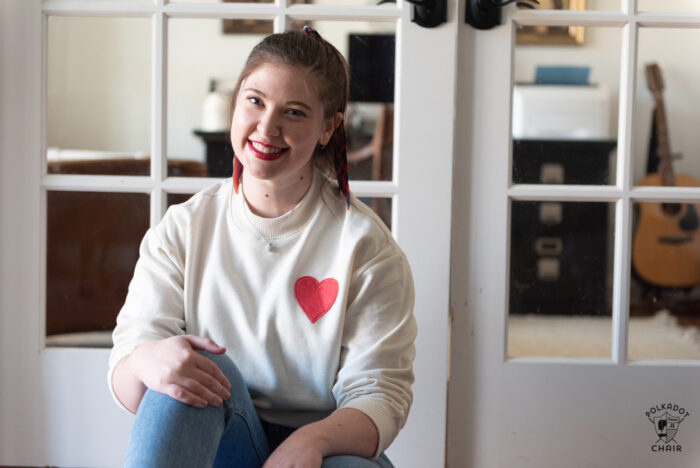
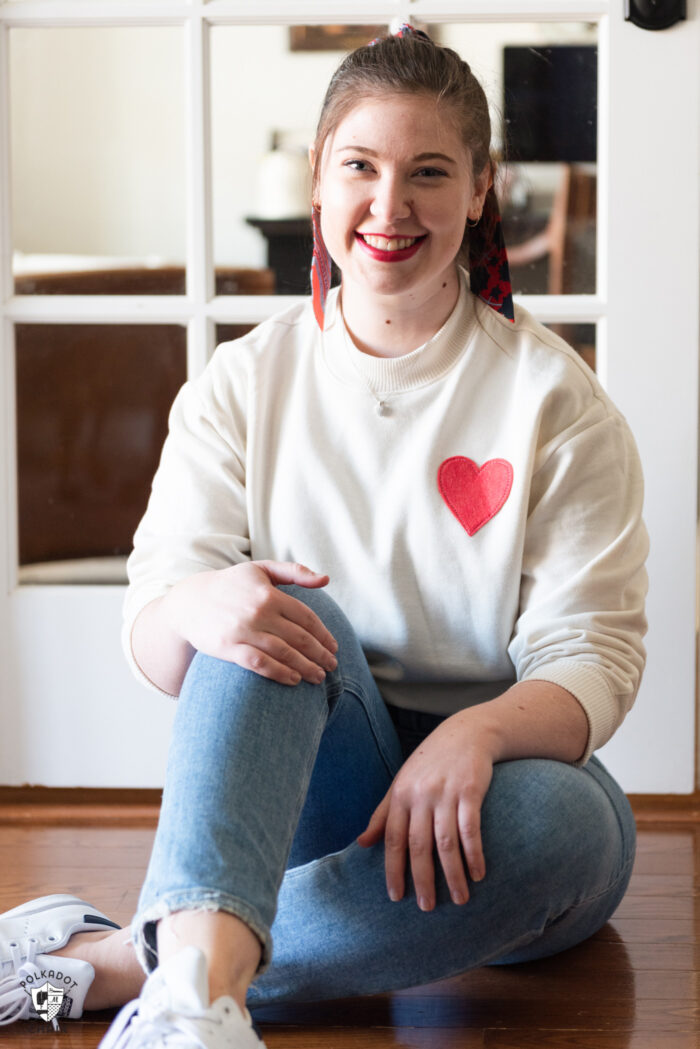
My oldest daughter has been home with us this month, and we “bribed” her into modeling a set of Valentine’s Day sweatshirts!
DIY Valentine’s Day Shirt Tutorial
Today’s tutorial will teach you how to turn a simple sweatshirt into an appliqued holiday sweatshirt. If there was ever a year for a comfy, casual Valentine’s Day outfit, it’s probably this year!
All you’re going to need is some wool felt, fusible web, and your favorite sweatshirt. We are going to use a raw edge applique technique to create the shirts. Since the appliques are made from felt, they won’t fray!
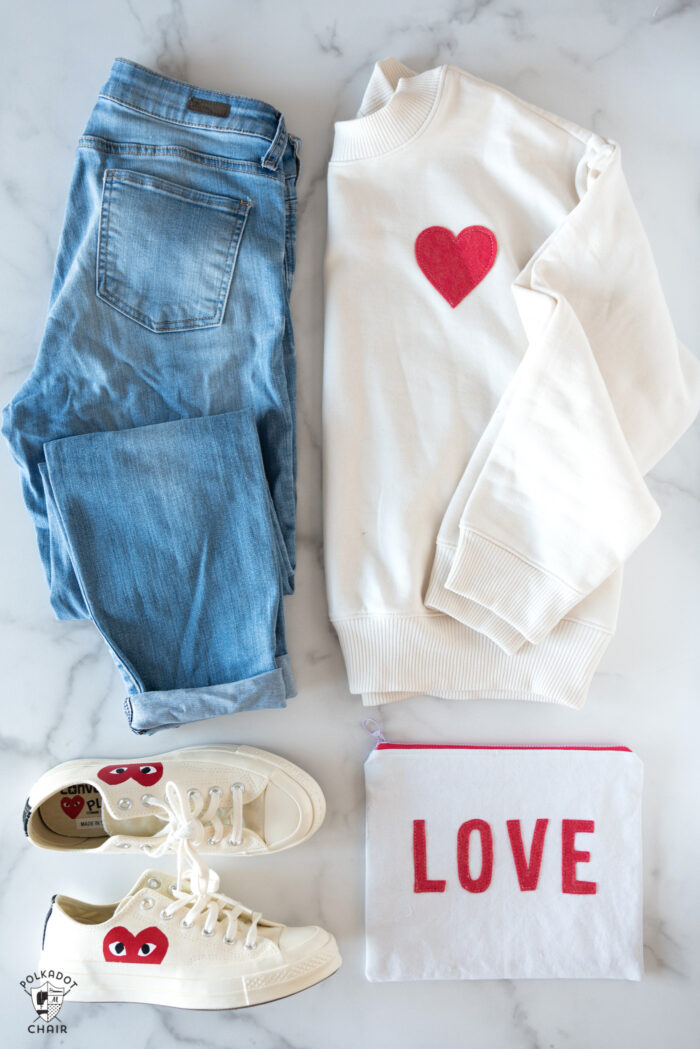
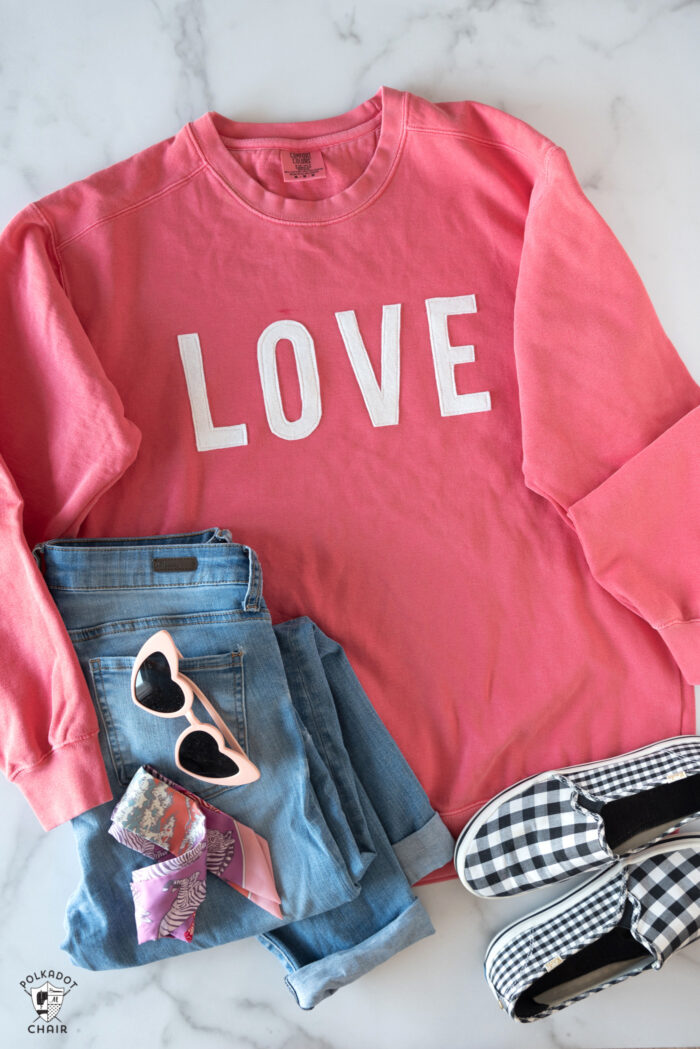
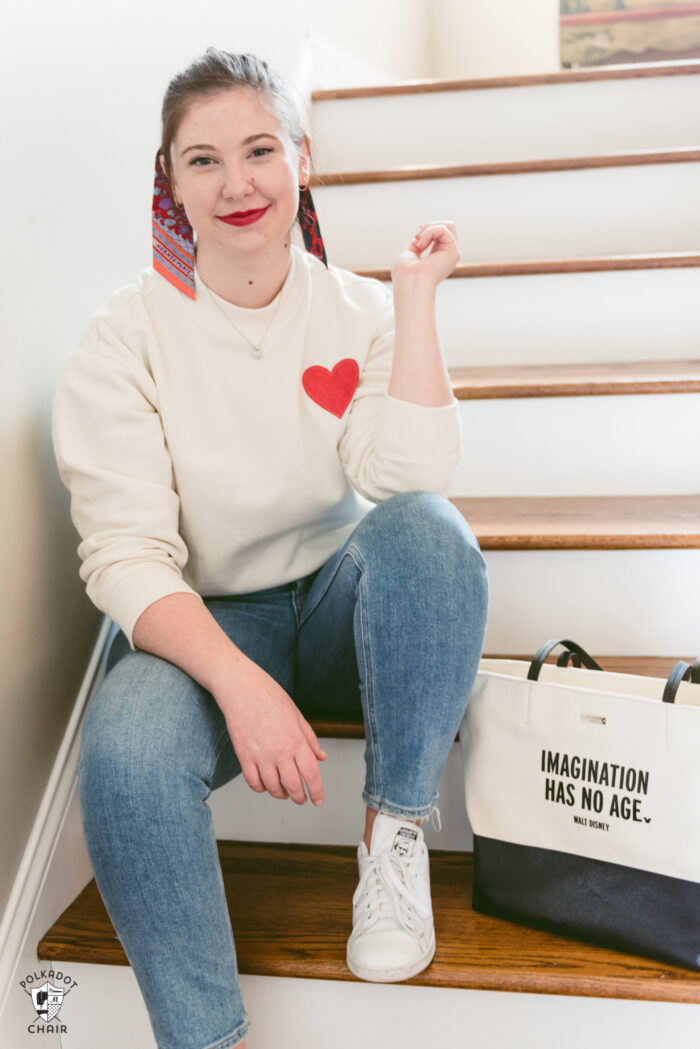
Sneakers can be purchased here.
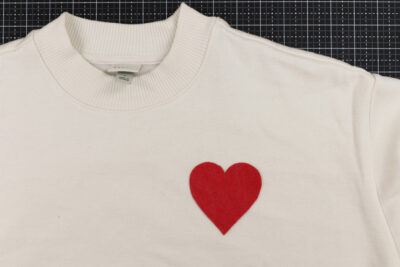
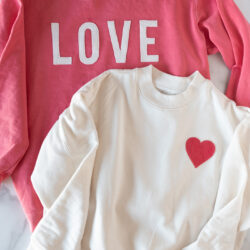
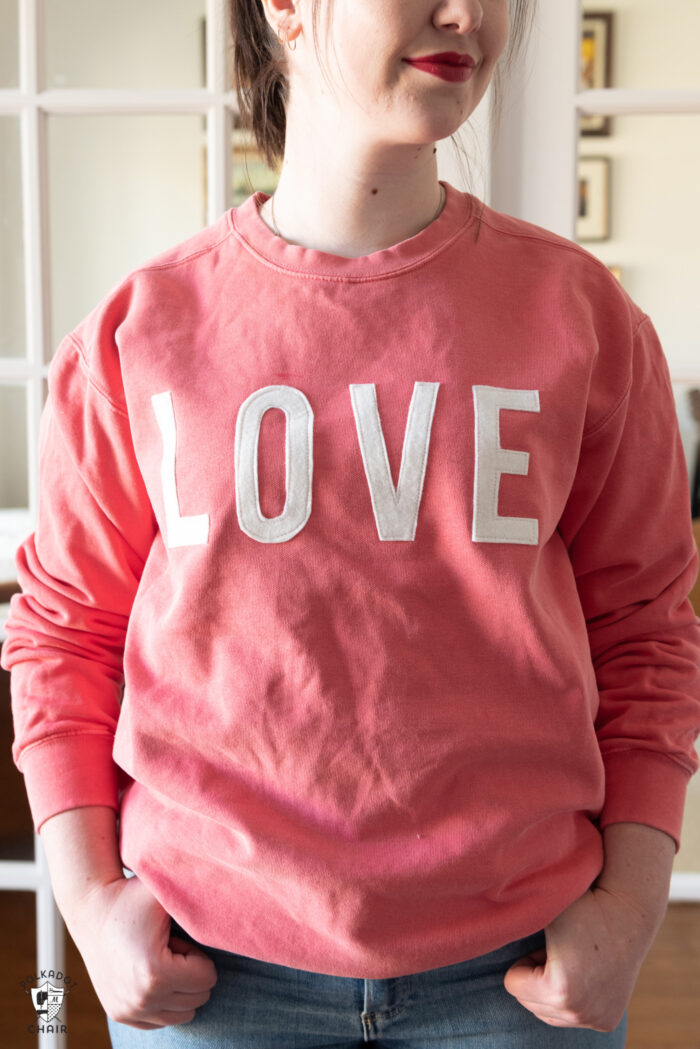
Included in the template download are two applique patterns for the shirts. A simple heart (as shown above) and a LOVE appliqued shirt.
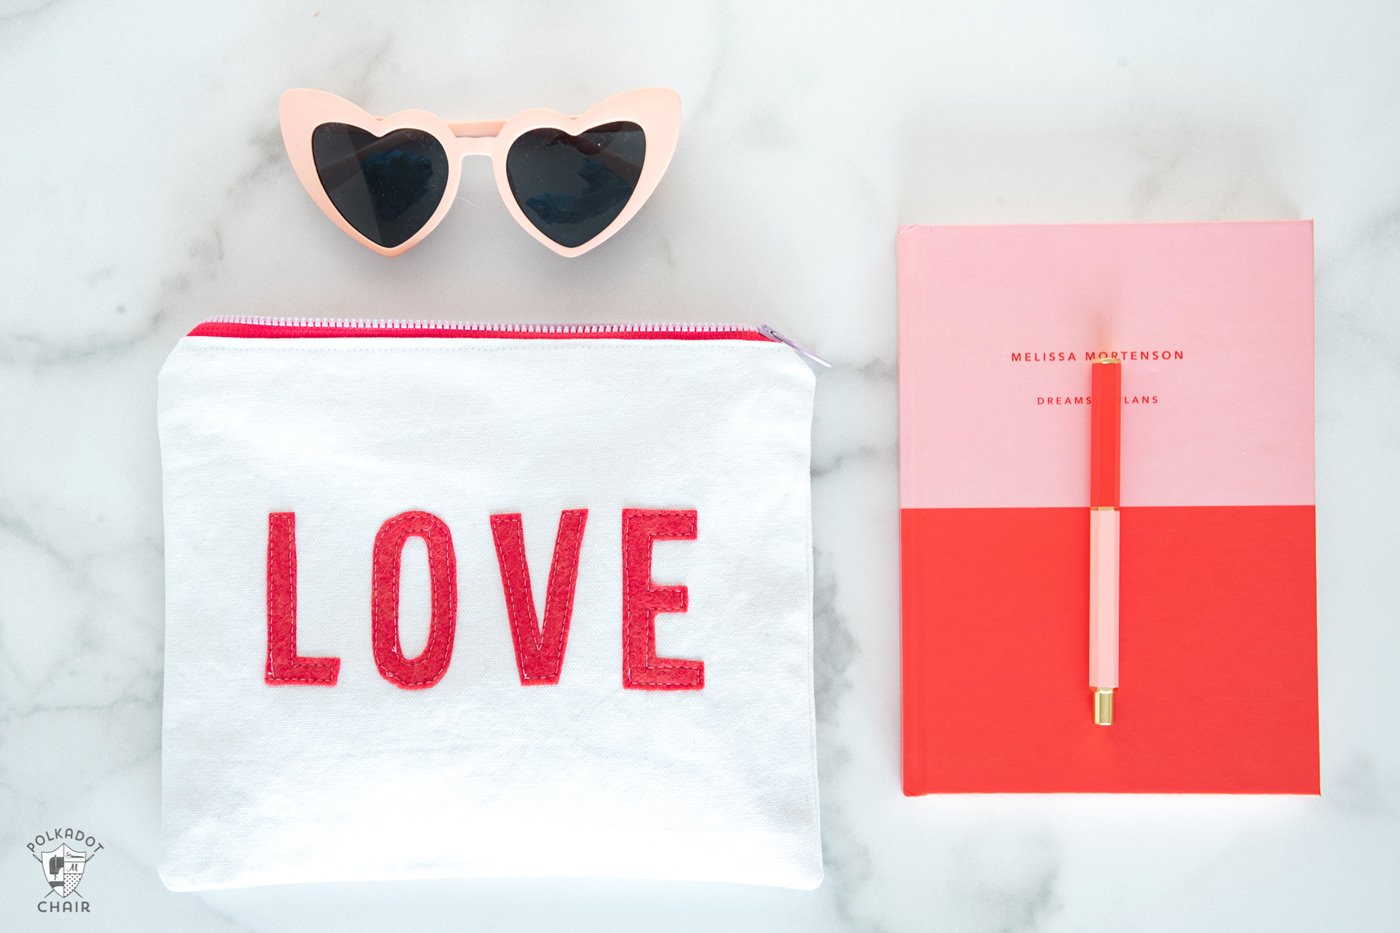
While you’re stitching your sweatshirt, why not make a cute canvas zip pouch too? You can find a free tutorial for the LOVE zip bag on our site.
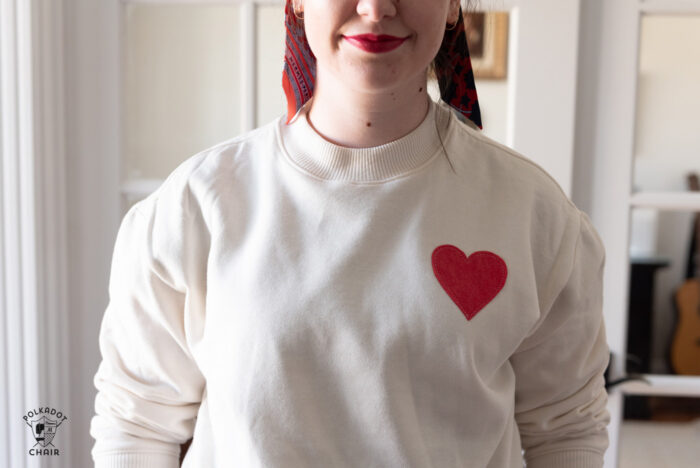
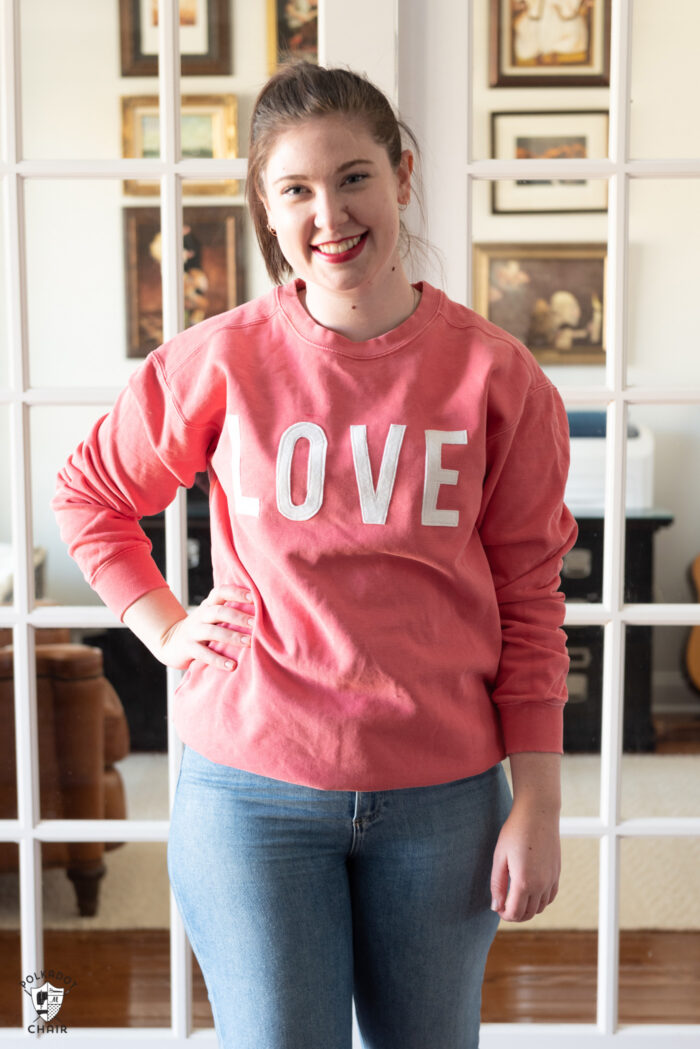
Our shirts were made using sweatshirts from Comfort Colors & Target. I’ve linked our exact shirts below.
How to Get the Printable Pattern Pieces
Simply fill out this form, and we will send you the LOVE and Heart appliques for the sweatshirts. You’ll still need to follow the directions on this page to complete your project.
Love and Heart Valentine’s Day Sweatshirt Tutorial
DIY Valentine’s Day Sweatshirts
Equipment
supplies
- 2 pieces Wool Felt I used Ivory & Red
- 1 package Heat N Bond
- 1 Ivory Sweatshirt
- 1 Coral Sweatshirt
- 1 LOVE & Heart Template Fill out the form above
Instructions
Create the Applique
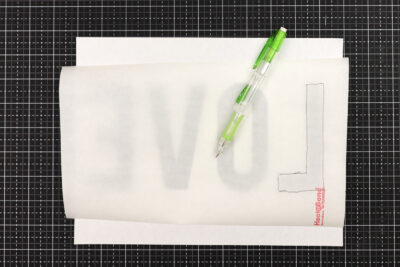
- Print out the applique pattern. The image has already been "mirrored" for you.
- Trace the shape onto the paper side of the Heat n Bond.
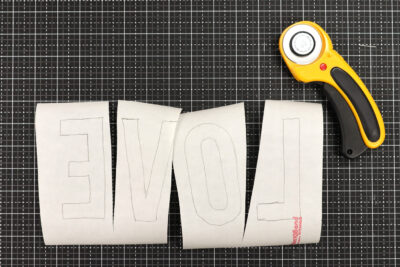
- Following the package directions, iron the cutouts onto the felt (for most felt there is no right and wrong side, if yours has a side, iron it onto the wrong side of the felt).
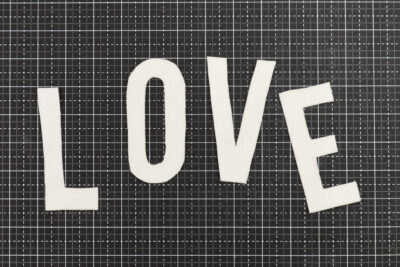
- Cut out the letters precisely
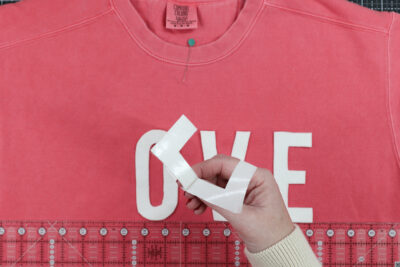
- Find the center of your sweatshirt. Place a pin so you know where it is. Peel the paper backing off of the letters.
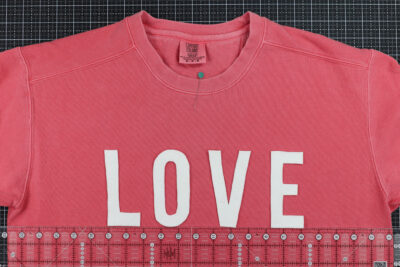
- Using a ruler, evenly space the letters on the sweatshirt front. I like to place the bottom of my letters about 1" lower than the underarm seam.
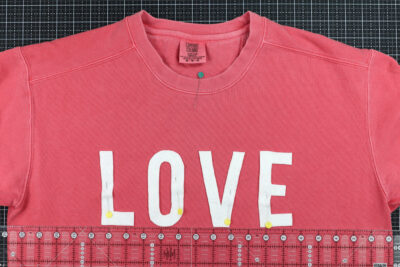
- When you get them where you want them, pin in place.
- Move the sweatshirt to your ironing board. Removing one pin at a time, iron the letters to the sweatshirt. Again, follow the package instructions for iron settings etc.
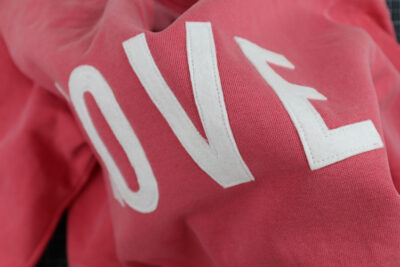
- On your sewing machine, topstitch along the outside of the letters.
- Repeat all the steps to create the heart sweatshirt. The heart is placed on the upper right-hand side of the shirt.
FAQ’s
Q: Can you wash the sweatshirts?
A: Yes. I recommend washing your sweatshirt before you start. If it shrinks, then the applique may distort. I used wool felt for my sweatshirt, which is already shrunk. Don’t buy regular wool. It is not shrunk and “felted.” If you’re worried, run your wool through the washer and dryer before you start as well. The red felt may bleed after washing, so I’d be sure to use a color catcher in the wash load.
Q: How did you get the stitches on the shirt? Did you have to take it apart?
A: I did not have to take the shirt apart. I removed the arm from my sewing machine, allowing me to manipulate the shirt under the presser foot easily. I did not have any issues. You will want to make sure as you rotate your shirt that you make sure you don’t accidentally sew over two layers.
Q: Do I have to stitch it down?
A: Nope! It’s up to you. I like the look of the stitching, so I added it. If you do not stitch it down, it may also not hold up after washing. If this is your plan, I recommend using Heat n Bond Ultra Bond since it has a stronger adhesive. Also, make sure the adhesive is fully set with your iron.
More Fun Valentine’s DIYs
Cross My Heart Valentine’s Day Pillow Pattern
Free Valentine’s Day SVG files for Cricut Machines
40 Things to Sew for Valentine’s Day
