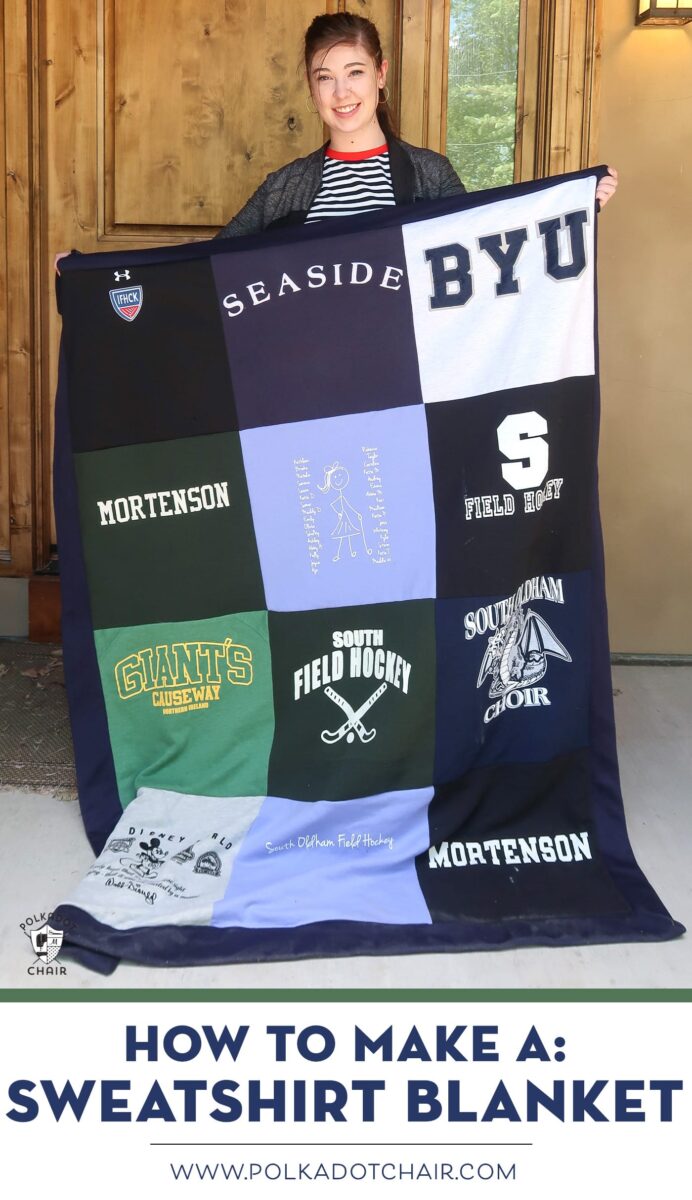
Self-Binding Sweatshirt Blanket Tutorial; Turn your old shirts into a cozy blanket!
Do you have a bunch of old sweatshirts in your closet just taking up space? Maybe they have sentimental value because they are from a favorite vacations or sports team. Get them out of your closet and turn them into a cozy Sweatshirt Quilt. Today’s self-binding sweatshirt blanket tutorial will show you how. Sweatshirt blankets like these make great Graduation Gifts!
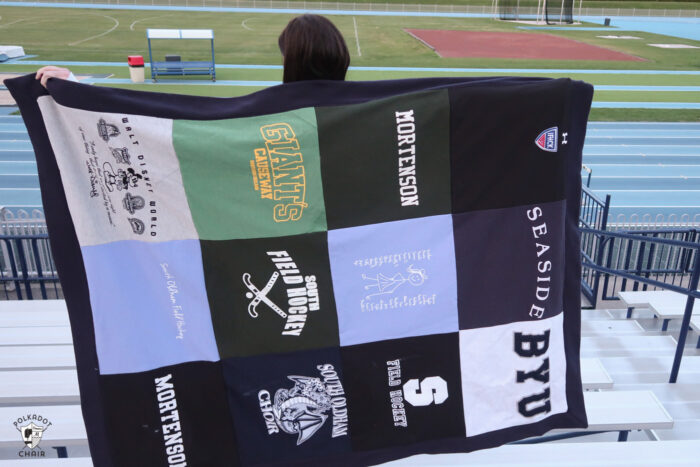
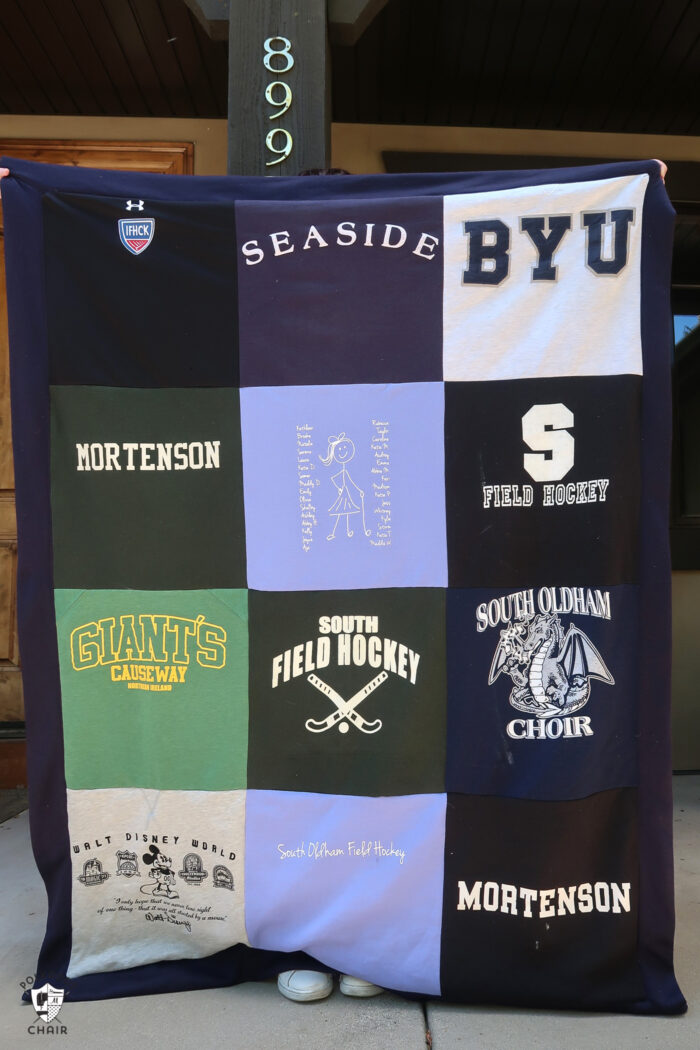
After my daughter graduated from High School, I sorted through her old t-shirts hoping to make a t-shirt quilt as a graduation gift. As I was sorting, I realized that she had more sweatshirts than t-shirts. After some thought, I decided that I’d turn those old sweatshirts into a sweatshirt quilt (or blanket, I guess, since there is no batting).
Full disclosure: It took me a few years to get this project going. She recently graduated from college, so I incorporated a few items from her college years into the blanket as well. I gave it to her as a graduation present this Spring.
Things to Make with Old Sweatshirts
Today I’m going to share with you how to make a Sweatshirt blanket. The technique is similar to what you’d use to make a t-shirt quilt, but you don’t need any extra stabilizer.
One of the most significant benefits of this project (vs. a t-shirt quilt) is that you can make the entire thing on your home sewing machine. It’s not quilted!
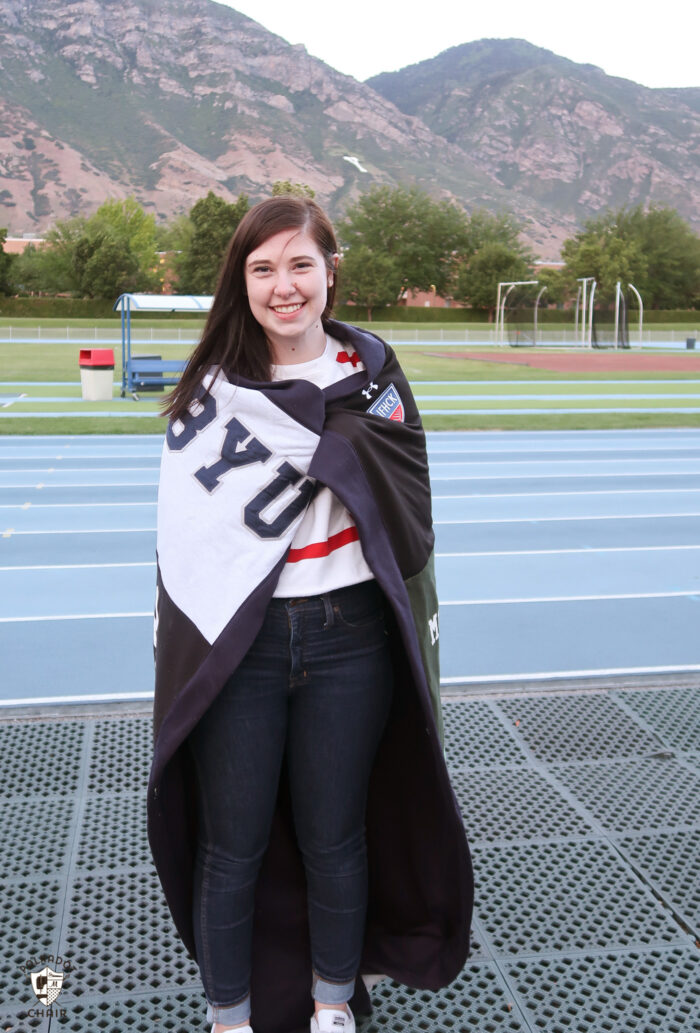
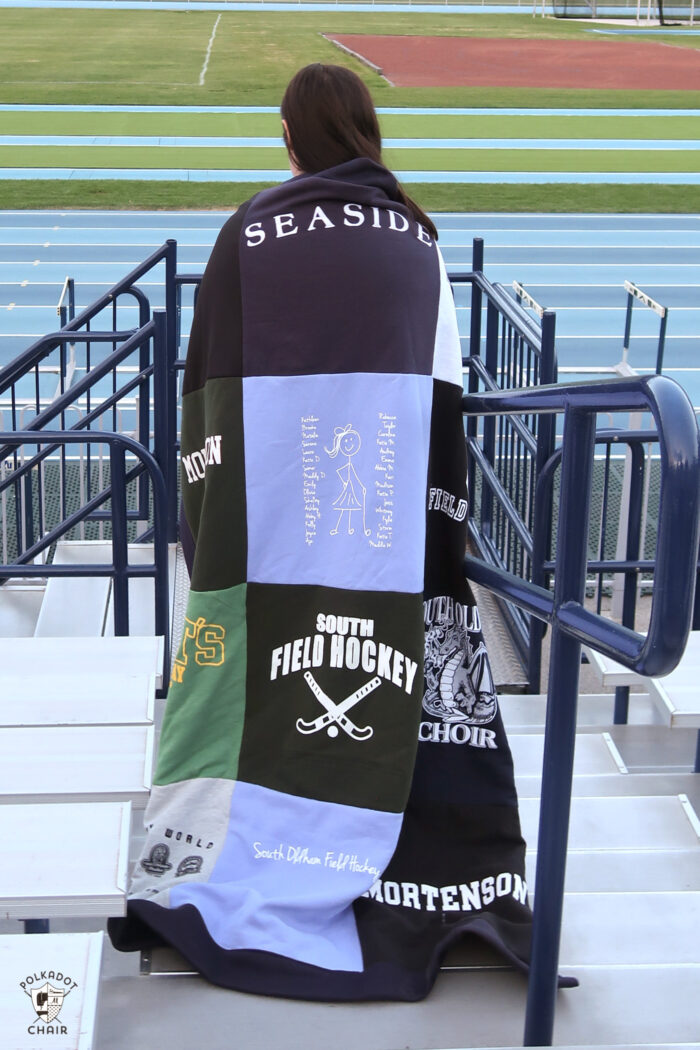
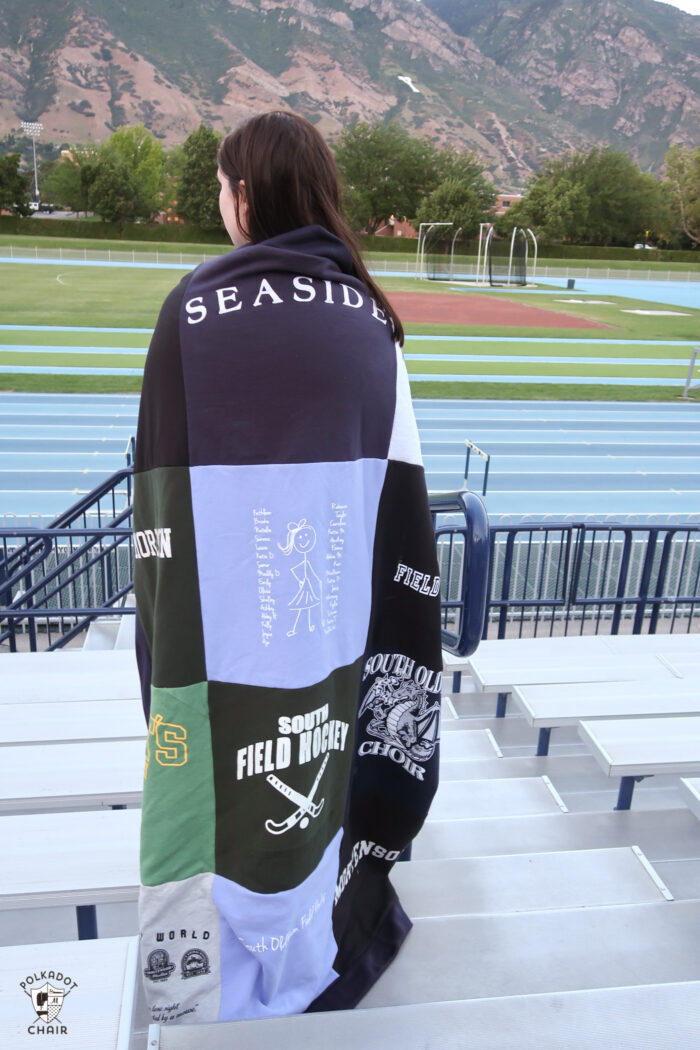
This blanket is soft, cozy, and uber-comfortable. Because, well, it’s a giant sweatshirt.
Video Instructions
This tutorial is a bit different than some of the ones I’ve shared in the past. There is a YouTube video that walks you through the entire construction process.
I’m also going to list out the directions for you below. Just note there are no photos because the text is meant to supplement the video, not replace it.
[printfriendly]
How to Make a Self-Binding Sweatshirt Blanket
Before you begin, here’s what you need.
Blanket Supplies
- 12 Sweatshirts. You can use the front and back of your sweatshirts if you need to. You need 12 “things” you can cut into squares. So if you use the front and the back of the sweatshirt, you only need 6.
- 2 Yards of Sweatshirt Fleece. The Fleece should be 58-60″ wide. You can purchase sweatshirt fleece at most big box craft stores.
- 15 1/2″ Square Ruler (for kids’ size sweatshirts you’ll want to use a smaller ruler, probably 12 1/2″)
Instructions

How to Make a Sweatshirt Blanket
Equipment
- 15 1/2" Square Quilt Ruler
supplies
- 12 Sweatshirts. You can use the front and back of your sweatshirts if you need to. You need 12 "things" you can cut into squares. So if you use the front and the back of the sweatshirt you only need 6.
- 2 Yards Sweatshirt Fleece. The Fleece should be 58-60" wide. You can purchase sweatshirt fleece at most big box craft stores.
Instructions
- The finished Size is about 52″ x 77″
Cut up your sweatshirts
- Before you begin, prewash and dry your sweatshirt fleece backing. Also, make sure all of your sweatshirts are clean.
- Separate the front of the sweatshirt from the back. Just cut up the side seams and across the shoulders. If there is a kangaroo pocket, use a seam ripper and remove it from the sweatshirt before you begin.
- Center the 15 1/2″ ruler on the sweatshirt in the desired location and cut it out. Repeat until you have 12 squares.
Sew the Squares Together
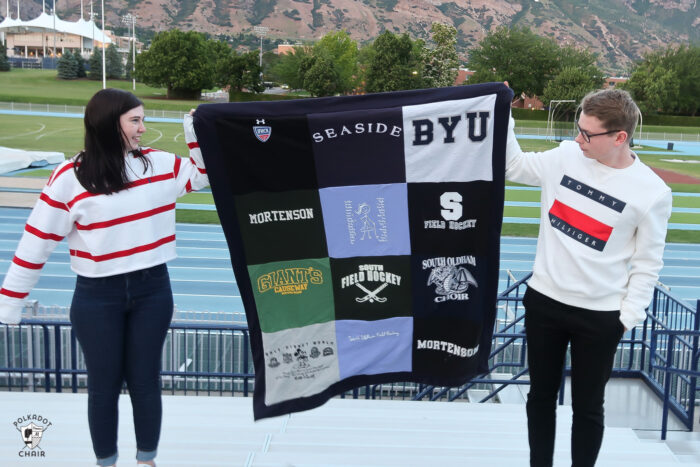
- Arrange the cut sweatshirt squares into four rows of three. I like to lay my pieces on a design wall or the floor to double-check the placement and arrangement. Stitch 3 of the squares into a row. Use a 1/4″ seam allowance.
- Lightly press taking care not to touch any of the lettering/design on the sweatshirt with the iron. You may also want to test a scrap of fabric before you press. Some sweatshirt material will melt with heated with an iron.
- Sew the rows together. When finished, you will have a grid of squares three across and four down.
Add Backing and Binding
- Note: Your sweatshirt backing should have been 60″ x 72″ before you washed it. Since it shrinks after washing, it will no longer be 60″ x 72″. That is ok. There is plenty of wiggle room when constructing blankets using this method.
- Find the center of all four sides of BOTH your sewn sweatshirt squares and the backing material.
- Pin the sweatshirt squares to the backing, right sides facing. You want to pin from the center out. The backing is larger than the front so you will end up with funny “dog eared” pieces at the end. Remember you are pinning starting and the centers and working out.
Sew
- Stich the backing to the front using a 1/2″ seam allowance. Start sewing 1/2″ from the edge of the front piece and end 1/2″ from the other side. On one side leave a 12″ hole to turn the blanket right side out.
Create Corners
- Fold the blanket diagonally from corner to corner. You’ll probably need to lay it out on the floor since it’s so large. You want all of the layers to be right on top of each other.
- Draw a line along the edge of the blanket across the “dog eared” section. A photo is attached, showing this technique on a smaller blanket. Stitch along this line. Repeat for all four corners.

Check the Corners
- Turn one corner of the blanket right side out. Double-check that the corner is sewn correctly. IF it was, turn it wrong side out again and cut off the excess fabric.
Finishing
- Turn the blanket right side out. Pin the opening in the blanket closed — Topstitch around the entire edge of the blanket on the binding section stitching close to the seam.
Notes
Tips
Make sure that all of your layers are flat and lined up before you fold your blanket diagonally to create the corners.
If your machine struggles with the sweatshirt fleece, try a slightly longer stitch length. You may also want to try using a walking foot.
I used both cotton and “performance fabric” sweatshirts and did not have any issues.
This is not a quilt. It’s made from stretchy fabrics and will be a bit “wonky” when you’re done. That’s part of the charm.
More upcycled sewing Projects that you might like:
How to Make Zip Bags out of Old Ties
I only have 4 sweatshirts to work with, but, I plan on using the backs of them also. However, I just want a throw not a blanket. How much larger should the backing be?
I would measure your finished top and add to it. 5″ border requires 20″ more total (10″ each side). 4″ border = 16″ more, 3″ border = 12″…
I made one for hubby using backs of sweatshirts for the backing. weighs a ton, but he loves it.
If I make a sweatshirt quilt cutting 14inch squares and have 16 squares how much backing do I need?
If I want to make this one row longer and one row wider would it be OK to sew a seam in the backing to get the larger size? Thank you!
yes, that would be fine. The only thing that matters is that the backing fabric is larger than the front fabric, how you get it larger is up to you.
I am making a sweat shirt quilt for a grandson. I also have a bunch of his T-shirts. Do you think I can use both in the same quilt, if I use fusing on the T-shirts ?
I think you could as long as the t-shirts are fused and you don’t have really thick sweatshirts
What a great idea!! I’m on the hunt for some thrift store sweatshirts from my kids’ schools!
I have a few hoodies that I plan to use in blanket that have kangaroo pockets on the front. How would you go about cutting that? Would you include part of the pocket in the blanket? Or would you remove the pocket?
I talk about it a bit in the video, I removed the kangaroo pockets from mine. Just use some sharp scissors or an unpicker.
My sweatshirts sewn together are 39” by 52” . How much fabric should I allow on the sides? The standard sweatshirt backing is way too big. I bought 2 yards
The backing will get folded over, so the amount that the backing is larger than the front will be divided by 4. That will be the border. So if you want a 5″ border around then you want your backing to be 20″ bigger. I don’t think your piece is too big, it might just seem like it is right now.
Looks like my mom has sweat shirts and long sleeved shirts and not all sweatshirts does that change things?
I would do it only with sweatshirts. The t-shirts are too thin to hold up by themselves.
im so nerves but im going to try this for my mom for christmas. We had a ministry for over 30+ years and she has all the sweat shirts in a bag wanting this done. Fingers crossed
Best of luck!
I was just wondering if the thickness of the seams is an issue in that it is thicker material as opposed to a t-shirt quilt. Can it be felt through the backing.
No, It’s not a quilt it’s a blanket, so the layers aren’t quilted for it to be an issue.