Soft ‘n Snuggly Sensory Baby Quilt Tutorial
Turn your favorite leftover minky, chenille, cotton, and dimple fabrics into a sweet and snuggly baby quilt using our free Sensory Baby Quilt Sewing Pattern & Tutorial.
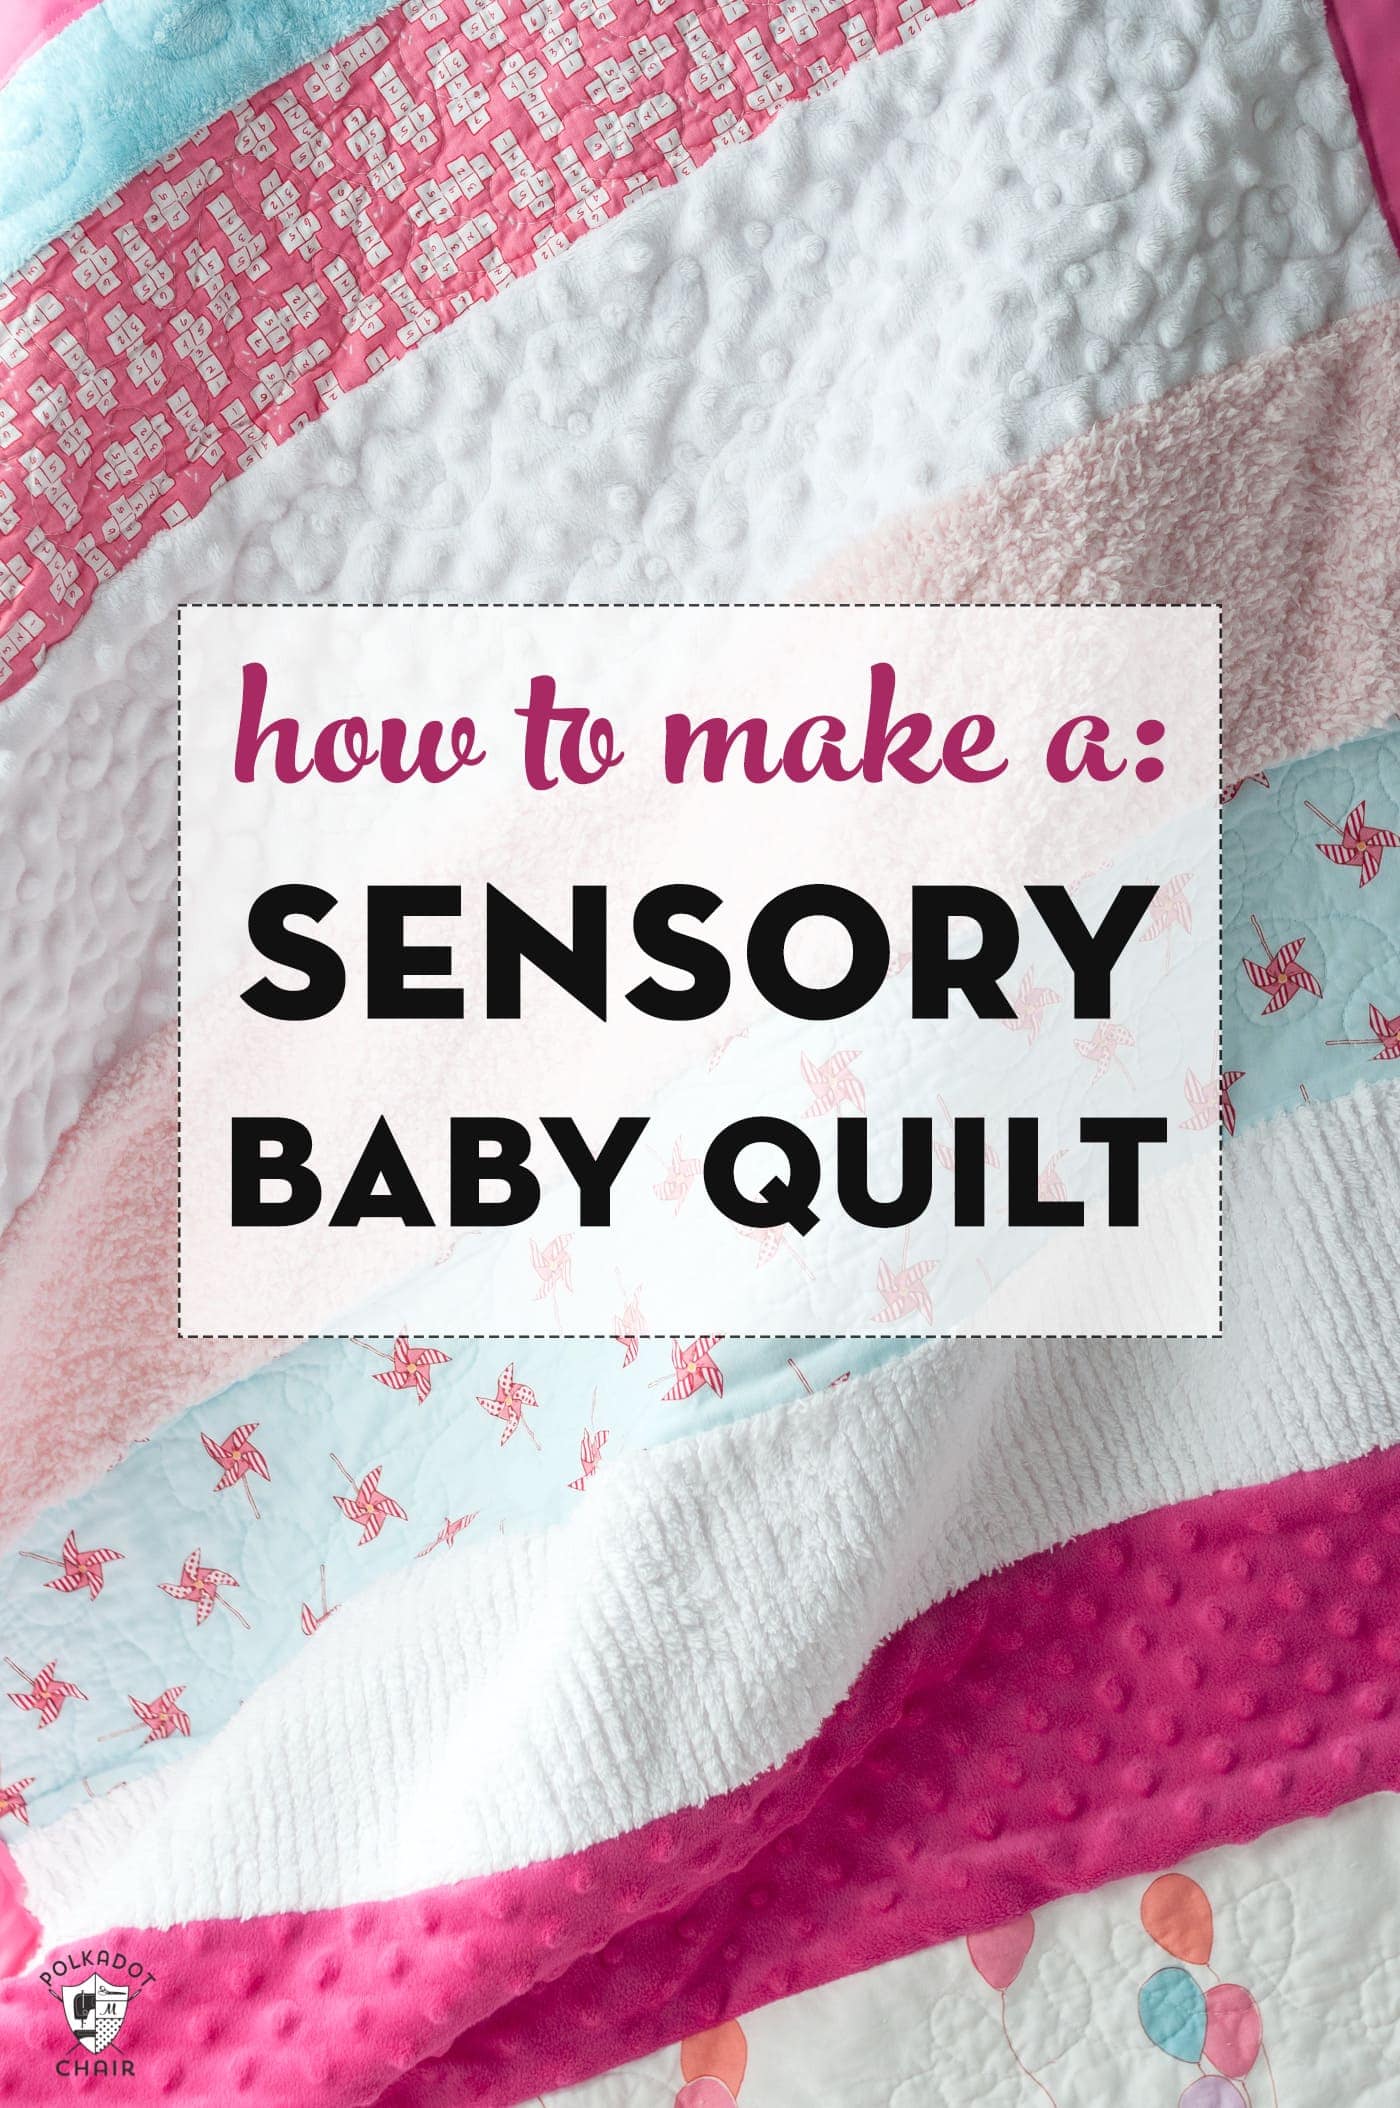
One of my favorite baby quilts to make is my Soft N Snuggly Sensory Baby Quilt. It pieces together quickly and is a great way to use up some of your scraps. All of those fun textures and colors appeal to babies and children.
A few years ago, a friend was expecting a new baby girl, and I thought it would be the perfect opportunity to make another sensory baby quilt.
I’ve made a few in the past (I’ve been making these quilts for over 10 years now), and I love making them because they are so simple. Since there are no points to match, they are great for beginning quilters or someone looking for a fast finish for a gift.
I’ve shared these sensory baby quilts with you guys a few times but have not written a FULL tutorial to make one. Today, I thought I’d show you how I make a simple strip sensory baby quilt.
What is a Sensory Baby Quilt?
About the Fabrics in the Sensory Quilt
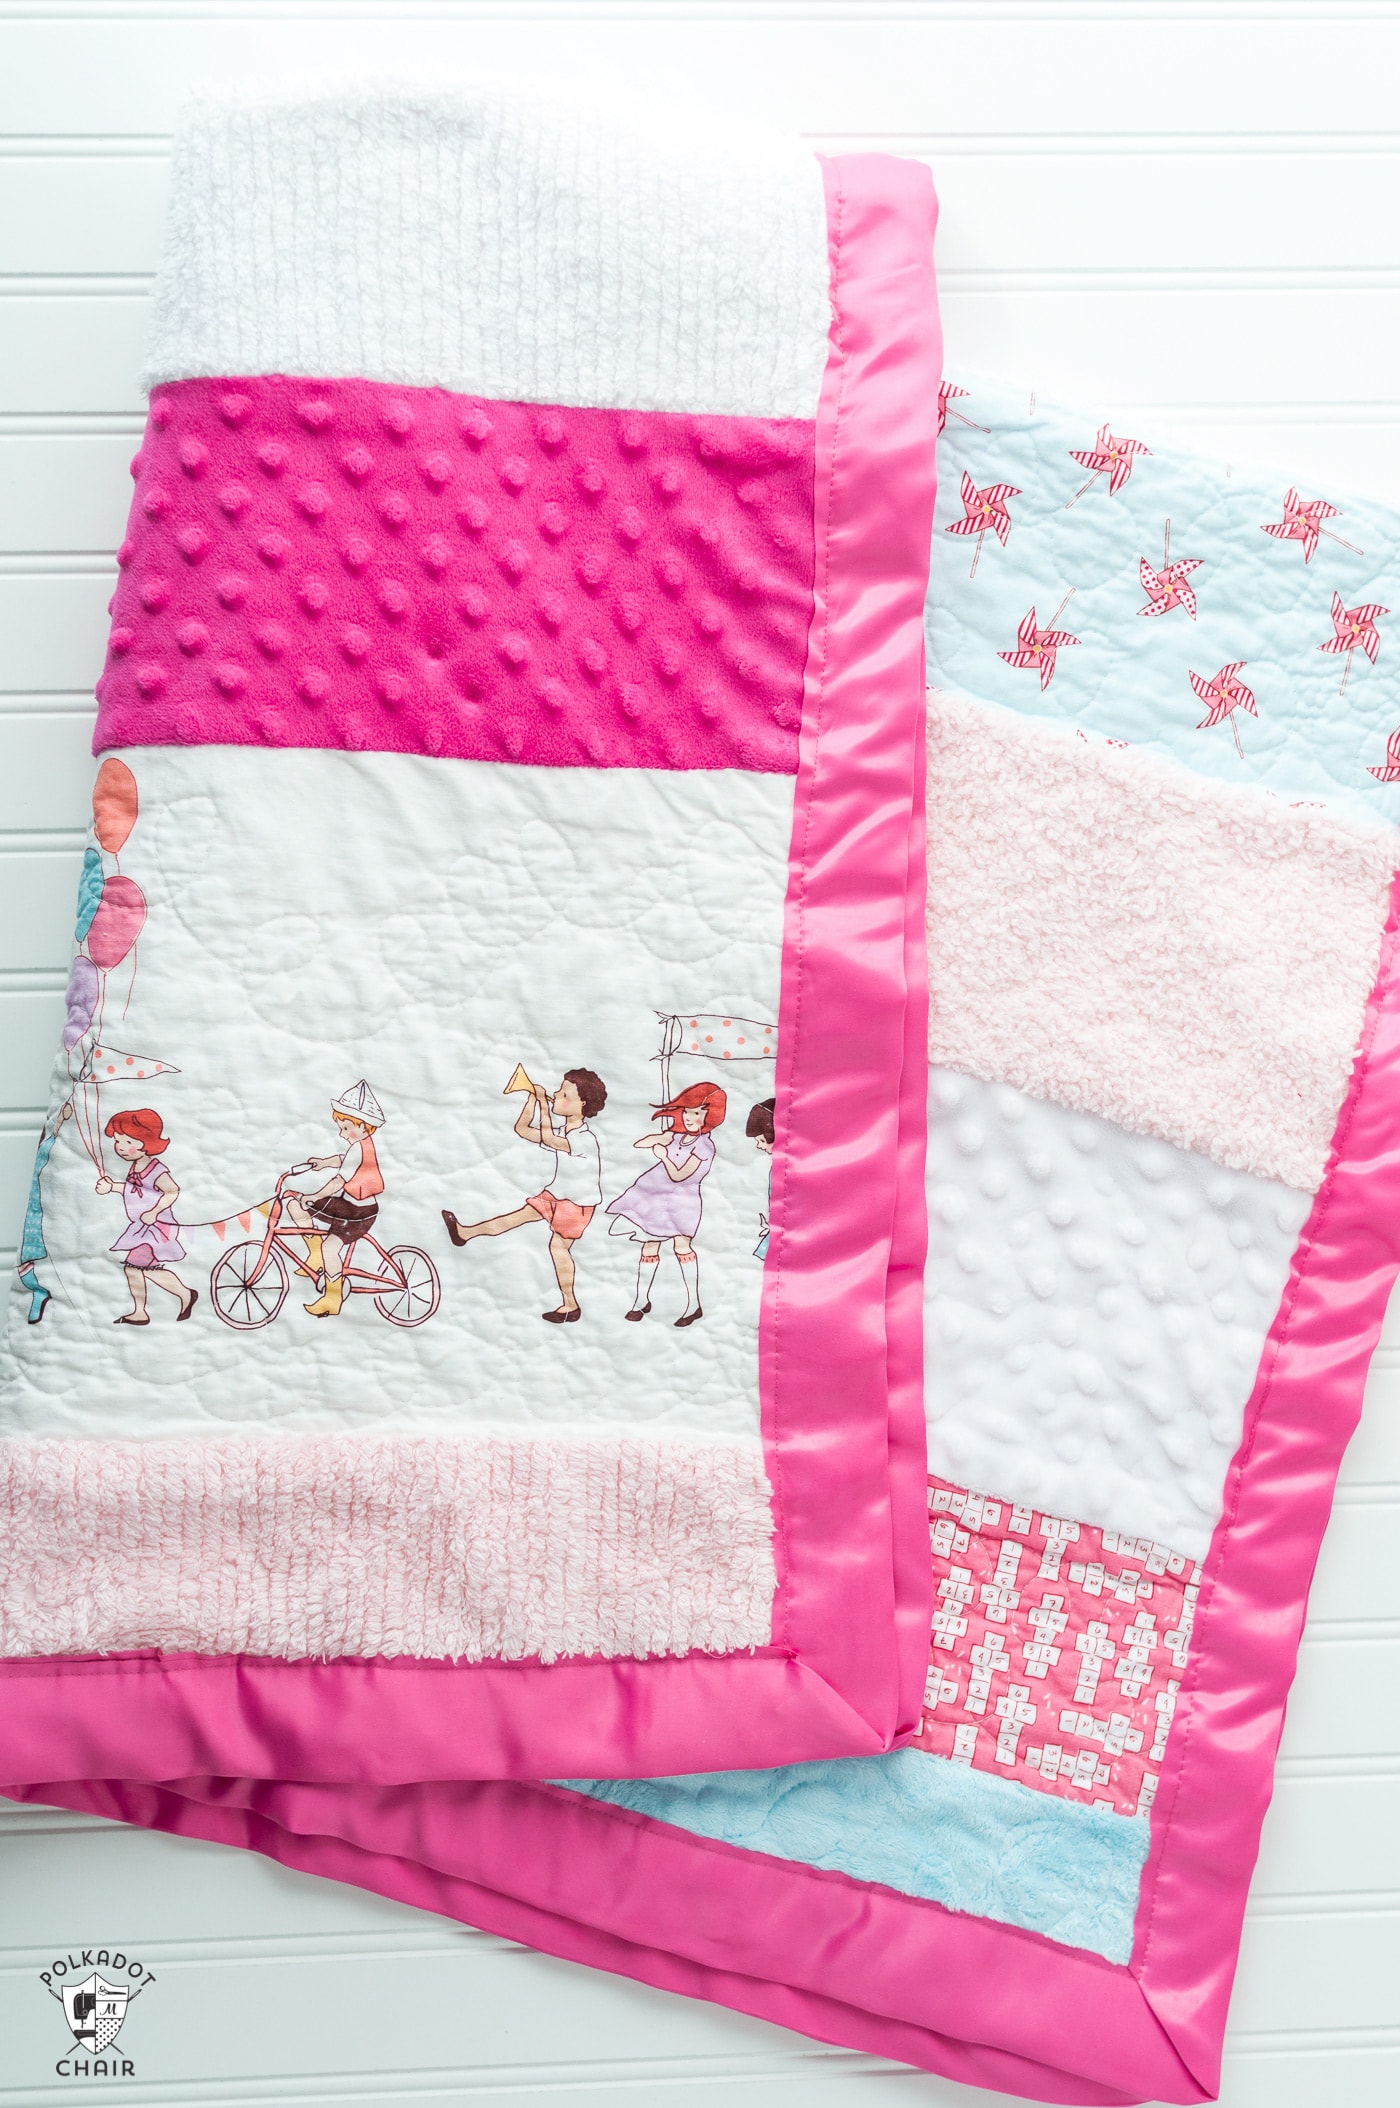
The quilt is designed to have many different textures for a baby to touch. There is flannel, minky, chenille, and cotton.
It’s a GREAT way to use up a bunch of fabric scraps. I always end up with many extra strips of minke fabric, which is expensive. I don’t want to throw it out so these strip baby quilts are a great way to use it up.
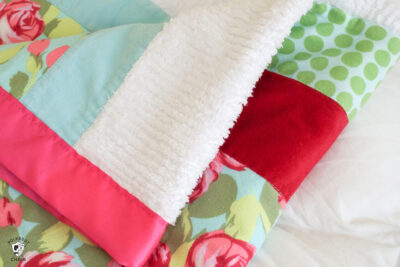
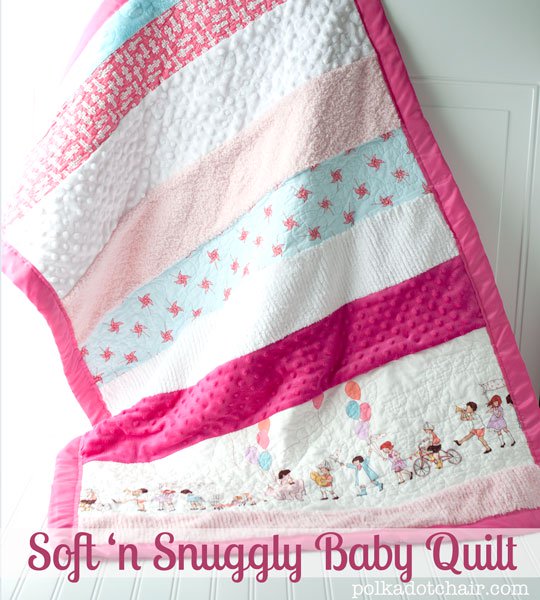
To make my quilts, I cut each fabric into strips 4″ – 8″ wide and pieced them together randomly. I added a satin blanket binding around the edges to finish it. Satin binding is not my favorite since I have difficulty laying it flat, but I think its texture to the quilt makes it worth it.
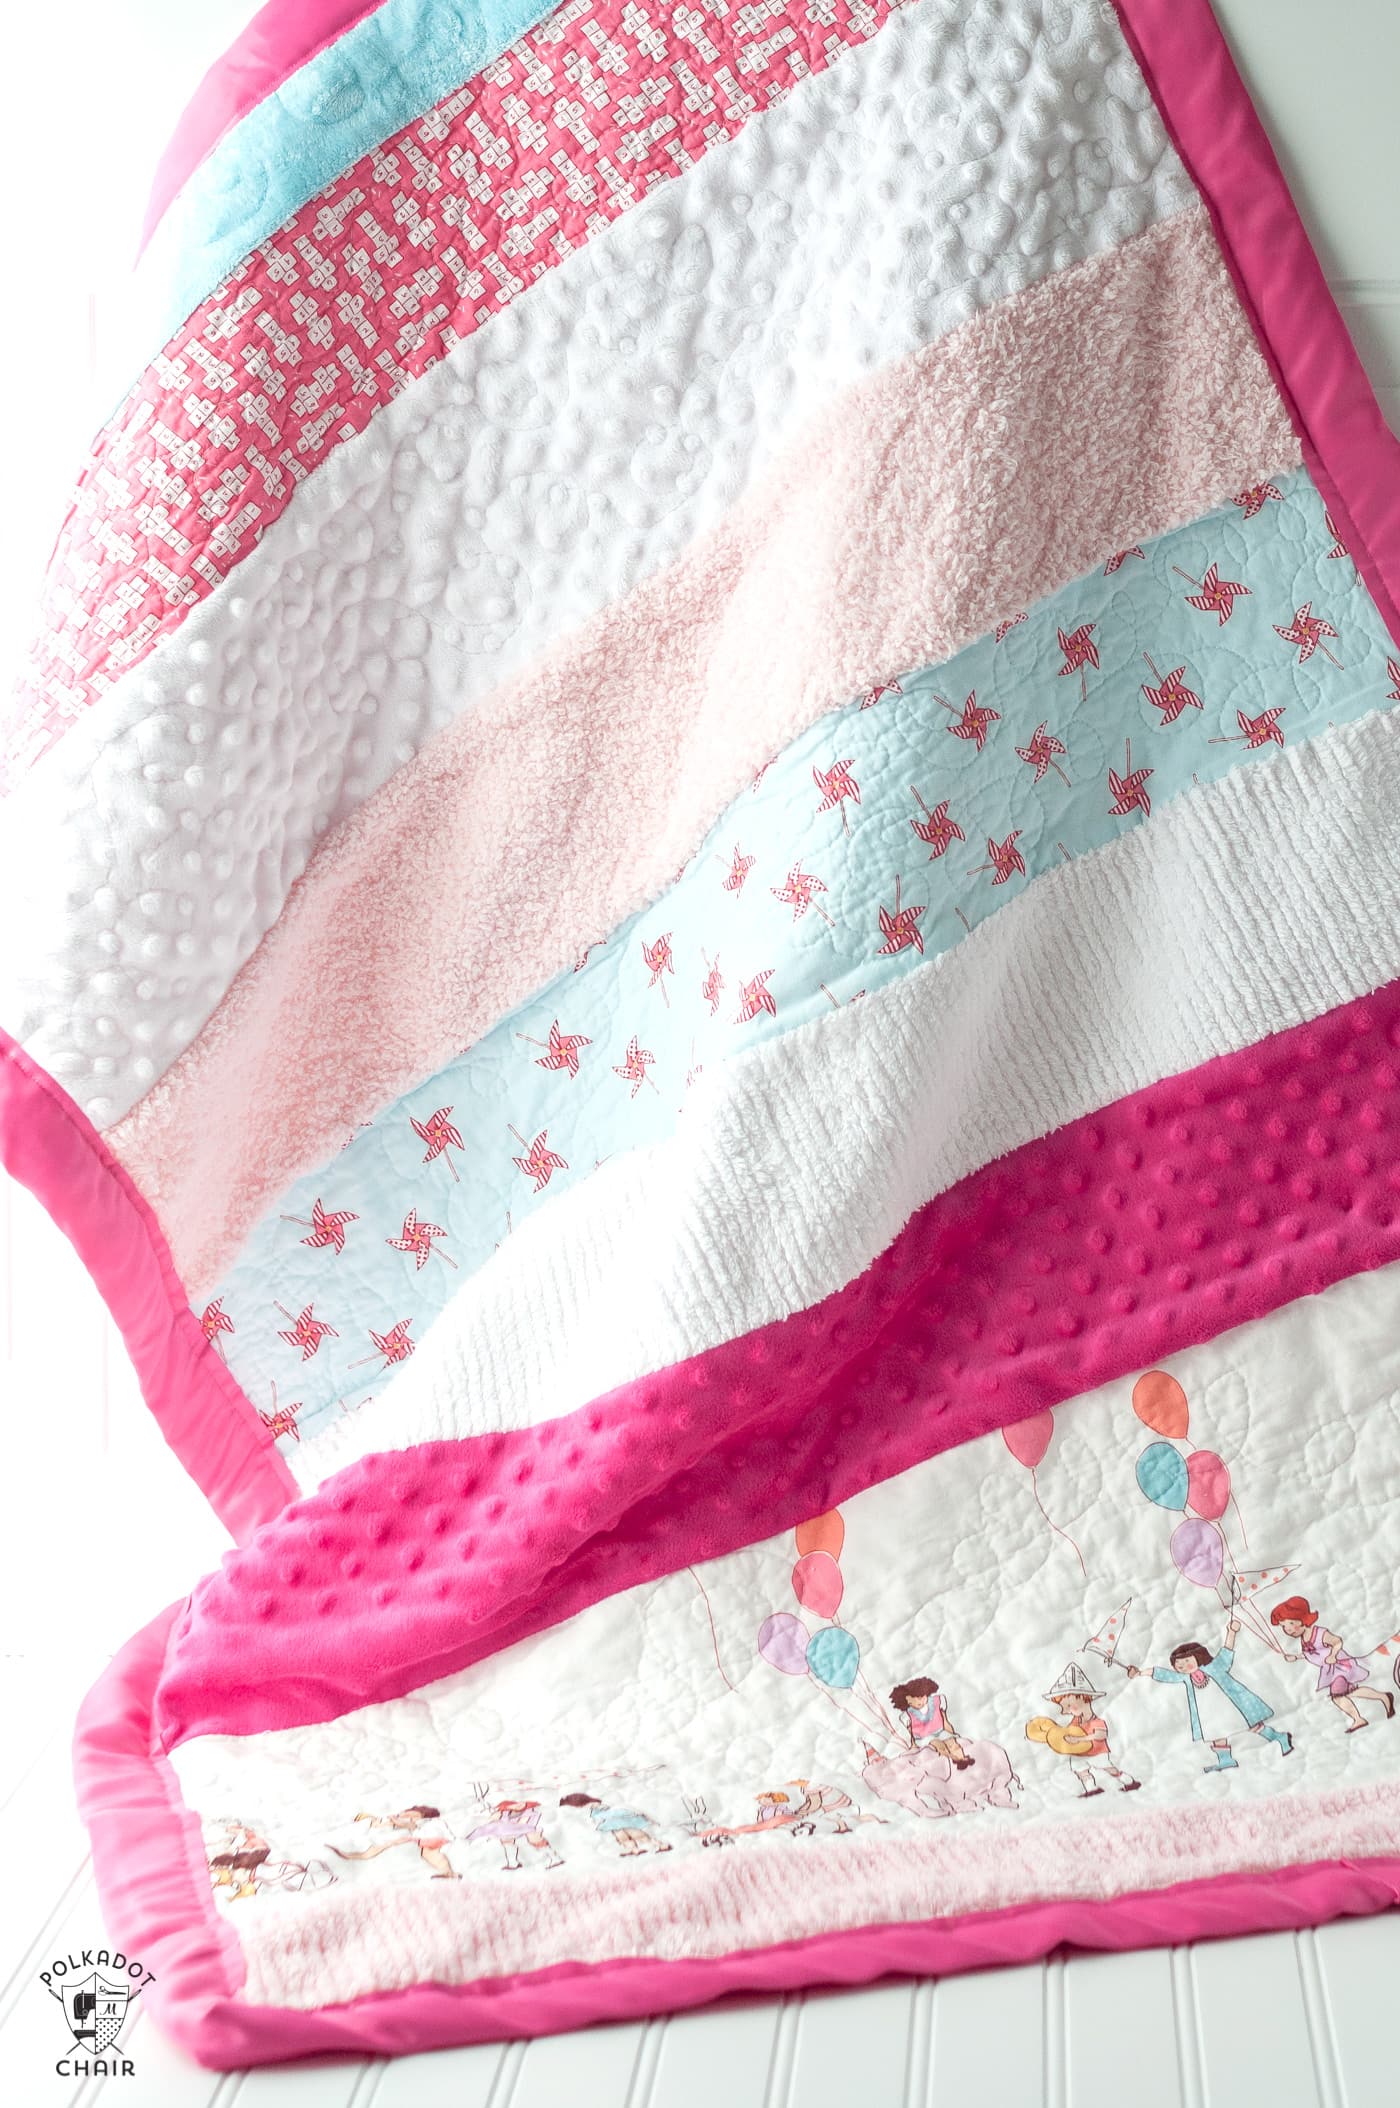
After a good washing, the blanket comes out soft and super textured.
One thing to note is that since each of these fabrics shrinks at a different percentage, the quilt will not be 100% perfect, but that’s not the point of a quilt like this, if you ask me. Because of this, however, you may want to prewash your fabrics.
Soft ‘n Snuggly Sensory Baby Quilt Sewing Tutorial
Equipment
supplies
- A variety of fabrics in a variety of textures. Do not use a jersey knit or anything super heavy. I recommend using quilting cotton chenille, flannel, minke, and light wale corduroy.
- 1 1/2 Yards Fabric for the Back I recommend Chenille, Cuddle, or Minky
- 1 1/2 Yards Cotton Batting
- 1 Package of Satin Blanket Binding or 1/2 yard of fabric to cut for binding strips
Instructions
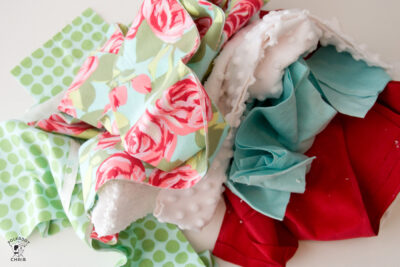
Step One: Gather Your Fabrics
- TIP: This project is GREAT for leftover scrap fabrics. I chose the size of my quilt based on my tiniest fabric scrap.
- Start by gathering coordinated fabrics and cutting them into random sizes. You’ll want a variety of quilting cotton, flannel, minke, corduroy, and even lightweight denim.
- If you think any fabrics may bleed or shrink significantly, I recommend pre-washing them.
- If you are using chenille, I recommend you pre-wash it. It’s a mess after it’s washed, and you don’t want it to get on your other fabrics.

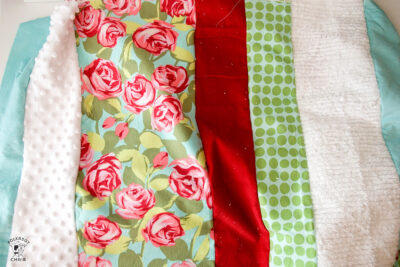
Step Two: Cut Your Fabric Strips
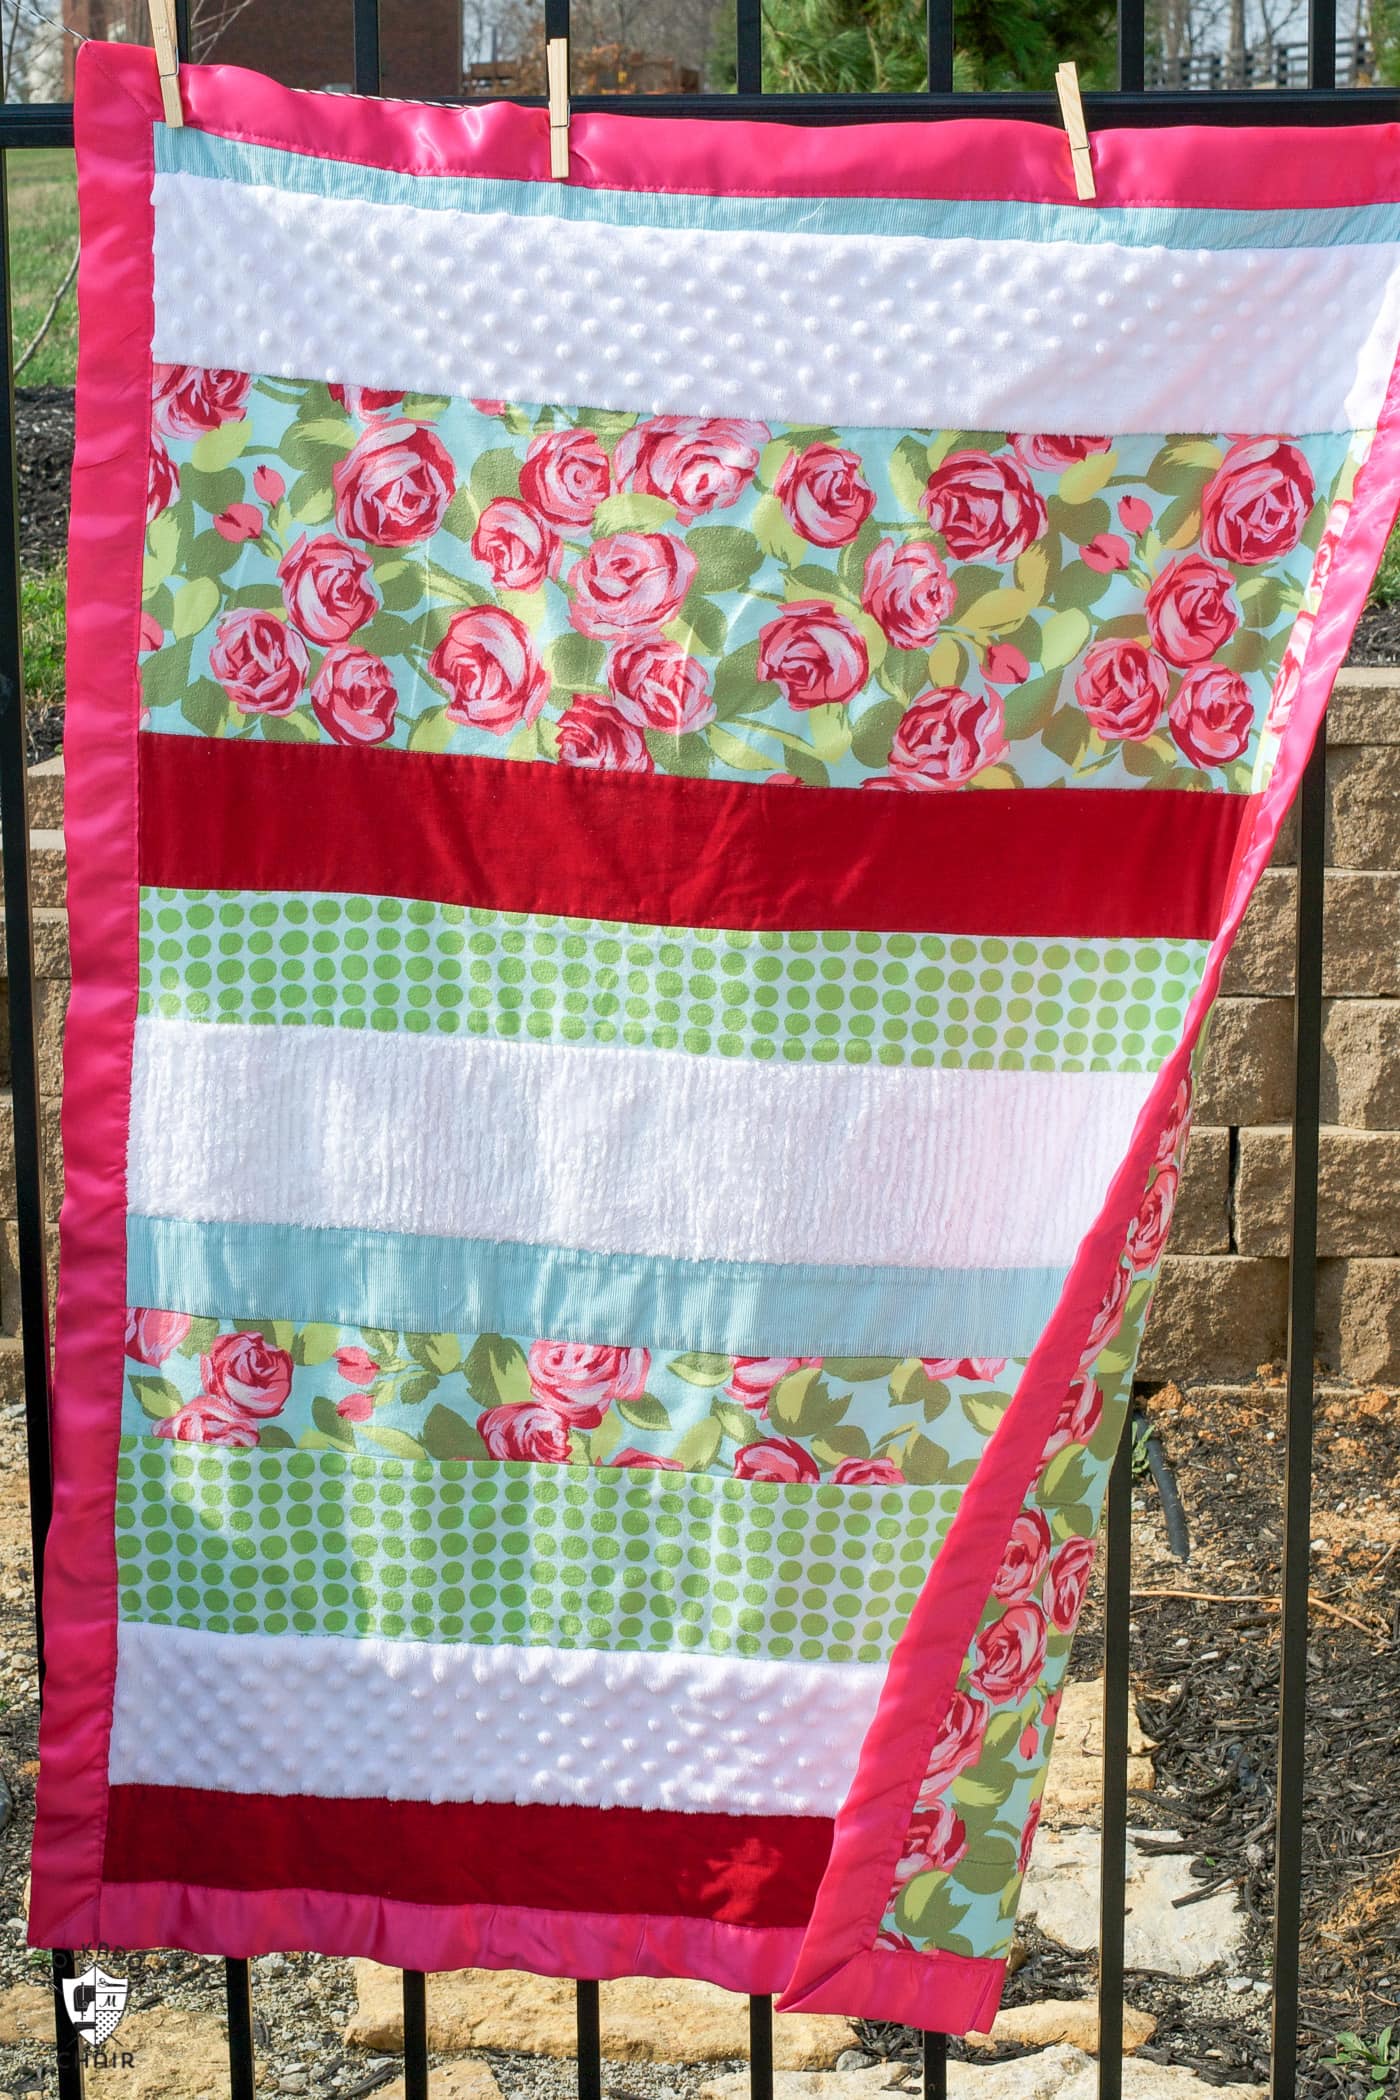
- For the red and green quilt pictured above, my smallest piece of fabric was 35″ long, so I cut all of the fabrics to 35″ with widths varying from 3″ – 10″.
- I didn’t plan it out or think about it; I just started chopping up the fabric. You do not have to make your pieces 35″ long. If you have 42″ of fabric, you can use that. I didn’t want to use more than one fabric width for the back of the quilt, so I made sure my quilt was narrower than the standard 42″ fabric width.
Assembly:
- Start by sewing the strips together. As you do this, ensure the minky is not the top or bottom strip, as it stretches and might make quilting a bit more complicated.
- I like to “lock in” my strips with flannel or corduroy on the top and bottom. You’ll notice in my pink and blue quilt that I have a minke on one of the ends. It made it harder to make that one. I prefer to put a flannel or corduroy on the ends instead. Also, ensure that no two “like” fabrics are next to each other.
- You might not be able to tell from the photo, but I cut the 2 corduroy fabrics (the red and turquoise) opposite ways so that the wale of the corduroy was different on each one. (This was just to add more visual texture.)
- After you have the quilt the size you’d like, stop sewing on extra strips. My quilt ended up being about 35″ wide by 50″ tall, which is a good size for a baby quilt.
- An “ideal” size would be about 40″ x 50″, but as I said, I was working with what I had; my shortest strip was 35″ long.
To Finish the Quilt:
- Make a quilt sandwich with the quilt top, cotton batting, and flannel (the process is similar to this table runner if you need help).
- Quilt it simply using the stitch-in-the-ditch method. You can also add extra lines of straight stitching to sections of the quilt as you’d like. However, know that many fabrics will stretch as you quilt them. So, you might want to keep the machine quilting to a minimum.
- Bind the quilt using a satin blanket you can purchase at the store. There is an excellent tutorial for attaching a Satin Blanking binding here: https://klee2strings.blogspot.com/2013/11/tutorial-satin-binding-on-baby-blanket.html
More Free Baby Quilt Patterns:
Easy Scrappy Strips Baby Quilt
More than 25 Baby Quilt Patterns
Cute and Cozy Cheater Quilt Tutorial
Can you please share information on the fabric with the children on it that you used?
I found it on Etsy look for children on parade there are a few suppliers I paid a high price and then saw it from another supplier for 1/2 the price.
My first time sewing and this is the project I️ chose. So far, so good. I’m excited to give this gift to my grand-niece. I️ love the colors you chose and it inspired me to give it a try.
Just ran across this pattern. So cute to use different textures. I’ve many of these, but just with coordinating quilting cotton. Just pick your theme – Dogs, Cats, Farm Animals, College colors, sports – the list is endless!
I do them in a quilt as you go fashion, using fleece (I prefer anti-pil) as the backing. It can also be done with batting and backing, but I love the weight of the cotton and the fleece. I usually cut the strips from 6 to 10 inches wide, depending on the fabric design.
When I use fleece, I just snip the edges for a rag finishing, after sewing around the edges.
I made some 2 1/2 yards long by the width of the fleece (usually 56 to 58 inches after trimming selvedge). They were loved because these tall boys could never find a “lap blanket” long enough for them! For younger ones, 1 yard by the width of the fleece is perfect. Just make the “width” become the “length”! So they end up about 36 x 56.
Great tips! Thank you!!
I love the children marching with balloons fabric. I’ve searched and can’t find it. Do you happen to remember who the designer/brand was? Thanks!!
Check Joann’s. I just saw it there the other day
A tip for the different % of shrinkage is to wash the fabric and then cut it out and see it together. : )
Beautiful! Could you please tell me the name of the fabric that features the children on it? I love it!
It’s Micheal Miller Children on Parade 😉
This is so cute, Melissa!
Love the color combo you used for the baby quilt! Very sweet 🙂