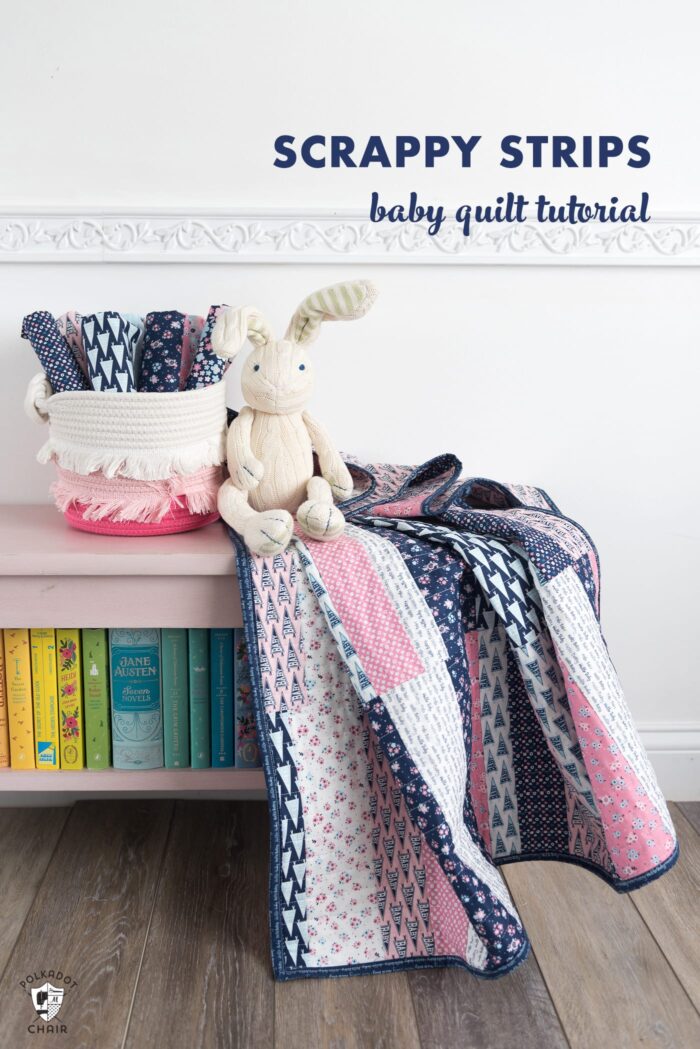
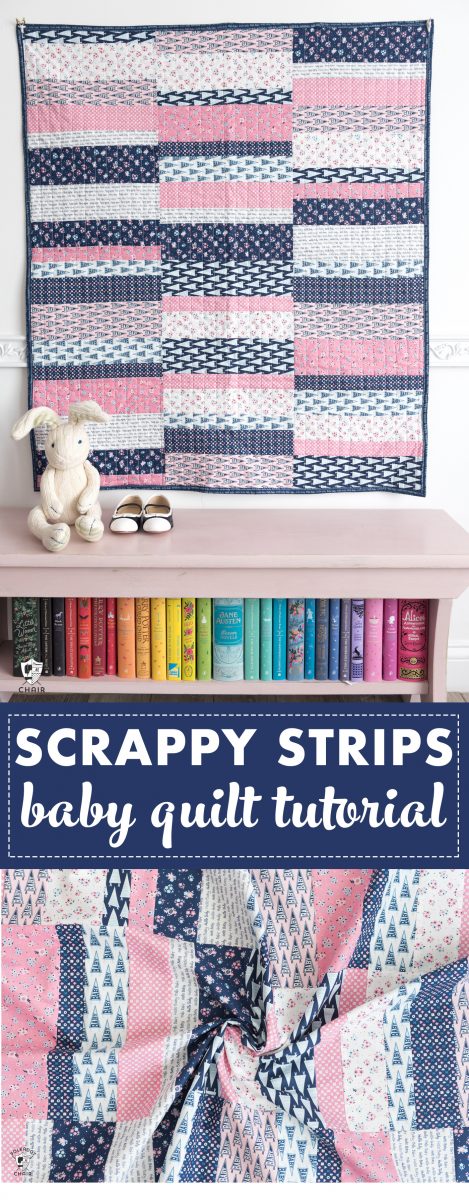
Easy Scrappy Strips Baby Quilt Tutorial & Quilt Pattern
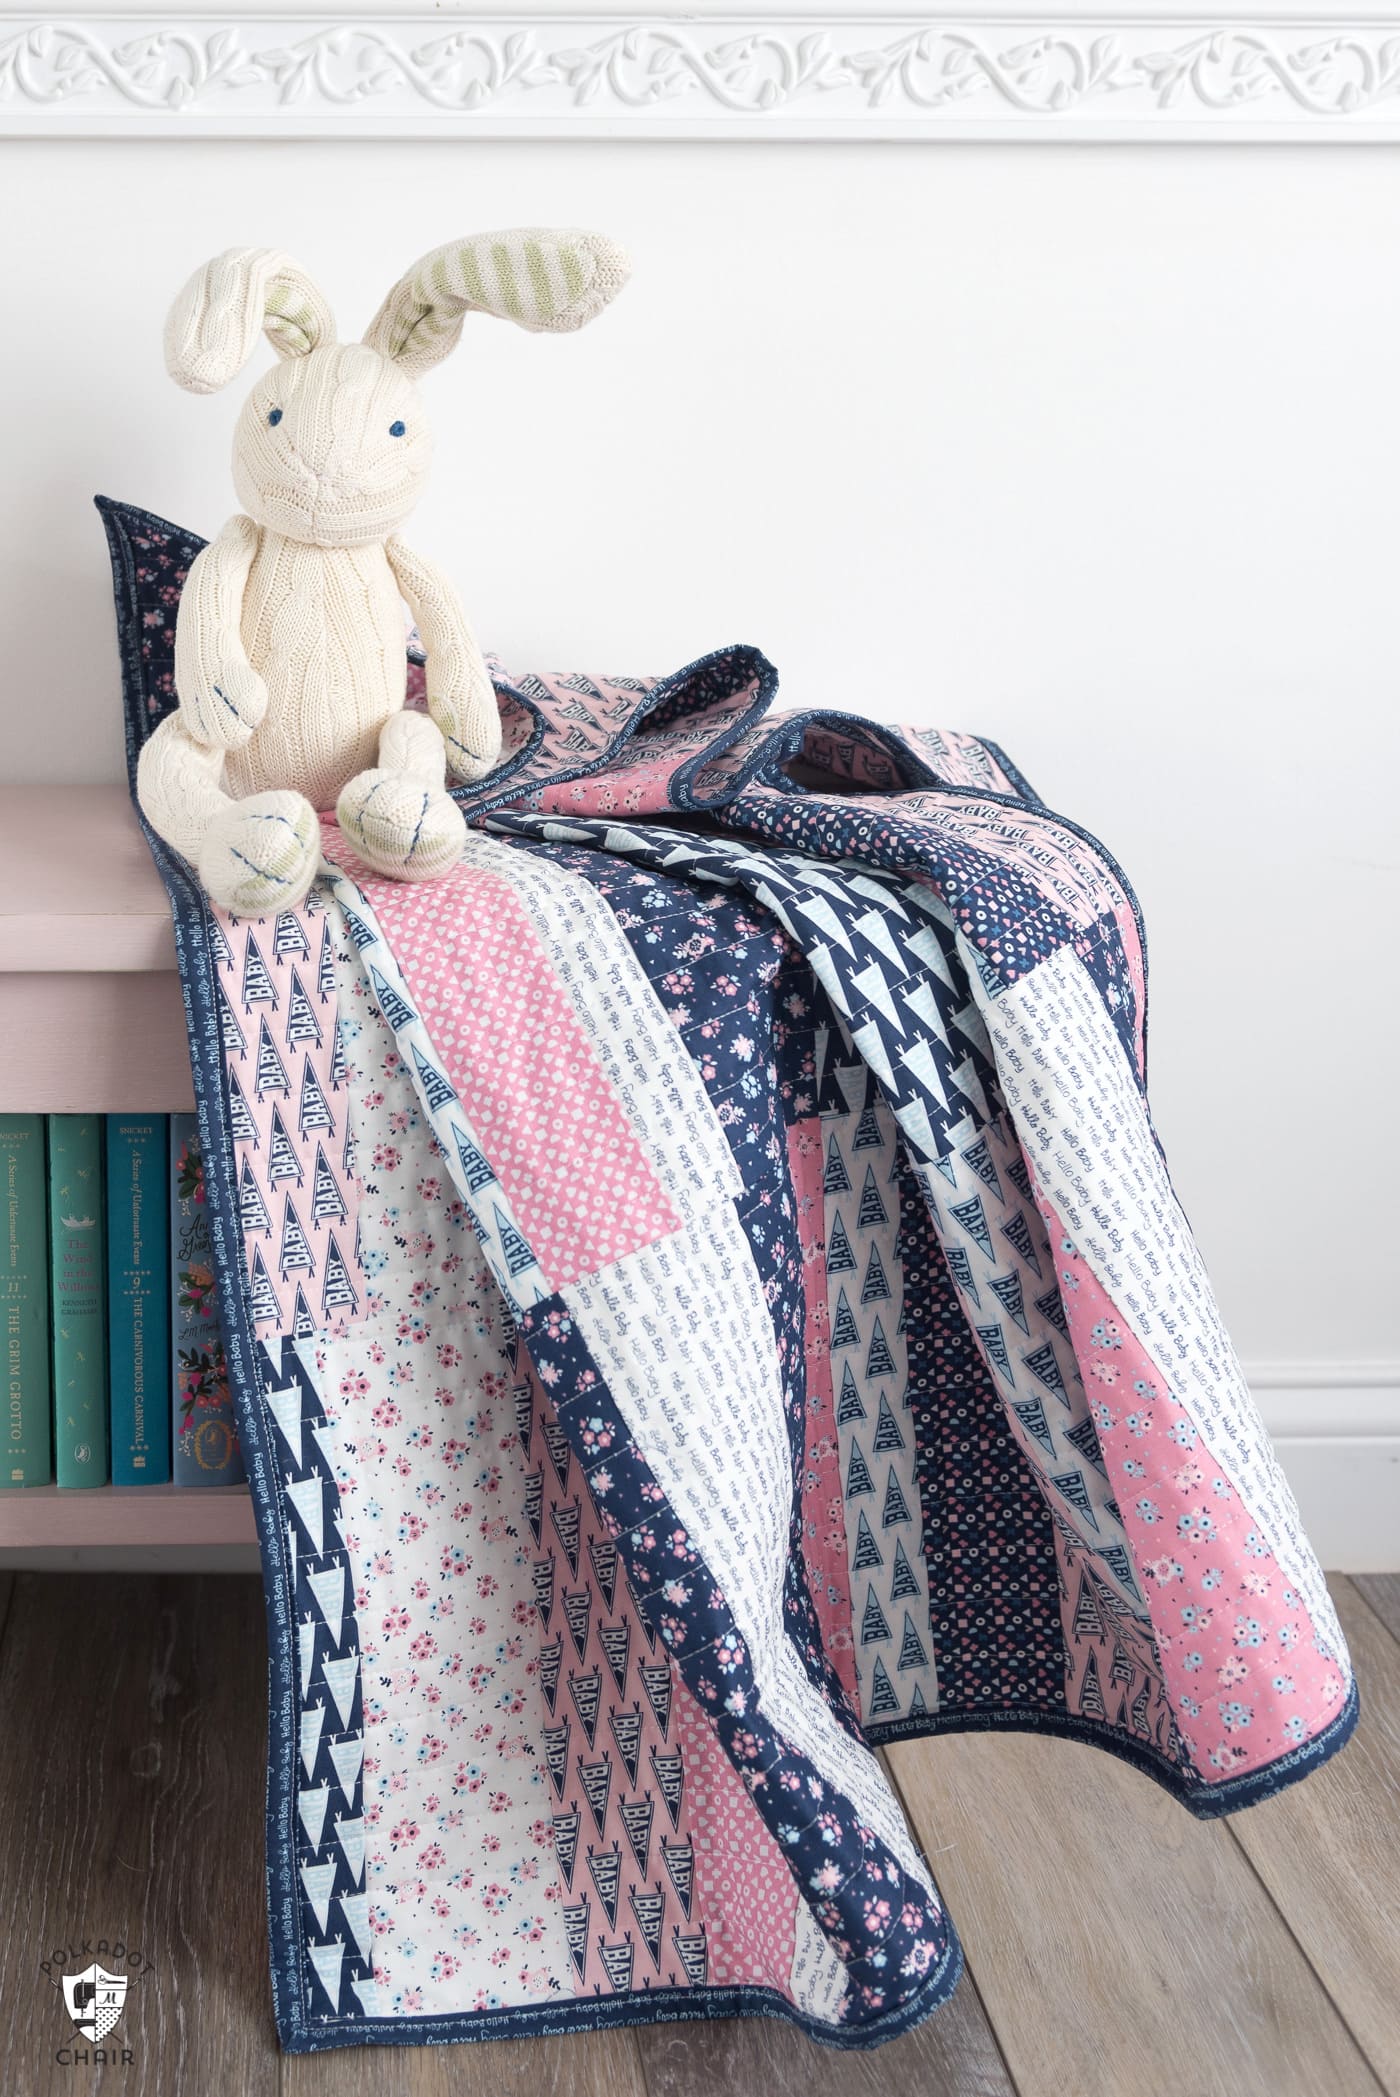
This scrappy strips baby quilt is so easy to stitch up that you’ll want to make a bunch to give away as baby gifts! It’s also a great scrap busting quilt project.
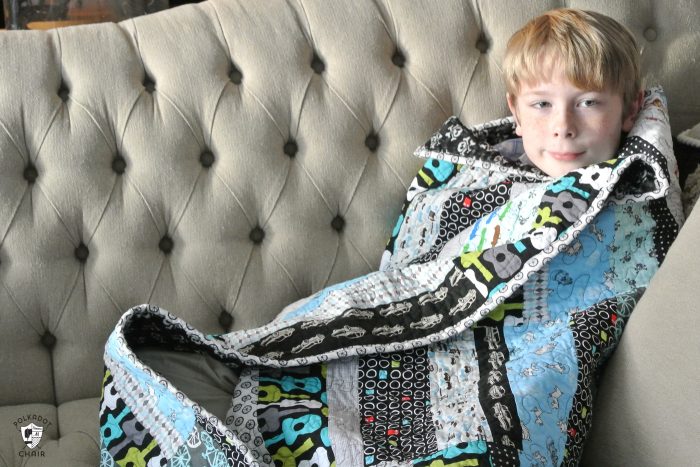
Many years ago I created a simple strips quilt for my son for Christmas. The quilt I made was a part of a handmade Christmas quilt along that was hosted on this site and the pattern for the quilt was shared across several different blog posts over a period of a couple of months.
I posted a photo of the finished quilt at the end and in the years since have received a lot of requests for JUST the quilt pattern.
Scrappy Quilt Ideas
I added it to my list, because, yes it is a lot easier to just read one blog post instead of 5! Although I’m still happy with how the quilt was shared since it encouraged a lot of people to make a handmade quilt as a Christmas gift!
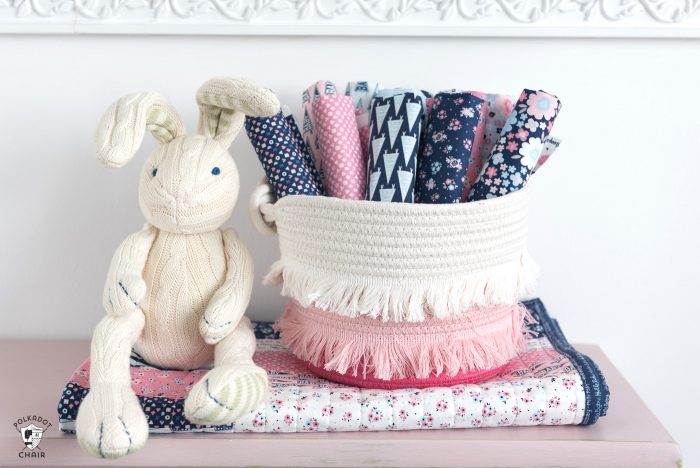
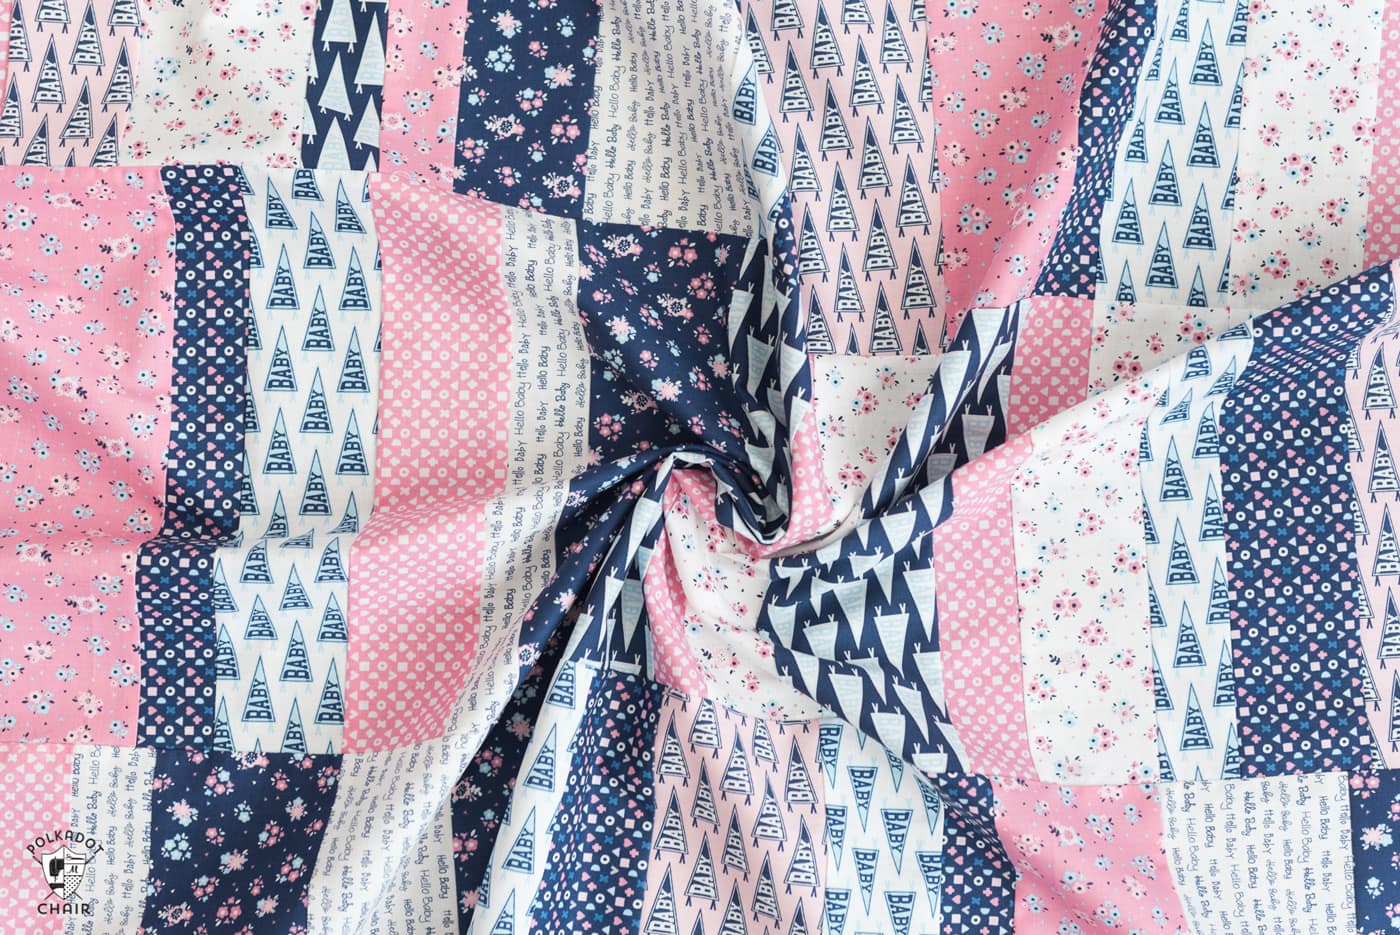
Just last month Christopher Thompson of the Tattooed Quilter released his newest fabric line, Hello Baby, and I fell in love (which happens to me with a lot of fabric lines, what can I say? I love fabric).
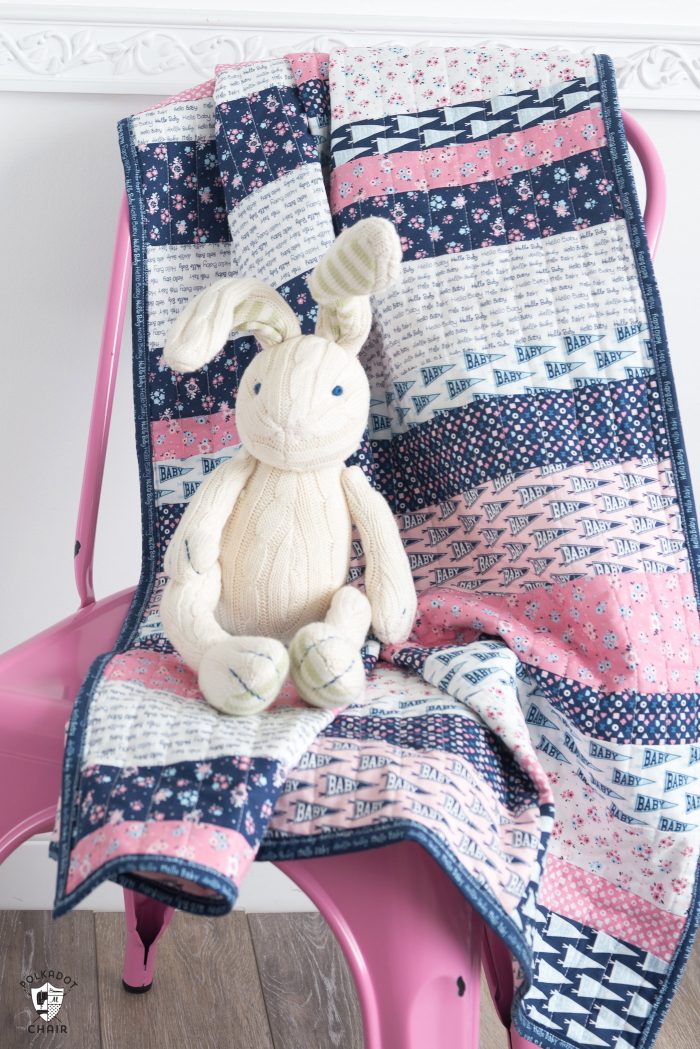
When I got the fabric, I realized it would be the fabric to use to remake my scrappy strips quilt from so many years ago! This time I’ve created a baby-sized quilt instead of a lap quilt.
How to Get the Quilt Pattern (2 Options)
Option 1:
This Scrappy Strip Quilt is now a full quilt pattern! I knew that you’d want options if you made the quilt and would appreciate a printable copy. I’m posting the baby-sized quilt online here for free.
If you’d like instructions for both the lap and baby-sized quilt then you can grab them in the shop with the PDF. Also for those of you that don’t know, PDF files are emailed to you, and you print them at home. I don’t have hard copies to send you.
They are great because you get them instantly and save money since you don’t have to pay for the cost of postage and printing.
Option 2:
Read the directions on this page. Included are the instructions to create a baby quilt.
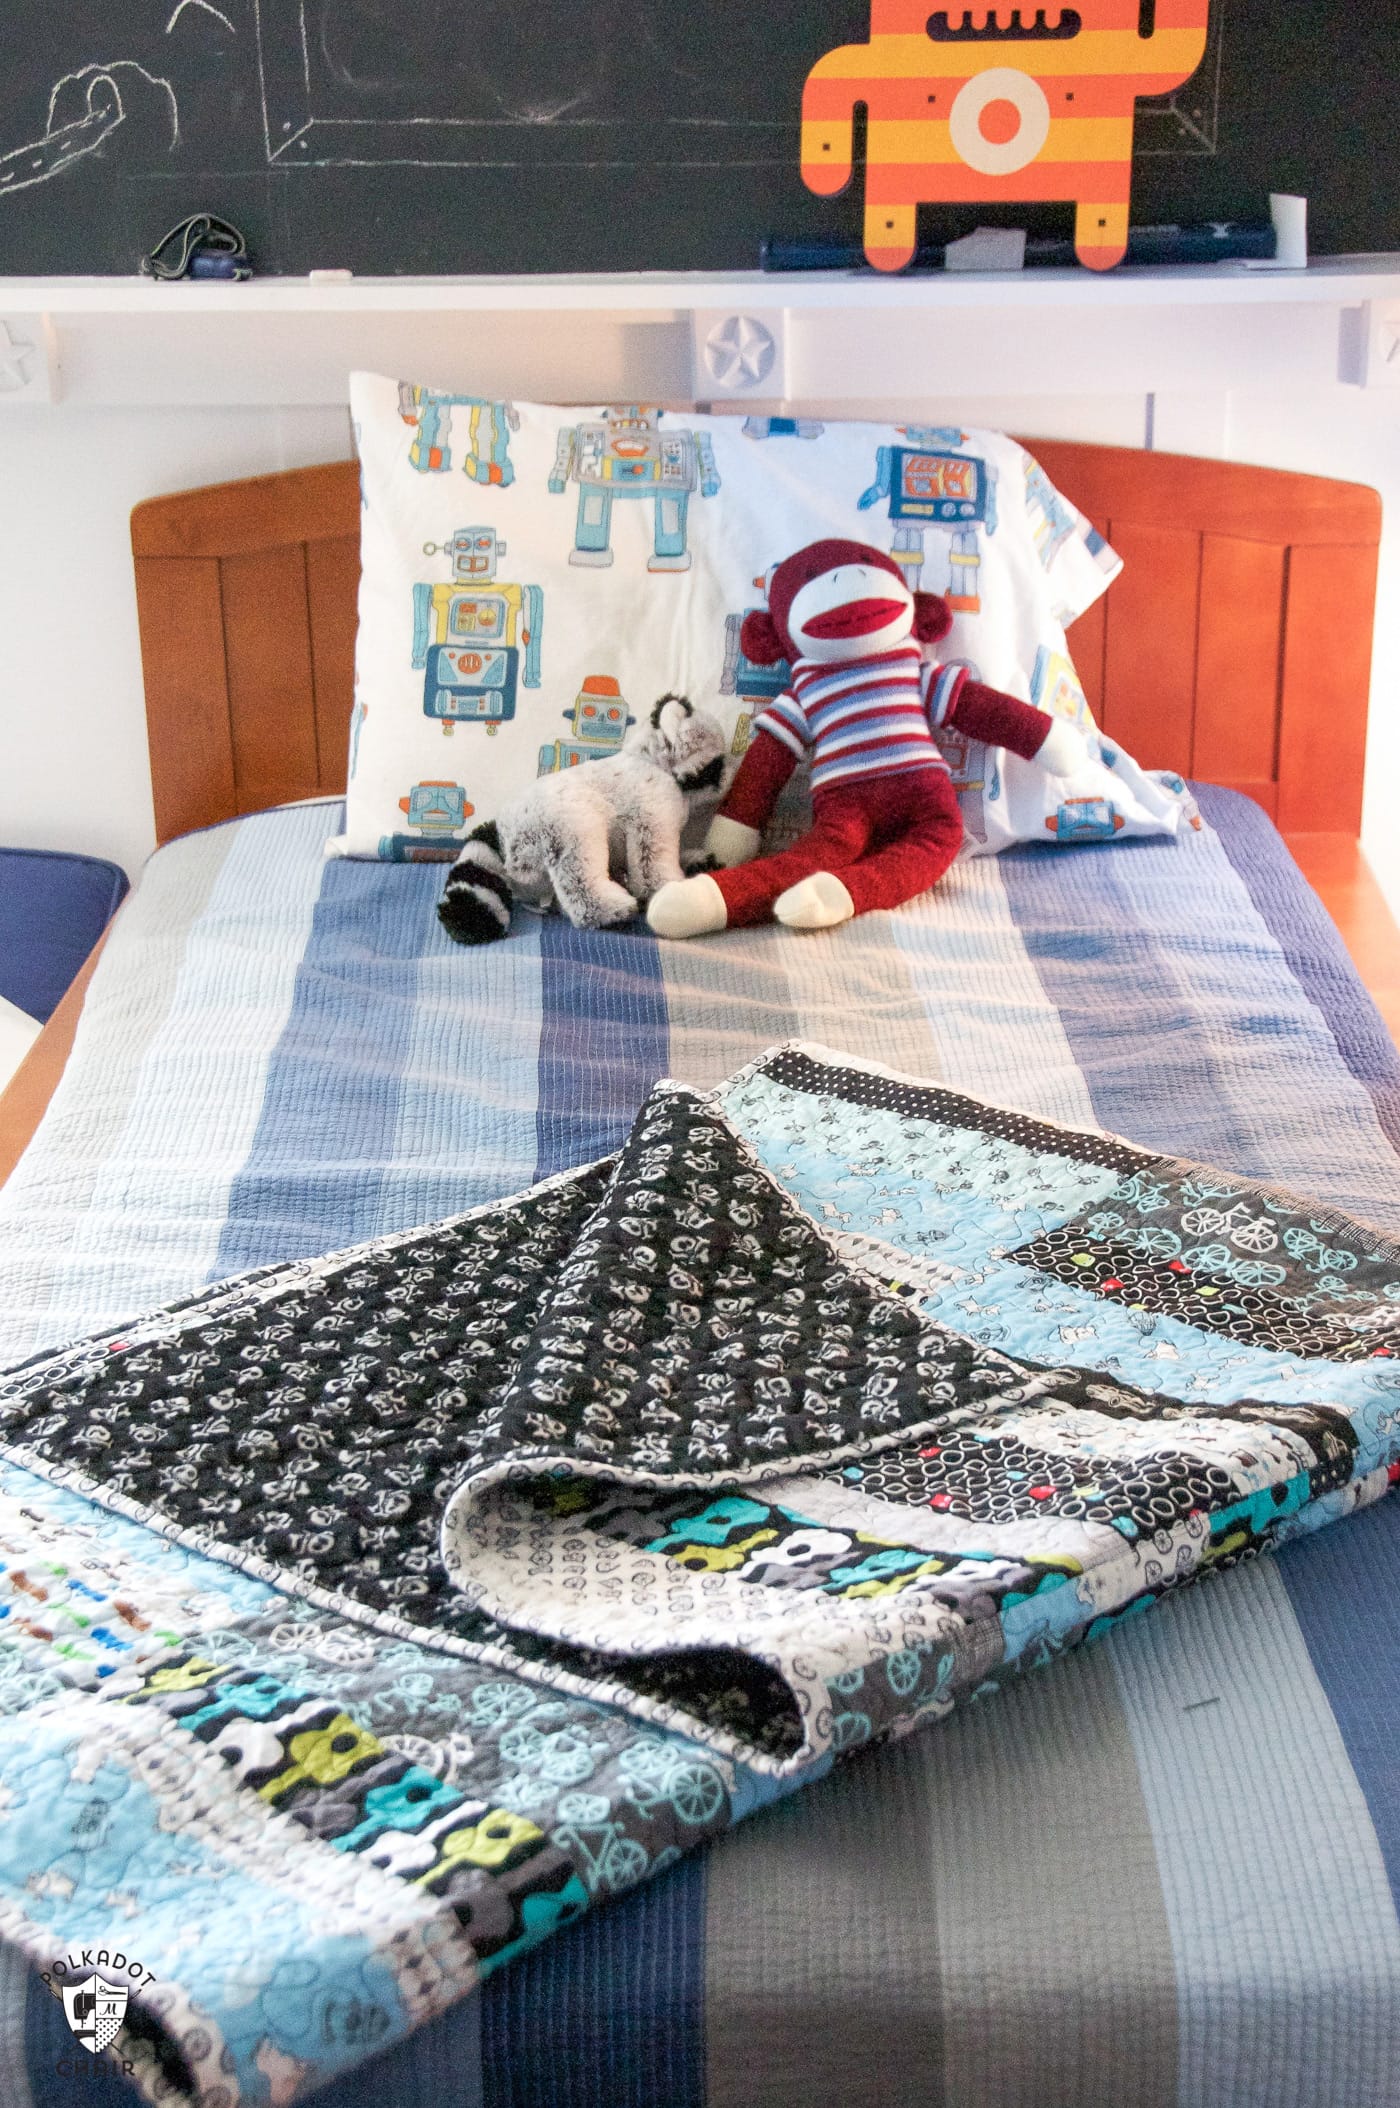
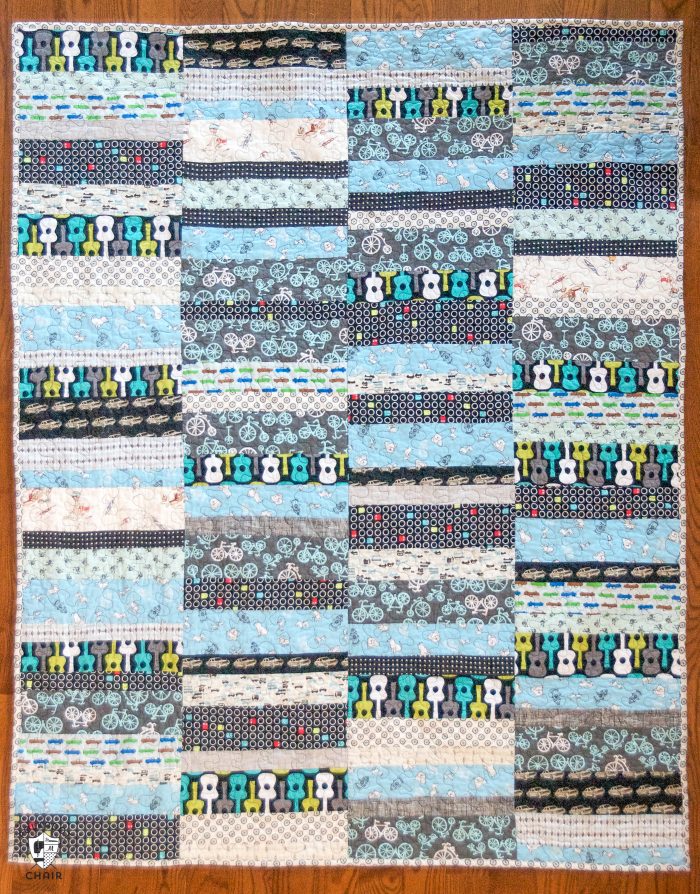
This quilt is one that I designed because I wanted to use a LOT of different novelty prints all in one quilt. My son was young at the time and had a lot of things that he loved, including bikes, legos, video games, dogs etc.
I gathered together many prints of his favorite things and designed a quilt to show off all of those fun prints.

I also wanted to make it easy to sew. Since I was making 3 quilts for Christmas that year and needed a quick-to-piece quilt project. I came up with the idea of a strips quilt with a twist. Most strips quilts contain strips of all the same width. I thought I’d mix it up a bit and change up the width of my strips to give the quilt a bit more interest.
About the Quilt Pattern
This quilt is easy to make. I’m going to show you how to make a baby-sized quilt with 6 different fabrics. If you want to use more fabrics, you can. I’ll give you how many strips you need TOTAL in the tutorial. Just make sure you have the right number of 2″, 3″ and 4″ strips before you start, and you’re good to go!
Also, this quilt uses 9″ cuts of fabric EXACTLY. That’s 1/4 yard of fabric. If you don’t think your fabric was cut square or if you were shorted a bit, I recommend buying 3/8 yard instead, just to be safe.
Okay, are you ready to start?
Scrappy Strips Baby Quilt Pattern
Baby Quilt Size: 37″ x 45″
Supplies
You can repeat some fabrics twice; it is actually encouraged! (contains affiliate links). For Example, Purchase six 1/8 yards of one fabric and 3/8 yards of 9 other fabrics, etc.
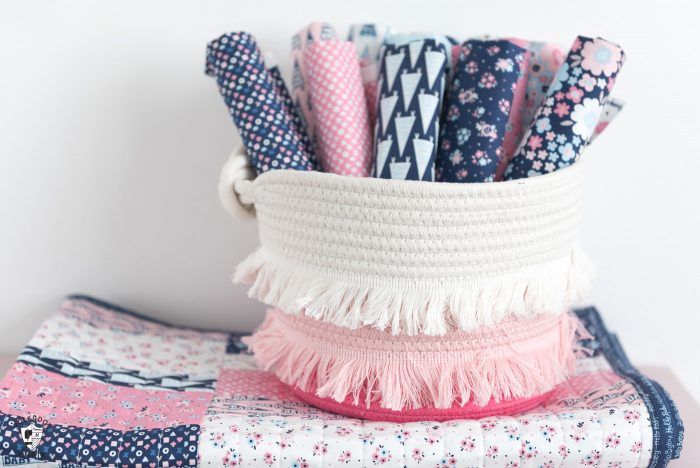
The fabric is Hello Baby by Christopher Thompson for Riley Blake Designs –
- Fabric for Quilt:
- 3/8 yard each of 6 different fabrics
- Fabric for Backing:
- 1 1/2 Yards
- Fabric for Binding:
- 3/8 Yard
- A piece of batting at least 43″ x 50″
Cutting Directions
This quilt is meant to be scrappy. Please mix and match the following cut requirements from many different types of fabric.
From EACH of 6 different fabrics CUT:
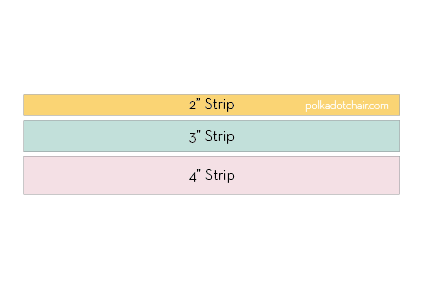
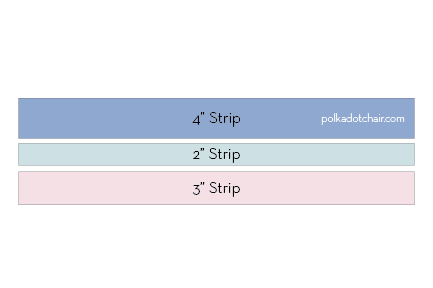
- One 2” X WOF strip
- One 3” x WOF strip
- One 4” x WOF strip
When you are doing cutting you should have:
- Two Inch Wide Strips cut from various fabrics – Six Total Strips
- Three Inch Wide strips cut from various fabrics – Six Total Strips
- Four Inch wide strips cut from various fabrics – Six Total Strips
Instructions
Step 1:
Stitch one 4”, 2” and 3” strips of fabric together along the long sides. Vary the prints of the fabrics that you stitch together.
Also, vary the order you stitch the fabrics together. For example, one time, sew the strips 2”, 3” x 4”, and the next time sew the strips 4”, 2” 3”.
The trick to this method is to keep the fabrics, and the width of the strips varied as you sew.
Repeat the process until you have six sewn strips sets.
Step Two:
Press the seams allowance of the strips to one side and make sure your seams are flat. Be careful as you sew that you don’t distort the seams. You want to keep your strips as flat and straight as possible.
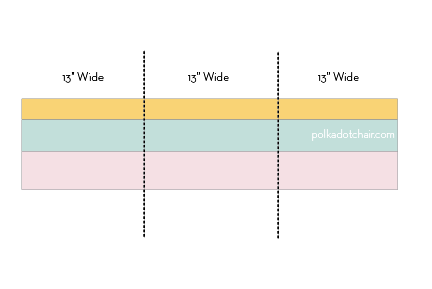
Take one of your sewn strip sets, and cut it into 3 pieces each 13” wide. Make sure that you trim off the selvage edges.
Repeat for all sewn strip sets.
Assembly:
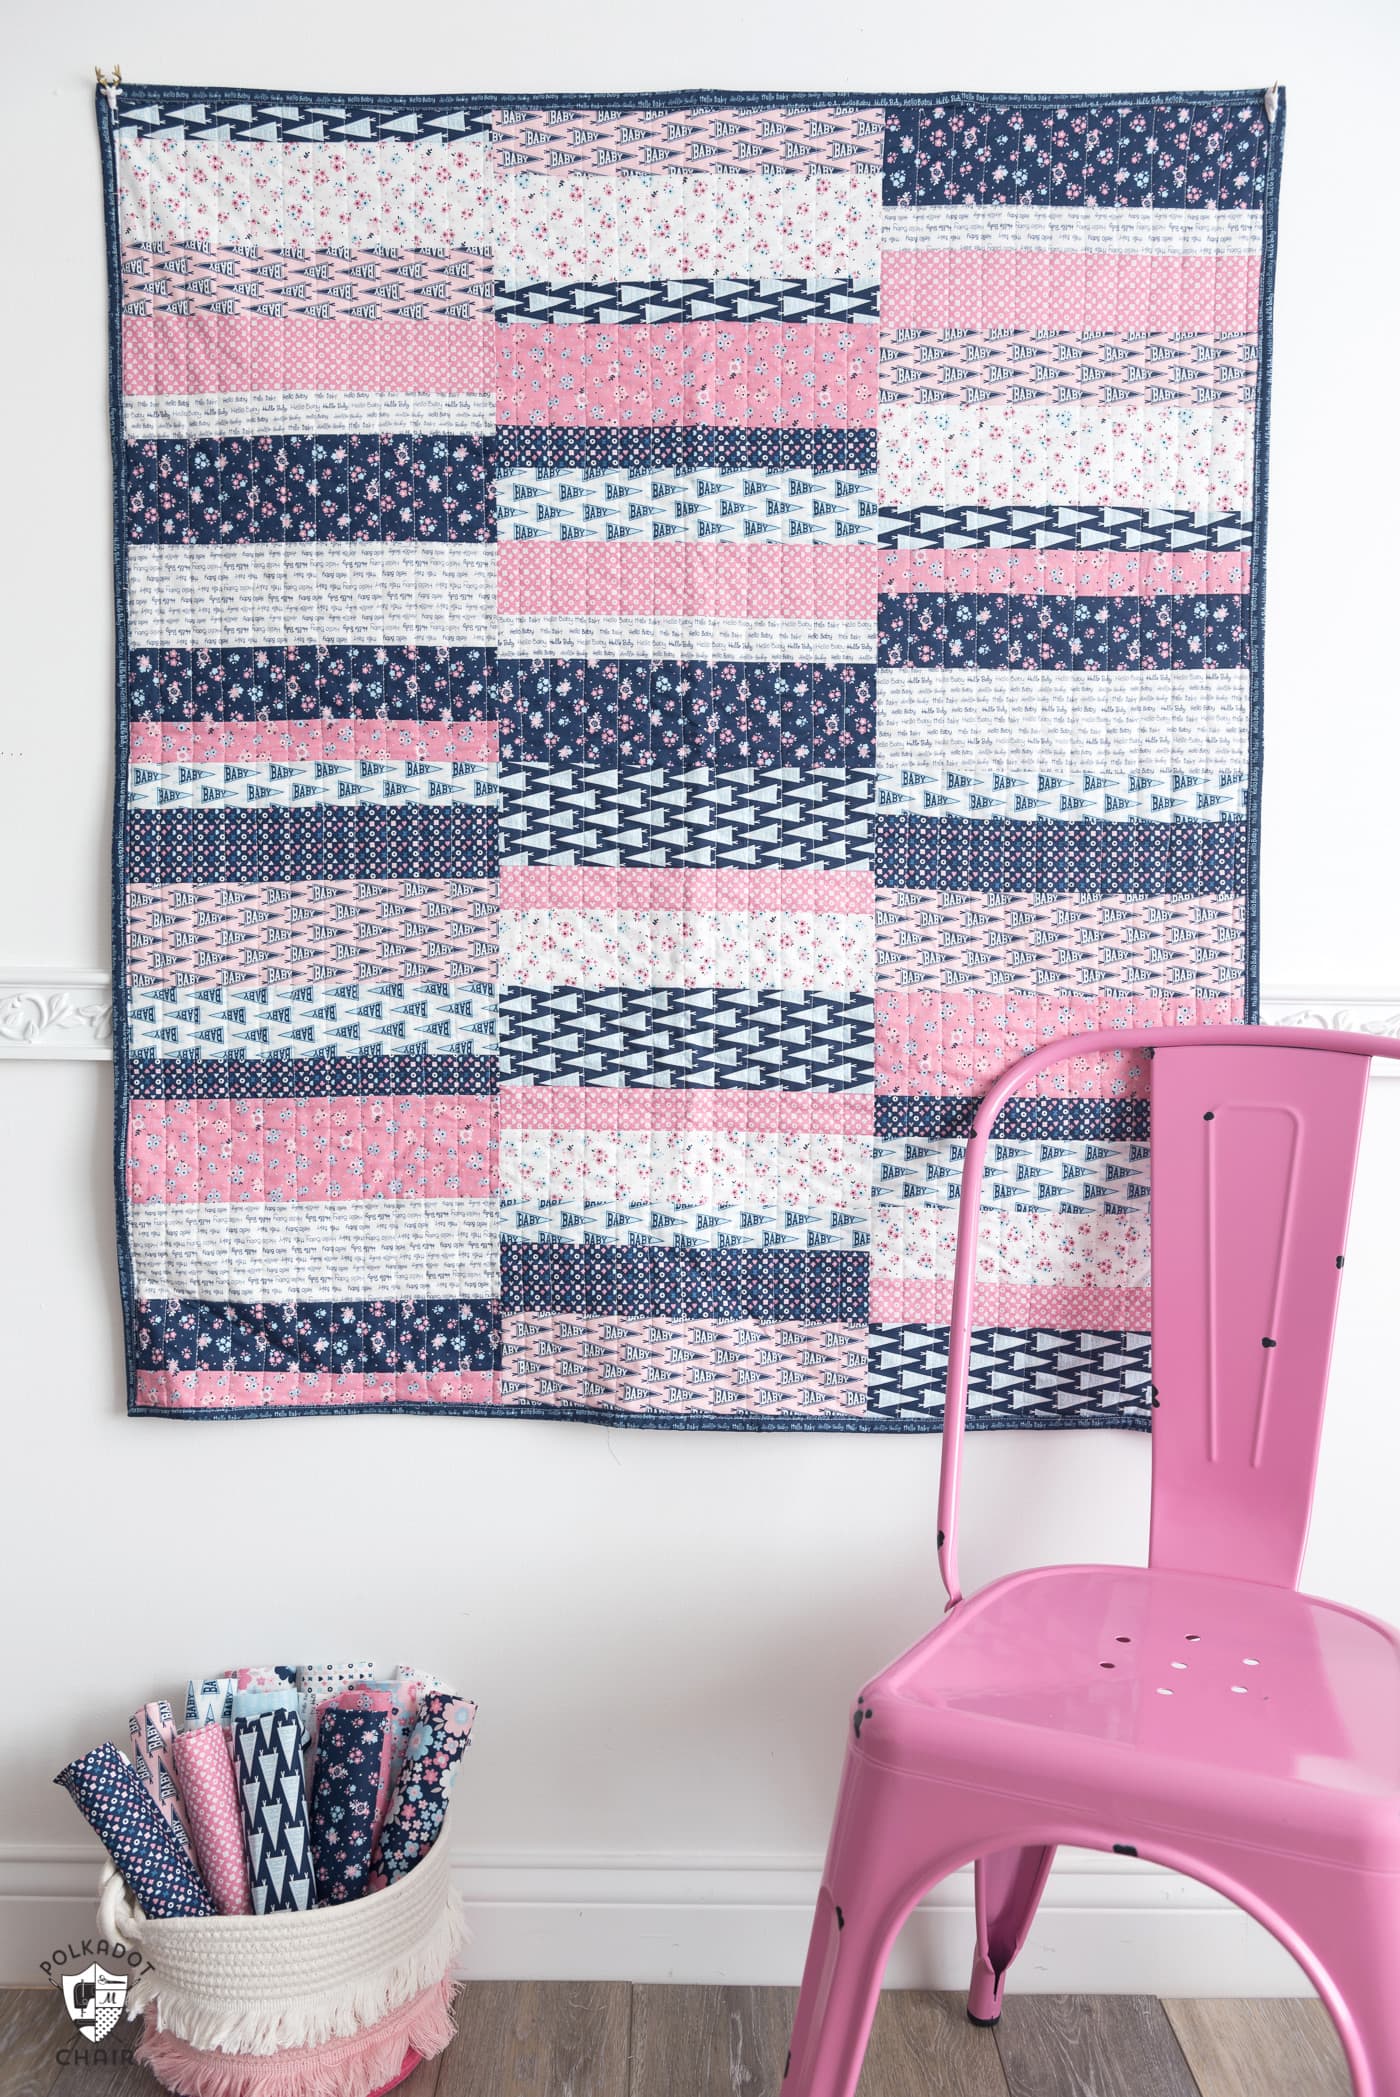
Refer to the assembly diagram as necessary.
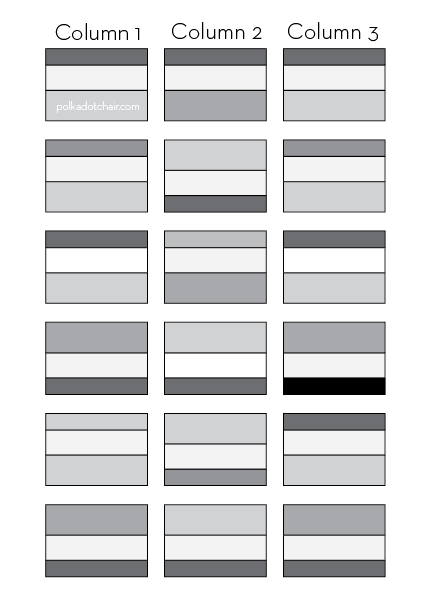
To assemble the quilt top, stitch the blocks into columns.
For the baby quilt, you will stitch 6 blocks together along the long sides. As you sew the blocks together, try not to sew the same print next to each other.
Press seams to one side.
When you are done with the 1st column, sew the second column. Then a third.
Stitch the 3 columns together so that you have 3 rows of 6 blocks.

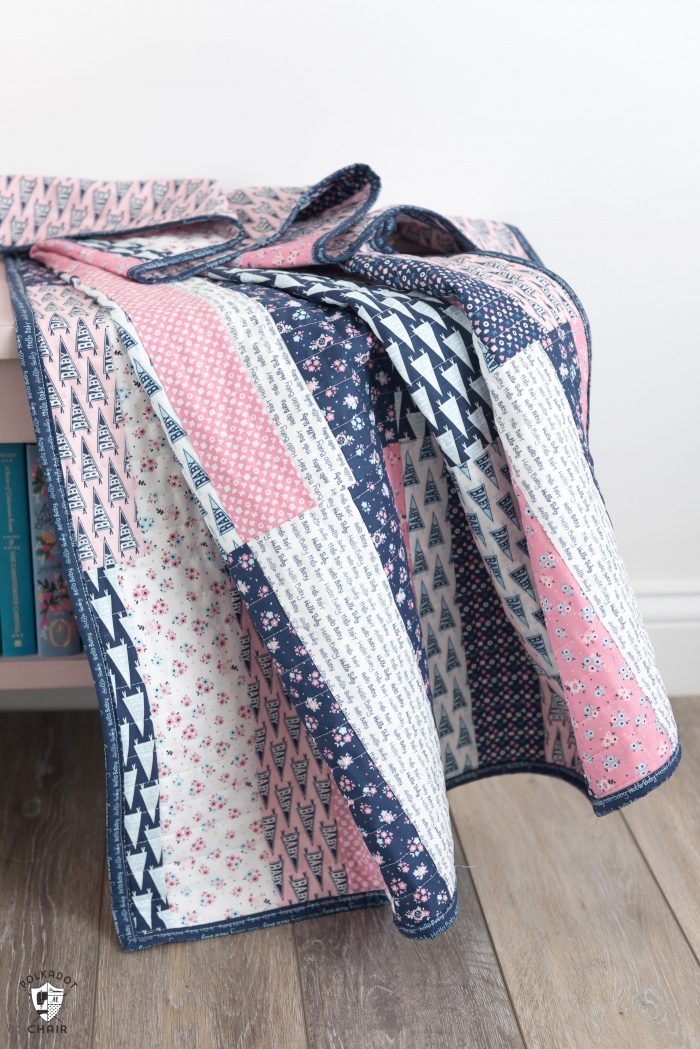
Quilt and bind as desired. I used a simple straight stitch on my sewing machine 1″ apart. If you’d like to see how to finish up the quilt, I did it the same way as this Simple Skinny Table Runner- just click on over to that post and scroll to the end to see how to quilt and bind.
More Quilt Tutorials & Patterns:
More than 25 Free Baby Quilt Patterns
Dresden Burst Baby Quilt Pattern
Simple Herringbone Baby Quilt Tutorial

Hi there!
I was looking for a fast baby quilt pattern for my donation quilts and found your Scrappy Strips Baby Quilt, but after you cut the strip sets into 13 inch blocks, you say to follow the assembly pic, but it doesn’t clarify which blocks are from which strip set, the colours don’t match your previous photo.
It’s random so there is not a set placement of colors or widths of strips. It’s meant to be scrappy, I just shuffled up my blocks and sewed them together in random order.
Newbie quilter here – this pattern has inspired me to set out on my first quilt. Is there a convention as to how wide the seam allowances should be for quilting? I normally make clothes so am used to a 5/8 inch allowance and I’m pretty sure that’s not right for quilting. Working from the dimensions of the pieces and finished quilt I’m guessing it’s 1/4 inch between the individual pieces on the quilt top and 1/2 inch round the edges. Have I worked it out correctly?
Quilting is always 1/4″ seam allowance even around the edges.
I can’t wait to make this! Such a cute quilt and the easy pattern even I can follow LOL. Thank you so much keep creating on your end and I will keep trying on mine!
And btw, it’s a GORGEOUS quilt….and your tutorial makes it seem pretty easy-ish to make a quilt. I need to try….lol! Thank you!!!!
You mention 1” strips in your directions a couple times- but you mean 4”, right?
The 1 refers to the quantity. Sometimes all the numbers run together- I’ll check to see if I can add more spacing
Nope, it’s a typo….I’ll star what they are talking about:
“When you are doing cutting you should have:
**One** Inch Wide Strips cut from various fabrics – Six Total Strips
Two Inch Wide strips cut from various fabrics – Six Total Strips
Three Inch wide strips cut from various fabrics – Six Total Strips”
Confused: You say to cut strips 2″, 3″, & 4″. Then you say to sew the 1″, 2″ & 3″ strips together. Is there an error in the pattern? I would like to make this for a baby gift, however I want to do it correctly. Thank you.