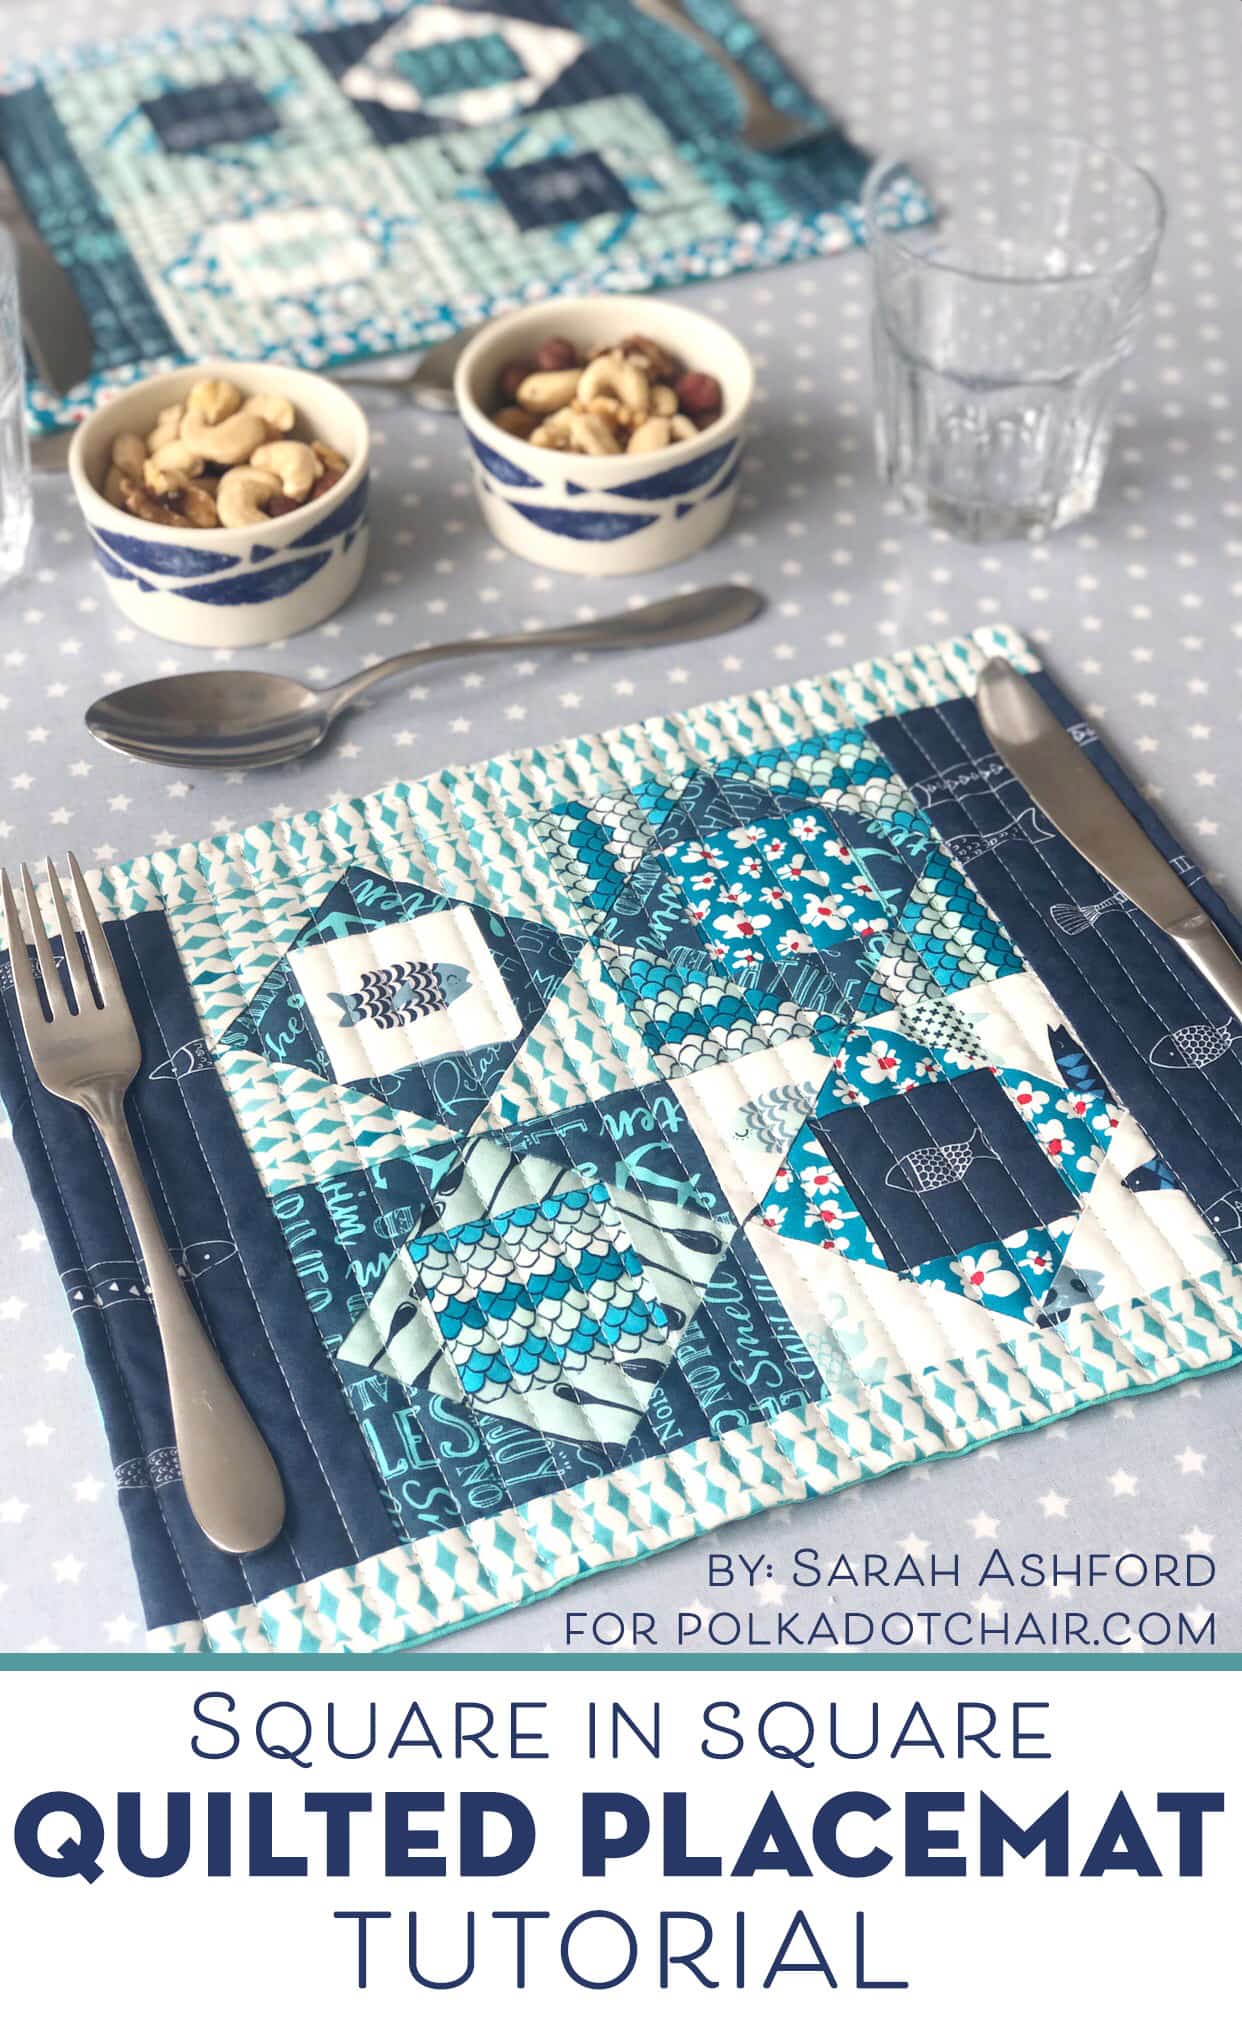
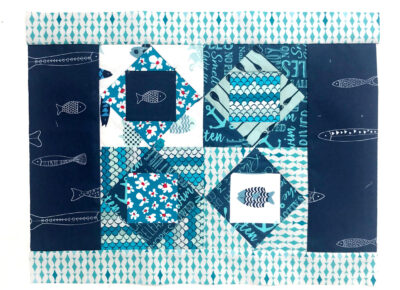
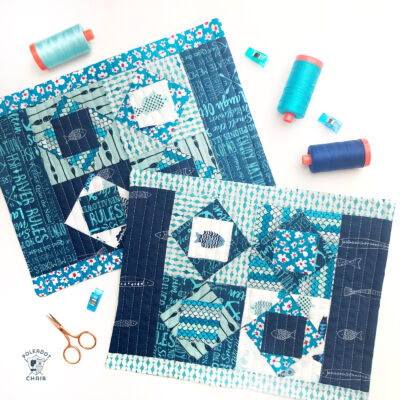
Square in Square Quilted Placemat Pattern
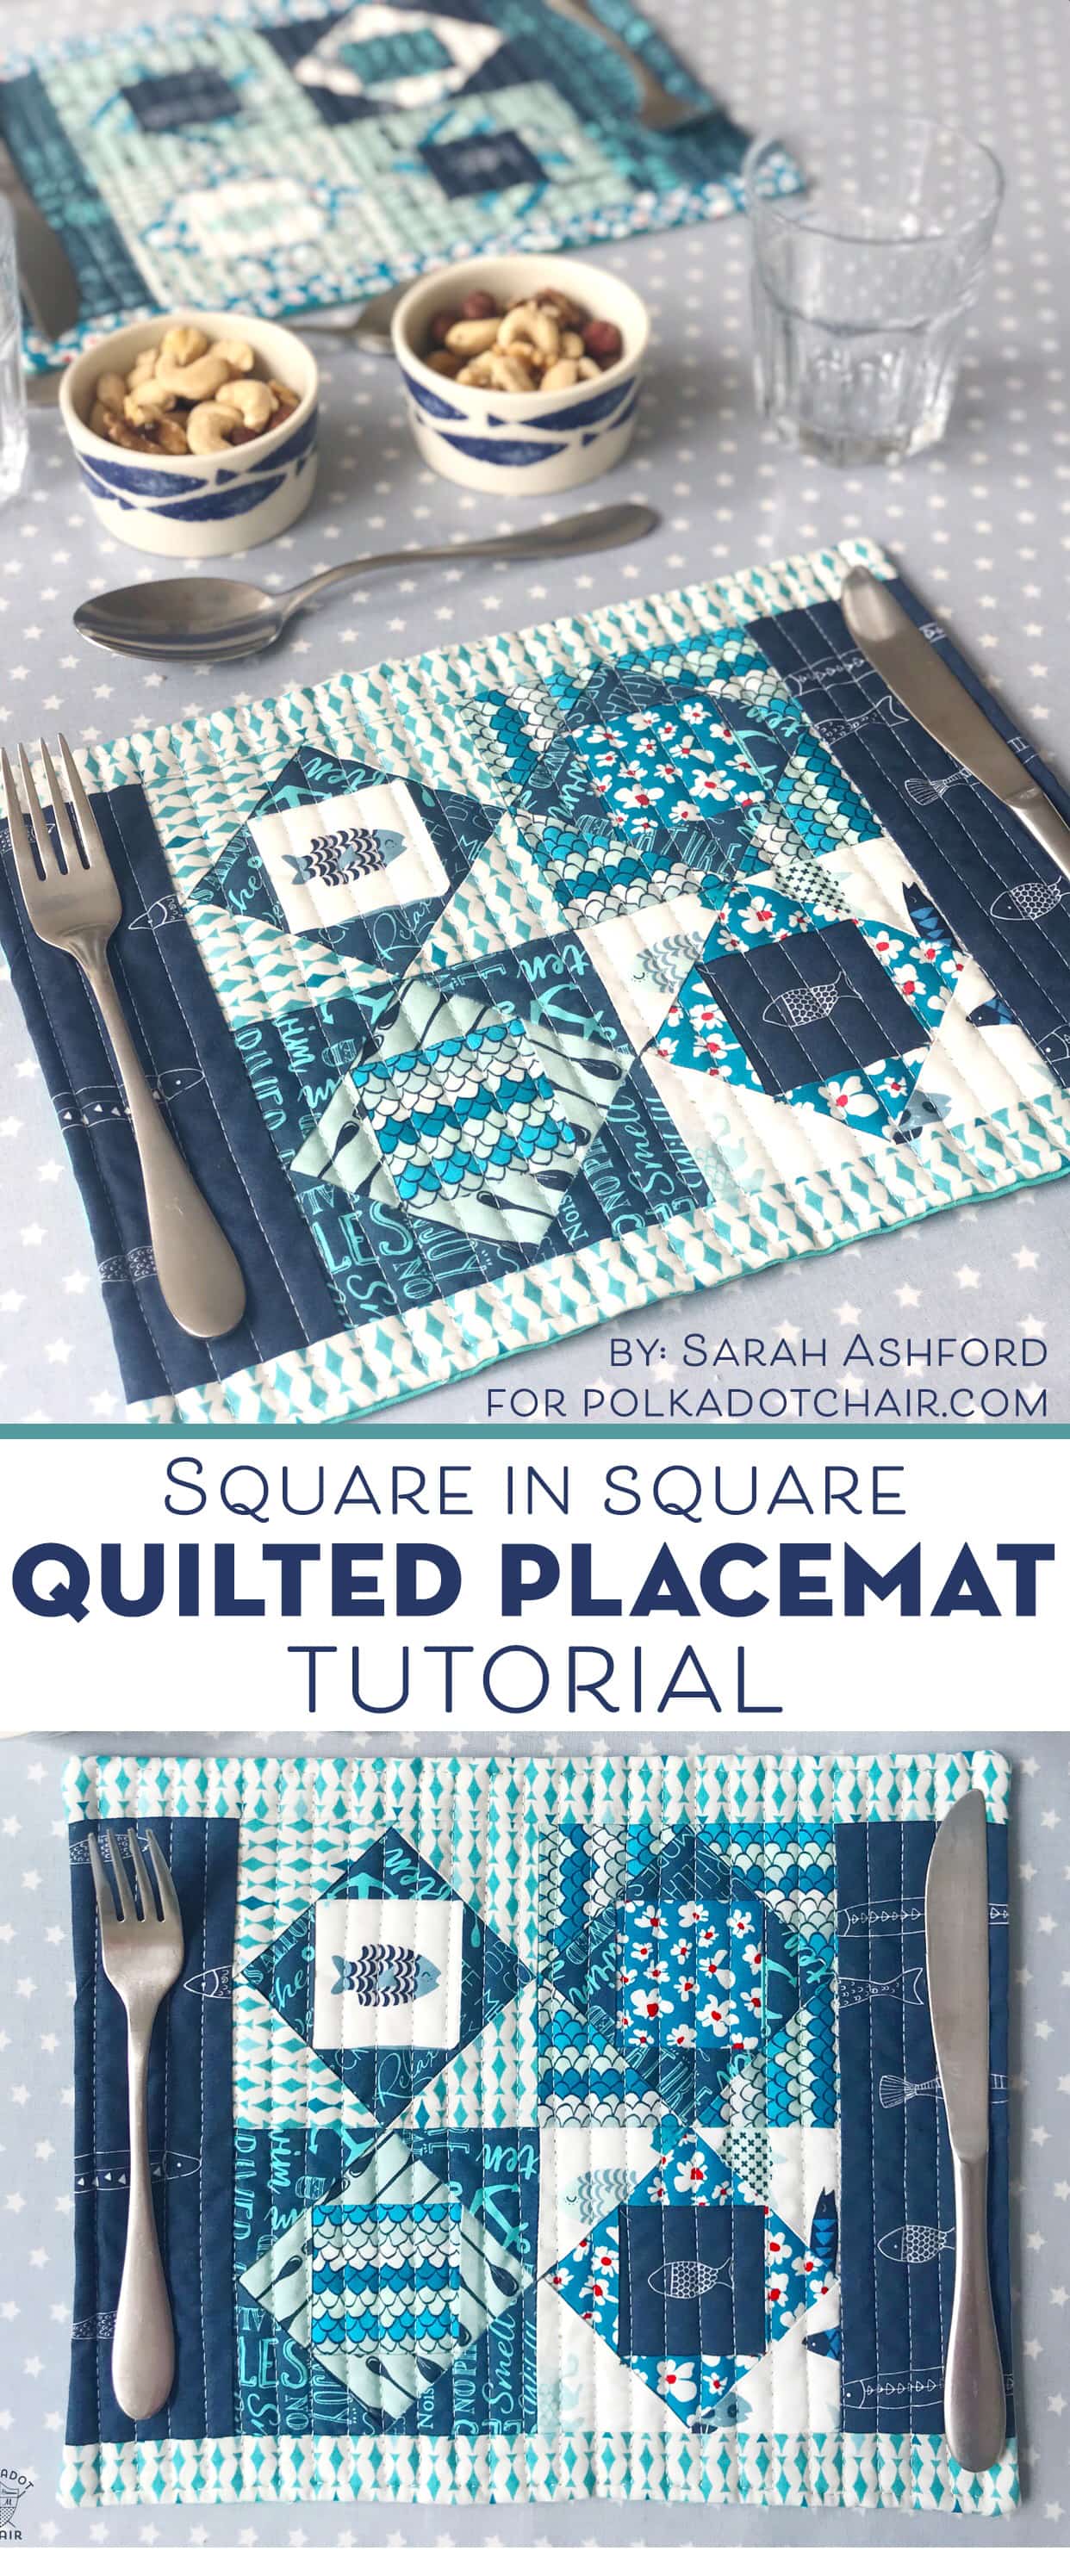
Sarah Ashford is back with us again today, sharing a fun tutorial for a set of Quilted Placemats. These placemats are made using square-in-square quilt blocks and are perfect for fussy-cutting your favorite fabrics.
Is the sun still shining where you are? I’m based in the UK, so it’s a little hit-and-miss. I had planned to make some placemats for the garden, but low and behold, it’s an unpredictable British summer as usual, and it’s raining! (And not even a little rain; we’re talking lots of rain and high winds, too…typical!)
So, my placemats for the garden are now well and truly for the kitchen, and maybe if the sun comes out again in the future, I’ll take them outside!
But anyway, I wanted to show you how to make some placemats and also share a new technique with you, where you don’t have to do any binding 🙂
About the Pattern
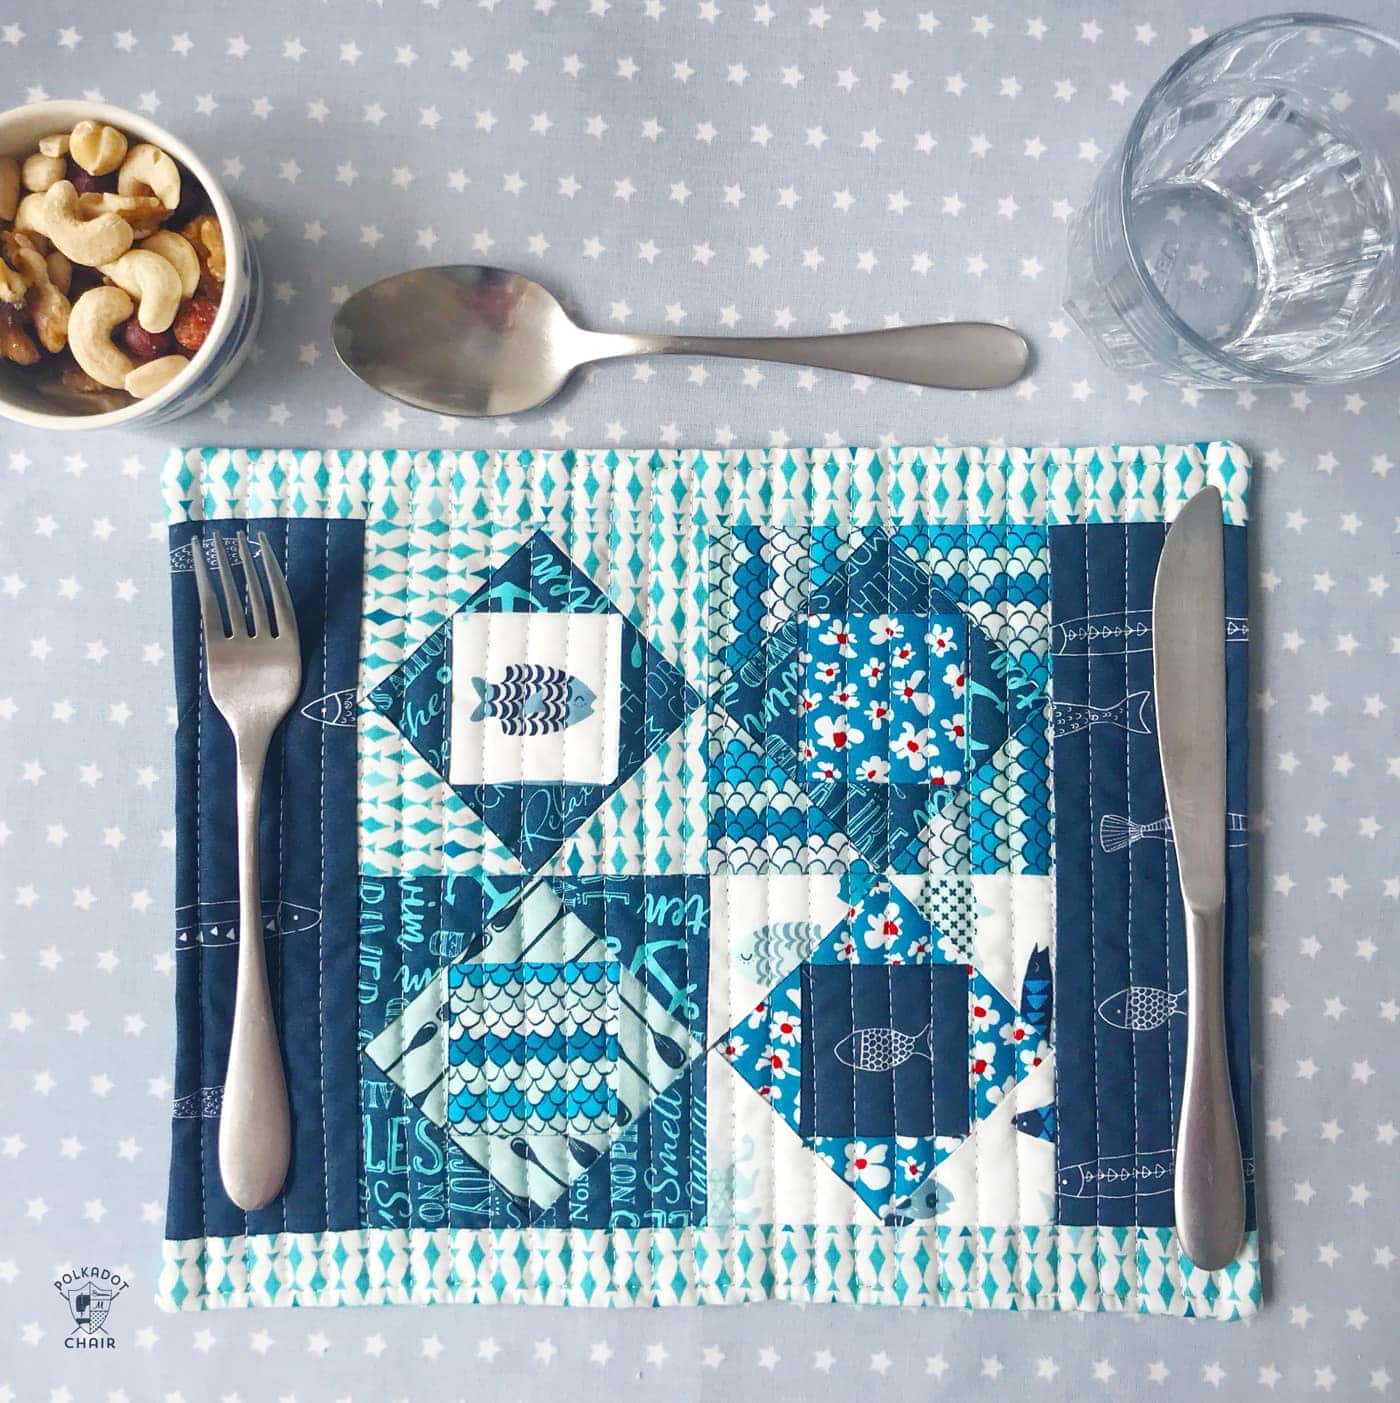
This cute placement is created from four Economy or Square in Square quilt blocks. Instead of being traditionally pieced, the quilt blocks are Foundation Paper Pieced.
What is Foundation Paper Piecing (FPP)?
Foundation Paper Piecing (FPP) is a quilting technique where fabric pieces are sewn onto a paper pattern, following numbered sections to create precise and intricate designs. The paper serves as a guide and is removed after sewing.
This pattern assumes Foundation Paper Piecing (FPP) knowledge. Not sure? Then head to my FPP tutorial for a step-by-step guide for even the most apprehensive beginners! I promise you will love it once you get the hang of it.
How to Get the FPP Printable
Fill out this form, and we will email you a copy of the FPP pattern for the square in square blocks.
Square in Square Quilted Placemat Pattern
Equipment
- Cricut Bright Pad (or another lightbox) May be helpful when placing FPP pieces.
supplies
- 1 piece Backing fabric – 14” x 10”
- 1 piece Batting – 14” x 10”
- 6-8 Fat Eights Fabric or large scraps for piecing the blocks
Instructions
About the Quilt Blocks:
- To make 2 Square in Square Fishy Quilted Placemats, you will need:
- A selection of coordinating fat eighths, including fabric with motifs for the fussy cut centers
- Each placemat consists of 4 economy blocks (also known as a square in a square) and is foundation paper pieced. Here, I’ve given you the amounts you need to cut for each section of the block but remember, it’s better to be generous with fabric for FPP, as if you fall short, it causes problems!
- I recommend for EACH section, and you will need to cut the following:
- Fussy cut center – one 3” squareInner on-point square – two 3” squares and cut each on the diagonal to form 2 trianglesOuter square – two 3 1/2” squares and cut each on the diagonal to form 2 trianglesLeft and right border – two 8 1/2” x 3” stripstop and bottom border – two 1 1/2” x 14” strips (this allows extra for trimming)
- You will need to download the FPP Template, see the directions on this blog post to get the FPP printable.
My Top Tips for Foundation Paper Piecing:
- When you start with your first piece, use EPP glue to secure the first piece of the paper. This ensures the fabric lays nice and flat, and you don’t have to worry about pins getting in the way. Genius.
- Use a small rotary cutter. This will make life much easier, as you will have more control and precision. Trust me!
- I can’t recommend an ‘Add a Quarter’ ruler highly enough. Its ridge allows it to nest nicely over the paper, allowing you to cut an accurate 1/4” seam every time.
- Use a postcard to help you fold back the papers so you get a nice crisp crease every time.
- Ok, so here we go!
Step One: Create the Quilt Blocks
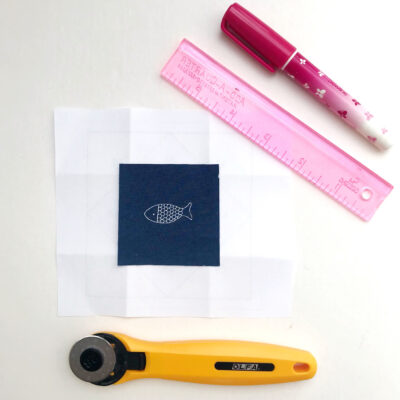
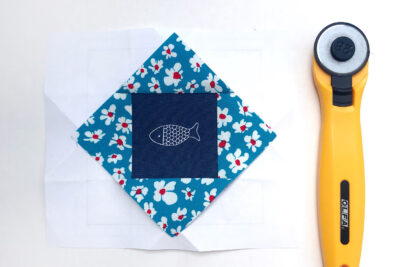
- First, glue your fussy cut center to the middle of the block.

- Add your four center triangles one at a time, pressing and trimming as you go.
- Remember to use a short stitch length – I like to use 1.5 on my machine. This makes it easier to tear away the papers later.

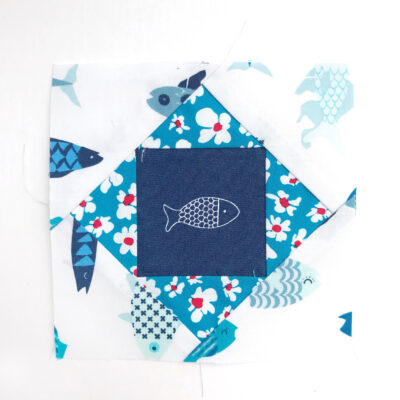
- Next, add the four outer triangles to complete the outer square and finish your first economy block.
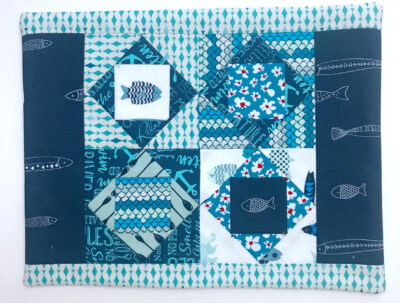
Step Two: Assemble the Quilt Blocks
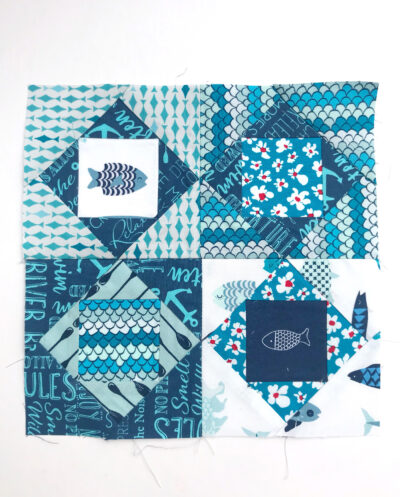
- Repeat to make all four economy blocks. Stitch the top two together and the bottom two together. I pressed my seams open for this bit as I found it laid flatter, and we wanted everything nice and flat. Sew the pairs together to create a block of four.

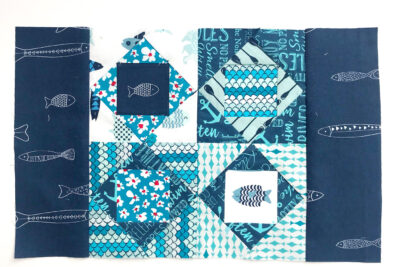
- Add the left and right borders. Trim if needed.
- Add the top and bottom borders to compete for the top of the placemat. Again, trim if needed.

- Carefully remove the paper, using tweezers to help if some of the paper is caught in the stitching.
Step Three: Quilting
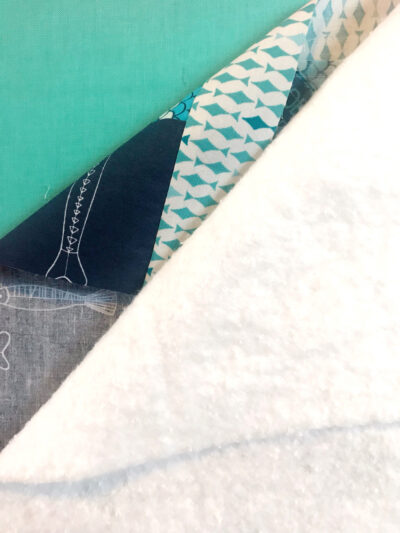
- Next, layer up the sections in the following order:
- Lay the backing right side up, and place the patchwork down. Next, place the batting on top.

- Use binding clips to hold all three layers together. Leave a 5” gap for turning, and stitch using a generous 1/4” seam around the edge.
- Turn the right side out and clip the corners. Iron flat using your preferred product to achieve a flat finish. Use a small slip stitch in a matching thread to close the gap.

Finishing:
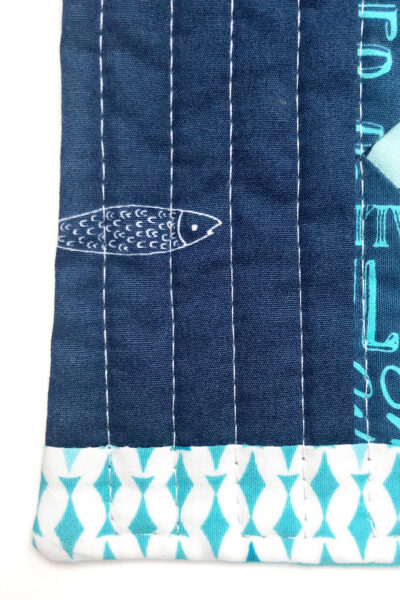
- Now, we are going to quilt it to hold all three layers together and add more interest. But we don’t want to have lots of loose ends to tie in, so we are going to use a ladder formation: stitch vertically down the line, then stitch approximately three stitches across, and then back up.
- Using a continuous quilting line, we only have to tie it off at the beginning and end, which is much easier!

Tips for Quilting the Placemats:
- My top tips for quilting are to use a walking foot, which helps feed the three layers through your machine evenly, and a long stitch length, up to about 4.0, which gives a really nice finish. Once you’ve quilted your placemat, tie off the ends and sew them in.
- And you’re done! All you need to do now is invite family and friends round for dinner and lay out your hand-made table mats for them to admire!
About the Maker:

Sarah Ashford is a British Quilter and embroiderer and founder of the GreatBritishQuilter challenge on Instagram. Sarah regularly contributes projects to magazines and loves to spread the joy of quilting everywhere she goes. Follow her on Instagram at @sarahashfordstudio and be sure to check out her beautiful sewing room decals in her Etsy shop www.etsy.com/shop/sarahashfordstudio
More Small Quilt Projects to Try:
Hello Sunshine Mini Quilt Pattern
How to Make a Quilted Table Runner
How to Make a Vintage Hanky Quilt
Hello, question on size of the blocks when you print them out. Mine print at 4 1/2 inch square. Is that correct size for the placemats. They seem smaller than the photos. I’m new at this and want to be sure before I start sewing. Thank you for the pattern 😁
Sincerely,
Ginger