Bow Tie Bracelet Sewing Pattern
This Bow Tie Bracelet DIY Sewing Pattern first appeared on the Riley Blake Fabrics Blog, I’m reposting it here in case you missed it! I’m also sharing with you how to make a fabric bow. If you like this post you may also enjoy this Curved Zipper Pouch Tutorial.
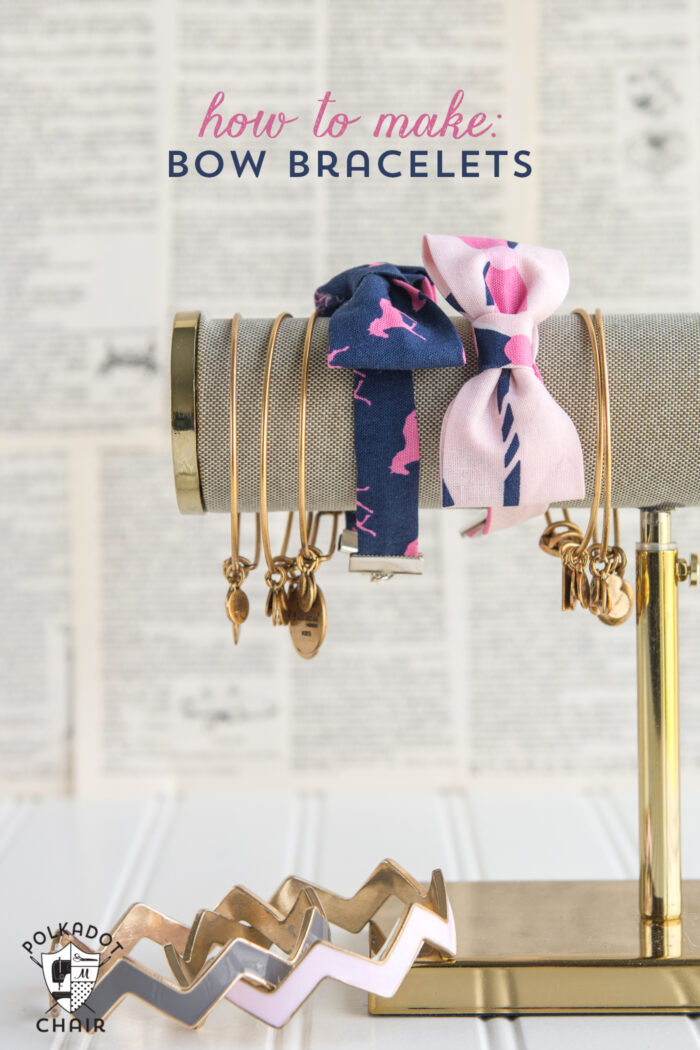
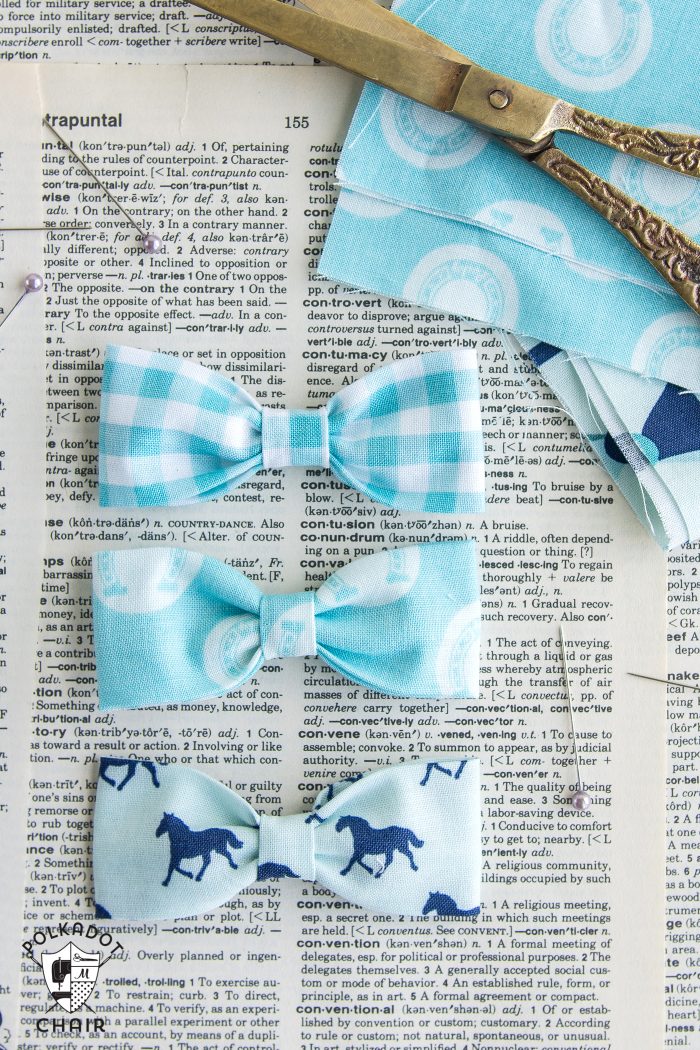
This year my oldest daughter started wearing little bow tie bracelets. I had never seen anything like them before and thought they were absolutely adorable. Then I thought “I could totally make that!”
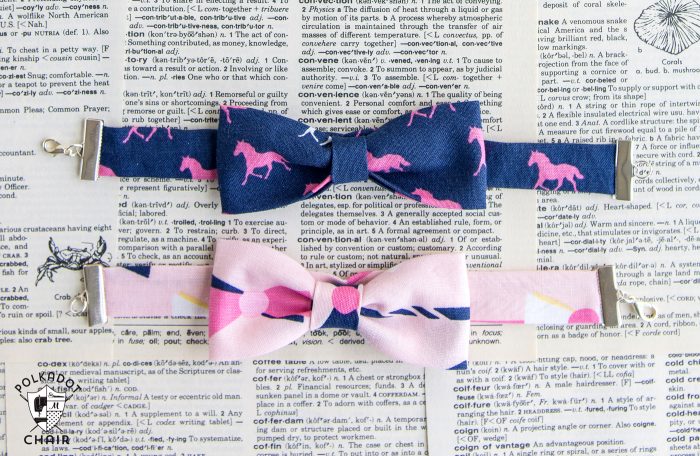
How to Make a Bow Tie Bracelet:
I figured since I’m making bows anyway I might as well make a bunch and made a few extras that I turned into hair accessories for my younger daughter. She loves to wear little bows on the bottom of her “top knots” in her hair.
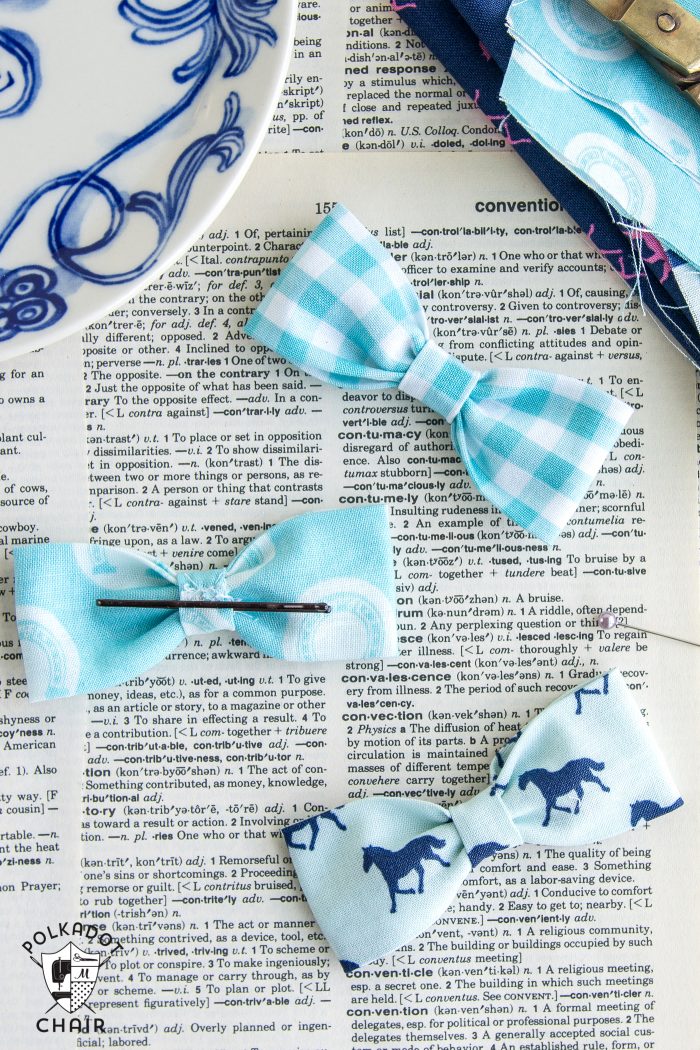
The fabric for the bows if from my Derby Style line, if you’d like to make some for yourself here’s what you need to do. Before you make them I must tell you that they are a tad bit addictive! Next thing you know you’ll want a bunch of them!
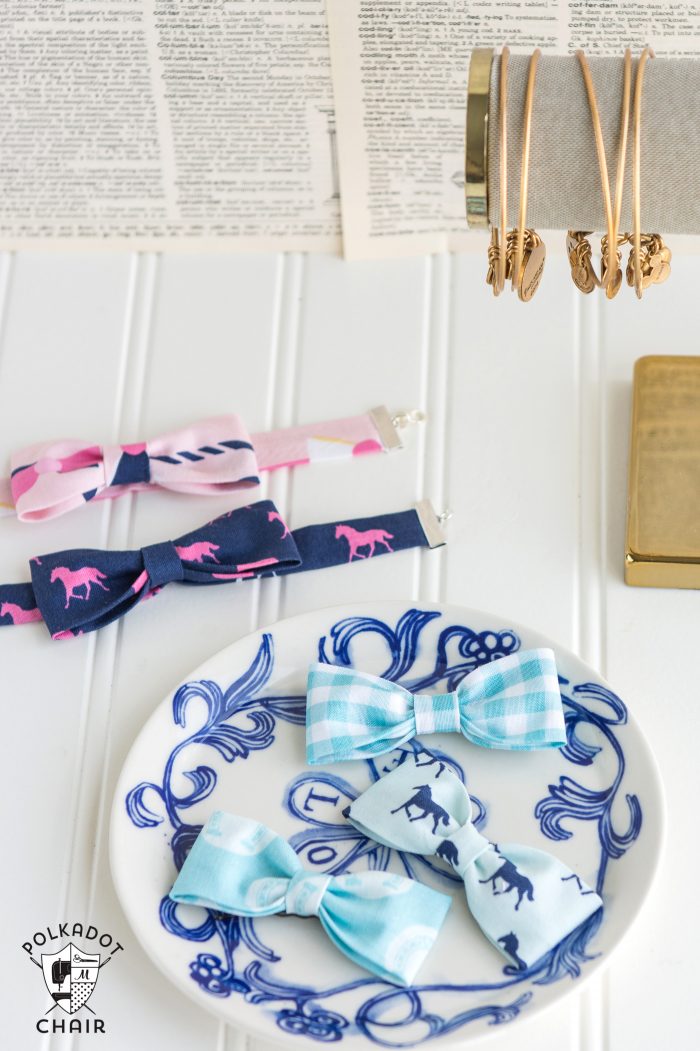
To Make the Fabric Bows:
Supplies:
- A few Fat Quarters of Fabric
- Needle and Thread
- Pins
- Lobster Clasp
- Jump Rings
- Fastener Clasps
Cutting Directions:
3″ x 7″ piece
1 1/2″ x 7″ piece
1″ x 7″ piece
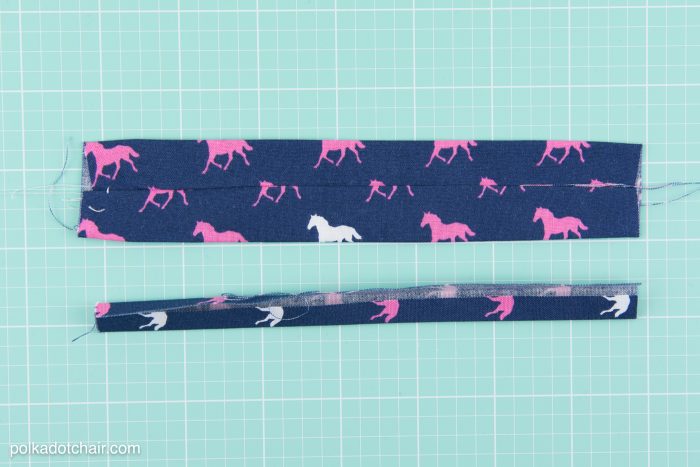
Step One: Create the Bracelet Section
Start by folding the 3″ x 7″ piece in half lengthwise and stitching along the raw edge with a 1/4″ seam allowance.
Turn right side out and press with the seam in the center.
Repeat for the 1 1/2″ x 7″ piece.
(TIP: I recommend using turning tubes to turn fabrics right side out, you can pick them up in the notions section of the fabric or craft store).
Fold the 1″ wide piece into thirds lengthwise making sure that there are no raw edges showing from the front side of the fabric piece.
Step Two: Make the Fabric Bow
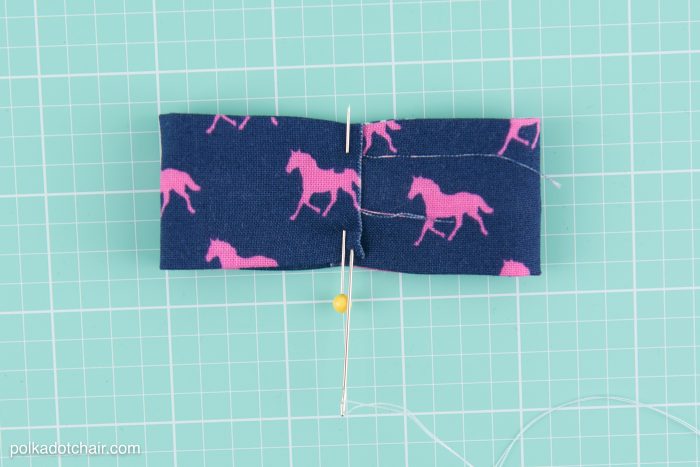
Fold the ends of the stitched 3″ x 7″ piece to the center and pin.
Using a needle and thread run a line of stitches along the center of the folded piece. Pull on the strings to gather, repeat stitching in the other direction.
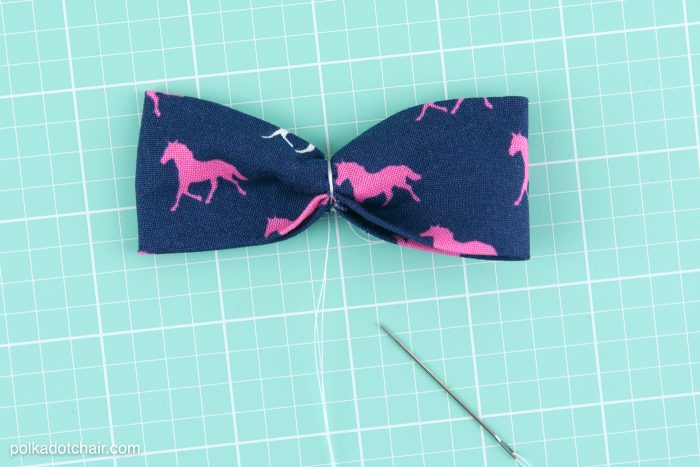
Wrap the center with the thread several times.
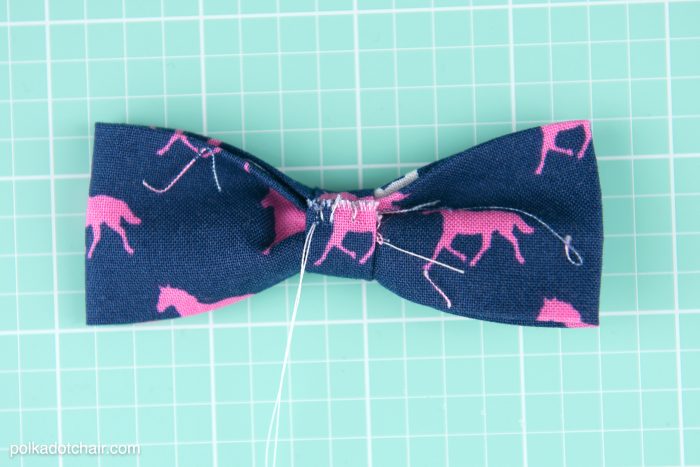
Wrap the folded 1″ wide piece around the bow, cut it so that it is 1/4″ bigger than the bow center. Stitch closed on the wrong side of the bow.
Option 1: Attach the Fabric Bow to a Hair Clip
If you’re making hair clips at this point you can tie off the thread. You’ll then feed a bobby pin through the back and secure it with a bit of hot glue.
Option 2: Attach the Bow to the Bracelet Section:
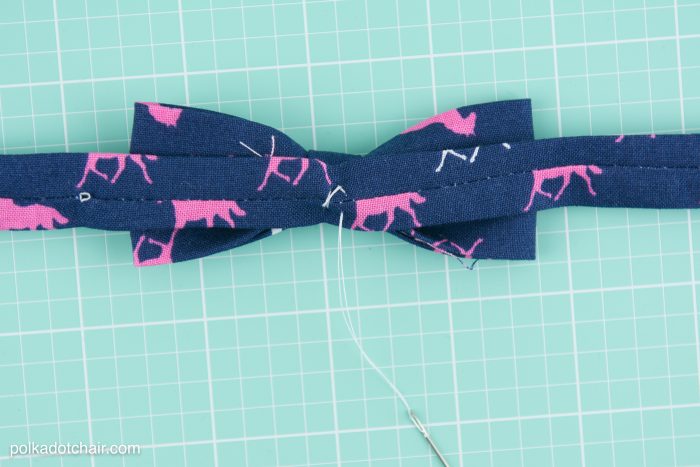
To make the bracelet stitch the bow to the center of the sewn and pressed 1 1/2″ x 7″ piece of fabric.
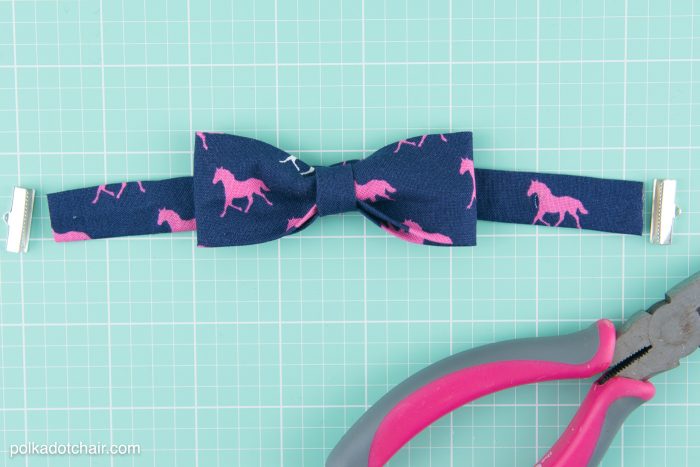
Finishing:
Attach the fasteners to each end of the bracelet then attach a lobster clasp to the fasteners.
You can easily make the bracelet smaller or larger, just cut it before you add the fasteners to make it smaller or add extra links (or a bit of chain) to the fasteners to make it a bit larger.

That’s it! EASY PEASY HUH! This would make a great project for kids or teens who are just learning to sew.
