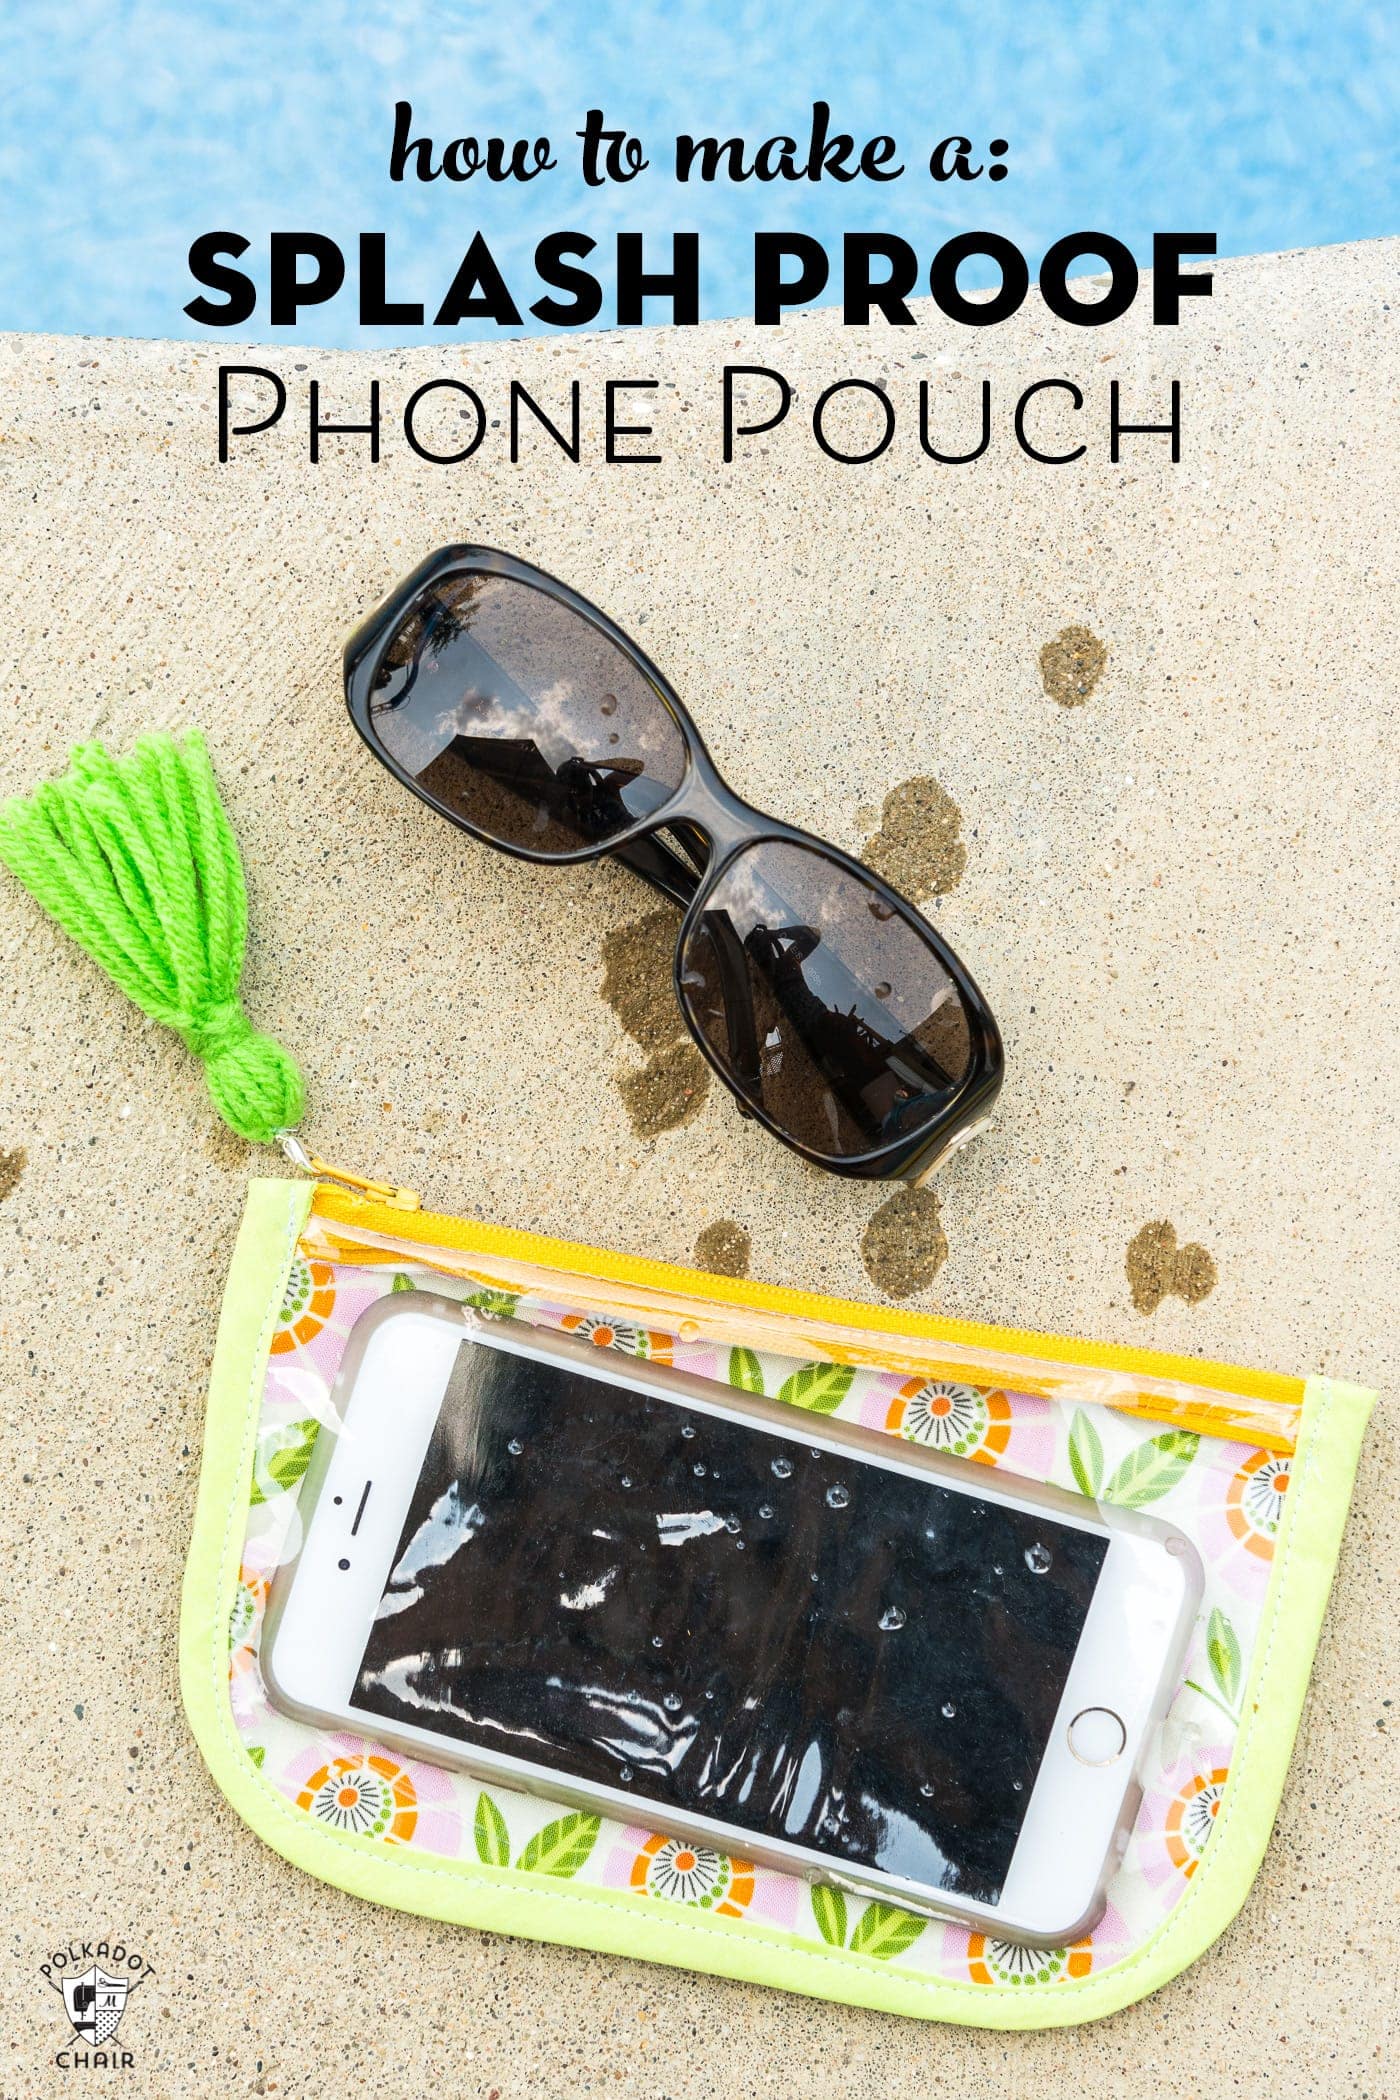
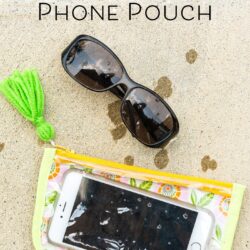
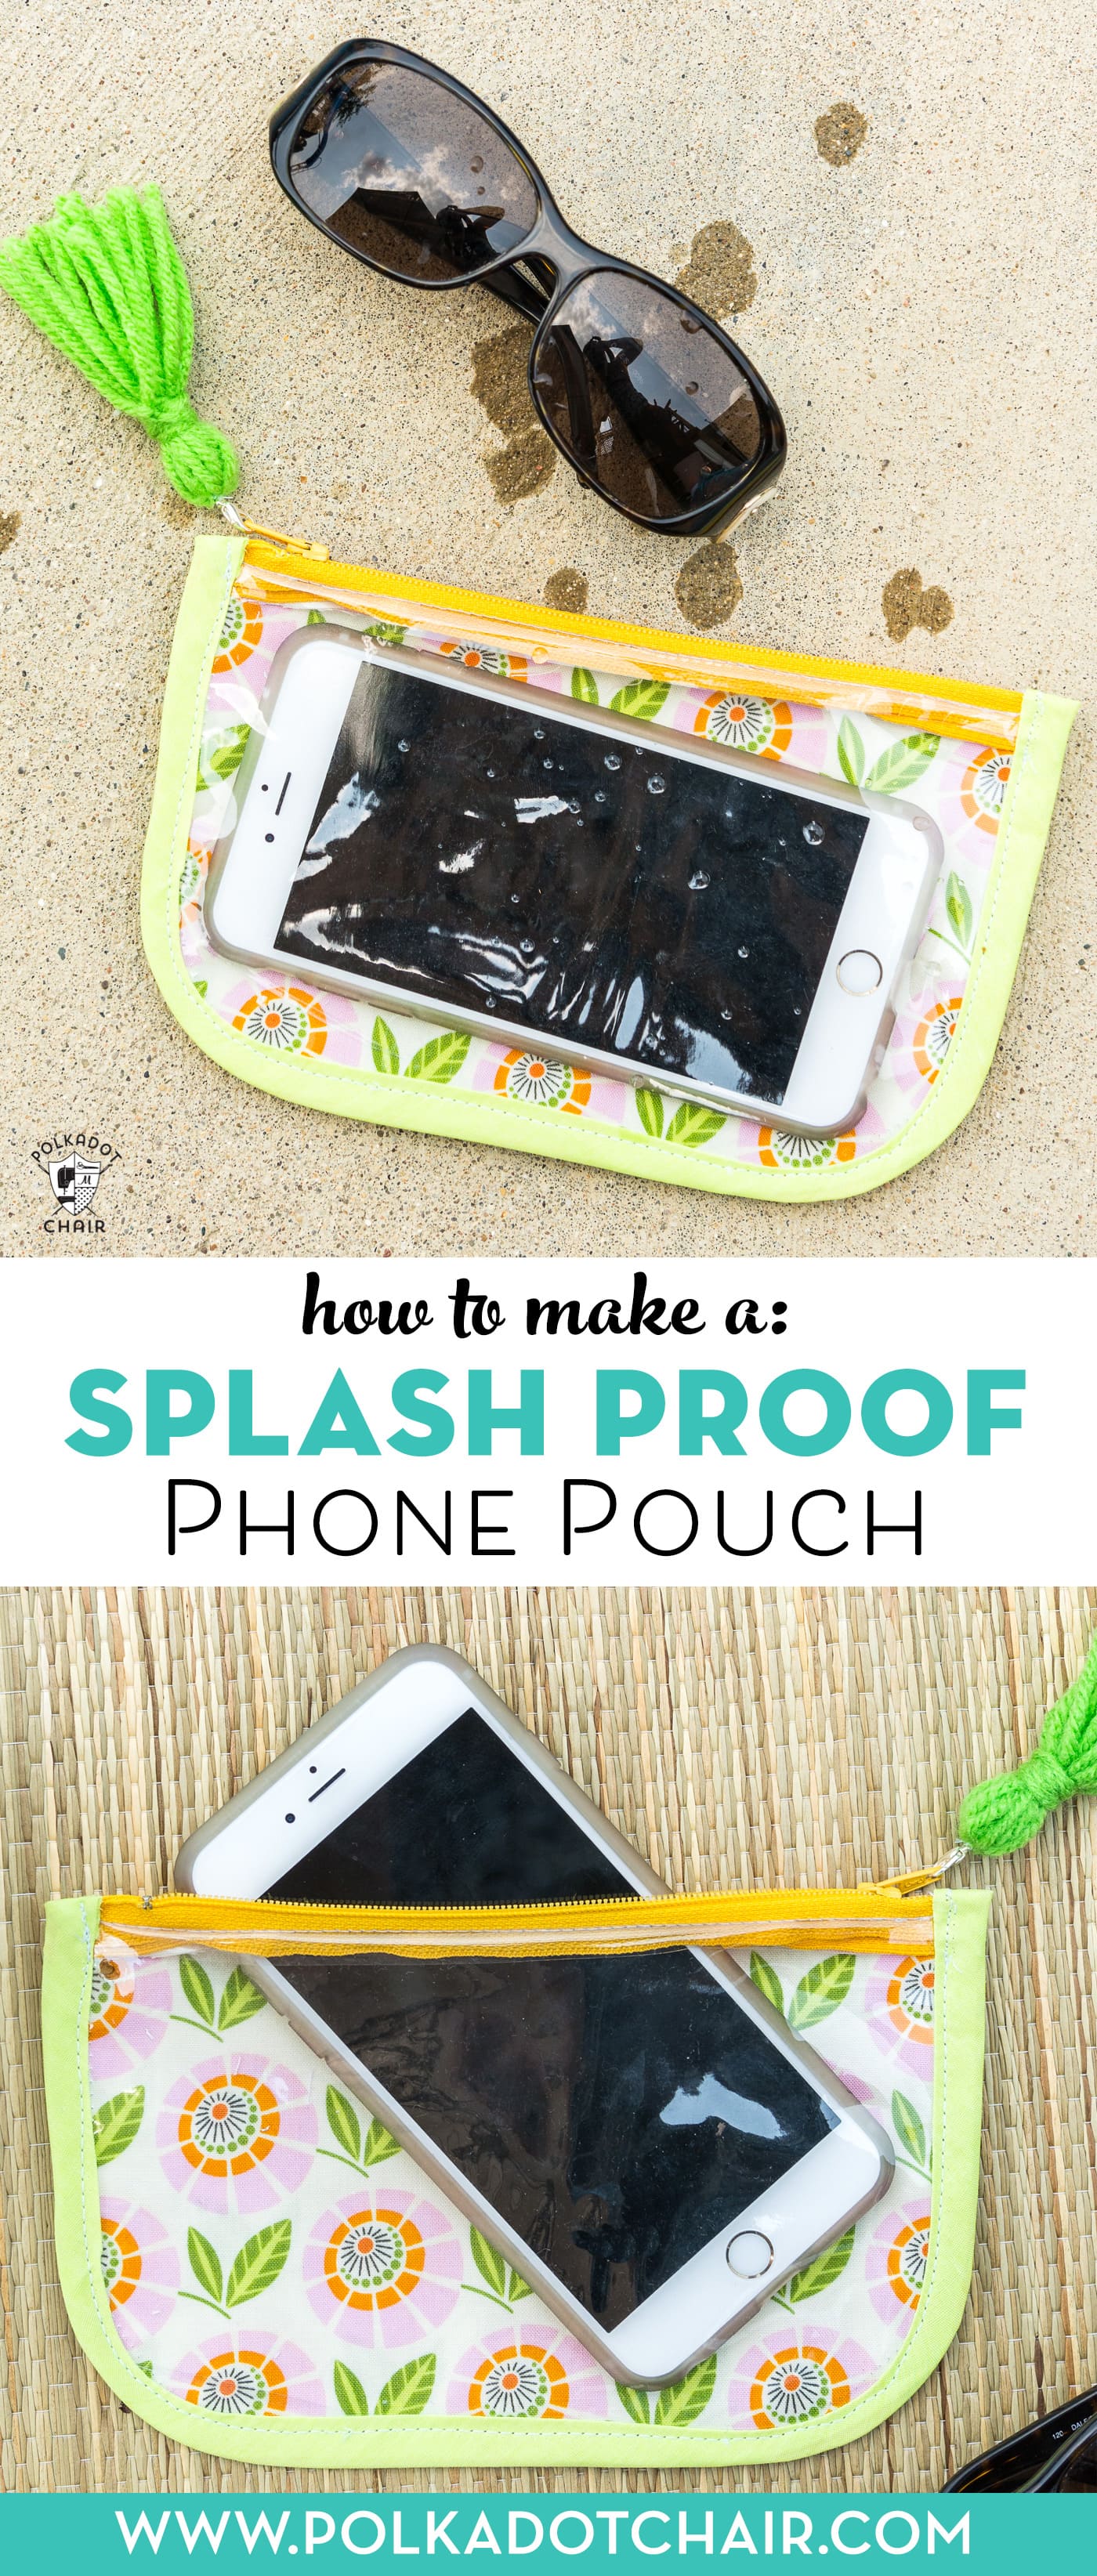
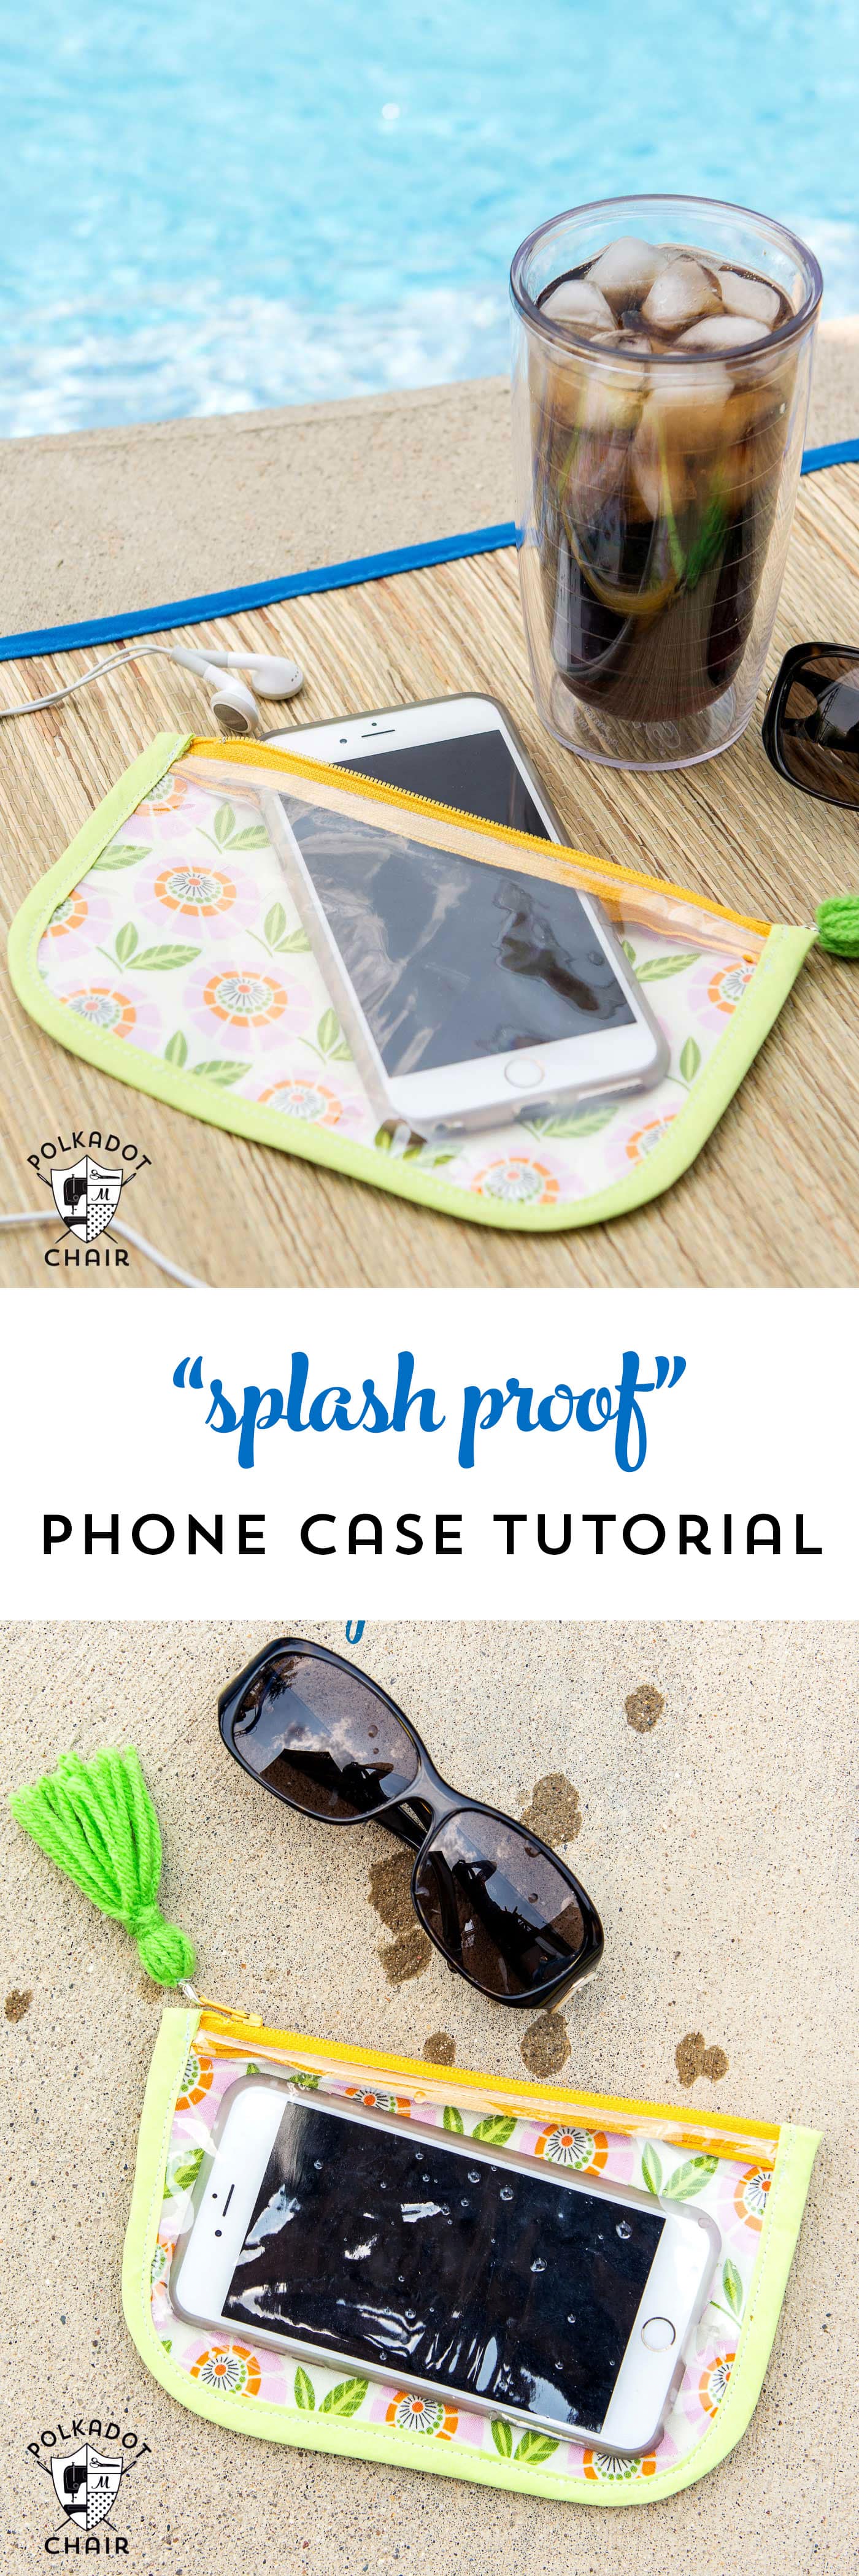
Sew Your Own Splash-Proof Phone Case: Perfect for Summer!
Summer is here, bringing beach and pool days! I designed a DIY Splash-Proof Phone Case with a clear front to keep my phone safe, and I have a free sewing tutorial to share so you can make one, too. If you love this, check out my “Sunnies” Sunglasses Case Sewing Pattern too!
During the summer, I watch kids from the sidelines as they play in the pool or jump in the lake.
I’ve noticed that kids aren’t always good at keeping the water in the pool while playing. Somehow, quite a lot of water always seems to splash out of the pool and onto the tables and chairs around the pool. This isn’t good if your phone is on one of those tables.
Recently, I thought I’d stitch up a phone case to protect my phone when I’m poolside with the kids. I’m headed to the beach for a few days this summer, and I think that this case will also be great for keeping the sand away.
First up, this case is SPLASH proof, not waterproof. Don’t go dunking your phone in the pool with this. The case features a zip-top and a clear front so that you can see your phone, so you know if you get a call or a text.
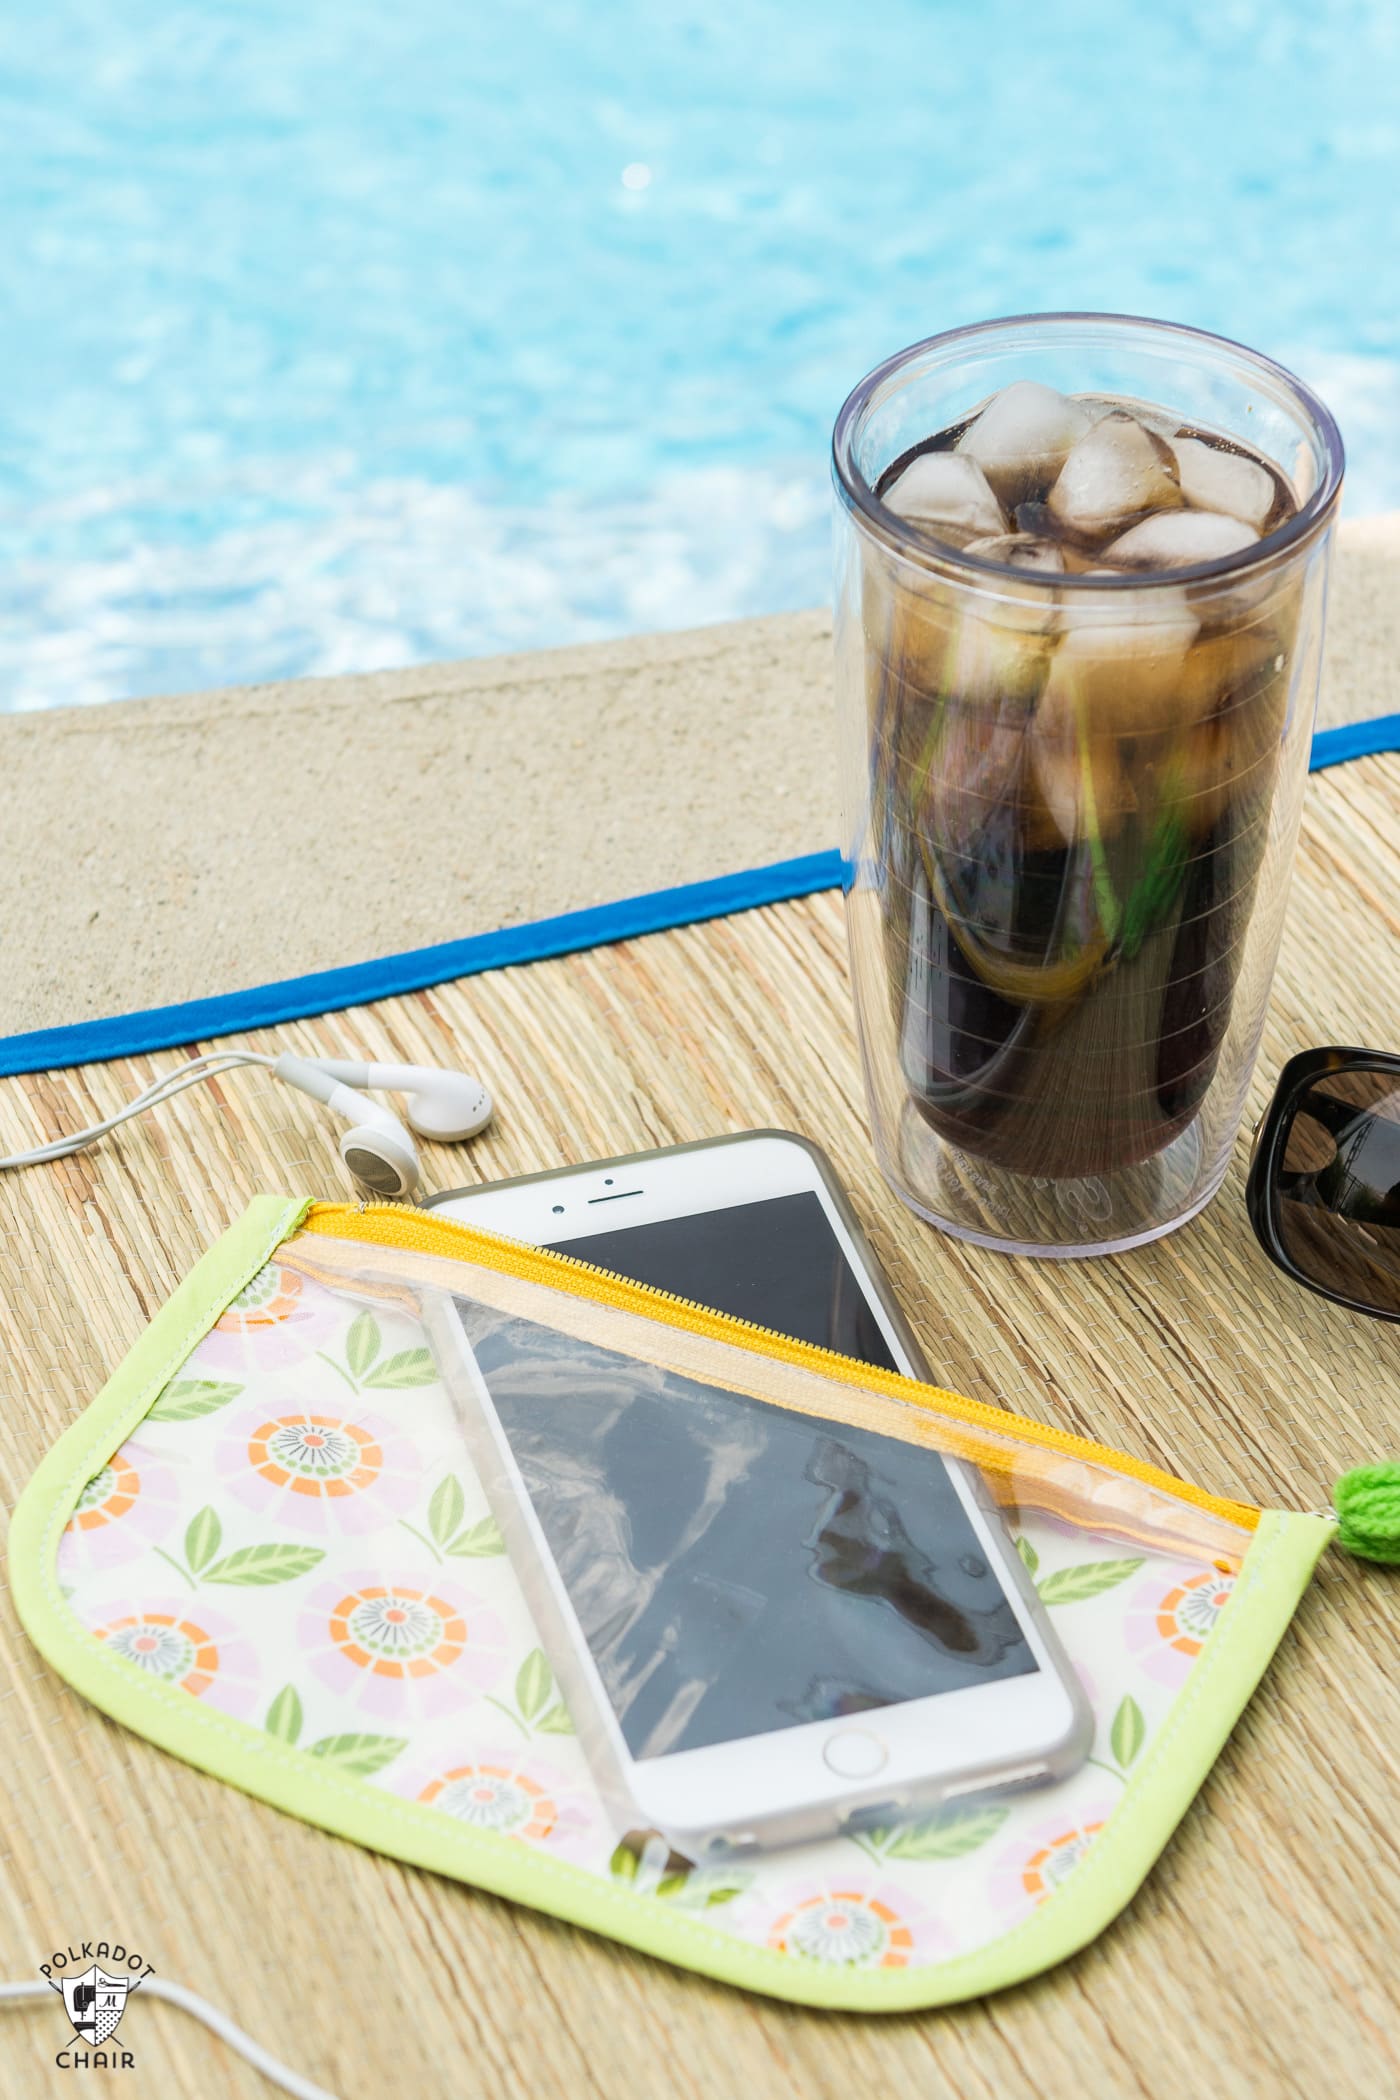
The back of the pouch is also clear vinyl, and you could easily make it entirely clear. However, I wanted to add some color, so I’ve added a printed fabric liner to the back of the pouch.
Note: this post was published previously. It has been updated and improved.
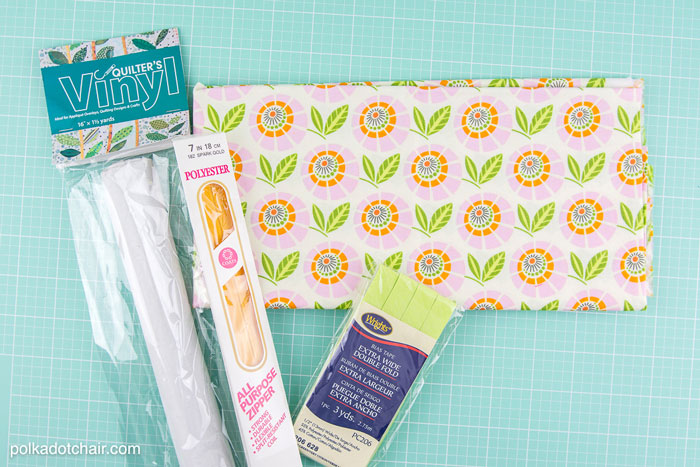
Splash Proof Phone Case Supplies
Want to make one, here’s what you’ll need:
- 1 Package of Clear Vinyl
- One 7″ Zipper
- Extra Wide Double Fold Bias Tape
- 1 Fat Quarter of Fabric
- One 5″ x 8″ piece Heat N Bond Lite
- Zipper foot for a sewing machine.
- Scraps of tissue paper
- Thread to match your bias tape
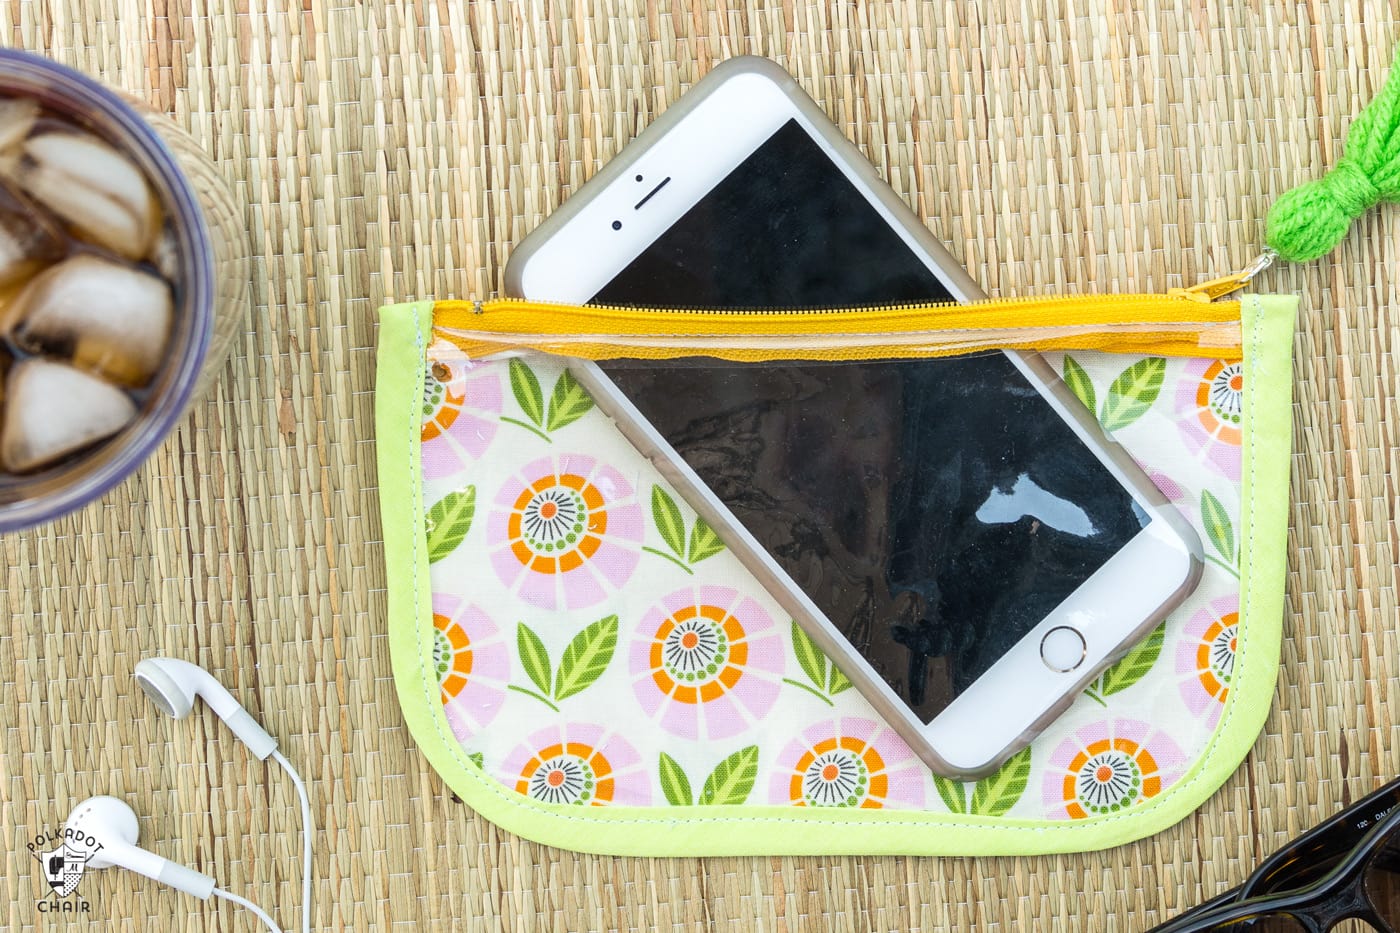
This case was designed to fit an iPhone 6+, but you can adjust the size to fit your specific phone.
How to Make a Phone Case that’s Splash Proof
Equipment
- Zipper foot for Sewing Machine
supplies
- 2 pieces Clear Vinyl 5″ x 8″
- 1 Zipper 7" Long
- 1 package Extra Wide Double Fold Bias Tape
- 2 pieces Fabric 5″ x 8″
- 1 piece Heat N Bond Lite 5″ x 8″
- Scraps of tissue paper
- 1 spool Thread to match your bias tape
Instructions
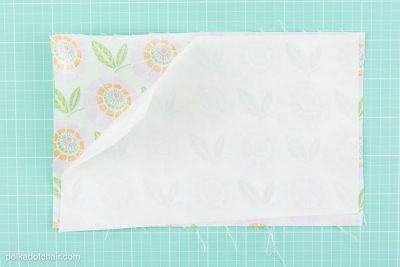
Create a Double Sided Piece of Fabric
- Iron the heat n bond lite onto the wrong side of one of the 5″ x 8″ fabric pieces.

- Peel off the paper backing and iron to the wrong side of the other 5″ x 8″ fabric piece. Now you have a double-sided piece of fabric.
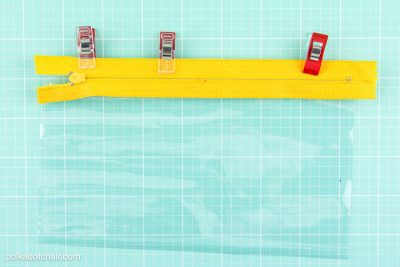
Attach the Zipper to the Clear Vinyl
- Next, use binding clips to pin the RIGHT side of the zipper to one of the clear vinyl pieces.
- Stitch in place using a zipper foot.
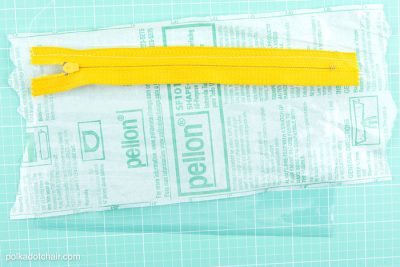
- A tip for Sewing with Vinyl
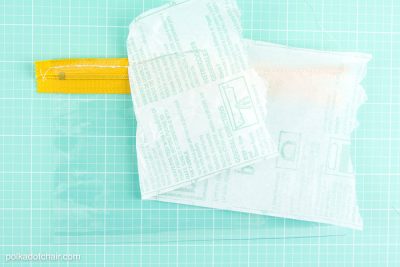
- NOTE: To get the vinyl to feed through the machine evenly, you need to create a barrier between it and the sewing machine’s feed dogs.
- To do this place a scrap piece of tissue paper under the vinyl. Stitch in place then tear away the vinyl. I just used some tissue paper left over from interfacing.
Attach the Back to the Zipper
- Attach the Pouch Back Piece to the Zipper
- Next, lay the double-sided fabric on top of the other clear vinyl piece. Place the RIGHT side of the other side of the zipper on top of the fabric. Stitch all layers in place (also using the tissue paper).
- Using your fingers or a flat object (like a pen or pencil), press the vinyl pieces away from the zipper. If they are very stubborn, you can place a cloth over the vinyl and press it lightly with an iron.
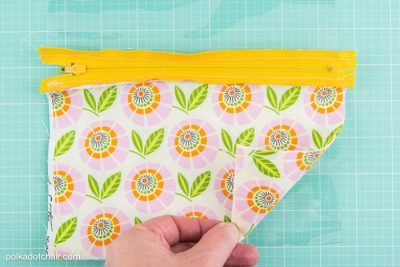
Create the Rounded Corners
- Fold the pouch so that it is right-side out and the front and back pieces are touching. Using a round object (like a CD), round off the two bottom corners of the pouch. Make sure that all your pieces are lined up properly before you cut.

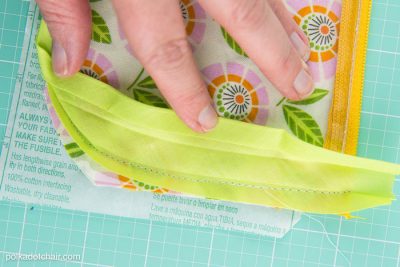
Binding the Edges: Step One
- Open up the double-fold bias tape all the way. Stitch it to the back side of the pouch with the raw edge of the bias tape even with the raw edge of the pouch. Stitch close to the first fold in the tape (use the tissue paper again to help the vinyl feed through the machine).
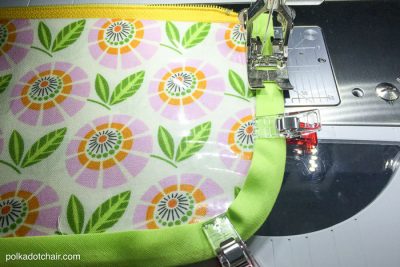
Binding the Edges: Step Two
- Refold the bias tape. Stitch the bias tape close to the folded edge on the right side of the pouch.
- Fold under the raw edges of the bias tape at the start and stop to get a smooth finish on the corners.
- Instructions to make the yarn tassel for the pouch can be found here.
- That’s it! You’re done! Now pat yourself on the back!!!


Thank you for a wonderful project. I am no longer afraid of zippers. I made one for each of my family members for our upcoming beach trip. Many thanks again!!’
This is not a beginner project, in my opinion. I had a lot of trouble with the directions, they assume one knows how to do a zipper and work with bias tape. I found this on a beginning sewing projects site! I’ve made masks, scrub caps, headbands, bowl cozies, etc, but I could not make this although I tried really hard.
Hi, I didn’t say that this was a beginner project. If someone else included it on their list then that’s their opinion, but I don’t have it on my beginner sewing projects list. I’m sorry you had trouble with it. But now that you’re done at least you’ve learned something new! Congrats!
I tried this, thanks you very much. I have two questions…1) are the front and back vinyl or the CUNY’s pieces touching? 2), How do you finish the binding tape and the zipper ends? Thankfully this one is a practice, but it is all bunched and doesn’t look water tight. Thanks again!.
Sorry, not CUNY’s , but vinyl
This looks wonderful, thanks so much. One question, what gauge is the vinyl?
I don’t know. It comes on a roll in a small package at the craft/sewing store.
This is a fabulous idea, thank you very much. x
Hi! I was wondering if this tutorial was still available? When I click on the button to open the tutorial page it just opens up this same page in another window.
Thanks!
Try it again, the whole page should be loading now. I don’t know what was going on earlier.
This is really cute! I think I will use laminated fabric as well as the vinyl so both sides will be waterproof.
I just bought some super cute laminated fabric so a great use for it!
Thanks!
This is such a great idea, especially if you live in SoCal!. I’m making one for everyone in the family. Thank you.
I love this little pouch! I saved a vinyl bag from a purchased curtain that I will use to make this. Thanks for the tutorial!
I’m a sucker for anything beach-y! I’ve pinned several of these awesome ideas. Visiting from Pretty Pintastic Party.
That’s ridiculously cute! I LOVE it!
Love this idea! I will have to make one using your tutorial!
Great!!!
I was just thinking about making something like this! Love it.
This is waaaay classier than the zip-loc baggie I make my daughter use for her phone. As soon as I’m able, I’ll make her one of these. I’ve got a Craft Gossip post scheduled for tomorrow that links to your tutorial:
https://www.polkadotchair.com/2015/06/splash-proof-phone-case-sewing-pattern.html/
–Anne
Oh I’ve used my fair share of ziploc baggies for electronics! Thanks for the link Anne!
What a Great idea :)) i will Referate it for surr! Xo sophia
http://Www.littlesewingmachine.blogsspot.de
What a great idea! Think I must make one (and I have the perfect fabric in mind….)
SUPER GOOD idea, Melissa!!
Thanks Stef! Drooling over the wood burned planks you posted today.. those are totally genius!