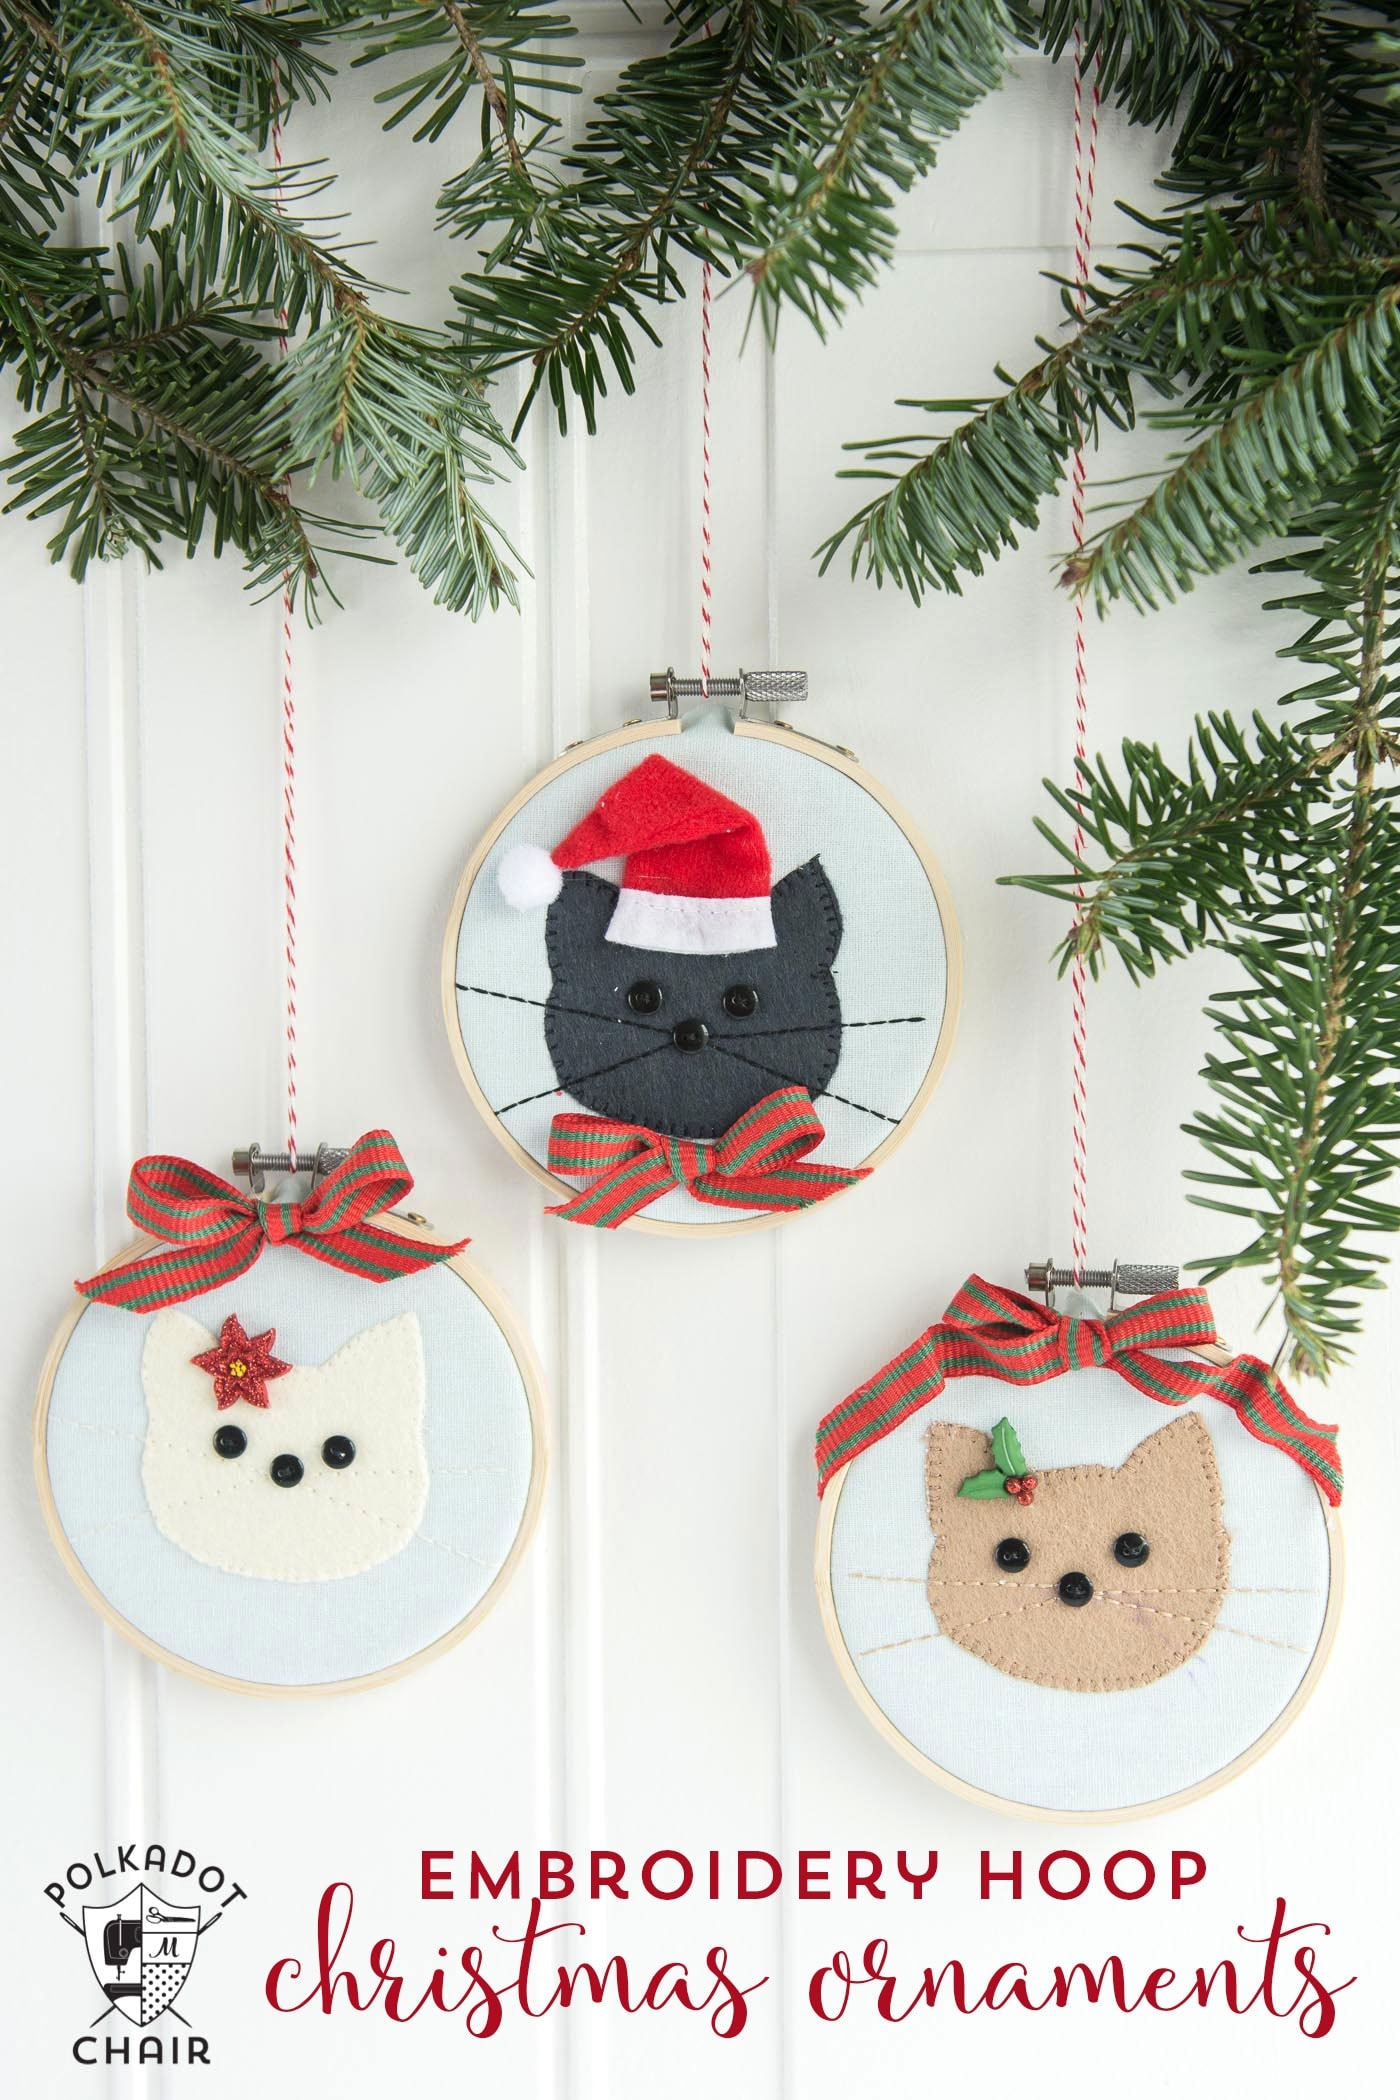
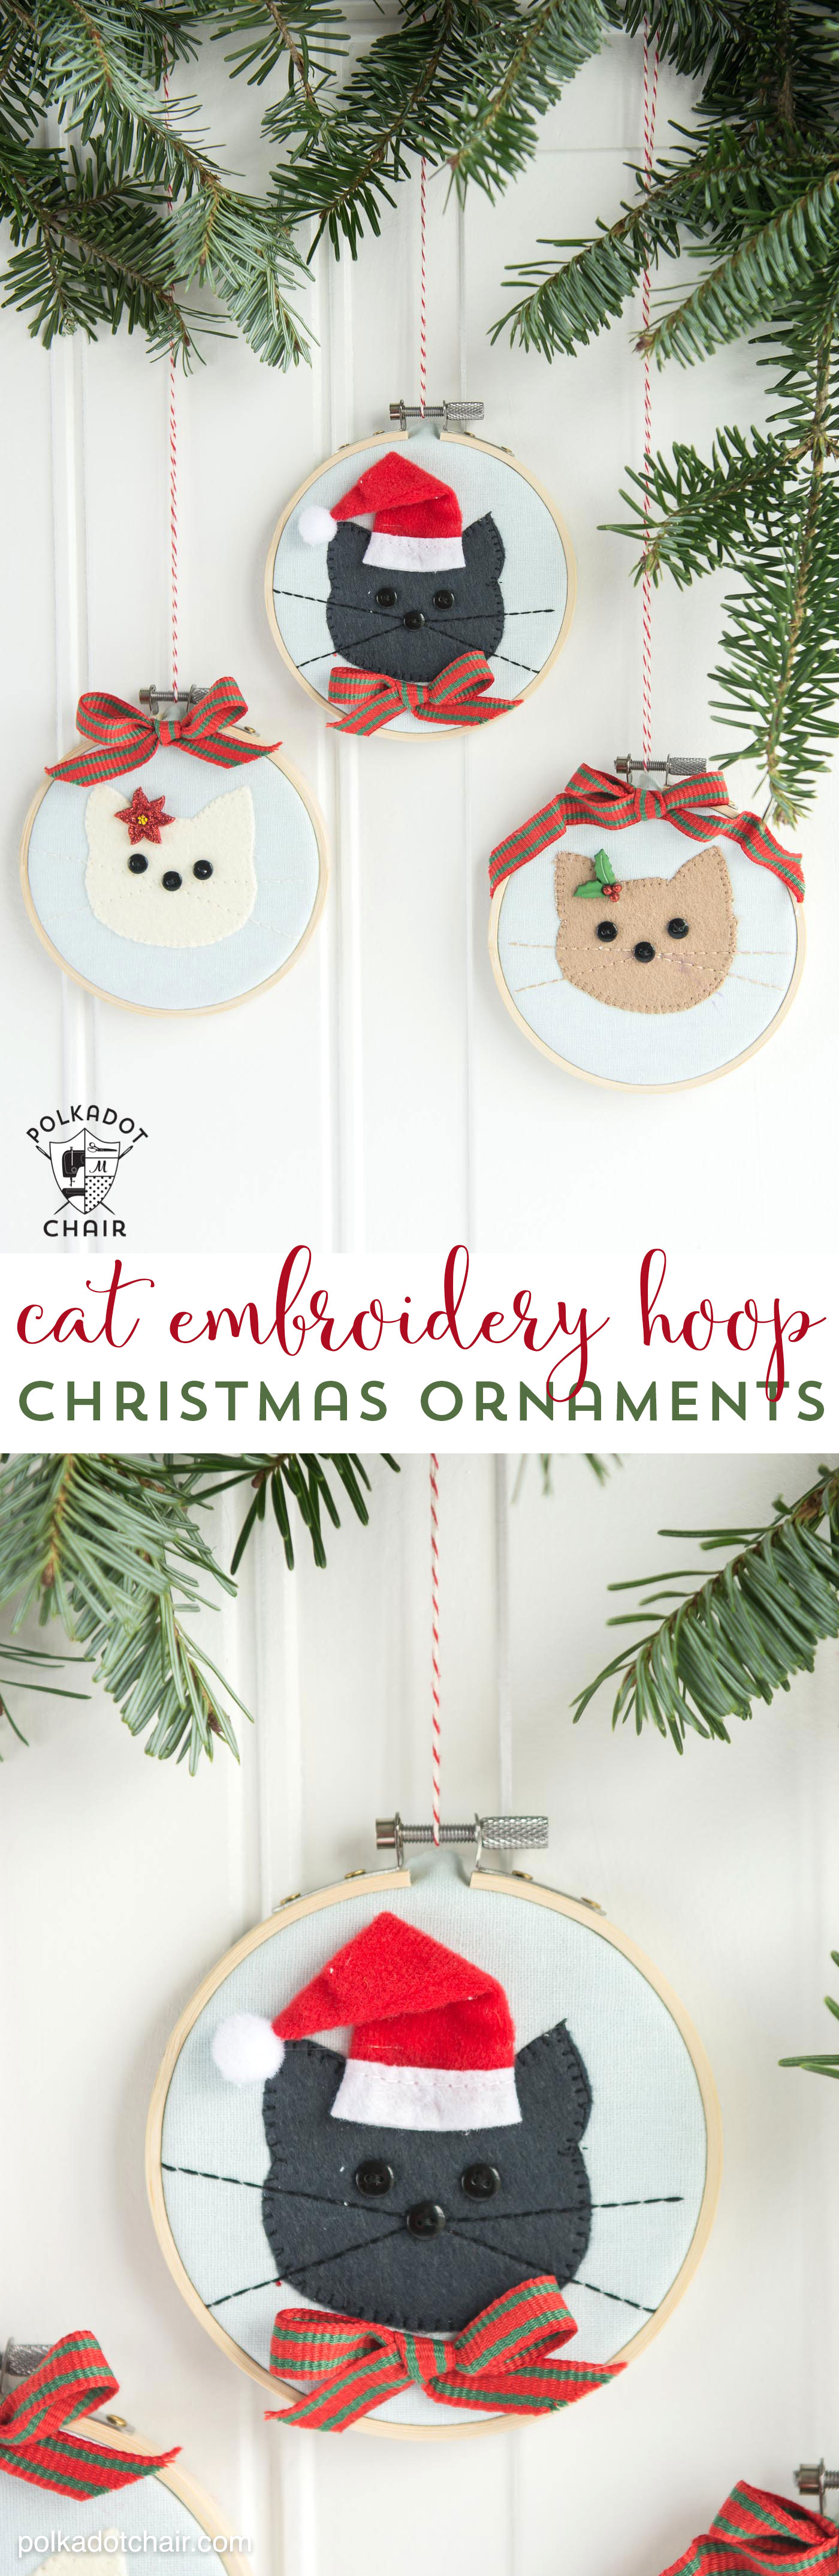
Cat Embroidery Hoop Christmas Ornaments
Today, the kitty cats are getting festive with this free Cat Embroidery Hoop Christmas Tree Ornaments tutorial.
This handmade ornament tutorial is part of a fun little series of sewing projects by Amanda of Jedi Craft Girl.
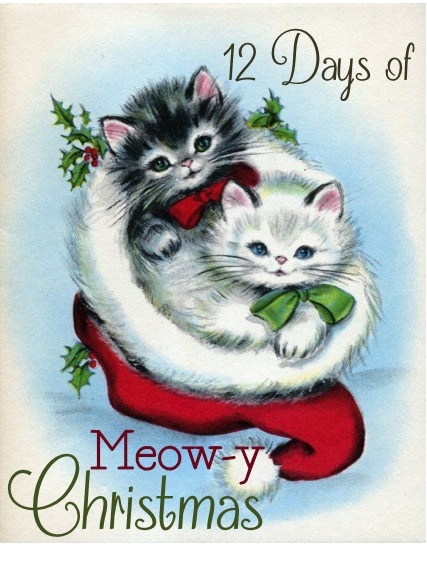
Amanda is hosting 12 Days of Meow-y Christmas, and I’m happy to be today’s stop. I’ll share a simple sewing tutorial for a few embroidery hoop Christmas ornaments.
Cat Christmas Ornament Details
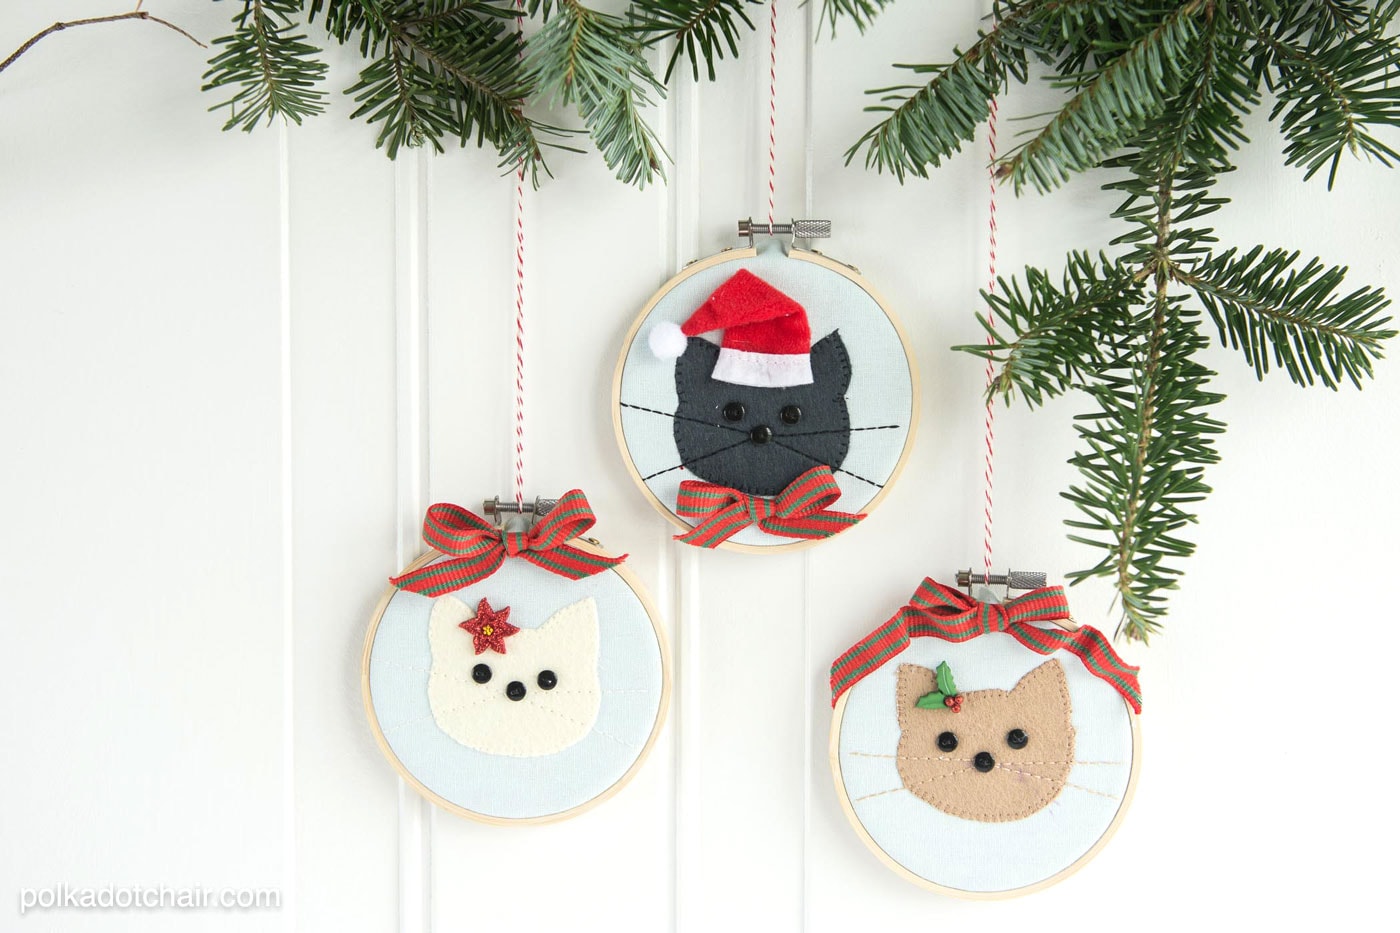
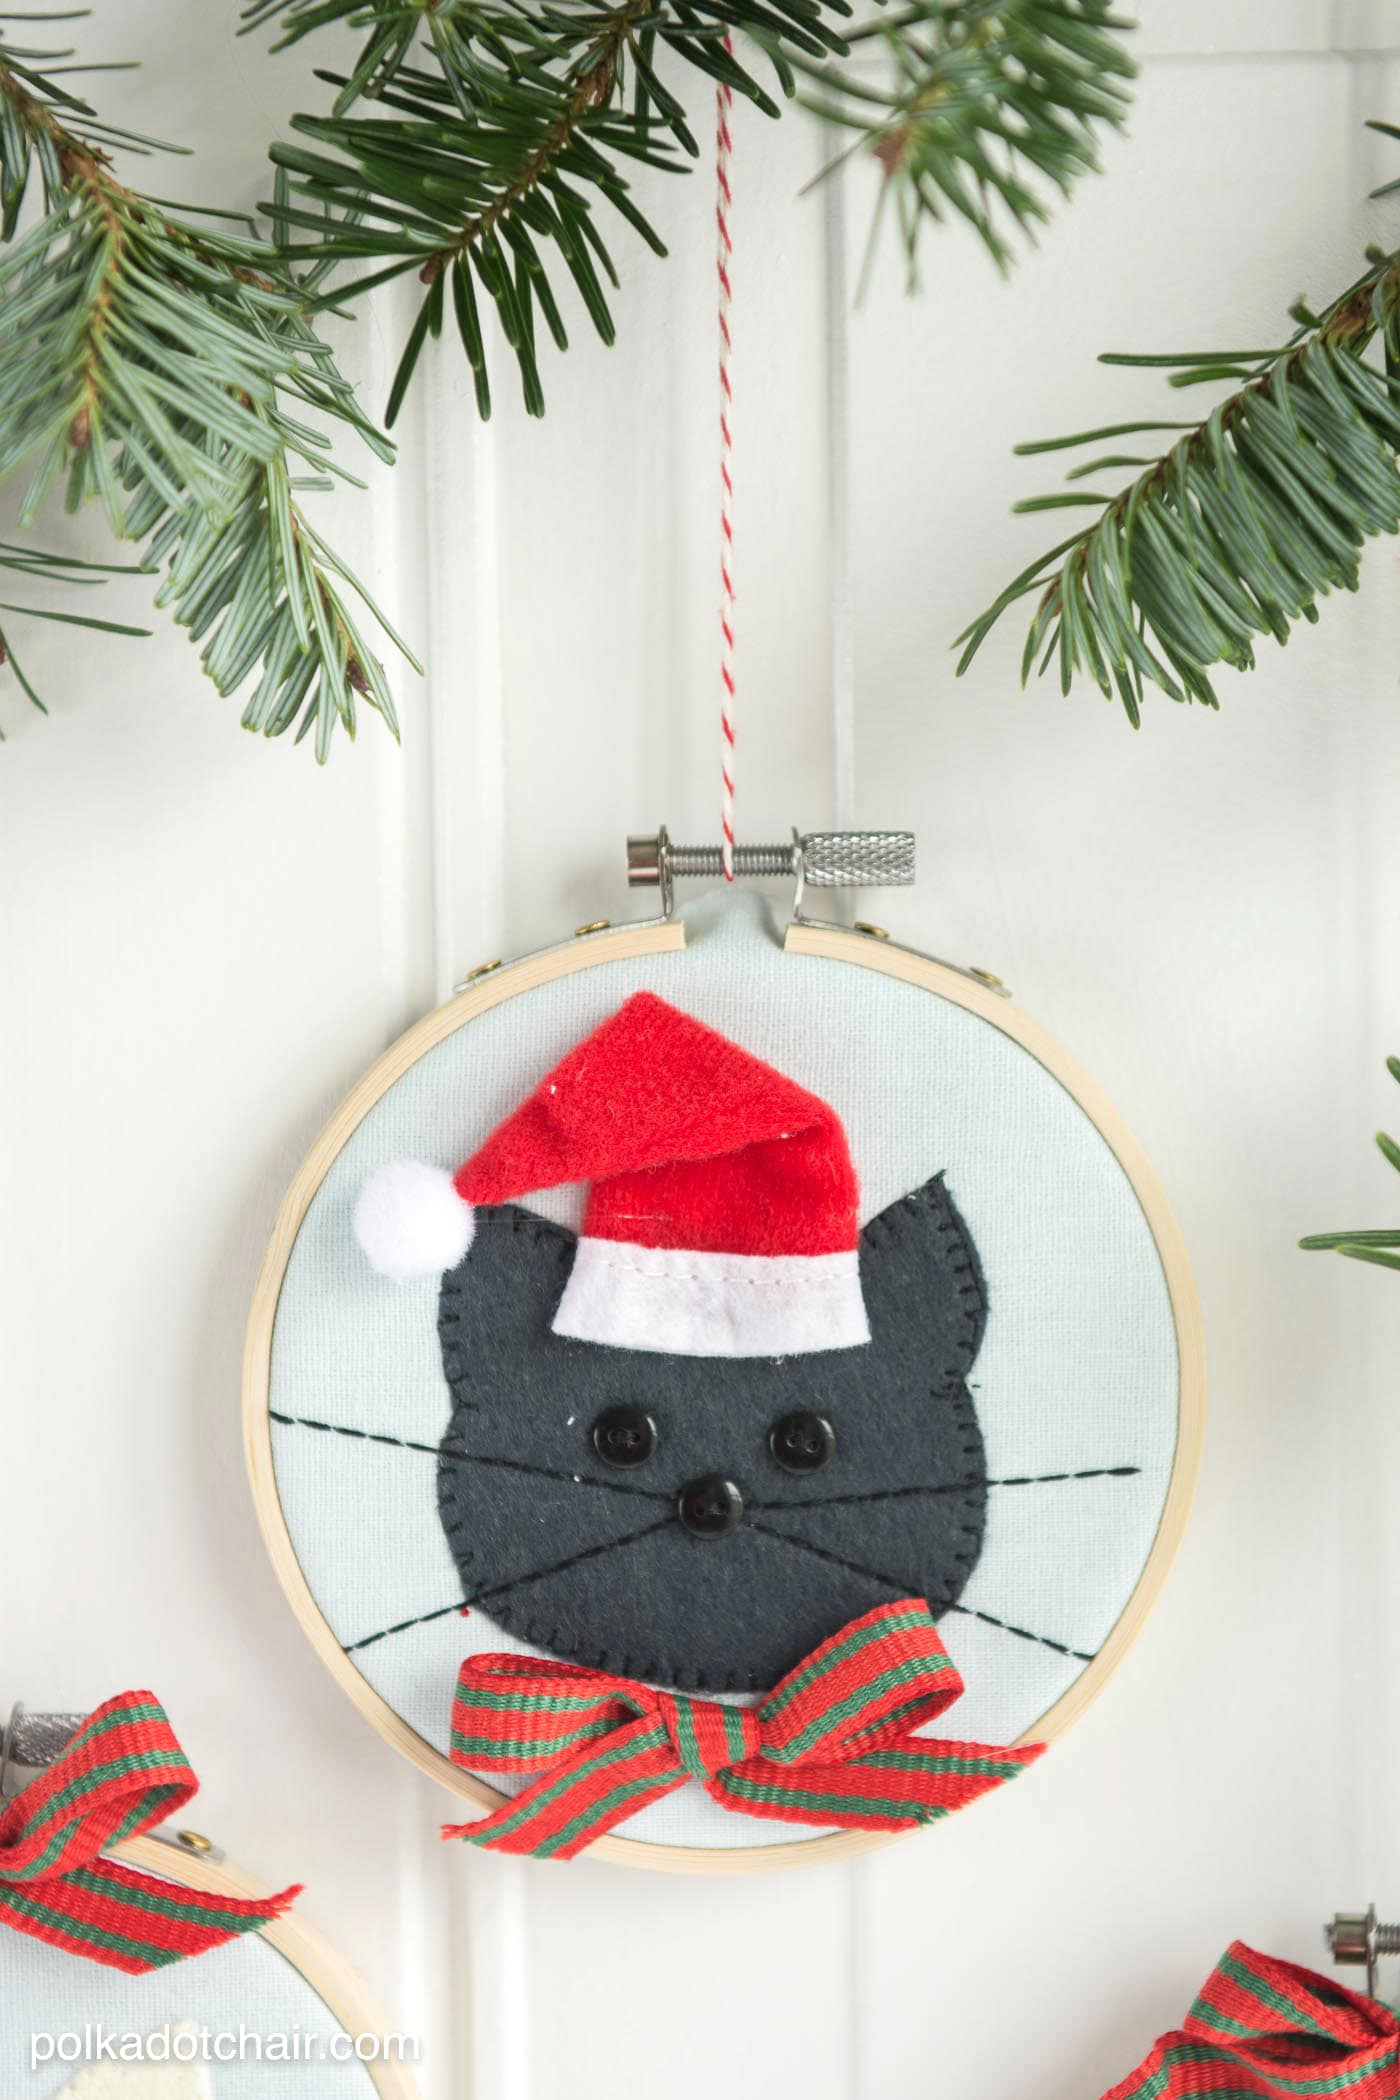
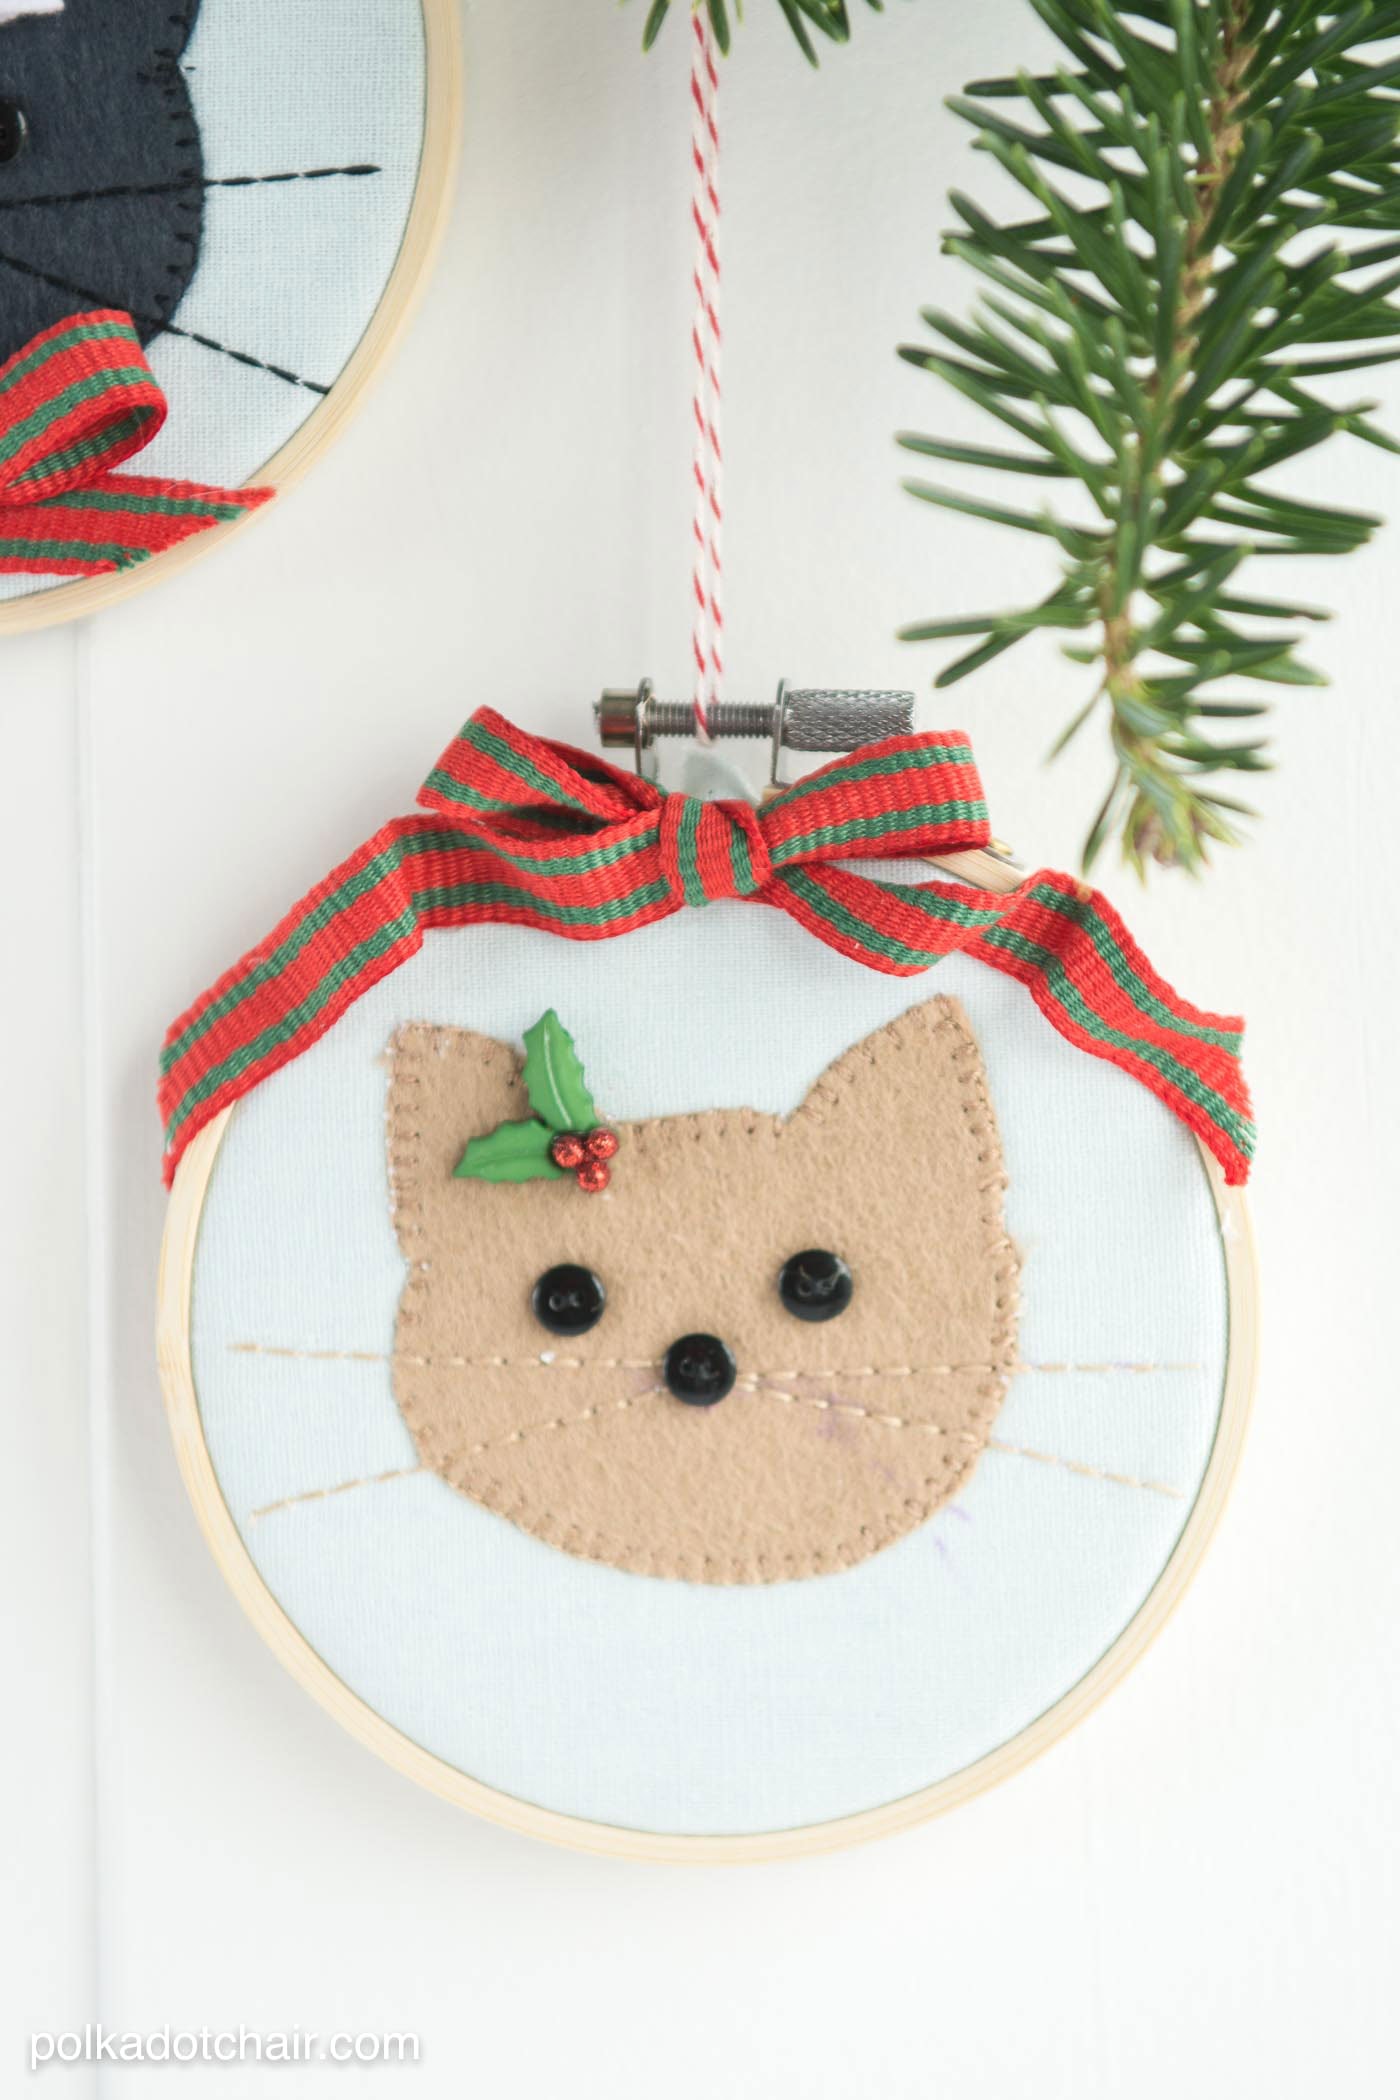
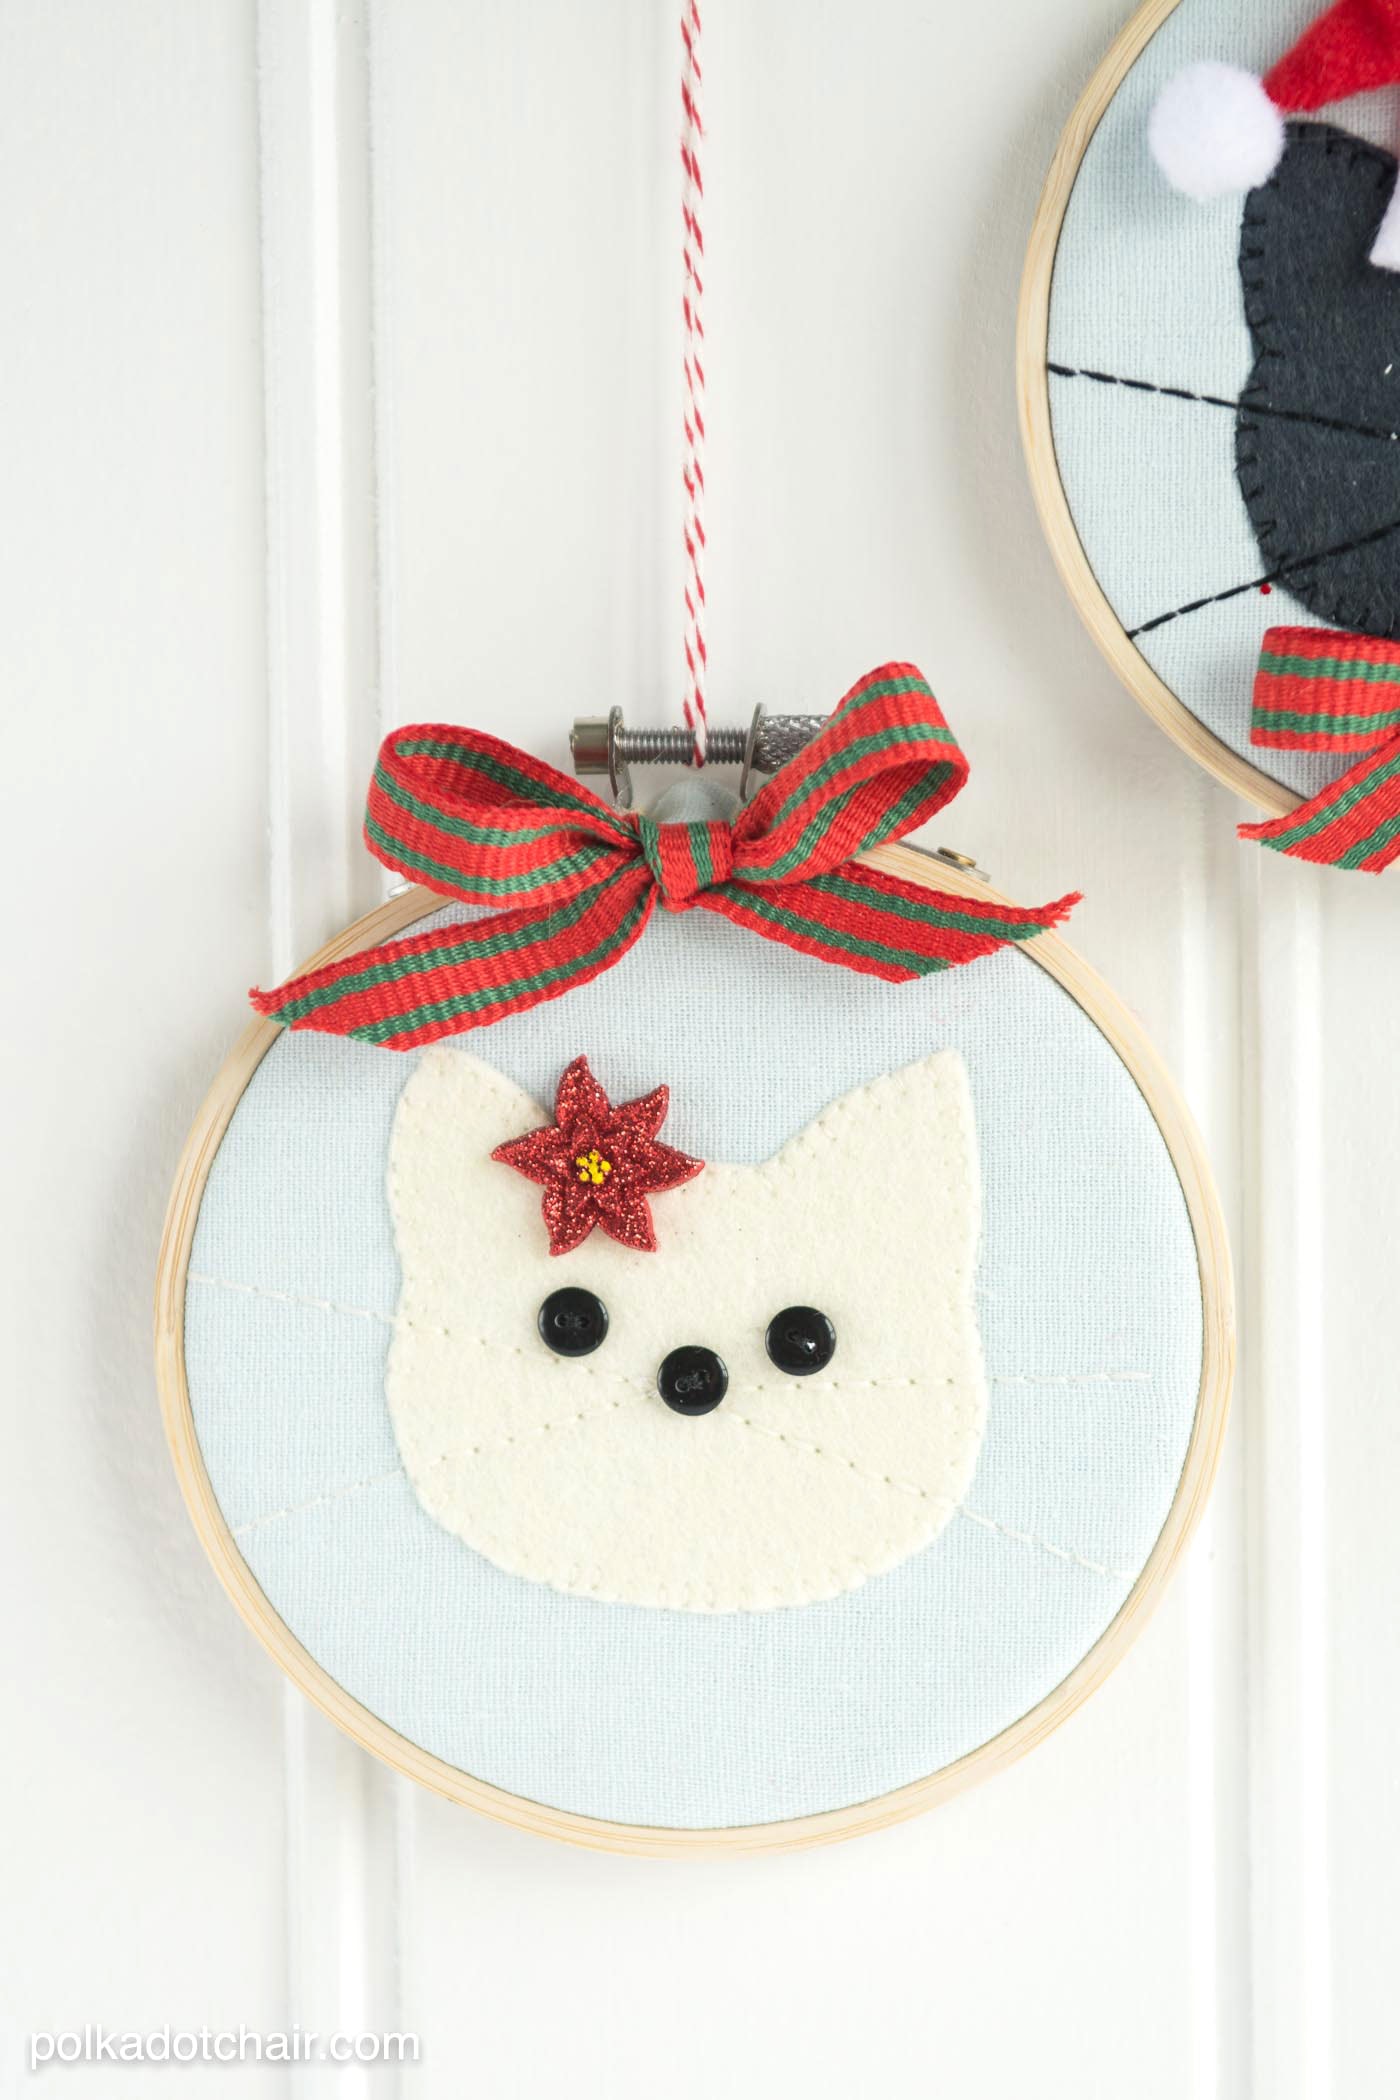
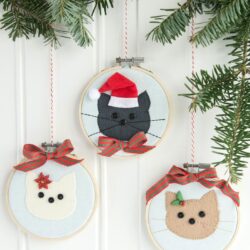
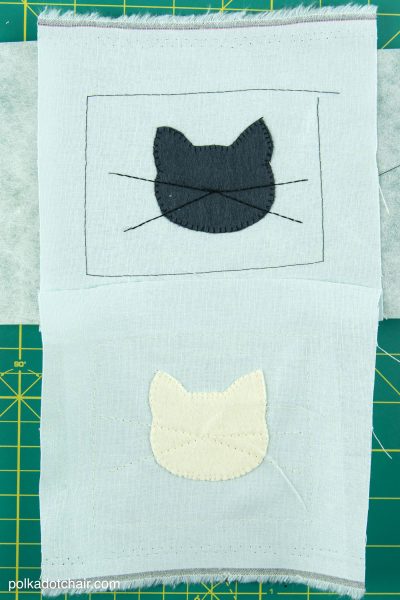
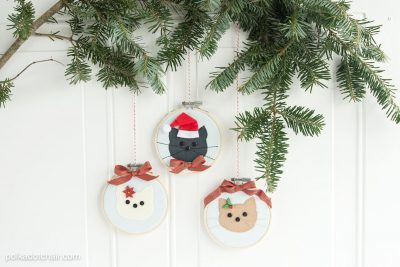
I stitched the cat ornaments in 3 different fabrics and embellished them with buttons and knickknacks that I picked up at my local craft store.
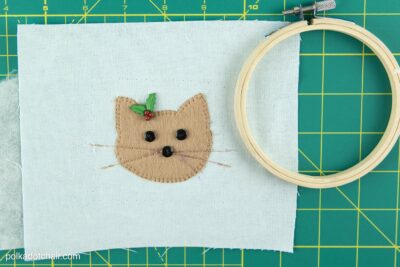
I think the one with the Santa hat might be my favorite… It would make a great gift for a cat person in your life! You could even embroider their cat’s name onto the ornament.
If you’d like to make one yourself, it’s straightforward. I used a sewing machine for the stitching, but if you don’t have one, you can do all the stitching by hand with embroidery floss. I have arthritis, which makes hand stitching with a needle difficult, so I try to stick to machine stitching as much as possible.
DIY Cat Christmas Ornament Supplies
- 6×6 piece Linen Fabric.
- 3×3 piece Wool Felt
- 6×6 piece tear-away stabilizer
- 6×6 piece Fusible fleece
- 4″ Embroidery Hoop
- 3×3 piece Paper Backed Fusible Web
- Ribbon similar to mine
- Christmas Buttons & Mini Santa Hats
- Embroidery Thread to match the felt
- Mini Buttons for Eyes and Nose
- Cat Template Fill out the form on this page, and we will email it to you
How to Get the Printable
Fill out this form, and we will email you a copy of the PDF printable template (just the silhouette of a cat head).
To finish your project, you will still need to read and print the directions on this page.
Cat Embroidery Hoop Christmas Ornament Pattern
supplies
- 6×6 piece Linen Fabric.
- 3×3 piece Wool Felt
- 6×6 piece tear-away stabilizer
- 6×6 piece Fusible fleece
- 3×3 piece Paper Backed Fusible Web
- 4" Embroidery Hoop
- Ribbon similar to mine
- Christmas Buttons & Mini Santa Hats
- Embroidery Thread to match the felt
- Mini Buttons for Eyes and Nose
- Cat Template Fill out the form on this page and we will email it to you
Instructions
Assembly:
- Trace the cat outline onto the paper side of the paper-backed fusible web. Cut out loosely. Press onto the wrong side of the wool felt. Cut out precisely.
- Peel off paper backing and iron onto the center of the 6×6 piece of fabric.
- Baste the tear-away stabilizer onto the piece of 6×6 fabric.
- Using a sewing machine with a blanket stitch, stitch around the perimeter of the cat. Add stitching for the whiskers as desired. (For my whiskers, I used stitch #6 on my BERNINA; it does a double line of straight stitching.)

- Peel away the stabilizer and remove the basting stitches. Place the buttons on the cat where you like. Hand stitch the buttons down and glue on the other embellishments with a hot glue gun.

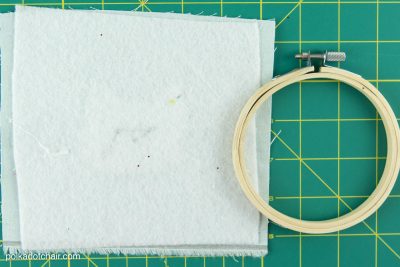
- Press the piece of fusible fleece onto the wrong side of the stitched cat.
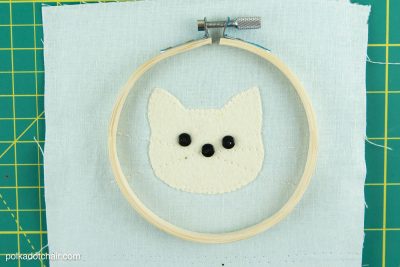
- Center the cat in the embroidery hoop and secure in place. Once you’re sure you have it where you’d like it, trim off the excess fabric from the back.
- Finish by gluing a bow to each ornament.
The cats r very cute and they will be very nice to add to my tree this year. I like to add new decorations every year so these cats will be my new ornaments for this year.
I may have stumbled upon the perfect gift for the grown, cat-loving son who has everything!
These are so cute~! I’m thinking of making a set with Santa, Rudolph and a snowman.