Easy Disney Photo Album Ideas
We love Disney and try to travel there as often as the opportunity presents itself. I created this easy photo album to remember one of our recent trips. If you like this post you may also enjoy this post on How to Display your Disney Trading Pins or this post on Simple Disney World Tips & Tricks.
For Spring Break last year we headed to Disney World. We realized a couple of years ago that our kids are growing up fast. This made us want to cram in as many things with them as we could before they all leave for college.
This was our first family trip without our oldest daughter. She was away at college and could not miss class to attend. It was different and made me sad to think that we were not all together. When people tell you that kids grow up fast they are NOT kidding! I realized the other day that we only have 4 more Spring Breaks before they are all way at college… only 4!!!!
My oldest daughter could not be with us but we did have my parents and adult brother join us on this trip. My brother has Autism and is in his 30’s and he LOVES Disney World. He and my parents joined us for a few days and then we left and they stayed a few days by themselves. This was great way to do it since both our parents and us got some time to do what we wanted without worrying about organizing a big group.
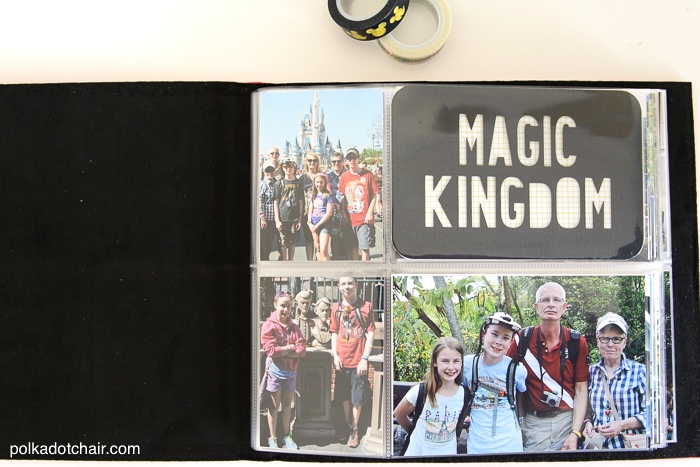
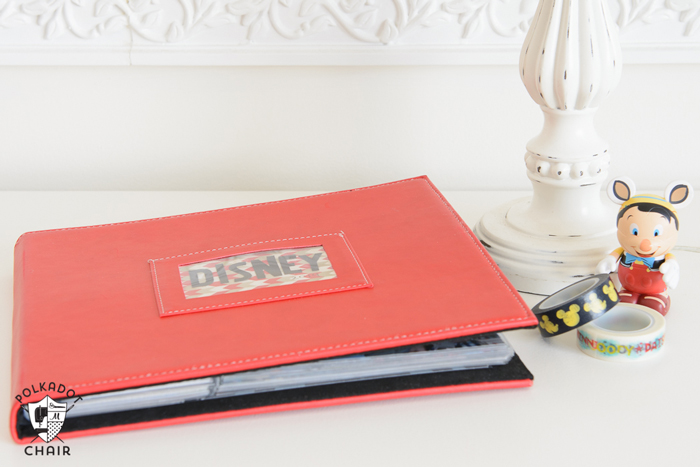
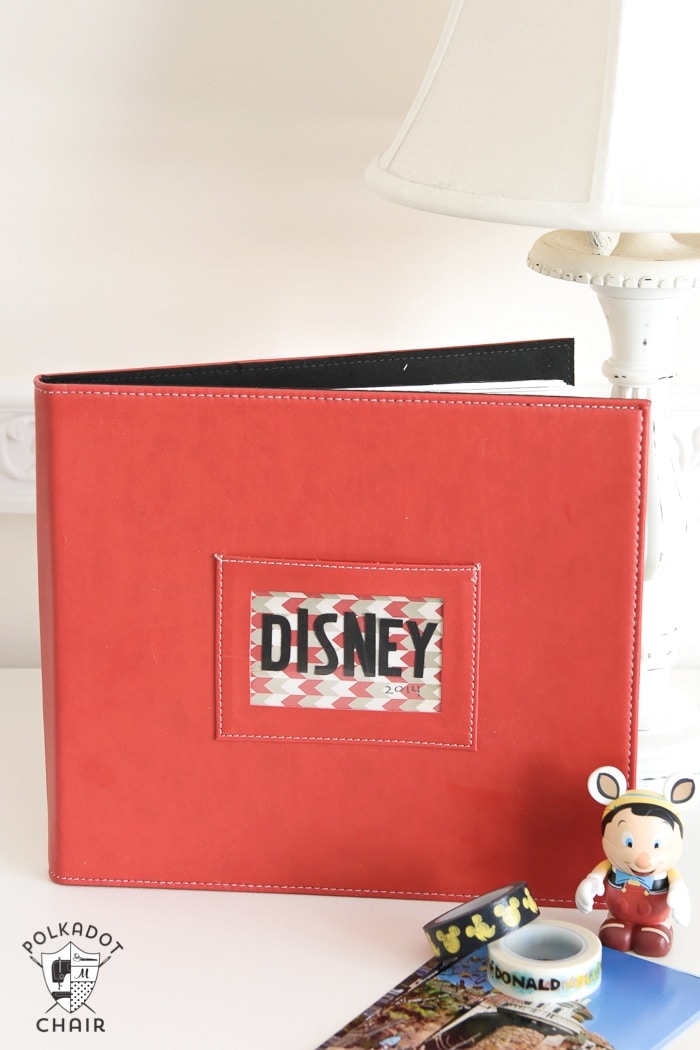
We’ve been to Disney enough that I was wondering if it was worth the effort of making another scrapbook. Not ready to give up all together, I thought this trip would be a good time to try out a new photo album that I had my eye on. It has a fixed number of pages and divided pockets. Just print your photos and slip them in the pockets. This way I could keep a scrapbook of the trip but not feel overwhelmed by the time required to make a full album.
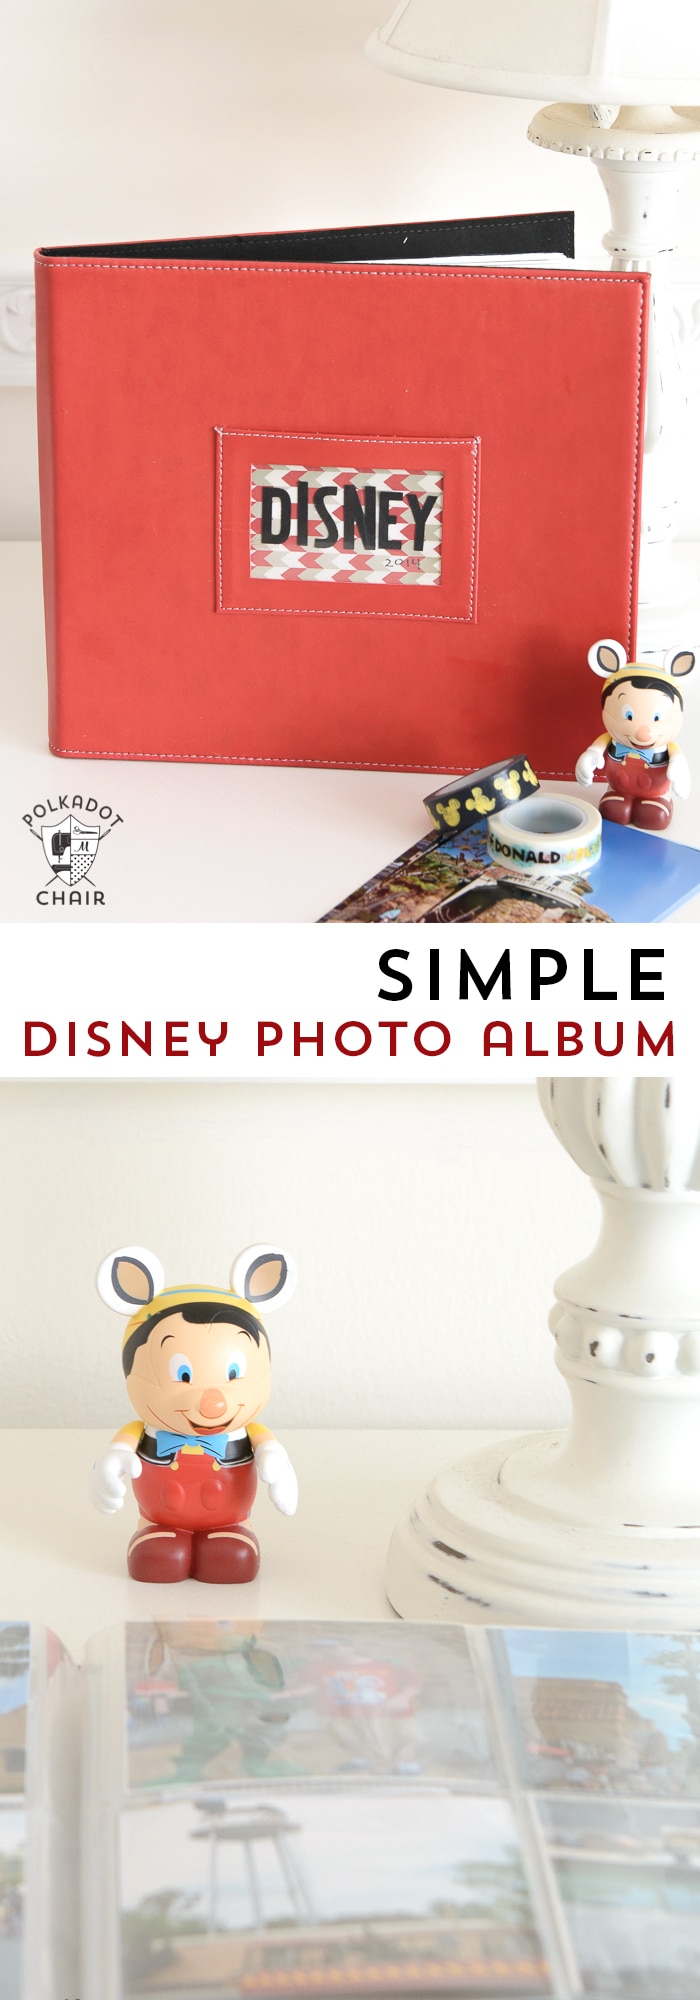
The album is a Project Life album and I bought it on Amazon. If you’d like a to make a similar album here’s what you’ll need (affiliate links):
- Project Life Mini Photo Album
- Printed Photos
- Insert Cards, you can see a bunch of Project Life ones here... or you can also buy them digitally and print them at home.
- Washi Tape & Other Embellishments
- A few Disney themed scrapbook supplies
- Paper Trimmer
You don’t have to go crazy embellishing the album, it’s totally up to you how much you want to do. Personally I enjoy that part of the process and I like to put a few special touches in the album as I go.
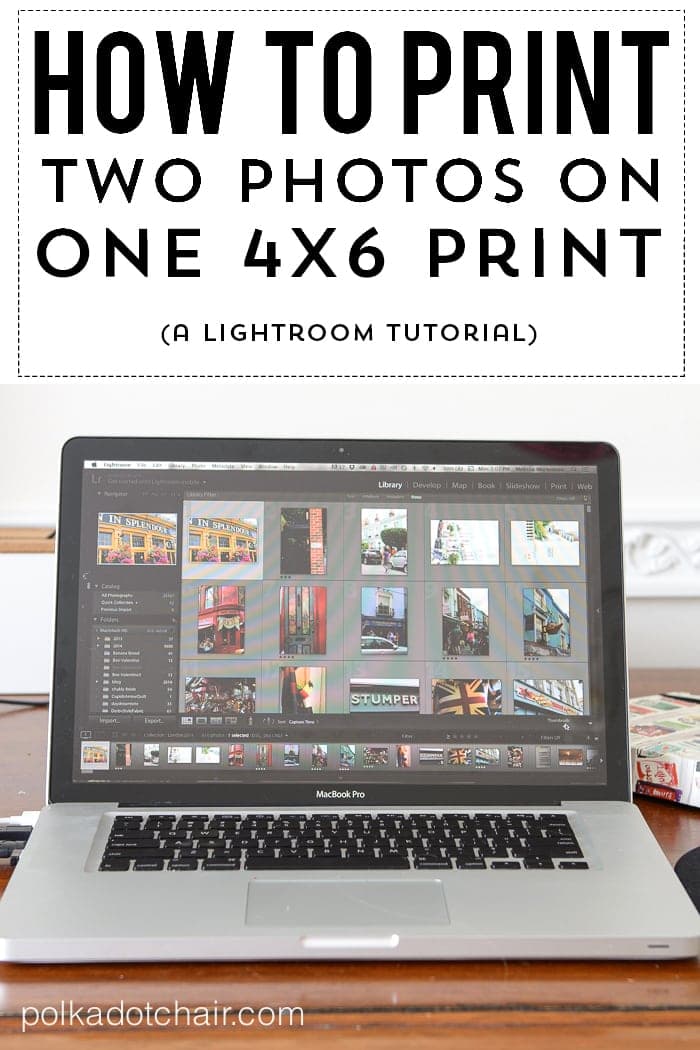
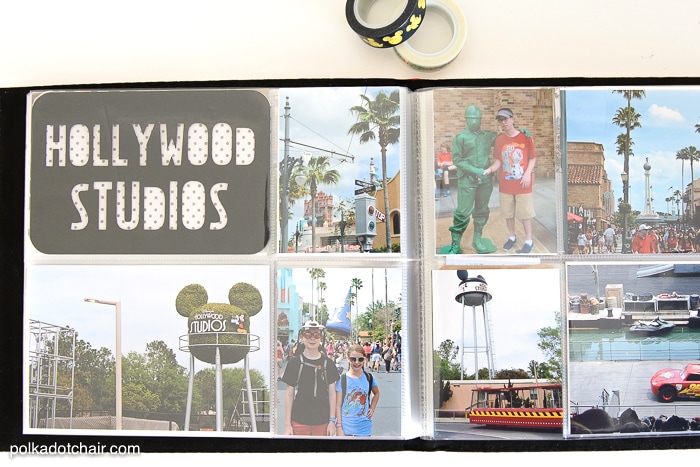
This album uses a combination of 4×6 photo pockets and 3×4 photo pockets. If you want to print two photos on one 4×6 photo you can use this tutorial to do it.
If you choose not to print 2 photos on one 4×6 you can easily just cut the photos you have down to size. I’m working on an album right now and am doing it that way, it goes really quick.
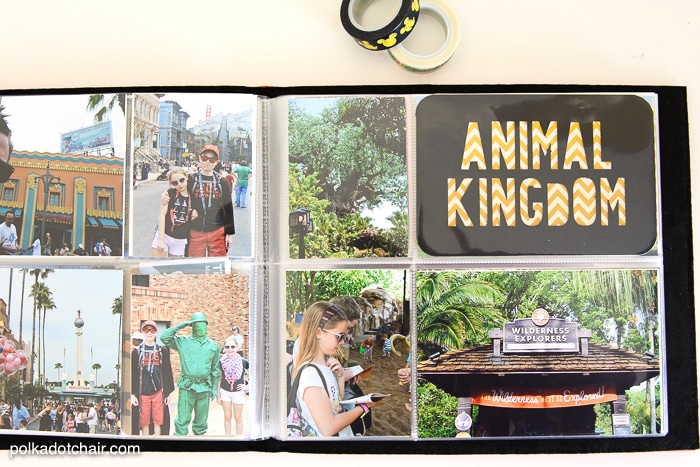
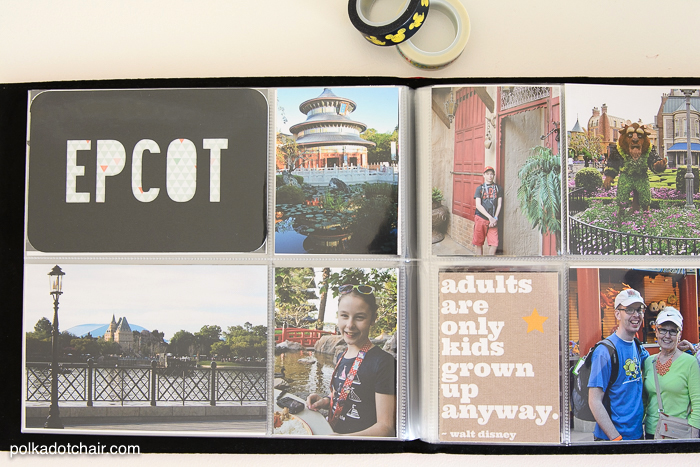
I divided the album into sections based on the parts of the parks. I used my Cricut to cut out title cards, you can also use alphabet stickers.
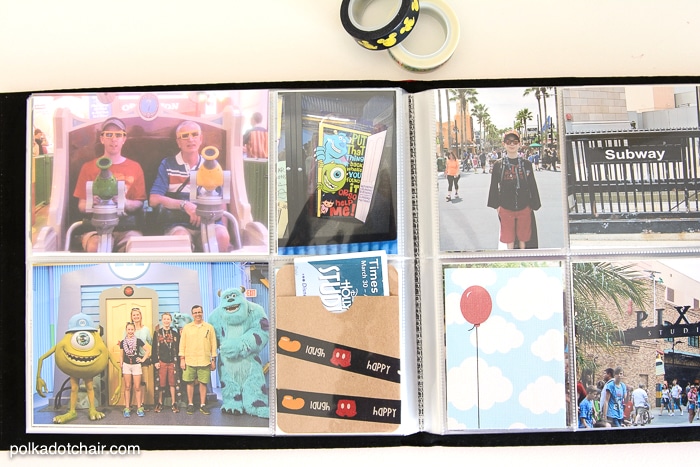
I also make sure to include memorabilia from the trip in the pockets. I kept a few tickets, time schedules and tags to a few of our souvenirs. I just slipped them inside the pockets as I went.
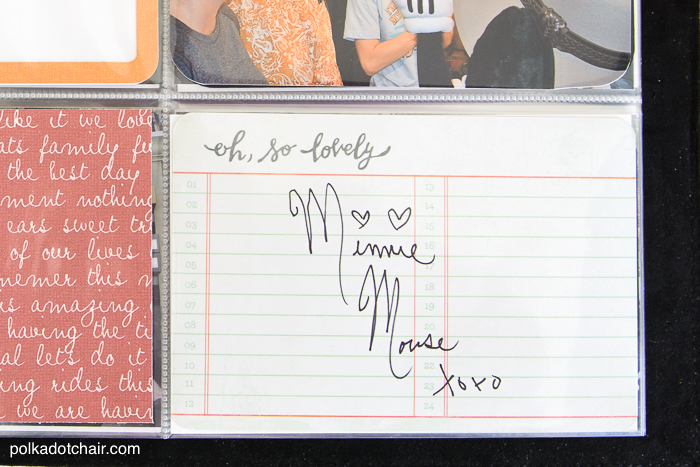
Before we left I bought a package of Project Life cards to use for character autographs. Then when we got home I was able to just slip them into the page protectors. I think we’ve lost all of our other Disney Autograph books and this seemed like a great way to keep everything together!
Here are a few more photos of the album, all in all it took me a couple of evenings to put it together. The best part of the album is that it’s DONE!!! (I’m not the best at finishing projects *wink*)

