How to Sew a Summer Dress from 2 T-Shirts
Use this simple hack to turn two kids’ t-shirts into a summer dress! You’ll save loads of time and end up with a cute summer t-shirt dress as well!
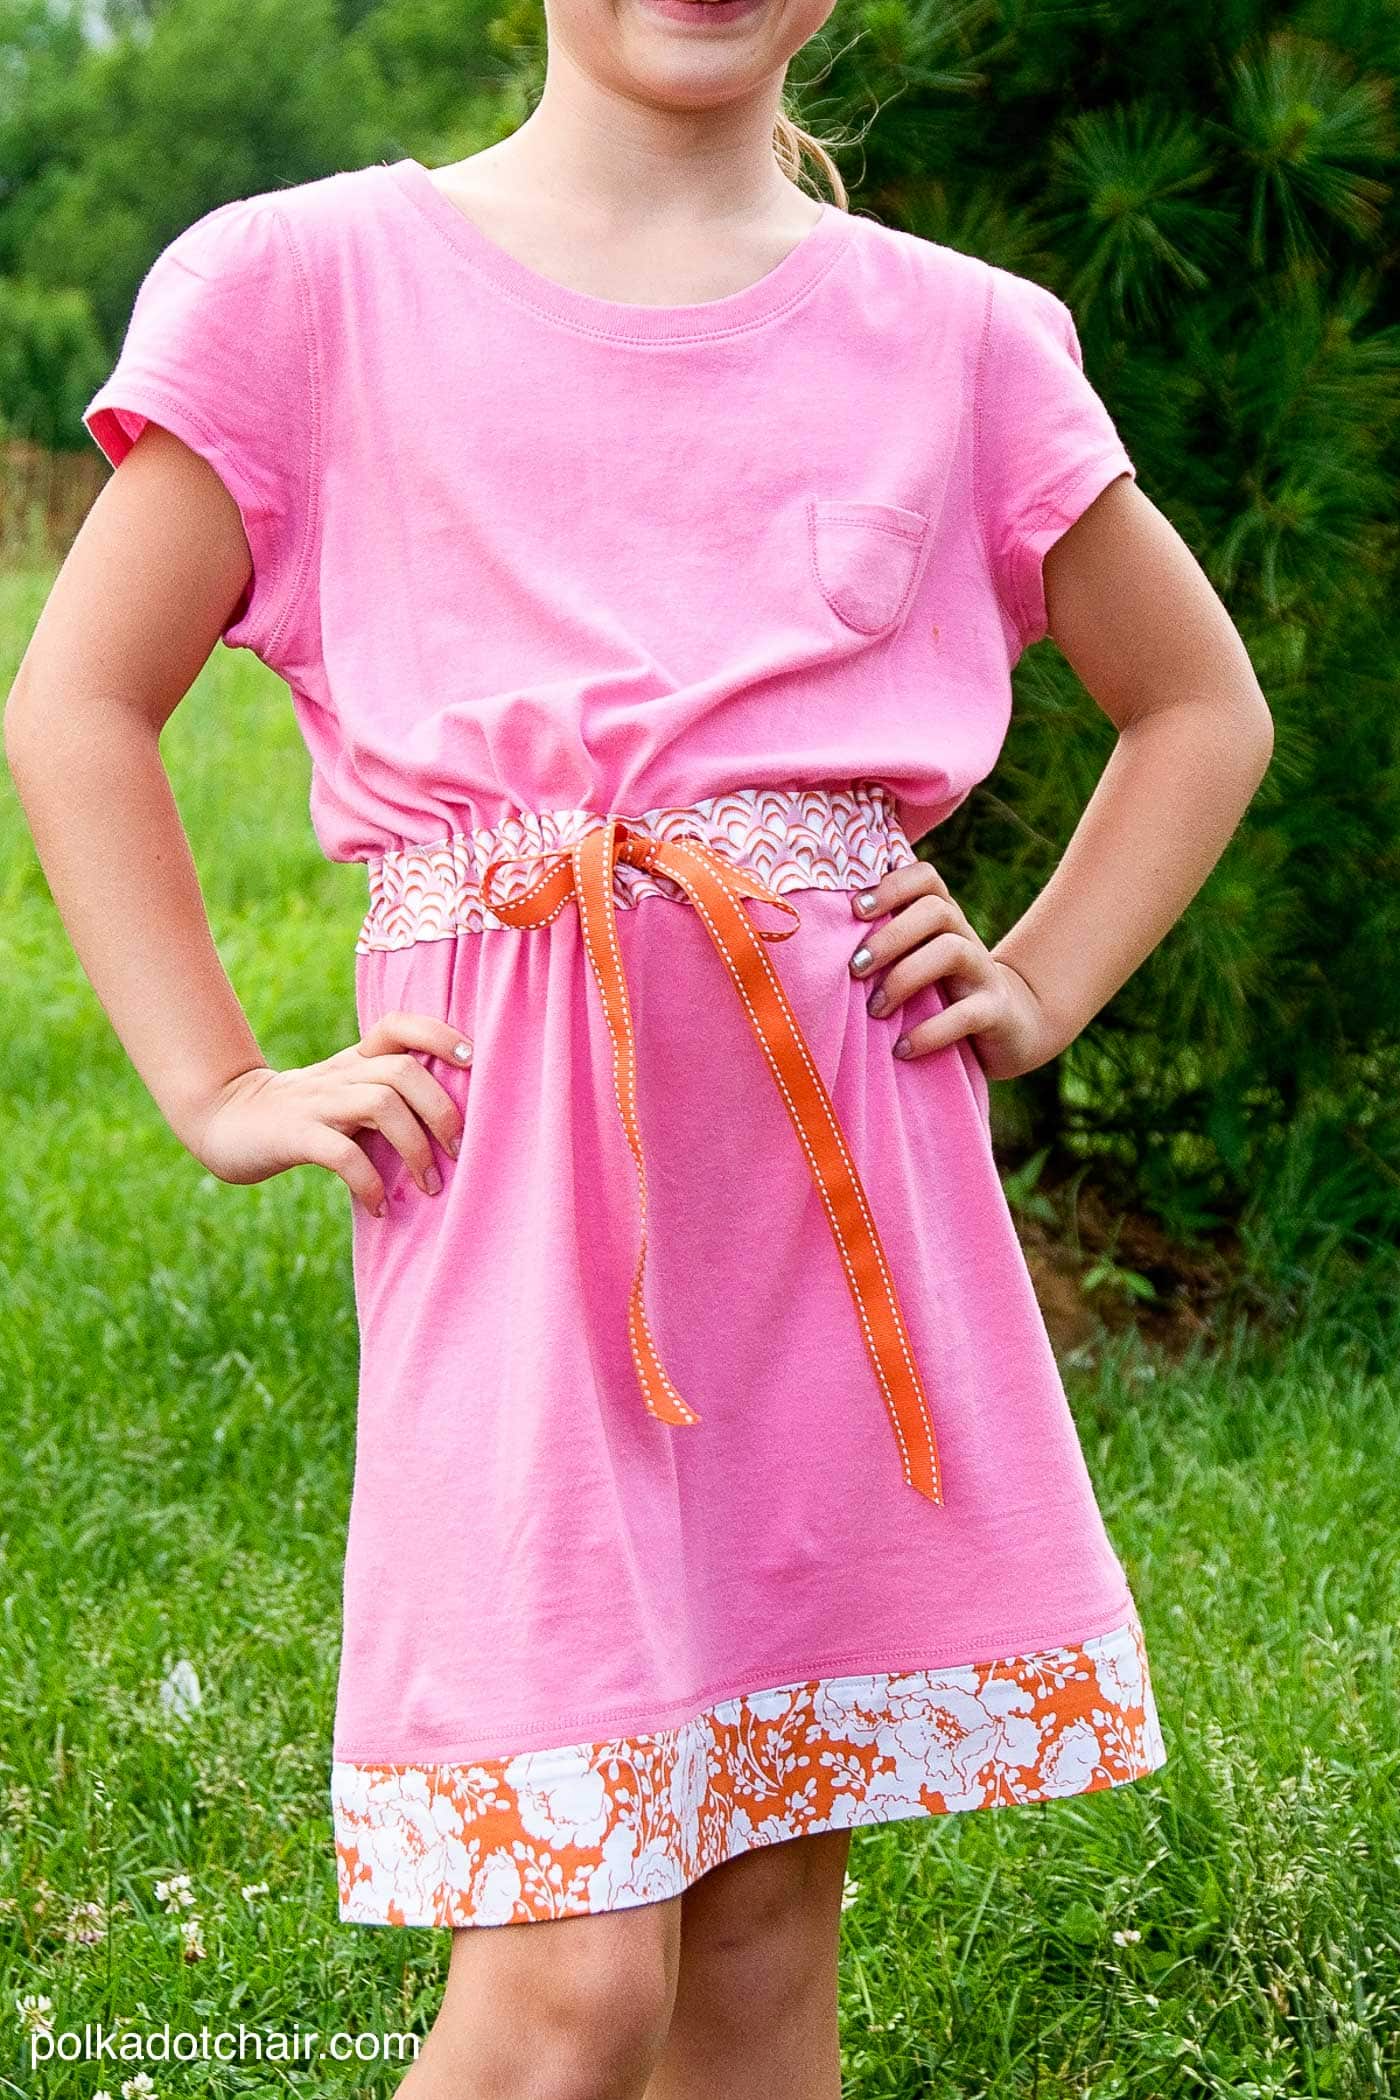
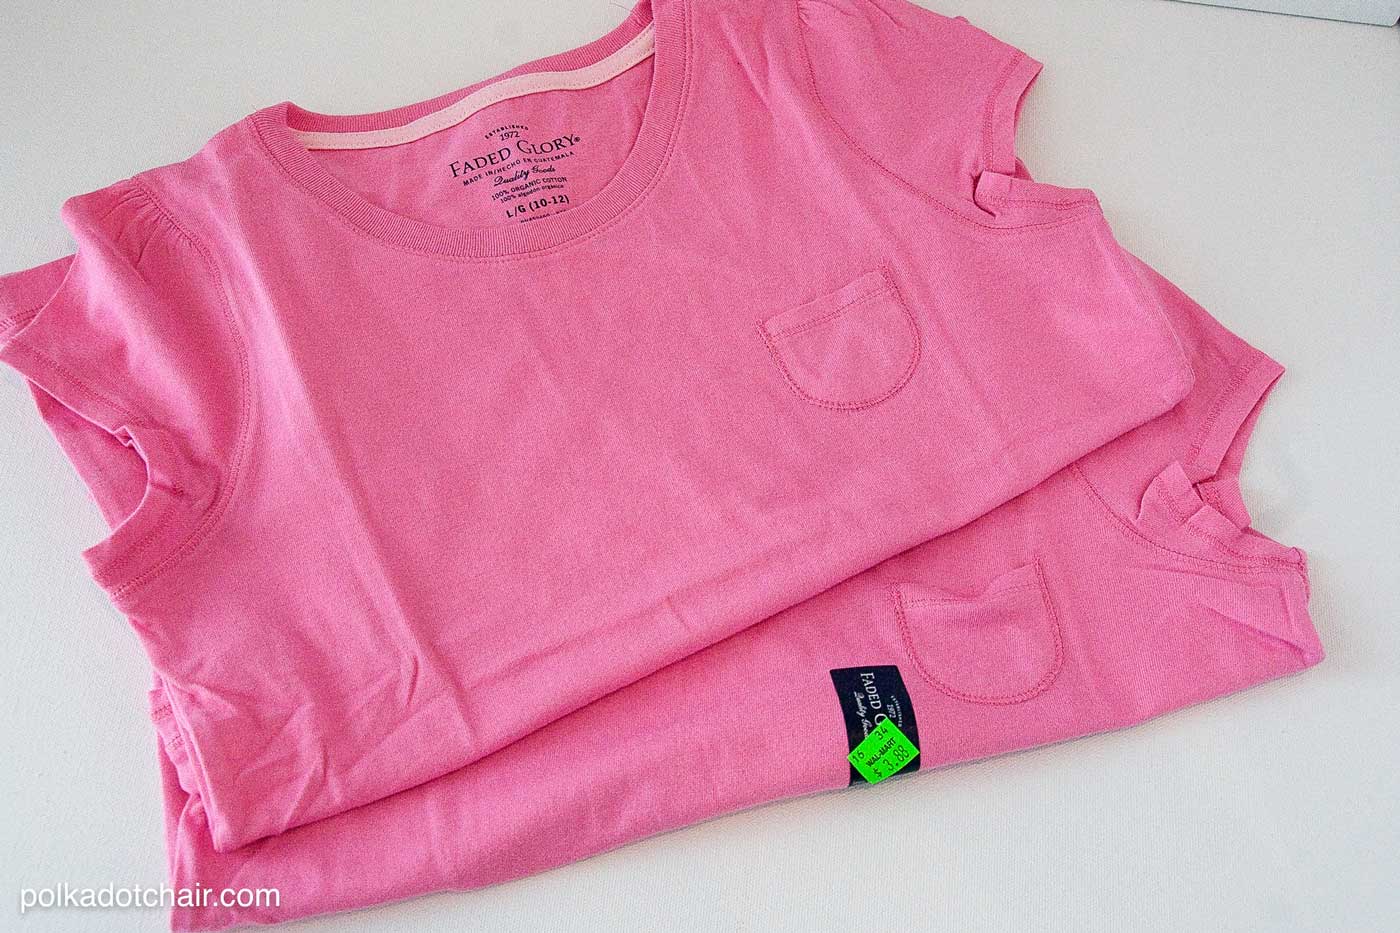
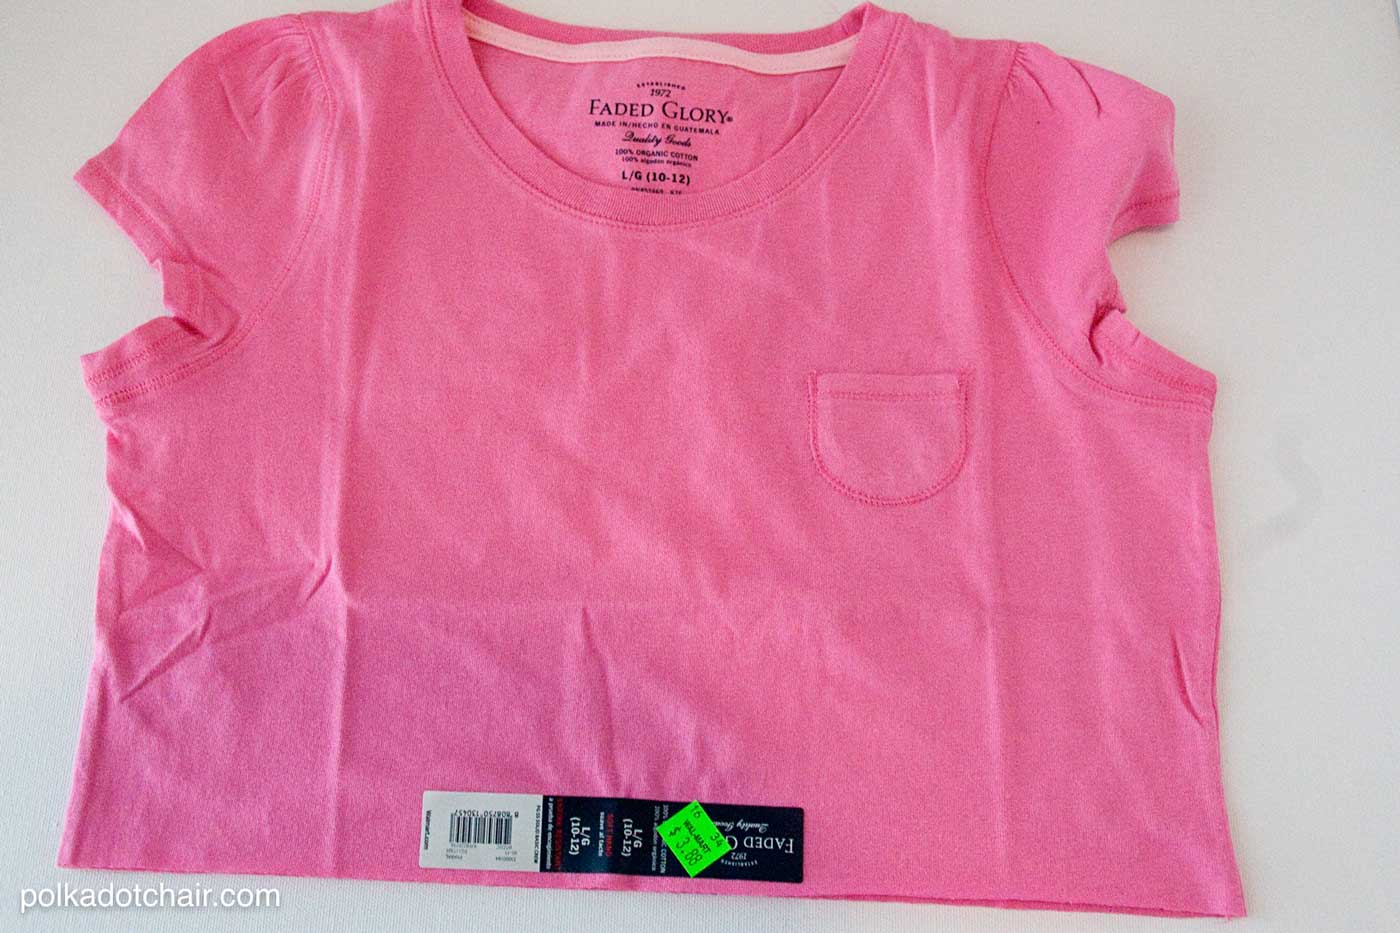
Today I’m sharing a tutorial teaching you how to make a summer sundress from 2 t-shirts! I picked up the t-shirts at Walmart on clearance, but any t-shirts will do. Just make sure that they are mostly “straight” and not the fitted variety!
Dress Supplies
- 2 t-shirts, both the same size, if you are not sure of sizes estimate UP
- 2 1/2″ band of fabric (just cut 2 1/2″ off the edge of one of your favorite fabrics so that the piece will be 2 1/2 x 44″)
- 6″ band of fabric
- Ribbon
Instructions
The first thing you need to do is try one of the t-shirts on your model and mark the natural waist. This is usually at the belly button.
Next cut off the bottom (after you take it off your model *wink*)… of t-shirt #1 just below where you marked the natural waist.
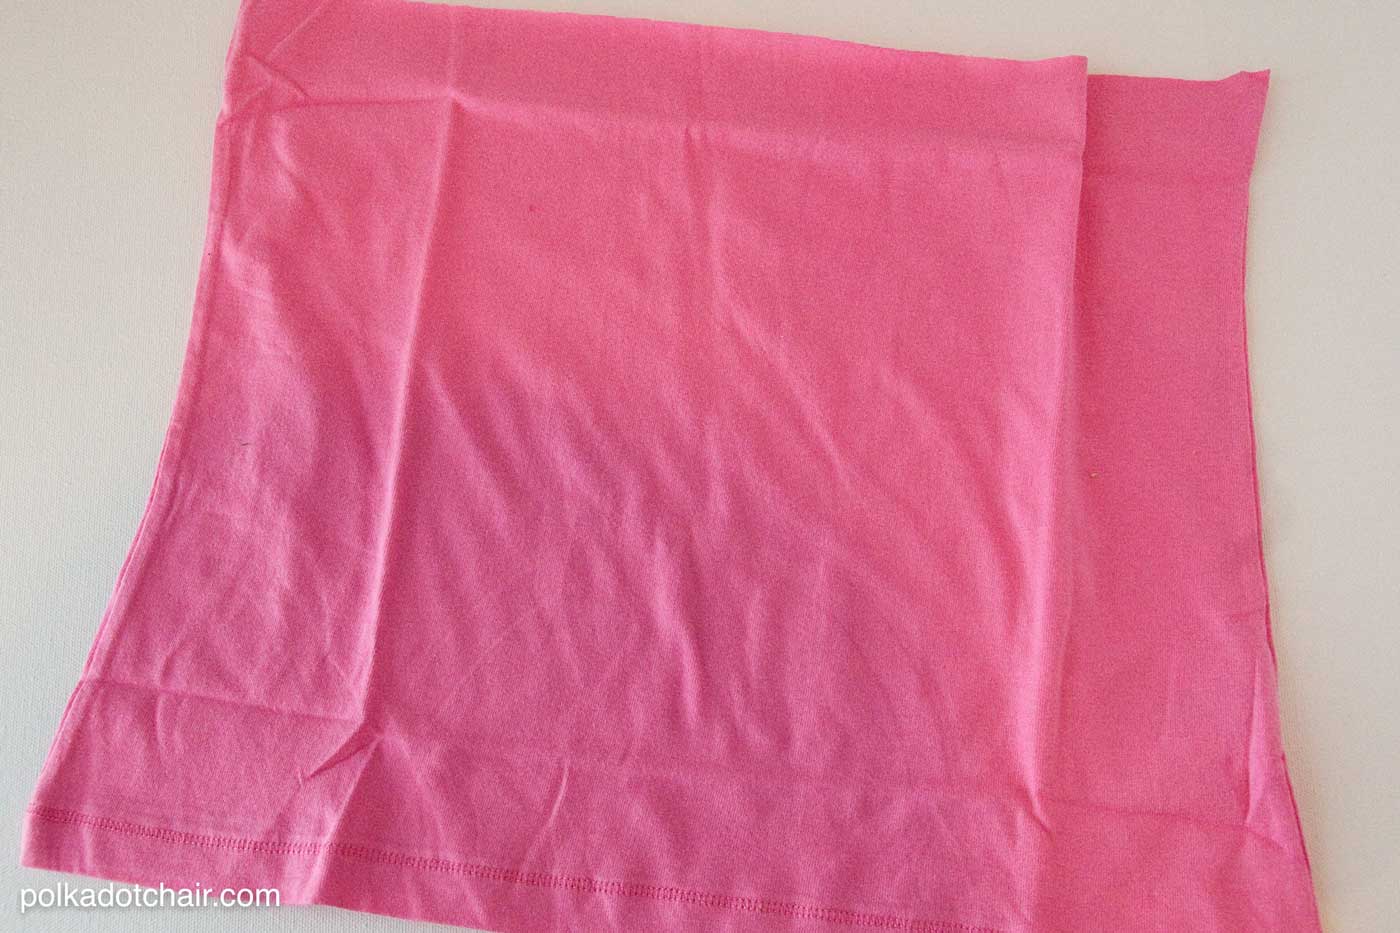
On t-shirt #2, cut off the bottom off, just below the arm holes.
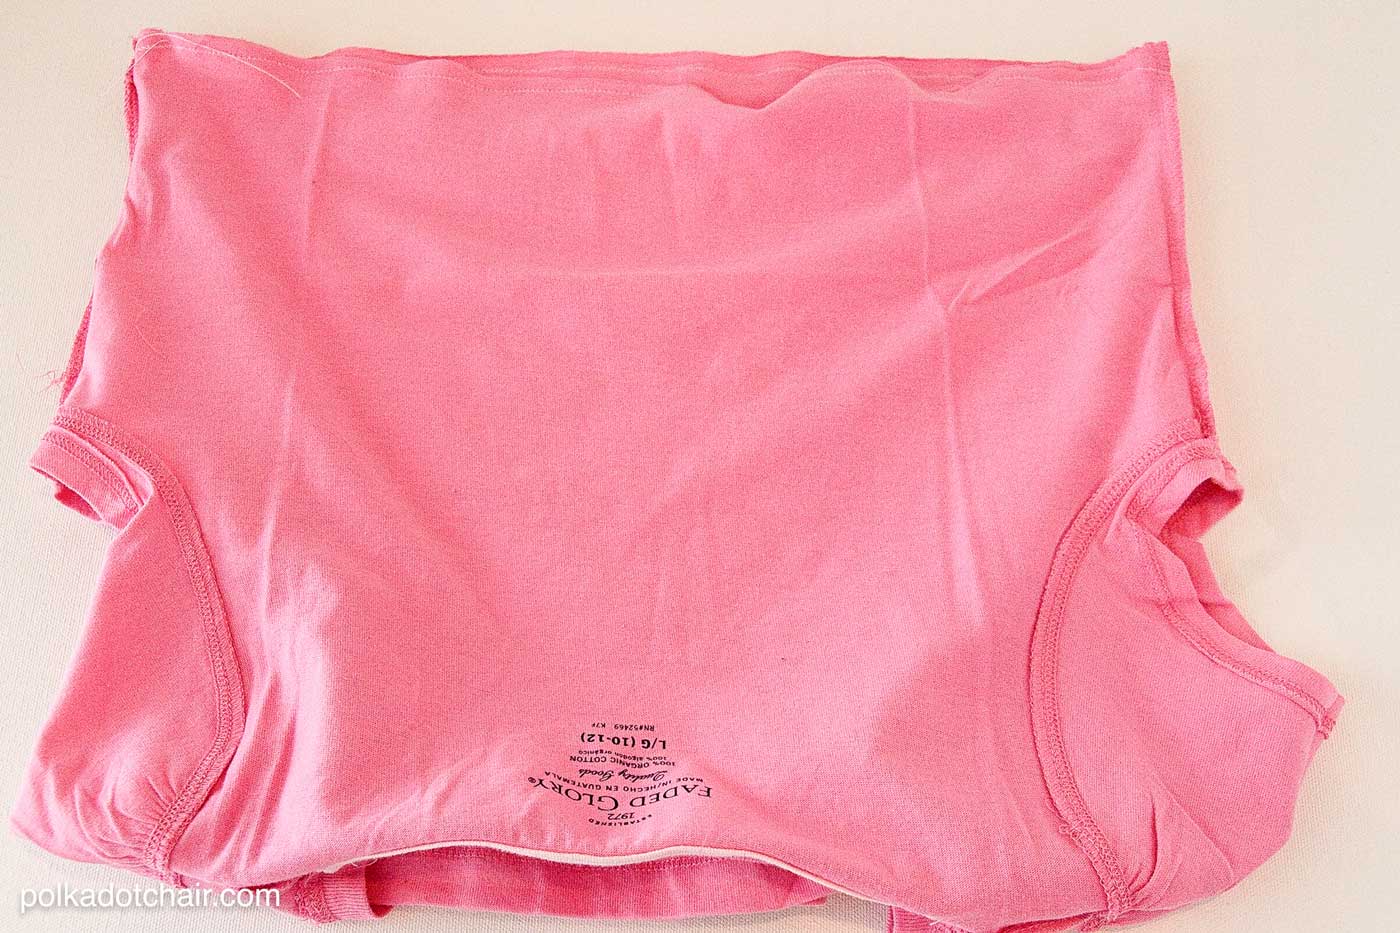
With right sides together- stitch the bottom of t-shirt #1 to the top of t-shirt #2.
Press seam.
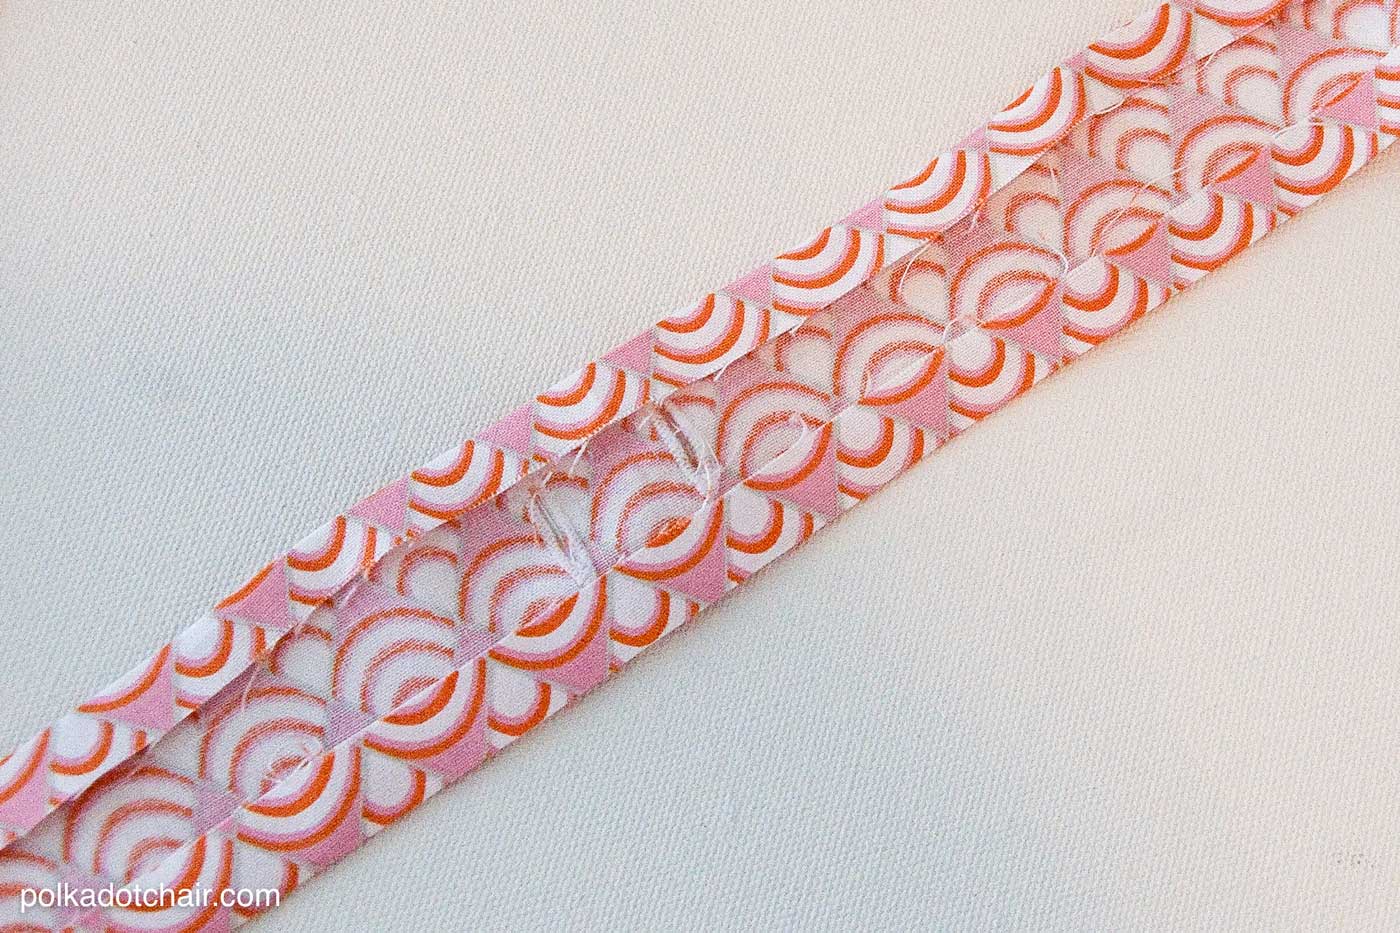
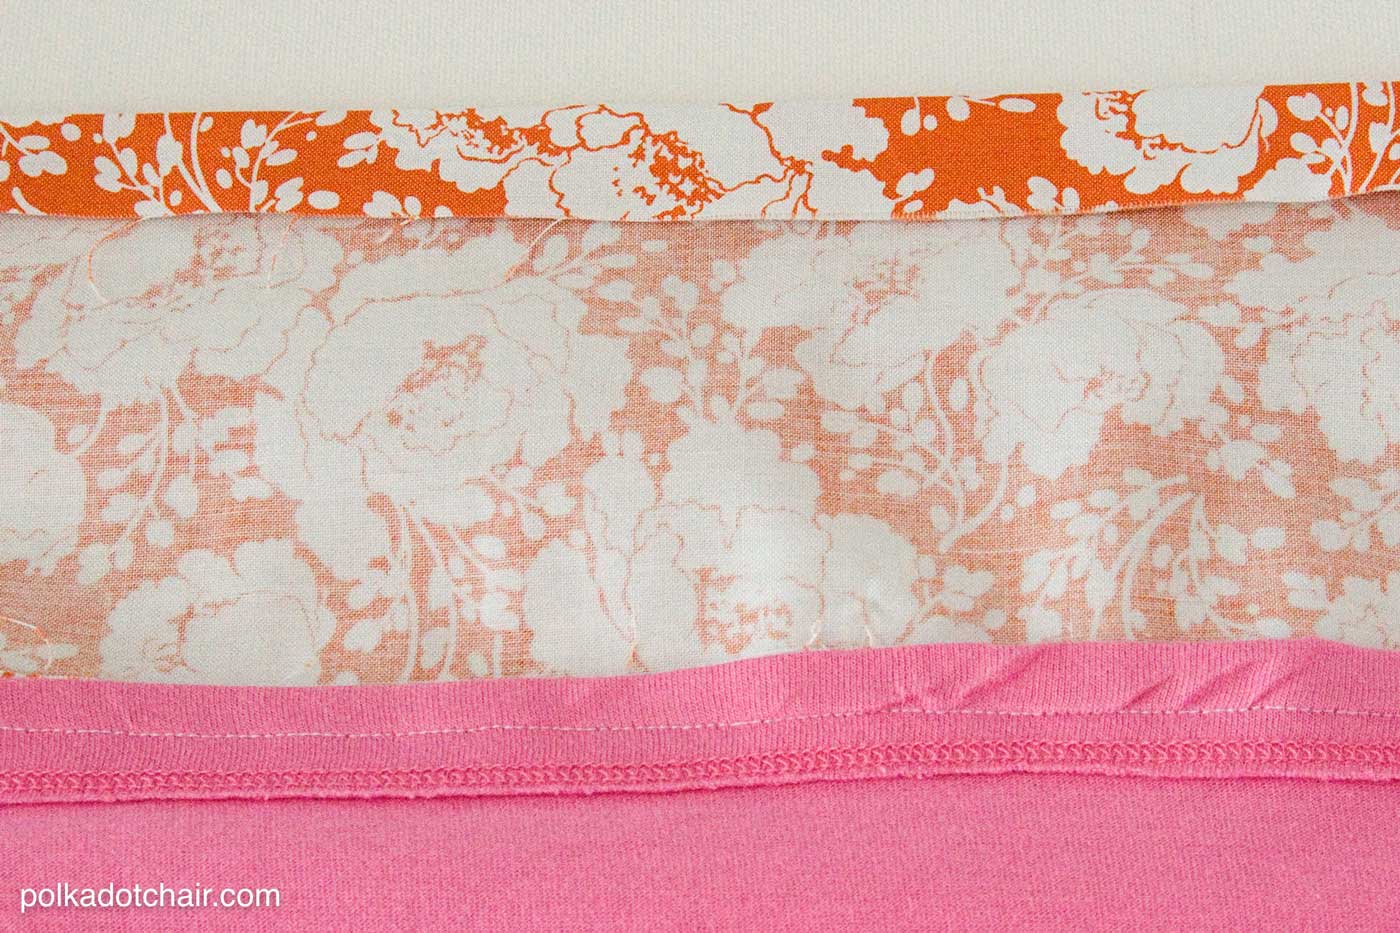
On your 2 1/2″ wide strip of fabric, stitch 2 button holes in the center.
Turn under edge of strip 1/4-1/2″ on both sides and press.
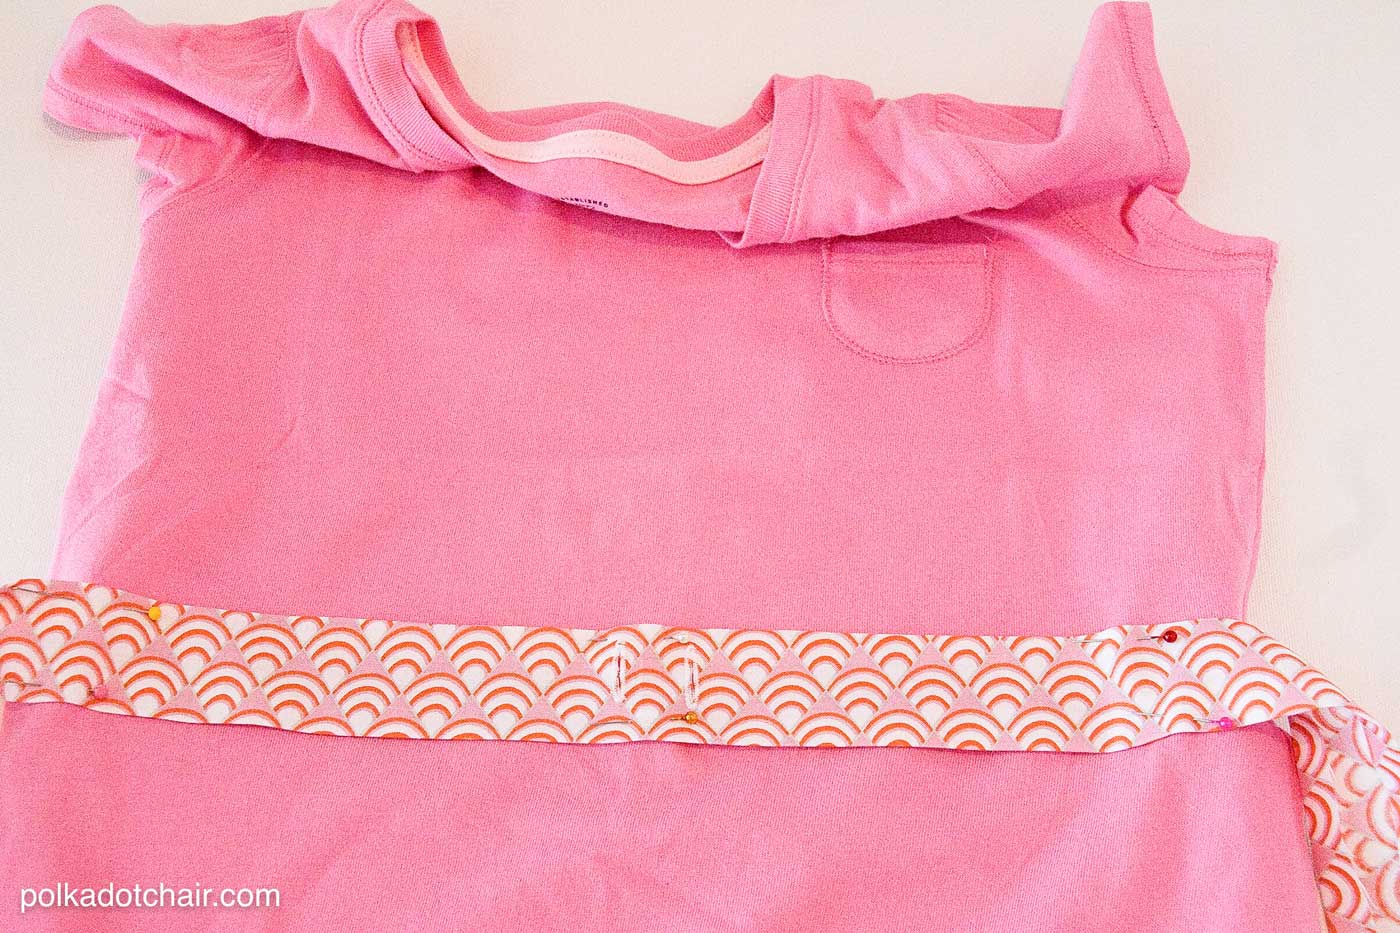
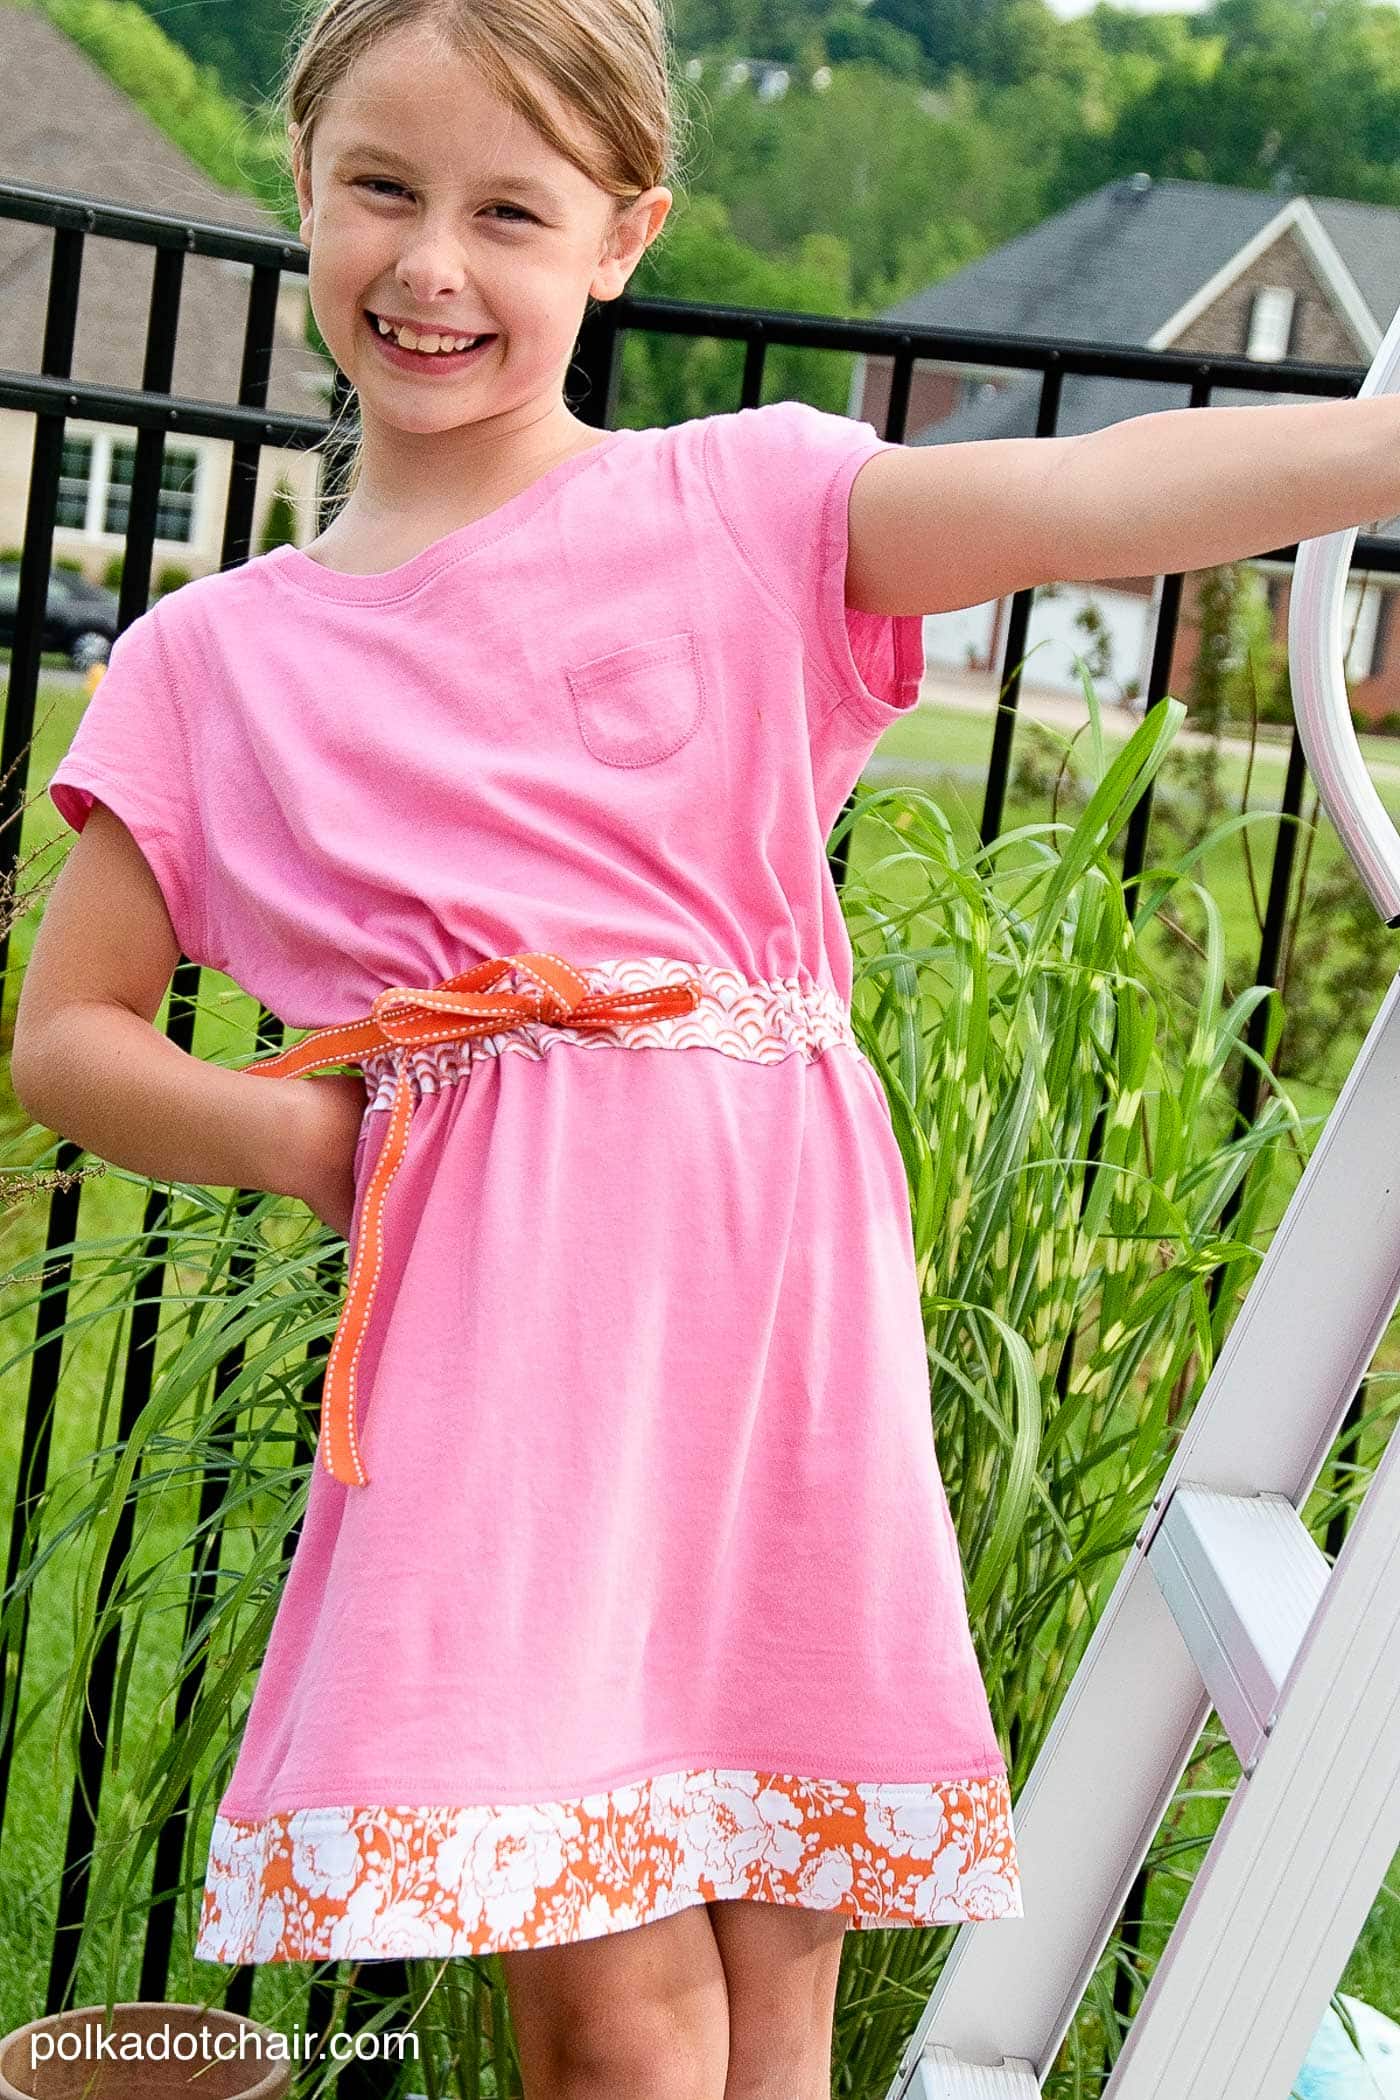
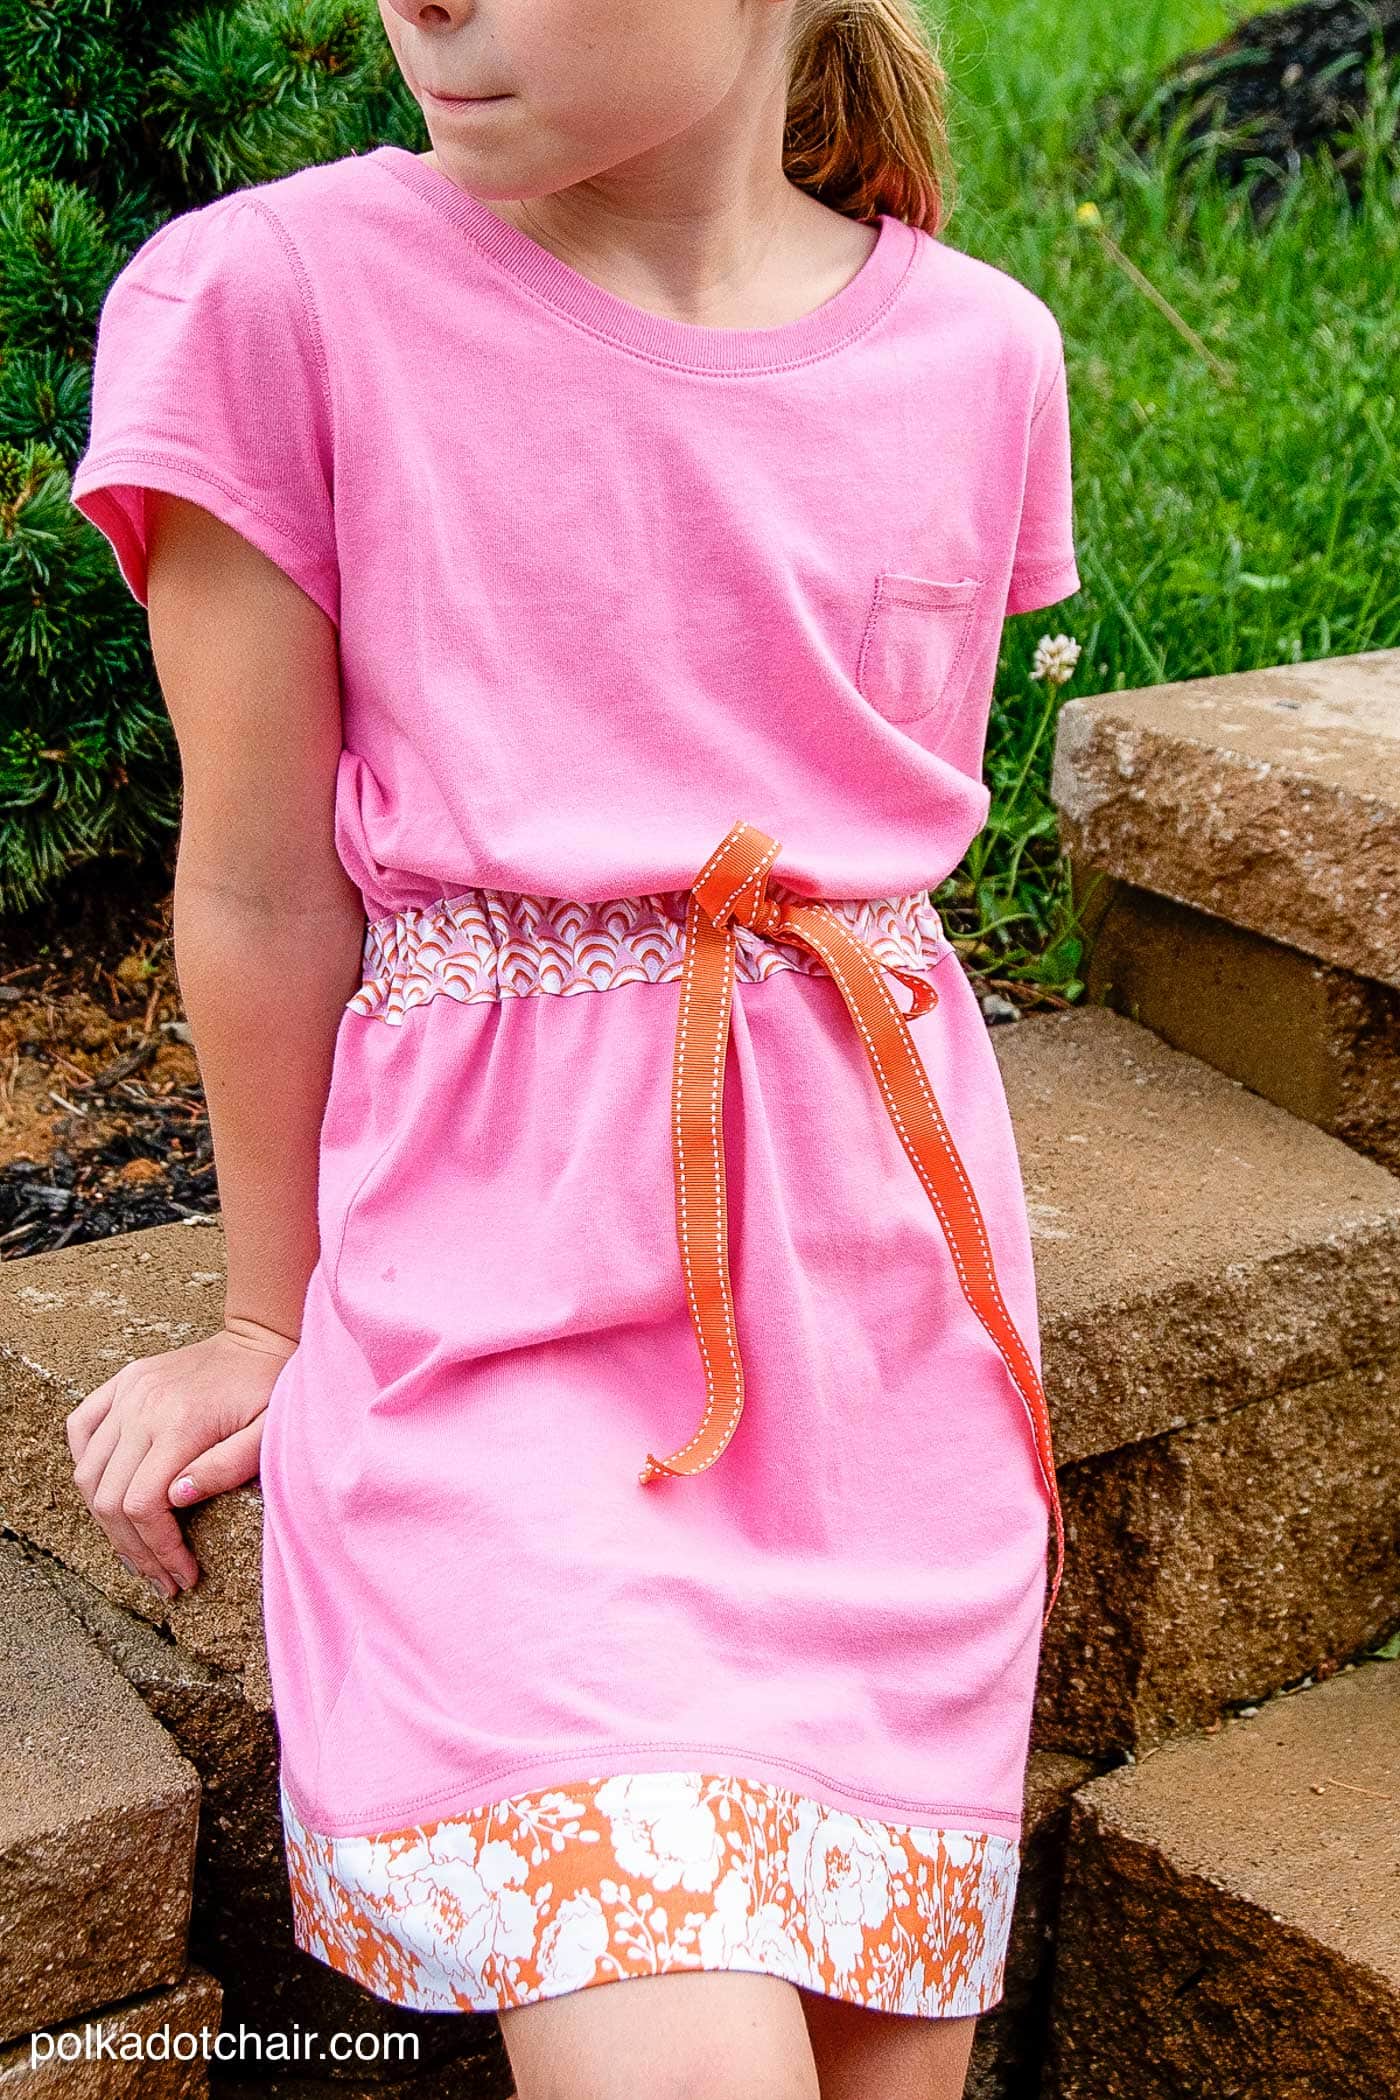
Pin strip over seam where t-shirt 1 meets t-shirt 2. Use the seam as a guide so that you will stitch the waistband on straight.
Beginning at the front and working to the back, topstitch waistband in place. Topstitch the top and bottom of the strip. At the back, end one side of the strip at the center back, and leave the other strip with a 1″ overhang.
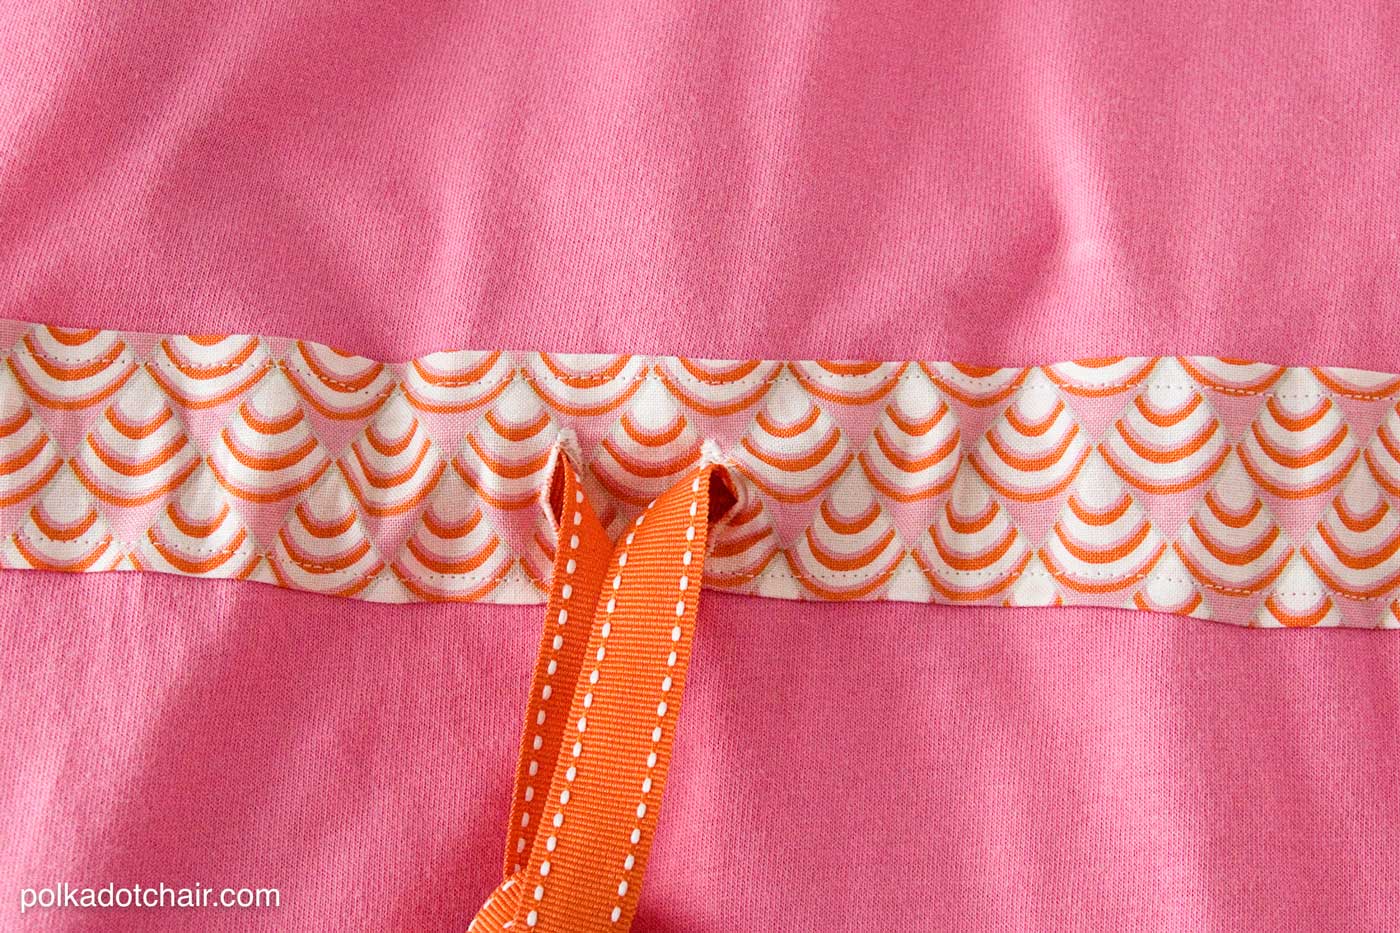
Put a safety pin on your ribbon and string through the waistband so that the 2 ends are coming out of the 2 buttonholes in the front.
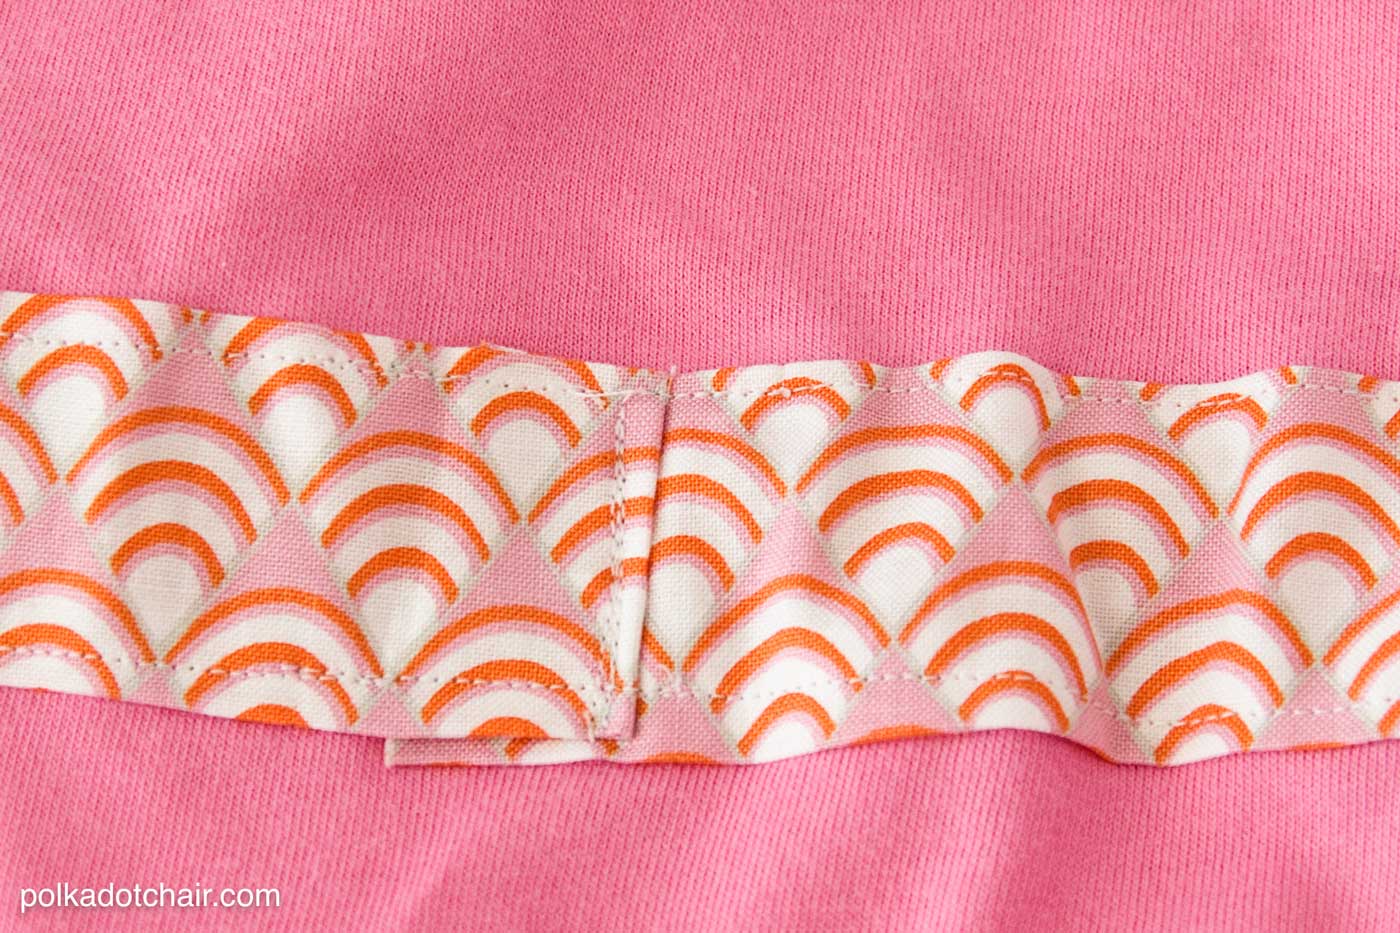
To close the back seam, fold under the strip overhang and stitch down. You will stitch through the ribbon (this also keeps the ribbon attached to the dress for safety reasons).
Press waistband well.
At this point I think the dress is a bit too short- but if you want to make a swim cover-up you can skip the next step as the dress is already hemmed (you kept the hem on t-shirt 2).
Optional Skirt Hem Band:
Cut the band the same size as the bottom of the dress, allowing for a seam allowance. Stitch together at short sides. You will have a circle of fabric that you can pin to the bottom of the dress. (it should fit perfectly, no gathering)
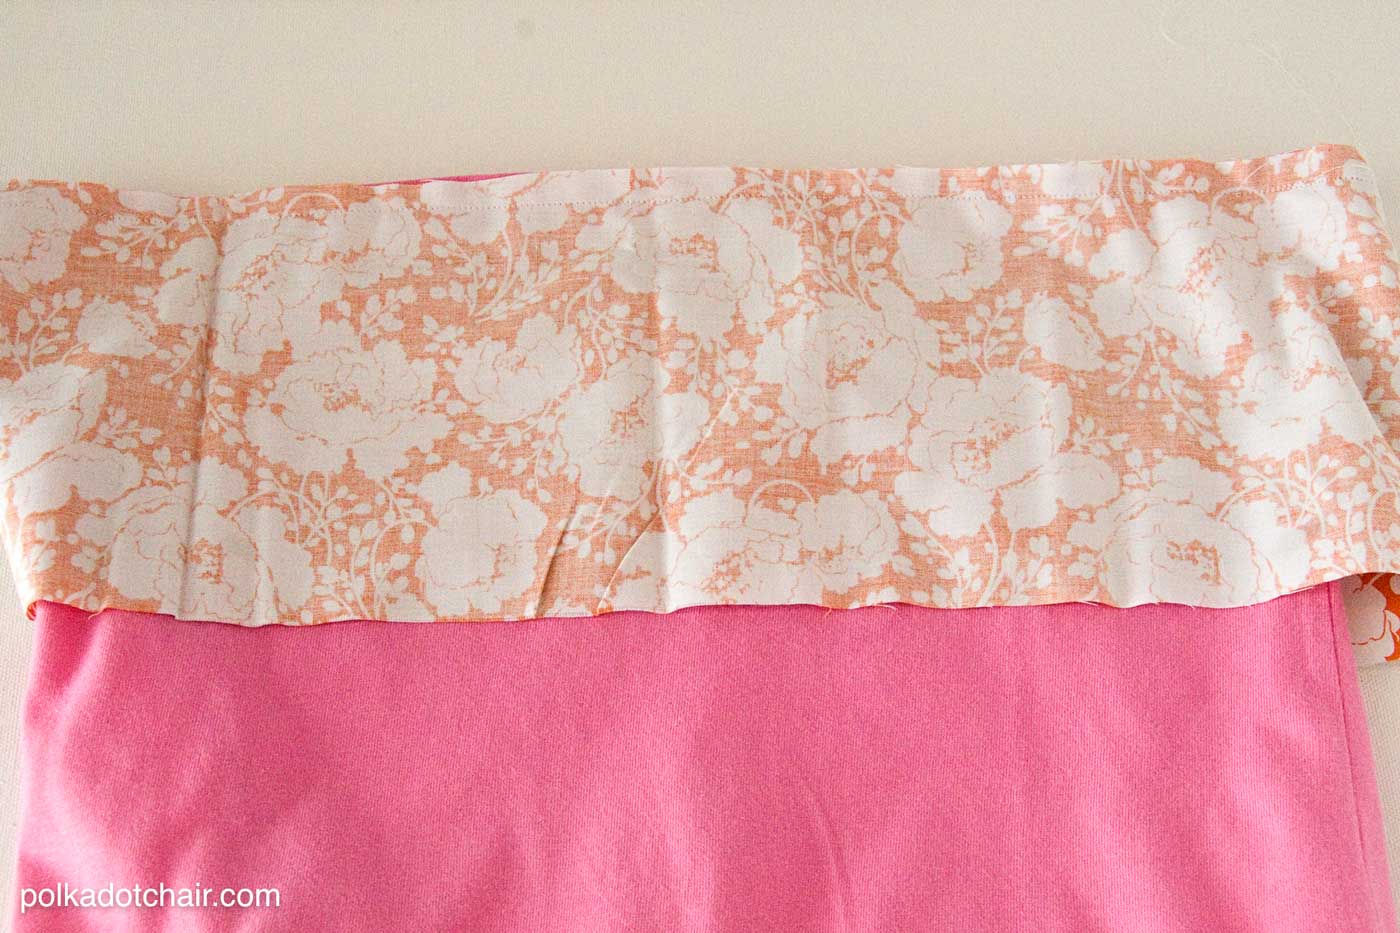
Pin this band to the bottom of the dress and stitch in place with 1/2″ seam.
Press seam towards skirt band.
Turn band under 1/2″ and press.
Fold band so that the pressed edge of the band matches the seam between the skirt/band. Pin in place.
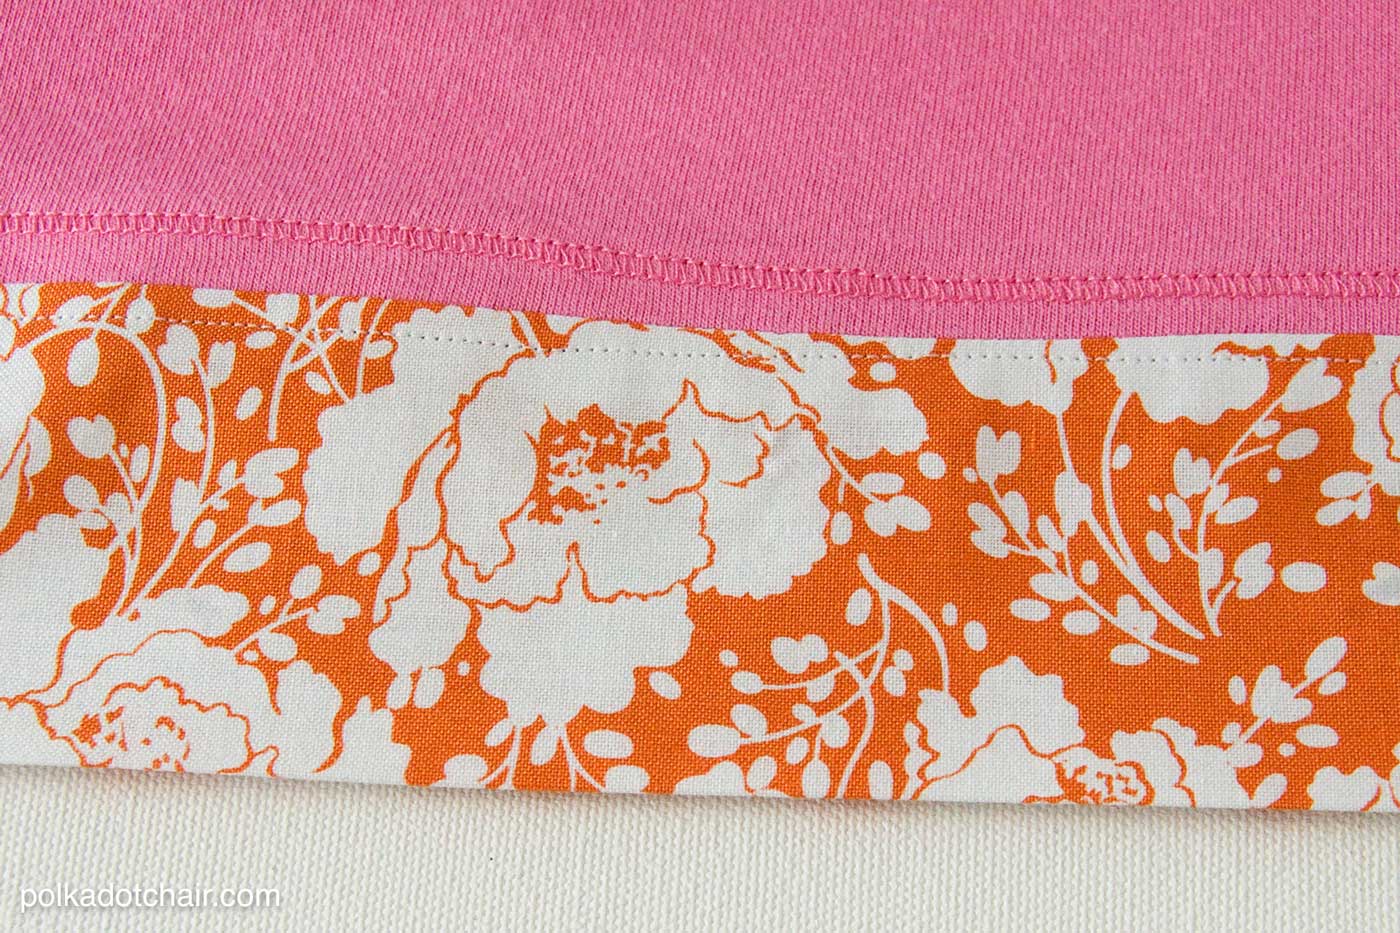
On right side of dress, topstitch band in place.
You’re done!!

I hope that you like the dress!!! Let me know what you think!


Cute! I loved this the first time i want to make one for me. Thanks for the tutorial.
whoah this weblog is fantastic i like studying your posts.
Stay up the good work! You recognize, lots of
persons are hunting round for this info, you can aid them greatly.
This info is worth everyone’s attention. How can I find out more?
Even of you lose don’t panic, just move onto the next bet and work harder.
John Wooden encouraged his players to be good citizens – on the court and in the world.
Train your mental game for laser focus, confidence and to easily deal with distractions.
Hi! This is beautiful dress and your idea to add the ‘belt’ is great! Want to do for myself! I need so much cool dresses during the hot, Greek summer! x Teje
Thank you, I have been looking for something that is so easy. Can’t wait to go to the store tomorrow!!
Correct me if I am messed up, but should not the bottom of shirt #2 be attached to top of shirt #1? This way the two longer pieces are used instead of the two shorter ones?
Yes that’s how it goes. In the directions when it says to sew the bottom of #1 to the top of #2 it’s referring to the parts of the t-shirts you sew on not the part of the t-shirt that is cut. Does that make sense?
I can’t find any written instructions for this. Am I just overlooking them? I can’t quite see how two shirts are used just from the pictures.
Love, love, love this!!! I don’t have little ones anymore, and no grandchildren (yet)… BUT, I am buying tee shirts today and plan on making this for MYSELF!!!! Thank you for this GREAT idea!!!
This is soo cute, can’t wait to try it !!
Maybe one for me too. 😉