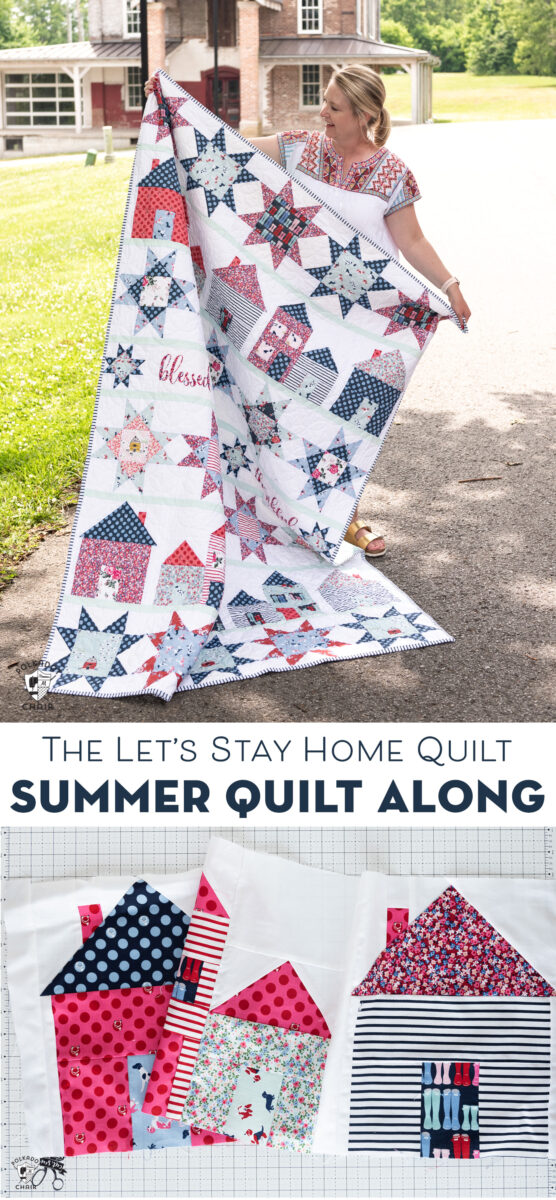
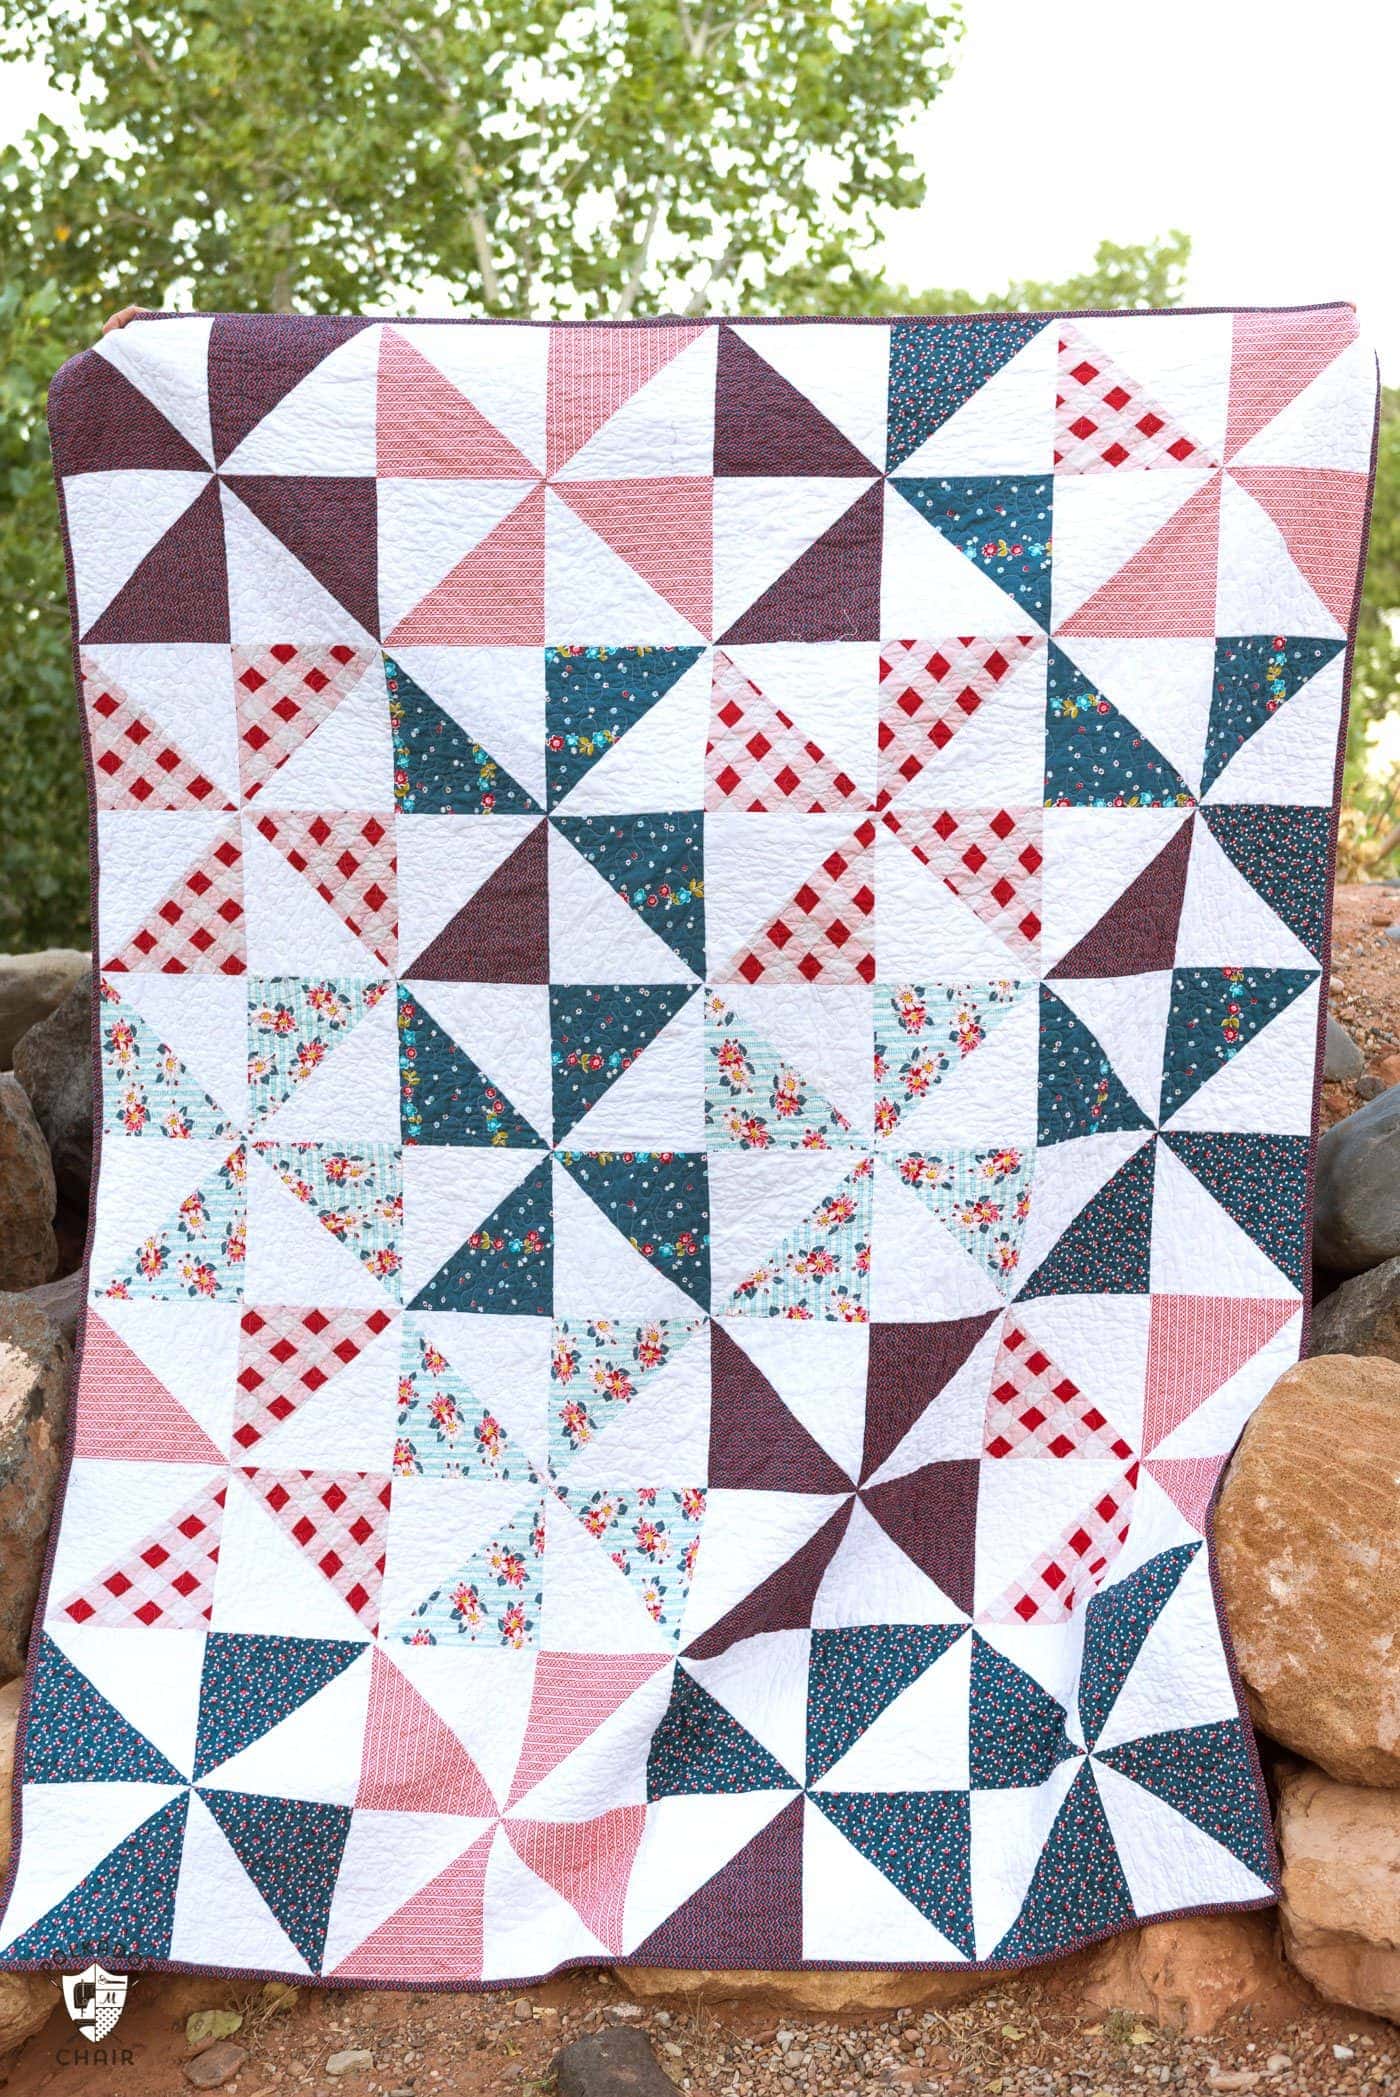
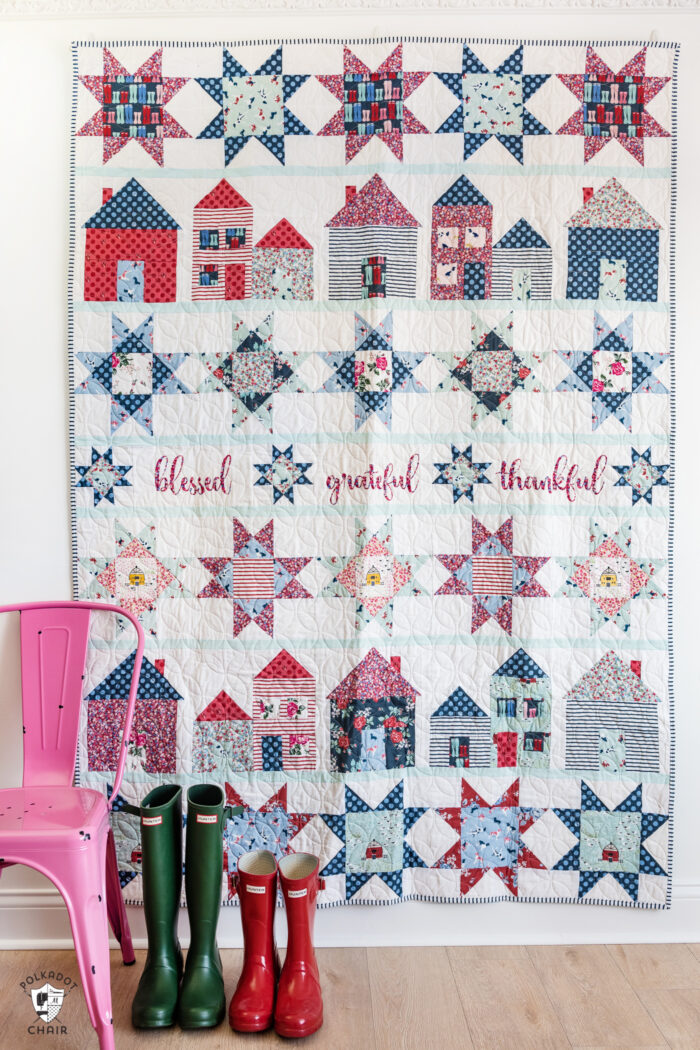
Let’s Stay Home Quilt Along Week 1; Sawtooth Star Quilt Blocks
Who’s ready for a fun summer quilt along? Please join us as we make the Let’s Stay Home Quilt. I’m breaking down the process one row at a time for you and hope that you’ll join us!
Welcome to the first week of our Let’s Stay Home Quilt Along. If you’re new here:
- Kick-Off:
- Week 1: Sawtooth Star Blocks
- Week 2: Ohio Star Blocks
- Week 3: House Blocks
- Center Row
- Wrap Up! & Finishing Instructions
Before we begin a few housekeeping notes:
You can get the pattern for the quilt HERE. There is an option for both PDF and Print versions. The print version comes with the option to download PDF for the FPP patterns for the house blocks for free.
Fat Quarter Shop has quilt kits for this quilt in stock – you can get them HERE.
The fabric on the quilt is from my Fox Farm line with Riley Blake Designs.
Okay are you ready to start?
Quilt Along – Sawtooth Stars
To construct the quilt I’ve broken the process down by rows. There are 3 repeating rows and one center row with two different construction options.
We are going to star with row 1 which repeats again at the bottom of the quilt.
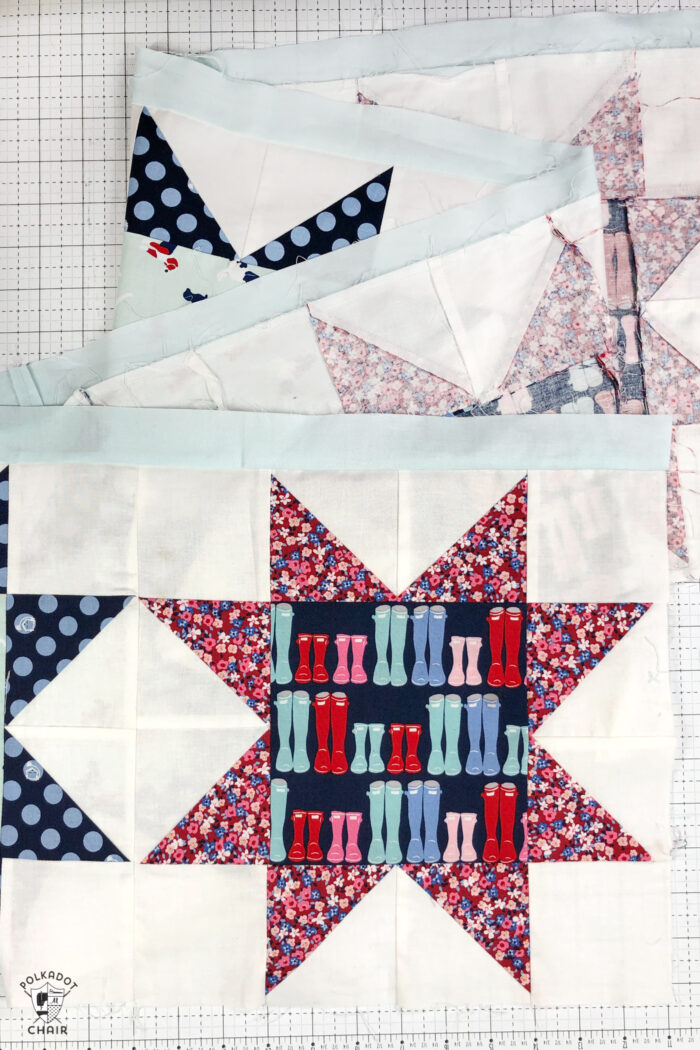
This row is made up of 5 Sawtooth Star Quilt blocks. For my quilt, I chose to repeat the fabrics in the blocks along the row.
So you can see I’ve got 3 identical blocks and 2 identical blocks in my rows. You can construct yours however you’d like!
I love Sawtooth Star quilt blocks because they are perfect for showing off novelty print fabrics due to the large center square.
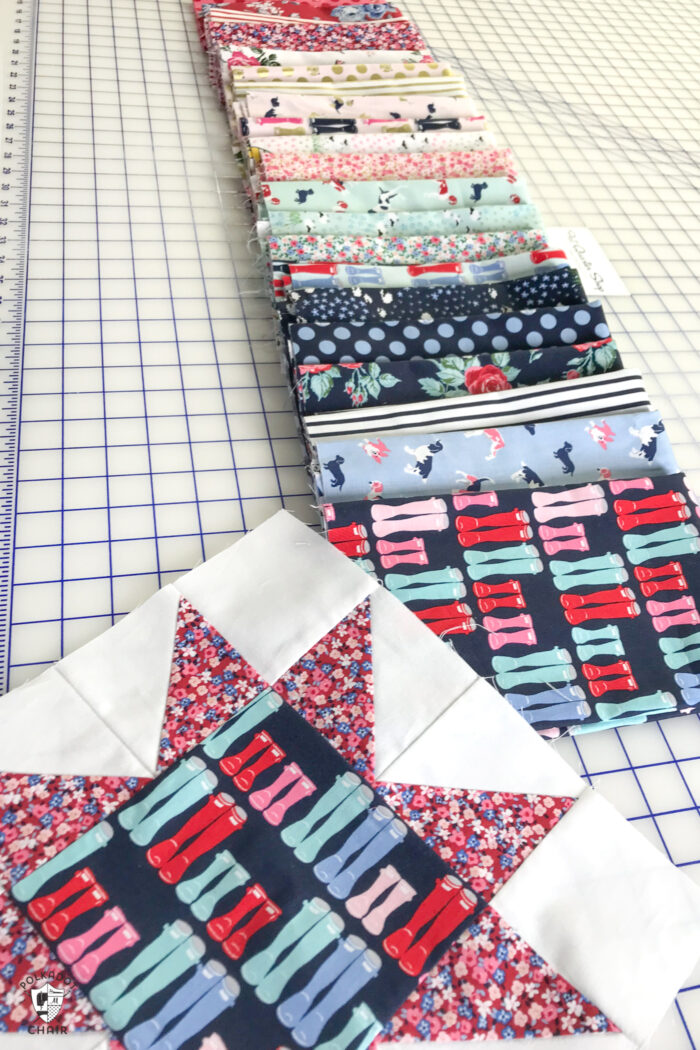
I adore novelty print fabrics. I think they are so fun to sew with especially when you’re making something that is going to be a gift. You can pick fabrics that reflect the personality of the recipient.
Full instructions to make the blocks can be found in the pattern. Just look for the section that refers to the Sawtooth Star construction.
I’ve also filmed a video walking you through the steps of construction. You can find it over on the Fat Quarter Shop YouTube page.
Note: It looks like the image that was printed on the front of the quilt kits is from an older version of the quilt. It was changed so that you needed less fabric (hence bringing the cost down). Here is the image (with fabric placement) that corresponds to the kit. You can save it and print it by right-clicking on the image

Next week we will move onto row 2, so you’ll need to make 10 quilt blocks this week. If that is too much don’t worry! Just make what you can, we have a catchup week planned in the schedule so you’ll have plenty of time to complete your quilt.