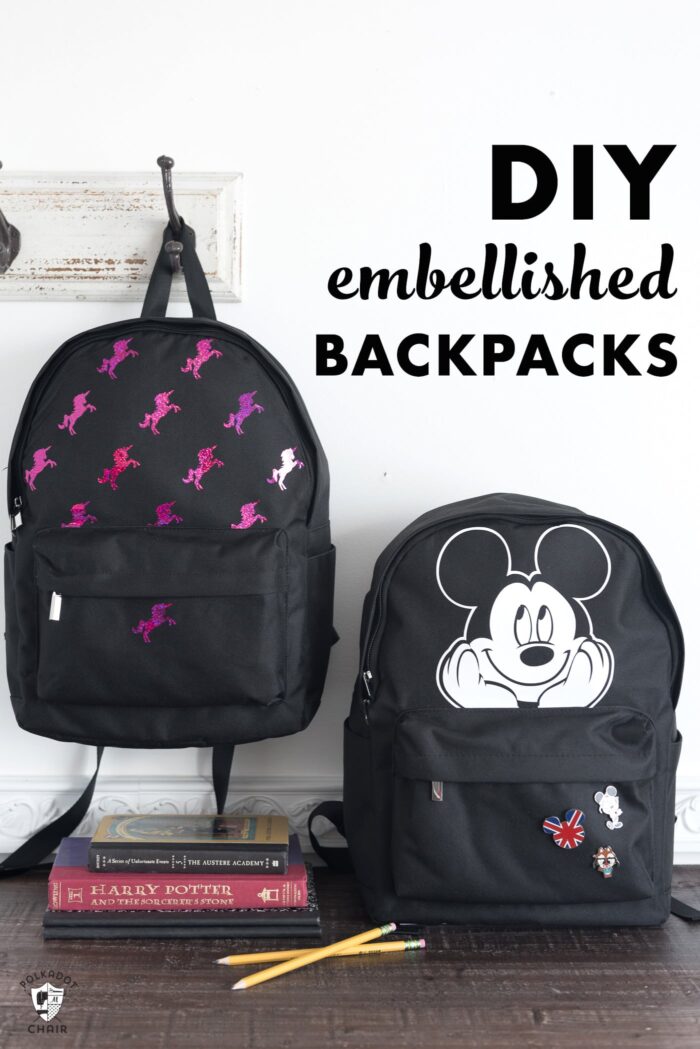
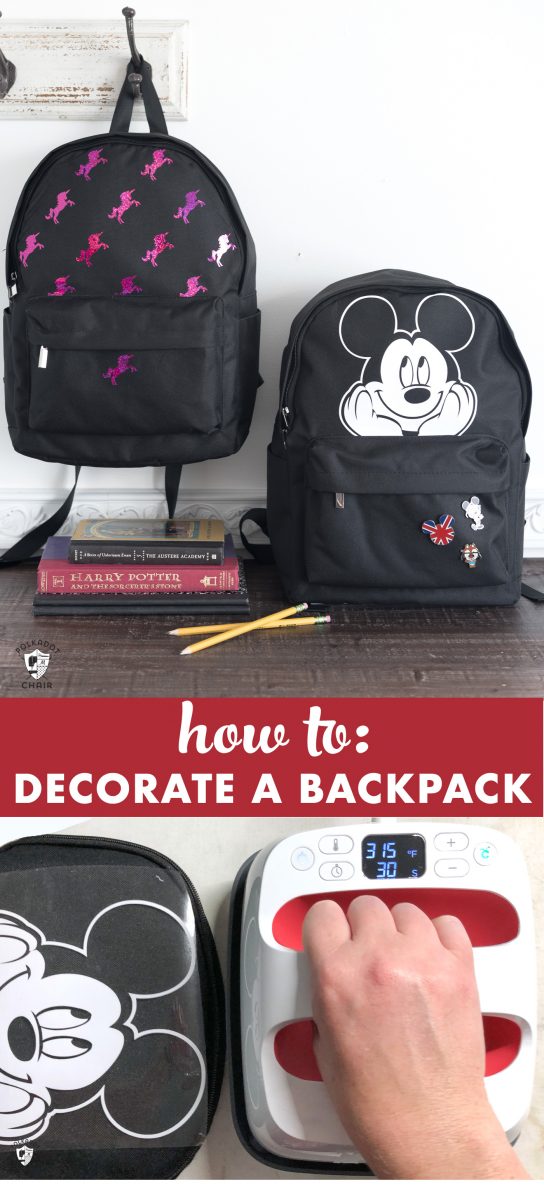
DIY Disney Backpack with the Cricut EasyPress 2
My kids love to decorate and personalize everything—T-shirts, shoes, and yes, even their backpacks. Today, I’ll show you how to embellish a plain bag to create a totally custom backpack. I used my Cricut, a bit of iron-on, and a Cricut EasyPress to complete the project. I work as a brand ambassador for Cricut; this is sponsored content.
Last year, Cricut sent me their EasyPress to try out. I quickly fell in love with it. I’ve used it so many times this past year. My kids and husband have even used it to make t-shirts. You should have seen the Halloween costume assembly line we had going in my craft room last year.
Read a bit more about the EasyPress and see my EasyPress review.
About the Cricut EasyPress 2
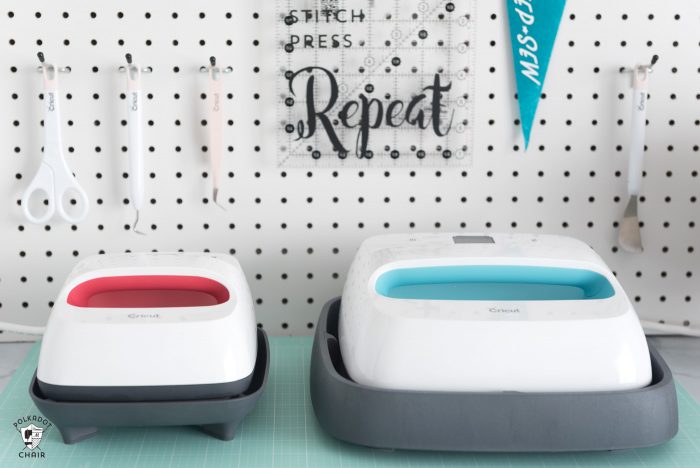
(a 6″ x 7″ and 9″ x 9″ EasyPress side by side)
Recently, Cricut has expanded its EasyPress lineup and added two more sizes!
In addition to the original 9″ x 9″ size, they have added a smaller 6″ x 7″ size and a larger 10″ x 12″ size. With the two extra sizes, you can expand the projects you create. The larger size is perfect for tote bags and t-shirts since you’ll be able to attach your iron-on in just one press most of the time.
The smaller version (Cricut sent me this one) is just right for smaller projects. Things where you need to get into tight corners and work around funny shapes. Think baseball caps, baby onesies, and bags like the one I’m going to show you to make today.
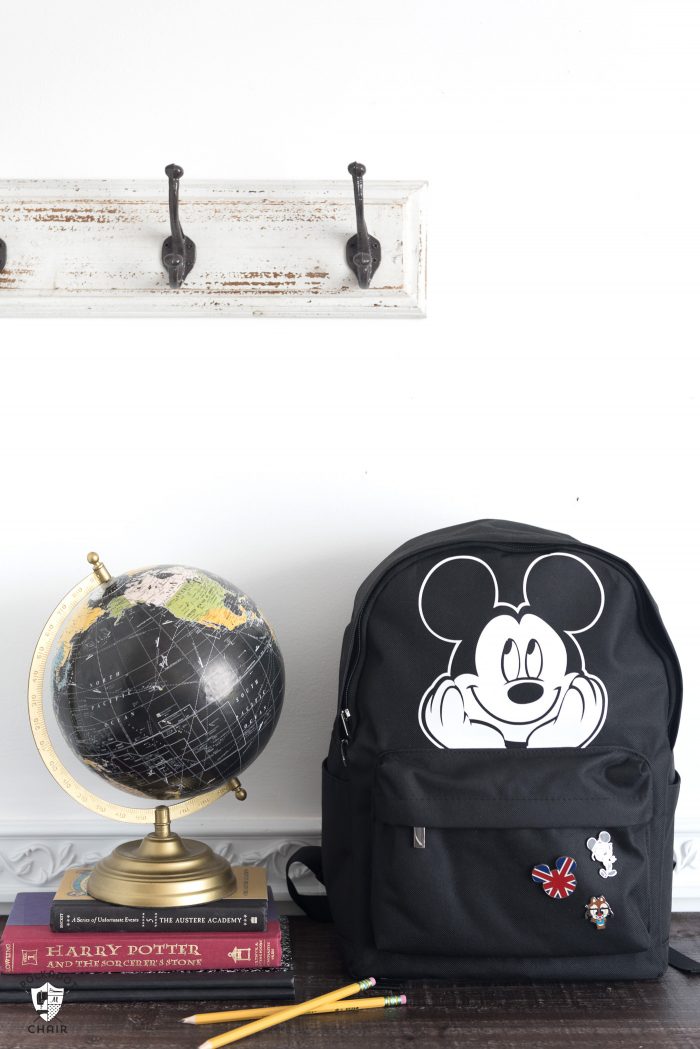
Recently, while I was out shopping, I noticed all of the fun backpacks in stores for back-to-school. Most of the “fancy” ones were pretty expensive. If your kids are anything like mine, they never want the PLAIN bag for school.
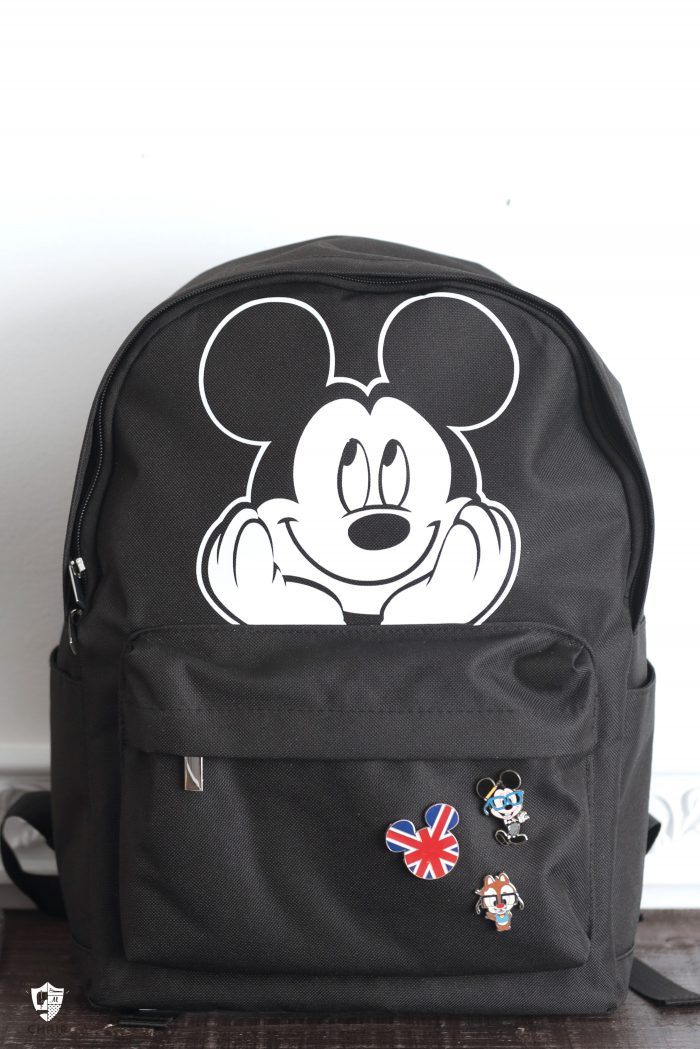
(this bag is going to Disney World with me in October)
They always want the “fancy” one, which costs more money! I thought it would be fun to buy a simple, plain backpack and then customize it with a bit of iron-on. It seemed like the perfect project for the new EasyPress 2 since the smaller size is just right for working around the funny angles and edges of a backpack.
How to Design Your Own Backpack
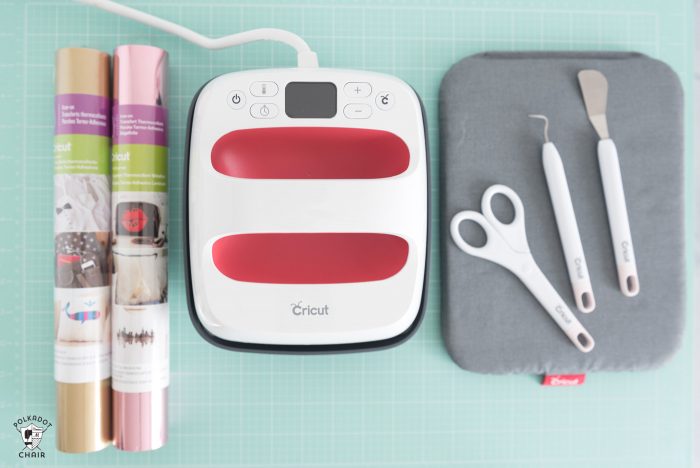
To Decorate your Backpack, You’ll Need:
- Simple Backpack: Look for one that is “canvas” like. I have not tried this technique on leather or “faux” leather. The backpack I used was polyester. Make sure it’s a material that won’t melt.
- Iron On Protective Sheet
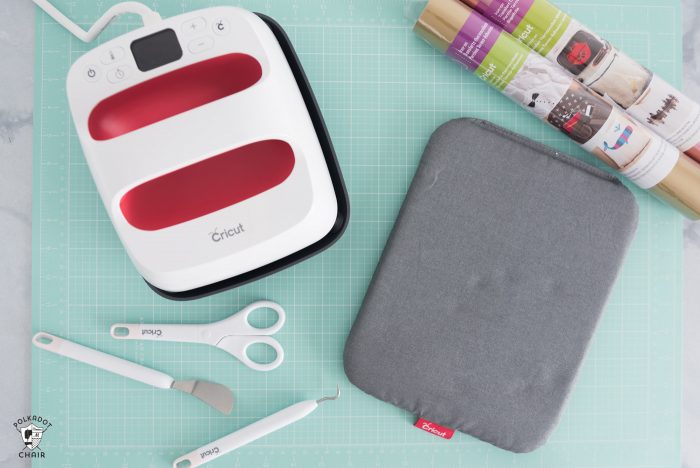
- Cricut Maker 3 (you can get great deals on machine bundles on Cricut.com)
- Roll Holder for Maker 3
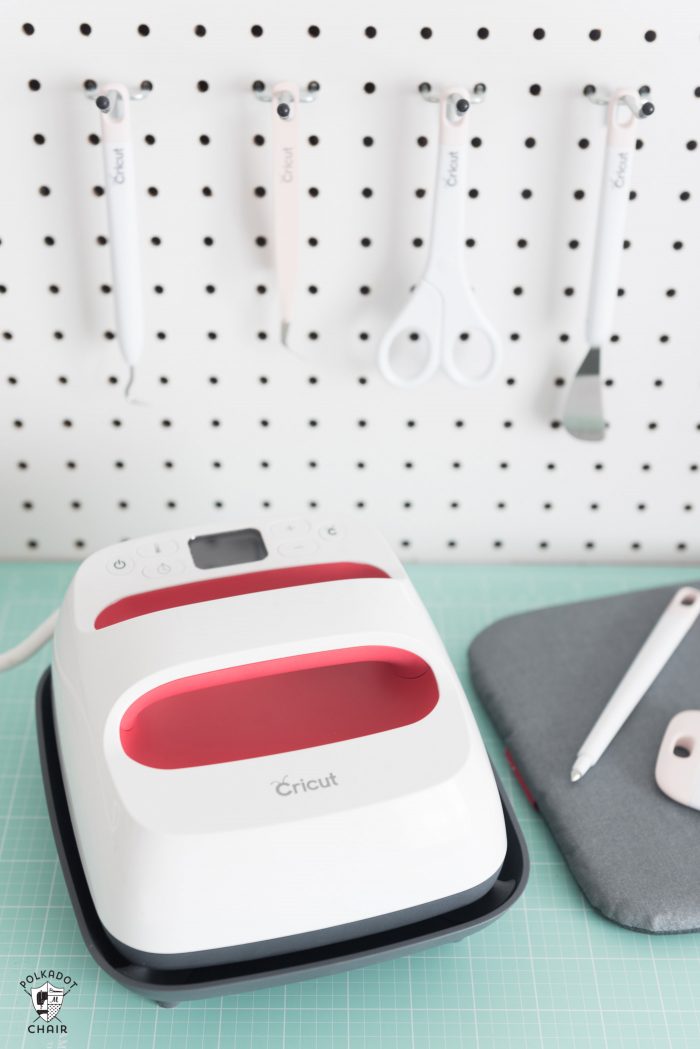
- Cricut EasyPress (I like the large size the best): Make sure you get the EasyPress mat as well.
- Cricut Weeding Tools: (I use the small hook tool ALL the time, making weeding vinyl so much easier).
- Cricut BrightPad: A cordless, flat, bright lightbox. I use it to weed Cricut vinyl and use it all the time to trace applique shapes for sewing & quilting.
- Cricut Iron On Vinyl
- Cricut Permanent Vinyl
Backpack Design Ideas
While I was designing these backpacks, I had a hard time limiting myself to only making two. I had a few other ideas for DIY backpacks that I thought I’d list for you guys. I’ve linked up to the images in Design Space on a few of them as well.
- Buzz Lightyear Backpack (for the Toy Story Fans)
- Add a lightning bolt to create a Harry Potter-inspired bag.
- A Monogrammed Backpack – a great option if you don’t want your kid’s name on their backpack
- Combine a bit of Iron-On with adhesive embroidered patches or buttons for a completely custom backpack.
- Create a Backpack and Coordinating Lunchbox.
- Add a “face” to your bag, like this cute Cat Face in the Cricut Design Space.
To embellish the backpack:
How to Create the Image in Cricut Design Space:
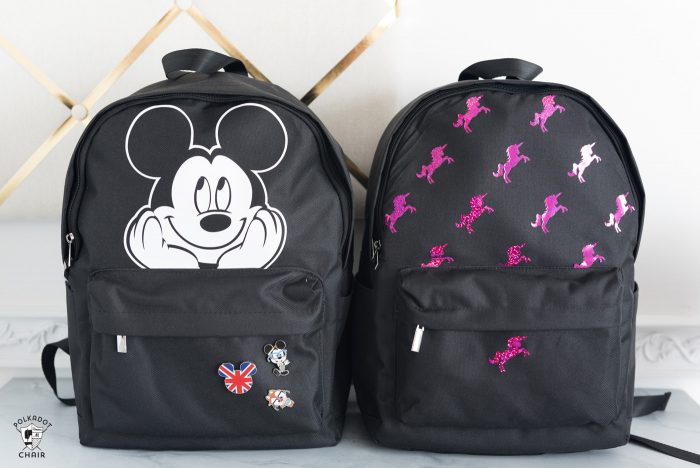
In the Cricut Design Space, open the file you’d like. I’ve shared my files with you. All you have to do is click HERE to view my profile on Design Space. I’ve shared the Mickey Mouse and Unicorn projects. You will need to resize them to fit your backpack, but it will help you find the right image in Design Space.
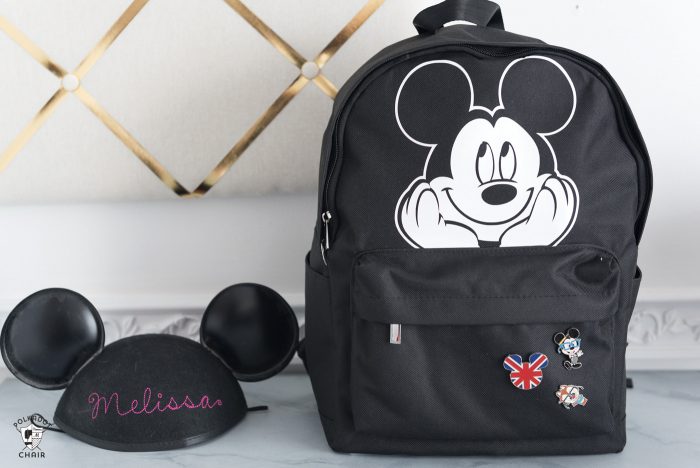
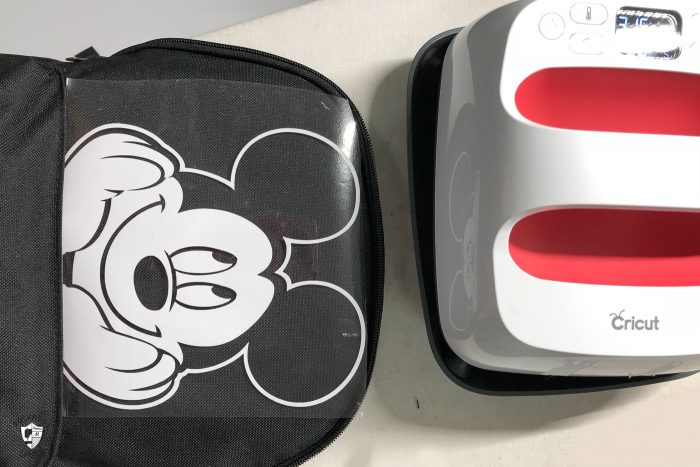
To Create the Mickey Mouse Backpack
Insert the image you want onto the canvas. For Mickey Mouse, I needed to create a silhouette to cut out (it’s shown as a multicolor image). To do this, I hid certain layers and then changed the contours of others. As I said, I’ve shared the completed image with you; click the link above to find it.
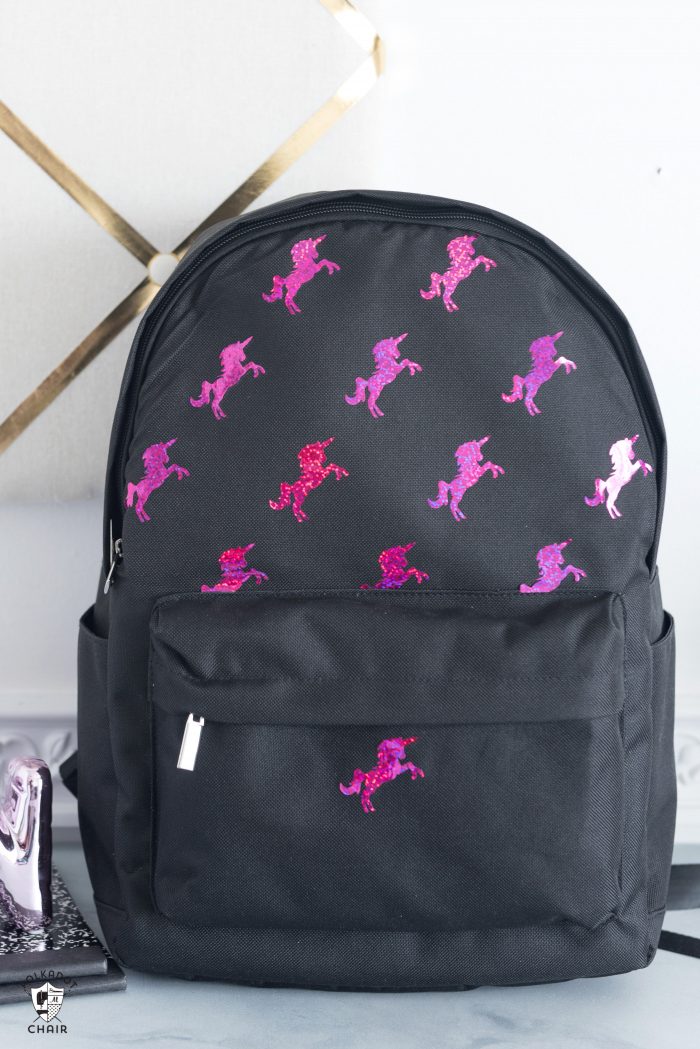
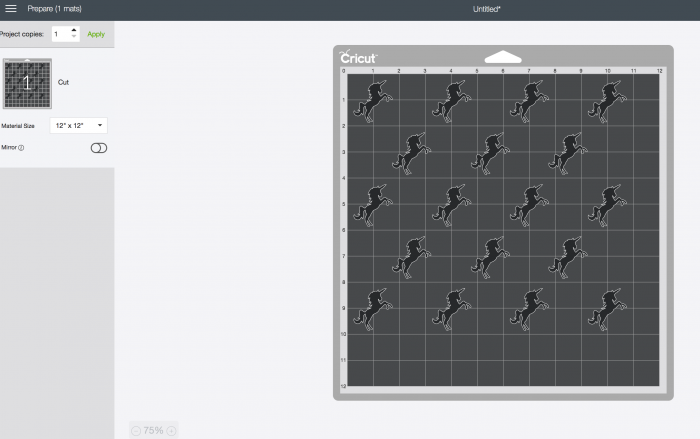
To Create the Unicorn Backpack
To create the unicorn backpack, I sized the unicorn to about 1.5″ high. Then spaced them 2″ apart and staggered them in rows. It was really easy to do in design space since I could use the “align” feature and “distribute” features to ensure my grid was perfect.
The top of the backpack I wanted to embellish was 9″ wide by 7″ tall. I went ahead and cut out an 11″ x 11″ “grid” since I had a 12″ x 12″ piece of vinyl.
That way, I also knew I had enough unicorn patterns to cover the top of the backpack. For the Mickey Mouse image, I sized it just under 7″ from the bottom of the hands to the top of the ears so it would fit under the zipper. I planned to cut off part of his hands to center his face on the backpack front.
Cutting Out the Image:
Cut out the image as you normally would. Ensure you click ATTACH to get all of the elements to cut out in the same layout you see on the screen. Load your desired Iron-On into the machine, click “mirror” then cut.
Applying the Iron-On to the Backpack:
Peel away the excess vinyl from your image. Be careful as you “weed” the Mickey image that you don’t pull off the wrong part of the design.
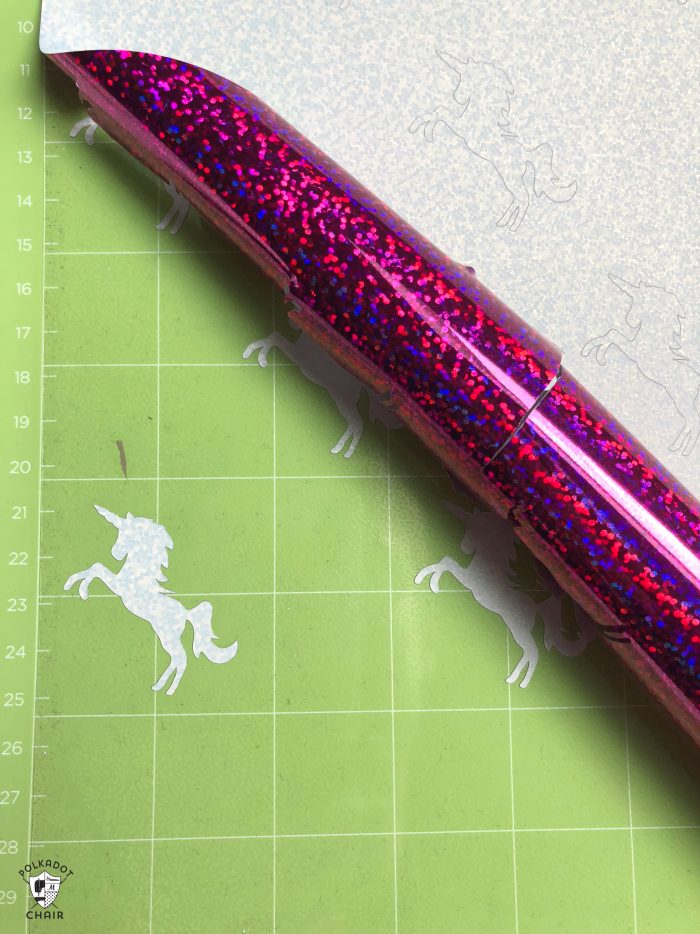
Cut the iron on to size. In the first backpack I made, I didn’t cut it down and ended up ironing vinyl onto my zipper. I learned after that to make sure the “plastic” piece of the iron-on fits just right on the top portion of the backpack. If you make the unicorn bag, you’ll have some unicorns left over to add to other projects.

How to use your Cricut EasyPress
Turn on your EasyPress and set it to the correct settings- you can see the settings specific to your project by CLICKING HERE.
Place the EasyPress Mat under the top of the backpack. I found it easiest to use the end of an ironing board; I could unzip my backpack and slide it on. I then slipped the EasyPress Mat under the flap of the backpack.
After the EasyPress is heated up, your image is in the right spot. Place the protective sheet over the top of the backpack. This will keep EasyPress from melting the fabric.
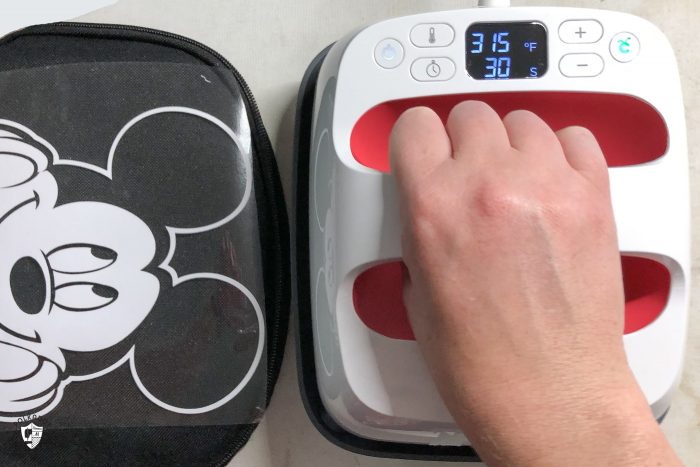
Place the EasyPress on top of the image, then click the Cricut button, and the timer will start. Move around and repeat as necessary until you’ve covered your entire image.
Lastly, pull off the plastic backing sheet. Some Iron-Ons need to be peeled warm and some cold. You can see the reference chart to see which one for the vinyl you’re working with.
My Cricut EasyPress 2 Review
As I said, I loved my first EasyPress. We used it so much last year. I have even used to attach fusible interfacing and heat n bond for applique. I like the smaller size. It’s easier to fit on my shelf and is a bit lighter.
Not that the other one was heavy at all. I did make a lot of T-shirts last year so I can see the larger size being very useful for that. It would be so quick to attach the vinyl in one pressing versus moving the press around.
Personally, I like the small size and see myself using it quite a bit. It’s easy to maneuver, and I could even use it on a bit of an angle to get the mouse ears to wrap around the top end of the backpack. It would have been harder to do with the larger EasyPress.
If you’re wondering which one to buy, I’d ask yourself what you will use it for and if space is an issue.
If you’re making custom t-shirts and tote bags, I’d go with the larger one. For small stuff, like baby items or baseball hats, the smaller one is perfect. If you’re not sure, you can follow Goldilocks’s example and go for the medium one ???.
In addition to the size, they have added some improvements to the first version of the EasyPress. It now has a wider temperature range, heats up quicker, and has an improved ceramic plate and a taller resting base.
A few of my “blogging” friends have been playing with the new EasyPresses as well. If you’d like to see their projects (and check out some of the other sizes), you can click the links below.
DIY Baby Wall Decor at Kingston Crafts
Church Tote Bag at Happy Scraps
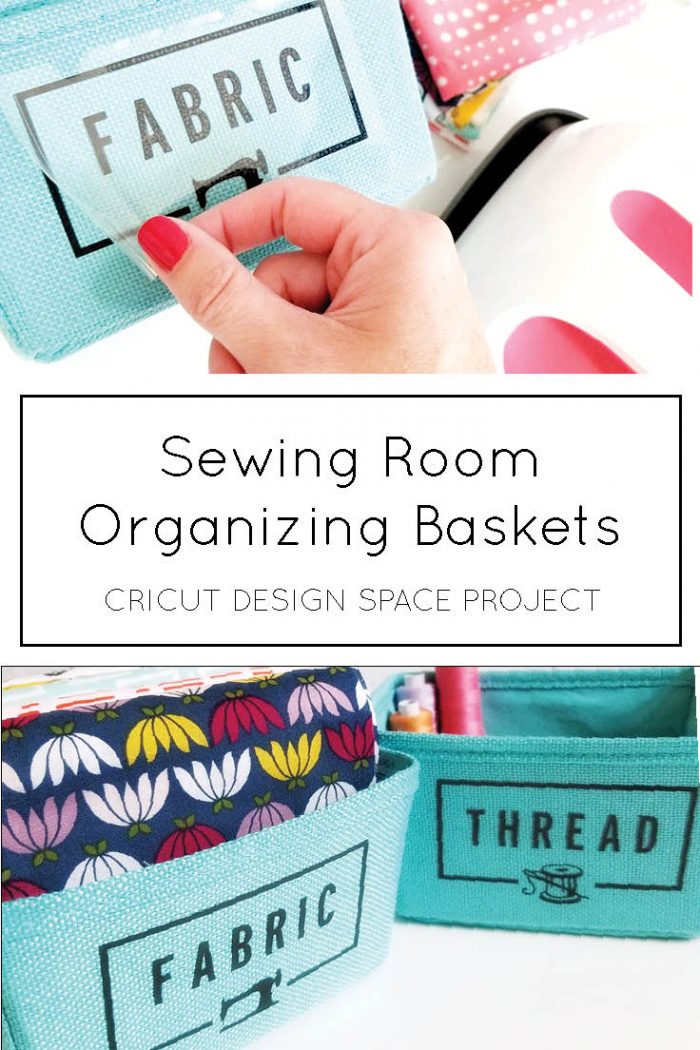
Sewing Room Organizer at Crafting in the Rain
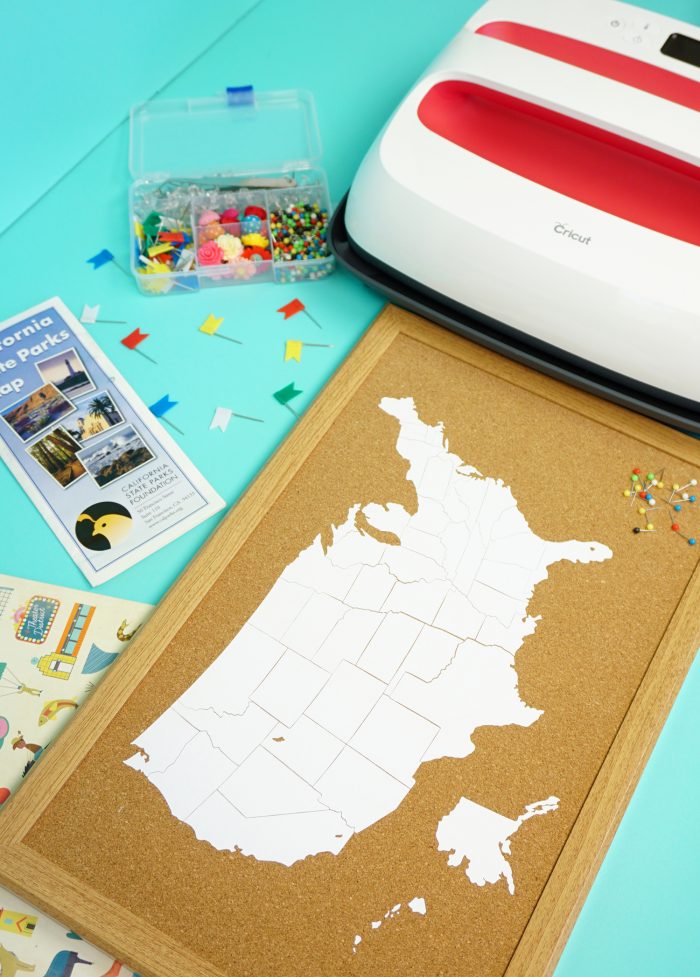
Cork Board Travel Map at Happiness is Homemade
More Cricut Iron-On Projects:
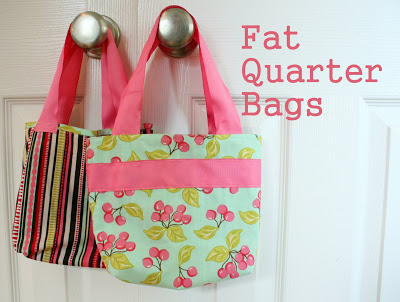
Strawberry, Lemon, and Watermelon Cross Body Purse Patterns
This is a sponsored conversation written by me on behalf of Cricut. The opinions and text are all mine.
Curious to what temp you set your easyPress at? A friend asked me to make a backpack but I am afraid of melting it.
I used the setting from the Cricut Heat Guide. I also make sure to use a pressing sheet and did not touch the backpack with my EasyPress at all. It would melt if it came in direct contact with the backpack.