3 Productivity Tips for Makers & March Calendar Printable
Each month this year I’ll be sharing with you a fun set of printable calendar and planner pages. As I share those pages I’ll also be sharing some of my favorite tips & tricks to help you through the year. This month we are chatting productivity tips for Makers!
I’ve talked about it before, but in my job as a blogger and fabric designer, I am required to complete a lot of projects in a short amount of time. Sometimes it feels like a lot of “hurry up and wait” as supplies and deadlines are not always evenly spaced out throughout the year.
3 Productivity Tips for Makers, Quilters & Sewists
I know that most of you are not tasked with specific deadlines for your projects. However, I do know that the satisfaction of completing a project really helps to motivate you to start a new project. Which, in my opinion, is a good thing for the Maker community.
If you’re looking for tips to increase your productivity as it relates to sewing & quilting projects. Here are 3 of my favorite tips.
Tip One: Stay Organized
I know the feeling. You’re knee-deep in a sewing or quilting project and you can not find a piece that you desperately need. You know you cut it out but it’s disappeared. Even worse, you can’t find the fabric you need to cut a new piece. It’s happened to me more than once and I’ve learned a few tips to help avoid the problem.
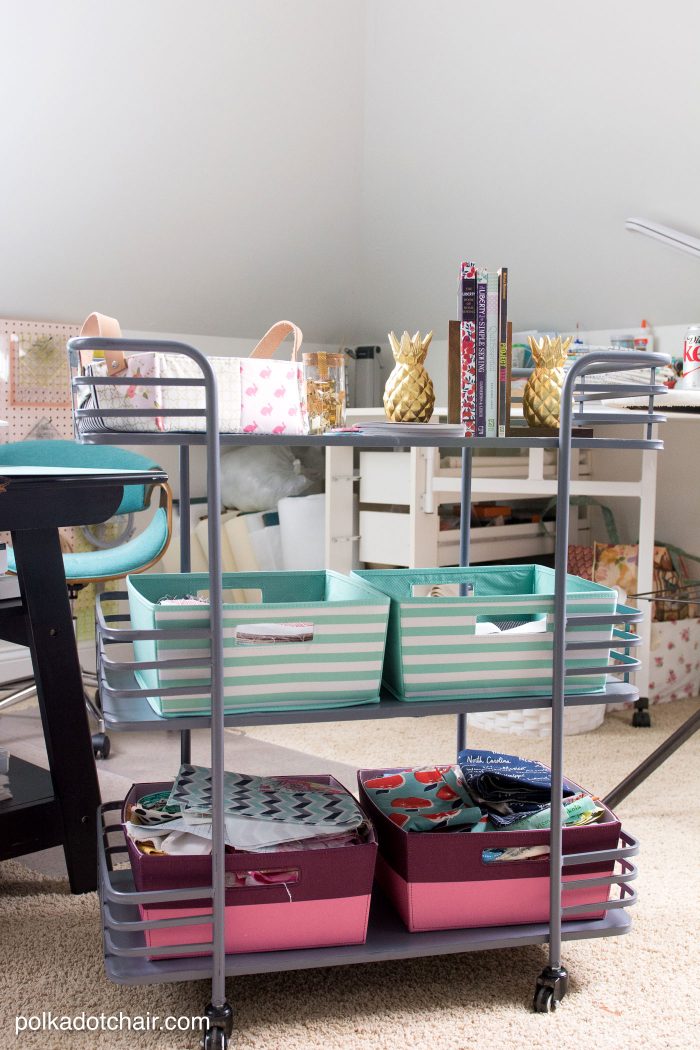
When I start a new quilting project I like to use bins or baskets to keep all of the pieces and fabric for a particular project together. As I cut squares of fabric, I pin them to each other and use a small post-it note to label the cut fabric size.
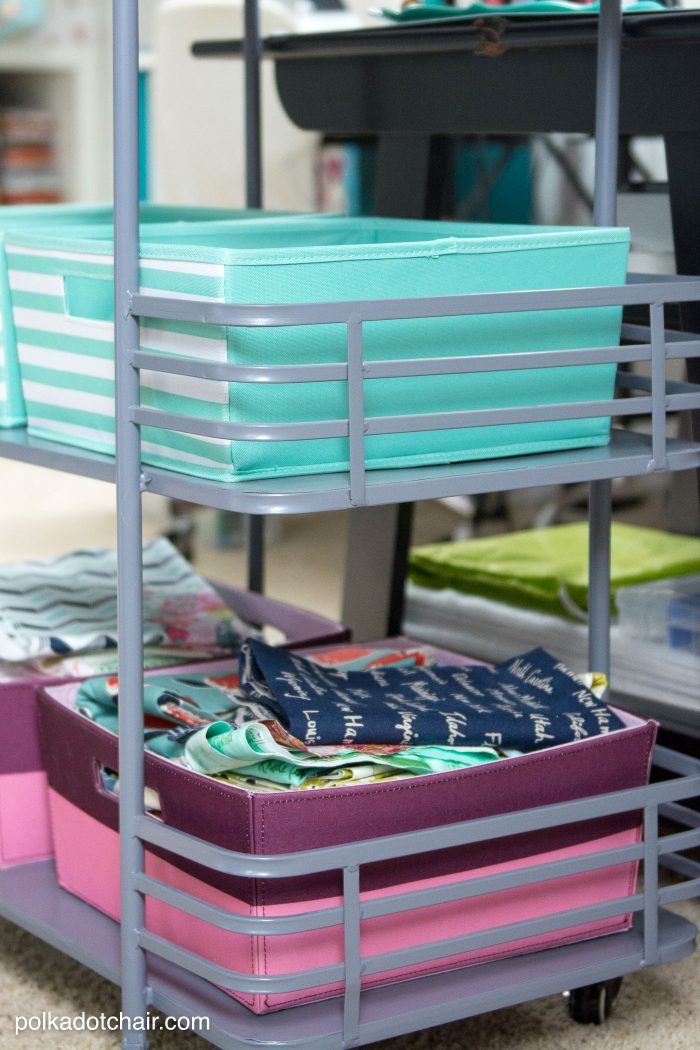
If I need to move onto another project before the current one is finished I simply put all of the fabric and pieces I’m working with back in their assigned bin. That way all the pieces stay together and I have a clean work surface to begin my next project.
The cart shown in the photos above is from Home Goods a few years ago. If you want to see a full tour of my sewing room you can visit THIS post and THIS post.
Tip Two: Write Down your Plan
Before I start a big project I like to write down everything I need to do for that project. I make a list of all the supplies that I need and I make a list of all of the pieces I need to cut out.
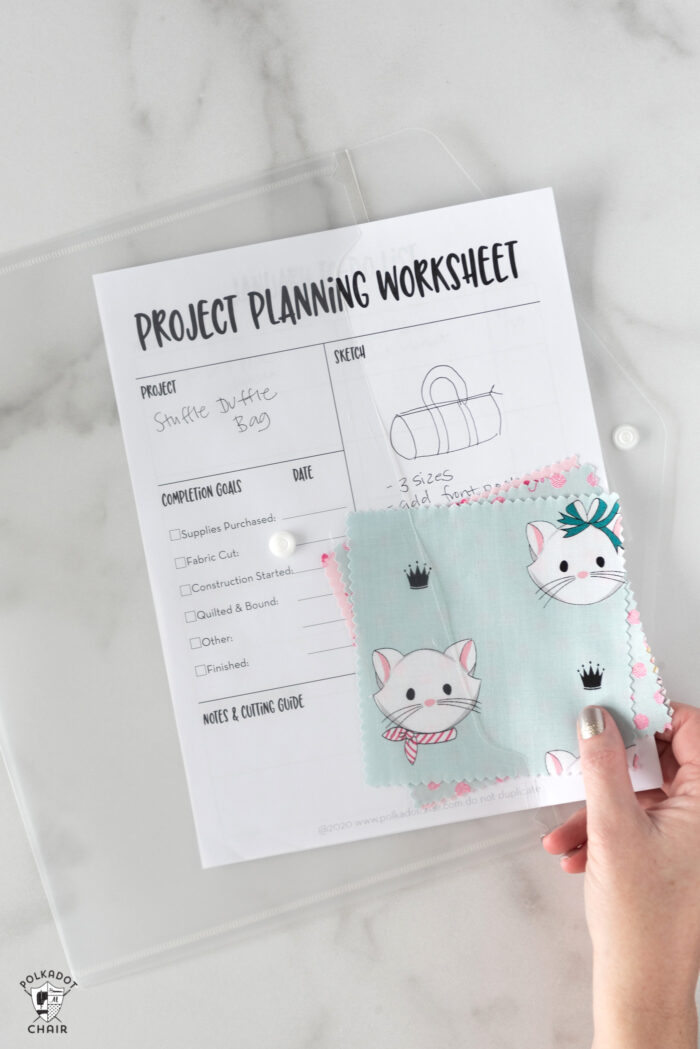
If I’m making a quilt I also note which fabric I am using for each part of the quilt.
This method makes it easier to pick up a project in progress if I have not been working on it for a while. I don’t have to worry about remembering what I need to do and what I need to cut.
This why I designed my Project Planner pages. If you’re new here, each month I release a set of project planner pages for the coming month. Right now you can download the March pages in the Printable Library.
How to Get the Printables. You can get a copy of the printable featured in this post in our Printable Library. Access to the library is for our Newsletter subscribers, and subscriptions are FREE. Please follow the instructions to obtain the printable. PLEASE READ the instructions on that page. Note: Printables in the library may not be sold or used for commercial purposes.
If you want all of the monthly pages for 2020, you can purchase them in the shop.
Tip Three: Do the Hardest Part First
I have found that if I leave the hardest part of a project (what I consider the hardest part of a project, your hardest part may be different), to the end then my project tends not to get finished.
I’ve read that many people do this and begin to dread the “hard task” which leads to procrastination. This causes a loss in productivity and can contribute to the dreaded “pile” of UFO’s (Unfinished Objects).
If you do not like pressing your fabric, do it first. Even before you make your project plan. If you don’t like cleaning your desk, do that first.
Personally I don’t like cutting out fabric. So I make sure to cut ALL the fabric I need for a project at the beginning. I have found in the past that if I wait and “cut as I go” I have a tendency to not finish my project. Or begin to dread it.
What about you? Share your best productivity tips with us in the comments section so that others can benefit from your knowledge!
Interested in Sewing or Quilting? Here are some of my best tips & tricks
7 of my Favorite Sewing Tips & Tricks
5 Foundation Paper Piecing Tips Perfect for Beginning Quilters
Quilting Tips from a Few of My Favorite Blogs:
Quilting Organization Tips by Diary of a Quilter

Found all the tips very helpful
My problem is my room to sew has been moved so many times in this house do to needs of others I am just finding all my stuff but doing mending and hemming for others in the neighborhood slows the process down Need to help neighbors of course
enjoy your emails and thanks for writing them
Wonderful tips! I am a procrastinator by nature so doing the “hard” part first is good for me. However that is almost what makes me delay starting a project. It’s a vicious cycle! Love the bin/project storage tip. I enjoy making children’s clothing along with home decor so that’s a great idea!
When I’m going to tackle a labor intensive project, first I clean my space. Then I cut all of my fabric pieces. I don’t begin sewing until the next morning, when I’m fresh and eager to begin my day. I take a break after each step. I don’t hurry. When I’ve had enough, I do the prep for the next step, and I stop. Sometimes I’ll get back to it later the same day, and sometimes not until the next morning. When I’m ready to go again, my prep has already been done and I can jump right in and start sewing. And yes, like you, every project and all it’s parts has it’s own place.