How to Make a Santa Sack
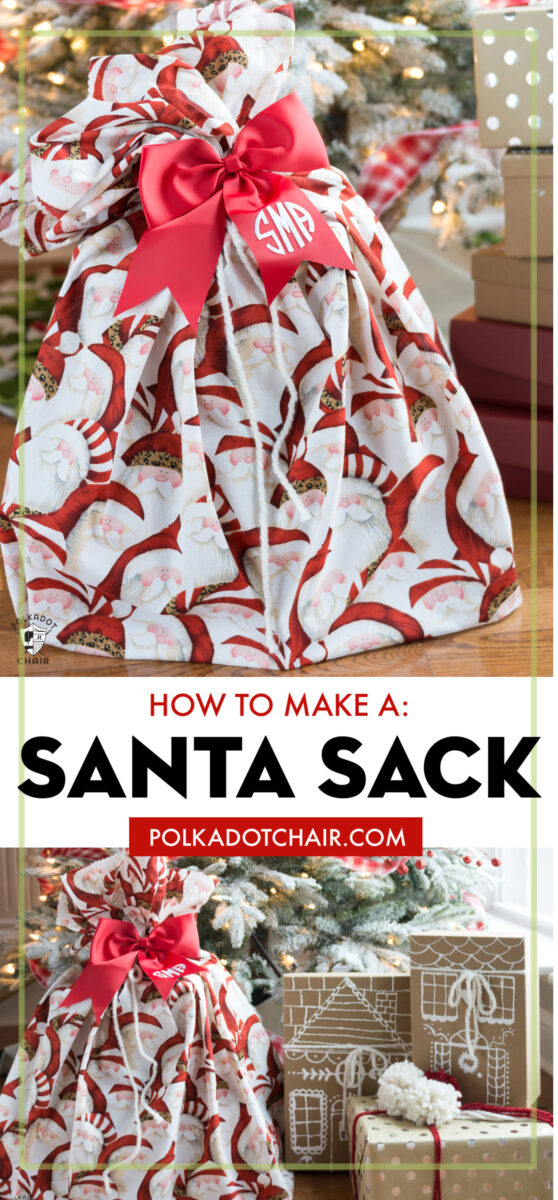
Learn how to make a Santa Sack with this simple and easy sewing tutorial!
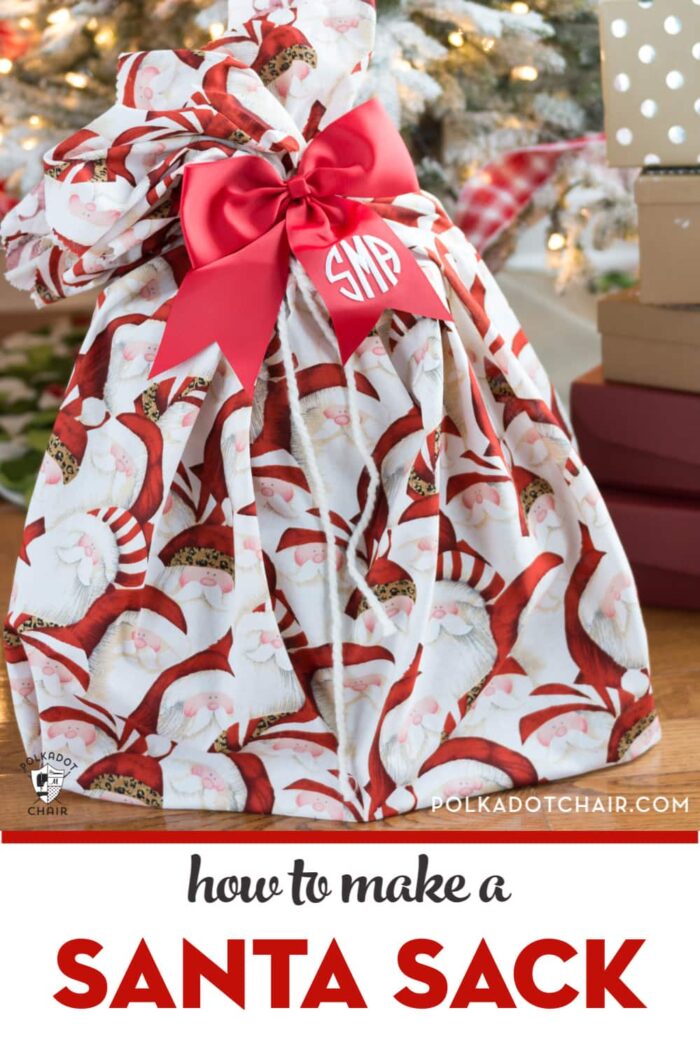
I didn’t realize until a few years ago that sometimes Santa wraps the presents he leaves under the tree. He never wrapped them when I was a child and hasn’t wrapped them for my kids. However, after talking to a few friends, it seems that he will wrap them upon request :).
If you sew one of these Santa sacks and leave it out for him on Christmas Eve, I’m sure that he will love that you’ve helped him out a bit with his Christmas Eve “to-do list”. One less thing to wrap right!!?!?
As we all know, sometimes the things we gift (or the things Santa brings) don’t always fit in rectangular boxes, and a bit of creativity is required at times.

A DIY Santa sack is a great way to wrap an unusually sized gift, and since it’s made from fabric, it can be used year after year. I know some family’s that put the sacks out every year on Christmas Eve so that Santa can fill them.
How to Personalize the Santa Sack
I have an embroidery sewing machine, but I know that many of you don’t, and I was trying to think of a creative way to add a name or monogram to the front of the bag (so you know who’s bag is who’s on Christmas morning).
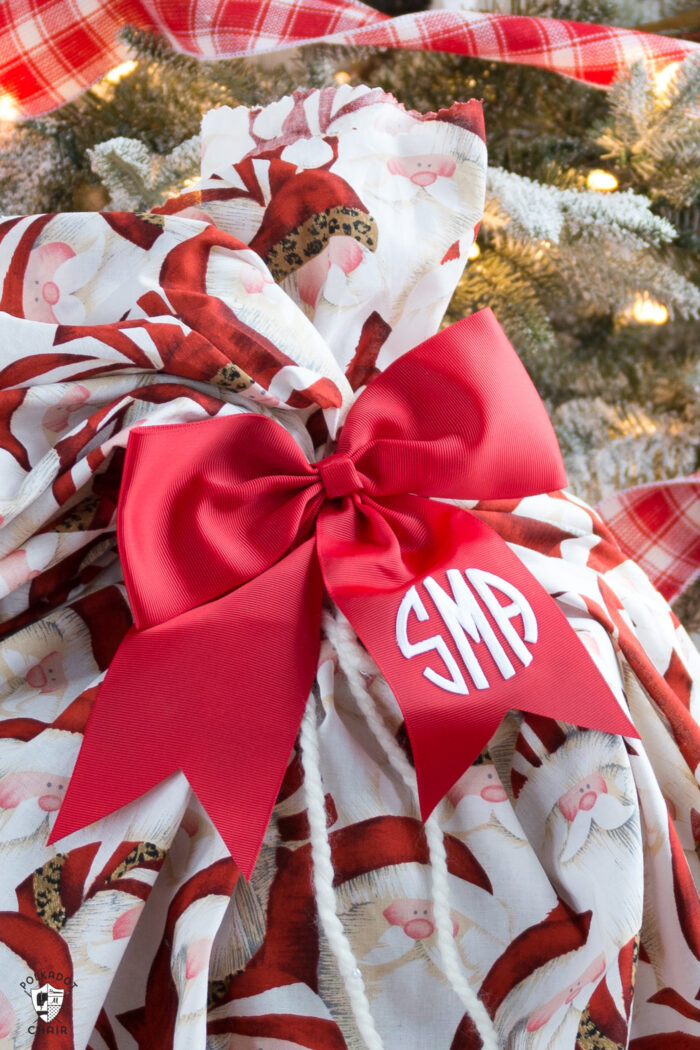
If you want to personalize your Santa Sack with a monogram, then buy a premade ribbon at the craft store along with some simple iron-on letters.
You can add a fun gift tag if you like instead. We have a special set of Christmas gift tags HERE that would be adorable for this project.
This Sack is meant to be a FAST sew and is perfect for someone who is new to sewing.
It not lined and does not have a drawstring closure (it is closed with an elastic or ribbon), If you would like to make a bag with a drawstring closure instead, I recommend using my Lined Drawstring Bag pattern that can be found here.
Santa Sack Bag Dimensions
Approximate Dimensions: 30″ Tall x 11″ Deep x 33″ Wide
To make the sack you’ll need
2 yards of fabric
Pinking Shears or Pinking blade for your rotary cutter (recommended)
Hair Elastic or Ribbon or Cording to use as a Closure

How to Make a Santa Sack
Equipment
supplies
- 2 Yards Christmas Fabric
- Hair Elastic for Closure Tie a bit of ribbon on it to make it more festive!
Instructions
Cut the Fabric:
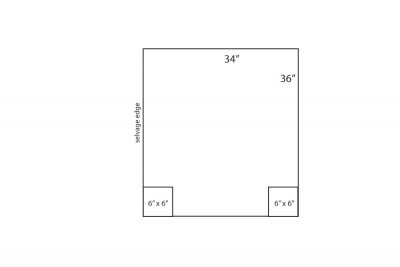
- Cut the fabric into two pieces each 36″ long by 34″ tall, to get two pieces of fabric this size you’ll need to unfold the fabric and cut the 36″ from the length of the fabric and the 34″ from the width.
Create the Bottom Corners:
- Next, cut out a 6″ x 6″ square from the bottom two corners of both pieces of fabric.
Sew the Bag
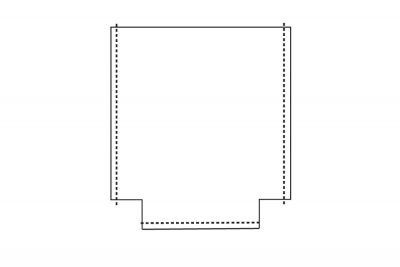
- Stitch the two pieces right sides facing as shown in the illustration (seam allowance is 5/8″).
- Press seams open.
Sew the Bottom Corners
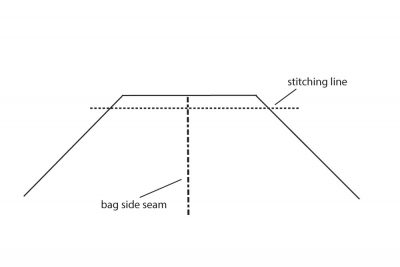
- Pinch the bottom corner so that the side seam of the bag is on top of the bottom seam of the bag and the edges of the square that you cut out line up (right sides of the fabric are facing).
- Stitch with a 5/8″ seam allowance.
- Repeat for the other bottom corner.
To Finish
- Trim the edge of the bag with pinking shears (or blade) to prevent fraying.
More DIY Christmas Gift Ideas:
Christmas Eve Pillowcase Poem Printable
Cute Gingerbread House Snow Globe Gift Idea
Peppermint Bark Christmas Gift Idea & Printable Tag
If you’re new to sewing be sure to check out our list of 50 Sewing Projects PERFECT for beginners.
