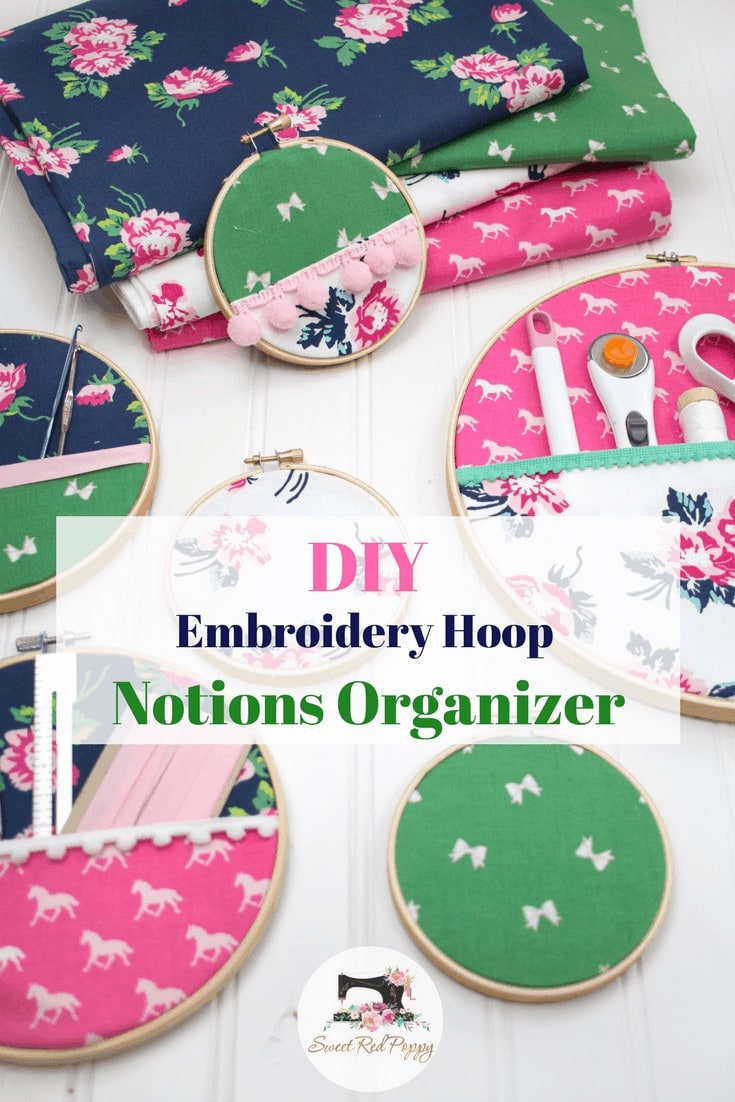
DIY Sewing Room Embroidery Hoop Hanging Wall Organizers
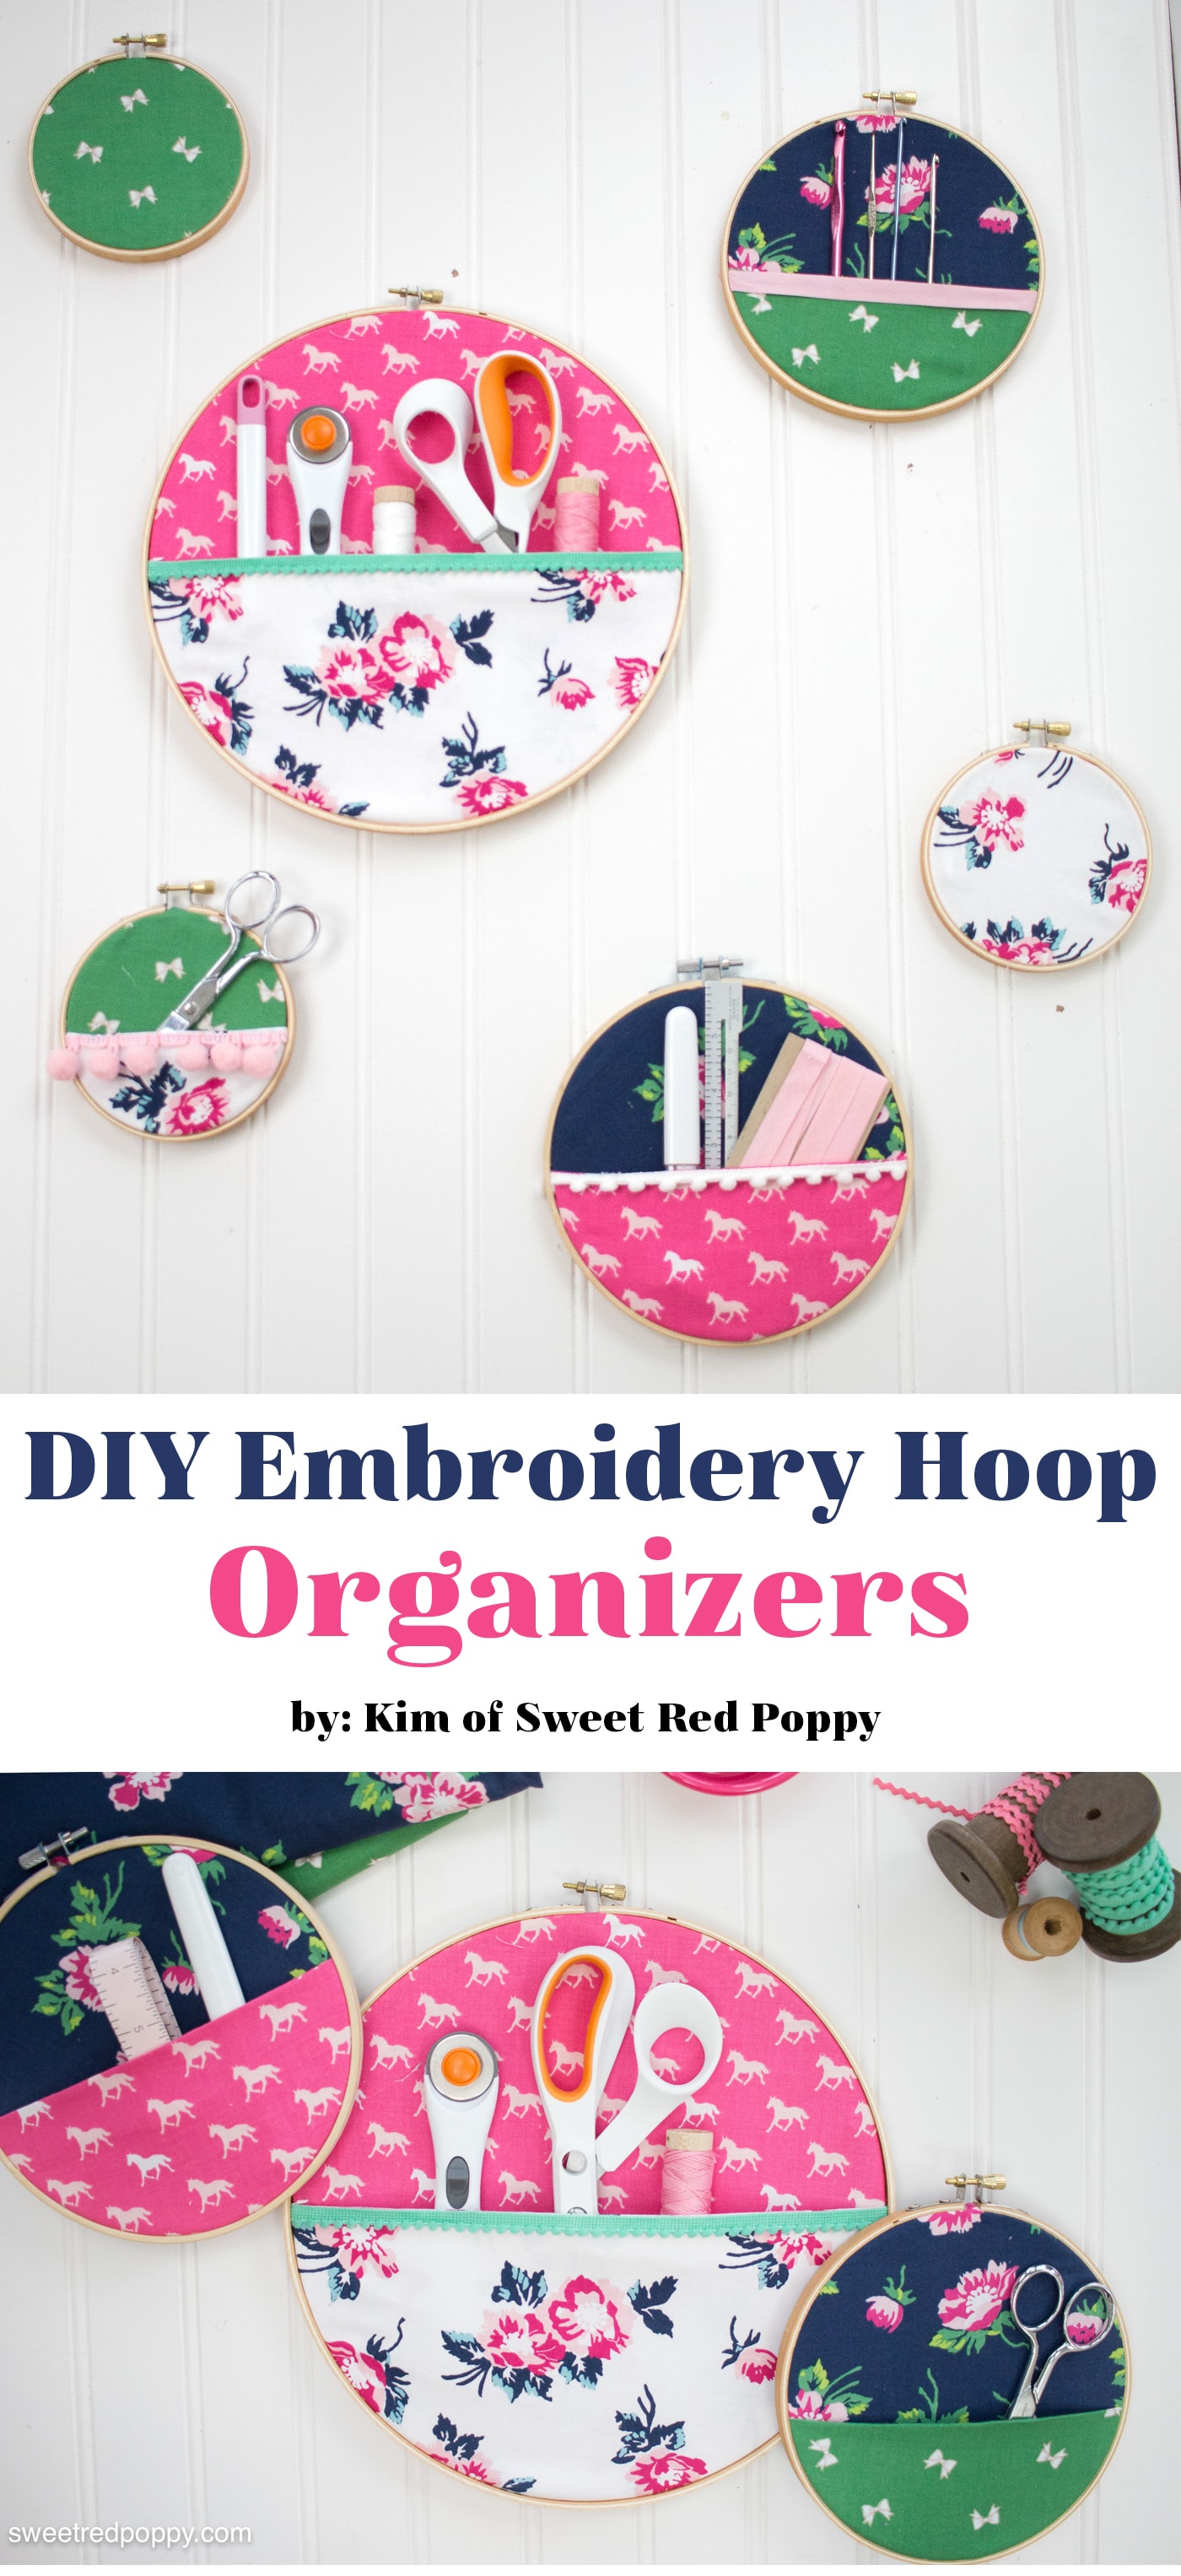
Kim of Sweet Red Poppy is here sharing a tutorial for the most clever Embroidery Hoop Hanging Wall Organizer! I’m always losing my sewing notions on my cutting table, a set of these hanging on the wall would be so useful! It’s such a fun and creative way to organize your sewing space!
Hi, it’s Kimberly from Sweet Red Poppy, and I have another fun tutorial to share with you today!
Have you fallen in love with Melissa’s newest fabric line, Derby Day? I adore the bright, cheerful colors and the sophisticated prints.
I’ve been waiting not so patiently for the release of this fabric line for months now and I was so excited when Riley Blake sent me these gorgeous fabrics! Talk about a happy mail day!
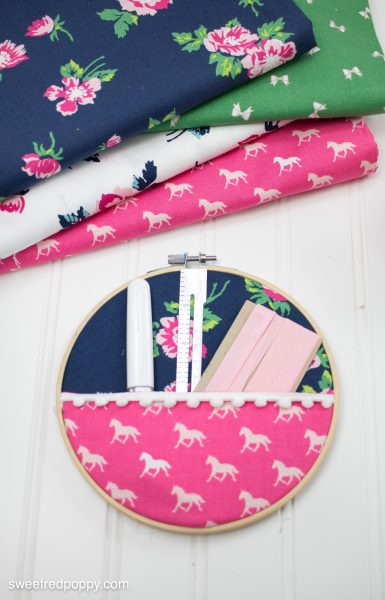
My sewing room has been needing a bit of color, and these Embroidery Hoop Notions Organizers are the perfect way to brighten up my sewing room! They are quick and easy to make, requiring only a small amount of fabric.
Pocket Wall Organizer Tutorial:

DIY Sewing Room Embroidery Hoop Hanging Wall Organizers
Equipment
supplies
- 2 Coordinating Fat Quarters
- Embroidery Hoop
- Trim
Instructions
Video Instructions:
- You can view the instructions for making the supplies in video format, or follow the step-by-step photos below.
Instructions to make the Embroidery Hoop Organizers:
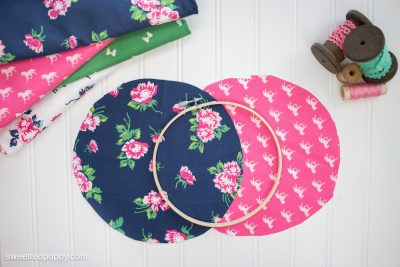
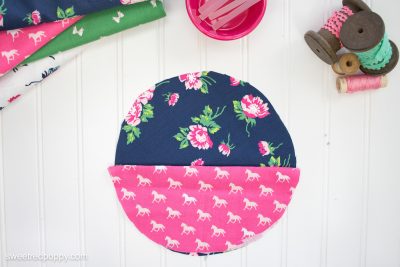
- Cut two circles of fabric 1-2 inches larger than the embroidery hoop. Fold one circle in half and iron the fold to get a crisp crease.

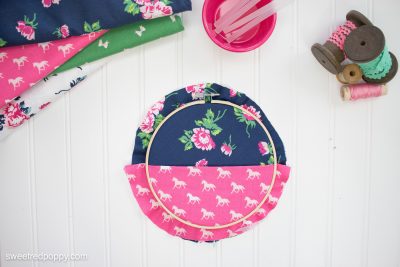
- Place the folded circle on top of the full circle. Then place the embroidery hoop underneath both pieces of fabric.
- Place the front embroidery hoop on top and gently push it down. If needed, tug the fabric on either side until it’s nice and tight.
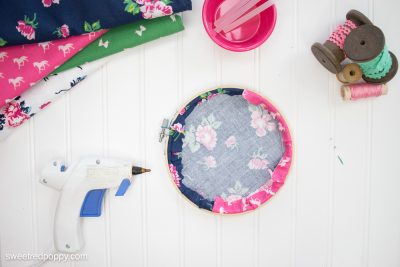
- Tighten the screw at the top of the embroidery hoop and flip it over.
- With a glue gun, place a layer of hot glue around the circumference of the hoop and a second layer slightly inside the hoop. Push the fabric around the edges towards the back of the hoop until all the edges have been glued down.
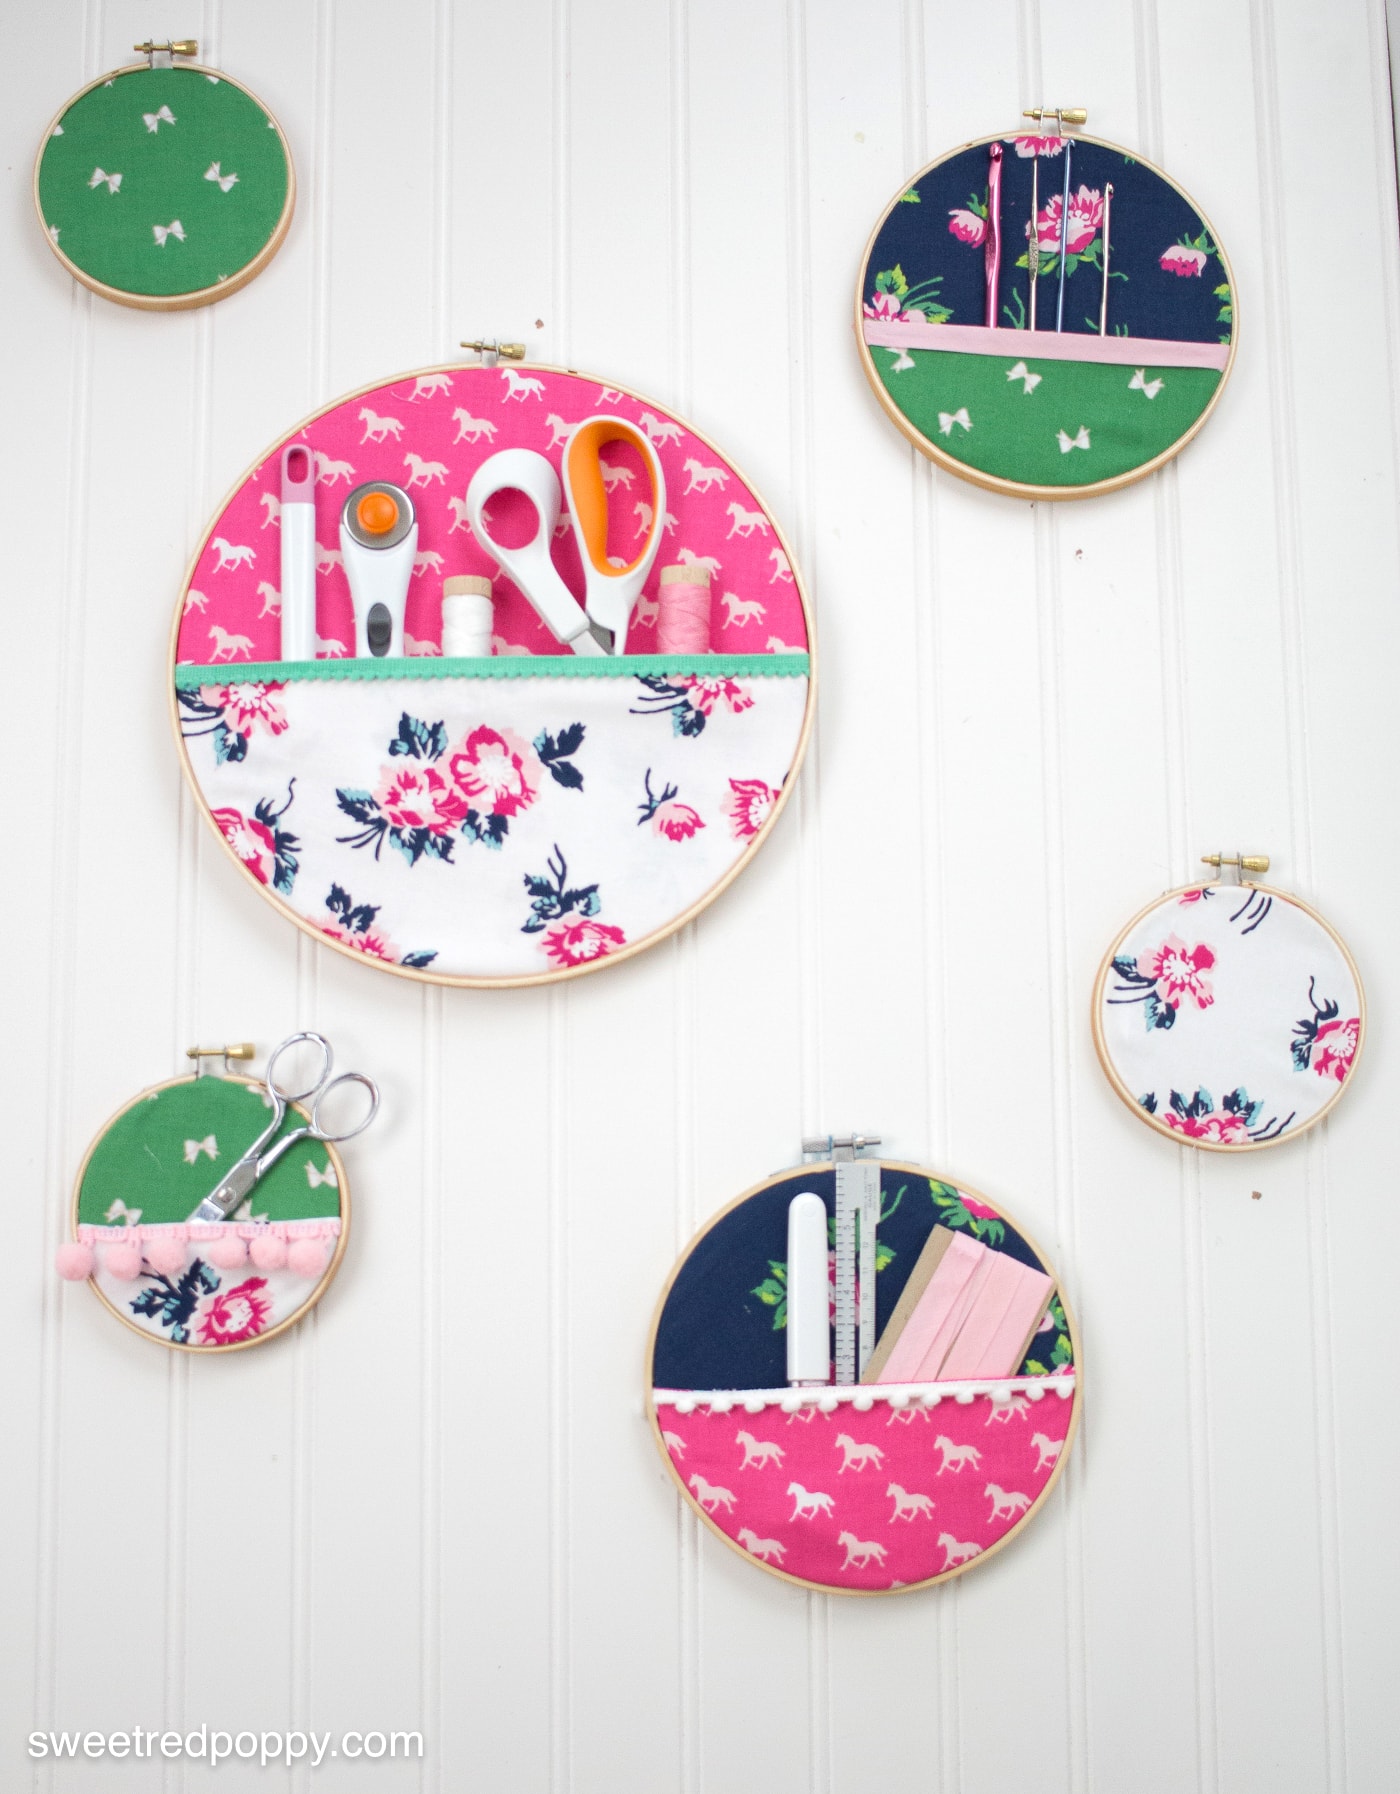
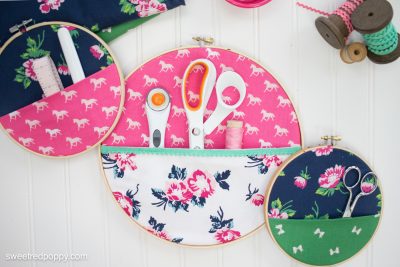
- Repeat this process with different color combinations to fill up your sewing room walls.
- You can even add a bit of trim along the fold of the pocket!
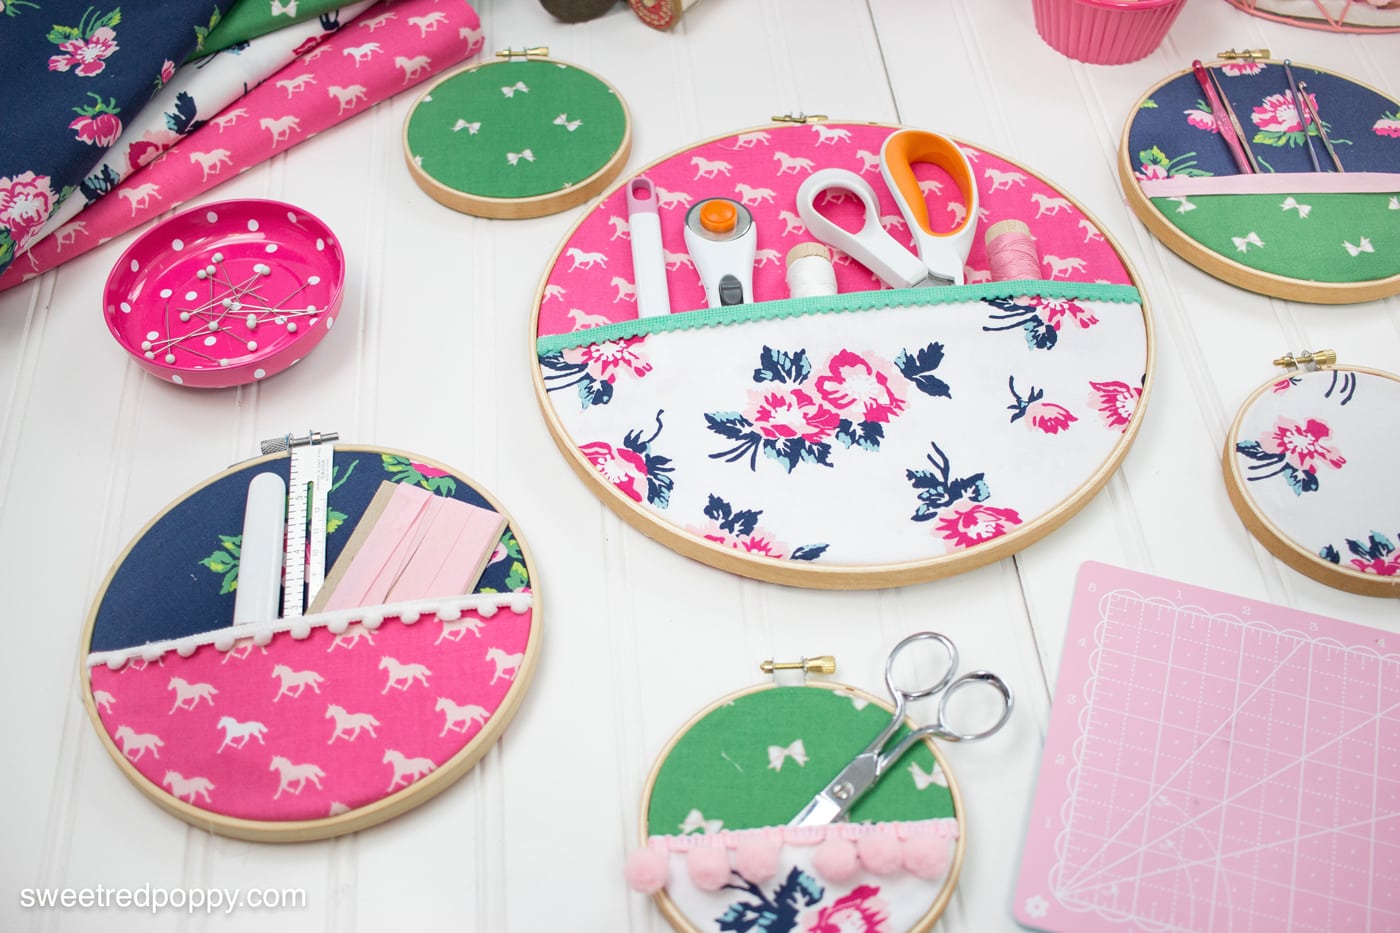
- Hang your embroidery pockets close to your sewing machine and fill them with all of the essentials!

I hope you enjoyed this tutorial! Here are three of my favorite posts from Sweet Red Poppy! Be sure to stop by and say hello!
About the Maker:
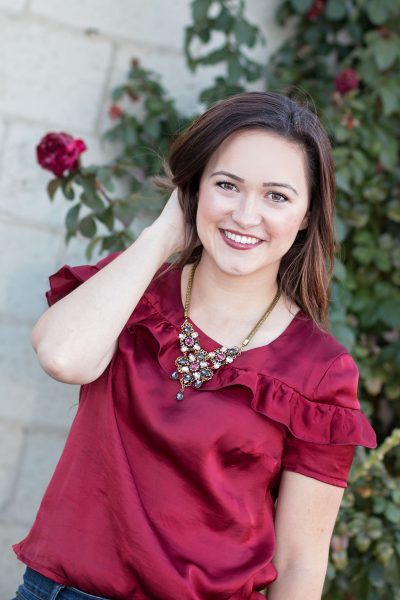
Wife and mother to three by day, quick-stitching seamstress by night. Kimberly is the “sew”cialist behind the blog Sweet Red Poppy (http://www.sweetredpoppy.com). She is a fabric-hoarding, embellishment-loving, color enthusiast who enjoys putting her modern spin on sewing. In her spare time, you can find her dreaming up her latest design, stitching away like a wild woman, and taking way too many photographs of her children, all in an effort to avoid the menial daily household tasks of motherhood. Please take a look behind the seams at her refreshingly honest posts about the daily challenges of motherhood, the chaos of three children under four, and her passion for fashion and sewing on Instagram. (@sweetredpoppy)
Other great projects by Kim:
Sewing Hacks, Tips & Tricks Every Seamstress Should Know!
The Brand New Cricut Maker Cutting Machine
How to Make Hair Bows: Stacked French Hair Bow Tutorial
Other Projects You May Like:

What a brilliant idea!
I love how these hoops are so versatile for colour choice or for use – I’m thinking for pens in a writing room or even beauty care items. Plus they’d make practical and pretty gifts. Thank you for sharing this!
So cute, just what my sewing room needs. Thanks
These are fabulous, I love them. Gotta make at least one. Thank you.