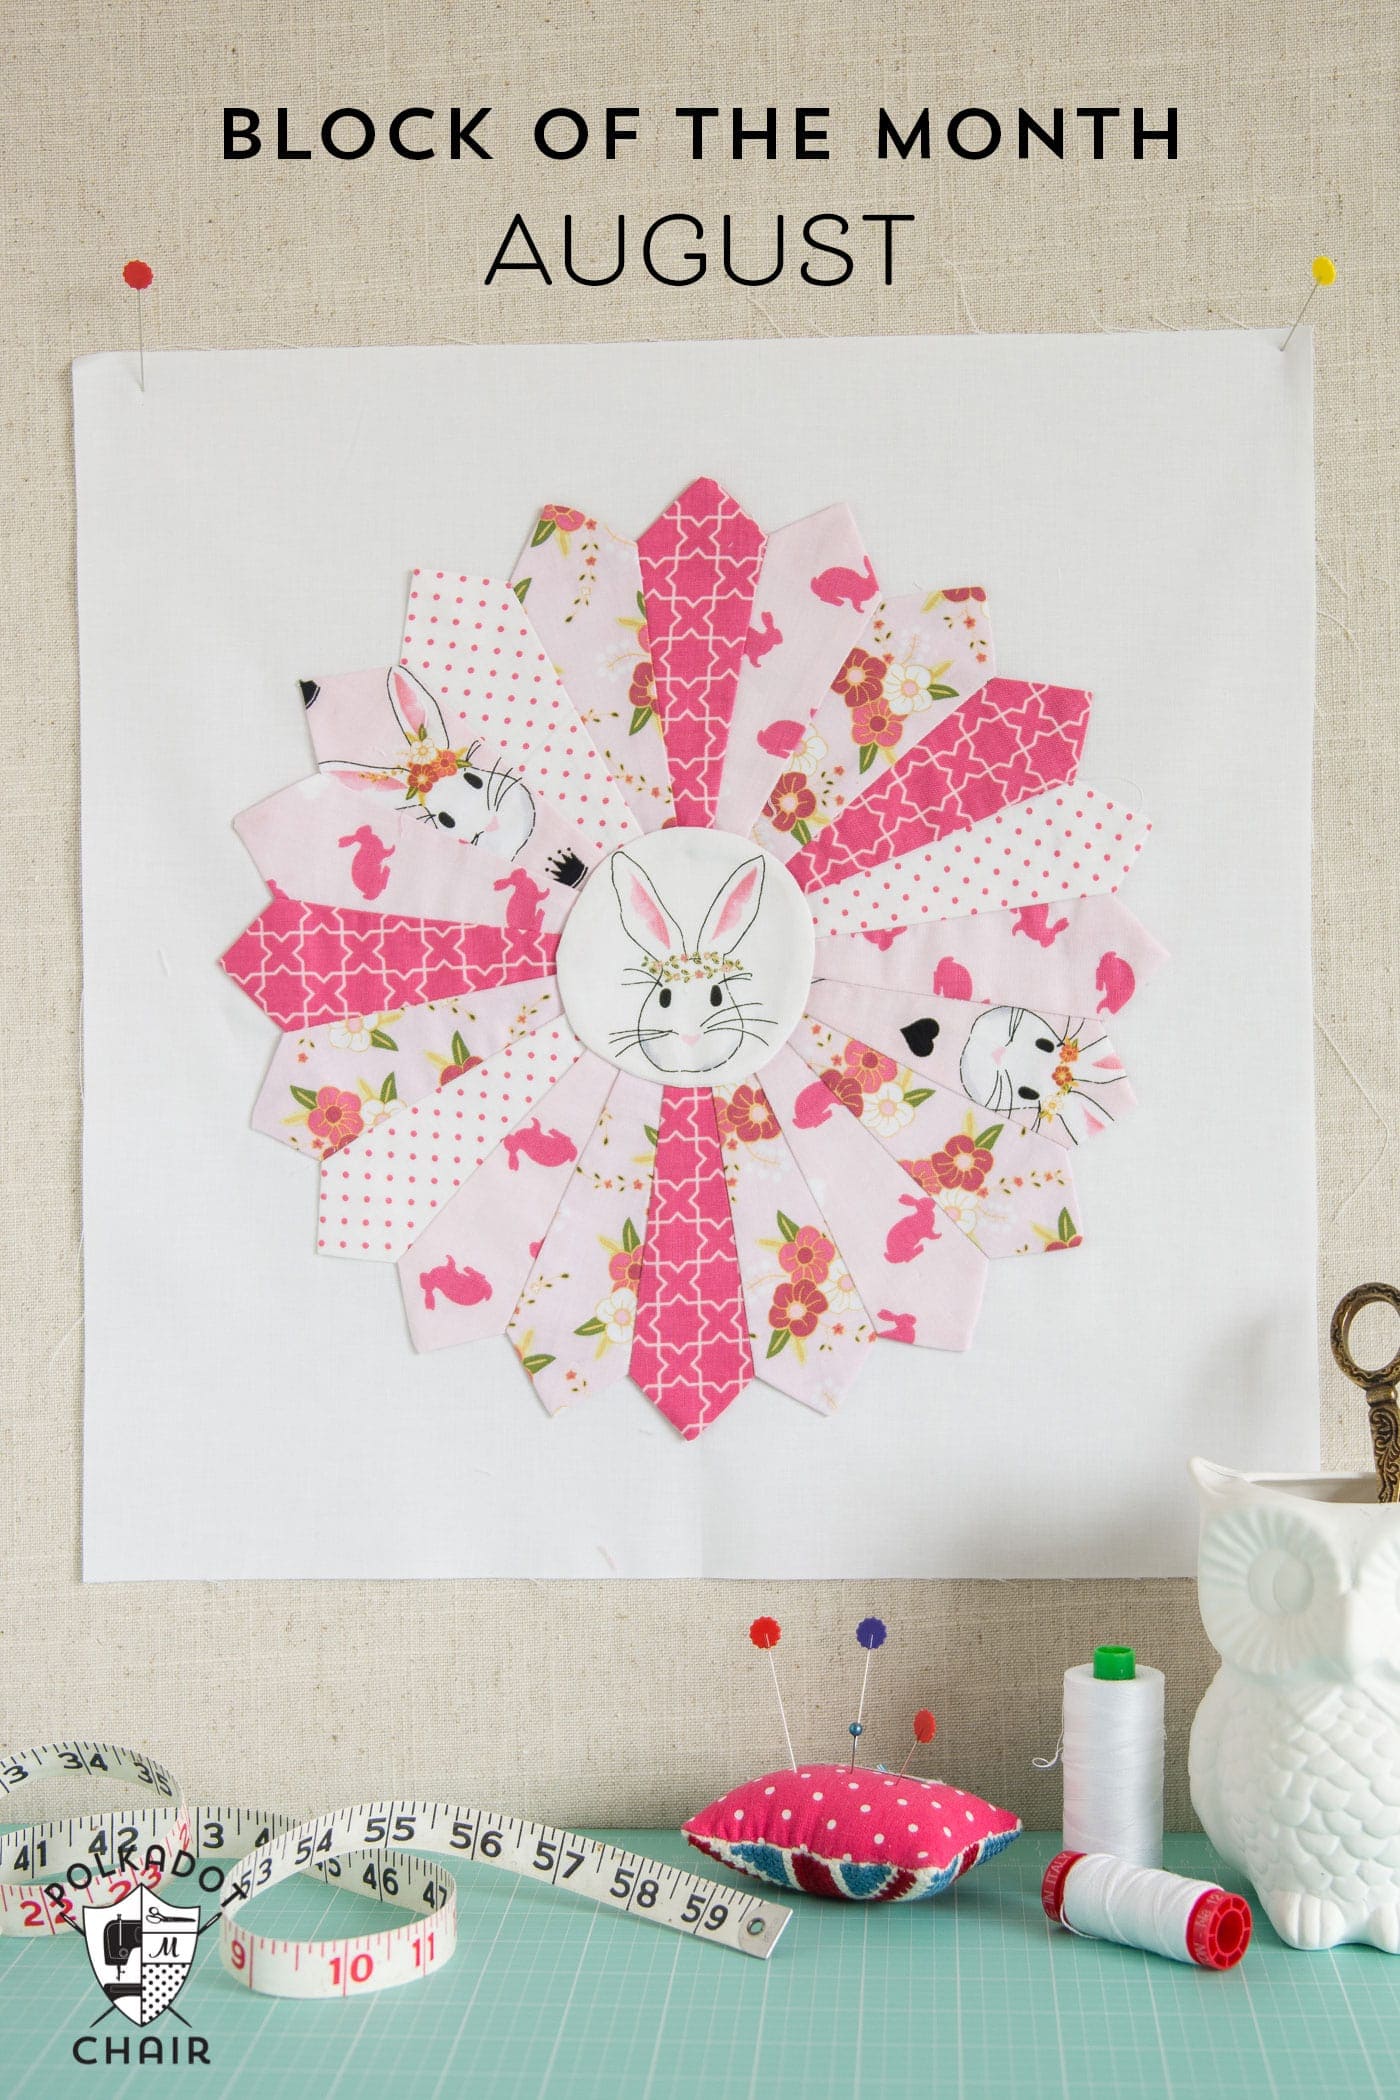
How to Make a Dresden Quilt Block – August Block of the Month
Today, I’m excited to share with you photos of my completed Block of the Month Sampler Quilt AND the free tutorial for the August Block, a Dresden Quilt Block.
I’ve had a great time putting this series of blocks together for you, and I hope that you’ve enjoyed making the blocks.
UPDATE: You can now purchase a PDF with ALL of the block instructions for each month in one place!! Click here to PURCHASE
Today, to round out the Block of the Month program, I’m sharing a tutorial on how to make a Dresden Quilt Block.
This block is constructed slightly differently than our other blocks. It uses applique and piecing. I adore making Dresden blocks. I’ve added them to handbags, made baby quilts from them, and even designed an entire quilt based on them (you can see it here).
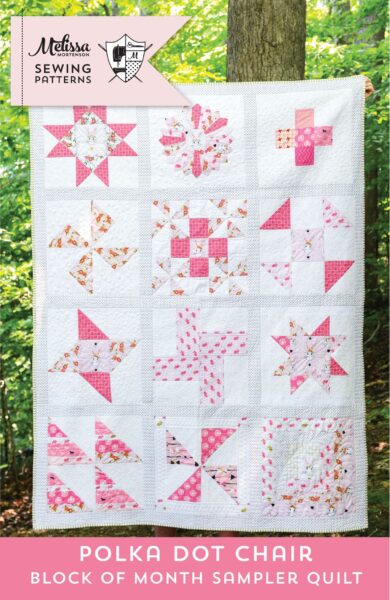
My Finished Sampler Quilt
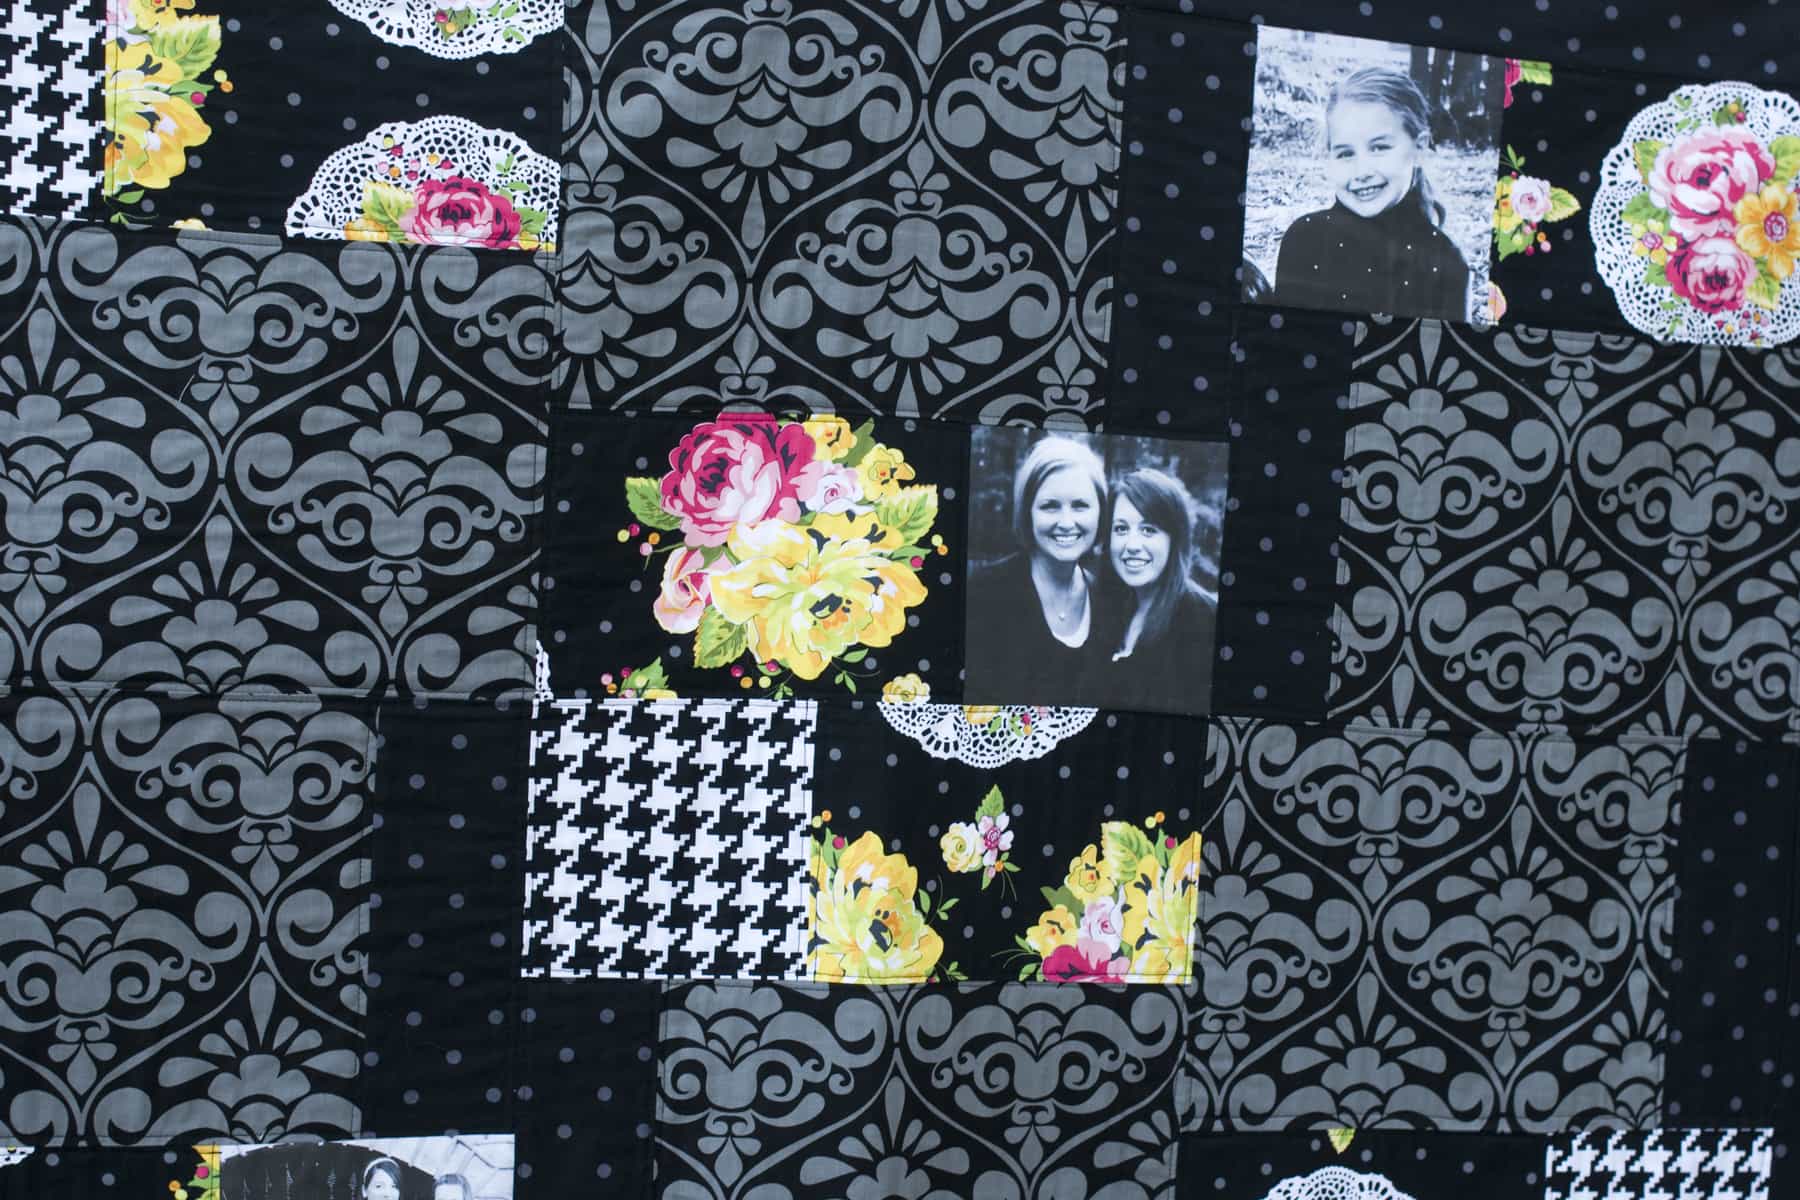
Before we get to the “how-to” construction of the block, I’m going to share with you photos of the finished quilt! I love how it turned out. This is the version of “pinks” that I made for my daughter.
I’m still working on the other three quilts. My son’s quilt is all grays and navy and will be finished in the same way as this quilt is. The Christmas quilt will only have 9 blocks and be a square.
I’ve also taken a “radical” departure with my other quilt (the pinks, greens, and low-volume fabrics). It’s now going to be a medallion quilt because I decided I wanted a King Size quilt that is a square. Don’t ask me how I will do that because I’m not sure yet *wink*. Here’s a sneak peek of it on my design wall.
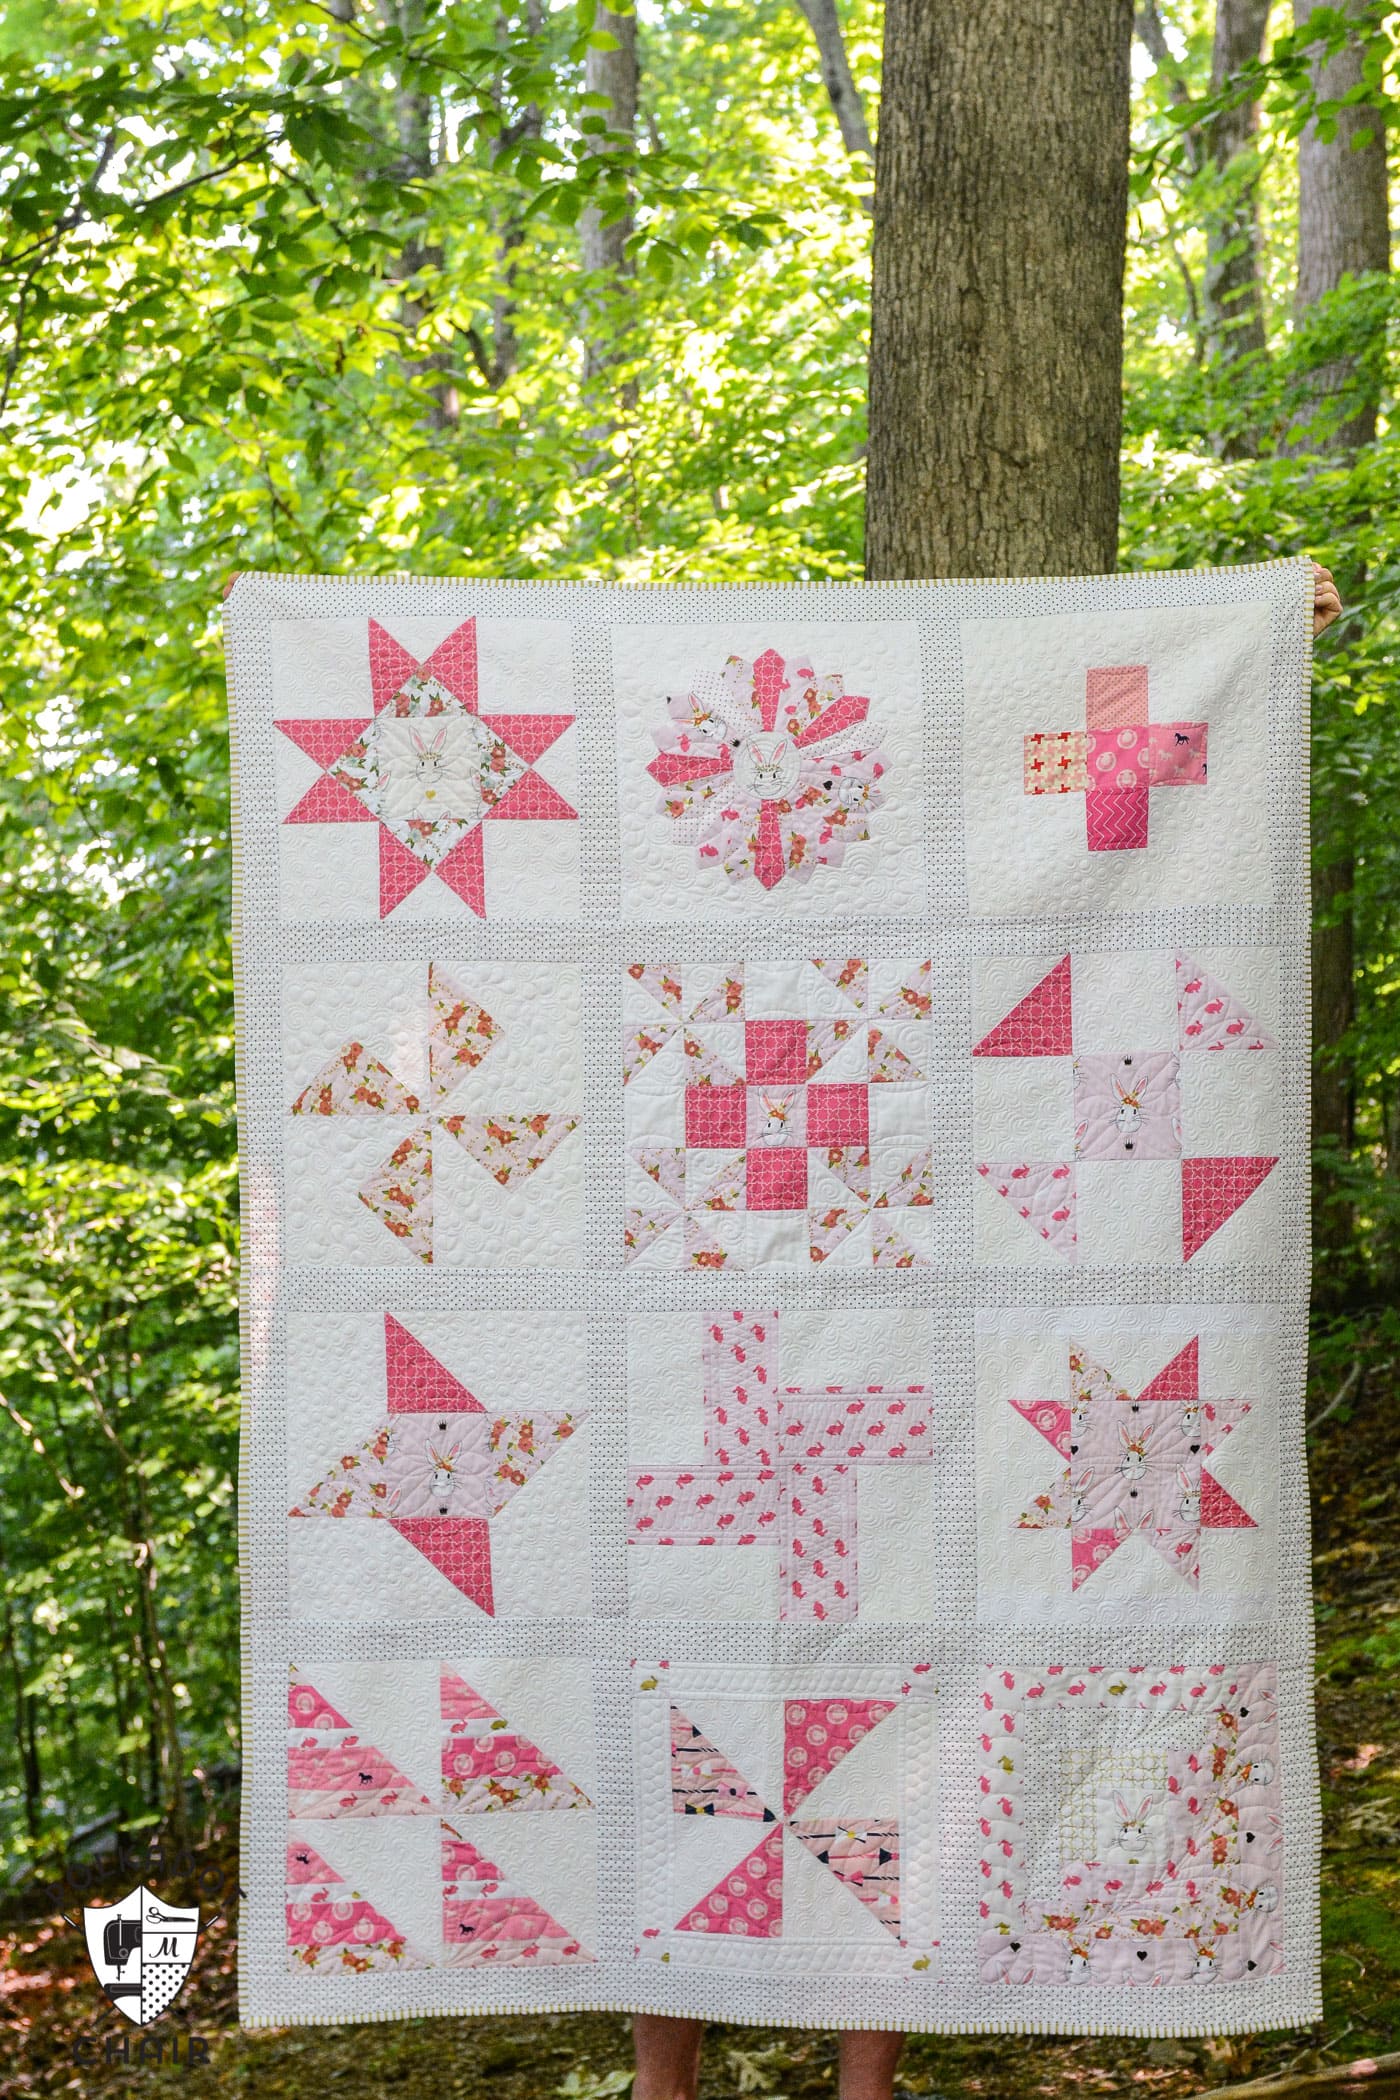
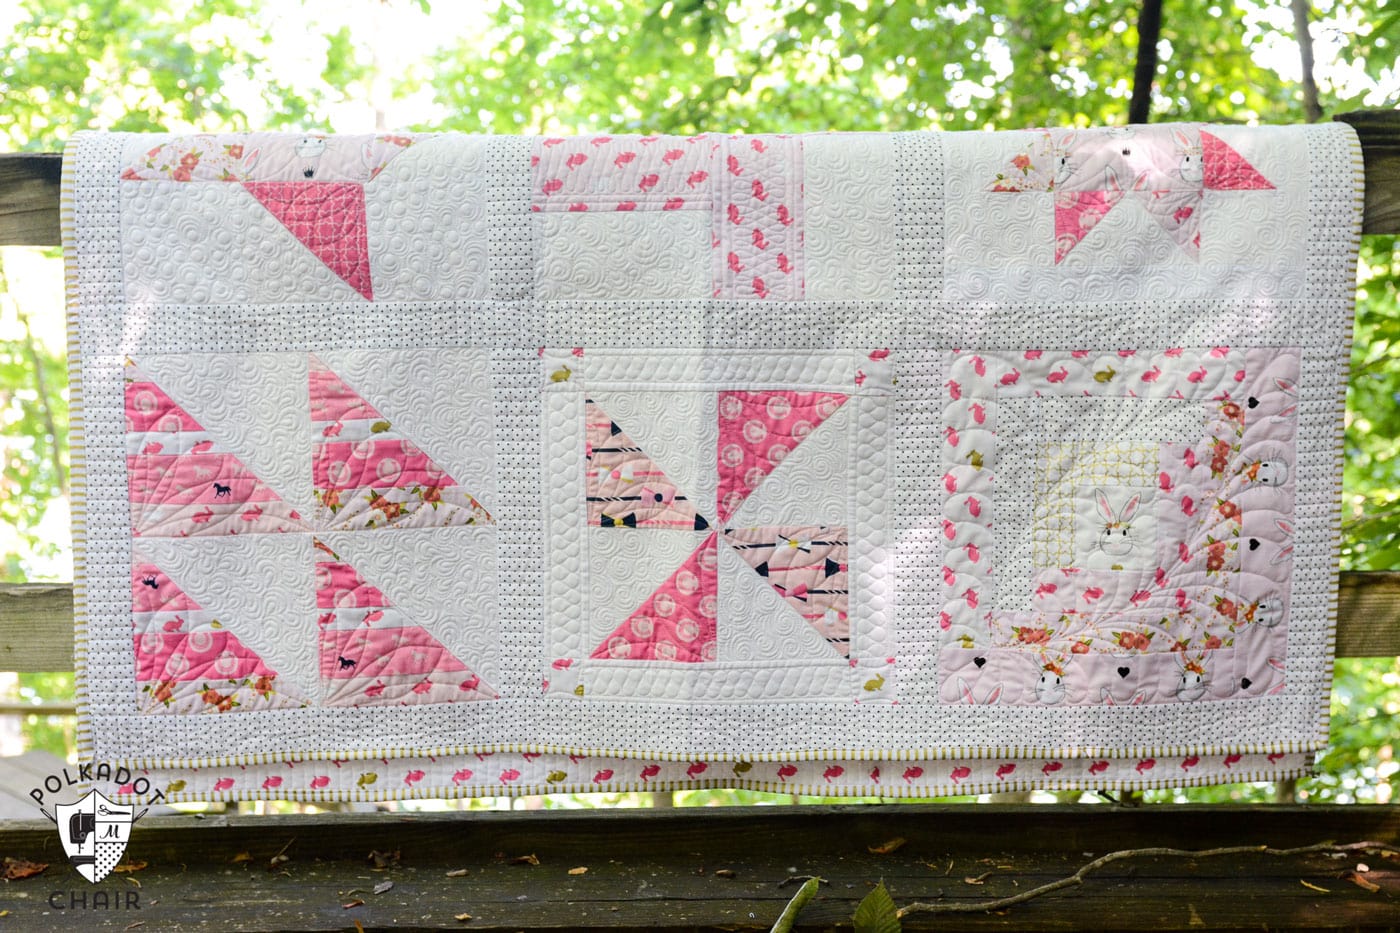
I snapped a few photos of the finished pink quilt on a camping trip last Memorial Day weekend. I love how this quilt turned out. It’s going in my daughter’s room and I think it will be perfect with the pink and black accents. It’s made almost entirely from fabric from my Wonderland Line, with a bit of Derby Style thrown in.
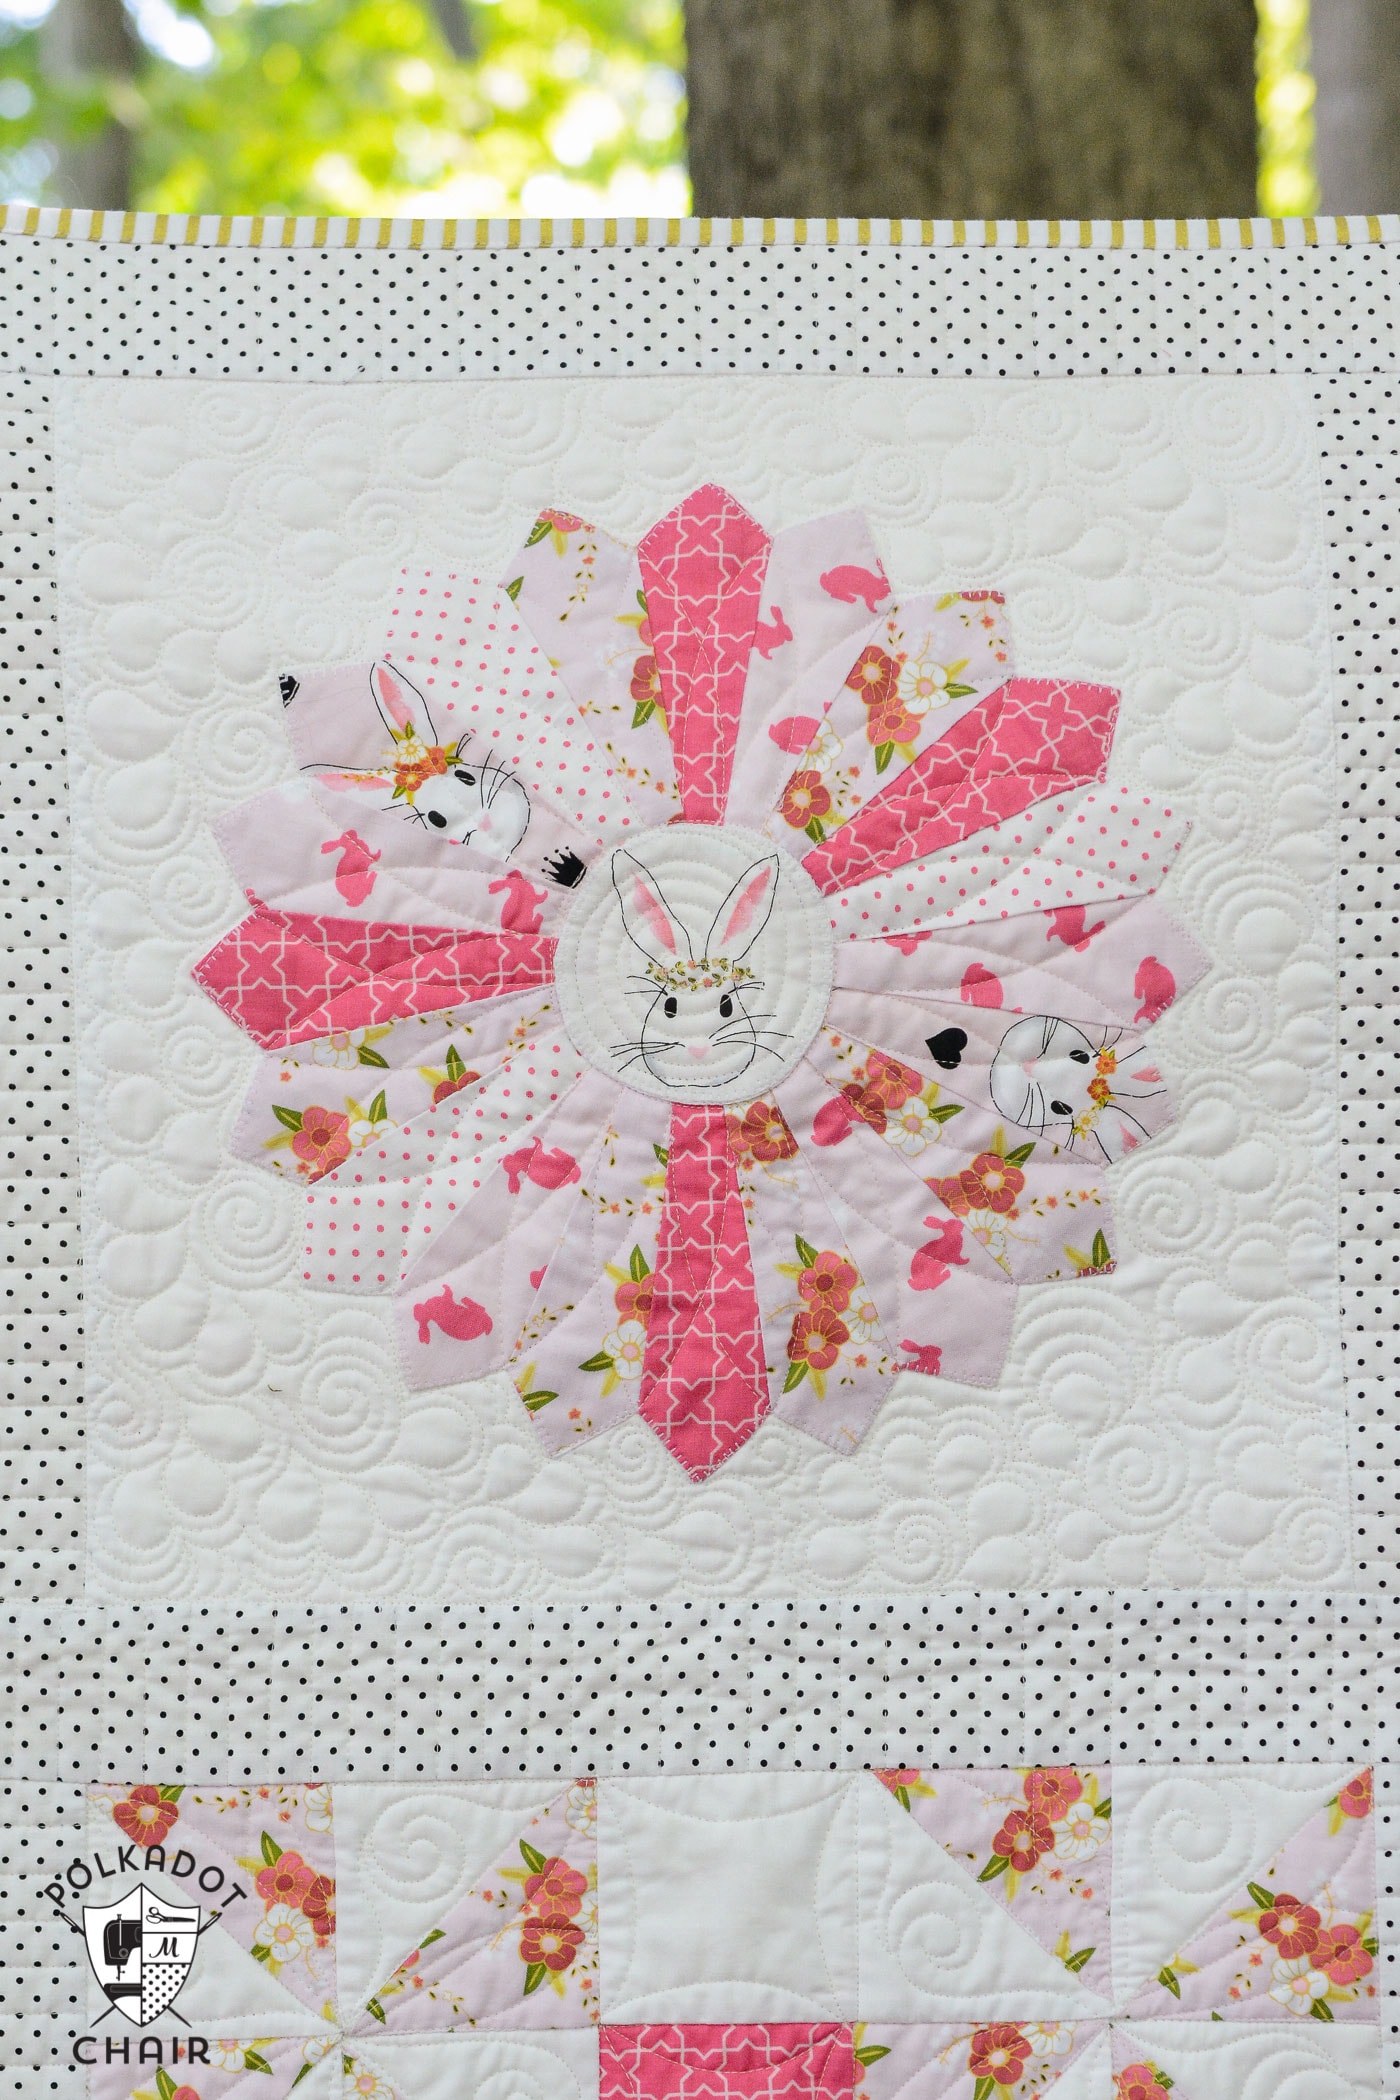
The August block is a Dresden block. I think it rounds out the other blocks quite nicely. If you’re not too keen on making a Dresden block, you can remake one of the other blocks in another fabric to complete your quilt.

So what do you think? Do you like how the blocks all came together? Do you have a favorite one?
How to Make a Dresden Quilt Block
Yields One 15 1/2″ x 15 1/2″ block before finishing.
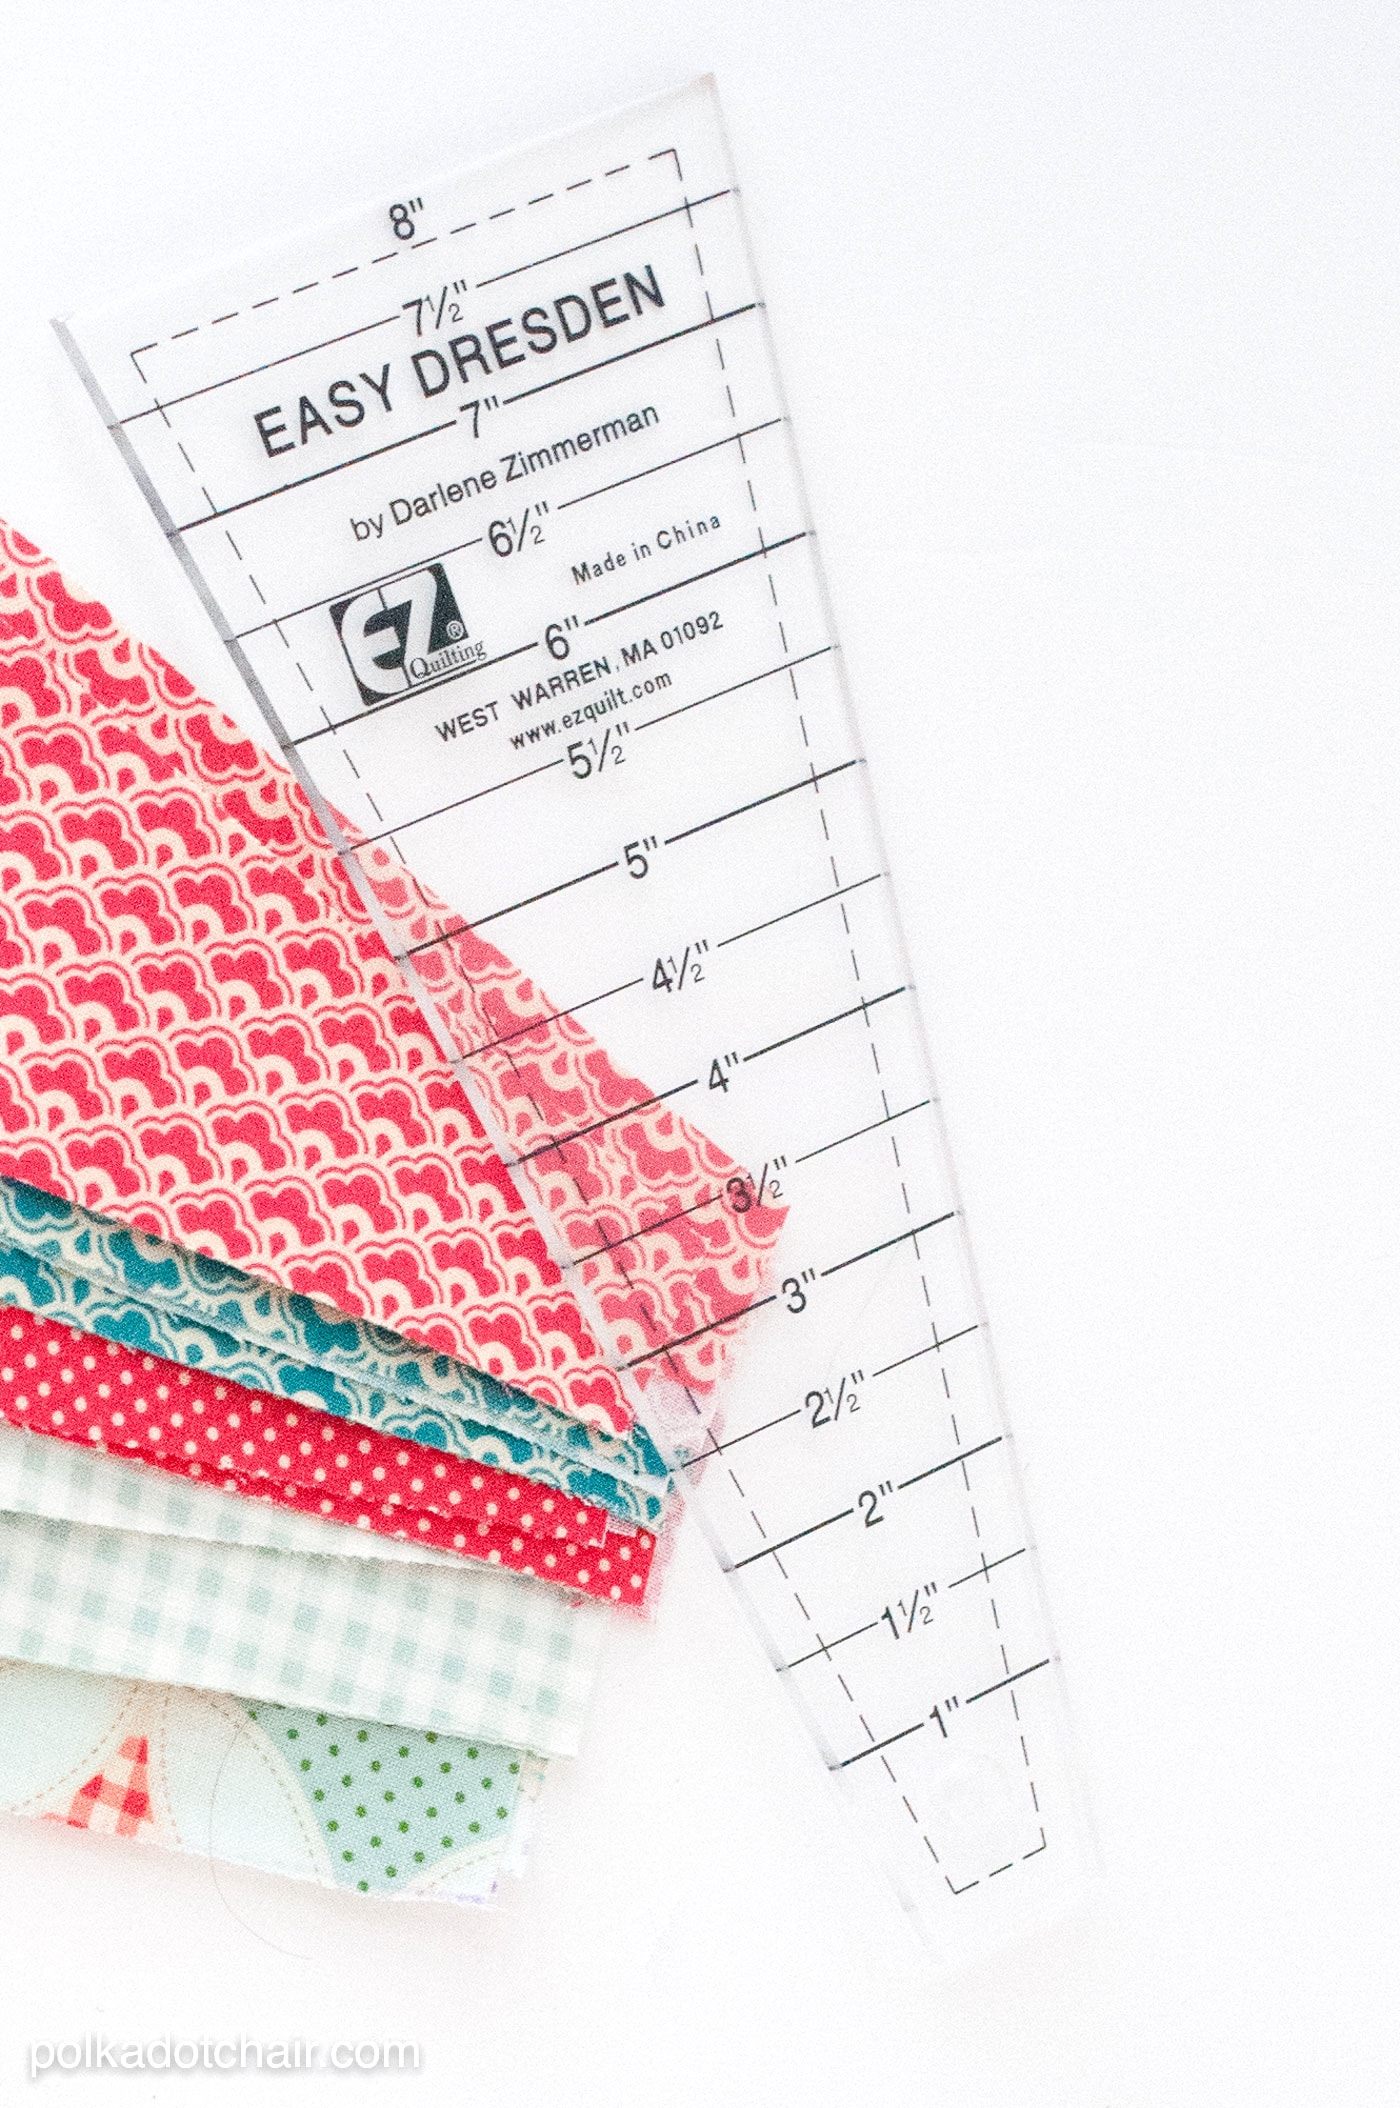
For this block you need an EZ Dresden Ruler, you can get one HERE.
What is a Dresden Quilt Block?
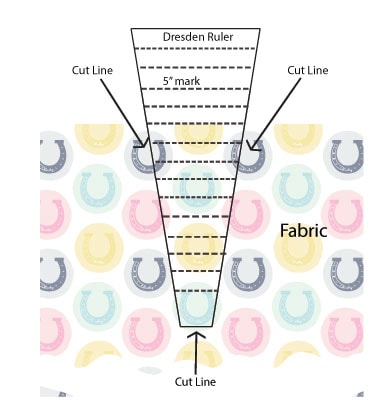
Dresden Blocks are made from “blades” sewn together in a circle. The ruler has measurements on it, indicating the height of the blade. For our project, we are going to cut blades that are 5″ tall. (Note: these photos are from another Dresden project; the instructions are the same, only the fabric is different.)
Cutting
20 Blades each 5″ Tall from various prints
15 1/2″ x 15 1/2″ piece of fabric for the background
4″ circle for the center from the main fabric
4″ circle for lining
Step One: Stitch the Dresden Blades
Begin by cutting 20 blades, each 5″ tall. Cut from the bottom of the ruler to the 5″ mark. Cut the blades from different prints of fabric.
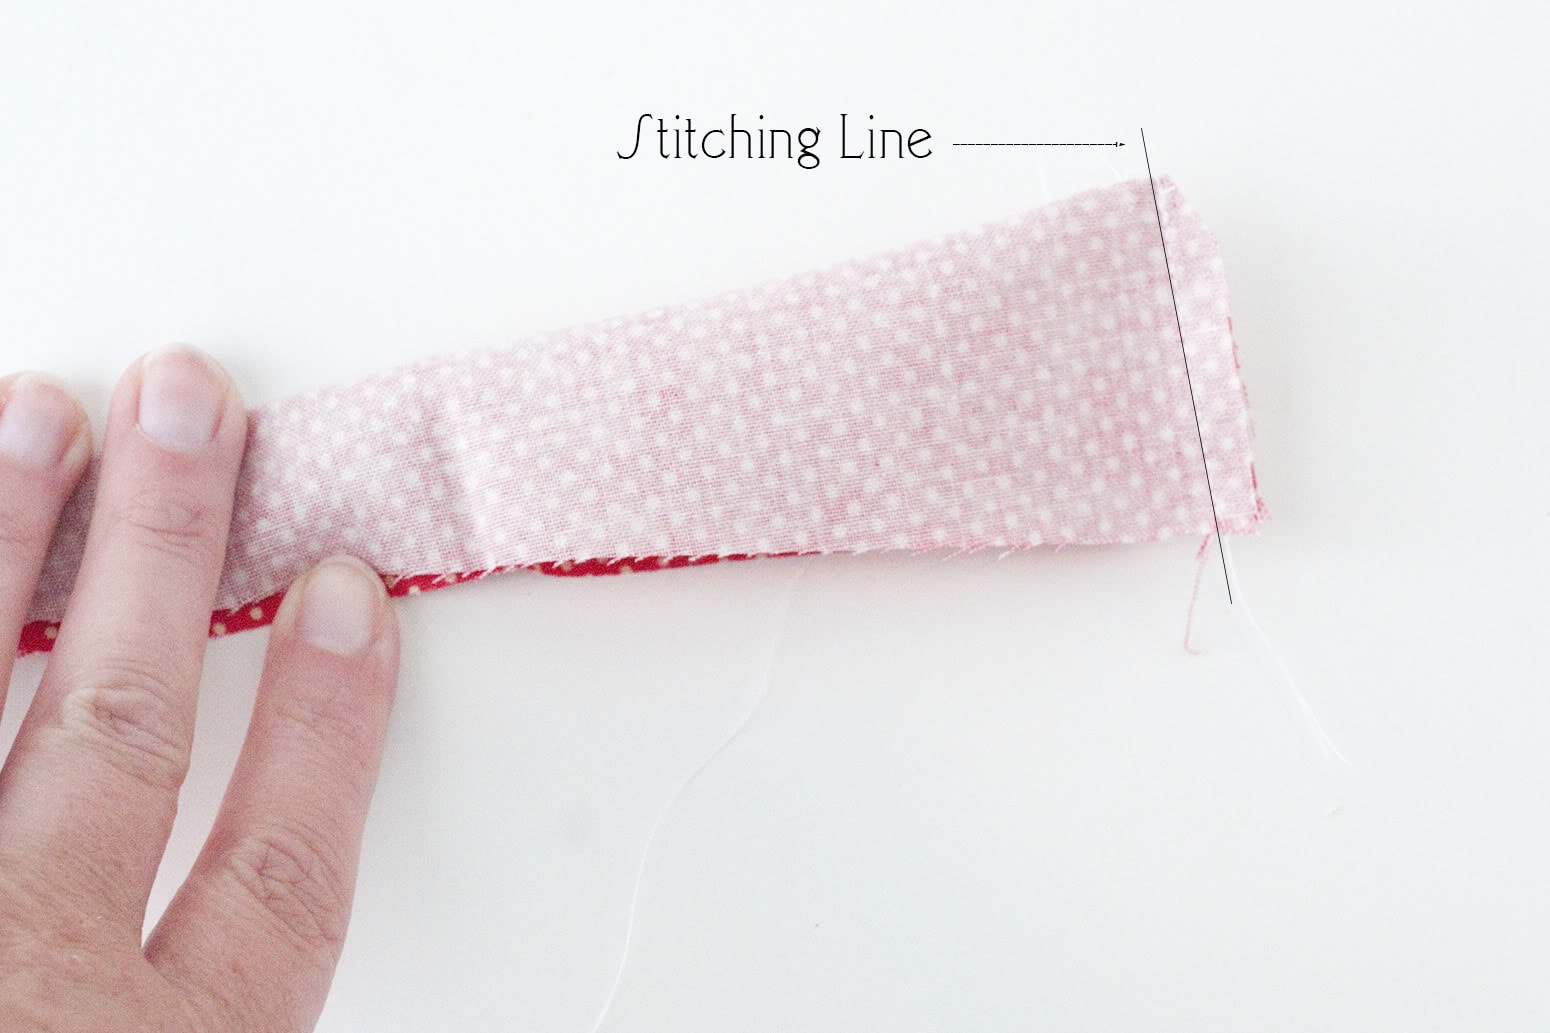
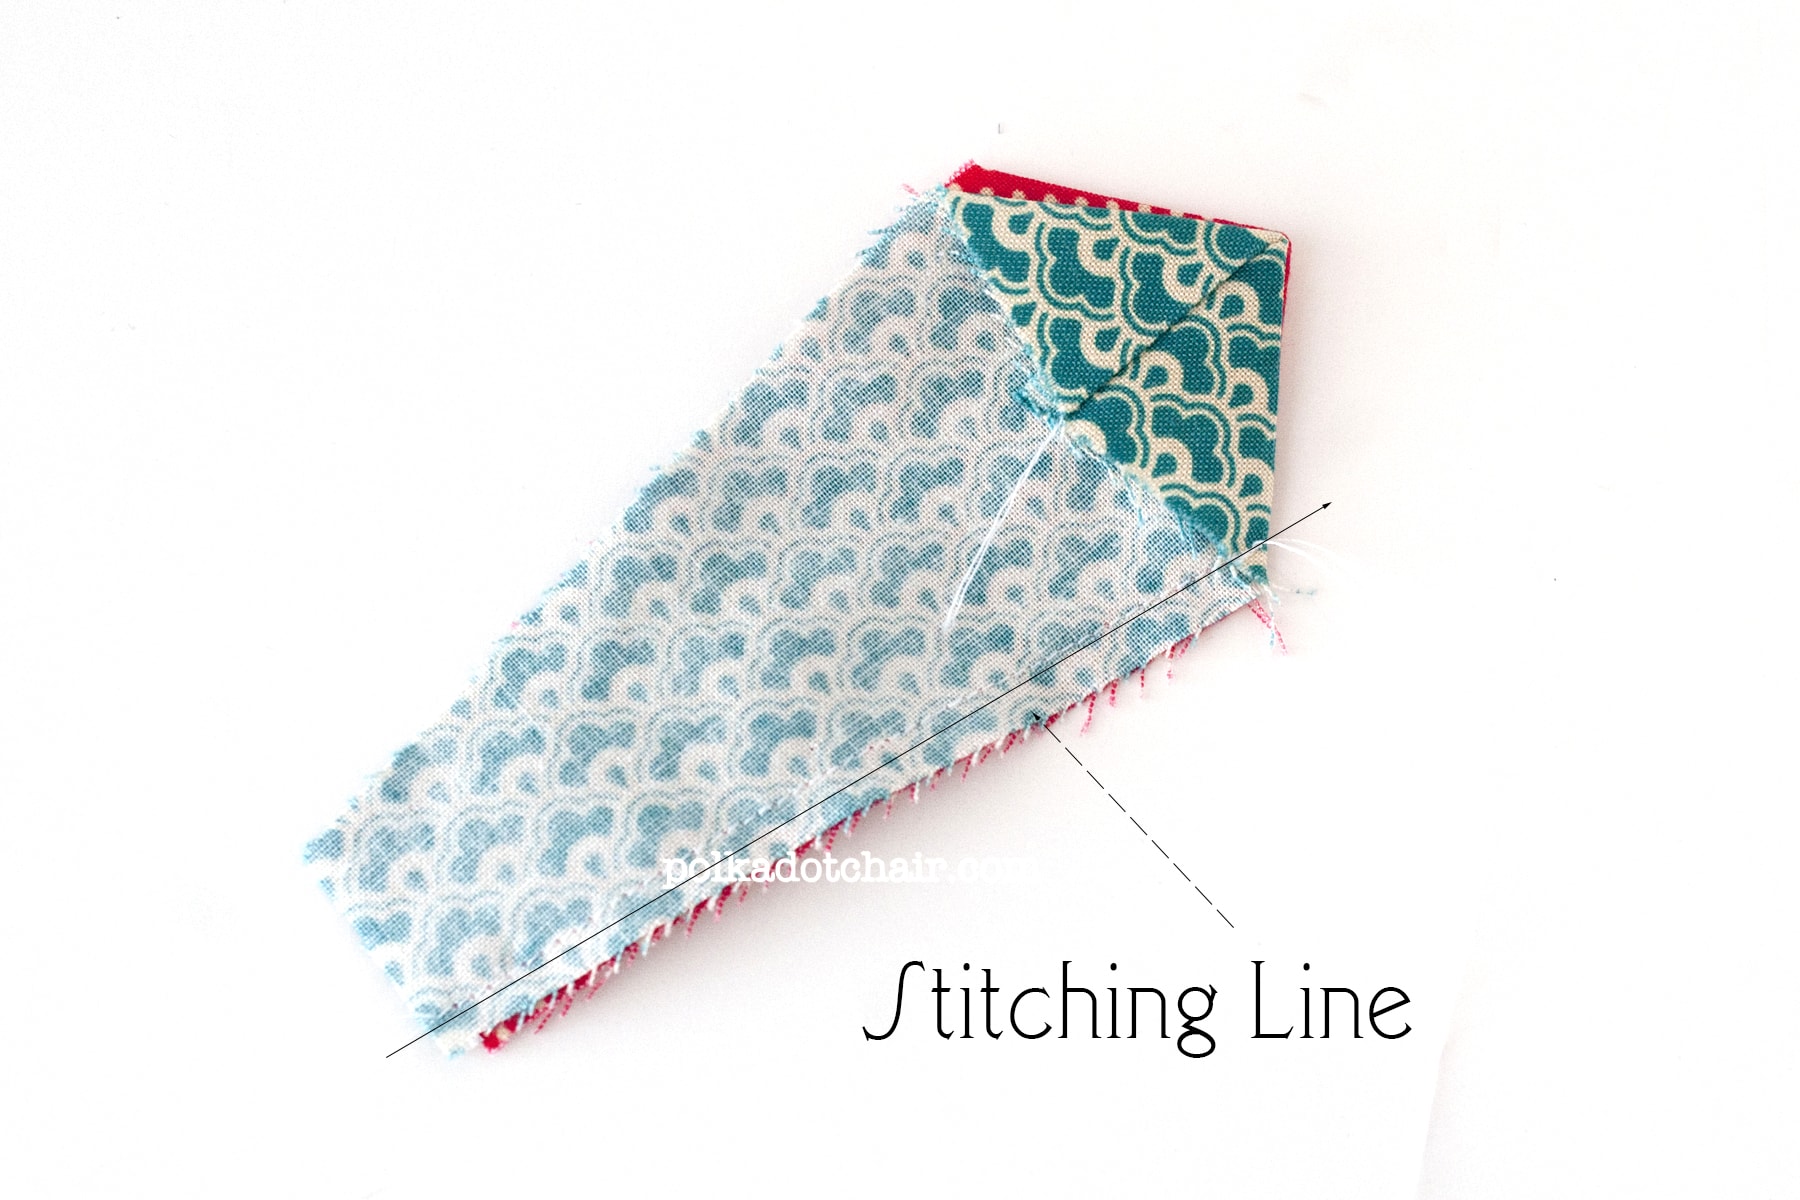
Fold a blade in half lengthwise and a stitch 1/4″ seam along the top of the blade. Trim the corner off the seam allowance and turn the blade right side out and press.
Repeat 20 times. Lay out your blades in a pattern that you like.
Step Two: Stitch the Blades Together
Now, begin stitching the blades together. Place two blades on top of each other, right sides facing. Stitch down one side with a 1/4″ seam.

Keep stitching until all 20 blades are sewn together. Press.
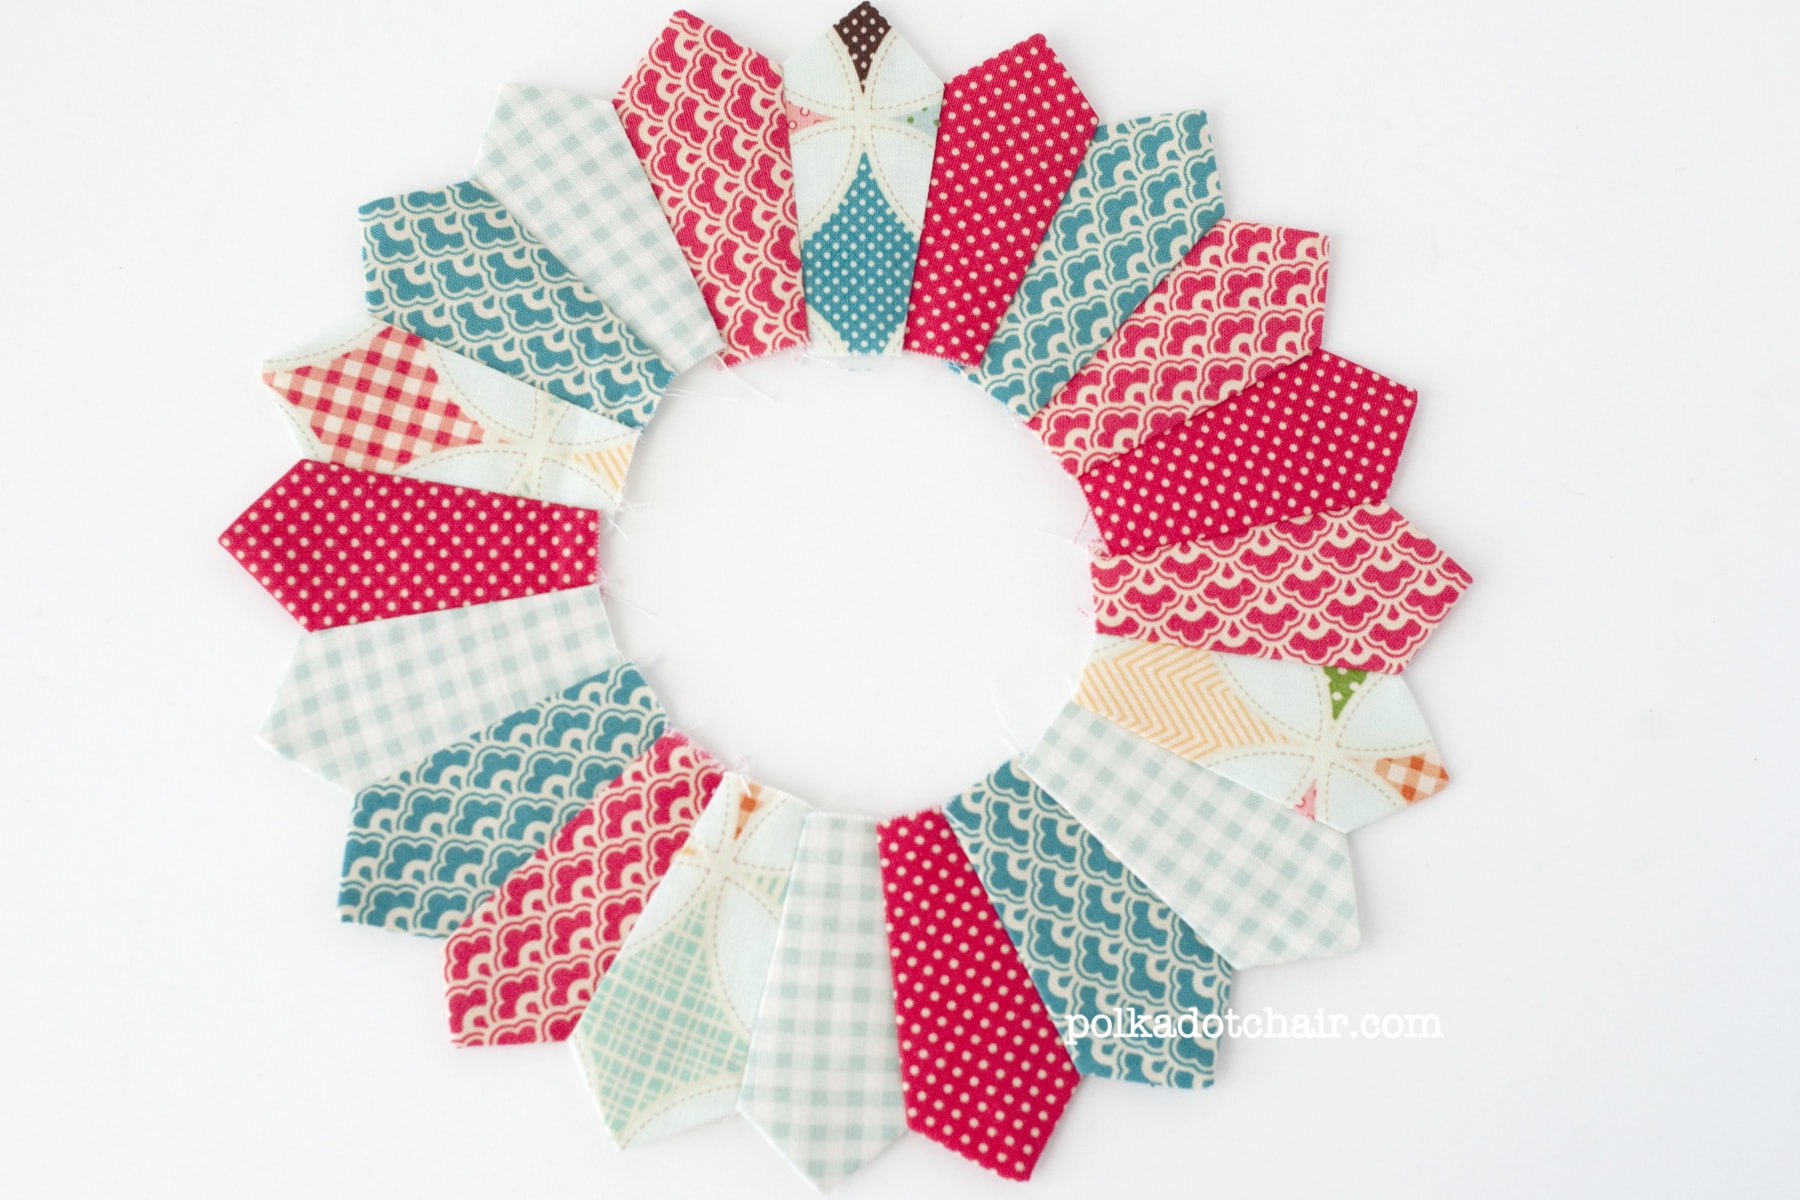
Now you may be wondering, why do I have a big “hole” in the middle. How do I cover that.
Step Three: Create the Center Circle
Take your 4″ circles and stitch them together on the right sides facing. Use a 1/4″ seam allowance.
Cut an “x” in the lining fabric turn the circle right side out and press.
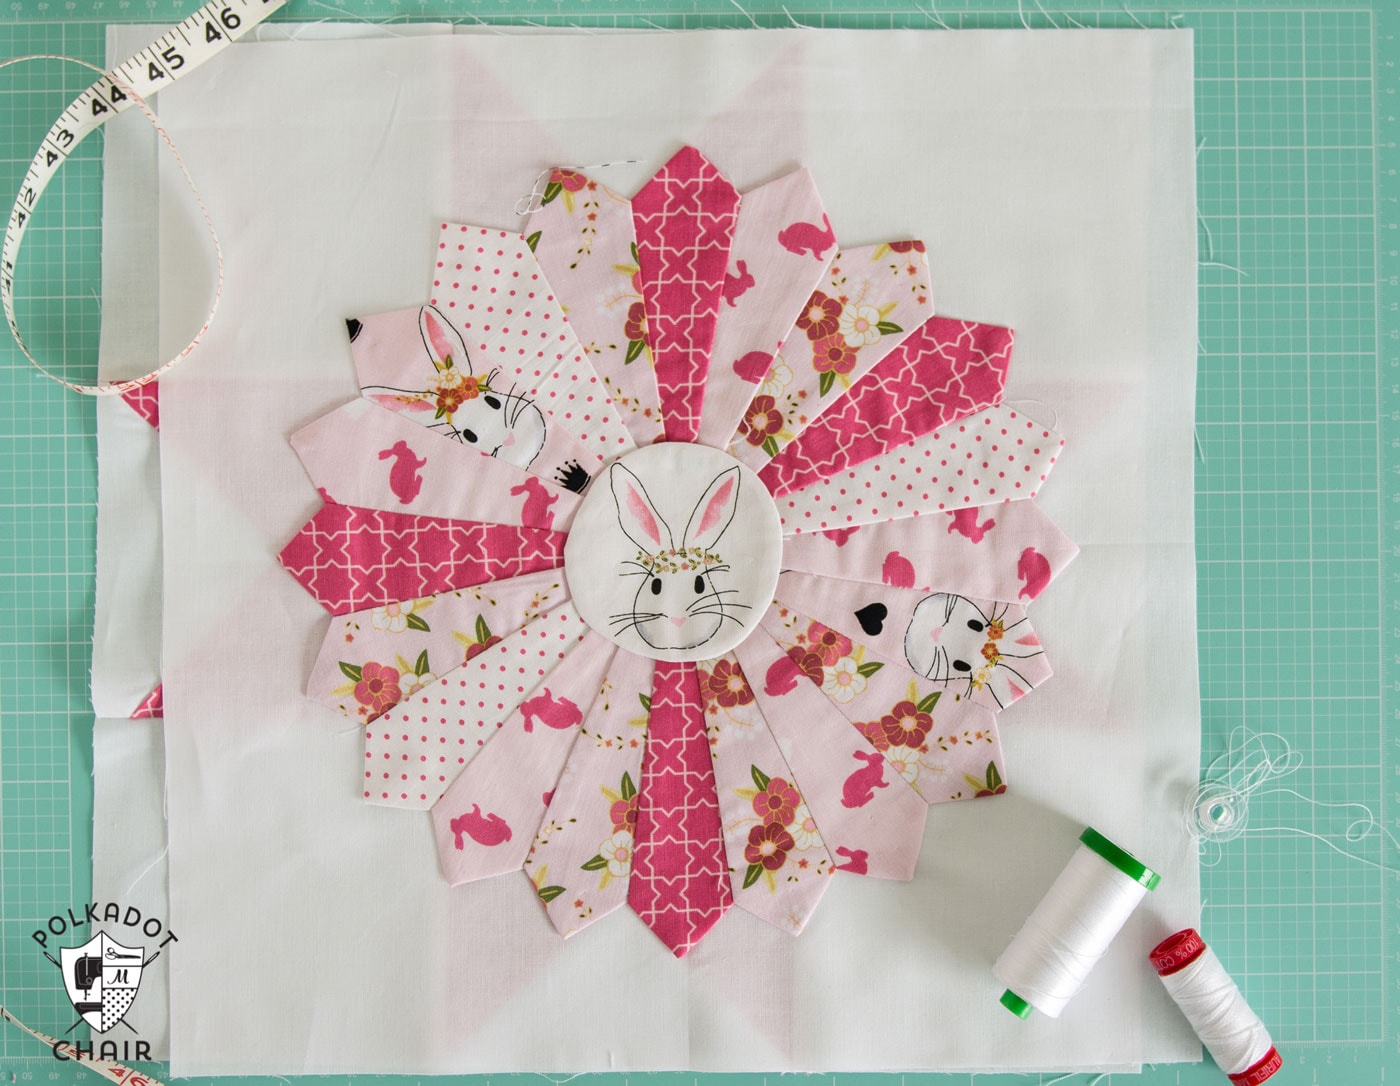
Now, you’re ready to lay out your block.
Fold the 15 1/2″ background fabric in half lengthwise and press lightly. Fold it again in the opposite direction and press lightly.
Now you’ve got your centers marked.
Step Four: Attach to Background Fabric
Place the Dresden blades on top of the background piece centered.
Pin VERY well (you can also glue baste if you like; just use Elmer’s school glue and an iron).
Place the sewn circle over the center of the block. Pin or glue baste in place.
To attach the plate to the block, you have a few options:
1- Glue well and attach it with “stitches” when the quilt is quilted.
2-Stitch down using a simple zig-zag or another decorative stitch
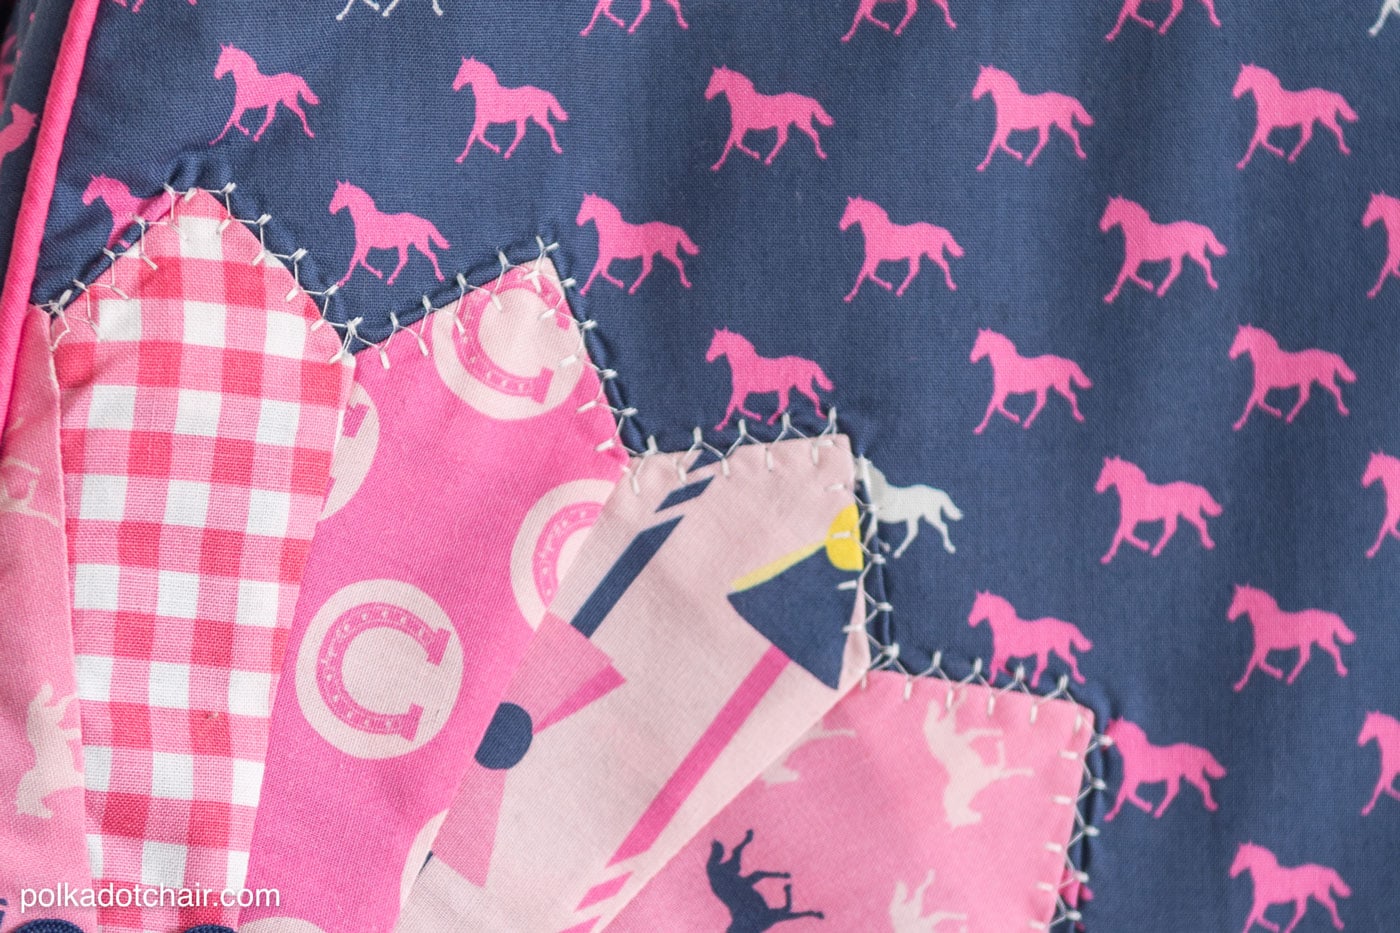
3-Hand Applique.
Pick which one you like the best. I go for one or two. We could spend an entire post talking just about ways to attach Dresden blocks. If you’re new, I recommend a simple zig-zag stitch.
Next month (September 2016), we will discuss all the different ways to stitch your blocks together to make a quilt!
- Plus Quilt Block Pattern
- Pinwheel Quilt Block Pattern
- Sawtooth Star Quilt Block Pattern
- Half Square Triangle String Block Pattern
- Turnstile Quilt Block Pattern
- Shoofly Quilt Block Pattern
- Keystone Quilt Block Pattern
- Log Cabin Quilt Block Pattern
- Friendship Star Quilt Block Pattern
- Grandma’s Favorite Quilt Block Pattern
- Ohio Star Quilt Block Pattern
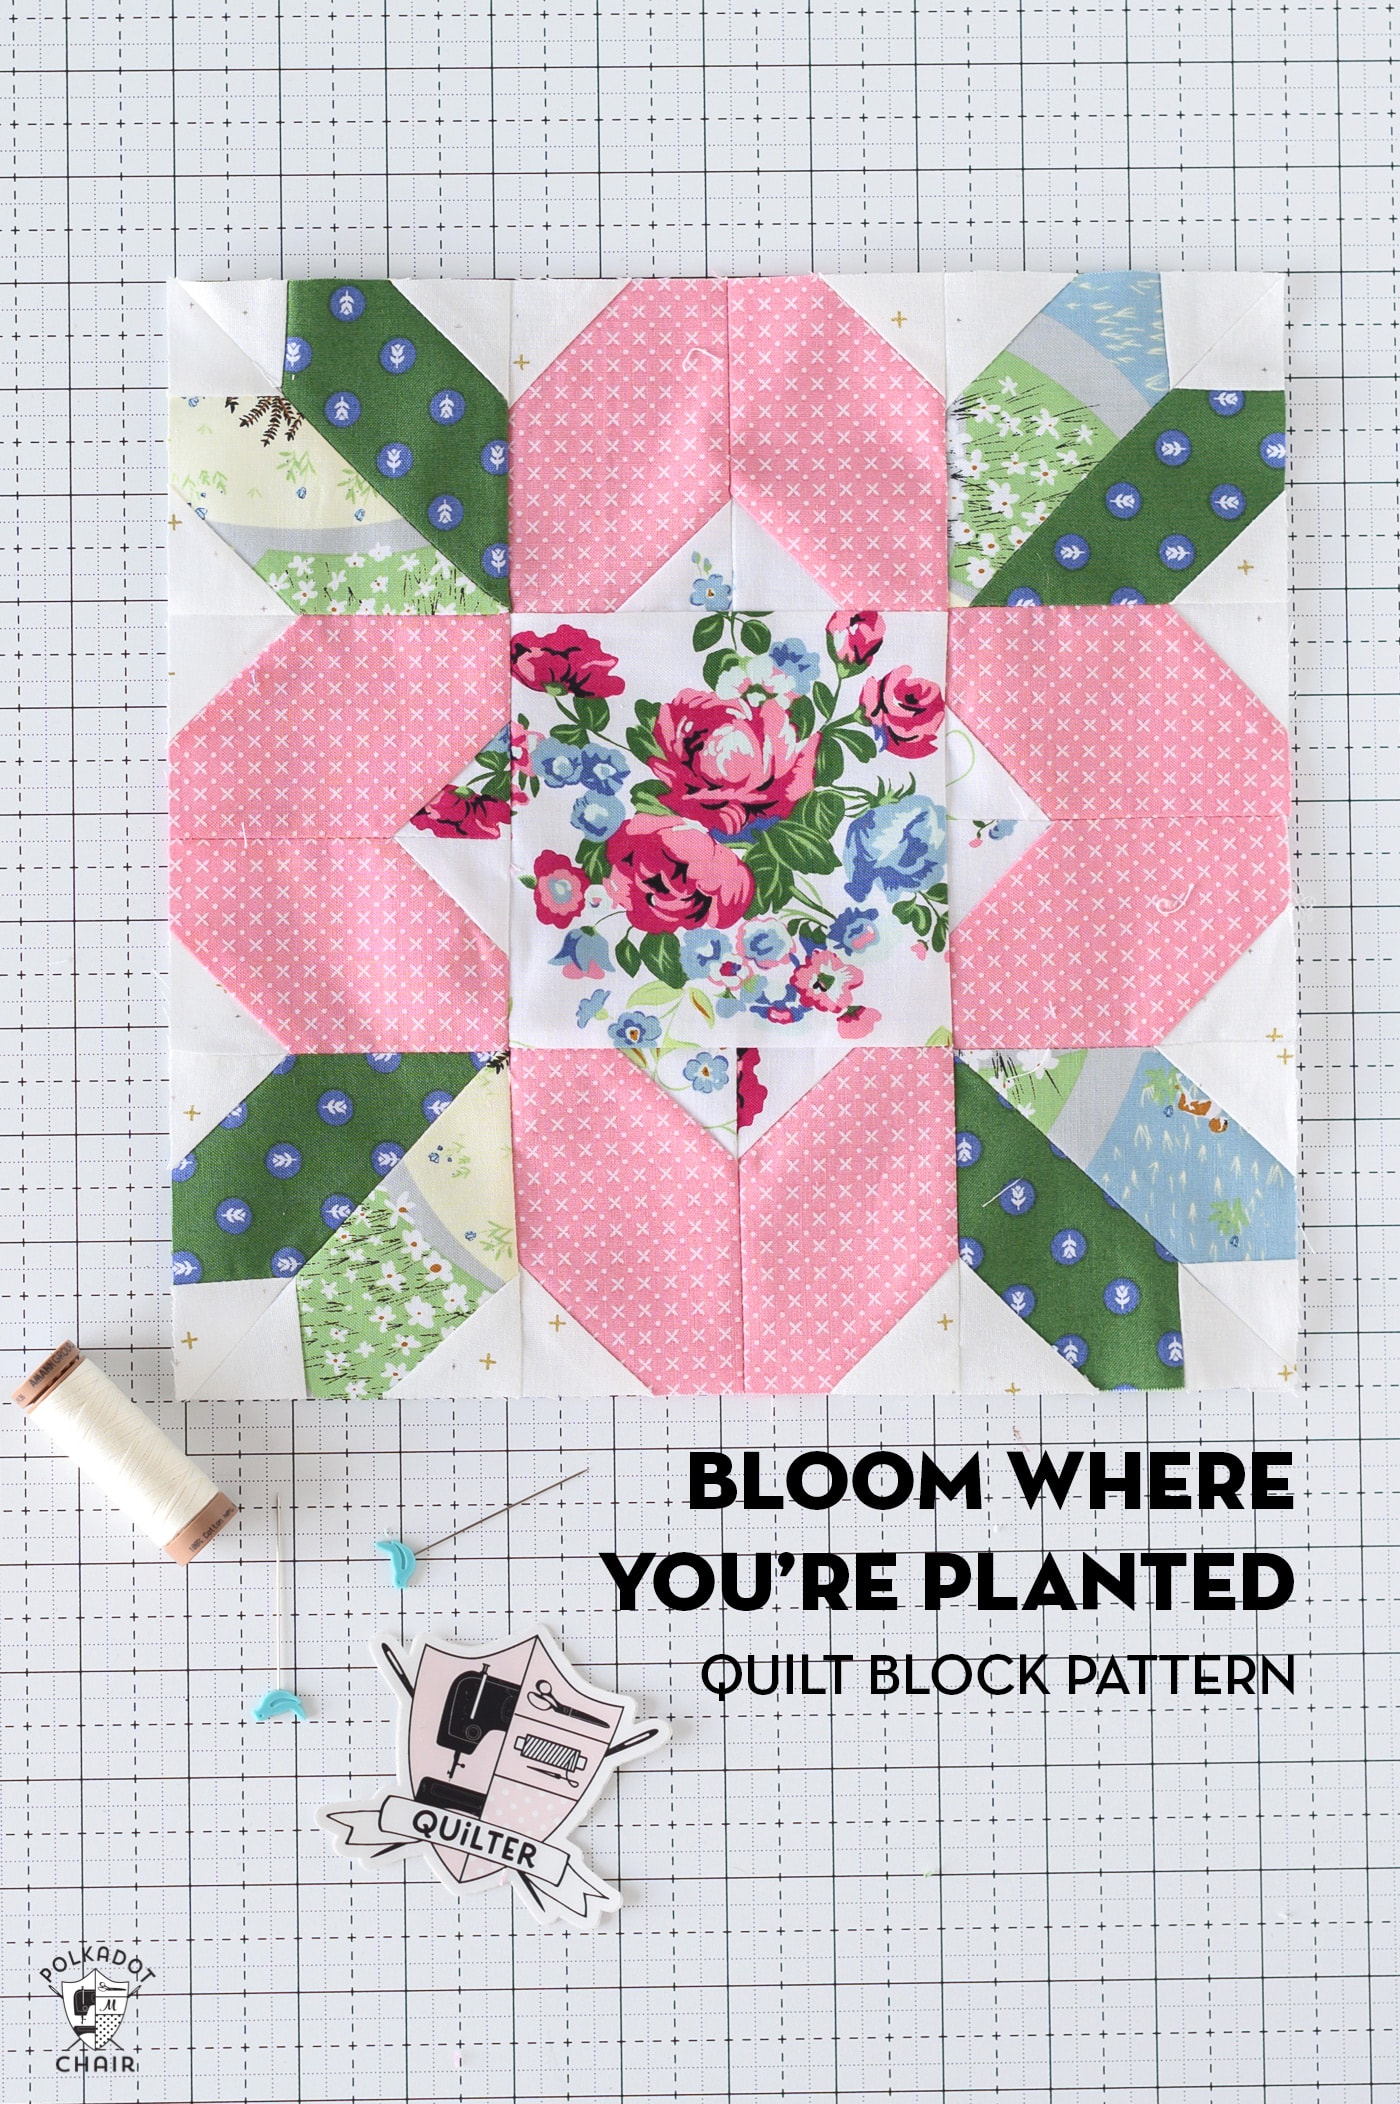
- Dresden Quilt Block Pattern

This is sooo adorable! My daughter’s room is done in the same pink with black accents. My mother had made summer pajama sets out of this set of fabric a few years ago for my daughter. We still have some left and I see a special quilt block or quilted pillow in our future. <3
I first did this block as a christmas table runner… a set of three set on a dark green background. It is a wonderful block to play with… Thanks for reminding me of it
You used 5″blades, with 4″ covering I. The middle. You then mounted on a 15″ block. I am assuming that the finished Dresden circle was 14″ (approx)? I ask, because I like to make my blocks about 12, when incorporating other blocks, and want to compute the size to clut blades and center for that. I am assuming 4″ blades, with 3″ center. Is there a conversion table you can post?
I’ll measure it for you but it is not 14″.. my guess is 12-13
I’ve really enjoyed this project. Will we be getting instructions on how much fabric is needed between the blocks?
Yes, it will be posting this month. FYI: I just used Jelly Roll strips for mine. One Jelly roll will be plenty if that helps you out at all.
You do such beautiful work. Can you tell me how many hours a week on average you quilt?
I think it depends on the week. I’m a feast or famine quilter! It seems like it’s 10 or more a week or none! I really need to be better at balancing it all out!
What a sweet, adorable quilt! I love the fussy-cut of the bunny on the Dresden Plate block.
Adorable, perfect for your daughters room! Did you do the quilting? On a domestic machine or longarm?
HI, I didn’t do it. It was done by Natalia Bonner of Piece N Quilt. She’s amazing!
Love, Love this block, and pink is my sewing studio, sew I am going to try this block, I am not a quilter, but I can sew and love it, ok off to the sewing store, by the way I do have respect for all of your hard work that u share with us, thank u, and GO d bless u.
Oh, thank you so much!