How to Make Canvas Zip Bags Perfect for Valentine’s Day
Stitch up a set of simple canvas zip bags that are perfect for Valentine’s Day or any other occasion with our free zip pouch sewing tutorial.
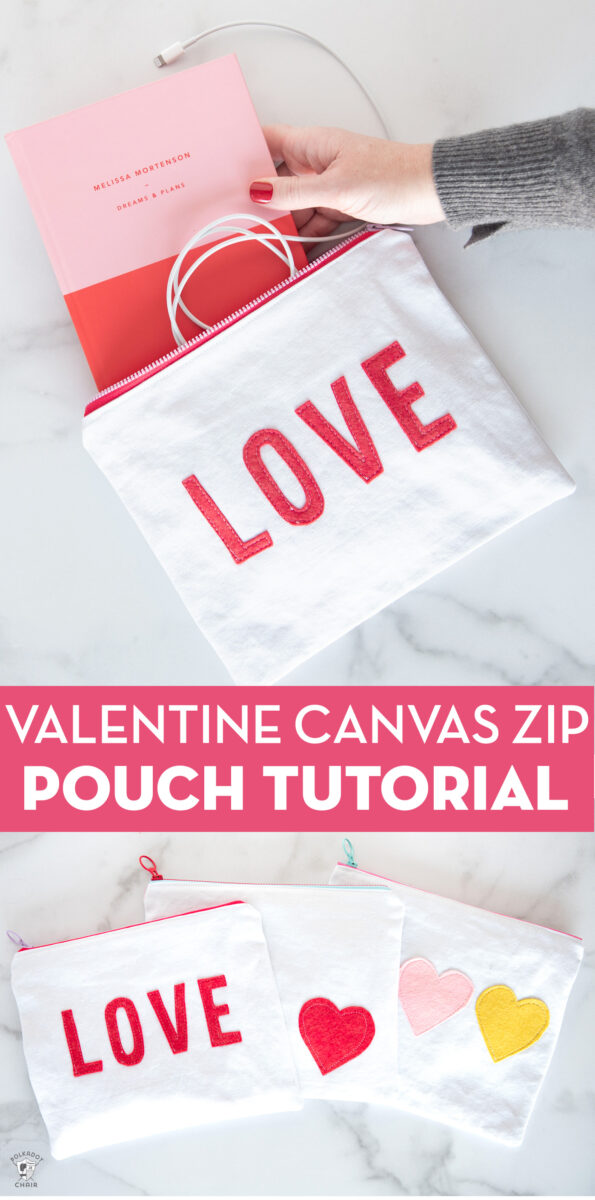
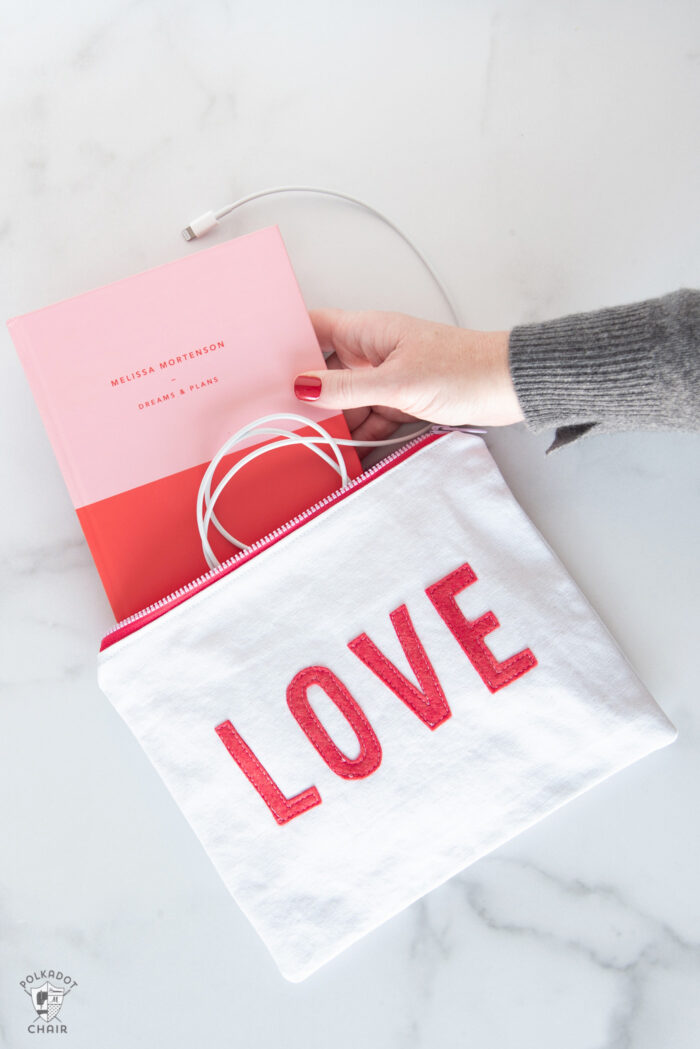
Recently I stitched up a set of zippered pouches to gift to my girlfriends on Valentine’s Day. The bags are so simple to create that you can stitch up a bunch in an afternoon. They are also a great project for a crafternoon!
About the Bags
The bags are constructed from white canvas (sometimes called duck cloth). To soften my canvas I washed and dried the cut of fabric before I started sewing. I love how washing and tumble drying gives the canvas a soft, wrinkly texture. I’ve done this with a darker color canvas as well and have always loved how it turns out.
The lining of the bags is created from Riley Blake quilting cotton. I took my inspiration for the colors on the front of the bags from the lining fabric.
Zip Bag Designs
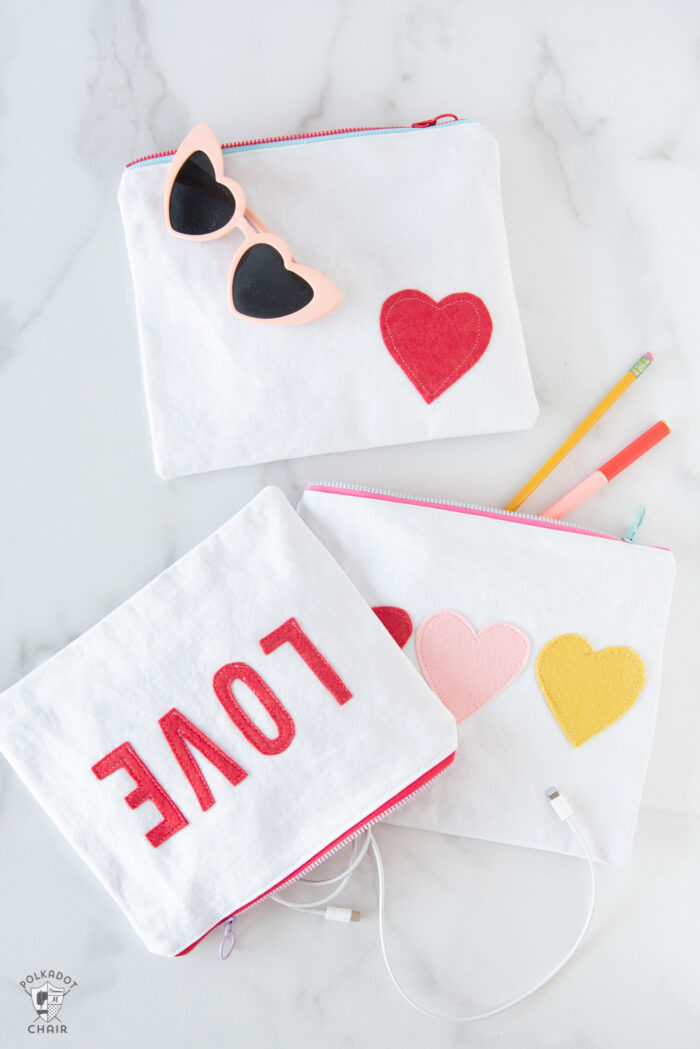
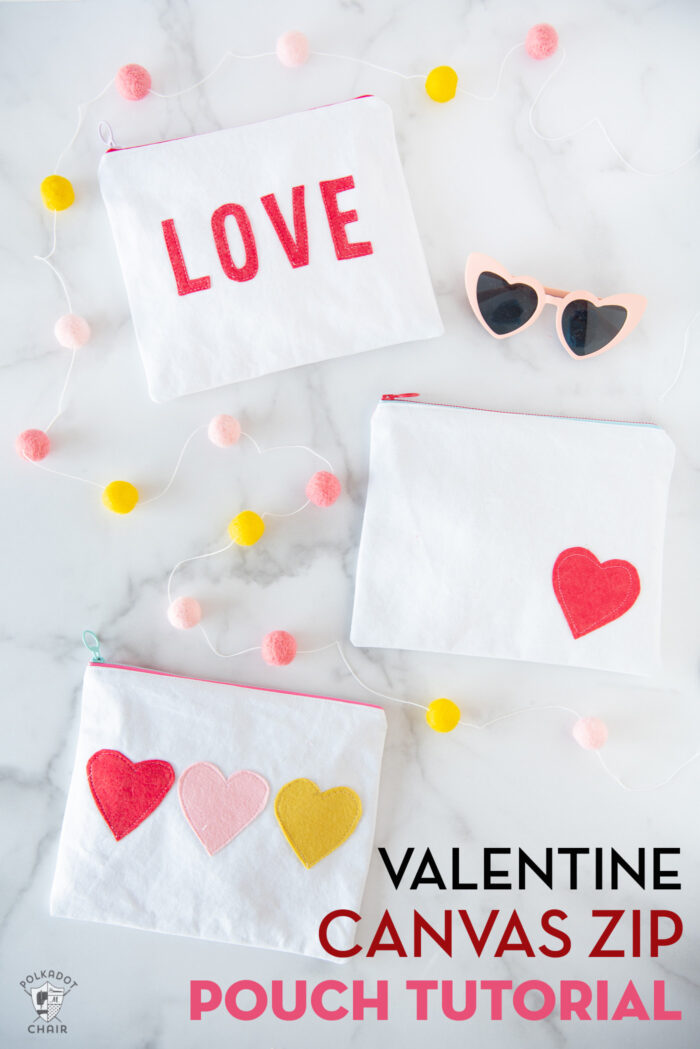
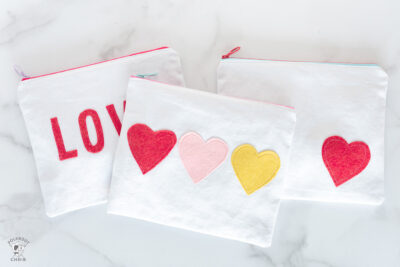
I designed 3 different bags:
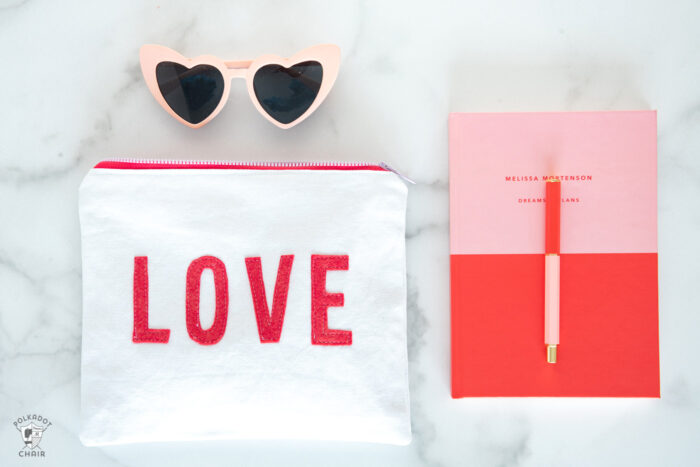
- LOVE Zip Pouch
- 3 Hearts Pouch
- Red Heart Pouch
The downloadable template includes applique patterns for all 3 versions. Mix and match the appliques any way that you’d like.
Video Instructions
I’ve created a short video of the construction process. It’s a “sped up” version and should give you a really good overview of the construction steps to create the bags!

Canvas Zip Pouch Tutorial
Equipment
supplies
- 2 pieces Canvas 8" x 10" – I like to prewash my canvas before I use it to soften it
- 2 pieces Lining Fabric 8" x 10"
- 1 8" or 9" Zipper
- 1 piece Heat N Bond Lite
- 1-3 pieces Felt Color and quantity depends on which bag you are making
- 1 Template fill out the form above
Instructions
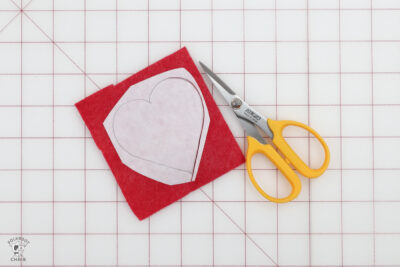
Create the Applique
- Download and print out the template for the hearts & "love".

- Trace the design you want onto the paper side of the heat n bond.
- Cut out loosely.
- Iron on the wrong side of the felt, according to the directions on the package of heat n bond.
- Cut out again, precisely this time.


Attach to Bag
- Remove the paper backing and place the cutout applique shape on the front of your 8" x 10" canvas bag piece.
- Adhere it using your iron.
- Stitch around the applique with your sewing machine close to the edge of the shape.


Create the Zip Pouch
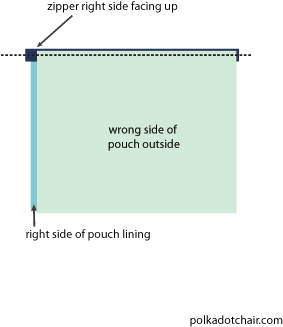
- Pin the right side of the zipper to the right side of the top of the canvas front piece (the piece with the applique).

- Pin the right side of the lining piece to the wrong side of the zipper.
- Using the zipper foot for your sewing machine, stitch in place.
- Repeat steps with the other canvas and lining pieces on the other side of the zipper.
- Press the seams away from the zipper and topstitch along the sides of the zipper.

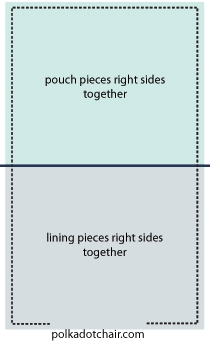
- Unzip the zipper.Pin the canvas pieces and lining pieces together, right sides facing. When you pin, be sure to have the teeth of the zipper facing the lining.
- Stitch around the outside edge using a 1/2" seam allowance, leave a 4" opening in the lining.

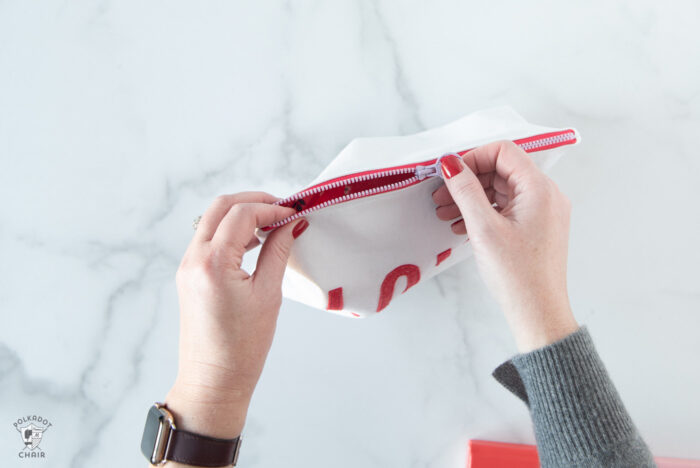
- Turn right side out. Test to make sure it zips properly.
- Turn under the raw edges in the lining and stitch closed using a sewing machine or a hand sewing needle.

Notes
More Zip Bag Tutorials & Patterns
How to Make a Quilt As you go Pencil Pouch
40 Free Zippered Bag Tutorials