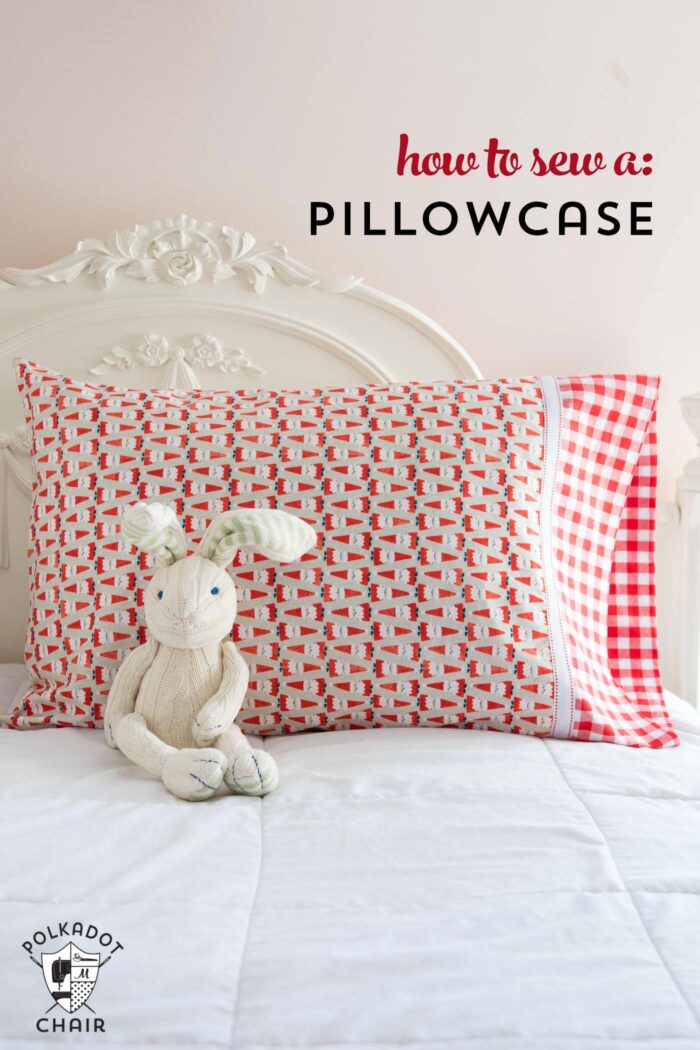
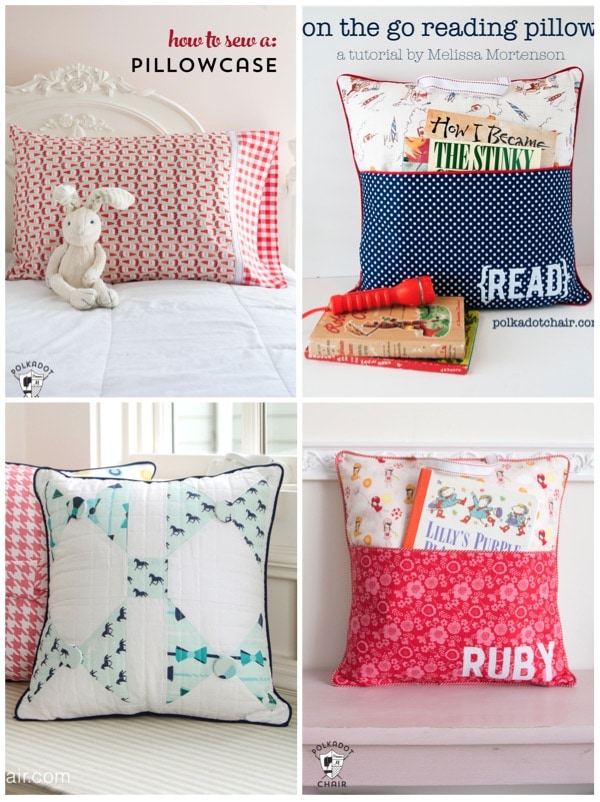
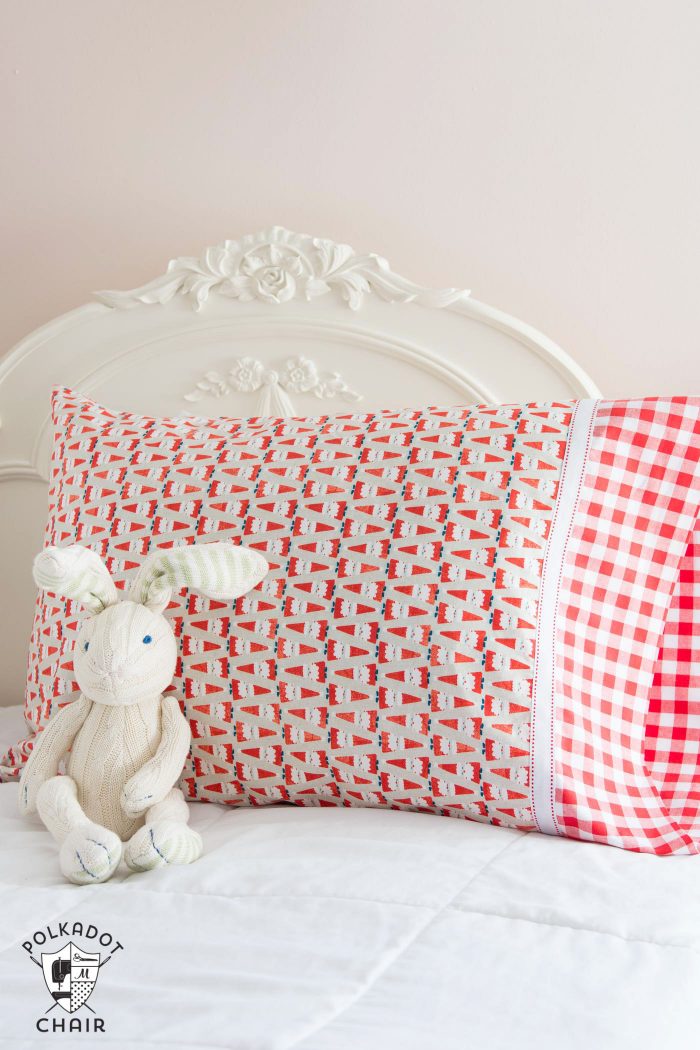
How to Make a Pillowcase in 3 easy steps!
Today I’m going to share a free tutorial that teaches you how to make a pillowcase. I stitched up a Christmas Pillowcase because it’s quick and easy and makes a great gift! You can also use this pillowcase pattern to sew pillowcases for other Holidays, or just everyday!
A few years ago I made a set of Christmas pillowcases for my nephews for Christmas. I was telling a friend of mine about the project (she was looking for easy gift ideas for kids for Christmas) and she asked if I had a tutorial for it on my site.
Later, I realized while I was talking to her that I never got around to writing up a tutorial for the pillowcase pattern. Today I thought I’d share with you how to sew a simple pillowcase.
I realize that this is one of many free pillowcase tutorials on the web. Obviously, I didn’t invent it the handmade pillowcase but thought I’d share with you guys my “go to” way for making a pillowcase.
It’s crazy easy. So easy that you may find yourself making pillowcases for every occasion. How cute would a special birthday pillowcase be?
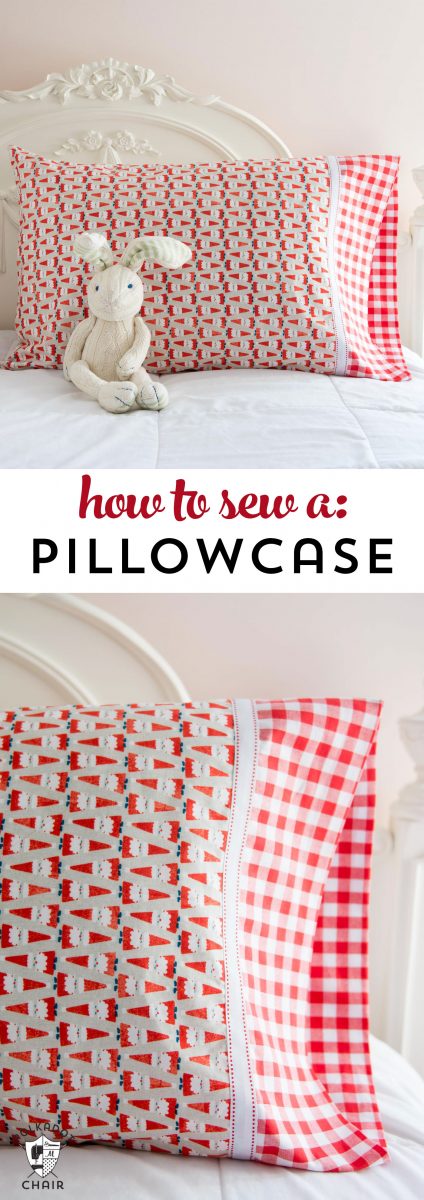
How to Sew a Pillowcase
This pillowcase takes longer to cut out than to sew, it’s THAT quick, and uses a serger. If you don’t have a serger you can still make one, you’ll just need to substitute french seams where it calls for a served seam (to learn how to sew a french seam click here).
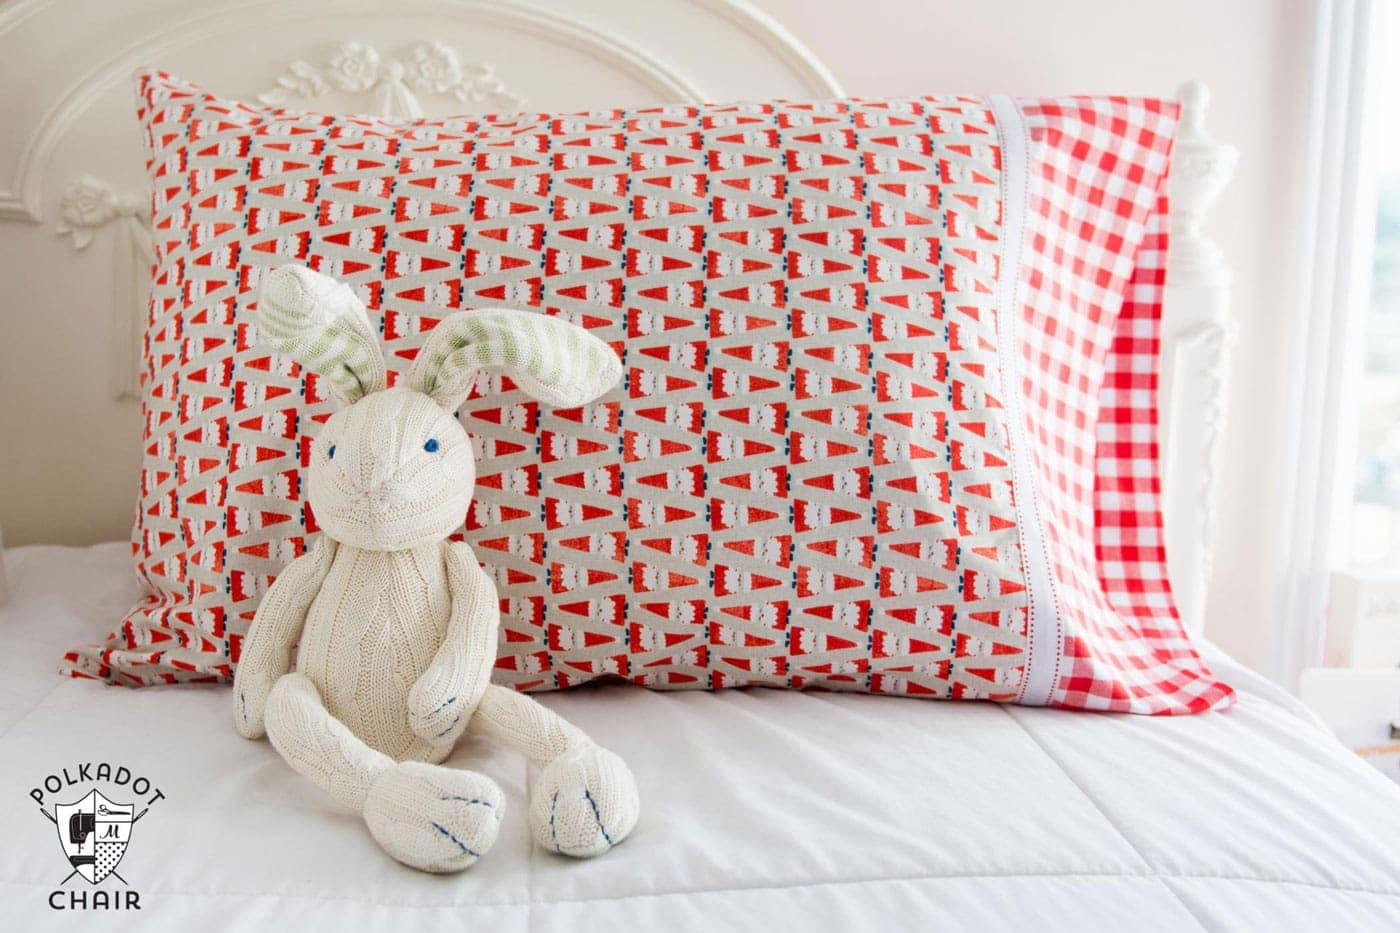
If you do have a serger, this project is crazy fast!! To add some detail to the pillowcase I added a bit of ribbon trim to the edge.
Supplies Needed for the Pillowcases
The fabrics I used are from Cotton + Steel’s gingham and Tinsel Christmas lines. You’ll need 1 to 1 1/2 yards of fabric for the pillowcase and 1/2 yard for the band. This fabric is most likely no longer available. I have a Christmas Fabric line called Santa Claus Lane that would be very cute as pillowcases. You can find it here.
How to Make a Pillowcase
Equipment
supplies
- 1- yard fabric for pillowcase body – note: this is assuming that the pattern runs parallel to the selvage. If your pattern runs perpendicular to the selvage you’ll need 1 1/4 yards. (for example, my Santa’s are running sideways across the pillow vs. standing straight up and down)
- 1/2 yard fabric for pillowcase band
- 1 1/2 yards 1″ wide ribbon for trim
- Seam Tape
- Thread
Instructions
Pillowcase Pattern Cutting Instructions
- 1 Piece 11″ x 40″ for the pillowcase band
- 1 Piece 28″ x 40″ for the pillowcase
- Ribbon 40″ long
Construction Steps
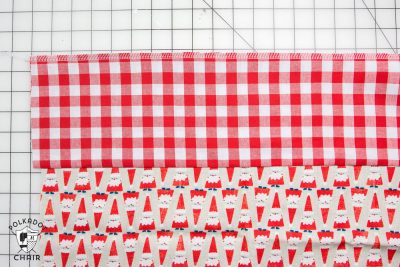
Step One:
- Begin by folding the 11″ wide pillowcase band in half lengthwise. Press. Pin the 40″ side to the right side of the 40″ side of the pillowcase.
- Finish this seam. I like to use a serger. If you don't have a serger just use a wide zig zag stitch on your sewing machine.

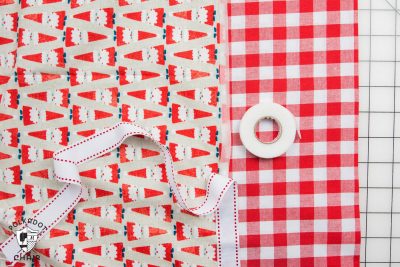
Step Two:
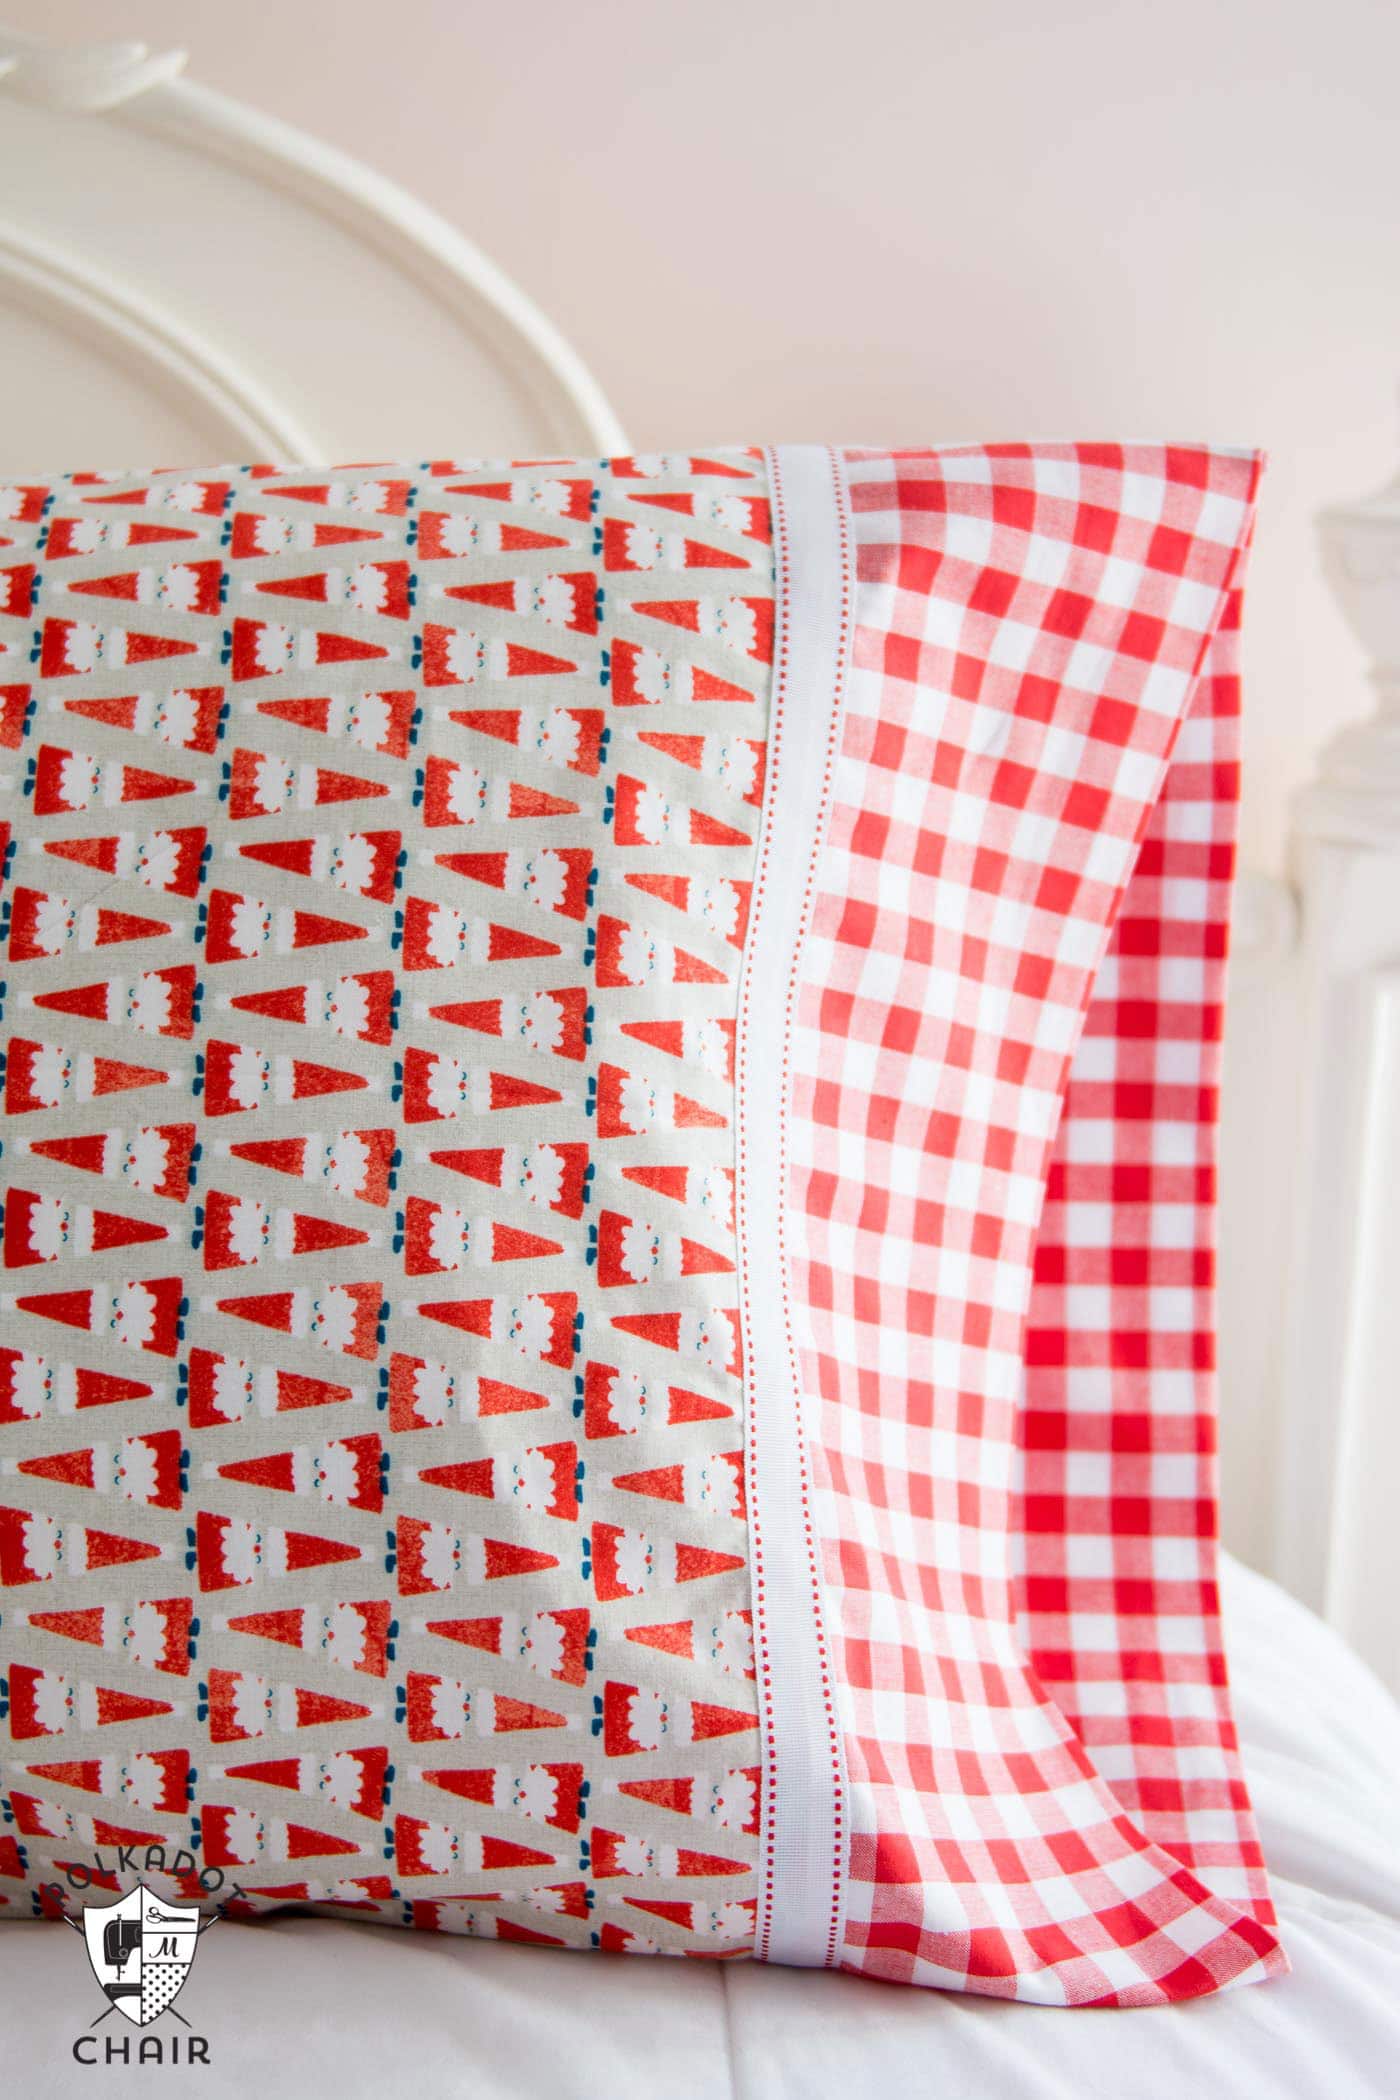
- Press the seam to one side. Using the seam tape, iron the ribbon onto the pillowcase centered over the seam between the pillowcase and the band.
- Topstitch Stitch ribbon very close to the edge to secure.
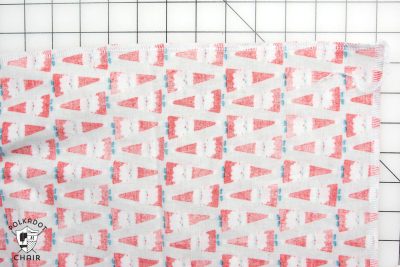
Step Three:
- Fold the pillowcase in half and serge the bottom and sides.
- Clip the strings and you’re done!!
Notes
Cute Christmas Pillowcase Poem
“Each Christmas Eve I lay in bed I cannot fall asleep ‘Cuz Santa and his elves will bring some toys and games that beep!
My brain is in a thinking mode I wiggle and I giggle Then I get my MAGIC CASE And slip it on my pillow.
I close my eyes and start to dream Of gifts and sugar plums. Then all at once, my mother’s voice Tells me that Santa’s come.
When you can’t sleep on Christmas Eve You toss and turn and wiggle Just slip this MAGIC PILLOW case over your soft pillow”
Printable Version of the Poem
If you’d like to more info about the poem to go with the Christmas Pillowcases you can see a post about it by clicking HERE.
You can now purchase a PRINTABLE PDF Copy of this pillowcase pattern bundled with 2 of our most popular pillow patterns including our reading pillow)!


Is the ribbon necessary, or can I leave it off? I don’t think my boys would like it. Sorry, I’m new to sewing.
Could I leave off the ribbon, or is it necessary?
Am wondering if there is a way to get your original pillowcase how-to from 2016. I just “found” my supplies including the Santa Parade fabric from that year which was hiding since moving years ago. I don’t remember what exactly is different in those instructions, but there was something of interest to me in that one – can’t put my finger on it. Also, shall I assume that you use a 5/8″ seam allowance when making the pillowcase? Hoping to hear back and looking forward to making my Santa Parade pillowcase! I, too, would love the pattern for that precious bunny when you decide to take it apart to make the pattern! After all, we know that with your expertise, you’ll have that bunny put back together in no time! Love you website!
Hi!
This is the same pattern that has been up since 2016, so I’m not sure which one you’re referring to. It’s the only pillowcase pattern I use.
I prefer a 1/2″ seam allowance since it makes the math easier.
Love this so much! Thank you for sharing! I can’t wait to start making pillowcases. Do you recommend washing the fabric before working with it?
I really liked this pattern! I found out the hard way however that you can not use fabric ADHESIVE to attach the ribbon! I gummed up the needle and my scissors ! I’ll know better next time!!
Yes! Just use the iron-on wonder under!
There is an easier method to make pillows cases called the burrito method which hides the seam between the band and body inside the burrito. You can serve the end and side or do the French seams.
the link for french seams isnt working for me
What type of ribbon do you use? Where do I find it?
It’s just regular grosgrain ribbon. I believe I got it at JoAnn
I love your fabric combos and thank you for the easy pattern. Can I ask where you purchased your tape from, I love the white with just a touch of red.
So – sorry to seem thick – but it’s all open on the side where you stuff the pillow?
Yes, just like a regular pillowcase
Did your nephews actually ENJOY the pillowcases? I mean they’re super cute and look amazing, but if I was a kid and my aunt sent me a pillow case for Christmas she would become the least favourite aunt — even with a thoughtful poem. It seems like a gift for mommy and auntie, to be honest. Toys and candy are best for kids. And recommending others to give their child relatives pillowcases just seems a bit evil.
Most kids love a special pillowcase made just for them. Have you ever heard the term “rug rats” they mean kids because the tend to live on the rugs watching tv,lego’s, puzzles etc. Pillowcases can be made in their favorite sports team, animals, movie’s,and hobbies. I think you may see by now that most everyone especially kids love them.Add a book and a treat and you will be a favorite Aunt?….
How crazy easy is this! I have used one of the other “quick and easy ” ways to make pillow cases and loved the ease and outcome. But this way has moved to the top way to make pillow cases! …love making “special” cases. Every child I have made one for has love them…I specialize them with their embroidered initials or name on the band. Thanks so much for this super easy way!!!!
your site is awesome! I’m having trouble finding where to put the password to download the poem.
Can you help?
How much material is needed for the main part of the pillowcase if you are using a directional fabric? The santa clauses are sideways on your pillowcase.
To reduce waste I just cut the fabric to 27″ long and kept the width (40″ is the width minus the selvage edges).
If you want the fabric to run the other way, you’d need to cut two pieces each 21″ x 27″, then stitch them together along the 27″ side with a 1/2″ seam allowance. So that would be roughly 1 1/2 yards of fabric.
This has to be the easiest thing ever. Ran out got fabric, ran home, made them. Thank you so much for sharing!!
So glad~!!!!
Love the idea using the poem with it! But, I can’t quit staring at the bunny!! Any chance he has a story or pattern?
No, but people ask me that all the time. I can’t bear the thought of pulling him apart to turn him into a pattern but I might have to.
Oh. I am torn between begging you not to and BEGGING you to do it. Either way he remains adorable and endearing. Sweet prop and companion.
Me too, I love the bunny. Looks like it is made from a sweater. I may have to find a similar pattern. Adore the pillow case also
Just bought my first serger this week!!! I see a surge of pillowcases under under the tree this year!! Perfect timing!
Thank you for sharing your very sweet pillowcase tutorial. I love your fabric! I’d like to make two Christmas pillowcase for great nephews, and include your poem. May I include your poem?
Yes! That’s why I posted it!
What are dimensions for king size pillowcases.
How cute is that Santa pattern!!? Reminds me of a garden gnome in Christmas form. <3