• Skip to primary navigation
  • Skip to main content
  • Skip to primary sidebar

The Polka Dot Chair logo

  • SEWING
    • Free Sewing Patterns
    • Bag Patterns
    • Costumes
    • Apparel
    • Learn to Sew
    • Beginner Friendly
    • Embroidery Projects
    • Tips & Techniques
    • All Sewing
  • QUILTING
    • Quilt Blocks
    • Learn to Quilt
    • Free Patterns
    • Quilt Patterns
    • All Quilting
  • CRAFTS
    • Disney
    • Cricut
    • Printables
    • All Crafts
  • HOLIDAYS
    • Seasonal Projects
    • Valentine’s Day
    • Easter
    • 4th of July
    • Halloween
    • Thanksgiving
    • Christmas
    • All Holidays
  • TUTORIALS
  • ABOUT
    • About Me
    • My Fabric Collections
    • Published Books
    • Press
    • FAQ’s
    • Contact
  • SUBSCRIBE
  • SHOP
menu icon
go to homepage
  • SHOP
  • TUTORIALS
  • SEWING
  • QUILTING
  • SUBSCRIBE
  • CRAFTS
  • HOLIDAY PROJECTS
  • ABOUT
    • Published Books
    • My Fabric Collections
  • CONTACT
    • Facebook
    • Instagram
    • Pinterest
    • YouTube
  • subscribe
    search icon
    Homepage link
    • SHOP
    • TUTORIALS
    • SEWING
    • QUILTING
    • SUBSCRIBE
    • CRAFTS
    • HOLIDAY PROJECTS
    • ABOUT
      • Published Books
      • My Fabric Collections
    • CONTACT
    • Facebook
    • Instagram
    • Pinterest
    • YouTube
  • ×

    Home » Quilts

    Snuggly Bricks Fat Quarter Quilt Tutorial

    Updated: Mar 18, 2019 by Melissa Mortenson · This post may contain affiliate links · This blog generates income via ads · 46 Comments

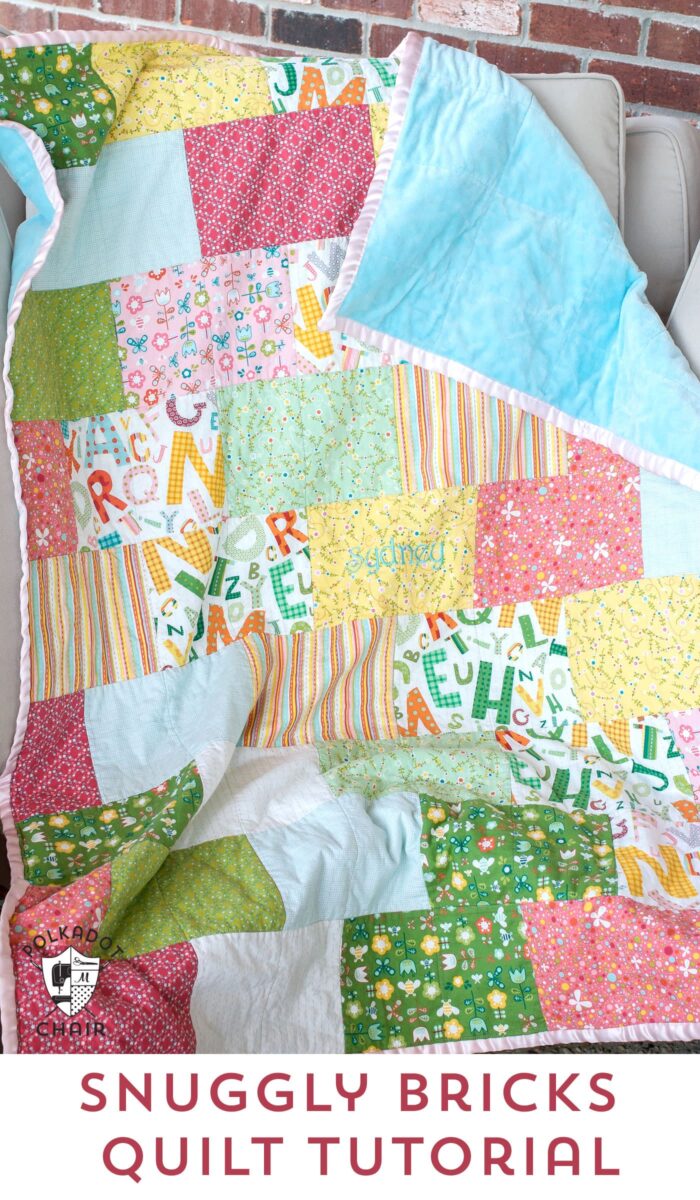
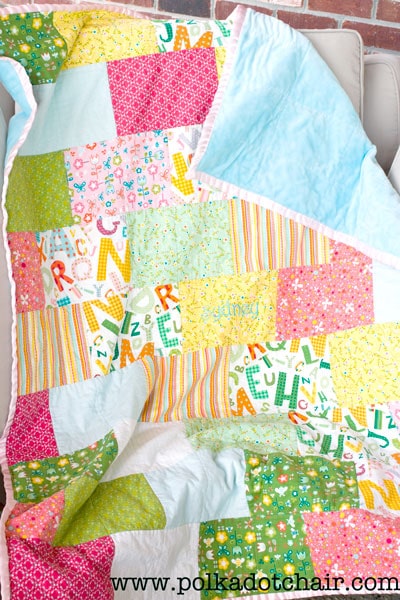
    This simple bricks fat quarter quilt pattern is super snuggly and makes the perfect gift! It’s easy to stitch up which makes it the perfect project for someone who is learning how to quilt. 
    Snuggly Bricks Pattern Quilt tutorial on polkadotchair.com

    For Christmas last year my kids all were asking for lots of electronic toys. Fearing a Christmas morning full of noise and beeping, I decided they needed something soft and snuggly to balance out all of the technology.
    brickquiltA

    I made each of my 3 kids a quilt, you can see the one I made for my oldest here. This quilt I made for my younger daughter and I was thrilled with how quickly it stitched up.

    Snuggly Bricks Pattern Quilt tutorial on polkadotchair.com

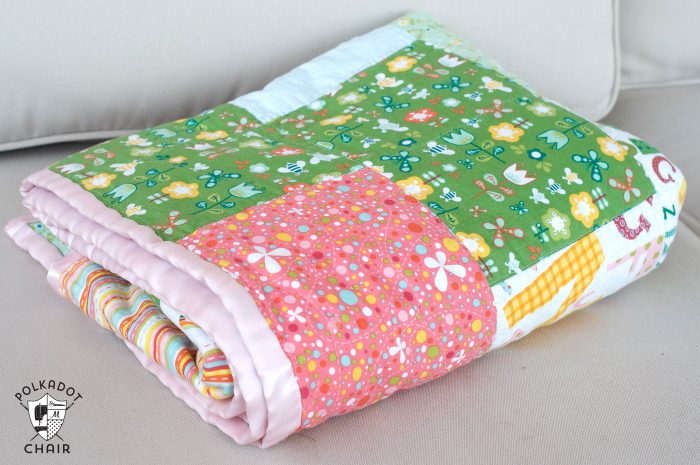
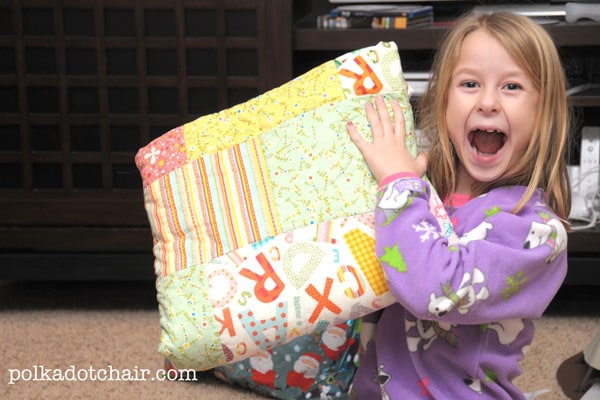
    These have been the best quilts. The kids drag them all over the house, take them in the car and otherwise use and abuse them and they have held up great.  I just throw them in the wash and they come out clean and even more snuggly than before!

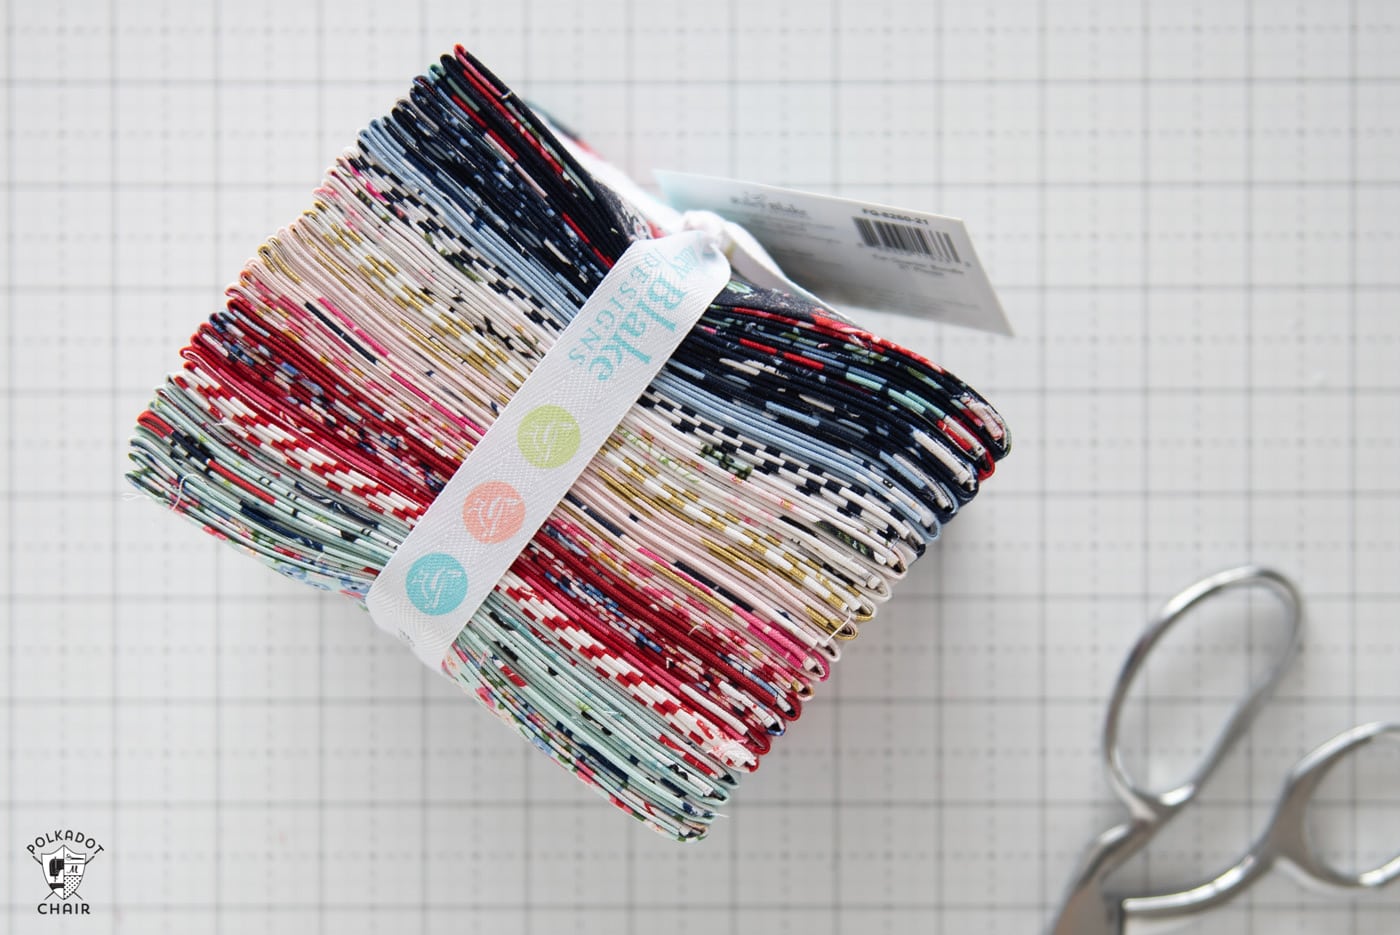
    This quilt pattern uses fat quarters, and I’ve said before that I really really LOVE fat quarters! You get just a taste of a lot of different fabrics, kinda like a quilt made of only appetizers,

    It’s backed in Minke, and bound in satin binding. I would not use the satin binding if I did it again,  but hey live and learn.

    For this quilt you will need:

    – 12 Fat Quarters
    – 2 yards Snuggles
    – 100% cotton batting
    – Binding

    Cutting Guide for the Fat Quarters:

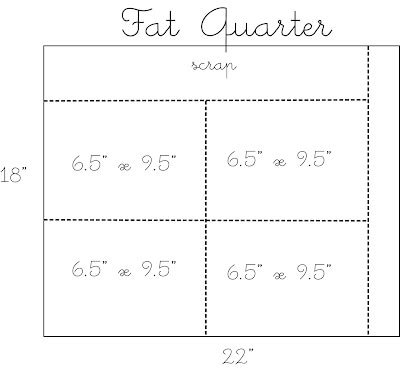
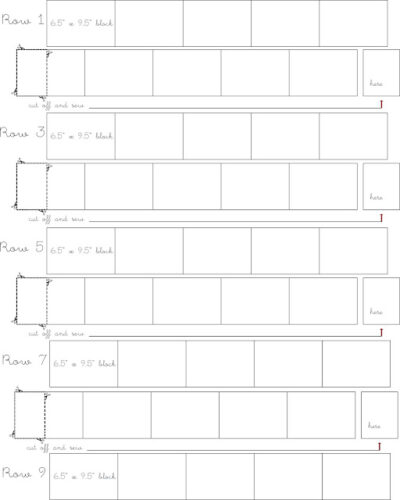
    To begin, cut your fat quarters into 6.5″ x 9.5″ blocks. You can get 4 blocks per fat quarter, use the cutting guide below for reference.

    You will end up with 48 rectangles, you only need 45 for the quilt, save the extra for something else.

    Quilt Construction:

    After you’ve cut out all of your pieces, you’re ready to begin sewing your pieces together by rows.

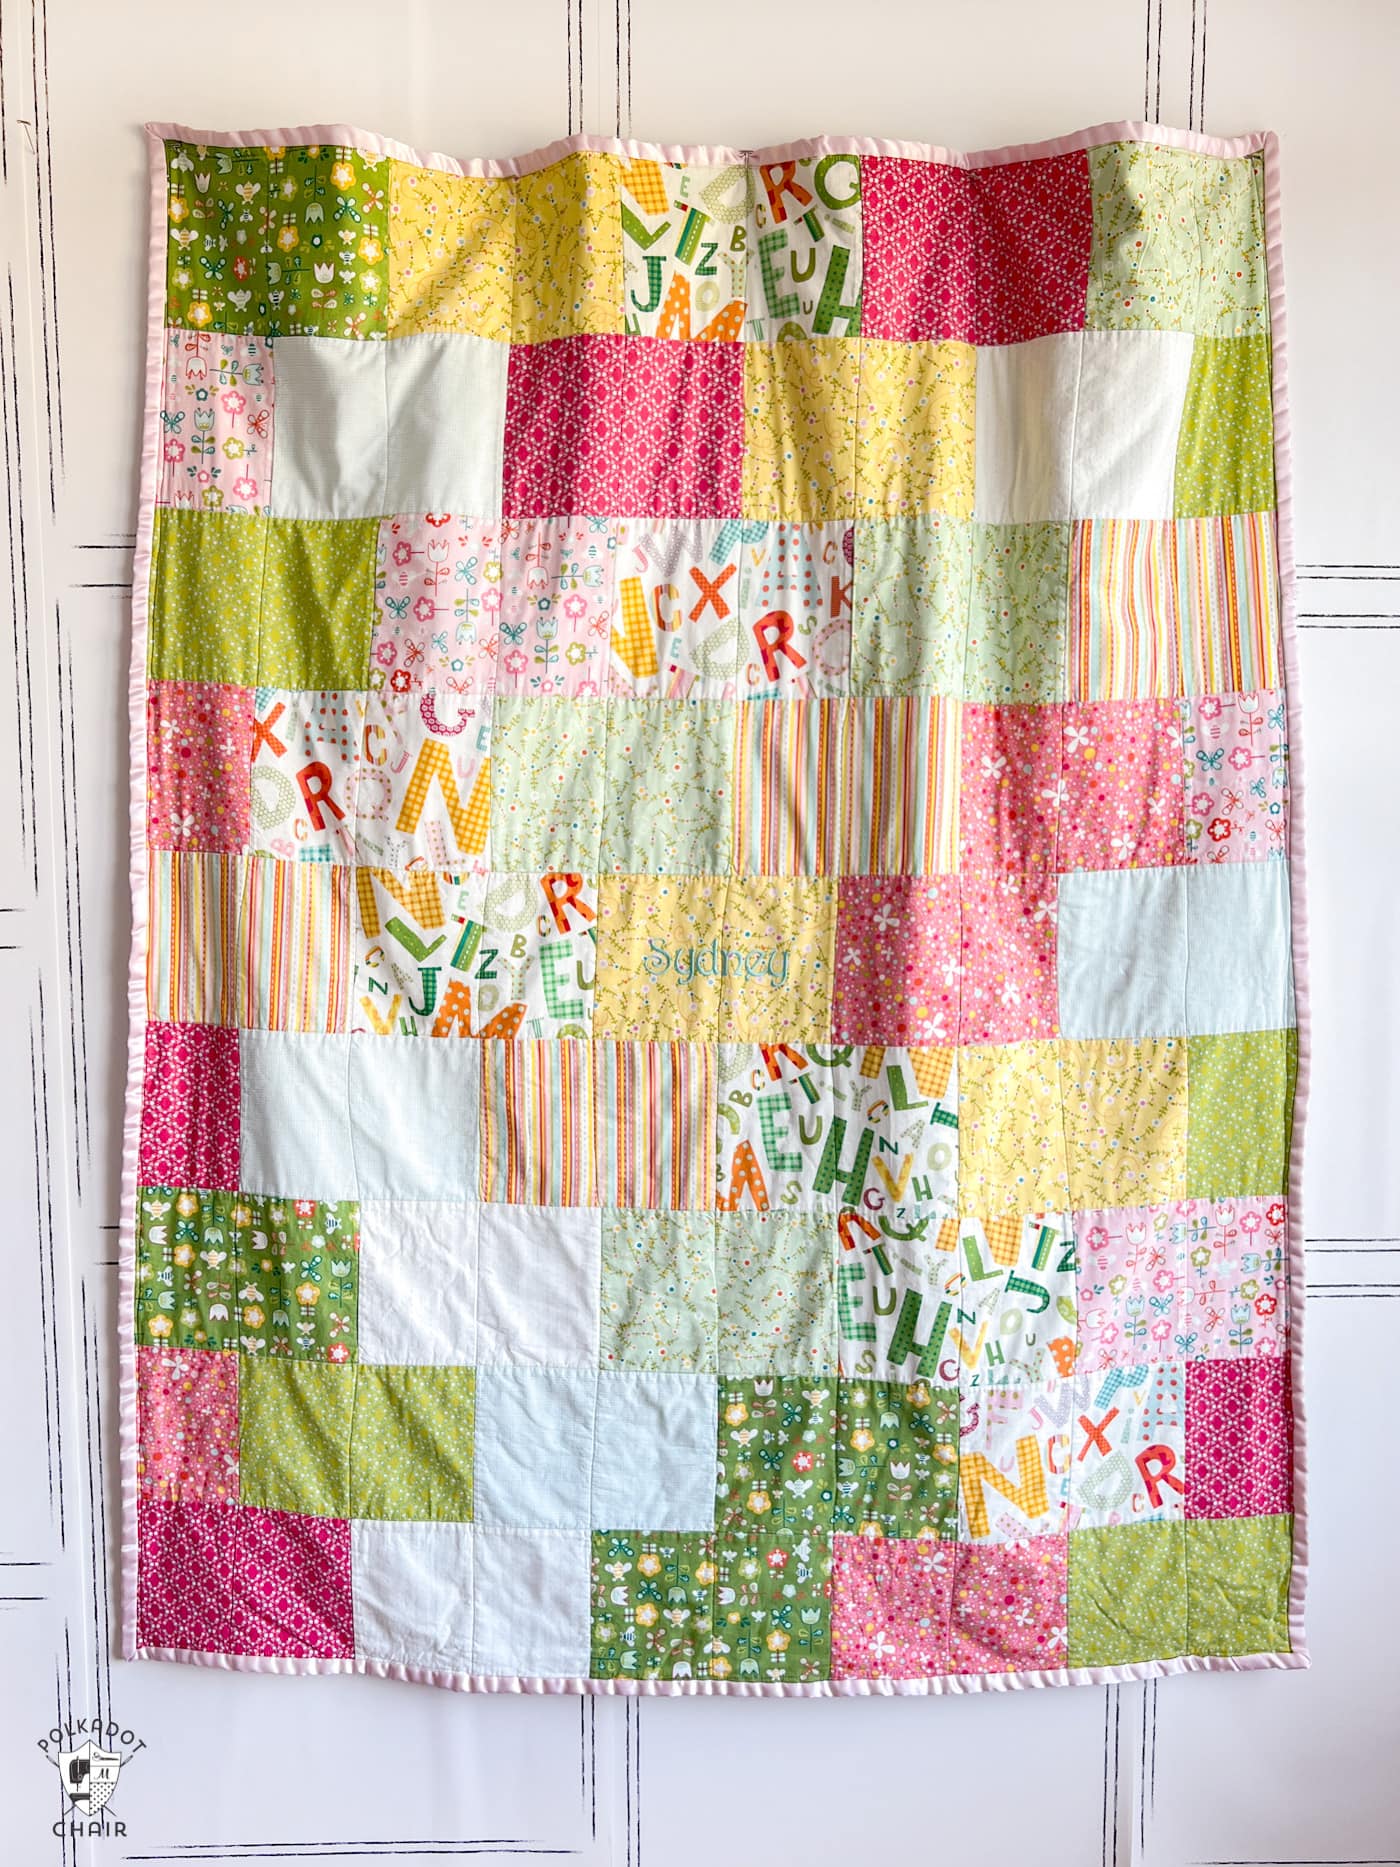
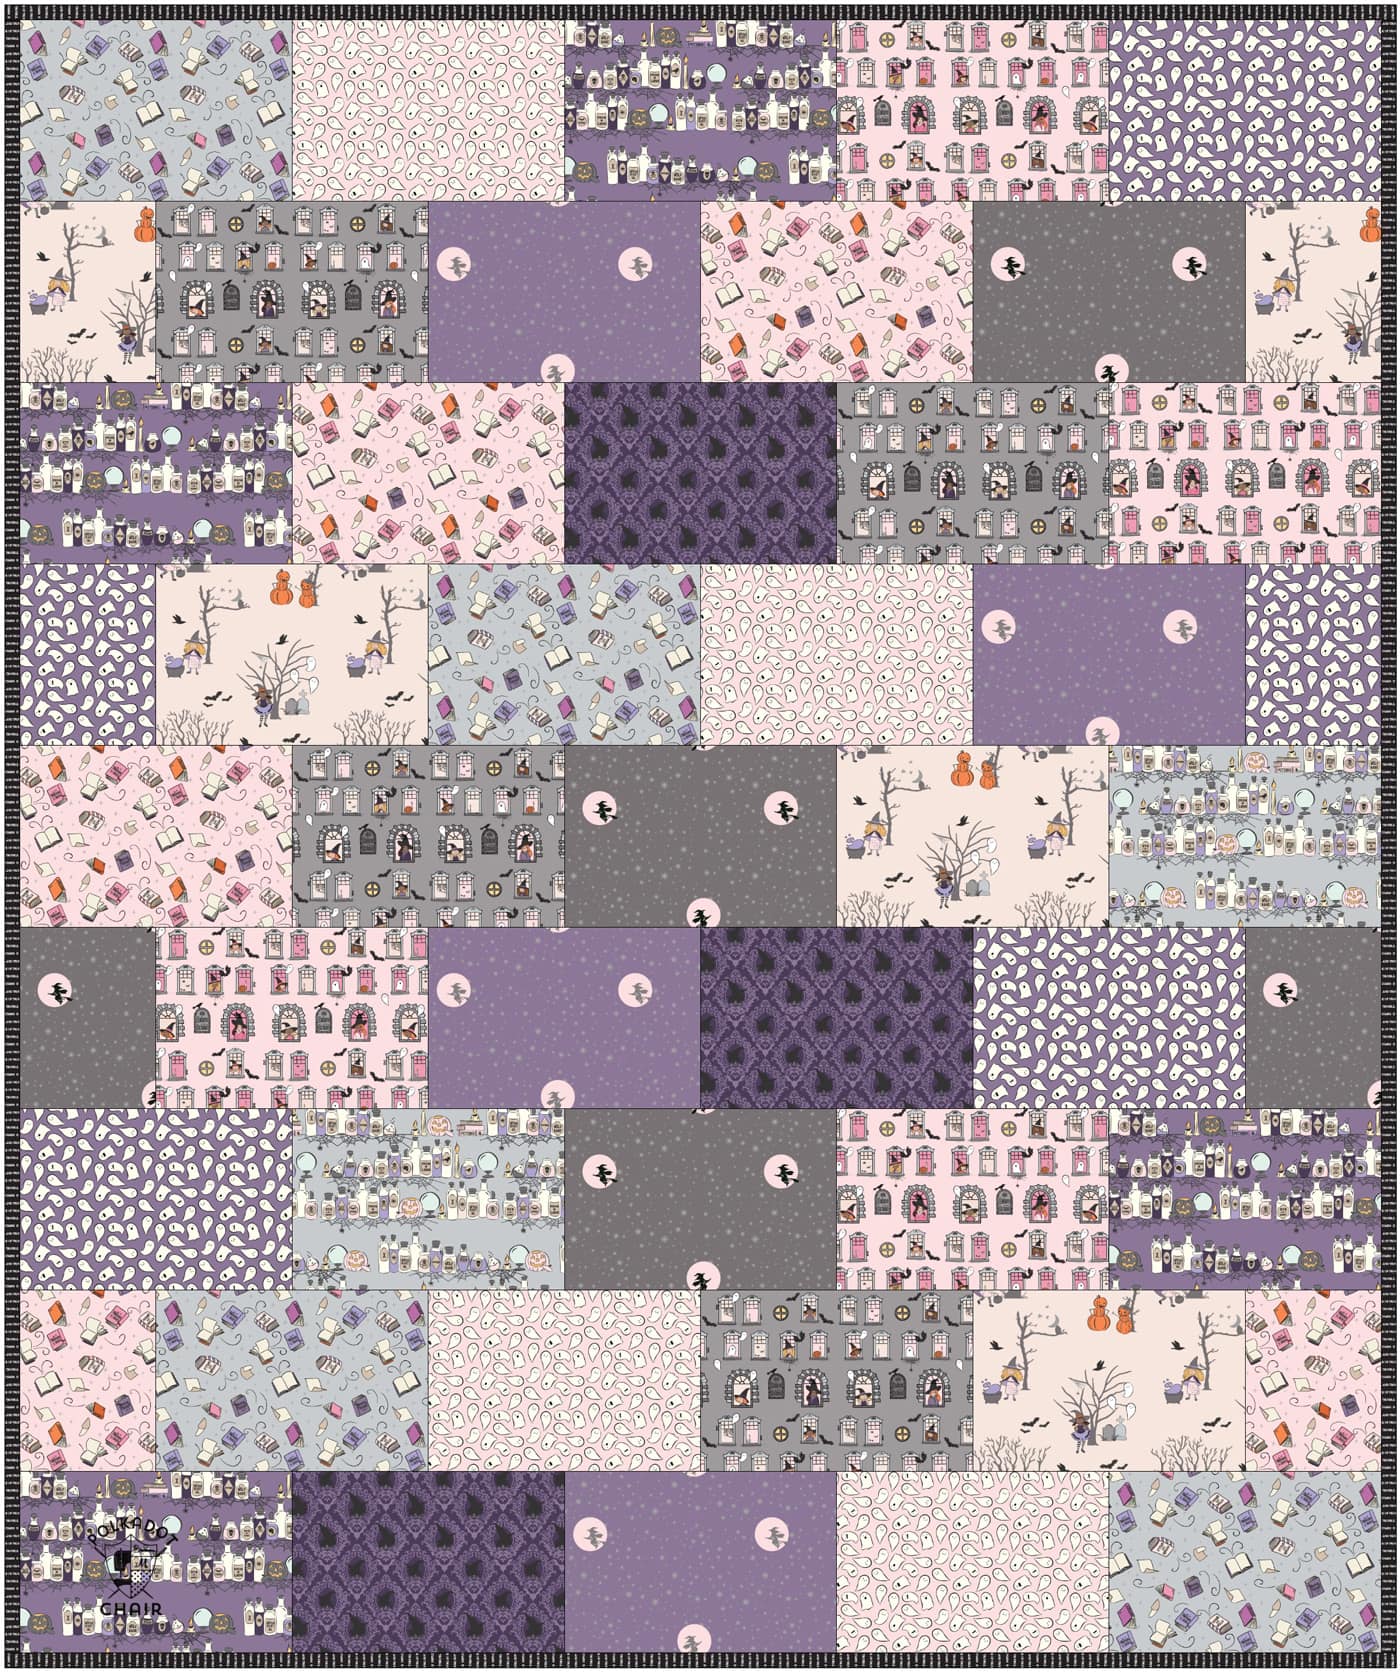
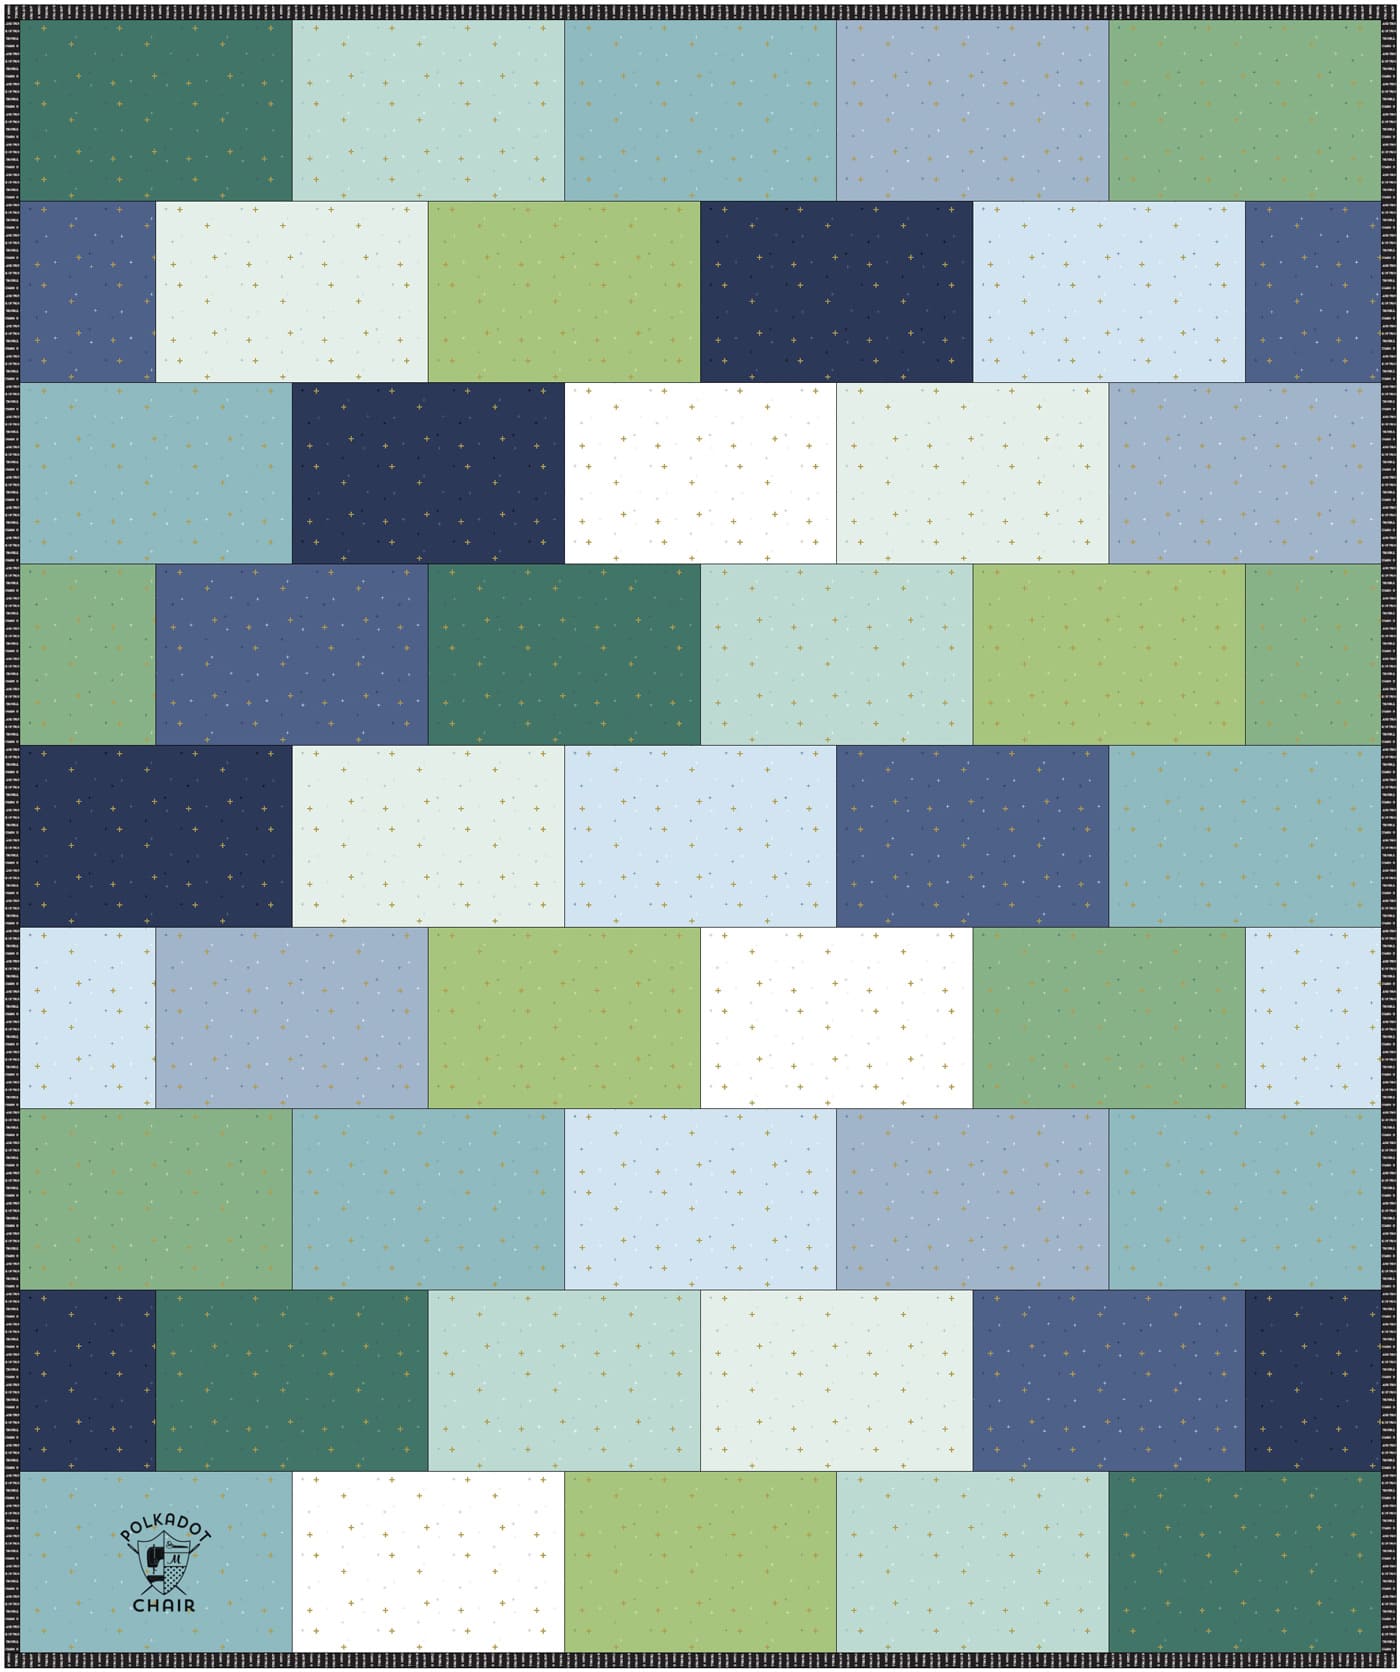
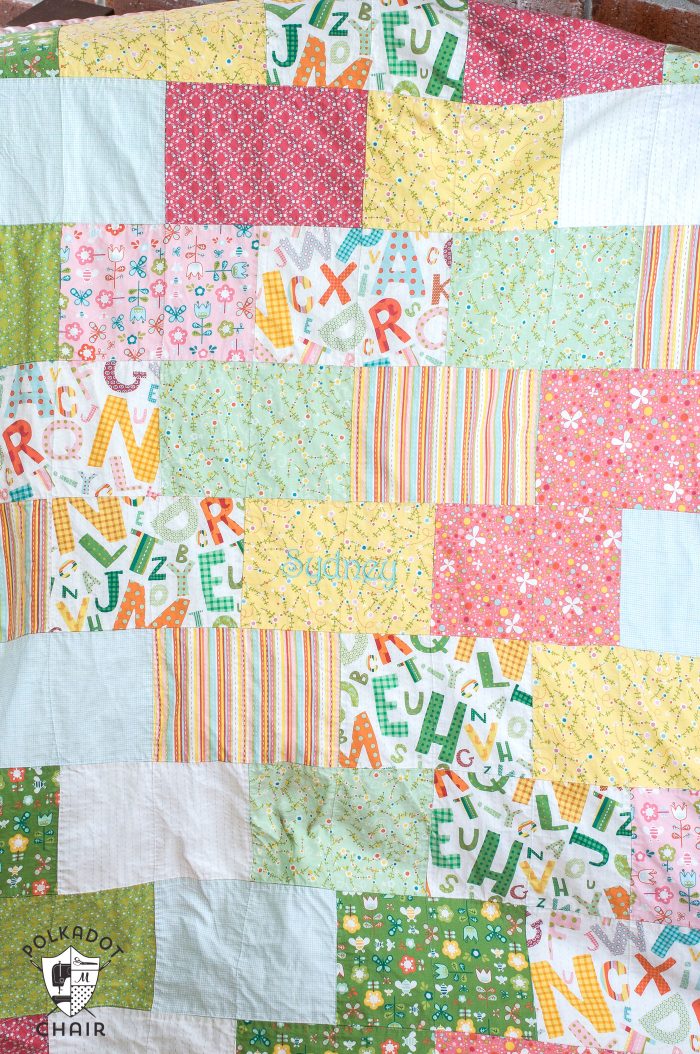
    The rows are staggered which gives the quilt the look of bricks stacked up on a wall.  One of the great things about sewing quilt blocks together this way is that it is super forgiving. If your seams aren’t matched up perfectly, it doesn’t’ matter.

    Sew 9 rows of blocks. Each row has 5 blocks sewn together.

    On the odd rows sew 5 blocks together along the short edges.

    For the even rows, sew 4 blocks together, then cut your 5th block in half (so that it’s 6 ½″ x 4 ¾″) and sew half to each end as shown in the diagram above.

    To Assemble the Quilt Top:

    After you’ve sewn 9 rows, then sew your rows together.  The blocks should be staggered like a brick wall.

    Trim edges even if necessary. Make your quilt sandwich and machine quilt. If you’d like to see how I make my “quilt sandwich” click here, it’s explained on my table runner tutorial.

    For the quilting, I used a walking foot and did a stitch in the ditch over each seam.
    Snuggly Bricks Pattern Quilt tutorial on polkadotchair.com

    Bind & Enjoy!!!

    brickquilt2A


    More Quilt Patterns Perfect for Beginners:
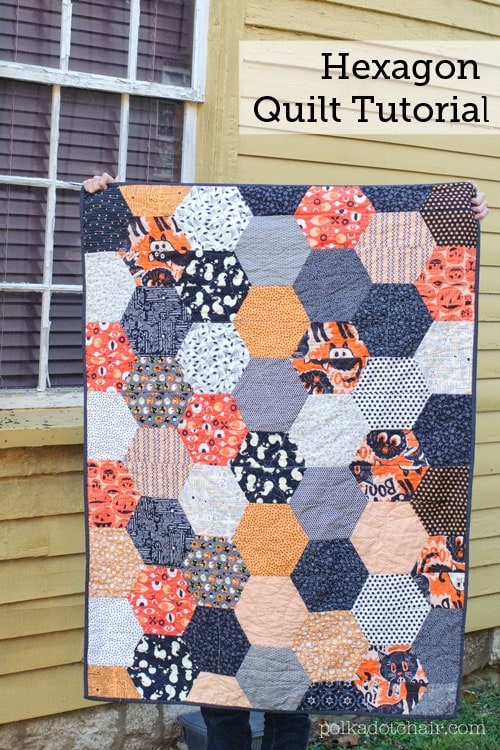
    Hexagon Quilt Tutorial

    Large Hexagon Quilt Tutorial

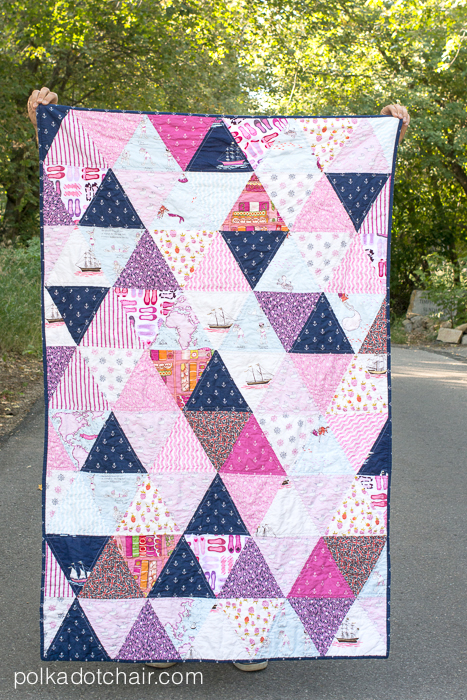
    Triangle Quilt

    Triangle Quilt

    sensory strip baby quilt


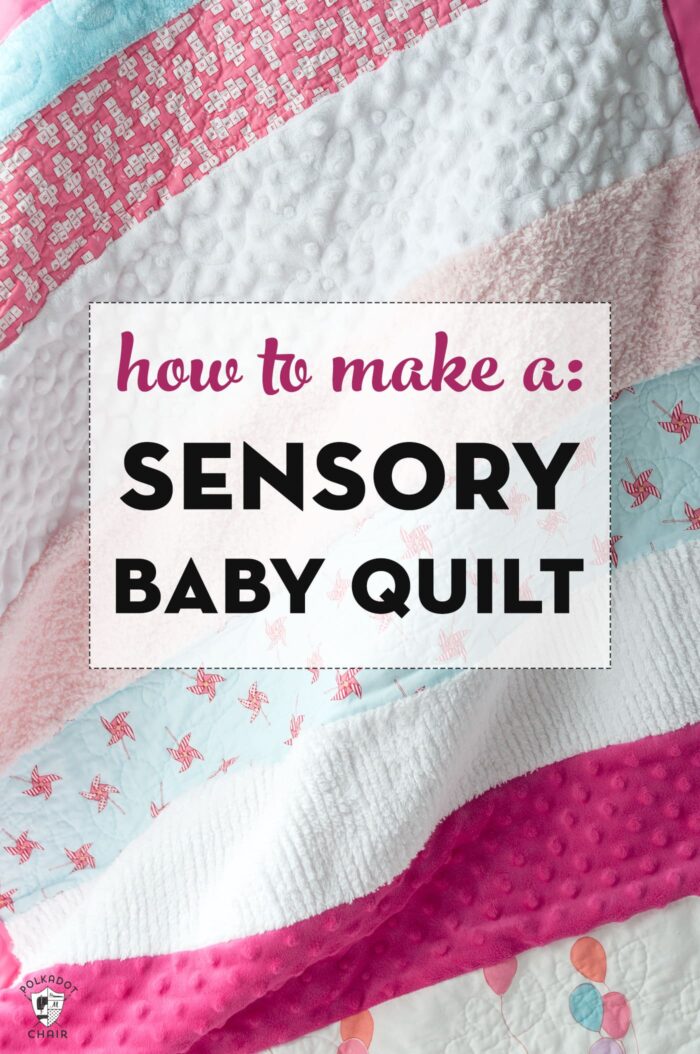
    Sensory Baby Quilt Tutorial


    More Projects You May Enjoy

    • English Bloom Mug Rug; an EPP Project
    • Color Combination Ideas for your Next Quilt or Sewing Project
    • 15+ Quilted Table Runner Patterns Perfect for Spring
    • First Edition; Book Quilt Block Mug Rug Pattern

    • Share
    • Email

    About Author

    Melissa Mortenson

    Melissa Mortenson is a blogger, designer, and content creator. She is the Polka Dot Chair blog founder and has been sharing fresh and creative ideas with readers since 2008. She is the author of “Project Teen, Handmade Gifts your Teen will Actually Love.” Her work and designs have been featured on HuffPost, TODAY, Pioneer Woman, HGTV, BuzzFeed, Better Homes & Gardens, and many other established publications. Her first fabric line, “Derby Style,” debuted in January 2015 through Riley Blake Designs.  Additional fabric collections have followed it in subsequent years. A mom of 3, she considers herself lucky to be living in Kentucky.

    Reader Interactions

    Comments

    1. gnee @ Singing With Birds says

      August 17, 2010 at 5:39 pm

      Thanks for this awesome quilt tutorial. I’m going to make a couple for when my grands come for a visit. I just never have enough snugly blankets for everyone!

      Reply
    2. Rachel says

      August 17, 2010 at 5:46 pm

      Oh gosh these are so cute!! What a great tutorial!! I’m putting this one in the files as maybe I’ll have time to make some quilts when the kids are finally back in school.

      Thanks!
      Rachel

      Reply
    3. Natalia from Piece N Quilt says

      August 17, 2010 at 5:56 pm

      Love it! Thanks for sharing!!!

      Reply
    4. Kathy says

      August 17, 2010 at 5:57 pm

      Precious….
      The best toy ever,
      a snuggly homemade quilt!
      xoxo~Kathy @
      Sweet Up-North Mornings…

      Reply
    5. Chris says

      August 17, 2010 at 6:06 pm

      What a fun and simple quilt. Thanks for the tutorial. By the way, I like the new look to your blog.

      Reply
    6. Anna says

      August 18, 2010 at 1:39 am

      cute quilt, however, I do love your new blog layout, it’s super duper cute! 🙂

      Reply
    7. michelle@somedaycrafts says

      August 18, 2010 at 8:21 am

      i love brick quilts. Plus you don’t have to worry about 4 corner matching up exactly
      !

      Reply
    8. ohiostar5 says

      August 18, 2010 at 10:06 am

      Thank you Melissa for the great tutorial. I have so many fat quarter collections (Fat Quarter shop), this pattern would make good use of them. Will cut one out this afternoon. BettyLou

      Reply
      • Elizabeth Burns says

        February 23, 2020 at 5:48 am

        This is a really lovely quick quilt. Your instruction are so easy to follow. I am very impressed. Thank you from Australia for this pattern.

        Reply
    9. Bethany @ The Paper Pony says

      August 18, 2010 at 5:14 pm

      So cute. I love that you don’t have to be as exact as with other quilts!

      Reply
    10. Sims Mom says

      August 18, 2010 at 10:21 pm

      I have a quick question. Is there enough scrap left over to make a pieced binding with? Thanks!

      Reply
    11. Annabelle says

      August 19, 2010 at 3:10 am

      annabelle at annabelleserendipity.blogspot.com says: love your snuggly bricks tutorial. So simple and thanks for sharing. I am a new crafter and new blogger and need inspiration so it is wonderful for me to find this blog. I have got to try it. Thanks.

      Reply
    12. nancycreative says

      August 19, 2010 at 12:23 pm

      I love all the colors in your quilt!

      Reply
    13. Heather Bredimus says

      August 26, 2010 at 3:00 pm

      Hi! I found your site off of Today’s Creative Blog! I love your craft! I have always wanted to learn how to quilt! I have twins as well, two boys! I just signed up to be your newest follower! Woo hoo! I hope you stop by my new blog. I just started it 2 months ago and would love new friends! Please come see me at http://www.modernfamilymagazine.com

      -Heather-

      Reply
    14. Holly says

      September 20, 2010 at 10:50 am

      How big does this quilt turn out? I have 2 girls and have bought Girl Scout fabric and want to do quilts for them for Christmas, but want the quilts to be big enough for them to use for quite a while…

      Thanks!

      Reply
    15. Dylansmommie says

      December 03, 2010 at 2:00 pm

      Am I crazy or is there not enough bricks for 9 rows… I need to go get more quarters, LOL!

      Reply
      • LauraF says

        November 15, 2012 at 7:48 am

        Yup I found that out last night ! Wish I had read these comments first

        Reply
        • Melissa Mortenson says

          November 15, 2012 at 12:57 pm

          I didn’t realize there was a mess up with the count! I think my quilt had 8 rows not 9… I’ve corrected it though- you need 12 fat quarters for 45 blocks of fabric.
          Or you can make the quilt 8 rows tall and stick with the 10 fat quarters.
          Sorry for the mixup!

          Reply
    16. Amy says

      January 13, 2011 at 12:17 am

      Very cute! Thanks for sharing your pattern with us.

      Reply
    17. NewLeaf says

      January 18, 2011 at 12:33 pm

      what size was the quilt in the end? I think I’m going to use this as my first big sewing project for my infant.

      Reply
    18. Peggy says

      January 19, 2011 at 12:10 am

      I just used these instructions to raid my fabric stash and make 2 quilts for my nieces. I added a few borders to beef up the size, but otherwise followed your directions. Quick and easy! The quilts both came out great. I bookmarked your posting so that I can use it over and over.

      Reply
    19. my happy bluebird says

      June 18, 2011 at 9:22 am

      Thanks so much for this tutorial! I have been searching the internet for a few weeks trying to find a simple pattern — and this is perfect! I won a fat quarter bundle from Fat Quarter Shop and I will be using that to make this pattern, but in a queen size.

      Linda 🙂

      Reply
    20. lmoylan says

      January 23, 2012 at 1:24 am

      Thank you for a wonderful tutorial. I just completed mine. I really appreciated the diagram of how to cute the fat quarters. I blogged about it here:
      http://moylanmayhem.blogspot.com/2012/01/quilt-number-2-bricks.html

      Thanks again.

      Reply
    21. Mama G says

      March 05, 2012 at 8:52 pm

      This is lovely! I’m adding it to my quilt board on pinterest =)

      Reply
    22. Kim says

      June 11, 2012 at 10:43 pm

      I know this post is 2 years old but do you know where you got the alphabet fabric? I have a hard time finding alphabet fabric that I like and I just adore this quilt!! Thanks!

      Reply
    23. Linda says

      August 12, 2012 at 12:56 pm

      I am very much a beginner and I cut this in half an evening and pieced it in one morning. After I finish the baby quilts, I plan to change up the fabric for lap quilt donations for our local Veterans Home. Thanks so much.

      Reply
    24. Ann Stinson says

      March 19, 2013 at 10:41 pm

      I’m about to try my first quilt ever and this looks relatively me-proof. 🙂 However, I was wondering if you used 12 DIFFERENT patterned fat quarters or if some were the same. I know it probably won’t matter because of its design, but I’m a little neurotic that way…

      Reply
      • Melissa Mortenson says

        March 21, 2013 at 8:43 pm

        Ann,
        I can’t remember… I do know that all of the Fat Quarters were from the same FQ pack. I only bought one package… if that helps at all.

        Reply
      • Margaret Burnett says

        March 22, 2013 at 9:19 am

        I don’t see why you cannot use 12 different fabrics. I certainly intend to. But then again, my favourite types of quilts are scrappy ones. I’m looking so forward to using up my “excess” fabric on these quilts. Have fun with your project.

        Reply
    25. Margaret Burnett says

      March 22, 2013 at 9:16 am

      Thank you so much, Melissa, for sharing your super easy & appealing pattern. What a convenient way of whipping up a baby quilt in a hurry.

      Reply
    26. Megan says

      May 22, 2013 at 2:20 pm

      Hi there! I know this tutorial is like 3 years old so I know I’m a little late to the game 🙂 but I have a question. I’m to the point of quilting this and have a question on quilting. You said you stitched in the ditch. Easy for long stretches across the quilt. For the up and down seams did you just sew in the ditch for a few inches and then move on to the next one? In other words was it a lot of broken runs or did you just go all the way from the bottom to the top? Sorry if this is totally confusing, just trying to figure out the best way to go about it!

      thanks!
      Megan

      Reply
      • Melissa Mortenson says

        May 23, 2013 at 2:39 pm

        Hi!
        I actually quilted all the way top to bottom, no broken runs. Does that help? Each block had a quilting line running through it.

        Reply
        • Megan says

          May 23, 2013 at 3:49 pm

          Yes! thank you! 🙂

          Reply
    27. Debra J. Farley says

      September 07, 2013 at 12:46 am

      I am about to start my first quilt ever…..I sew and crochet and have been wanting to quilt for quite some time but never have….I was going to take a class but my friend said just do it try something small, so I am but I am going to incorporate pictures into it….it will be a gift for my youngest daughter….I am so excited and I love this pattern….I will report back once I am done…wish me luck, I a little nervous!!!!

      Reply
    28. Debra J. Farley says

      September 07, 2013 at 12:52 am

      Please tell me what Snuggles are????

      Reply
    29. Mary E Haskins says

      November 21, 2013 at 7:56 pm

      Love this site, actually understood what you were talking about. I sew and crotchet also but wanted to make a quilt. I’m am so going to do this! Thank you!!!

      Reply
    30. Teresa Faux says

      May 29, 2014 at 5:28 pm

      I have made 3 quilts using this pattern! Love it! My kids drag these blankets around!

      Reply
    31. Gena says

      April 29, 2017 at 12:16 am

      I would love to see the brothers quilts

      Reply
    32. Mary says

      April 25, 2020 at 6:23 pm

      I know this is an old post, but I can’t find the measurements of the final product. I am making for my granddaughter so don’t want it to be too big. Also, I love your fabric!! Any chance you can tell where you ordered it?

      Reply
    33. Kel says

      August 06, 2022 at 7:10 pm

      O am a new quilter learning what works and what does not. You mentioned that you would not use satin binding again. Why not? Thank you

      Reply
      • Melissa Mortenson says

        August 08, 2022 at 10:44 pm

        I just thought it didn’t look very good when it was finished. I like fabric binding, I think it looks more neat when finsished.

        Reply
    34. Kel says

      August 12, 2022 at 10:26 pm

      Thank you I do also. But have toyed around with the idea of using a satin as comfy addition.

      Reply
    35. Kim Johnson says

      November 09, 2022 at 7:47 am

      How big is the quilt top once sewn. Want to know if it is big enough for an adult.

      Reply

    Leave a Reply Cancel reply

    Your email address will not be published. Required fields are marked *

    This site uses Akismet to reduce spam. Learn how your comment data is processed.

    Primary Sidebar

    Hello! It’s nice to meet you.

    I’m Melissa. I like to design things, like fabric, printables, and projects.

    I’m also a Mom and a Maker. I am like most of you, just trying to do my best every day. Some days I succeed, many days I fail.  I find joy in creating, if you do too, then I hope that you find something here bring a little “happy” to your life.  Find out more about me here.

    COPYRIGHT POLICY

    All my images and text are copyrighted. You may NOT use any images from this site in any kind of Video (this includes YouTube). If you would like to feature my work, you may use ONE (1) NON-COLLAGED image and must “follow” link back to my original blog post. You may NOT edit, crop, or change my images in any way without written permission. You MAY NOT print out or copy and distribute any text, images or patterns from this site. All patterns, content, instructions, and templates are for personal use ONLY! Thank you! Violators will be reported.

    Footer

    ↑ back to top

    About

    • Privacy Policy
    • Disclaimers
    • About Melissa
    • Instagram
    • Facebook
    • YouTube
    • Pinterest

    Newsletter

    • Sign Up! for emails and updates

    Contact

    • Contact
    • FAQ
    • Press
    • Published Books
    • Fabric Collections

    Welcome to the Polka Dot Chair! Here you’ll find easy, step-by-step, sewing, quilting, and crafting projects. We design projects for Makers of all skill levels. Beginners are welcome!

    DISCLAIMER:

    While every effort has been made to ensure the accuracy of the content on this website, the information is made available without warranty of any kind. The Polka Dot Chair accepts no responsibility or liability, whether direct or indirect, as to the currency or accuracy of the information, nor any consequence of its uses. This website is not intended to substitute the advice of a professional.

    Copyright © 2022 Polka Dot Chair

    [ Placeholder content for popup link ] WordPress Download Manager - Best Download Management Plugin