Free Sewing SVG Files & DIY Sewing Room Wall Decor Ideas
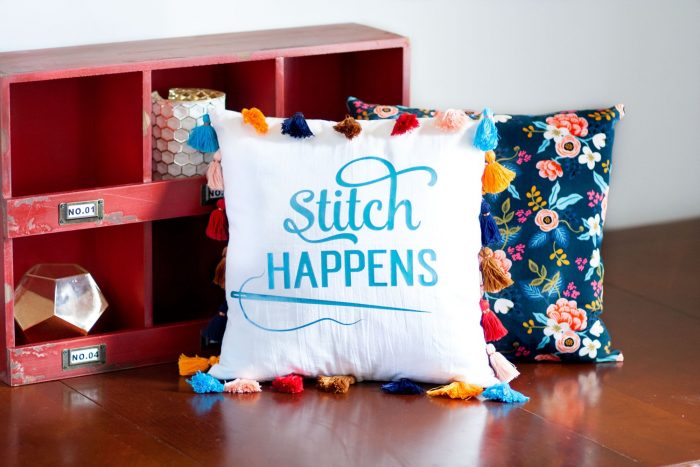
Kim from Sweet Red Poppy is back with us today sharing a fun DIY Art Idea for your Sewing Room! It’s a cute sewing svg file that you can use for so many things from wall art, to pillows and even mugs and tumblers!
Hi, It’s Kimberly Sweet Red Poppy!
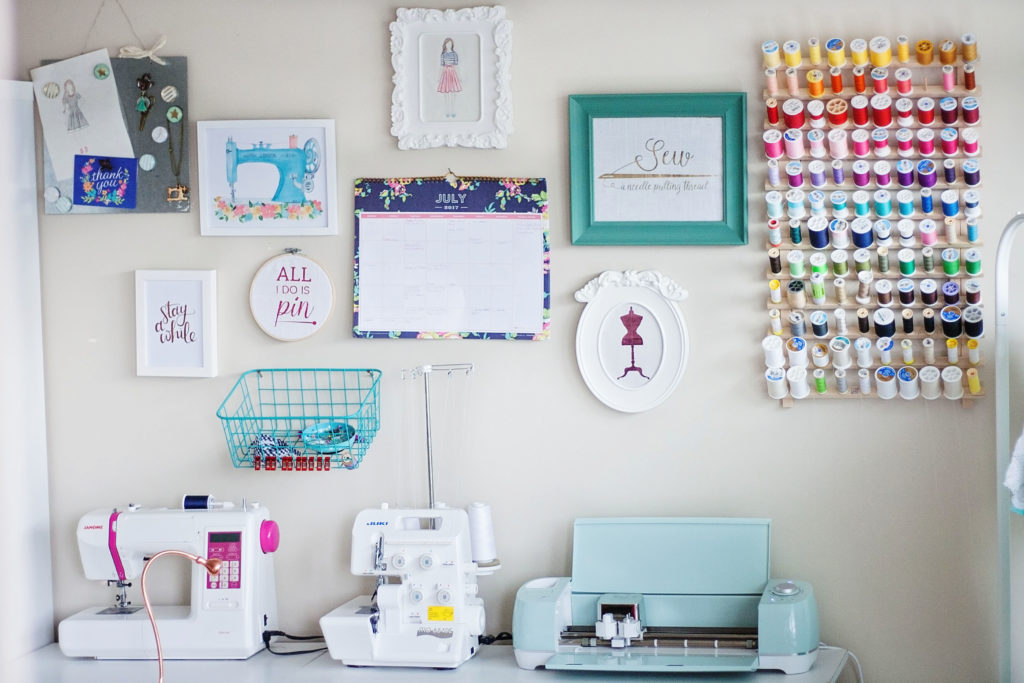
I’ve been working on decorating my sewing room over the past few months and I decided my walls really needed some fun sewing quotes!
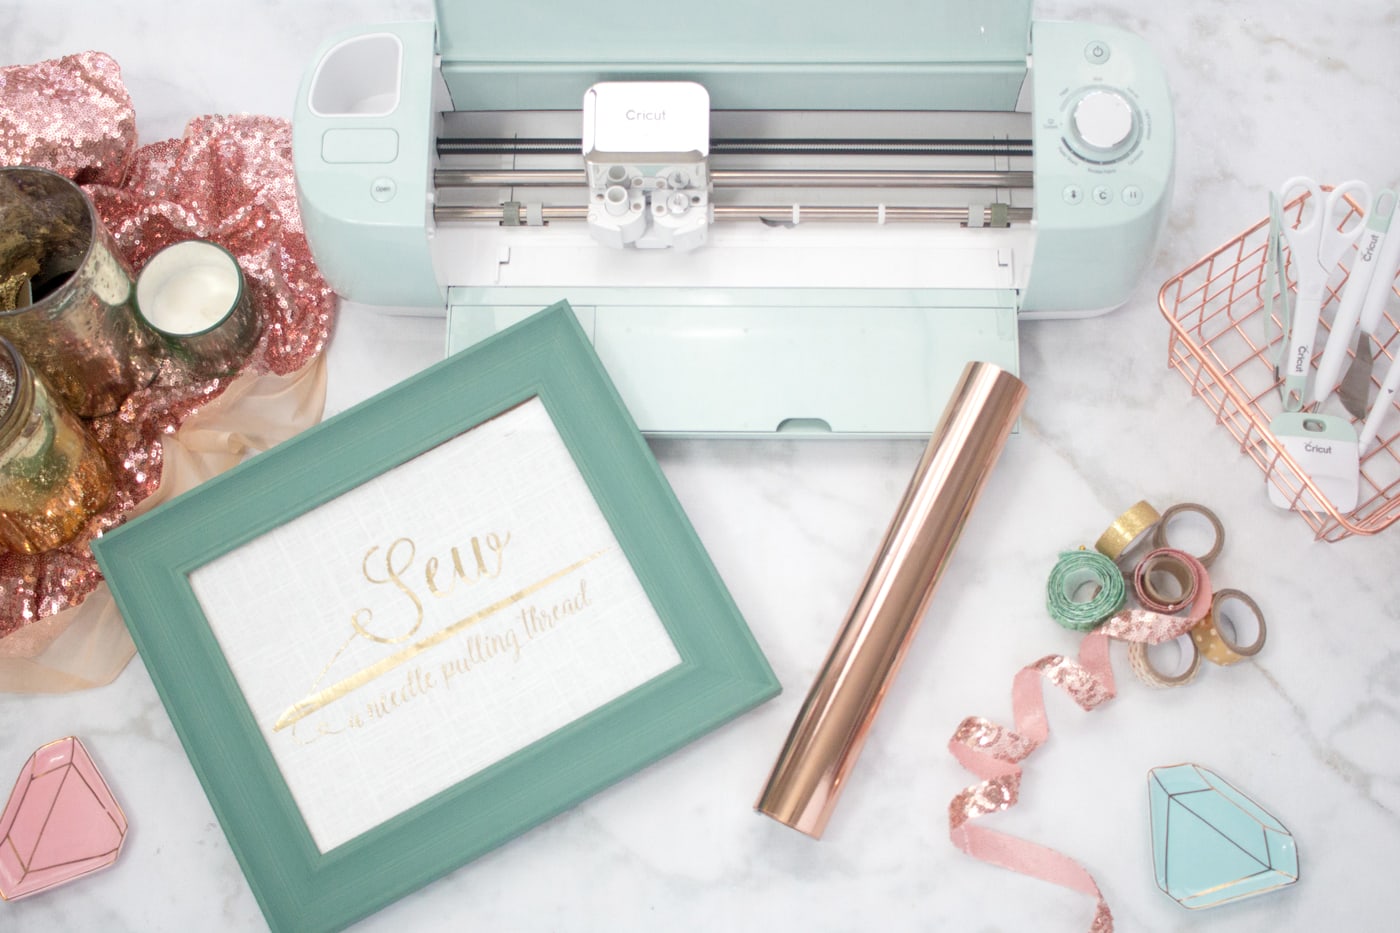
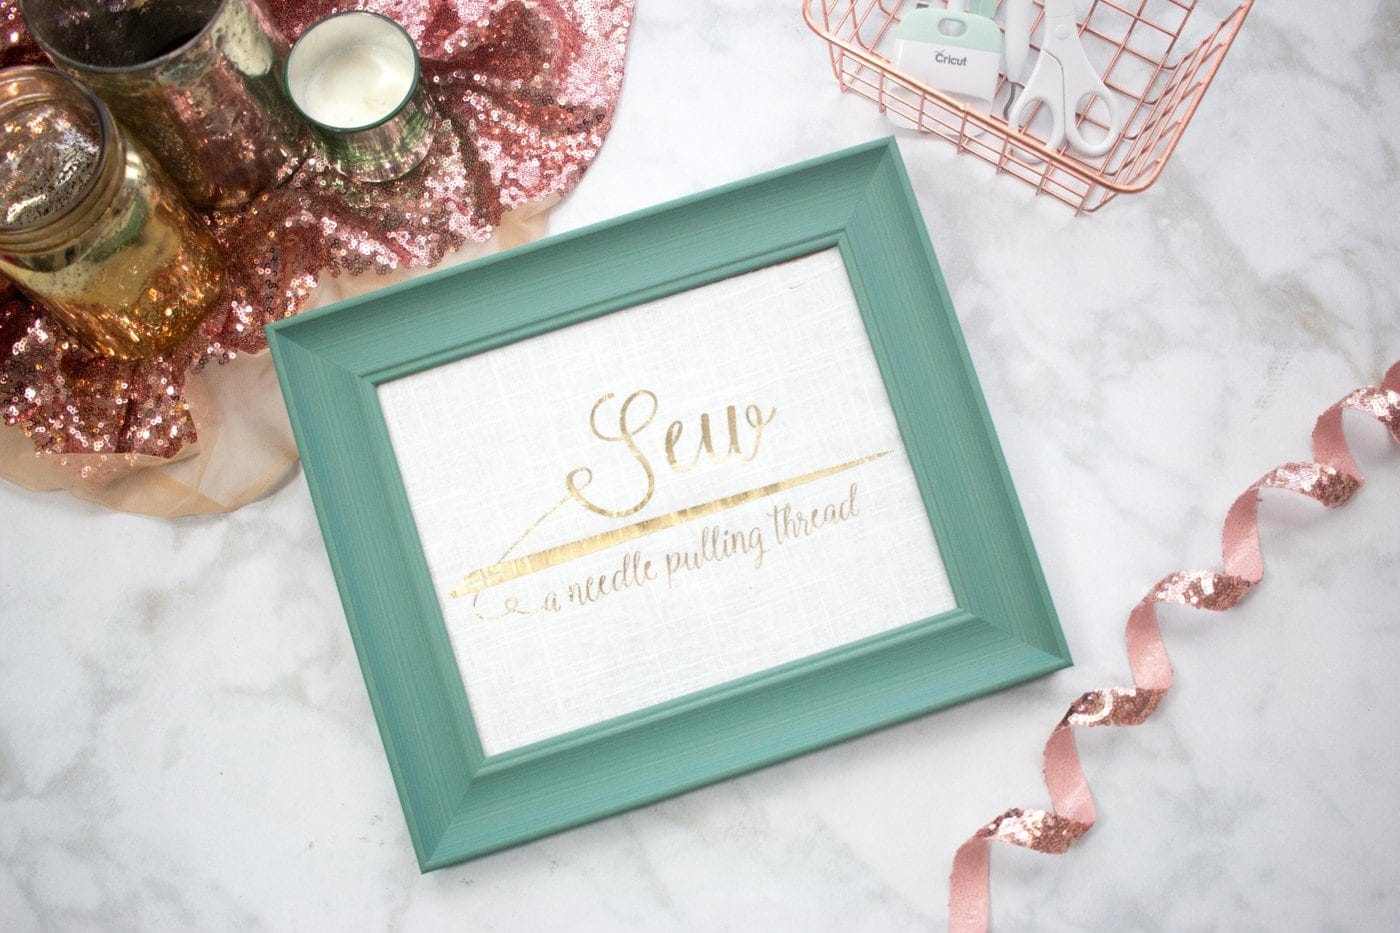
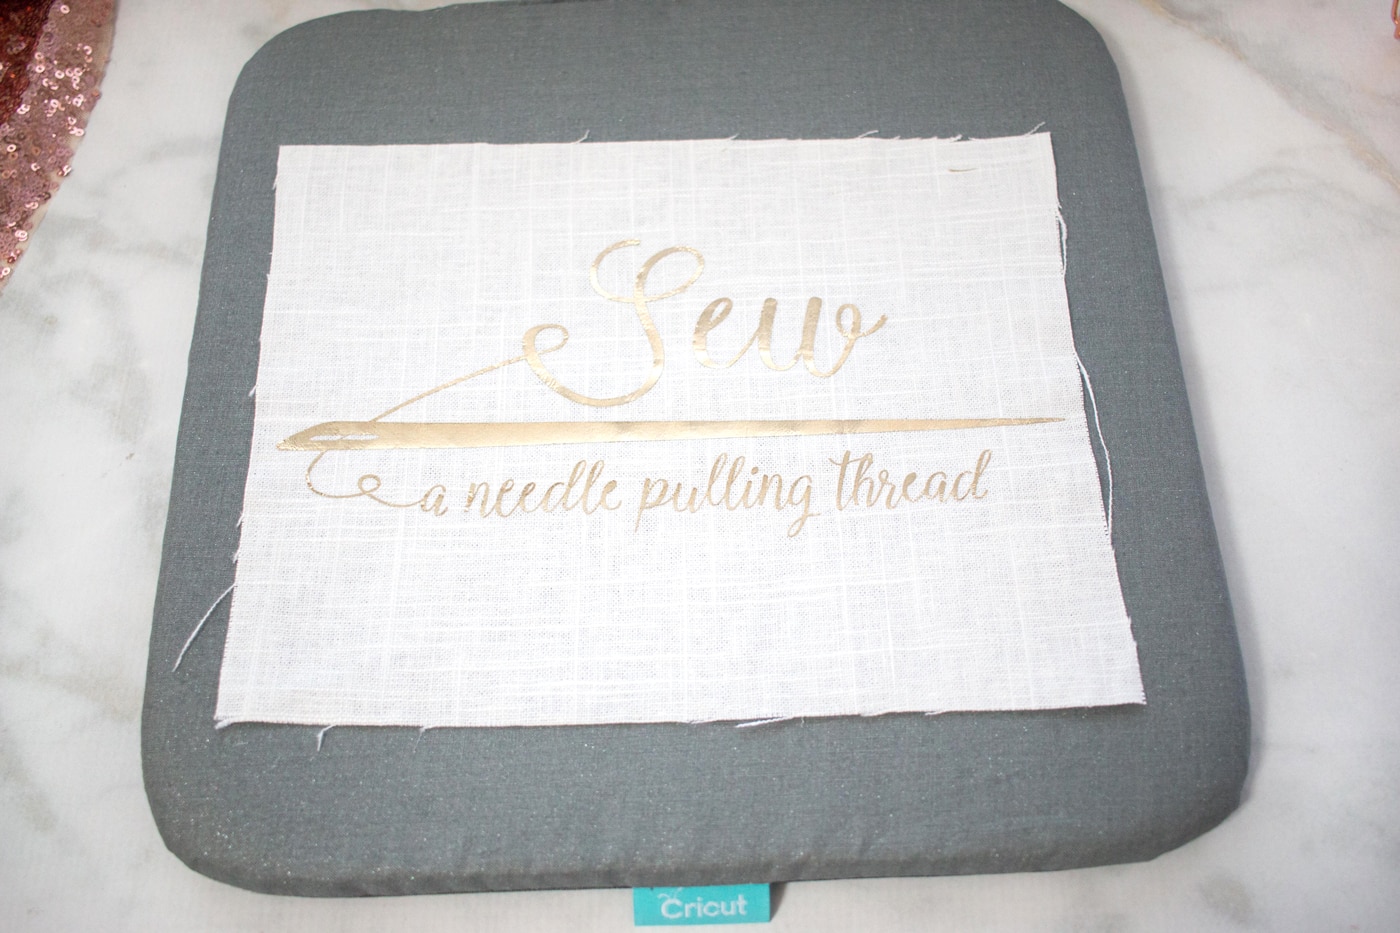
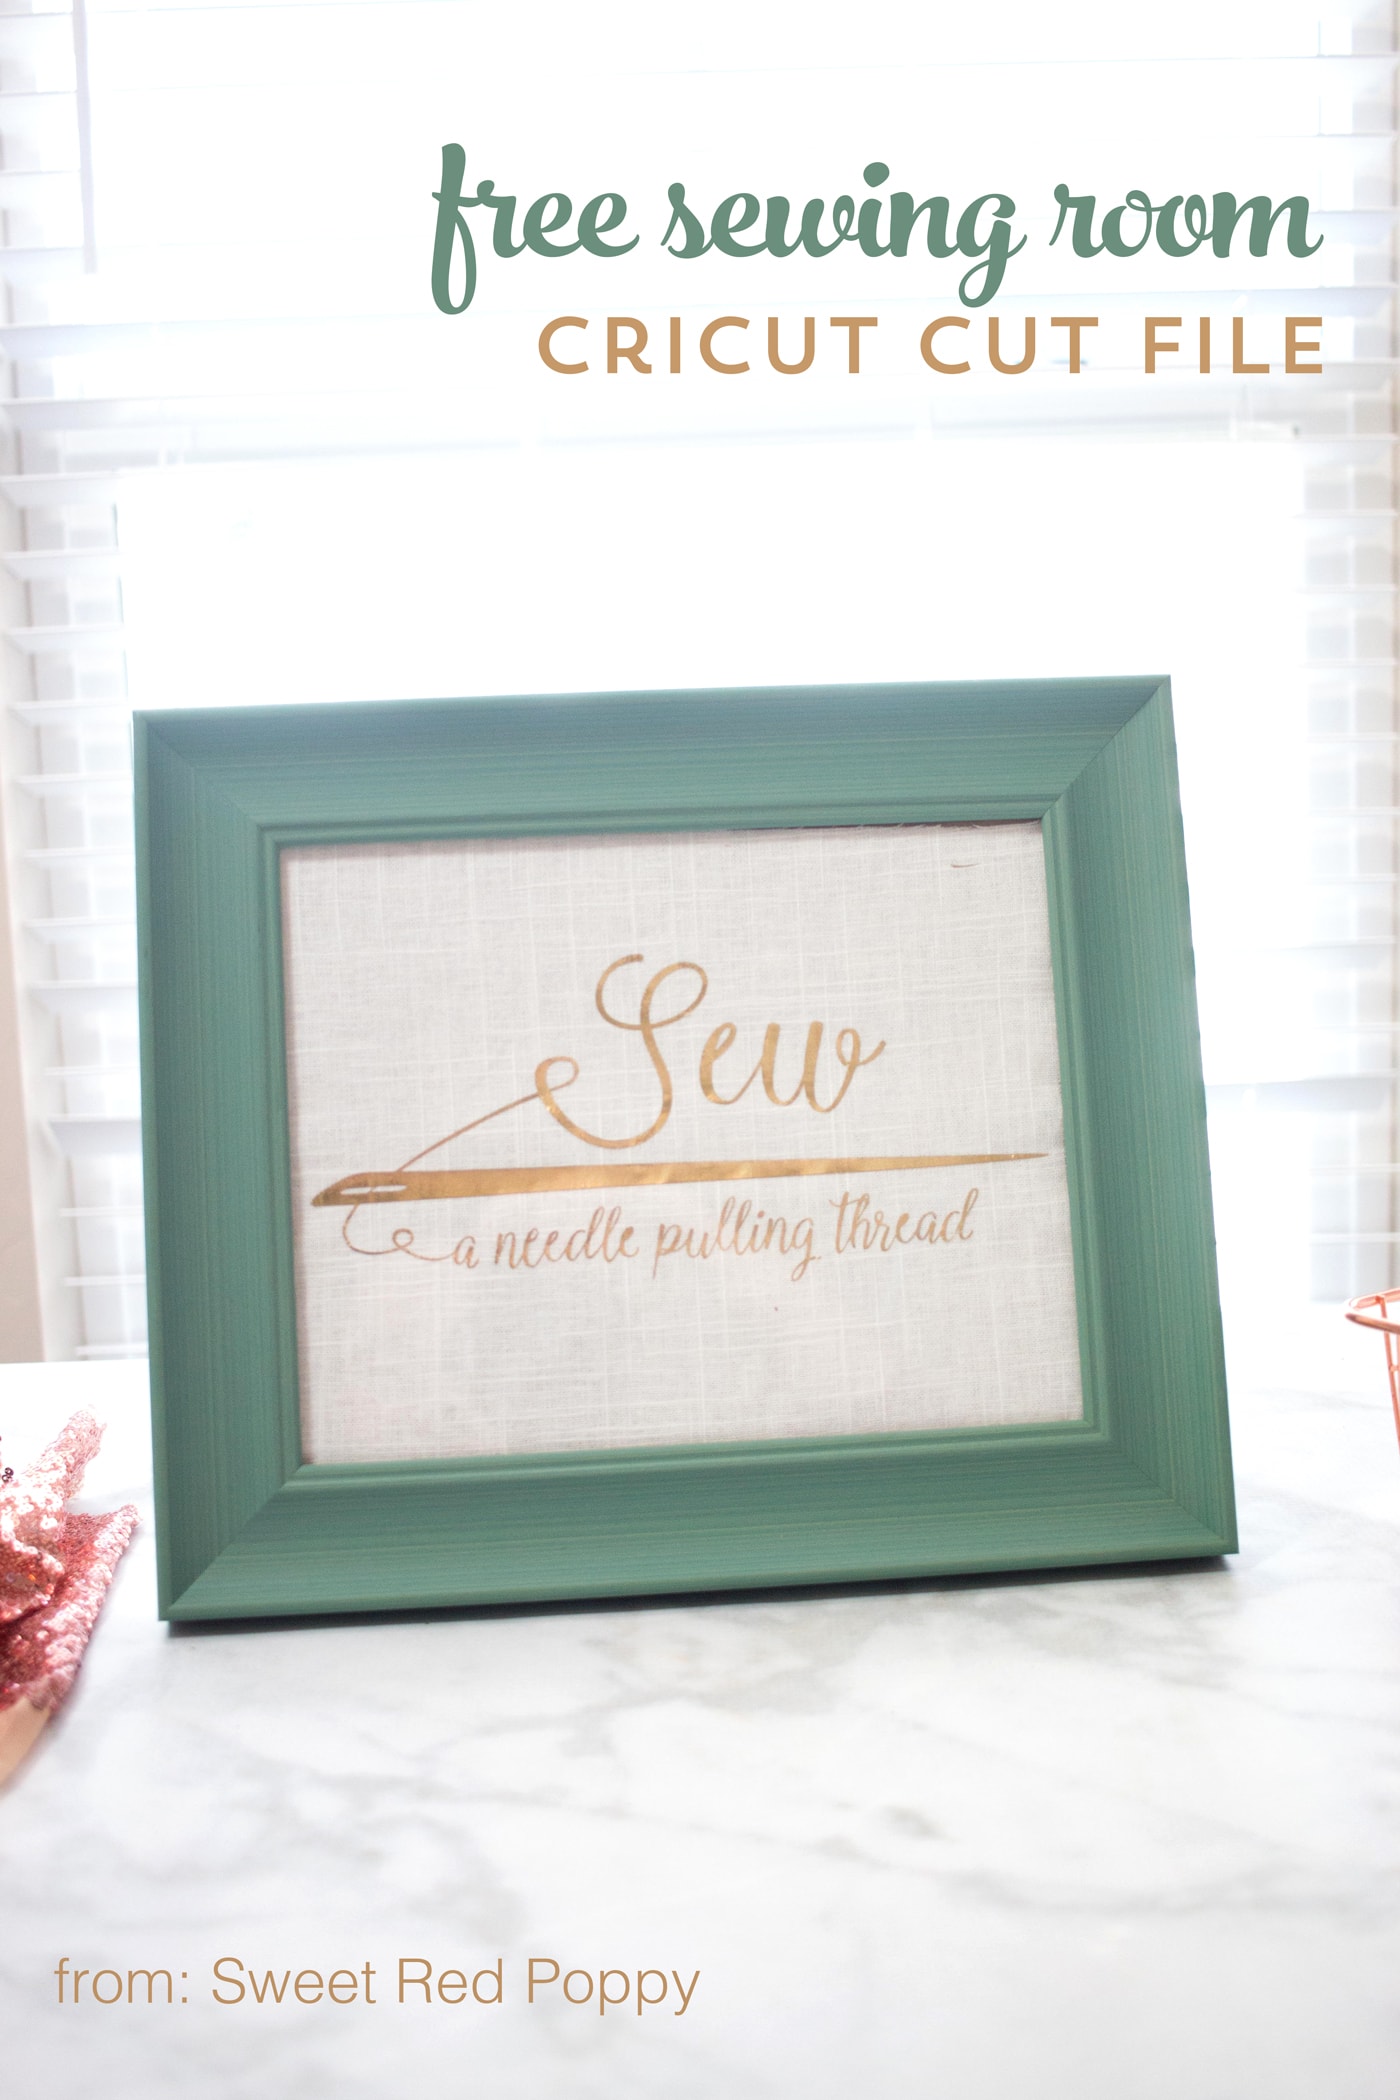
I ended up designing this fun “Sew A Needle Pulling Thread” SVG file. It’s perfect for T-shirts, wall art or even tote bags!
Now, the real question is, did you sing the phrase in your head when you read it?
Sewing SVG File Wall Art Tutorial:
Let’s get started on this fun wall art!
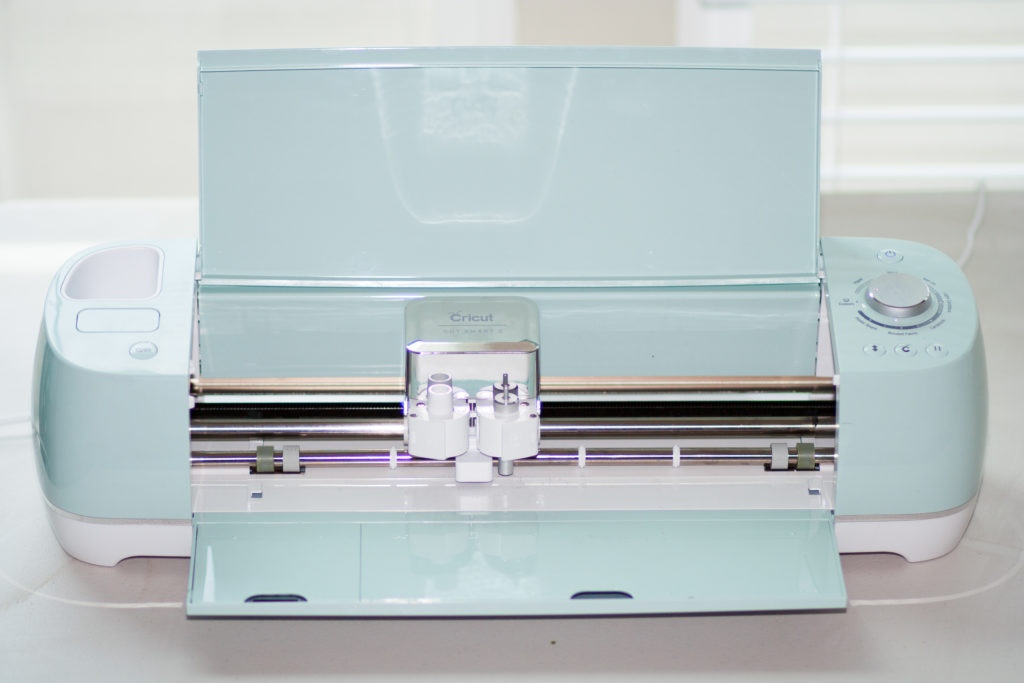
I’ll give all the instructions on how to make this project using a Cricut cutting machine (because that’s what I have) but these files can be used on any brand of cutting machine.
Supplies:
Step One: Load Sewing SVG Files into DESIGN SPACE
Step 1. Log into Cricut Design Space and click “Create New Project.”
Step 2. Click “Upload” on the left-hand side. Upload the SVG files into Cricut Design Space.
Step 3. Resize SVG to the desired size for the specific project.
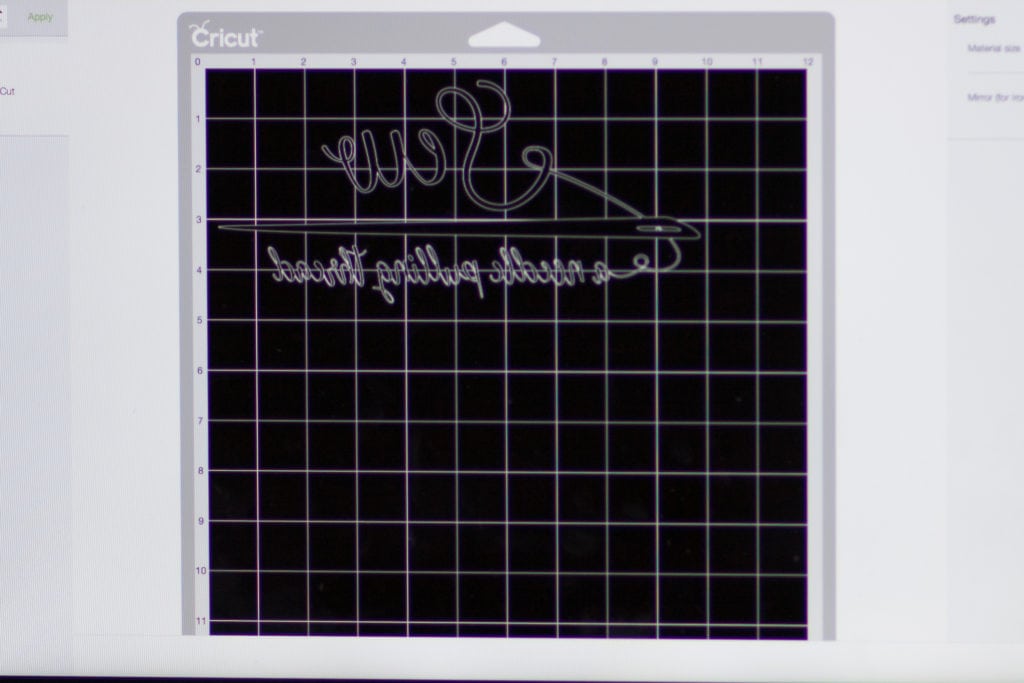
Step 4. Select “Weld” in the bottom right-hand corner.
Step 5. Click “Make It.”
Step Two: CUT PROJECT
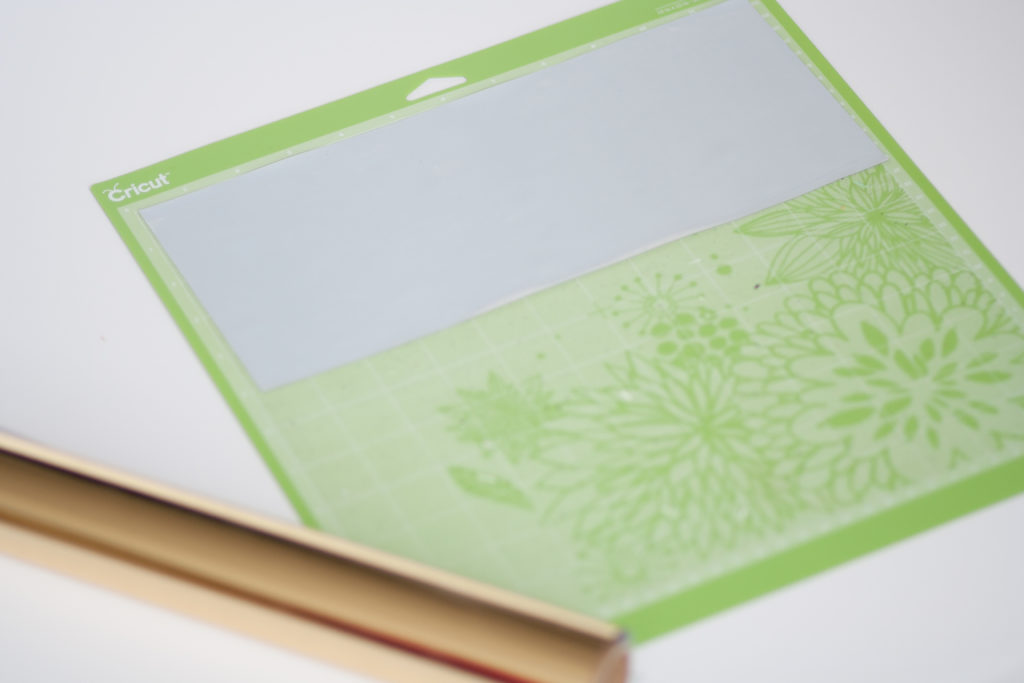
Step 1. Unroll and cut a piece of Iron-On larger than the design you will be cutting.
Step 2. Place the Iron-On with the pretty side down, facing the mat.
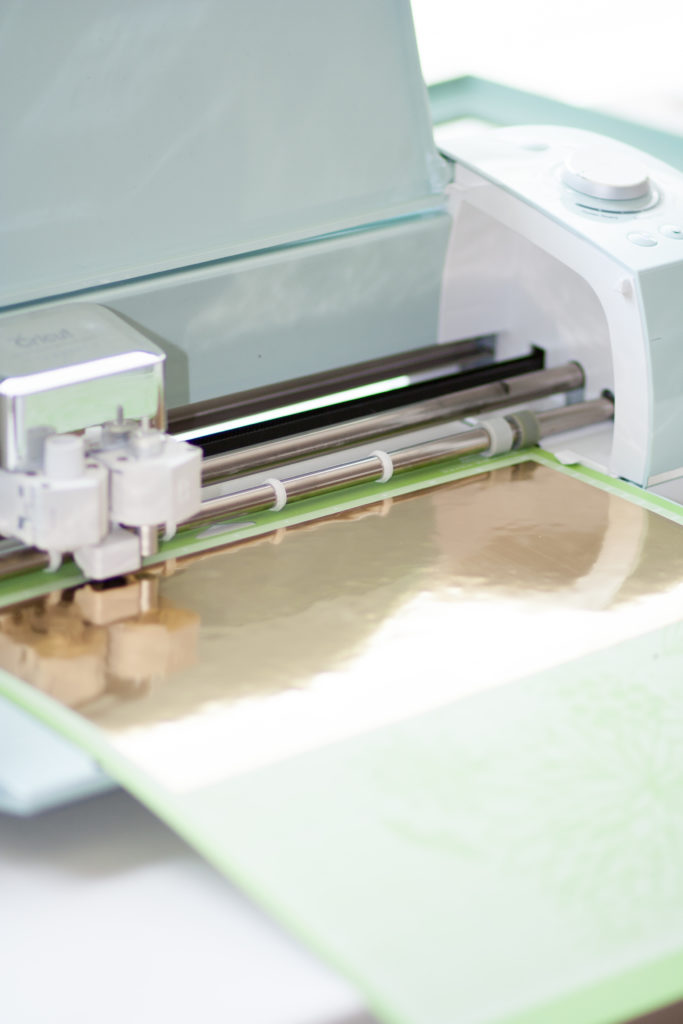
Step 3. Set the dial to custom and select the specific type of vinyl you are cutting.
Step 4. It’s very important to click “Mirror Image” for all Iron-On projects otherwise, your words will be cut out backward!
Step 5. Load the mat and click the flashing Cricut button.
Step 6. Remove the mat from the cutting machine once the cutting process has finished.
Step Three: IRON-ON
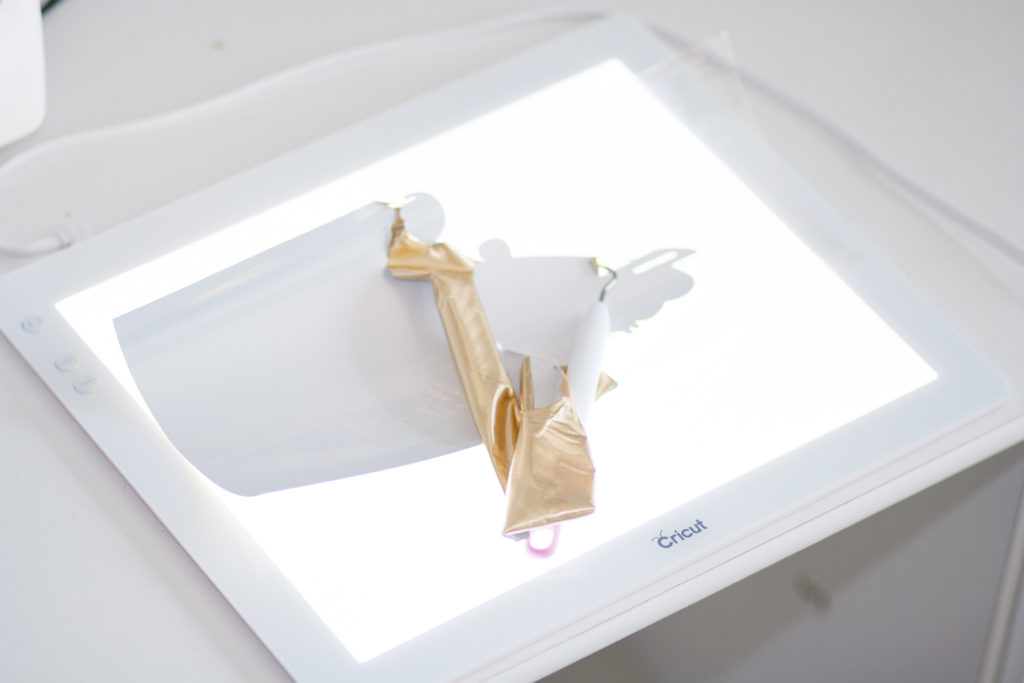
Step 1. Carefully weed the design and remove the extra vinyl.
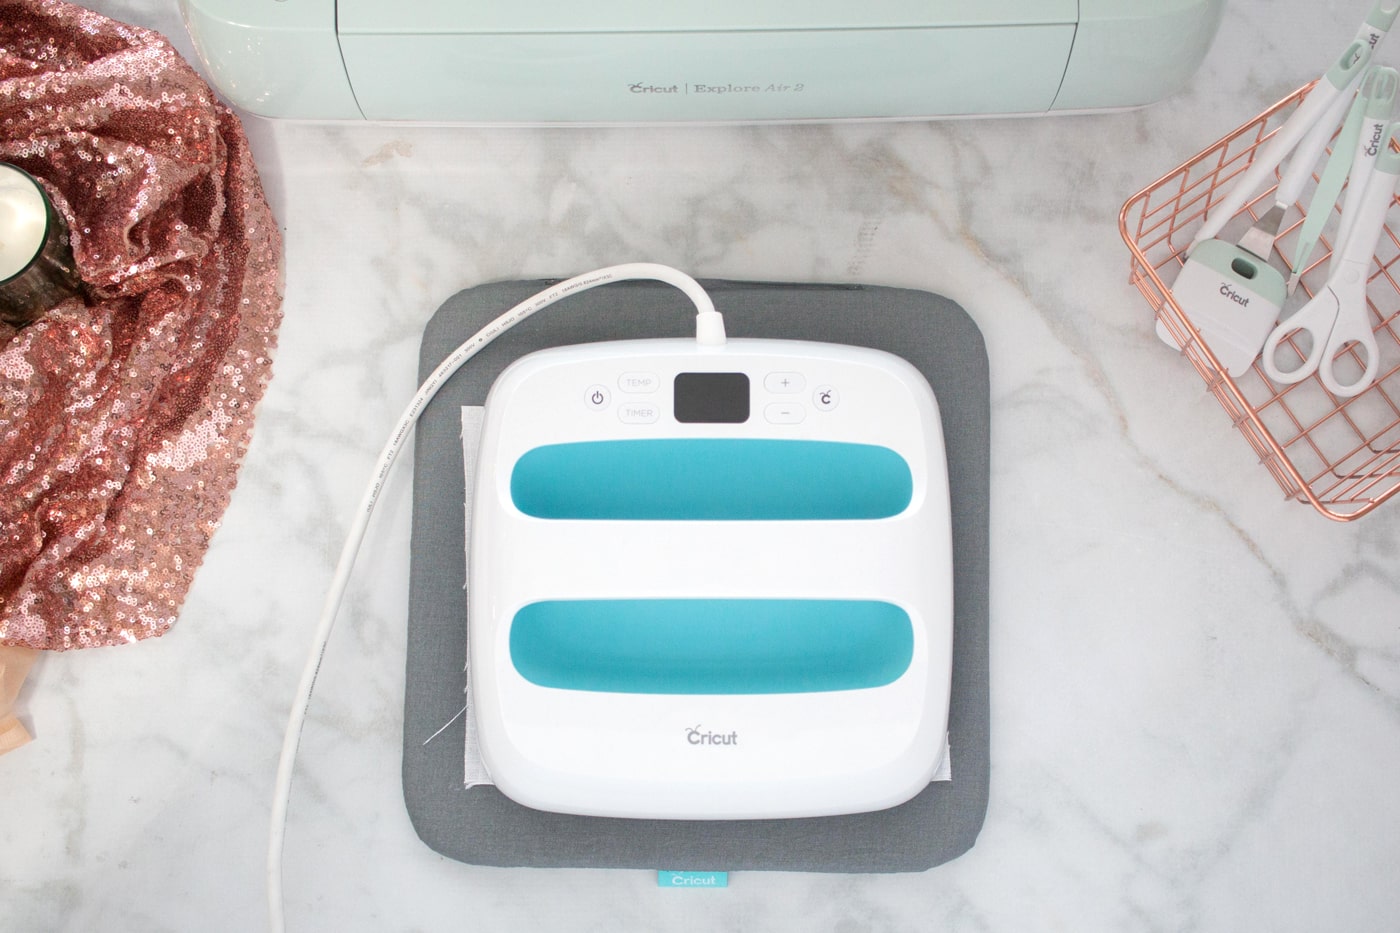
Step 2. Prepare the fabric. Each type of Iron-On has specific ironing instructions so make sure to review them before ironing.
Step 3. Position weeded image on the fabric with the Iron-On against the fabric and apply heat according to directions.
Step 4. Allow fabric and Iron-On to cool and carefully peel away the clear lining.
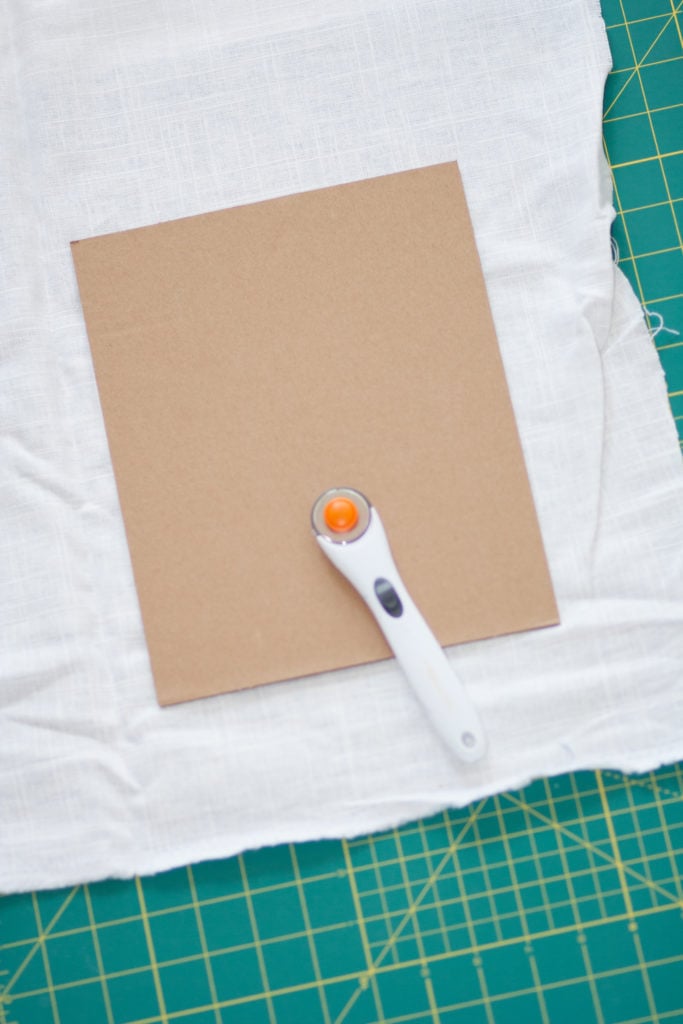
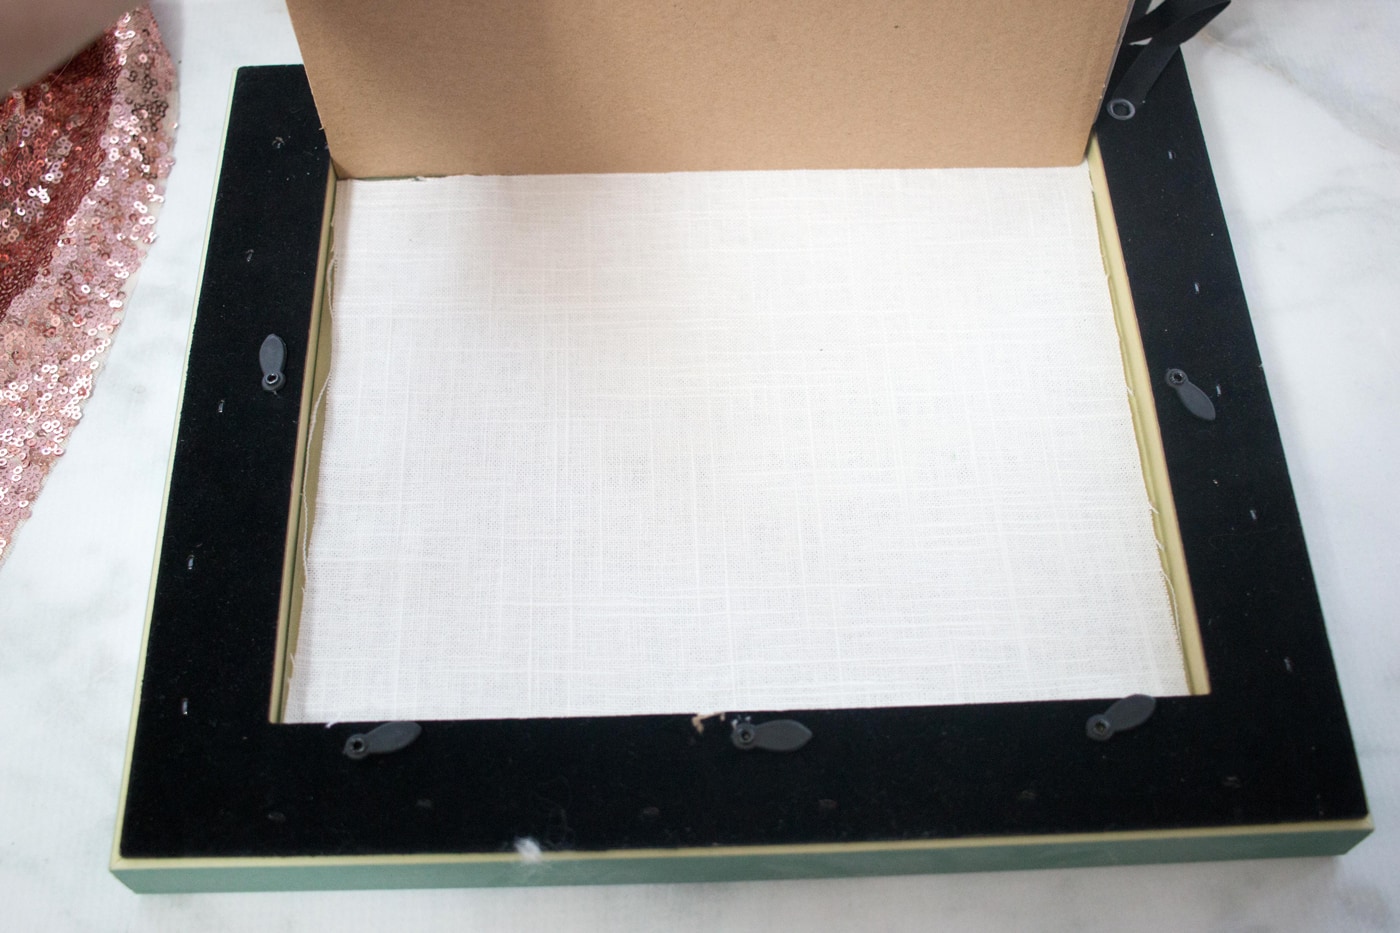
Step 5. Center the fabric on top of the picture frame board and insert it into the frame.
Wasn’t that easy?!? Now, think of all the different things you could put this sewing quote on!
Here’s a picture of the finished wall art on my wall.
About the Maker:
Wife and mother to three by day, quick-stitching seamstress by night. Kimberly is the “sew”cialist behind the blog Sweet Red Poppy (http://www.sweetredpoppy.com)
If you love free cut files, make sure to check out the posts below!

