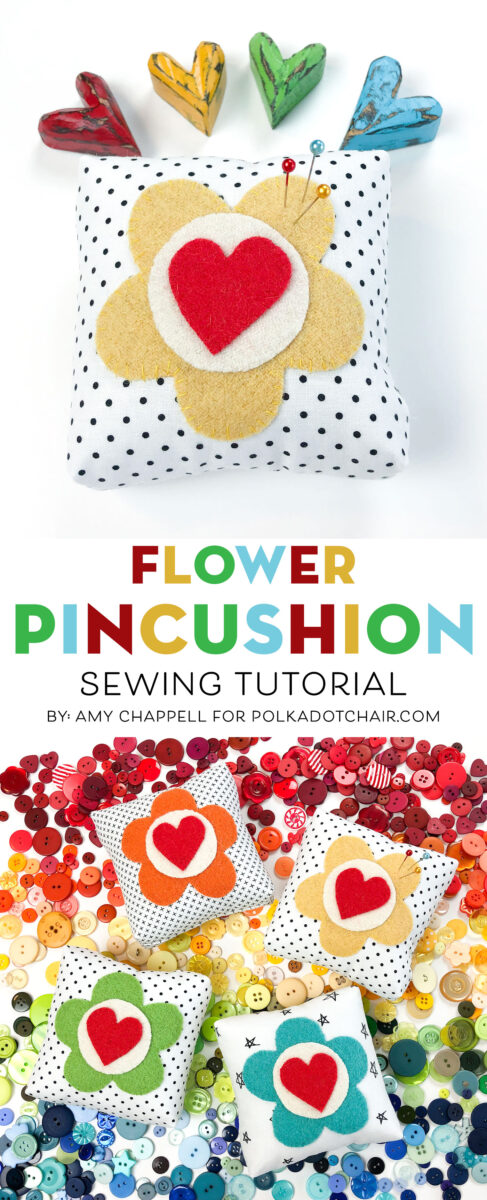
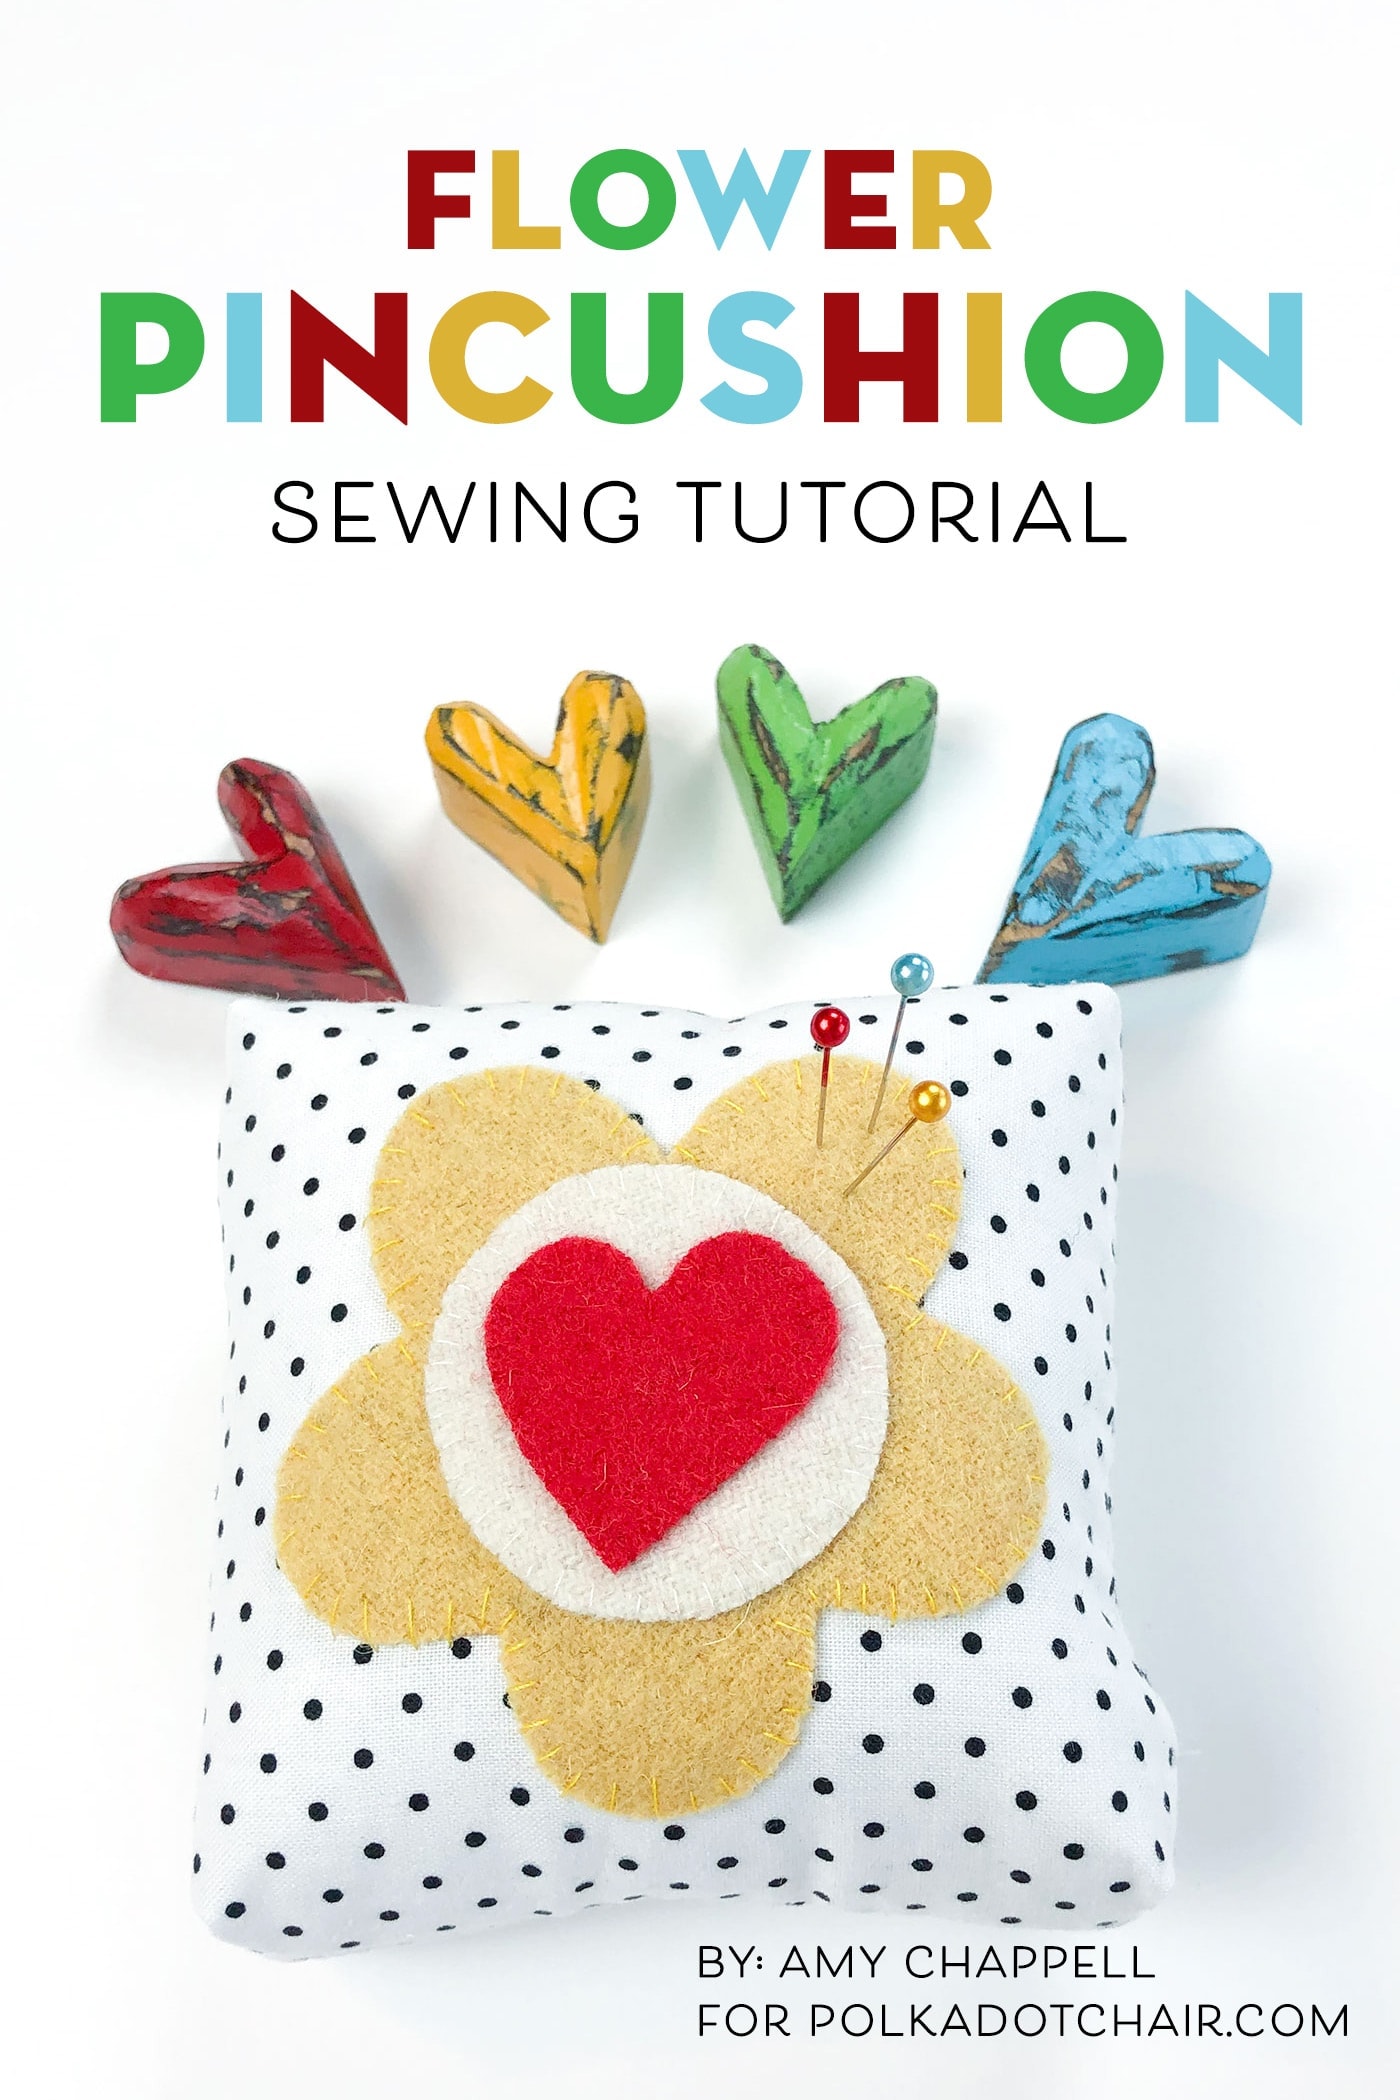
How to Make a Pincushion with Wool Applique
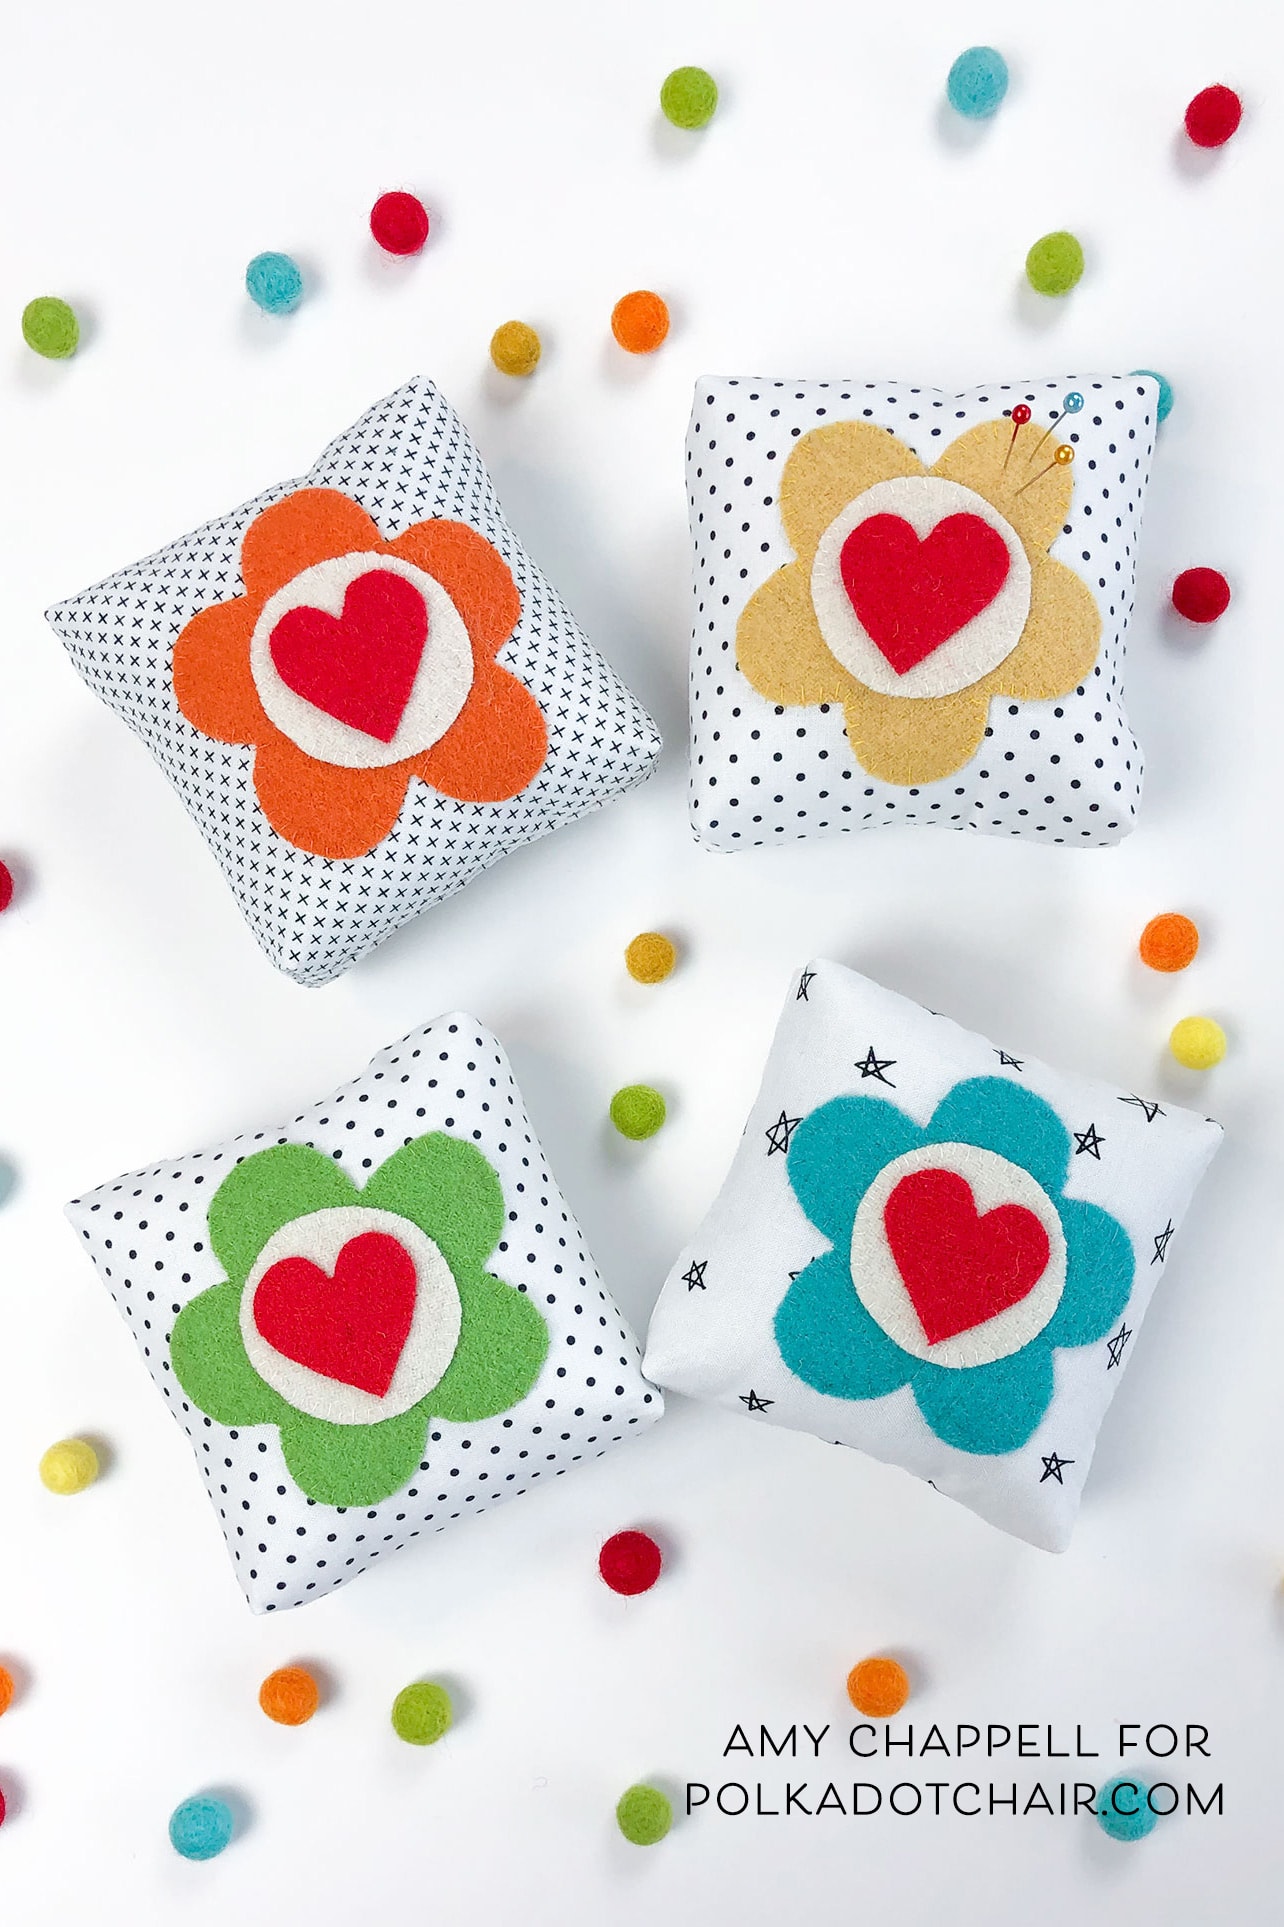
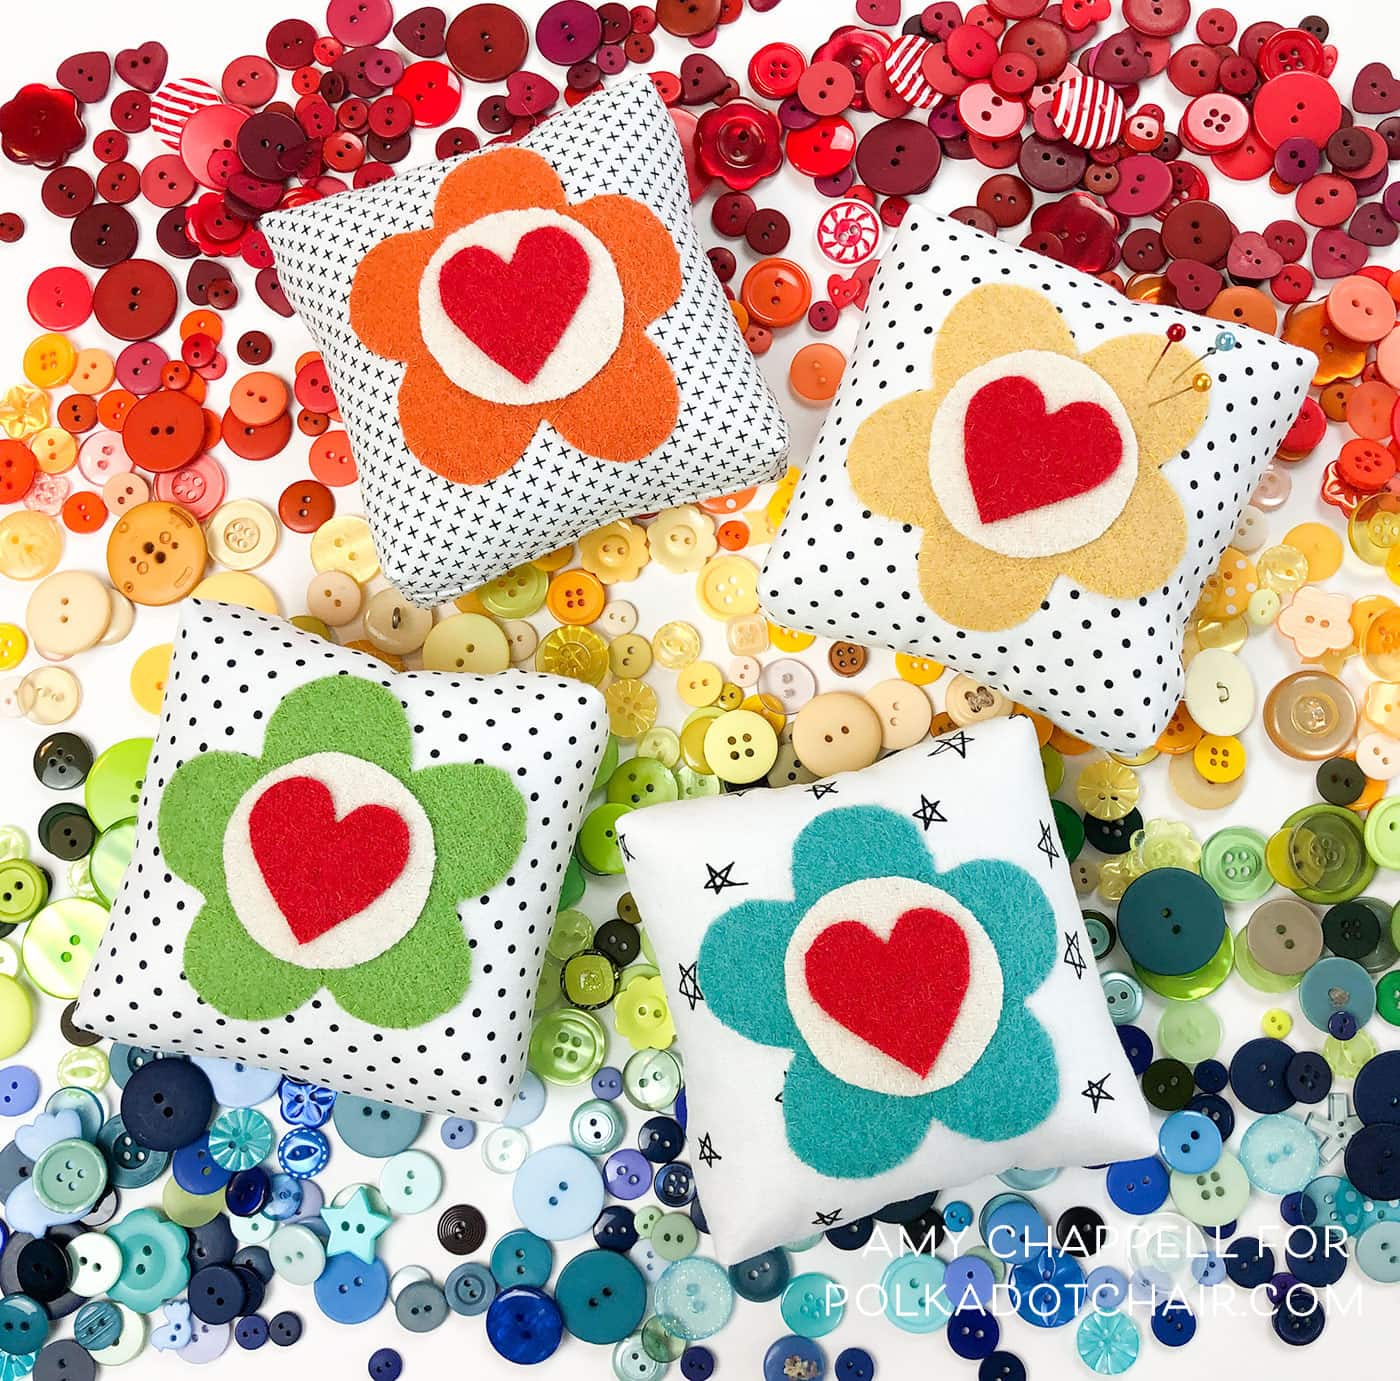
If you want to learn how to make a pincushion, I have a fun tutorial to share with you today. Today’s pattern is a fun flower pincushion featuring wool applique. It’s a great project if you’re looking to try your hand at wool applique. It’s also quick to stitch and makes a fun gift for your favorite Sewist!
When I am trying to learn a new technique, like stitching around wool applique, I like to find small projects that allow me to practice without ending up with something I won’t ever really use.
I have wanted a new pincushion and thought making one would give me the perfect canvas to practice wool applique. Small, useful, and cute- this Wool Applique Flower Pincushion checks all my boxes.
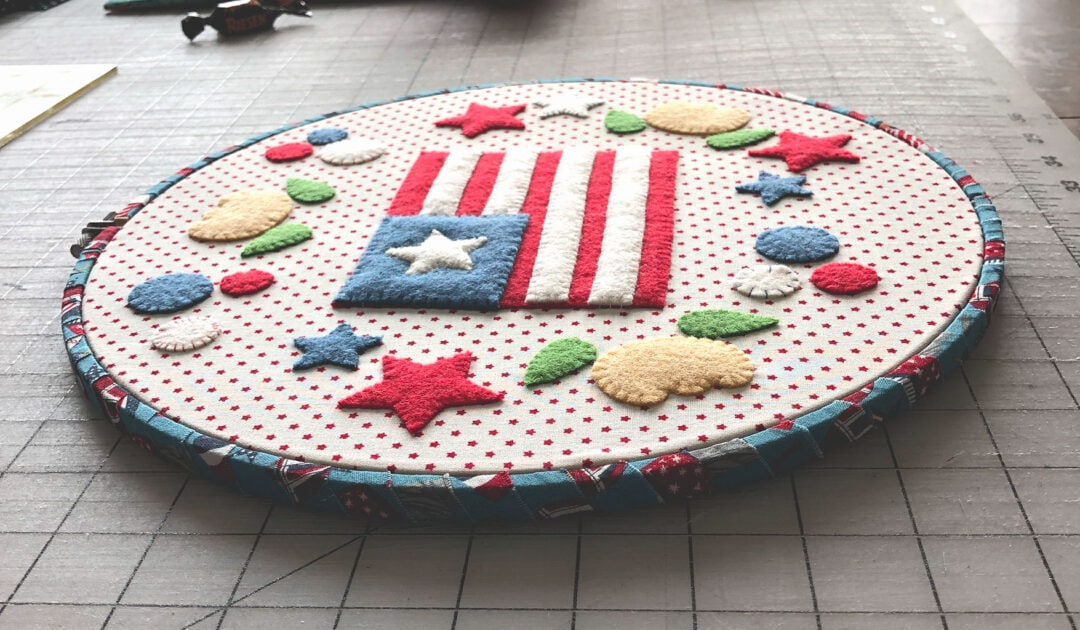
If you are already skilled at wool applique, you might be interested in this more involved patriotic embroidery hoop pattern.
How to Get the Applique Pieces
Fill out this form and we will email you a copy of the applique pattern PDF.

Flower Pincushion Sewing Pattern
Equipment
- Glue Stick for holding the applique pieces in place (optional)
supplies
- 2 squares Fabric 5 ½”. Used for the base of pincushion; this is a great time to use scraps.
- 1 piece Wool for applique small pieces are all you need. You could also use fabric and fusible adhesive.
- 1 package polyester fiber fill or stuffing of choice
- 1 piece Freezer paper for cutting pattern pieces out
- 1 spool Thread to coordinate with wool colors
Instructions
Beginner Wool Applique Instructions:
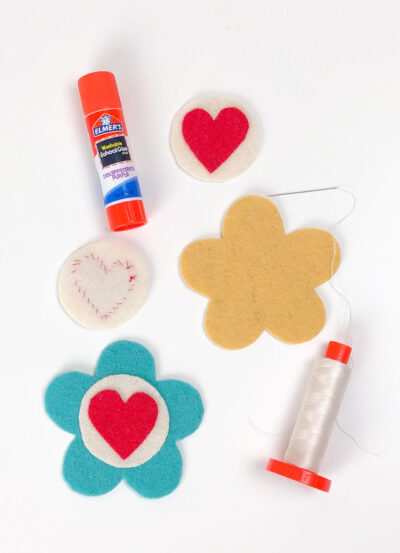
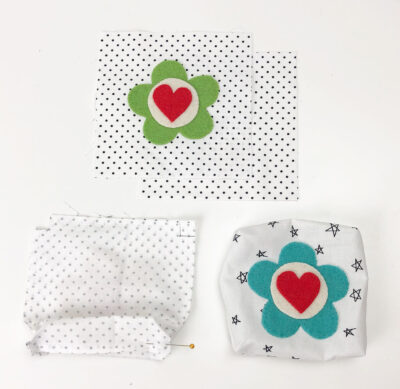
- Cut out the applique pieces. I prefer to do this using freezer paper. To do this, print or trace the pattern onto the freezer paper’s paper side.

How to Use the Freezer Paper:
- Use medium heat setting on your iron to adhere the waxy side of the freezer paper to the wool and then cut out shapes. When finished, simply pull off the freezer paper from the wool.
Wool Applique Steps:
- Start with the heart and circle. Place a tiny bit of glue from your glue stick on the back of the heart. Place on the circle.
- Use a coordinating thread to stitch around the heart. You can use a blanket stitch or a small whip stitch, which is what I did here.
- Next, glue is added to the back of the circle and the center of the flower. Again, stitch around the circle using a coordinating thread.
To Attach the Flower to the Fabric:
- Glue the flower to the center of the front fabric piece and stitch around it to attach it to the front piece. You’ll want to use the blanket stitch and matching thread again.

How to Sew the Pincushion:
- Place the two fabric squares on the right sides together.
- Sew around using a ¼” seam allowance, and leave an opening on one side for turning and stuffing.
- Mark a ½” square at each of the four corners.
- Cut out the ½” square.
- Line up the seams on either side of the square, pulling the cut corners away from each other; this will create a straight line. Pin in place
- Sew along the line using a ¼” seam allowance.
- Repeat for all corners.
- Turn the right side out through the hole left to turn.
Pincushion Stuffing:
- Stuff the pincushion with your method of choice. Many people use crushed walnut shells to give the pincushion some weight and substance. I often add a small pouch of rice or poly pellets to the bottom of my pincushions and then stuff them with fiberfill to give to somebody.
- Once it’s filled as you like it, stitch the opening shut, and you’re done!

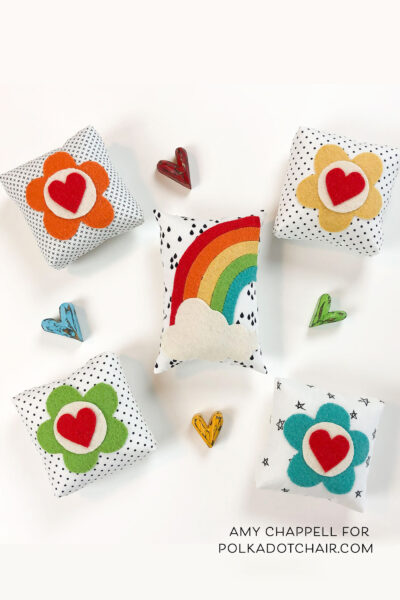
If you want to create a set of these pincushions, I made a rainbow version as well. The pattern is on my blog.

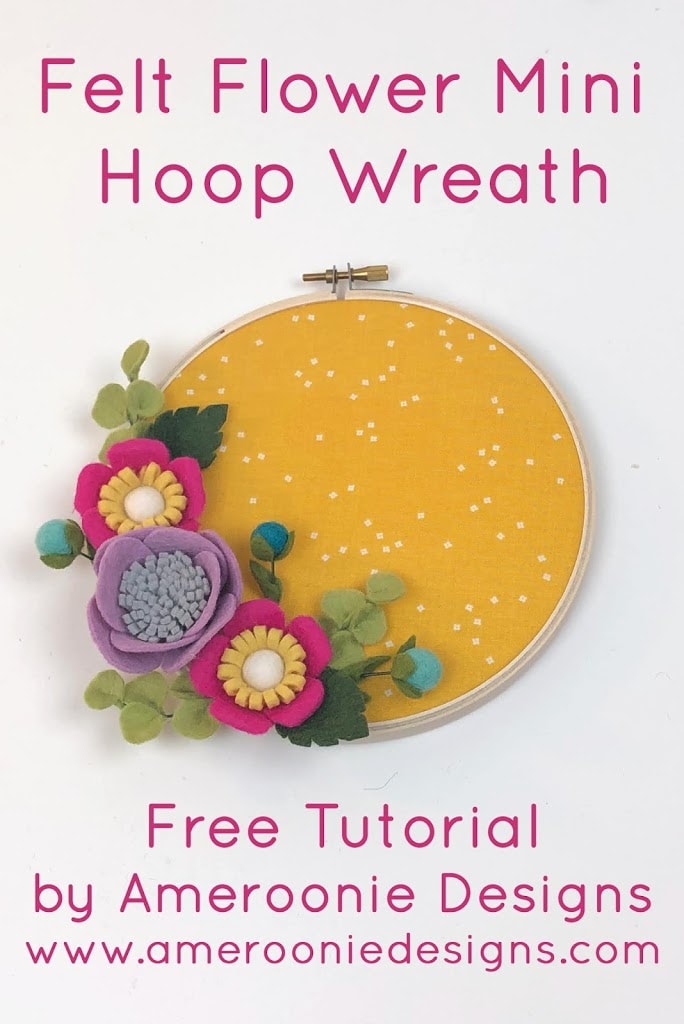
If you want more skills to try, you might like this Felt Flower Mini Hoop project.
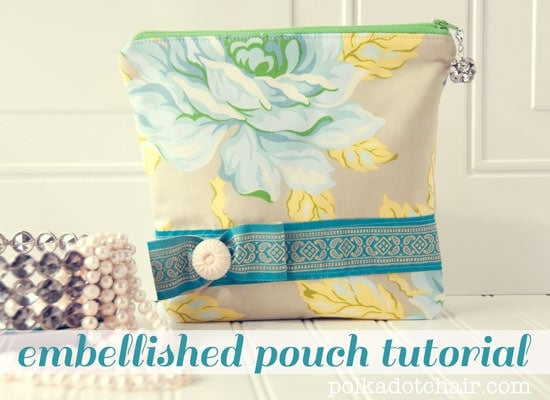
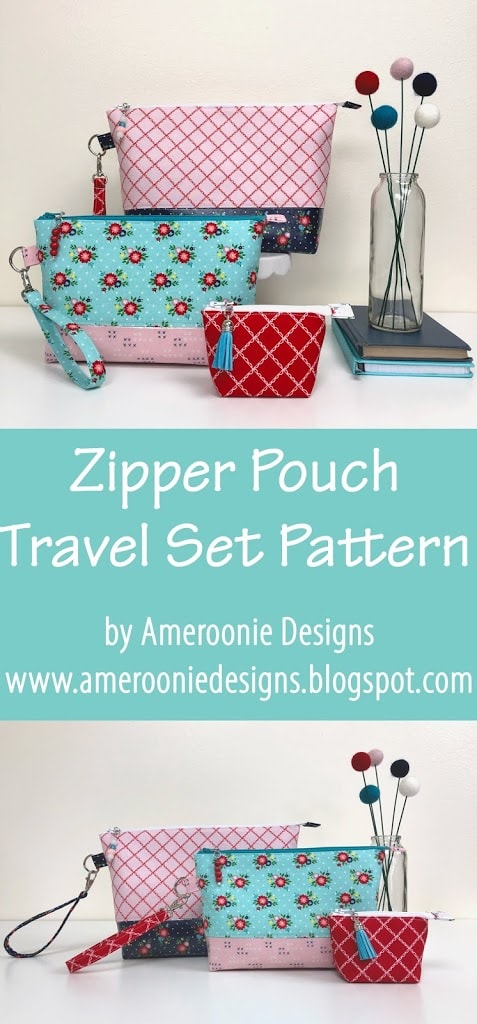
Or if you want to conquer your fear of zippers, these pouches are handy and quick to sew
About the Maker:

Hello! I’m Amy Chappell, the person behind Ameroonie Designs. I’m a sewing and quilt pattern designer, and I’m proud to say that my work has been featured in several print publications and popular DIY websites.
I am the mom of six kids- which is a big reason I create and sew. I find that I am happiest when I am making things, and taking time to be happy makes me a better mom.
Join me in my exclusive Let’s Sew Friends membership, where you’ll find small, manageable monthly sewing patterns, live classes, and lots of video tutorials!
More Free Pincushion Patterns:
How to Make a Pincushion with a Pocket