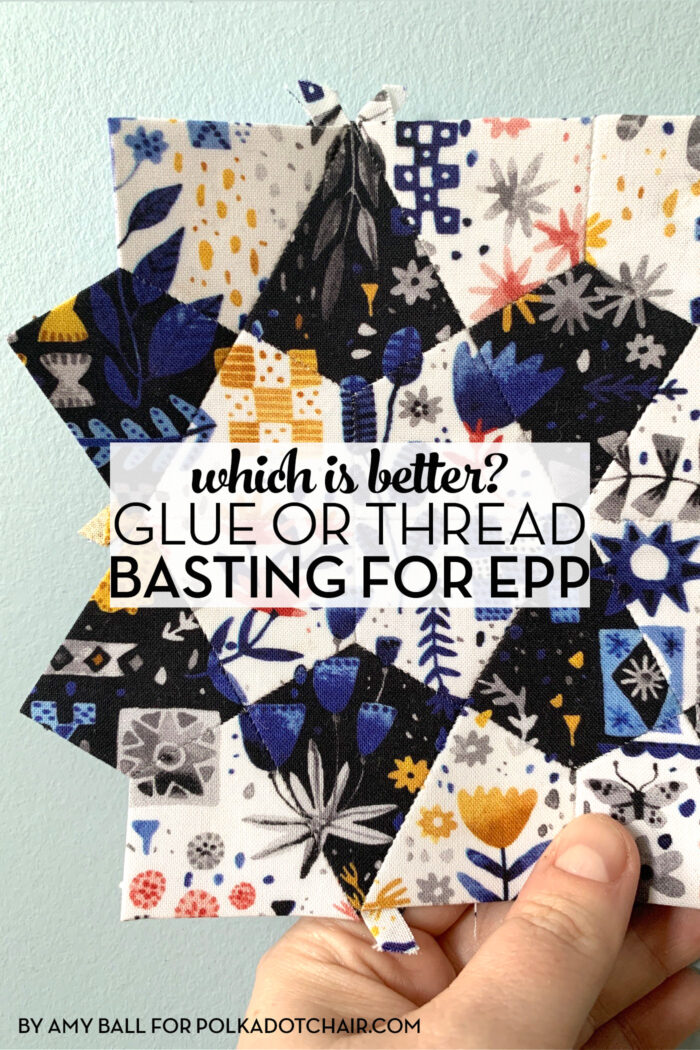
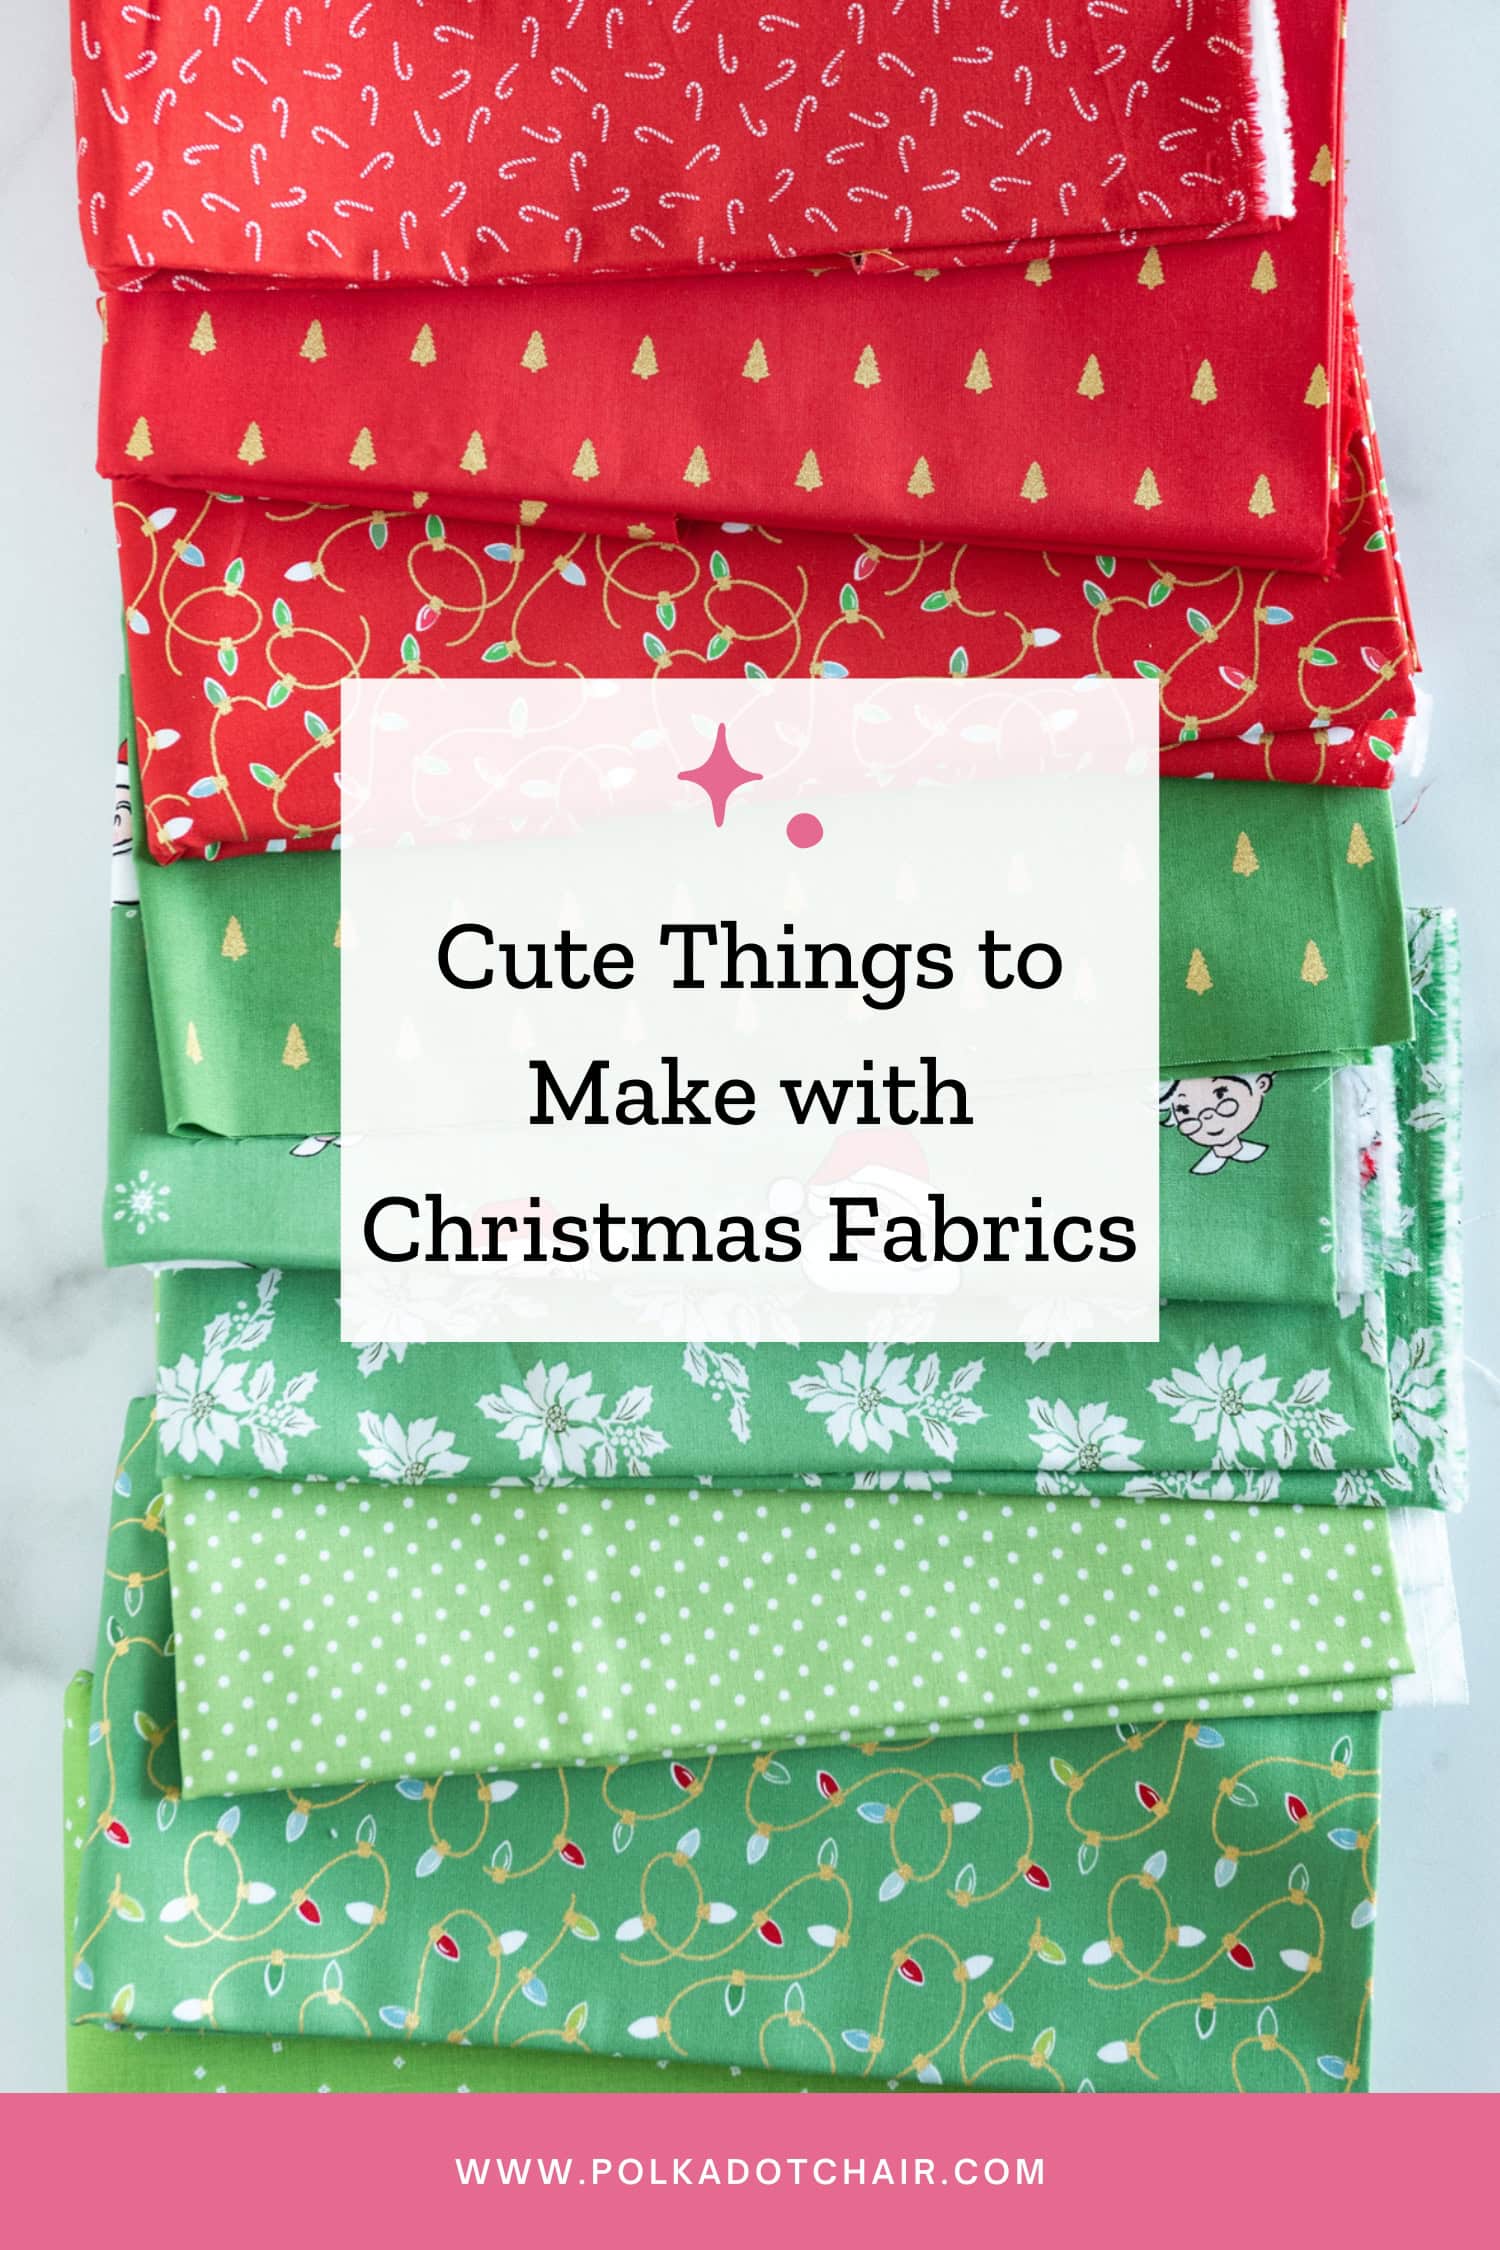
English Paper Piecing: How to Choose Your Basting Method
I am someone that is easily overwhelmed when I have too many choices! I’ve always wanted to “dive into” English Paper Piecing (EPP) but never quite knew where to start! I always felt like there were so many things to learn or decide. Amy Ball of Coffee Rings Studio is here today to answer one of the most commonly asked questions regarding English Paper Piecing, should you glue or thread baste your pieces?
Amy is an experienced quilter, and I’m thrilled that she is sharing some of her advice and knowledge with all of us today!
What is English Paper Piecing (EPP)?
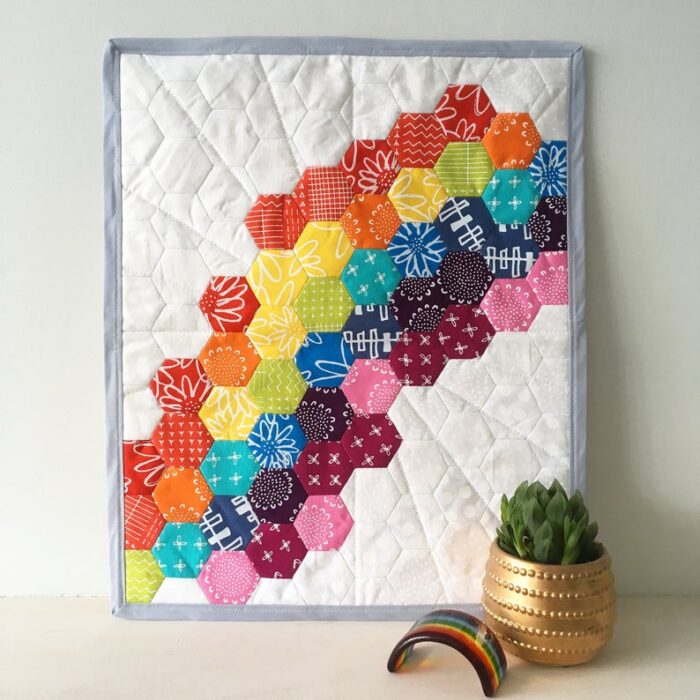
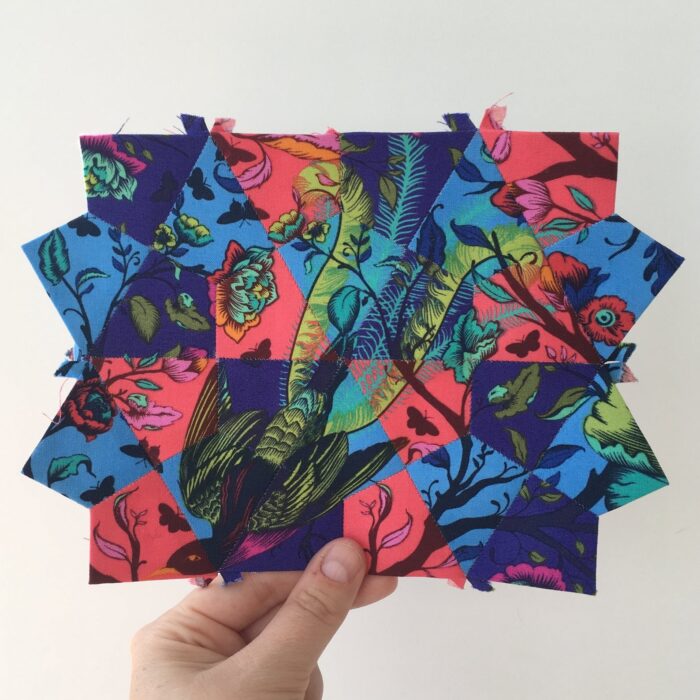
English paper piecing (EPP) is a very old quilting method that is still used today to create traditionally styled sewing projects as well as modern makes. The technique involves wrapping fabric around shaped pieces of paper or card and then hand stitching the fabric together.
What is Basting?
One of the early stages of an EPP project, after you’ve chosen your design and fabrics, is to secure (or baste) the fabric around the shaped card pieces. Once this is done, you are ready to start sewing your project. But which is the best basting method to choose… traditional thread or more modern glue?
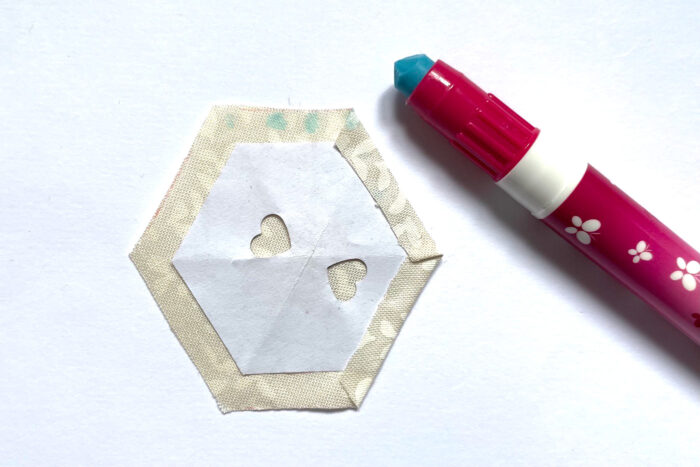
Glue Basting
How to glue baste:
1. Secure your paper piece to the wrong side of your fabric piece with a dab of glue.
2. Fold over the seam allowance on one edge and hold it in place with glue.
3. Repeat on the other edges, basting to move around the shape rather than doing opposite sides first.
Tips for glue basting:
Make sure you use just enough glue to hold the seam allowances in place; too much glue will make it harder to remove the papers later. I like to use fabric glue sticks because the end is slimmer, and they are usually colored, making it easier to see where you have glued; however, they can get expensive as you will use quite a few in one project.
You can also use regular glue sticks (like the ones for schools and craft projects); they can be a little harder to unstick at the end of the project but do work out much cheaper.
Pros of Glue Basting
Firstly I find glue basting much faster than thread basting, and this can be a huge plus point when working on a large project or one with an approaching deadline.
As the seam allowance is held to (rather than held around) the papers, I find the corners and edges of a glue-basted paper piece are crisper and more accurate; this can be a real plus point for exact fussy cutting.

Also, you only need one tool…the glue stick itself.
Cons of Glue Basting
Firstly you need to have a glue stick in your sewing supplies, and not everyone will have this tool to hand. I find I need a flat surface to glue baste (although that might just be me!), which does limit where I am able to do it.
Finally, glue basted paper pieces take longer to remove once the project is finished; pressing with an iron helps to melt the glue a little making the papers easier to get out, but the heat from the iron cools quite quickly, so you need to keep pressing to ease the removal of the papers.
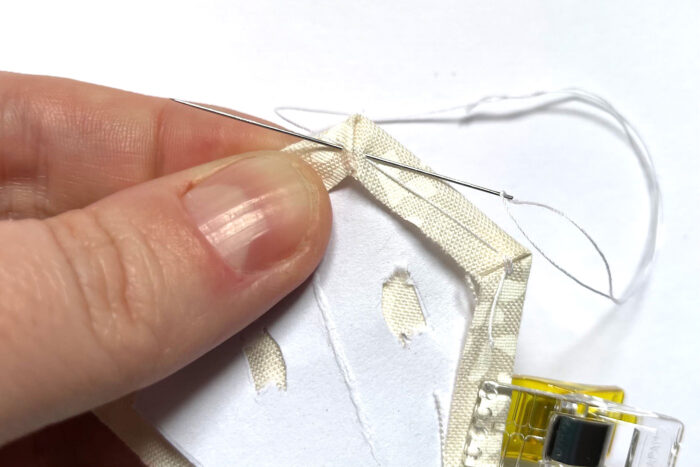
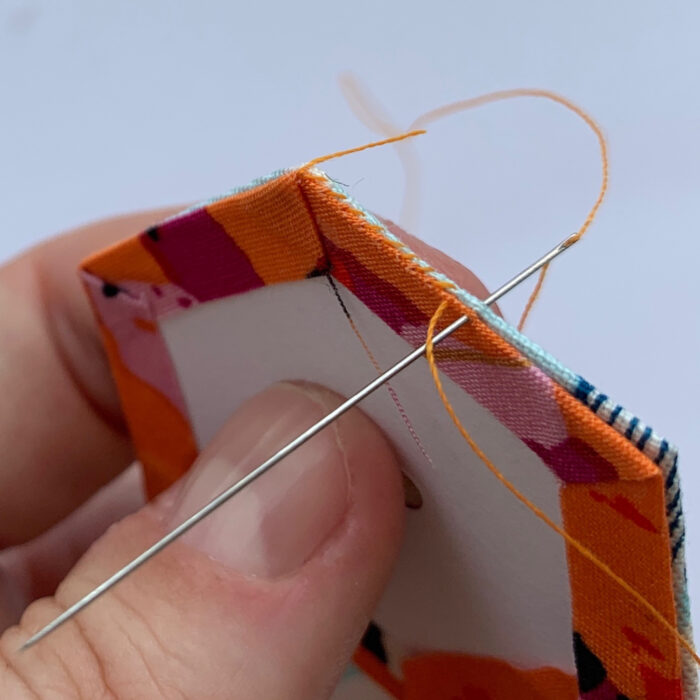
Thread Basting
How to thread baste:
1. Secure your paper piece to the wrong side of your fabric piece with a pin or dab of glue.
2. Fold the first two fabric edges and sew a couple of little stitches across the corner fold to hold it in place.
3. Move around the shape and fold the next edge into place adding a stitch across that corner fold too.
4. Repeat until you’ve worked all the way around your EPP shape.

Pros of Thread Basting
Although you use more than one tool to thread baste, the tools you need (needle, thread, and scissors) are ones that I think anyone who sews, even if they are very new to sewing, will have to hand.
Unlike glue basting, you don’t need a flat surface for thread basting, which means you can do it on the sofa…a huge plus point in my books! And thread-basted papers can be popped out quickly and easily.
Cons of Thread Basting
I find thread basting a much slower process compared to gluing. With time, as with any technique, you will get faster, but I think it will always take longer. As the seam allowance is only held around the paper (rather than stuck to it), the fabric doesn’t stay in place as precisely on the corners and edges. To combat this, I like to press once the paper pieces have been thread-basted; although this adds to prep time, I think it helps with the accuracy.
And although I have put this as a “con” having the fabric not held as tightly to the paper pieces can be a plus point once you are sewing.
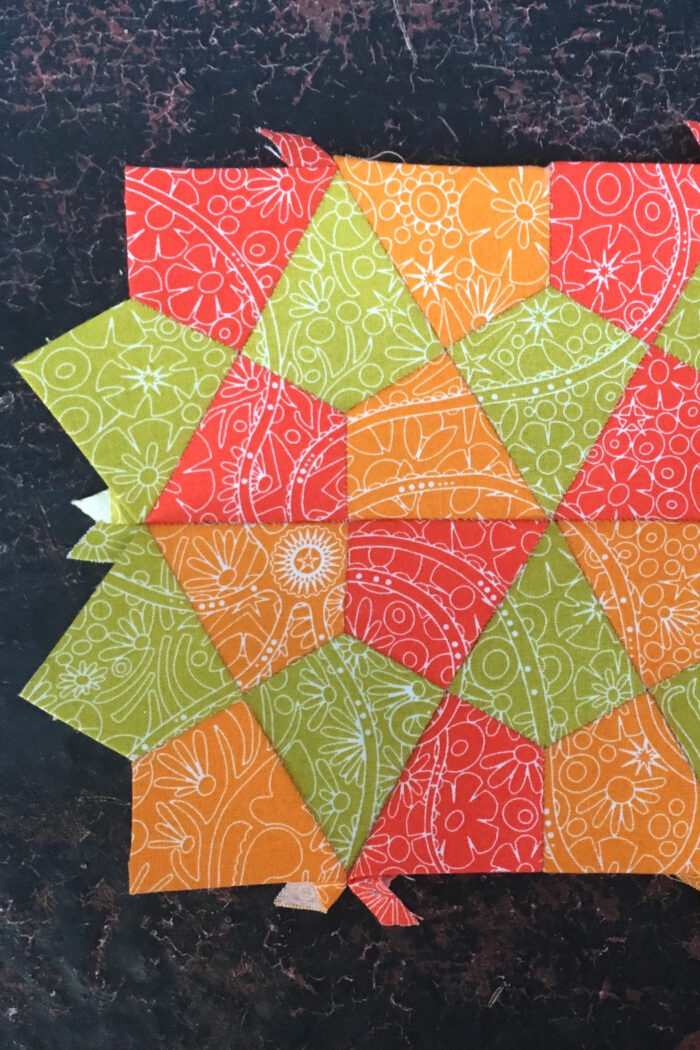
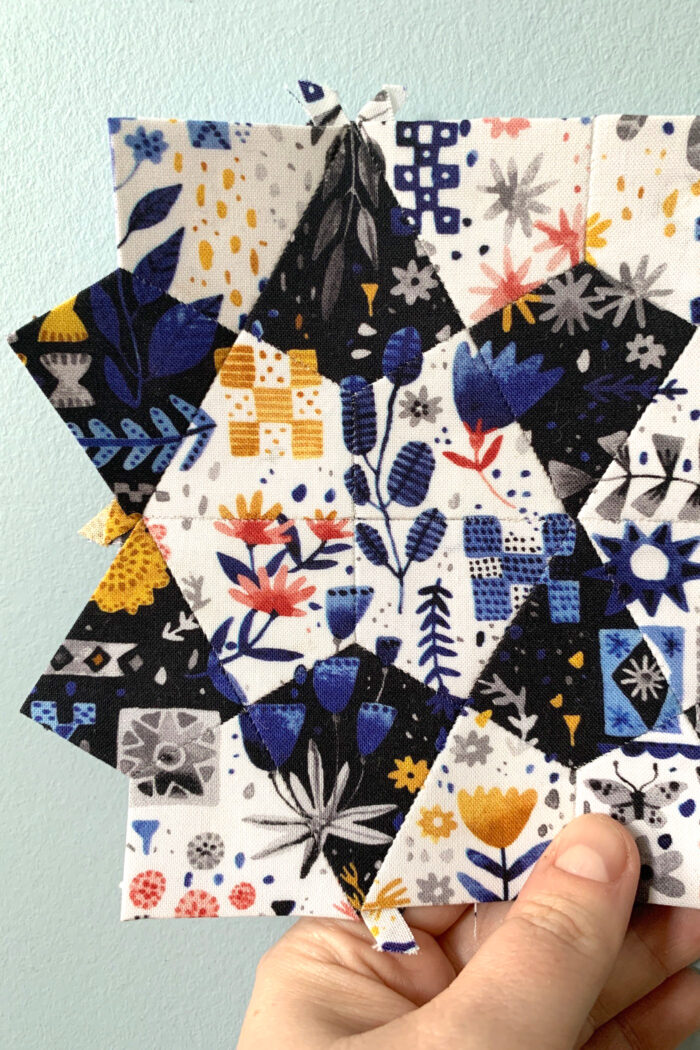
The End Results
So can you tell the difference between the glue and thread-basted projects once they have been finished? With practice I think it becomes harder to tell the difference, but this is what I have found over many projects; with a glue basted project, it can be harder to keep the stitches completely invisible.
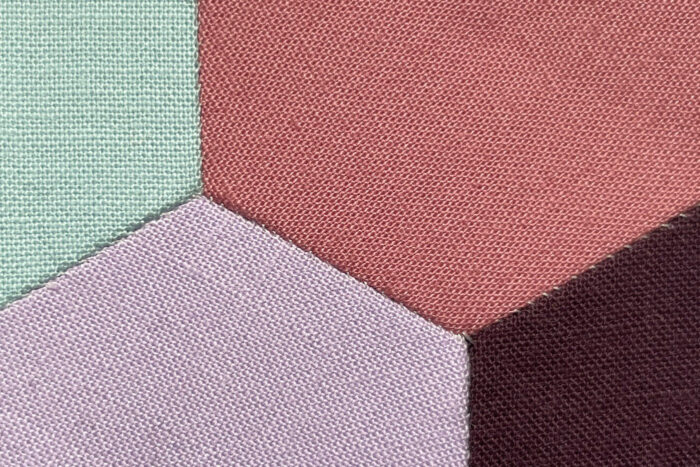
A way around this is to using less glue and making sure to only glue a small amount along the fabric edges, meaning the folded seam allowance isn’t as tight to the paper piece, which in turn helps to keep the stitches invisible, however with a thread basted project it is much easier to keep the stitches invisible.
Which basting method should you choose?
As a fan of pattern matching across EPP pieces, I would say glue basting is a better choice for this technique as it is much quicker to adjust and shift a paper piece that has been glue basted to get the alignment of fabric motifs more accurate.
However, the final decision will mostly come down to personal preference and which pros and cons are more important to you for each project. I regularly use both techniques and do not think one is “better” than the other.
About the Designer

Amy lives in the north of England with her husband and son. When she’s not sewing and quilting, Amy can usually be found baking or reading. You can find her on Instagram @amyatthegate
Be Sure to Check Out!
EPP: as easy as one, two, three
Great insight! Thanks so much for your knowledge!
As someone who is registered blind and sees clearest four inches from my nose (not a safe distance for waving a needle about) I love the tactile aspect of sewing EPP. I tried glue basting and for me it was slow, messy,and frustrating. I had to have wet wipes or a damp flannel available at all times so I could wipe my sticky fingers ( a down side of doing things by feel).
I’ve used 2 methods of tacking my papers using thread. Both start by taking a pair of cheap strong magnets to hold my fabric scrap firmly to the paper so I keep the sides even.
Method 1 is the method described here the advantage is you can remove the papers easily and so long as you secured beginning and end and removed long tails from the thread there’s no unpicking.
Method 2 I stitch through the papers securing corners and one or two stitches along each side the disadvantage is the thread needs unpicking to remove the papers which negates the fact that it’s a quicker method of basting in the first place.
To minimise the visibility of my stitches as I piece I use 80wt Aurifil but as I’m sewing for my pleasure and relaxation not exhibition the odd visible stitch just proves I’m human (and used to happen before my sight loss 5 years ago).
I love doing epp and mostly glue baste as the edges of my fabric seem to loose when I thread baste ad I still need to put a dab of glue on the center to keep the fabric from slipping when basting. The trick is to use just a tiny amount of glue around the edges, I glue the edge of my fabric vs the paper so I know exactly where the glue will go. I also have found 1) using the flat back stitch makes stitches almost invisible but for some reason takes longer for me to stitch but I do like the out come better. 2) If using the overcast stitch I offset the two sides just a tiny bit so the left piece is just a tiny bit higher than the right it makes the stitches much less visible.
When I first started EPP I sew basted. When I started using glue I found it didn’t stay basted unless I used a wonder clip. That’s a lot of wonder clips! 🤑