How to Make a Log Cabin Quilt Block – the April Quilt Block of the Month
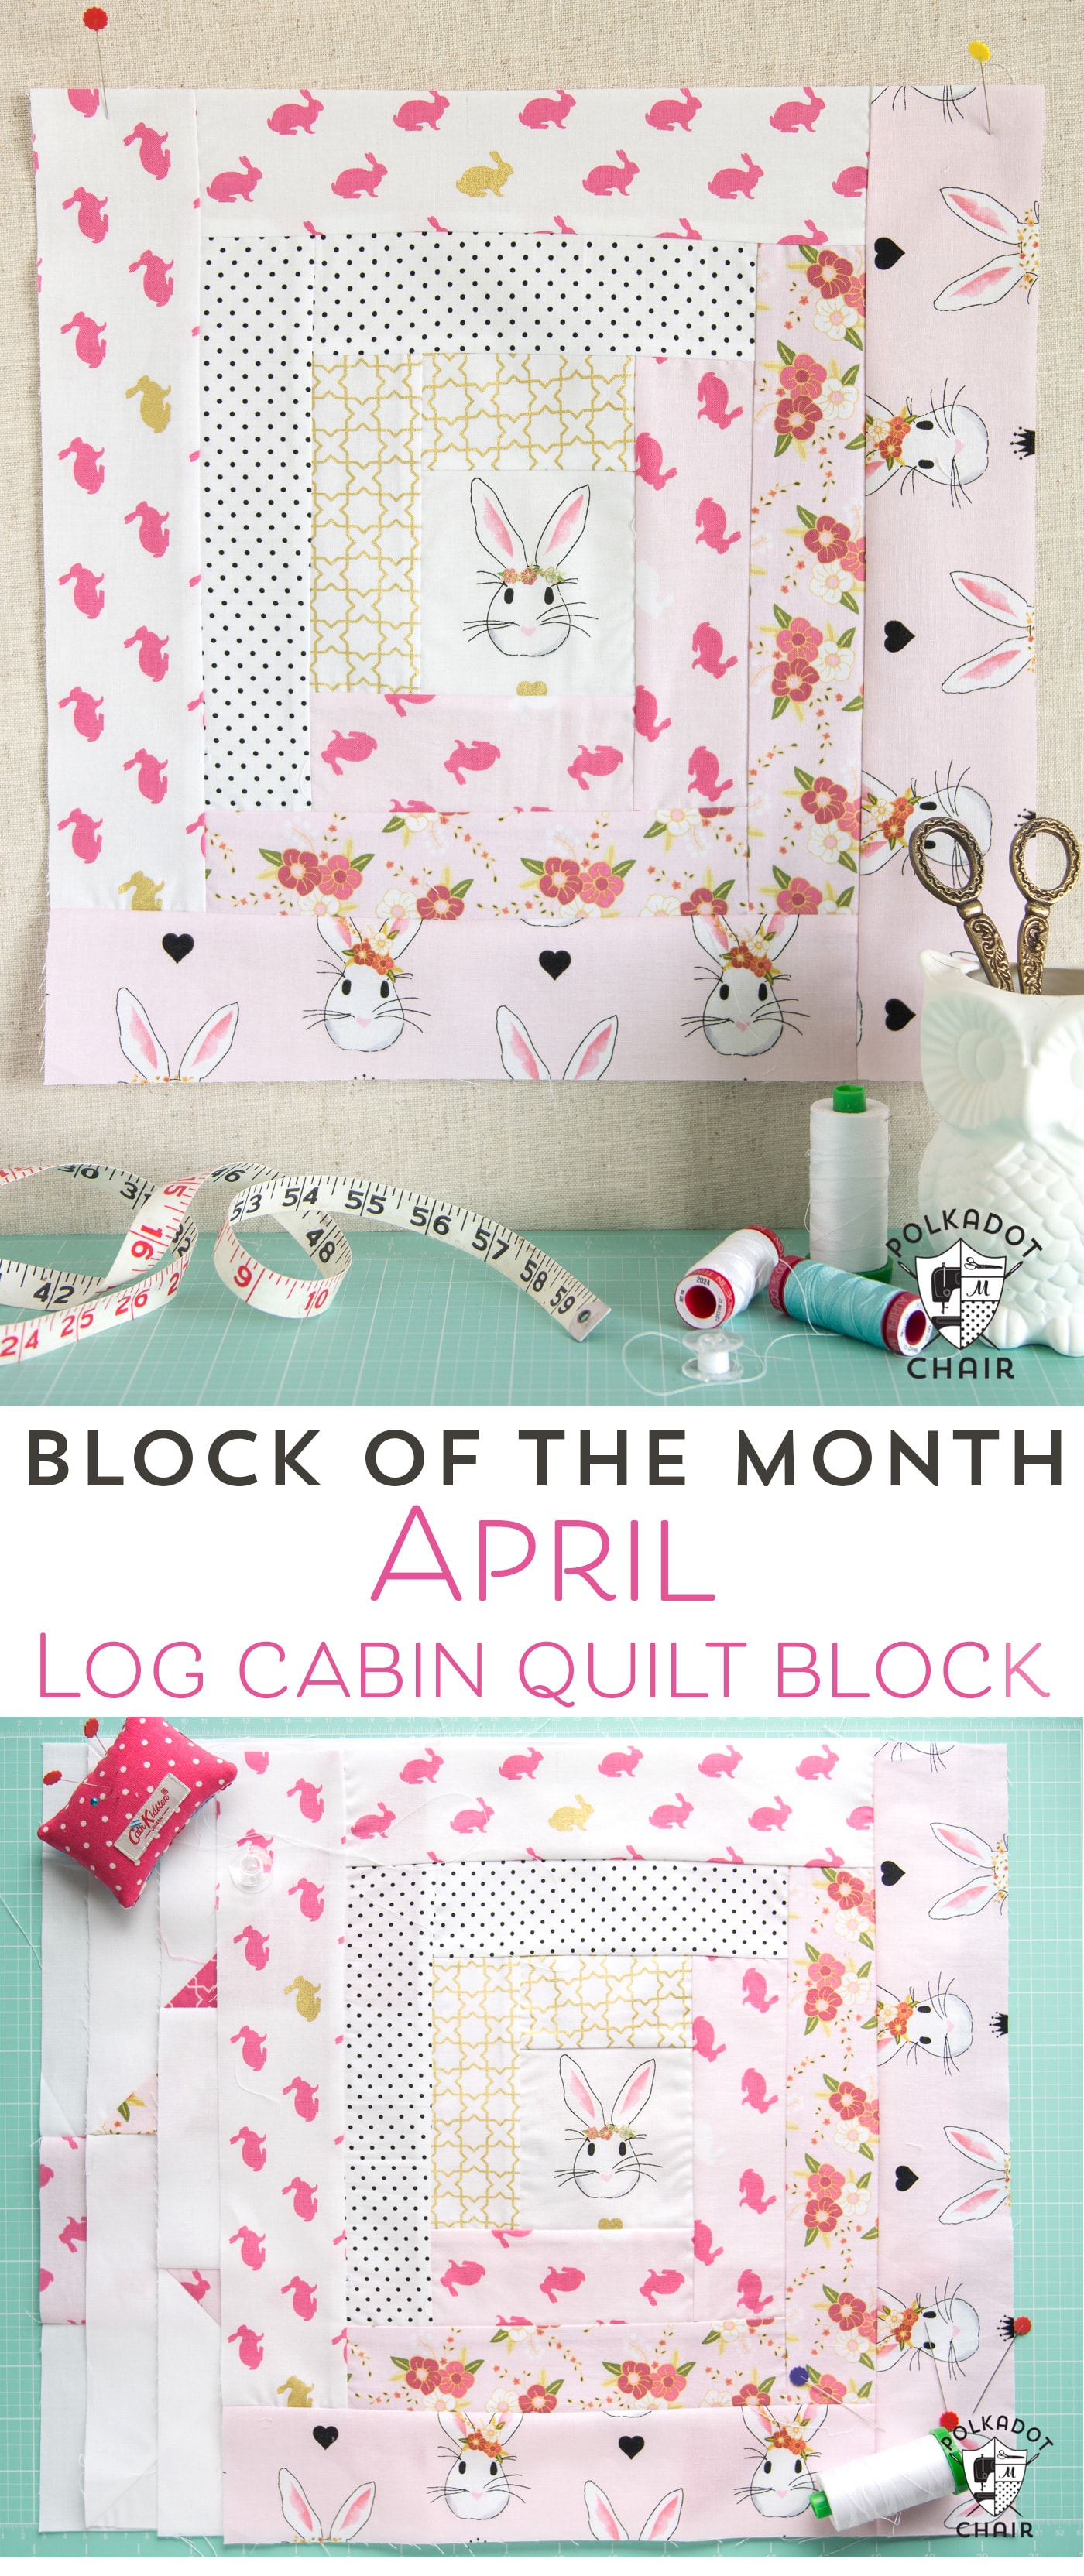
Learn how to make a 15-inch Log Cabin quilt block with our free pattern. This is the featured block for April for our Block of the Month series.
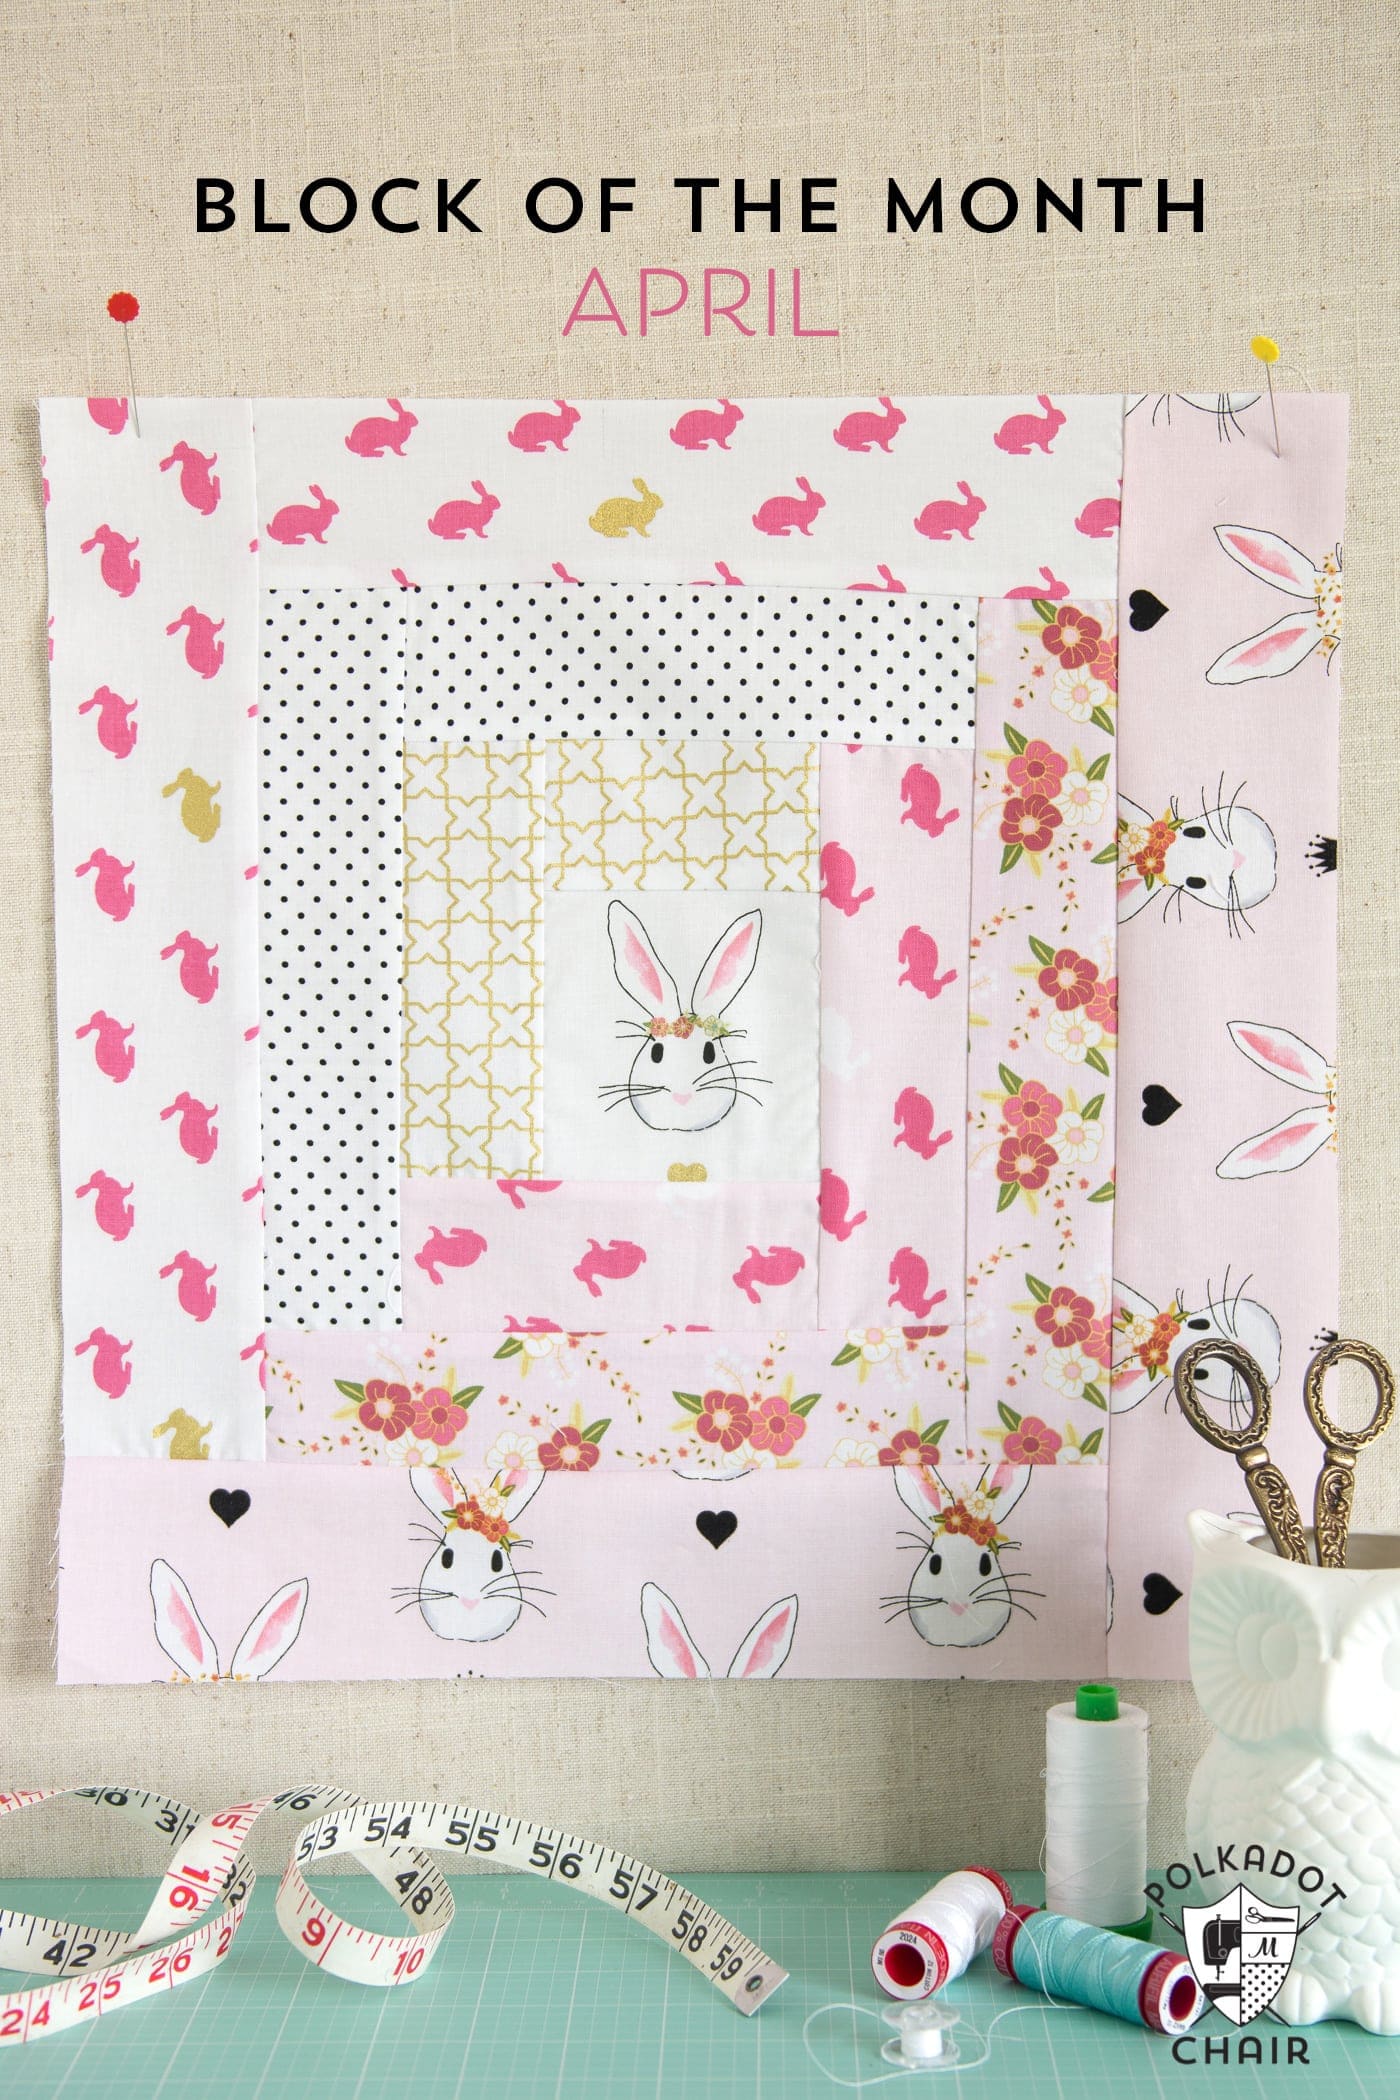
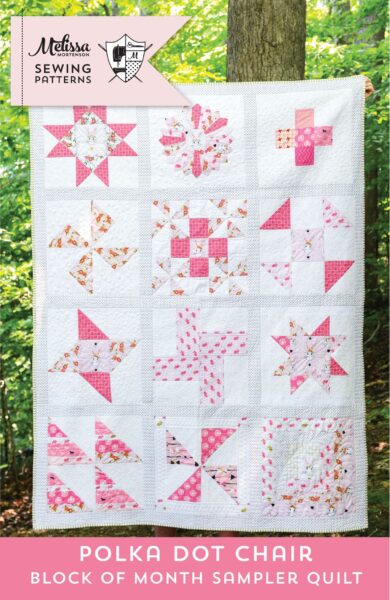
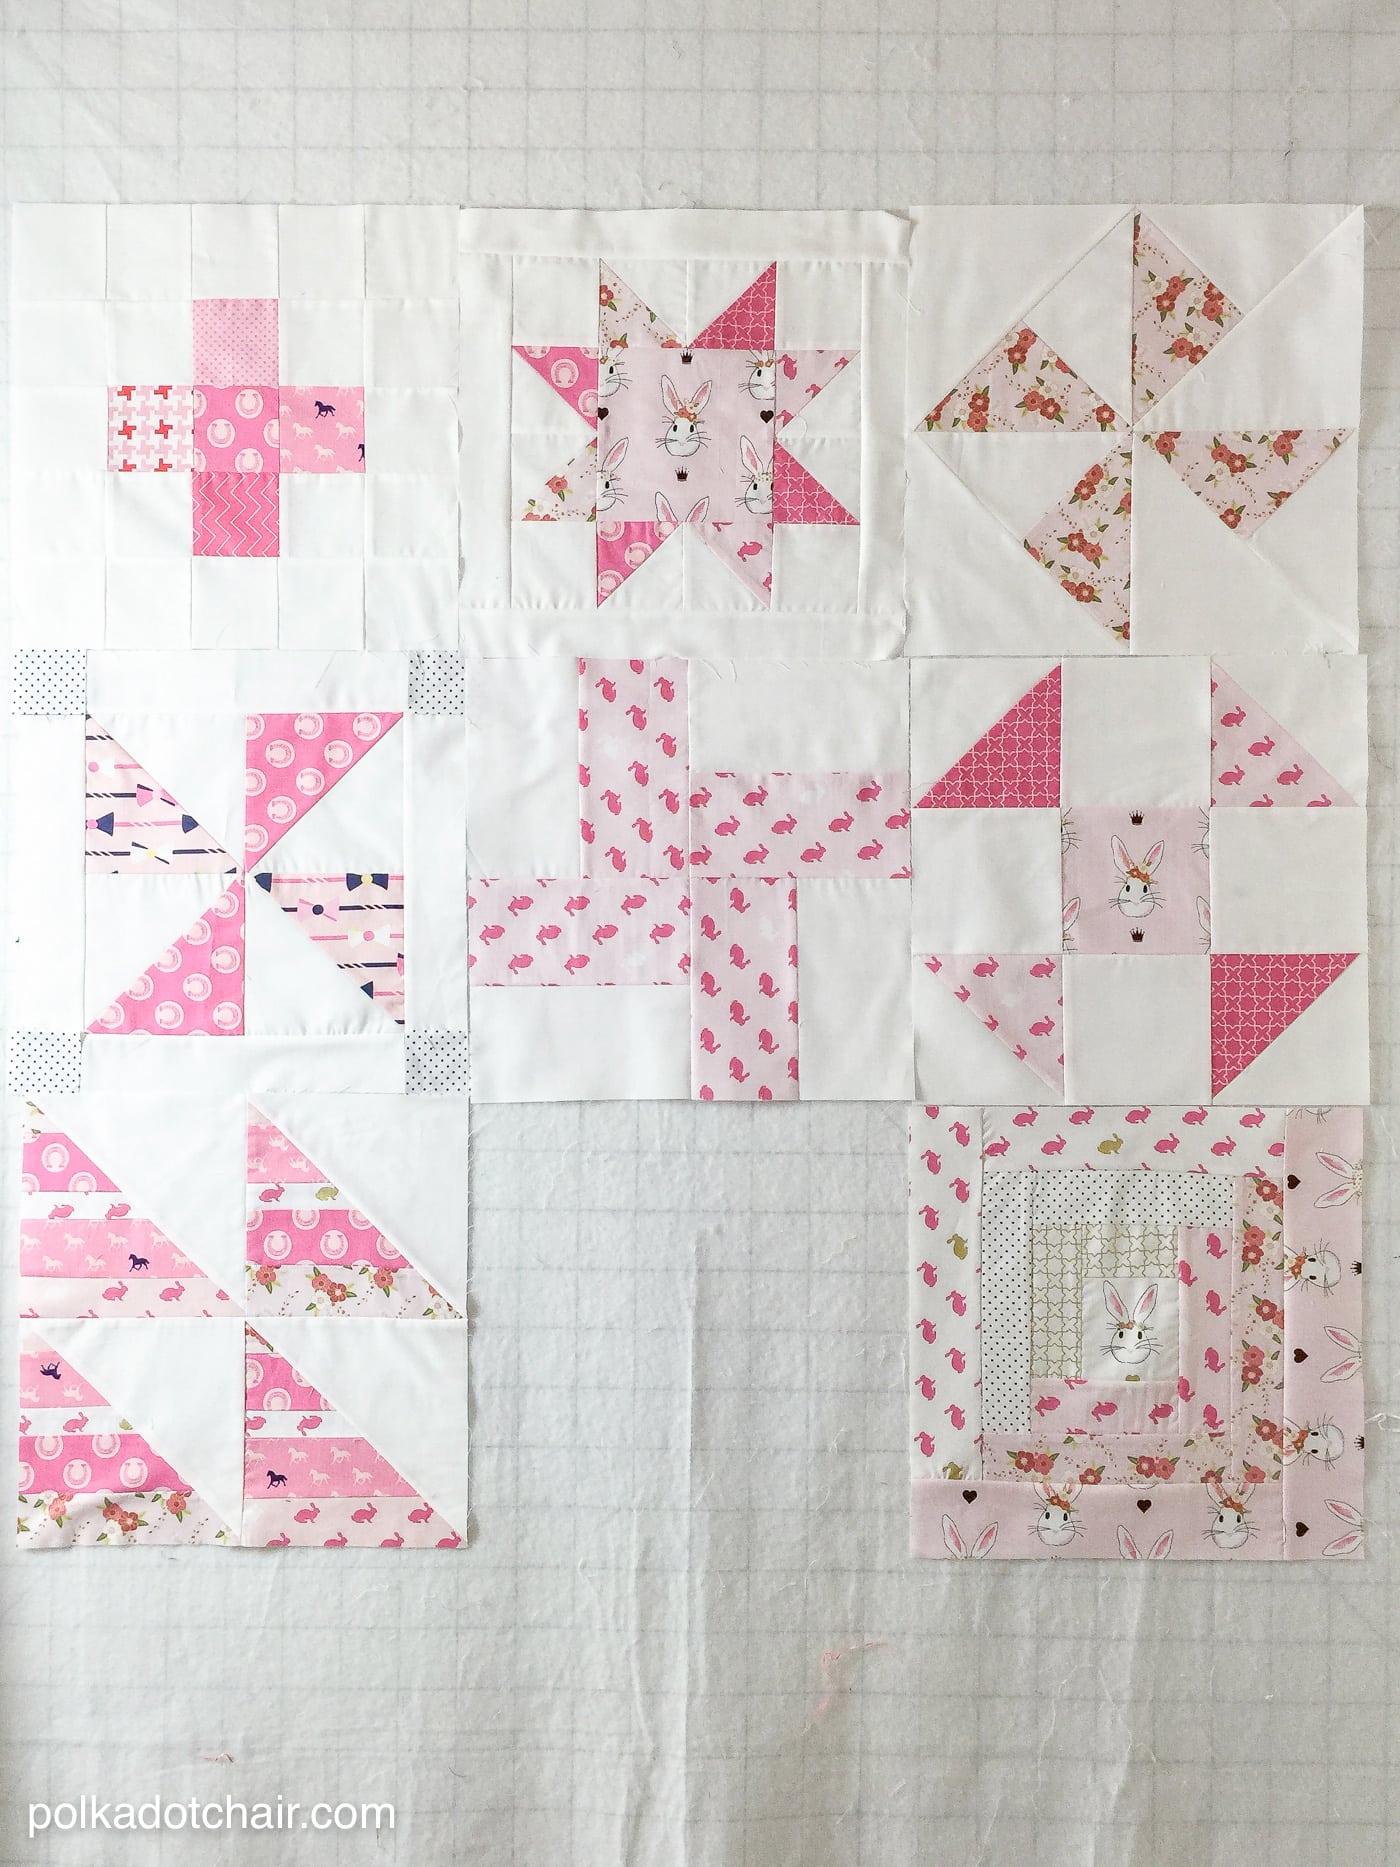
This is block #8 of 12. It is constructed a little bit differently than the blocks in the previous months, but don’t stress—I walk you through all of the steps.
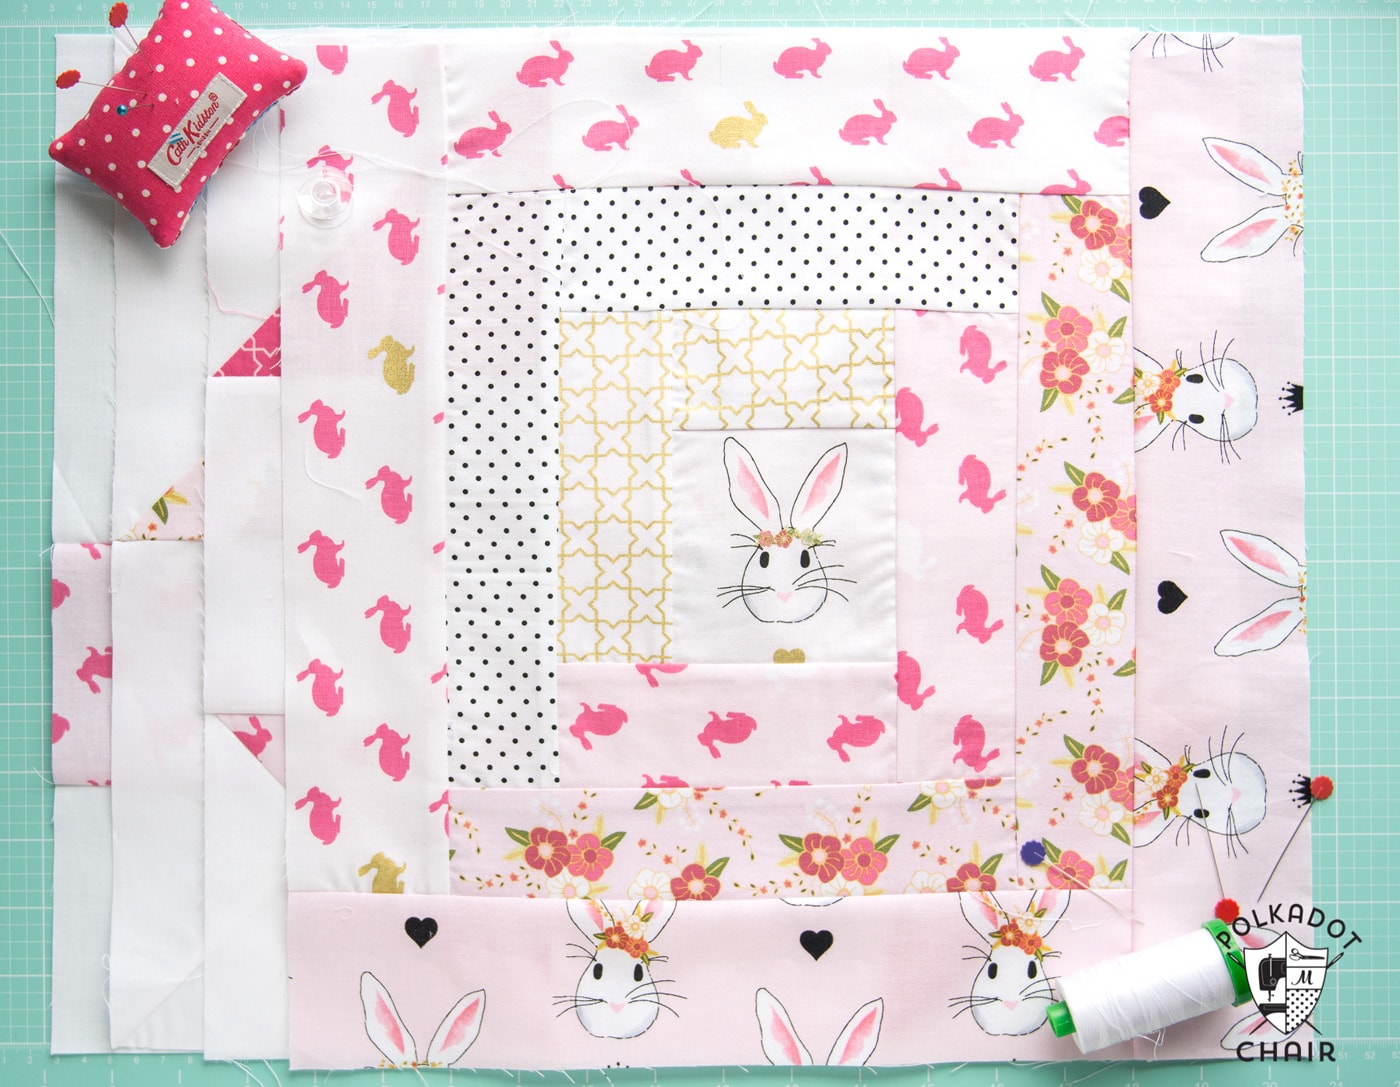
I love this block; it may be one of my favorites so far. It’s one of those blocks that helps to tie all of the others together. My block features seven different fabrics: one center main “focal” fabric and six different fabrics in two colors.
UPDATE: You can now purchase a PDF with ALL of the block instructions for each month in one place!! Click here to PURCHASE
About Log Cabin Quilt Blocks:
Log Cabin blocks are usually constructed with all of the “light” fabric on one side and all of the “dark” fabric on the other side. When you do that and put a bunch of blocks together in a quilt, really cool things happen.
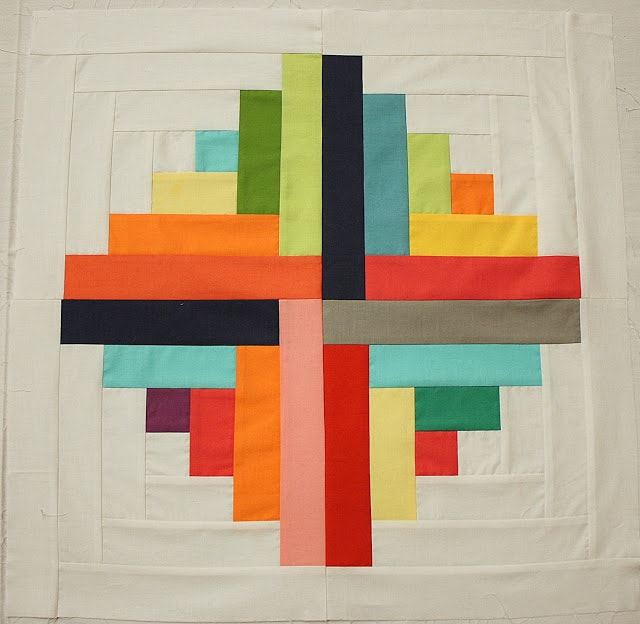
This block from the Diary of a Quilter blog is actually 4 log cabin blocks sewn together. Look closely and you can spot the pattern. Pretty cool huh!
The block we will make this month won’t give us the same optical illusion, but since this series is designed to teach you to make a large variety of quilt blocks, I thought you’d still enjoy making one. You can venture out independently if you like and make some quilts with really cool designs.
Log Cabin Quilt Block Construction Method
There are a few ways to construct a Log Cabin block. I like to use a “cheater” method. It involves more trimming, but the math is a thousand times easier, and it leaves you some room to make a mistake.
Things to Know Before You Start:
When you’re making this block, you want to be sure to only press your seams, not iron them. If you move the iron back and forth, you’ll distort your lines and end up with a wonky block (which can be really cool in itself). My block is not perfect, but I’m okay with that.

How to Make a Log Cabin Quilt Block:
Yields One 15 1/2″ x 15 1/2″ Finished Size Quilt Block:
To make this block, you’ll need:
(note: Keep the colors the same but you can vary the prints within each color, for example my block has pink and white strips but each one is a different print).
1 piece 4 x 4 for center square
1 piece 2 1/4″ x 5″ of COLOR A
1 piece 2 1/4″ x 7″ of COLOR A
1 piece 2 1/4″ x 7″ of COLOR B
1 piece 2 1/4″ x 9″ of COLOR A
1 piece 2 1/4″ x 9″ of COLOR B
1 piece 2 1/4″ x 11″ of COLOR A
1 piece 2 1/4″ x 11″ of COLOR B
1 piece 2 1/4″ x 13″ of COLOR B
2 pieces 3″ x 16″ of COLOR A
2 pieces 3″ x 16″ of COLOR B
As I mentioned, this is a “cheater” way of constructing a block involving more trimming but less math. It’s also more forgiving if you cut one of your pieces too short.
As you work on the Log Cabin Block, note two things:
1- Don’t get over zealous with the trimming, trim the piece even.
2- Press between each step.
3- Always stitch the right sides together.
Okay, let’s start.
Step One: Start in Center
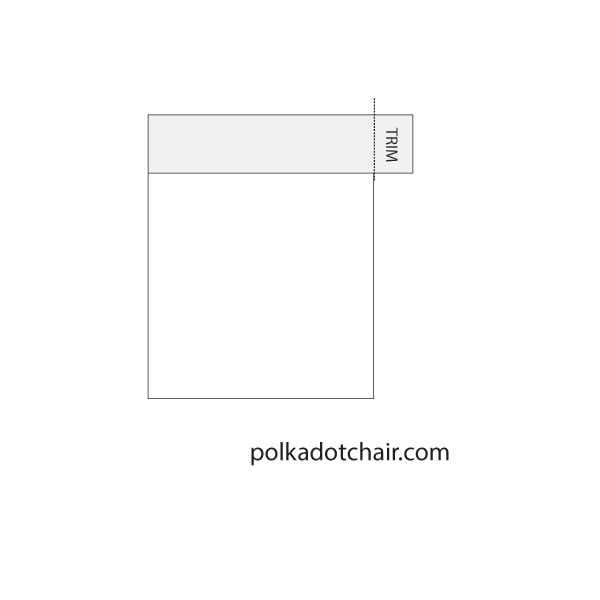
Stitch one 2 1/4″ x 5″ strip to the top of your 4″ x 4″ square. Press the seam to one side. Trim the excess fabric off.
Step Two: Add Borders
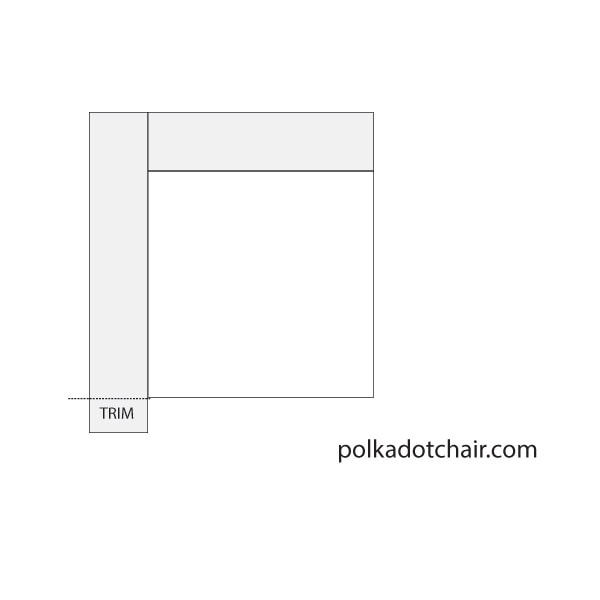
Stitch your 2 1/4″ x 7″ strip of fabric A to the left side of the 4″ x 4″ square. Press the seam to one side and trim.
Step Three: Keep Adding Borders
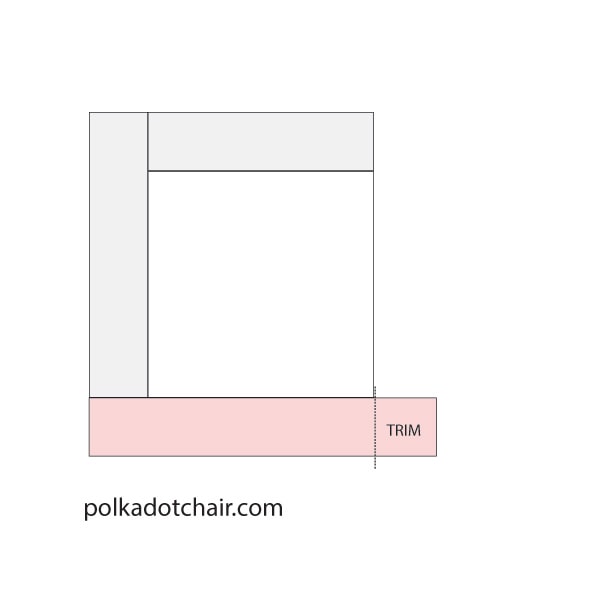
Stitch your 2 1/4″ x 7″ strip of fabric B to the bottom of the 4″ x 4″ square. Press seam to one side and trim.
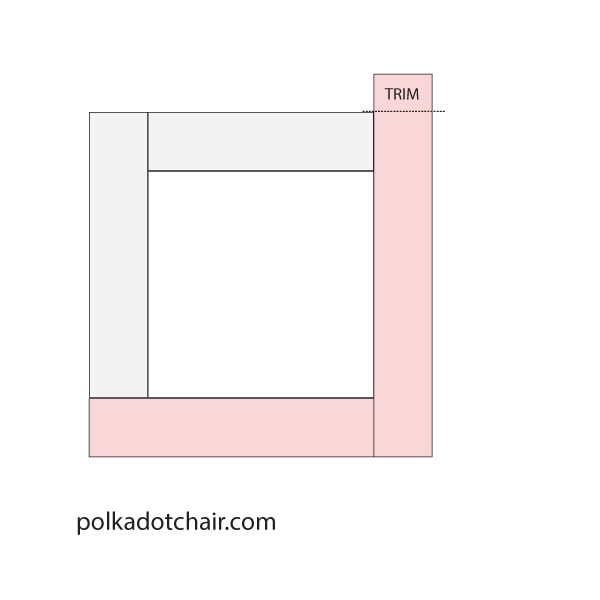
Stitch your 2 1/4″ x 9″ strip of fabric B to the right side of the square. Press seam to one side. Trim.
Keep doing this going counterclockwise.
The last 4 strips you sew to the block will each be 3″ wide.
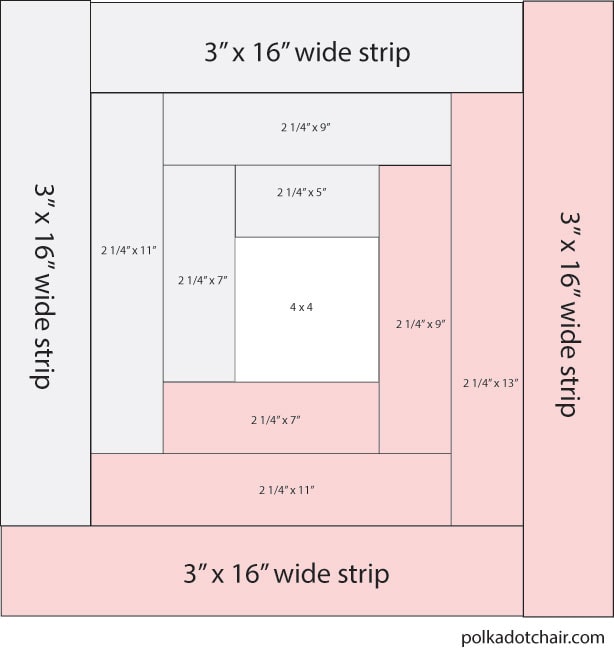
After you’ve sewn all of your strips to the block, trim the block to 15 1/2″ x 15 1/2″.
That’s it, you’re done!
The Other Quilt Block Patterns in the Series
- Plus Quilt Block Pattern
- Pinwheel Quilt Block Pattern
- Sawtooth Star Quilt Block Pattern
- Half Square Triangle String Block Pattern
- Turnstile Quilt Block Pattern
- Shoofly Quilt Block Pattern
- Keystone Quilt Block Pattern
- Log Cabin Quilt Block Pattern
- Friendship Star Quilt Block Pattern
- Grandma’s Favorite Quilt Block Pattern
- Ohio Star Quilt Block Pattern
- Dresden Quilt Block Pattern
Just a quick reminder: This project along with ALL of the other projects on this blog are offered to you for free. The only thing that I ask is that you do not use them for any commercial purpose. If you have a shop, this is not meant to be a program for you to use in your store. It’s meant to help build the online community of people who all LOVE quilting. Please respect that so that I can go on sharing these projects for everyone.
