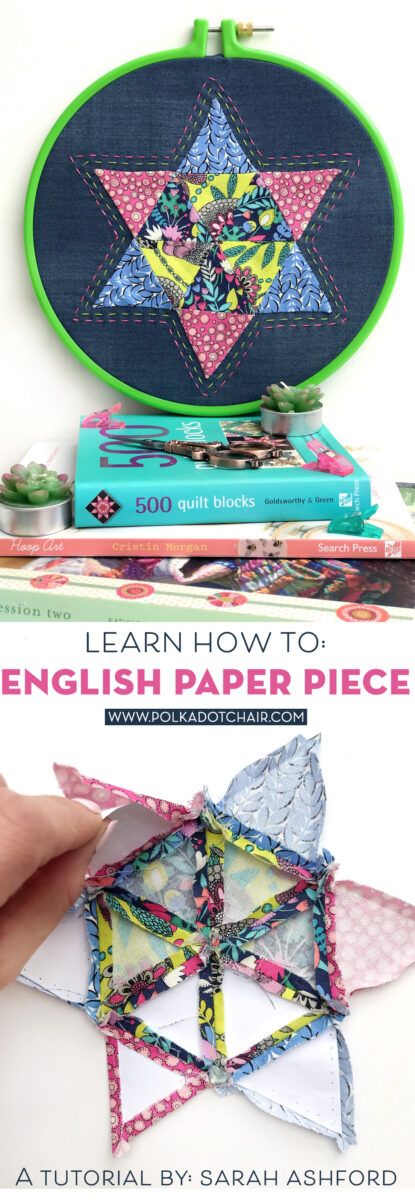
Learn the Basics of Engish Paper Piecing with this Star Quilt Block Tutorial
If you’ve ever wondered what English Paper Piecing was or how to get started, then you’re going to love today’s tutorial. Sarah Ashford is back with us again teaching you how to make this fun Star Quilt Block embroidery hoop that features English Paper Piecing (also called EPP).

For us in the Northern Hemisphere, the weather is starting to improve. (Just as I’ve typed this, it’s started to rain…sigh…I do live in England, after all!)
Generally speaking, the weather is improving, and the days are much longer, which is such a joy. And as we head into the holiday season, it’s always nice to have an ‘on the go’ project that you can take with you.
Why I love English Paper Piecing
And that’s one of the reasons I love English Paper Piecing (EPP) so much. You can pick it up and put it down; it’s ideal for when you’re traveling on the train, or in the car, or on a plane. You can even do it while sunning yourself at the beach or watching your children play.
So I wanted to share a simple little project that uses EPP, and by putting it in an embroidery hoop, it’s a great way to really let it shine.
I’m not going to lie, EPP is time-consuming, as it’s all done by hand, and so you might want to give it some careful thought before committing to a full quilt, but a small project is a great way to have a go at the technique and get a faster finish than a quilt.

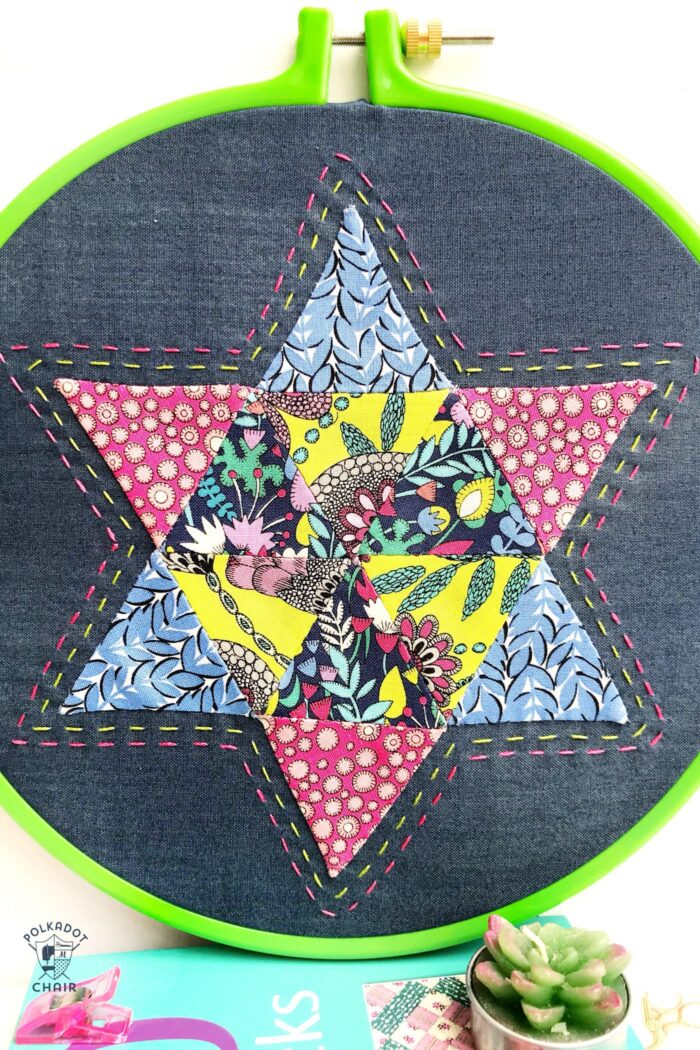
Star Quilt Block Embroidery Hoop Project; a Free English Paper Piecing Pattern
I thoroughly enjoyed making this star, and I’ve provided templates for the triangles, so hopefully, you can have a go too.
EPP Supplies
EPP glue
Appliqué glue (optional)
Hand quilting thread
Binding Clips
Hand Quilting Needles
Usual sewing supplies (needle, thread, embroidery and fabric scissors, binding clips etc.)
How to Get the Printable Pattern Pieces. You can get a copy of the pattern pieces used in this project in our Template Library. Access to the library is for our Newsletter subscribers, and subscriptions are free. Please visit this page and follow the instructions to get the pattern pieces. PLEASE READ the instructions on that page. NOTE: The PDF only contains the pattern piece; you still need to read this tutorial to complete your project.
How to English Paper Piece
Equipment
- Paper to Print the Triangle Template
supplies
- Triangle Papers download the PDF Templates using the link in the gray box
- Scraps of 4 Different Fabrics for the Star
- 12 inch Square of Background Fabric
- Glue desgined for English Paper Piecing
- Applique Glue Optional
Instructions
Step One: Prep
- First of all, print of the templates and cut them out. You can use ordinary copy paper but a slightly heavier weight paper is ideal.
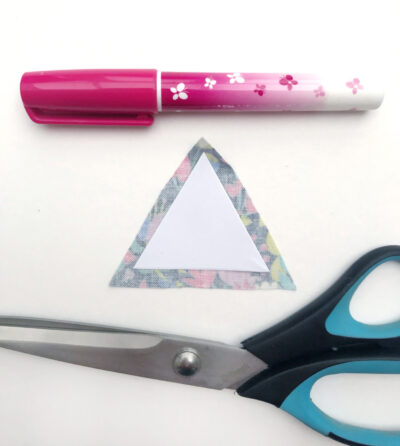
Step Two: Cut your Fabric
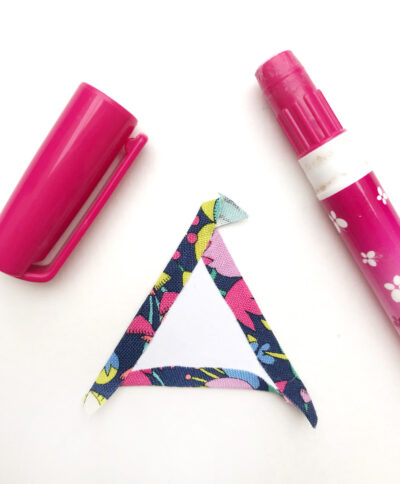
- Next, put a small dot of sewing glue on the centre of the template and stick it to the reverse of your scrap of fabric. Don't use too much glue, just enough to secure the paper in place.

- Roughly cut the triangle out leaving a ¼” all the way around. This doesn't have to be completely accurate but don't make it too big or too small as it will be harder to baste.
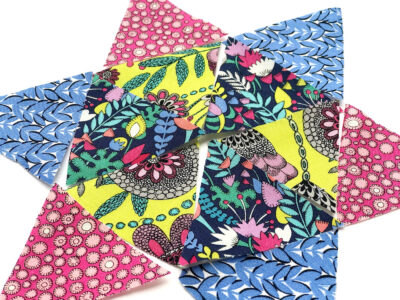
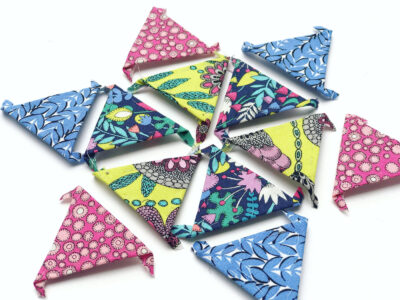
- Repeat for all 12 triangles and lay them out in the order you plan to have them so that you can check you're happy with the fabric placement. It's a good idea to take a photo at this point so that you can refer back to it.

Step Three: Basting
- Now to the basting. There are 2 ways to do this.
- You can glue baste, where you glue the seam allowance to the papers. Apply a small amount of glue to each edge of the triangle and fold the fabric over.

- The advantage of this is it's much quicker and you can get lots of shapes basted relatively easily. It can make it a little tricker to remove papers at the end though.
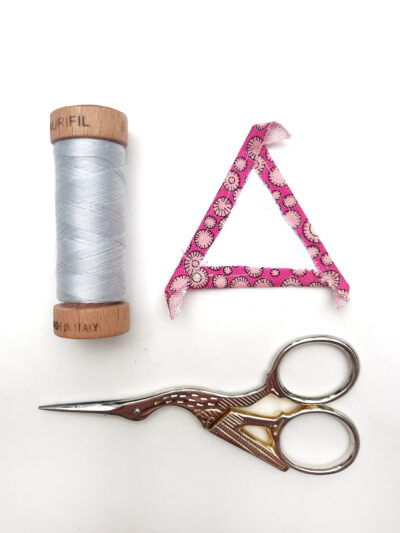
- For me, I prefer sewing, not gluing! So I've decided to hand baste. All you need to do is knot your thread and stitch all the way around the edge of the shape, catching it at the corners. Do a couple of over stitches at the end so that it doesn't come undone. You don't need to be precise about these stitches because they will all be taken out at the end.

- You just need to ensure that the fabric is wrapped tightly around the papers. Do this for all 12 triangles then lay them out in the placement you want. Do NOT cut off the ears!
Step Four: Stitch the Pieces Together
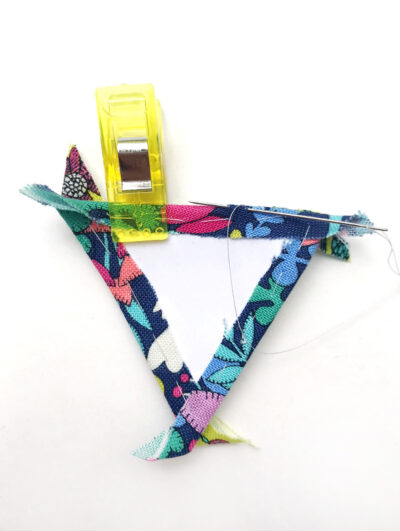
- We are going to start with the top row of the center section. Place two triangles right sides together, hold together with a binding clip and knot your thread. Starting at one end, stitch the fabric together, using either a whip stitch or a ladder stitch, keeping the stitches quite small and tight. I like to use a ladder stitch as I find this is more ‘invisible’ but this is completely up to you.

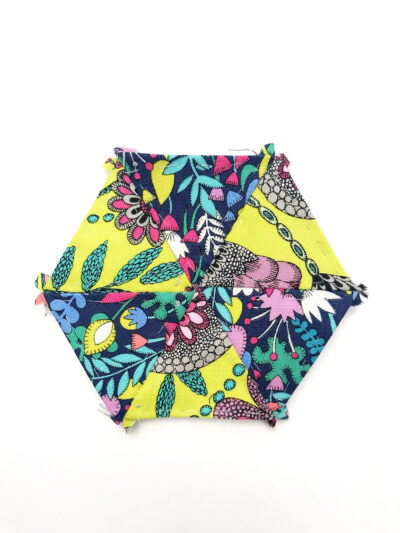
- Now add on your third triangle to complete the central top row. Repeat for the bottom centre section. You will see that you now have 2 straight edges, and these need to be stitched together in the same way to complete the central section of the star. Trim away the excess bulk in the centre, being careful not to cut into the triangles.
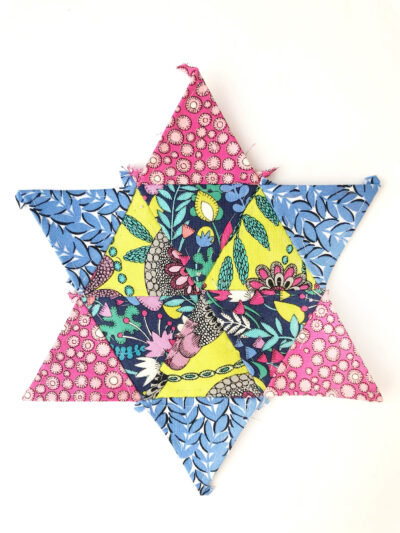
- Next, you need to add on the points of the star. Stitch one on then continue your thread and stitch on the next one. Keep going till your star is complete.
- Give the star a press to make the edges crisp.
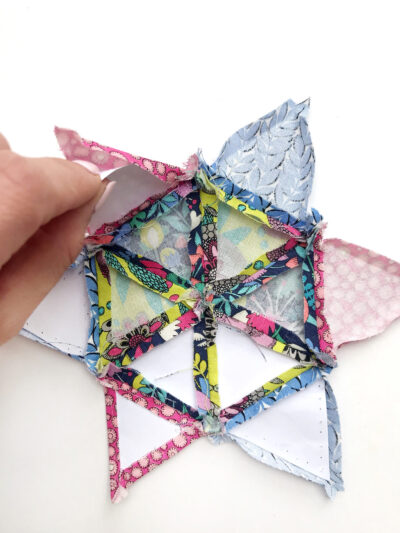
Step Five: Remove the Papers
- Now it's time to remove the papers. Use an un-picker or sharp embroidery scissors to carefully remove the basting stitches if you've used them, and carefully take out the papers. Press again, ensuring all the edges are turned under. The 'ears' will still be sticking out at this stage.
- Take the background fabric and fold in half then in half again to locate the centre.
Step Six: Applique to the Background Fabric
- Place the star in the centre and adhere either with appliqué glue if you have it, or with pins. If you're using glue, just use a tiny dot on each triangle to help secure in place. You do not need a lot. Carefully stitch down the star by using a ladder stitch all the way around the edge, tucking in the 'ears' as you go.
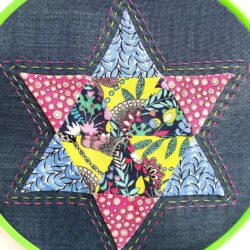
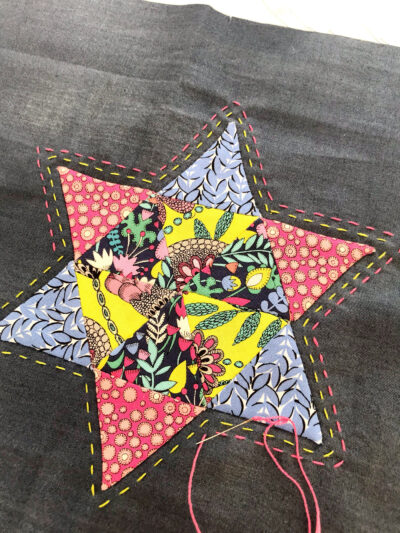
Step Seven: Add Hand Quilting Details
- I've decided to double echo stitch around around the star to add interest, using a hand quilting thread. You may wish to do this or just leave the star as it it!
- To finish, give the piece a good press and place in the hoop, ensuring it's drum tight. Trim off the excess fabric and you may wish to apply some clear glue around the edge on the reverse to hold firmly in place. Finally, find a lovely spot in your sewing room to hang your star and admire your beautiful hand work.
About the Maker:

Sarah Ashford is a British Quilter and embroiderer and founder of the GreatBritishQuilter challenge on Instagram. Sarah regularly contributes projects to magazines and loves to spread the joy of quilting everywhere she goes. Follow her on Instagram at @sarahashfordstudio and be sure to check out her beautiful sewing room decals in her Etsy shop www.etsy.com/shop/sarahashfordstudio
More Small Quilting Projects to Try:
Hello Sunshine Free Mini Quilt Pattern
20+ Mini Quilt Patterns you can Make in a Weekend
Dresden Block Mini Quilt Pattern
What a wonderful star. So, so pretty. Thanks for sharing. I will put this design at the top of the heap!!
Thank you for being. I think I’m going to love it here. Thanks for the templates.