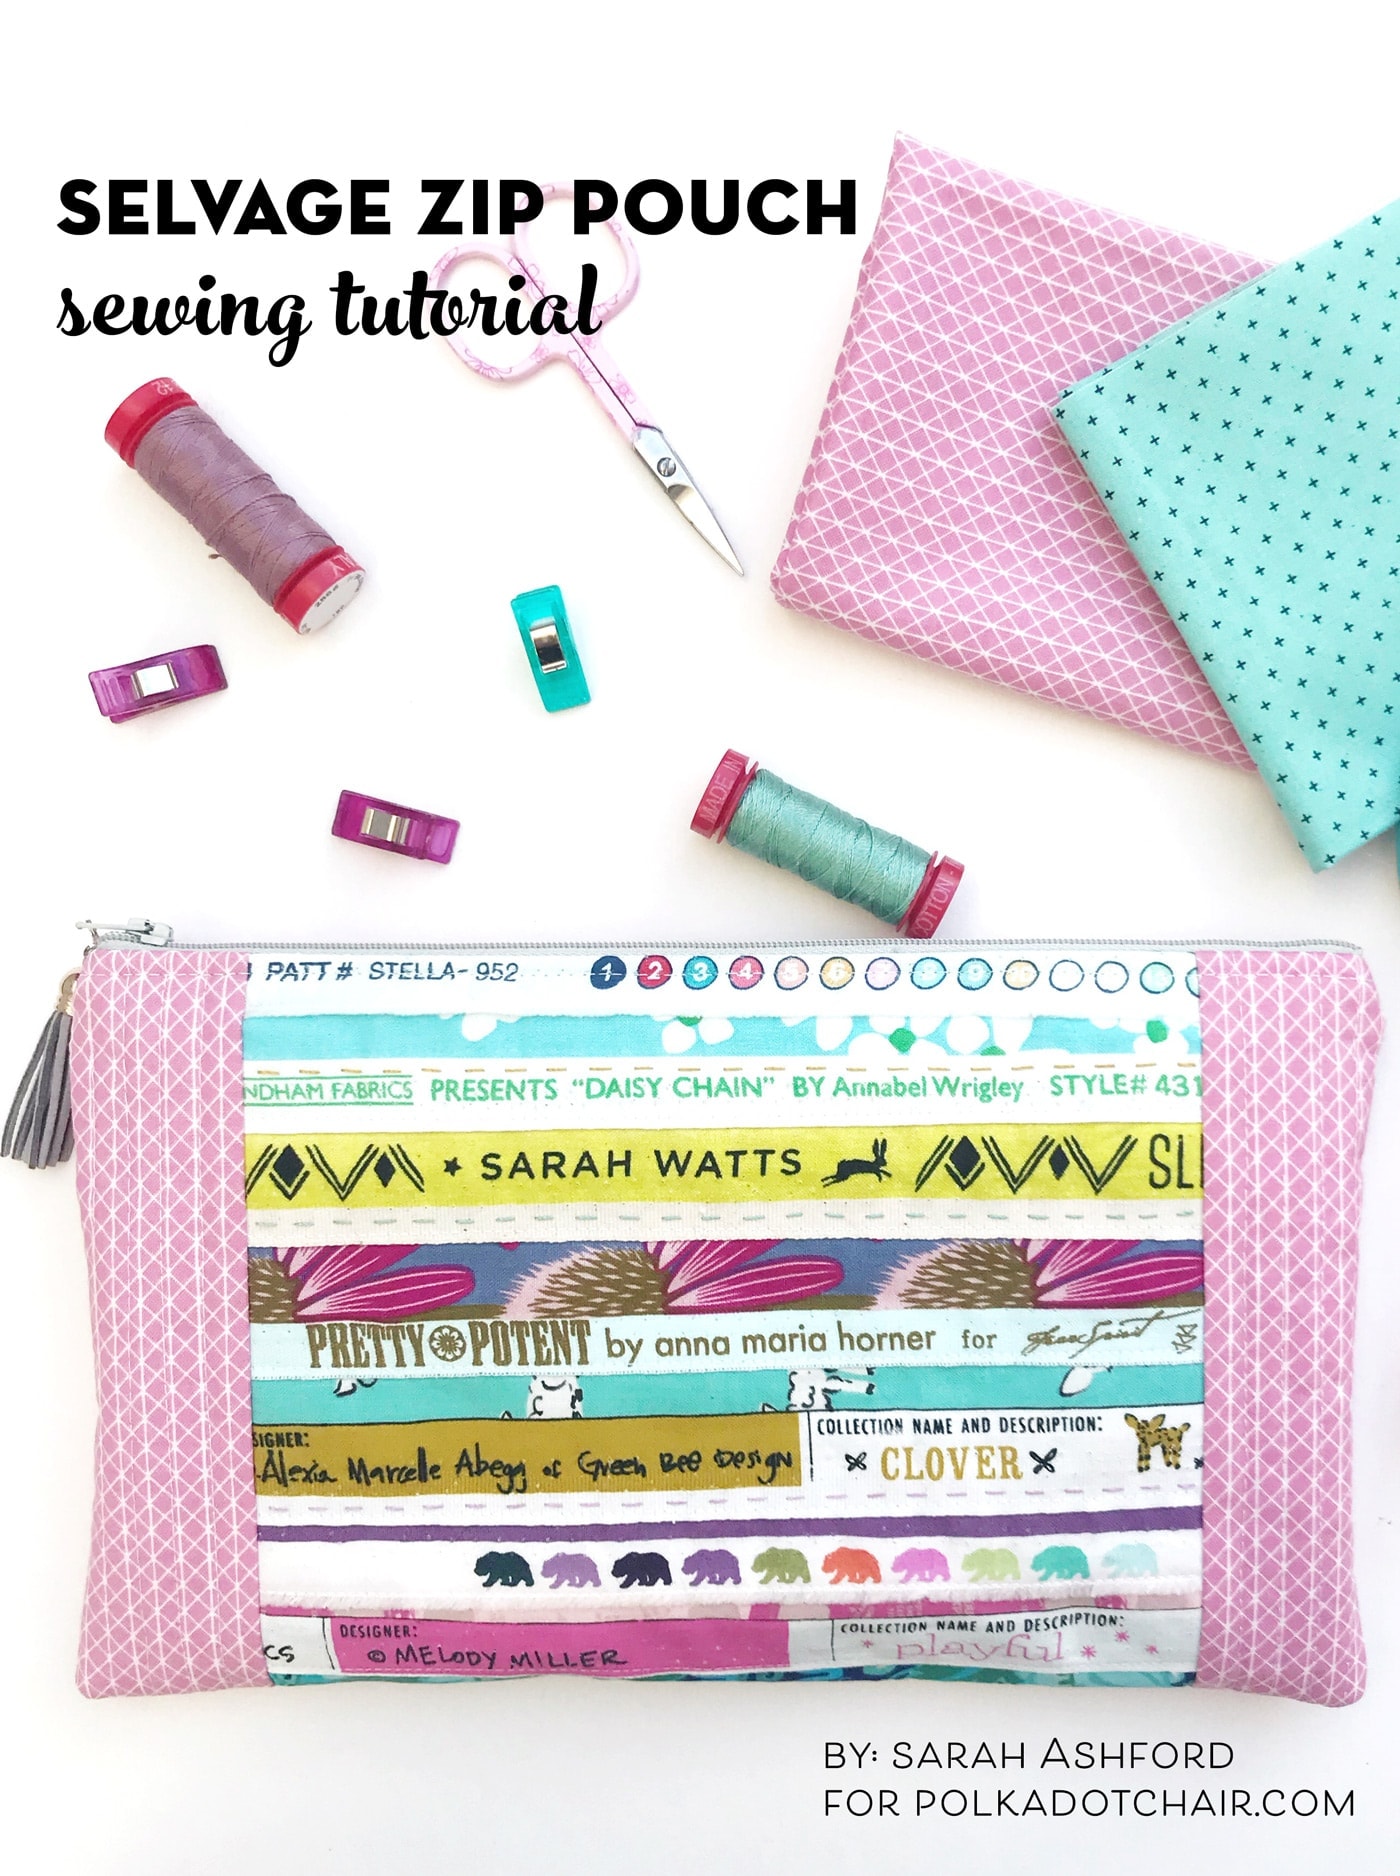
Fabric Selvage Zip Pouch Sewing Tutorial
Sarah Ashford is back with us today, sharing this cute Fabric Selvage Zip Pouch sewing tutorial. It’s a great way to use up some of those adorable fabric selvages you’ve been saving! If you don’t save your fabric selvages, you might just start after seeing Sarah’s cute tutorial!
I’ve been collecting selvages for about five years now. I have so many that I really can’t ignore them anymore; I need to do something with them! After all, they are often so lovely, with cute animal repeats, sayings, and logos; they are too good to waste.
What is Fabric Selvage?
In quilting, fabric selvages (or selvedges) refer to the tightly woven edges of a piece of fabric that run parallel to the lengthwise grain (along the warp threads, or the direction the fabric was woven on the loom). These edges are created during weaving, preventing the fabric from fraying or unraveling.
How to Make a Fabric Selvage Zip Pouch:
This time, I wanted the selvages to be the star of the show! Sselvagessigned a zipper pouch with the selvages at the center. Let me tell you how…
Fabric Selvage Zip Pouch Sewing Tutorial
supplies
- 8-10 Selvages with cute details that you want to showcase Approx 10” long
- Heavy weight interfacing – 9” x 8 1/2”
- 2 pieces Side strips – 2 1/4” x 7 1/2” and medium weight interfacing of the same size
- Back Panel – 12” x 7 1/2”
- 2 pieces Wadding – 12” x 7 1/2”
- 2 pieces Lining fabric – 12” x 7 1/2”
- 12-weight Aurifil thread
Instructions
Create the Selvage Section:
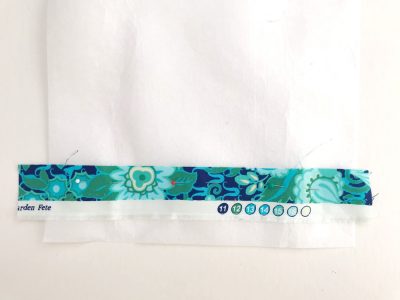
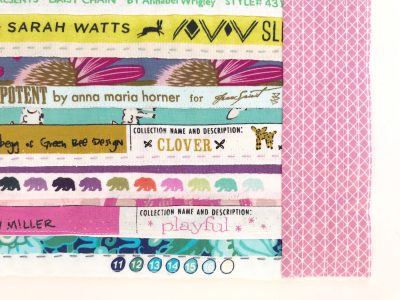
- First, you’re going to make the selvage section. Take the piece of medium-weight interfacing and pin your chosen selvage to the bottom. Stitch along the bottom edge to secure it in place.

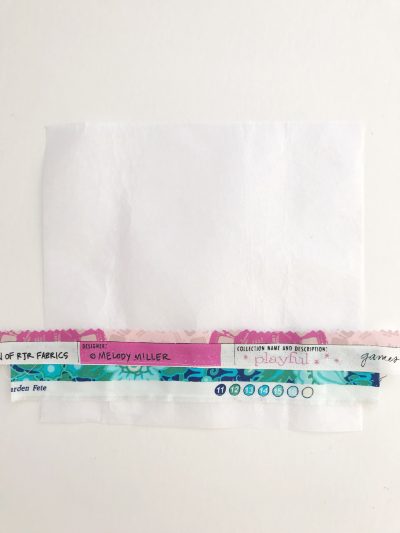
- Now, take the next selvage and pin it in place, overlapping with the first selvage so that when you stitch it down, you are also stitching the top of the first selvage.

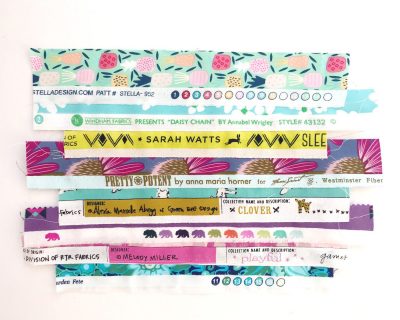
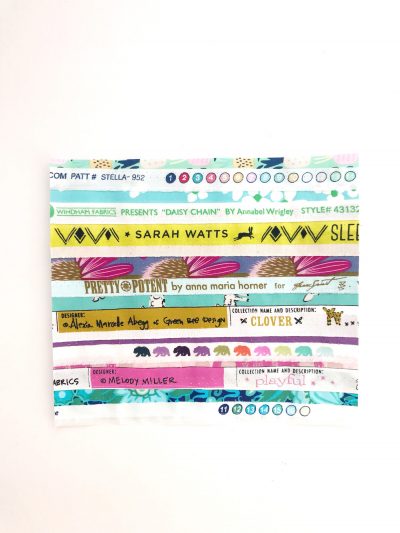
- Keep working in this way, building up the row of selvages until all of the interfacings are covered with selvages.

- Trim the selvages to 7 1/2” high by 8 1/2” wide.
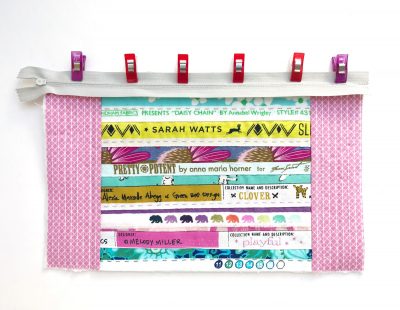
- Take the two side panels and interface to give added structure. Stitch to either side of the selvage panel.
Line and Hand Quilt:
- Fuse the wadding to the panel using spray baste, then quilt the panel as you wish. I decided to add some hand-quilted rows within the selvages and then use straight-line quilting down the side panels.
- Take the back panel of the zipper pouch and fuse the wadding to it. Again, quilt as desired. I’ve decided to use vertical straight-line quilting in white thread to give it a very subtle textual effect.

Construct the Zip Pouch:
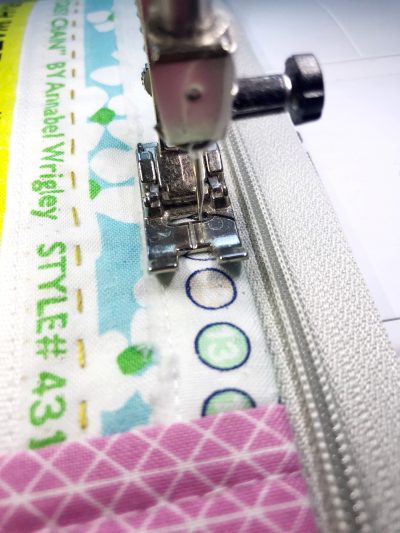
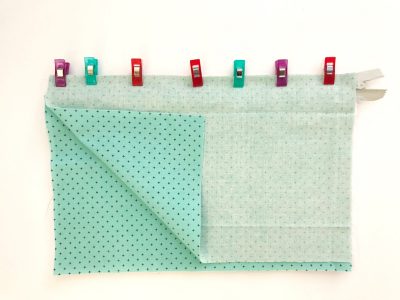
- Now, it’s time to construct the zipper pouch. Take the front selvage panel and place it right side up. Next, take the zipper and place it right side down, aligned with the top edge of the front panel. Ensure the zipper is on the left.

- Using a zipper foot, stitch as close to the zip as possible. Now, take the first lining piece and place right sides down, aligning with the top of the zipper. Clip in place and stitch close to the zip.
- Fold the lining back so that it is wrong sides together with the front panel. Iron in place, then topstitch across the top to secure.
Finishing:
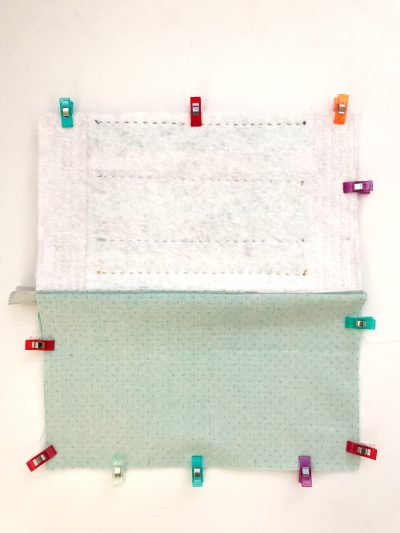
- Now, to add the back panel, place the back panel right side up, the completed panel right side down, and the lining piece right side down.
- Press the back panel, line away from the zip, and topstitch in the same way you did on the previous side.
- Now for the important bit. Open the zipper HALF WAY. You will need to do this to turn your project the right way out! Place the front panel and back panel right sides together, and the lining pieces right sides together. Clip all the way around and stitch using a 1/2-inch seam, leaving a gap in the lining for turning.
- Clip the corners, trim the excess zipper, and turn the pouch the right way through the gap in the lining. Slip stitch the lining closed to complete your pouch.
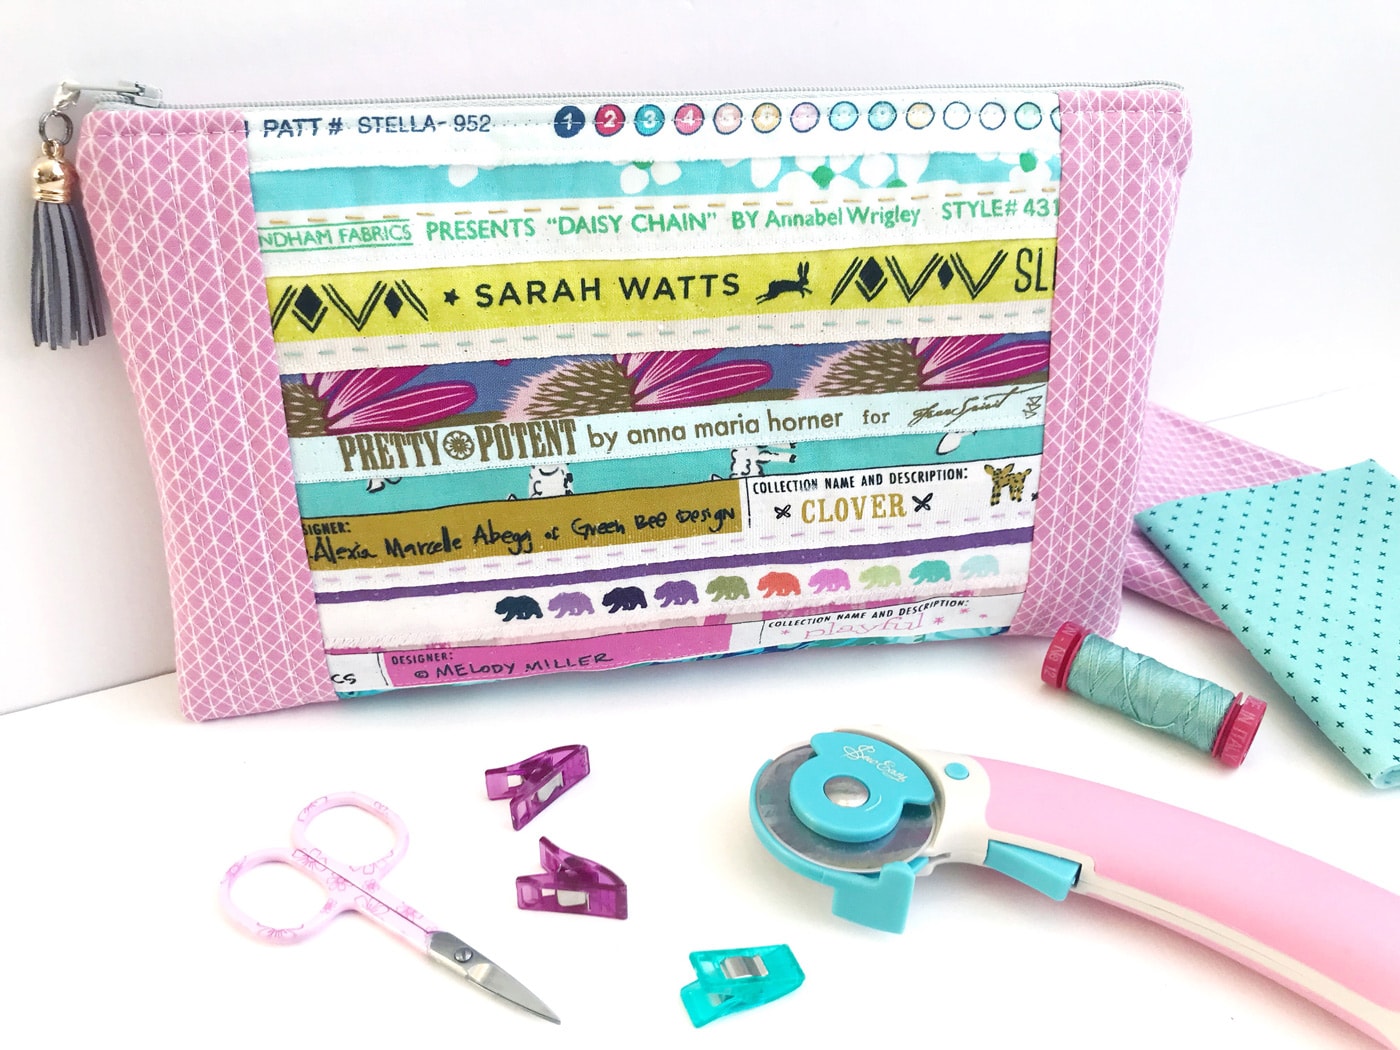
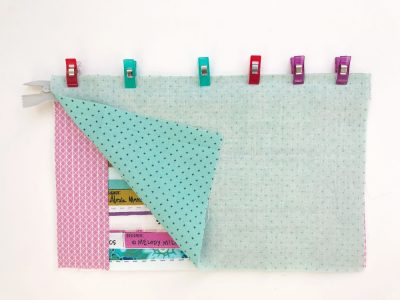
- Now, it’s time to fill it with all your sewing essentials and be the envy of your sewing group or Guild. Or why not use it for your phone and wallet, as it can double up as a super stylish clutch!
I hope you’ve enjoyed putting your selvages to good use.

Happy sewing
Sarah x
About the Maker:

Sarah Ashford is a British Quilter and embroiderer and founder of the GreatBritishQuilter challenge on Instagram. Sarah regularly contributes projects to magazines and loves to spread the joy of quilting everywhere she goes. Follow her on Instagram at @sarahashfordstudio and be sure to check out her beautiful sewing room decals in her Etsy shop www.etsy.com/shop/
Can’t wait to make this! I have been saving selvage sand excited to use them! Am I missing the size of zipper needed?
Gracias por el tutorial! Siempre he querido practicar esta técnica ❤️
Thank goodness you have done this tutorial! I have been collecting interesting selvidges for years and never done anyth8ng with them! I can’t bring myself to cut them off and bin them!! I know what I shall be sewing today, so a big thank you from me! Sally