How to Make a Book Pillow with Patchwork Pocket
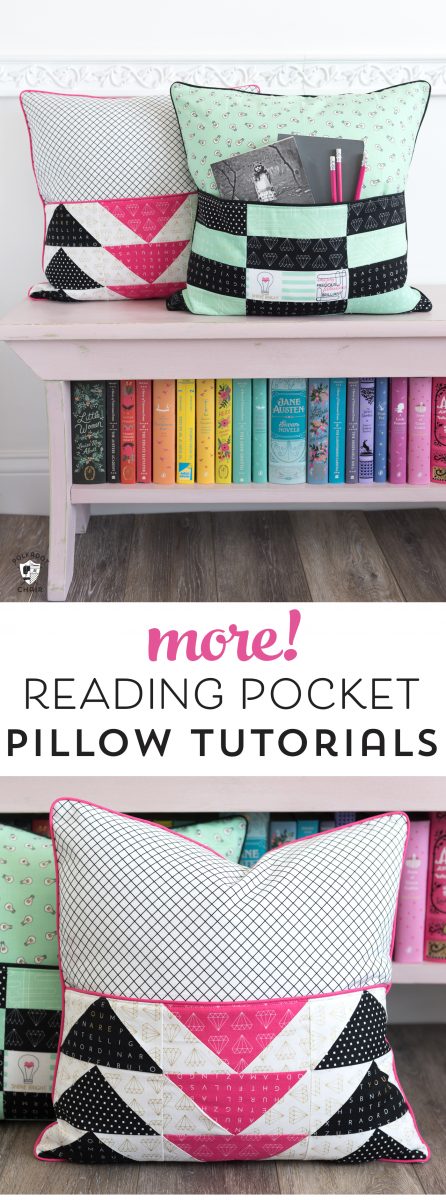
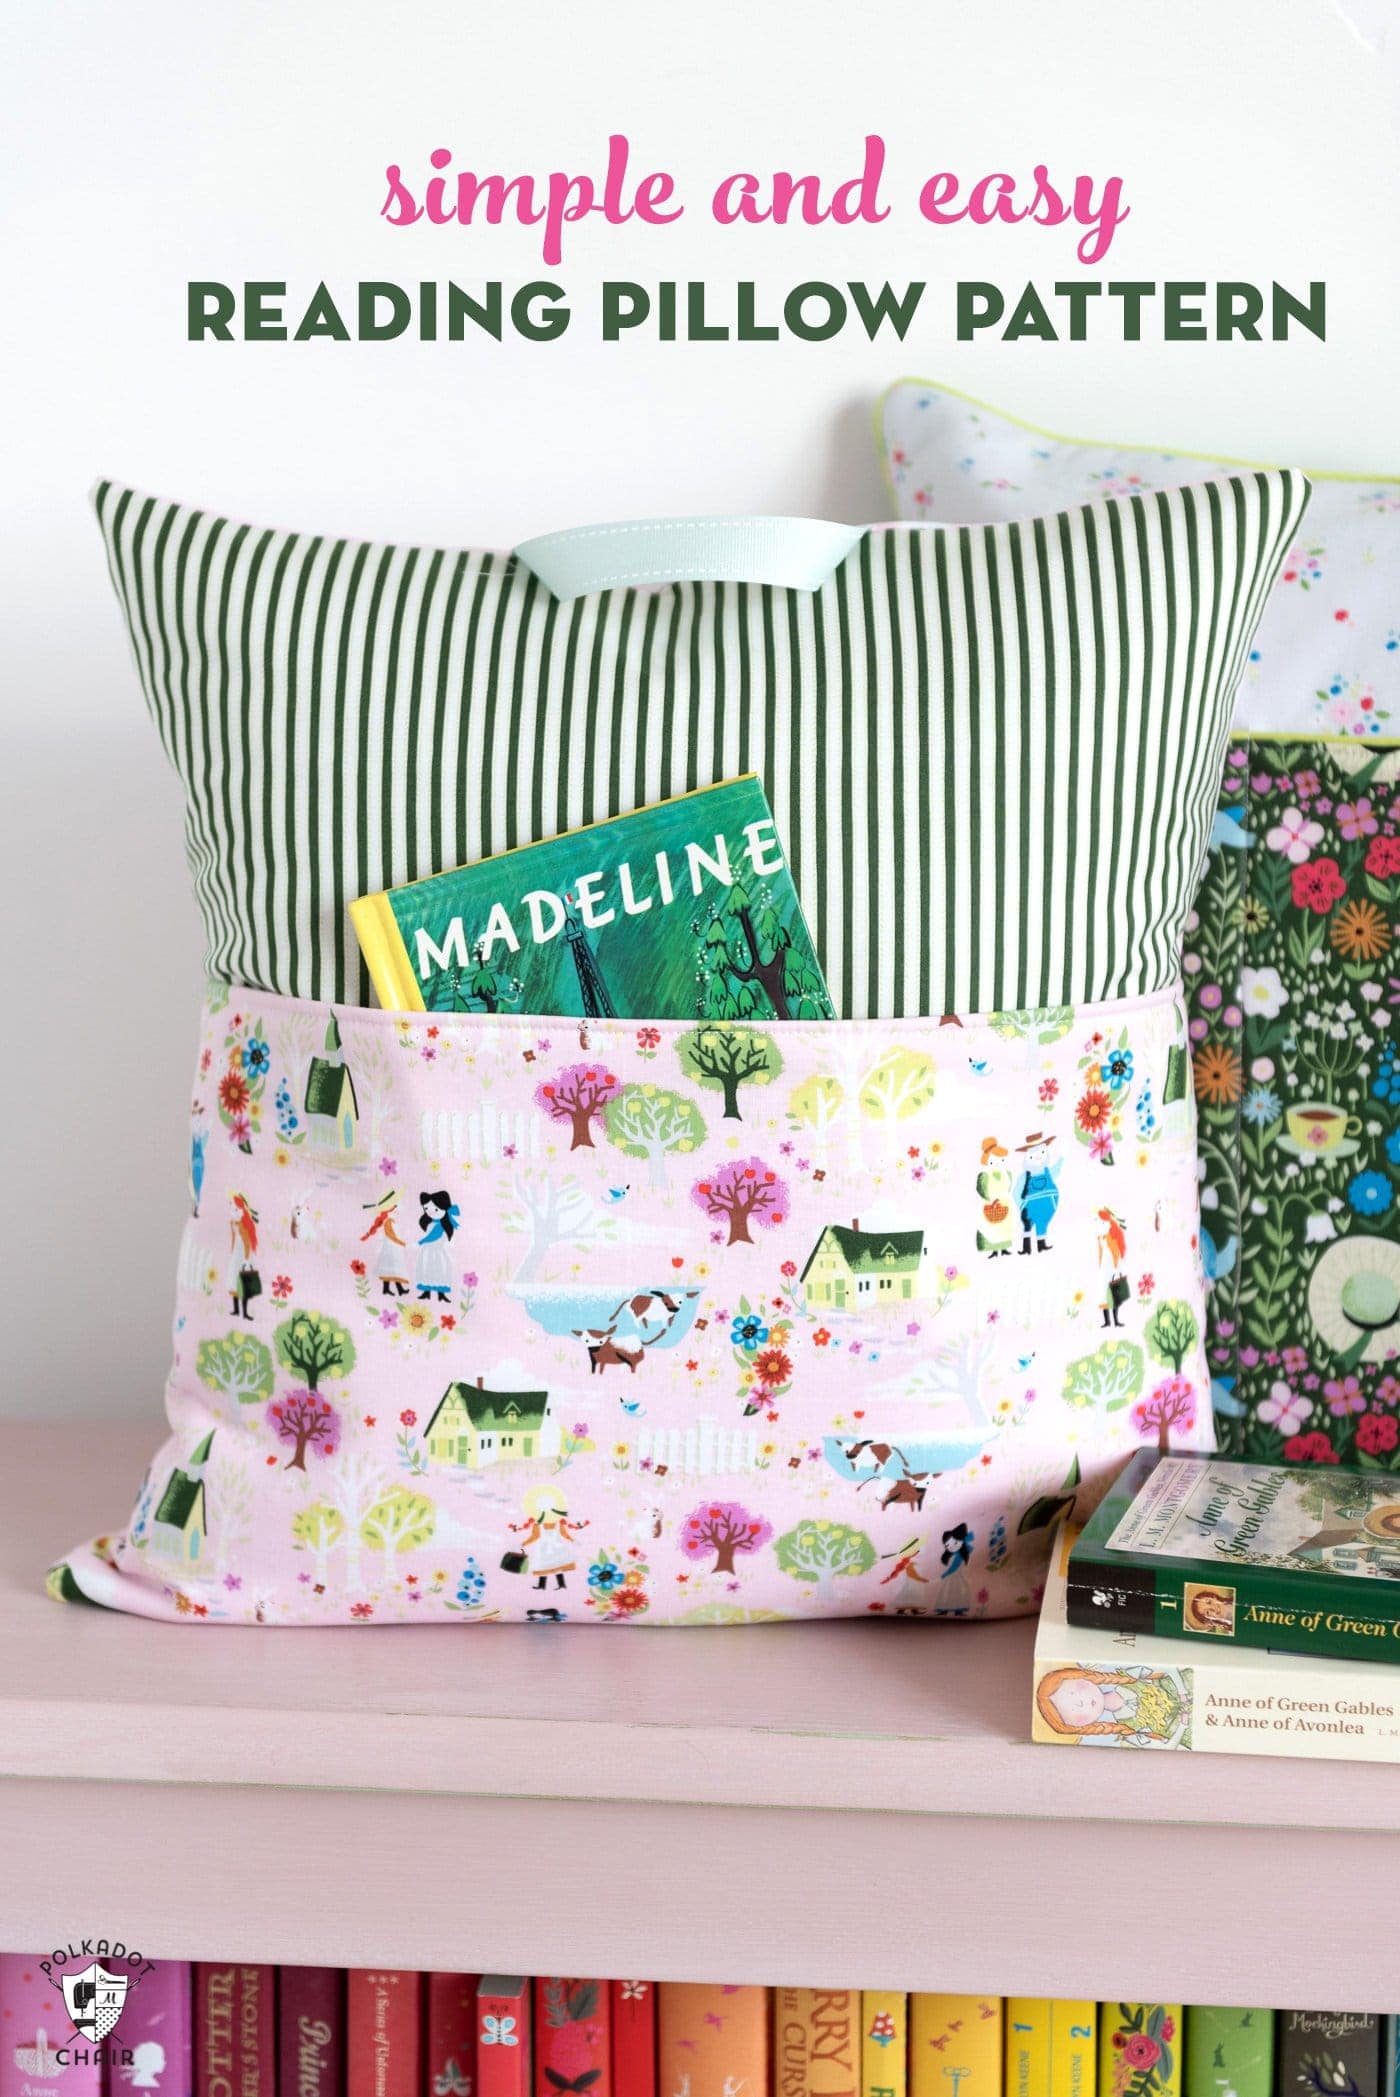
Today I’m excited to be sharing with you more DIY book pillow patterns and tutorials. These reading pillows feature a patchwork pocket and are one of the most popular tutorials on the site, and I hope you enjoy the updates to the original pattern.
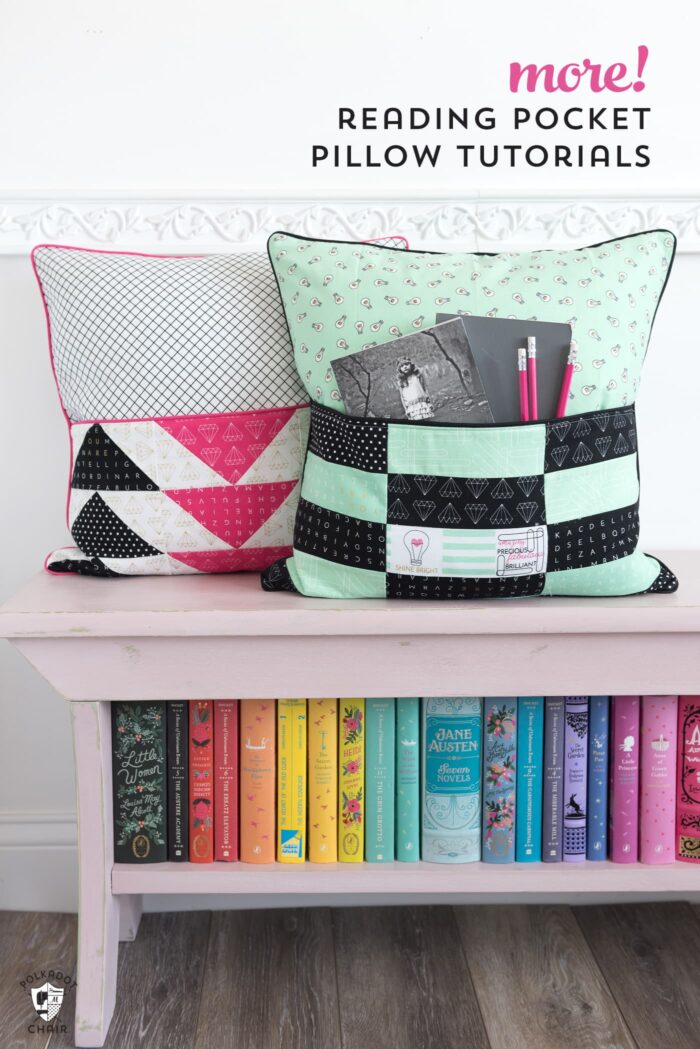
Several years ago (2011, to be exact; how have I been blogging that long?) I decided to make reading pillows for my nephews for Christmas. The pillows consisted of a large pocket on the front of a pillow designed to hold books and a flashlight (for late-night reading).
Later in 2012, I wrote a tutorial for the pillows and it completely took off. It’s by far the most popular sewing project on this site. I had no idea what a phenomenon it would become.
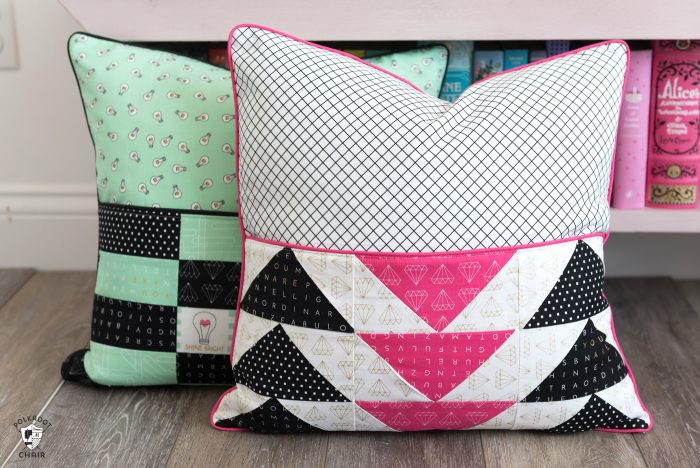
Book Pillow Ideas:
I couldn’t think of a better project for the blog tour than this one. Instilling a love of reading is so important. These pillows are fun and functional. They make great gifts, too, as they can be easily personalized.
I’ve updated and stitched quite a few pillows over the years. All of them have had a simple front pocket. For today’s tutorial, I thought it would be fun to create patchwork pockets on the front instead.
How to Get the Pattern Option 1: Buy a PDF
You can purchase a PRINT READY PDF of this tutorial here:
It includes a “bonus” bundle with instructions on how to make the flying geese and stack rectangle pockets.
If you prefer a printed version, you can find that in the shop; it doesn’t include the stacked patchwork pocket instructions, but if you purchase the printed copy and email me, I’ll be happy to send those to you!
Option 2: Use the Directions on this Page
DIY Book Pillow Pattern with Patchwork Pocket
Pattern Supplies
This Book Pillow is made only from Fat Quarters. You may use yardage, but you’ll need to buy at least a 1/2 yard of fabric as the pieces are all 18″ wide.
Fabric:
- I used Shine Bright Fabrics from Simple Simon & Co.
- For Pillow Front: 1 Fat Quarter
- For Pillow Back: 1 Fat Quarter
- For Pocket Lining: 1 Fat Quarter
- For Pieced Pillow Pocket: 5-8 Fat Quarters depending on your design.
- 1/2 yard fusible fleece
Notions:
For Optional Zippered Pillow Back: 1 polyester zipper at least 18″ long (can be longer).
18″ Pillow Form (this is the one that I used, it’s down)
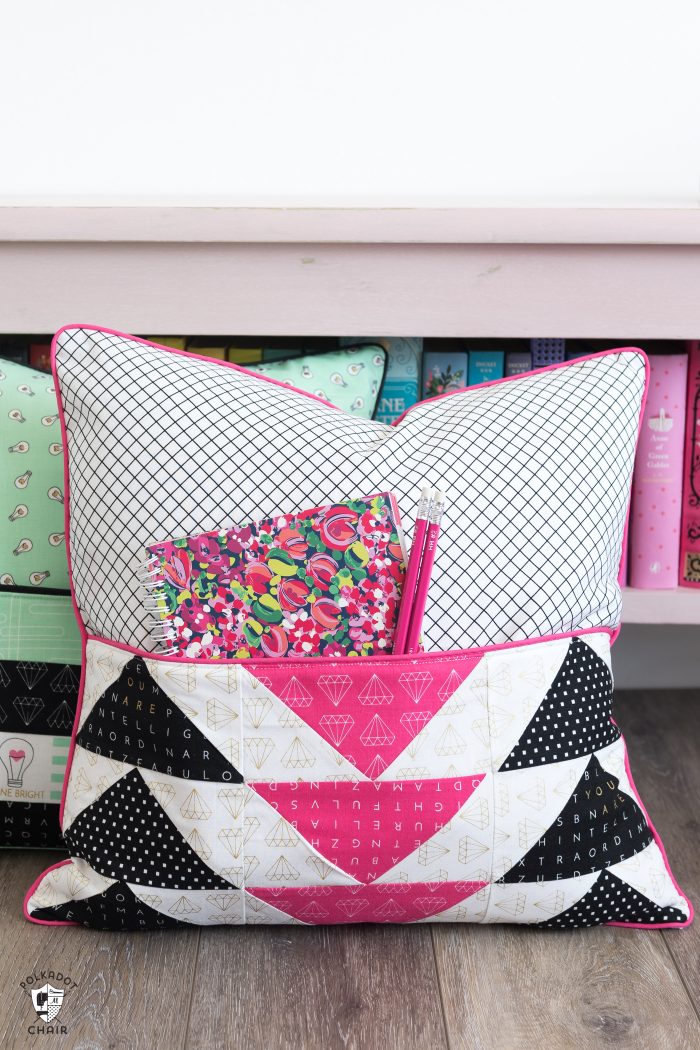
These pillows are constructed in the same way that my original Reading Pillow was constructed. The only difference is the pocket on the front. These pillows have pieced pockets that resemble quilt blocks.
Choose which quilt block you want to make for your pocket pillow front.
How to Make Flying Geese Quilt Blocks for the Pillow Pocket
Cutting:
- From Dark Pink Fabric: 3 pieces each 3 1/2″ x 6 1/2″
- From Black Fabric: 6 pieces each 3 1/2″ x 6 1/2″
- From White Fabric: 18 pieces each 3 1/2″ x 3 1/2″
Step One Make the Flying Geese Blocks.
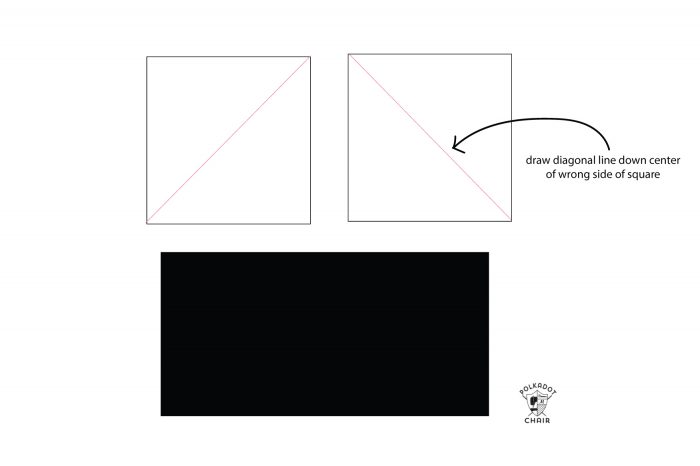
Begin by drawing a diagonal line down the center of your 3 1/2″ x 3 1/2″ squares.
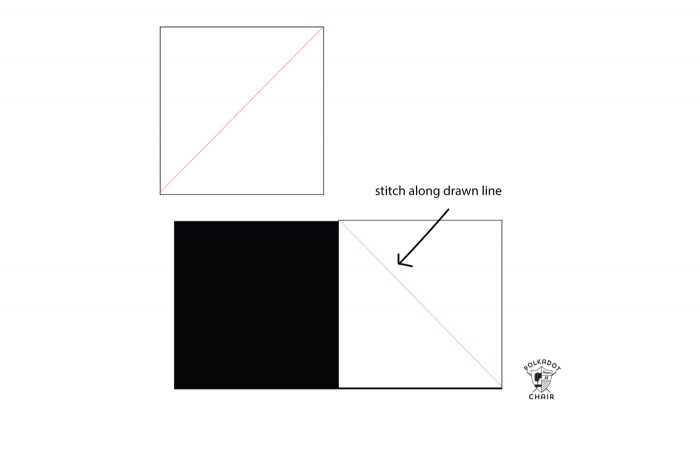
Layer one white square onto one of the 3 1/2″ x 6 1/2″ rectangles, with the right sides facing, as shown in the photo above. Stitch along the line that you drew.
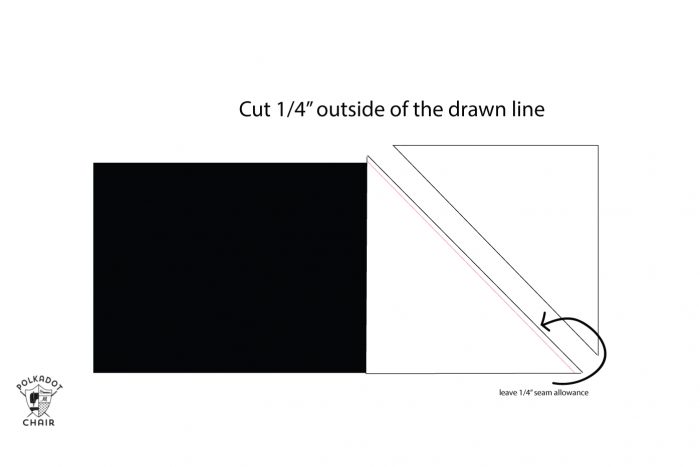
Trim the fabric 1/4″ OUTSIDE of the line that you stitched.
Next, flip open the block and press the seam allowance to one side. Normally I press mine up, but it’s customary to press to the darker fabric. You can choose which one you like. As you press be careful not to distort your seam. Since it’s cut on the bias it may have a tendency to shift.
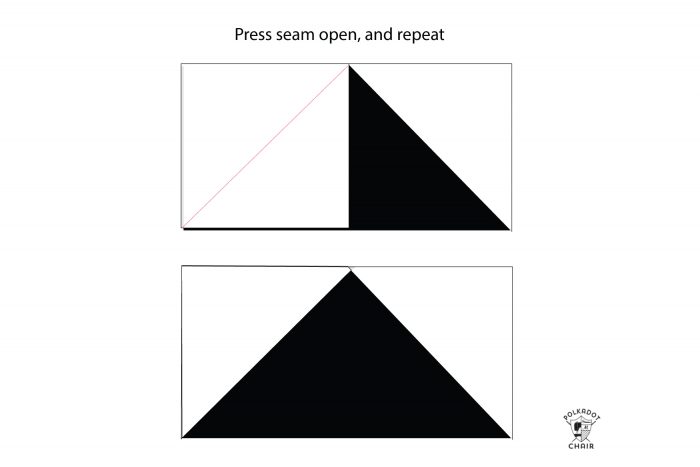
Now place the 2nd square on top of the rectangle in the opposite corner. Repeat the steps to stitch the other side.
Repeat until you have nine sewn blocks.
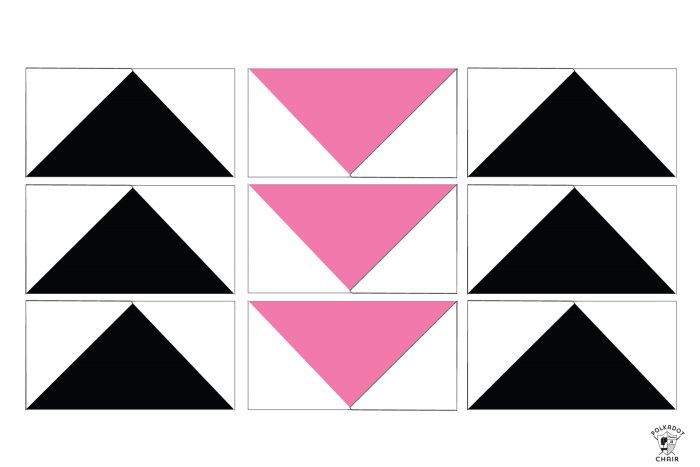
Stitch 3 of the sewn flying geese blocks together along the long sides. Repeat two more times.
Arrange the blocks as shown in the diagram. Stitch together along the side seams.
You’re now ready to continue making your reading pillow.
Note: this yields a piece of fabric 18 1/2″ x 9 1/2″ you will need to adjust your pocket lining piece to be the same size.
How to Make Stacked Rectangle Quilt Blocks for a Reading Pillow Pocket
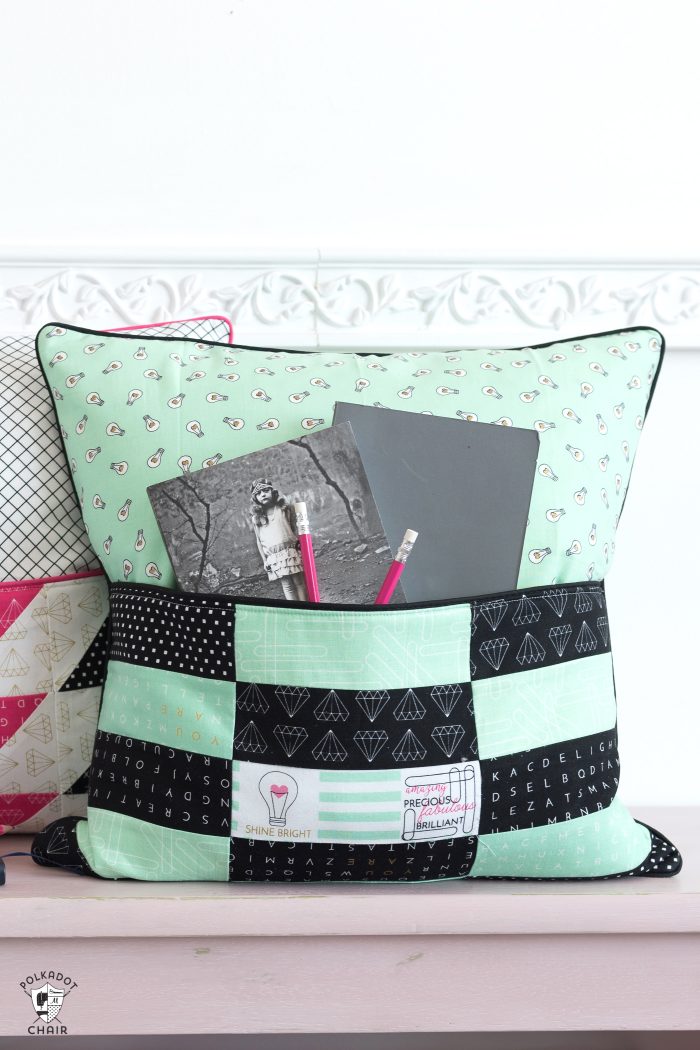
Cutting:
- 5 Strips each 2 1/2″ x 12 1/2″. Cut three strips from black fabric and two from mint fabric.
- 5 strips each 2 1/2″ x 6 1/2″. Cut 2 strips from black, two from mint, and one from white fabric.
Make the Stacked Rectangle Blocks
Stitch the 5 2 1/2″ x 12 1/2″ strips together according to the diagram below. Press all of the seams to one side, taking care not to distort the seams as you sew.
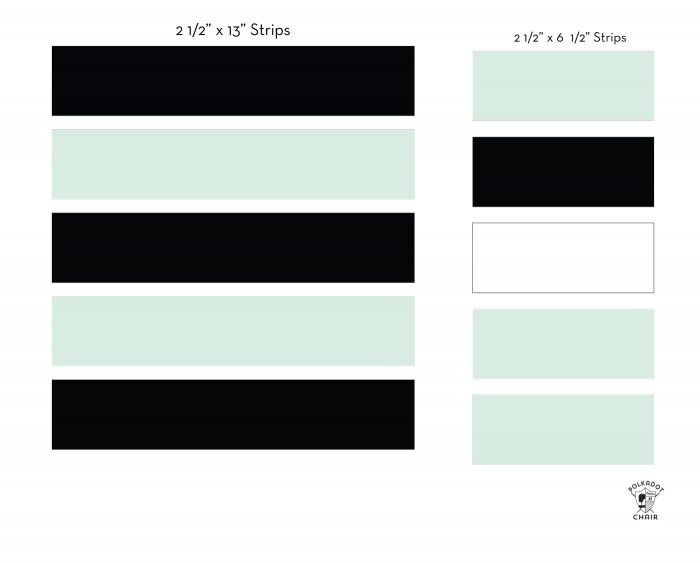
Stitch the 5 2 1/2″ x 6 1/2″ strips together—press seams.
Cut the sewn 12 1/2″ strips into two pieces each 6 1/2″ wide. You will now have 3 blocks of strips each 6 1/2″ wide.
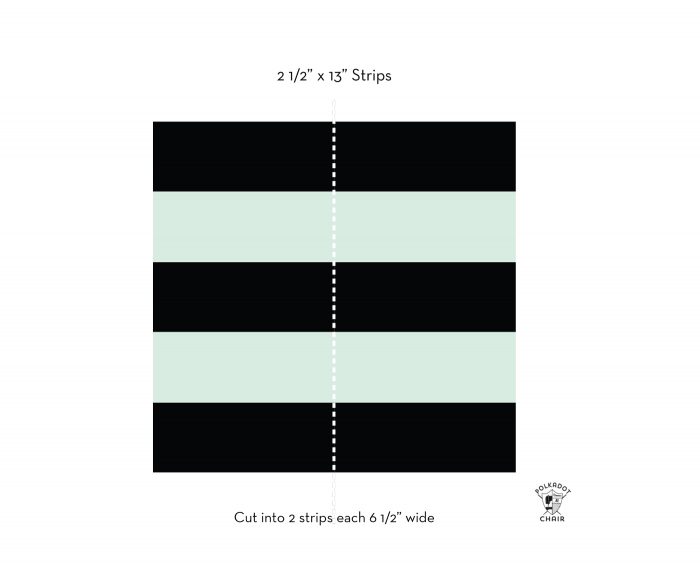
Stitch them together, as shown in the diagram below. If you want to vary your prints a bit more, flip one of the strips upside down.
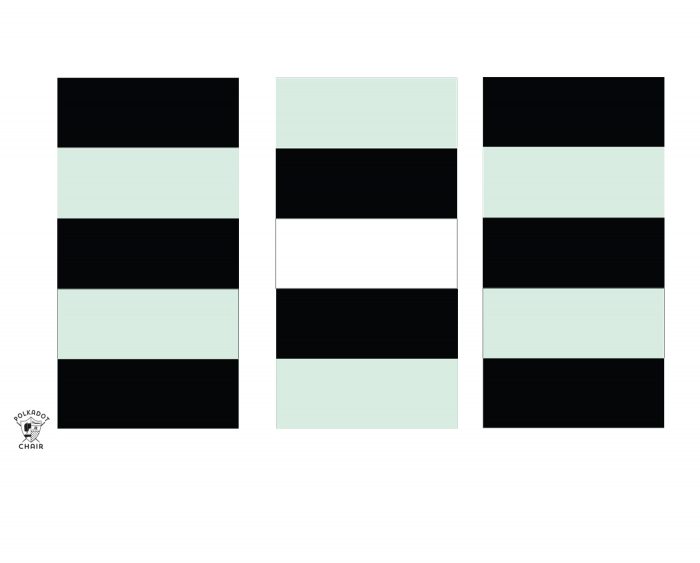
You’re now ready to continue making your reading pillow. Note: this yields a piece of fabric 18 1/2″ x 9 1/2″ you will need to adjust your pocket lining piece to be the same size.
How to Finish Sewing a Book Pillow
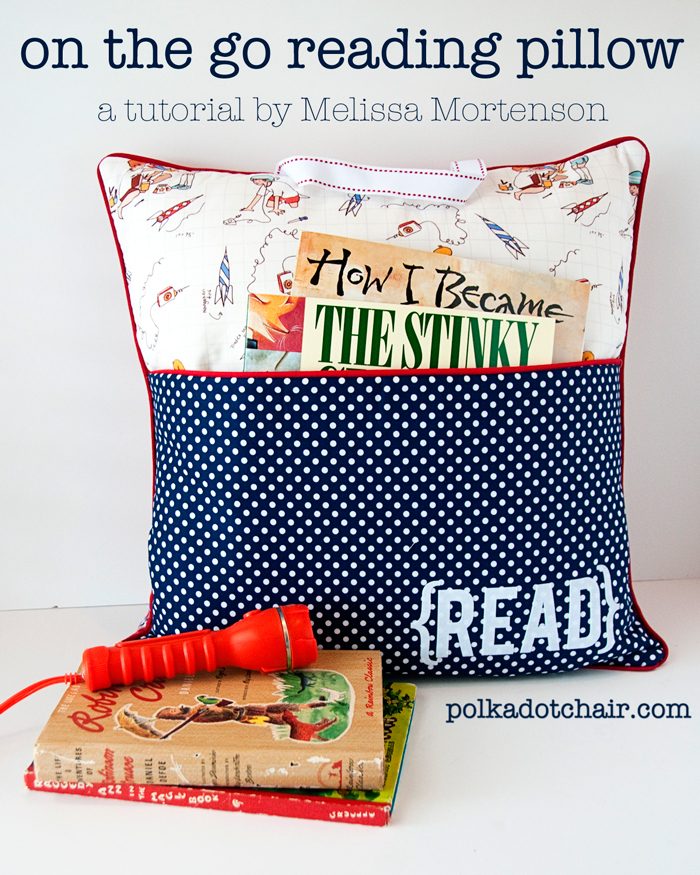
Take your sewn front pocket piece and cut one piece of fabric for the pocket lining the exact same size as your sewn pocket piece. Cut a piece of fusible fleece the same size.
You can finish stitching your pillow according to the Reading Pillow Tutorial, which can be found HERE.
Just a note: Your sewn pocket pieces are 18 1/2″ wide, and your pillow pieces are 18″ wide. Pin the pocket pieces to the pillow front pieces so that they “bow” out a bit. You won’t notice the difference.
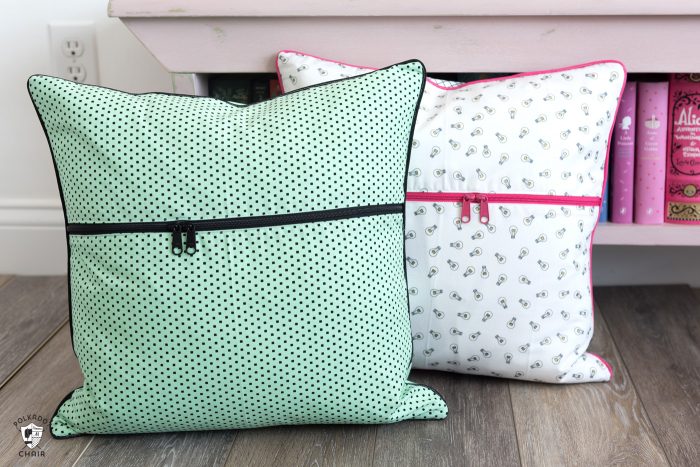
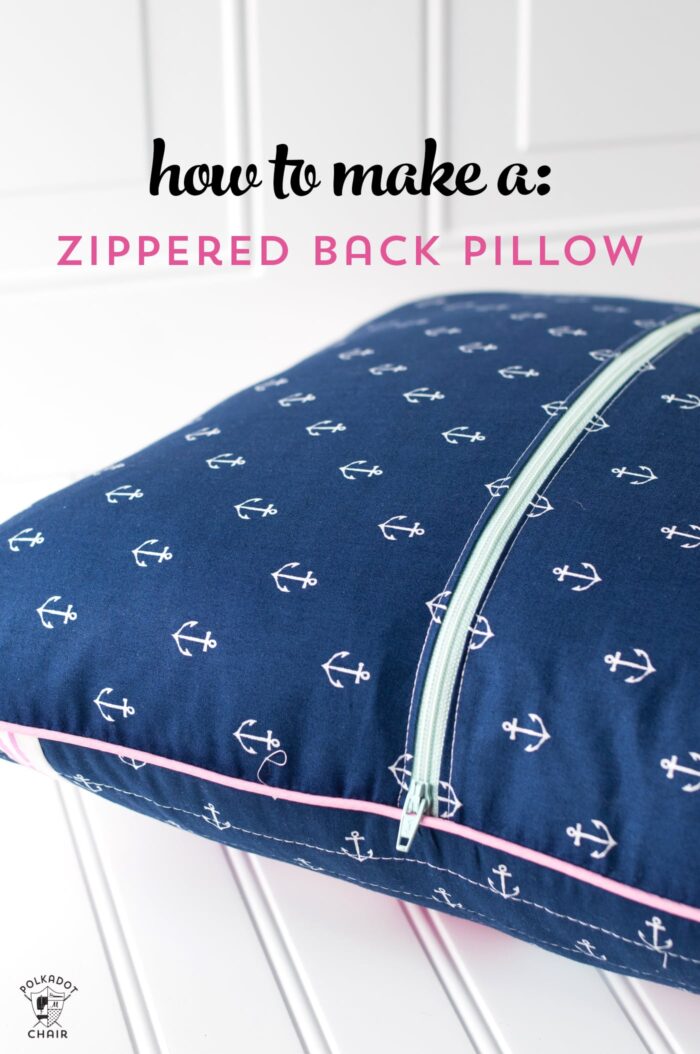
If you’d like to create a zippered back for your pillow cover (so that you can take it off to wash), you can follow this tutorial on How to add a Zipper to a Pillow Back.



I love to read (it does cut into sewing time though). This pillow will be a great gift for my grandchildren. I’m looking forward to getting started. thank you.
Thanks for the tutorial. I am bookmarking this for birthday gifts this year.
These pillows are fabulous. I love the fact that I can read, write, or anything like that, while watching TV, without searching., I can keep the paper, pen, remote control ect, handy. Thank you.
What clear instructions… Thts my project for end of year gift to my kids library teacher .. loved it!!! Hopefully when I am done..I will post a picture.
Your rainbow lineup of books is gorgeous! Can you do a post with Amazon links for these titles/editions? I see some I’d love to get!
I’ll add some links, thanks for the suggestions
where did you get these fabrics?!?! They are beautiful, and I love this design and way to make them!!