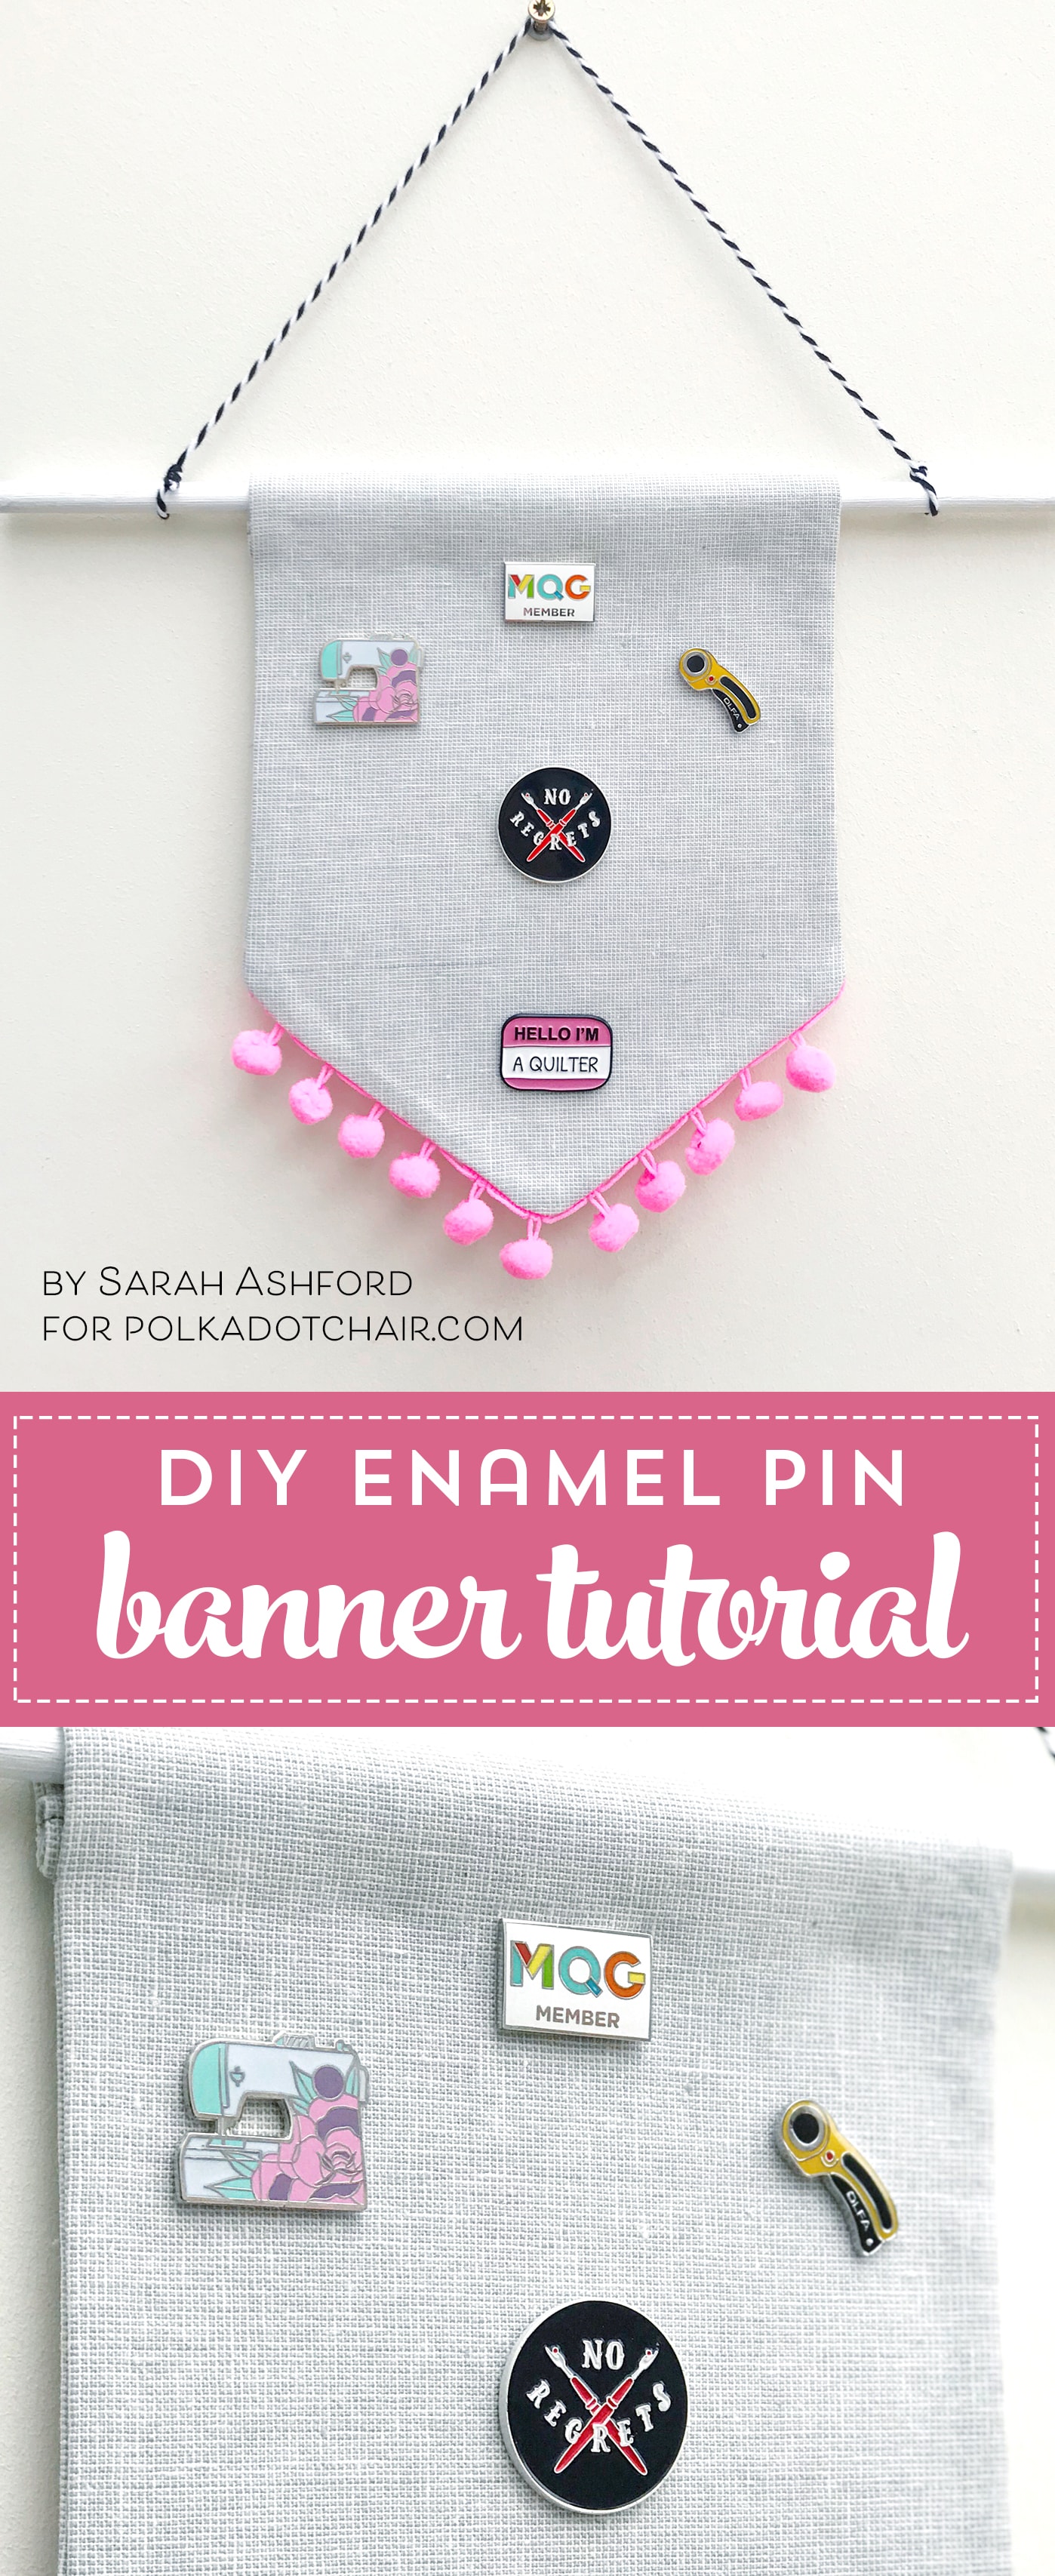
DIY Enamel Pin Banner Sewing Tutorial
With our free fabric banner sewing pattern, you can learn how to make a cute fabric banner perfect for displaying your enamel pins!
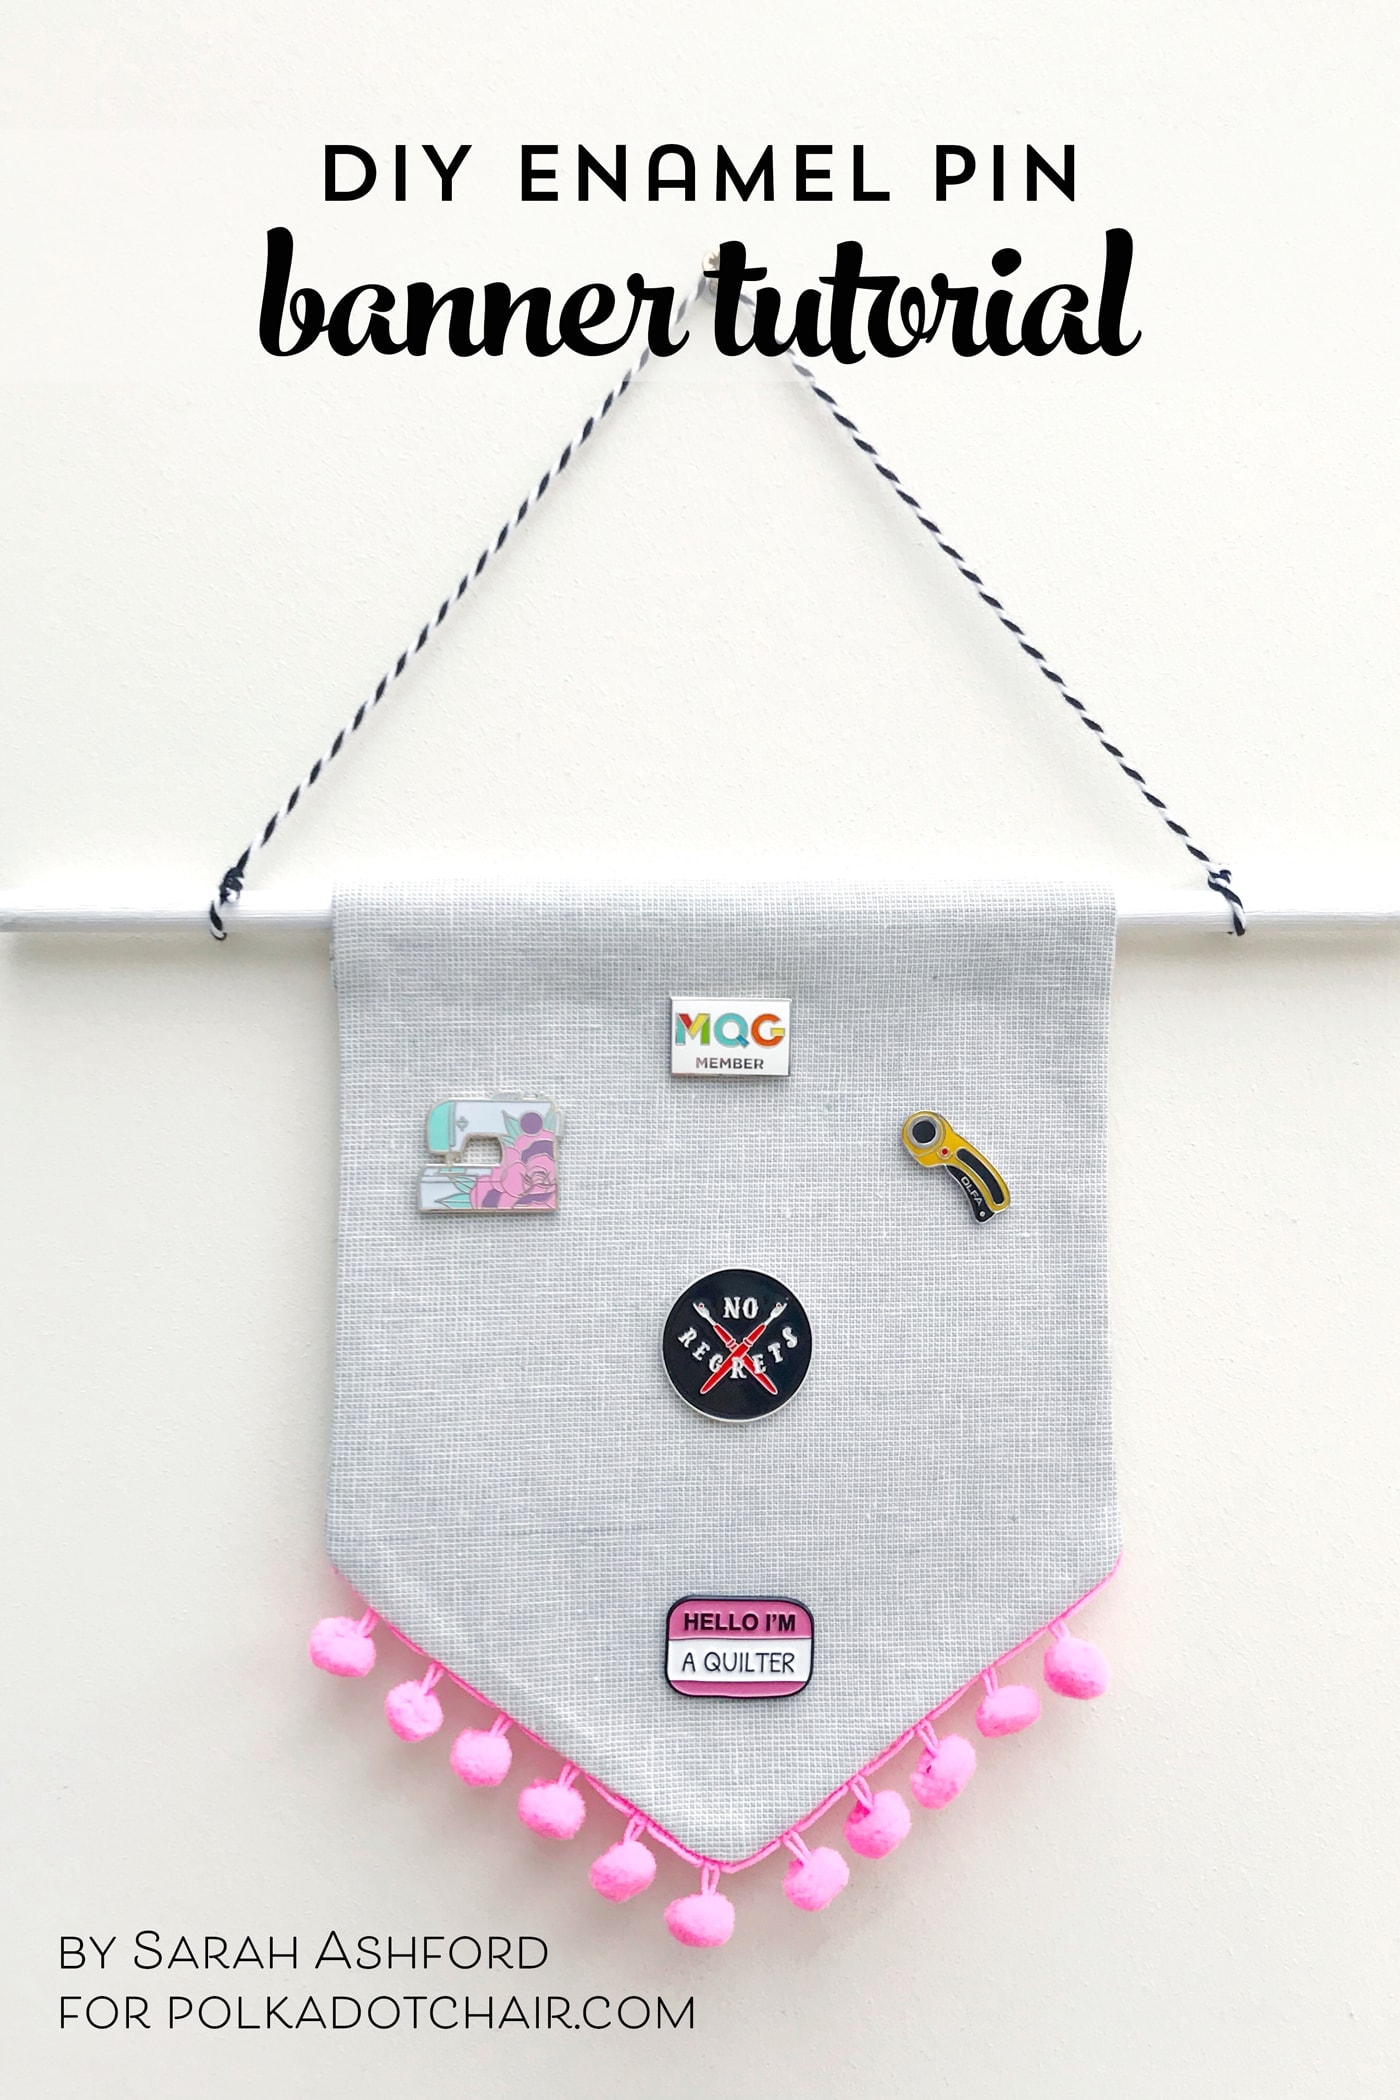
Sarah Ashford is back with us today, sharing a DIY Enamel Pin Banner Tutorial. I am so excited to make one of these for myself!
I started collecting enamel pins a few years ago and always look for creative pin display ideas! Her tutorial even includes a printable template for the banner! If you like this project, you may also like this DIY Canvas Banner Tutorial.
How to Display Enamel Pins
I was lucky to attend Quilt Con Pasadena in February and meet many amazing people. There’s a fantastic tradition at Quilt Con of swapping pin badges and enamel pins, and I was lucky enough to score loads!
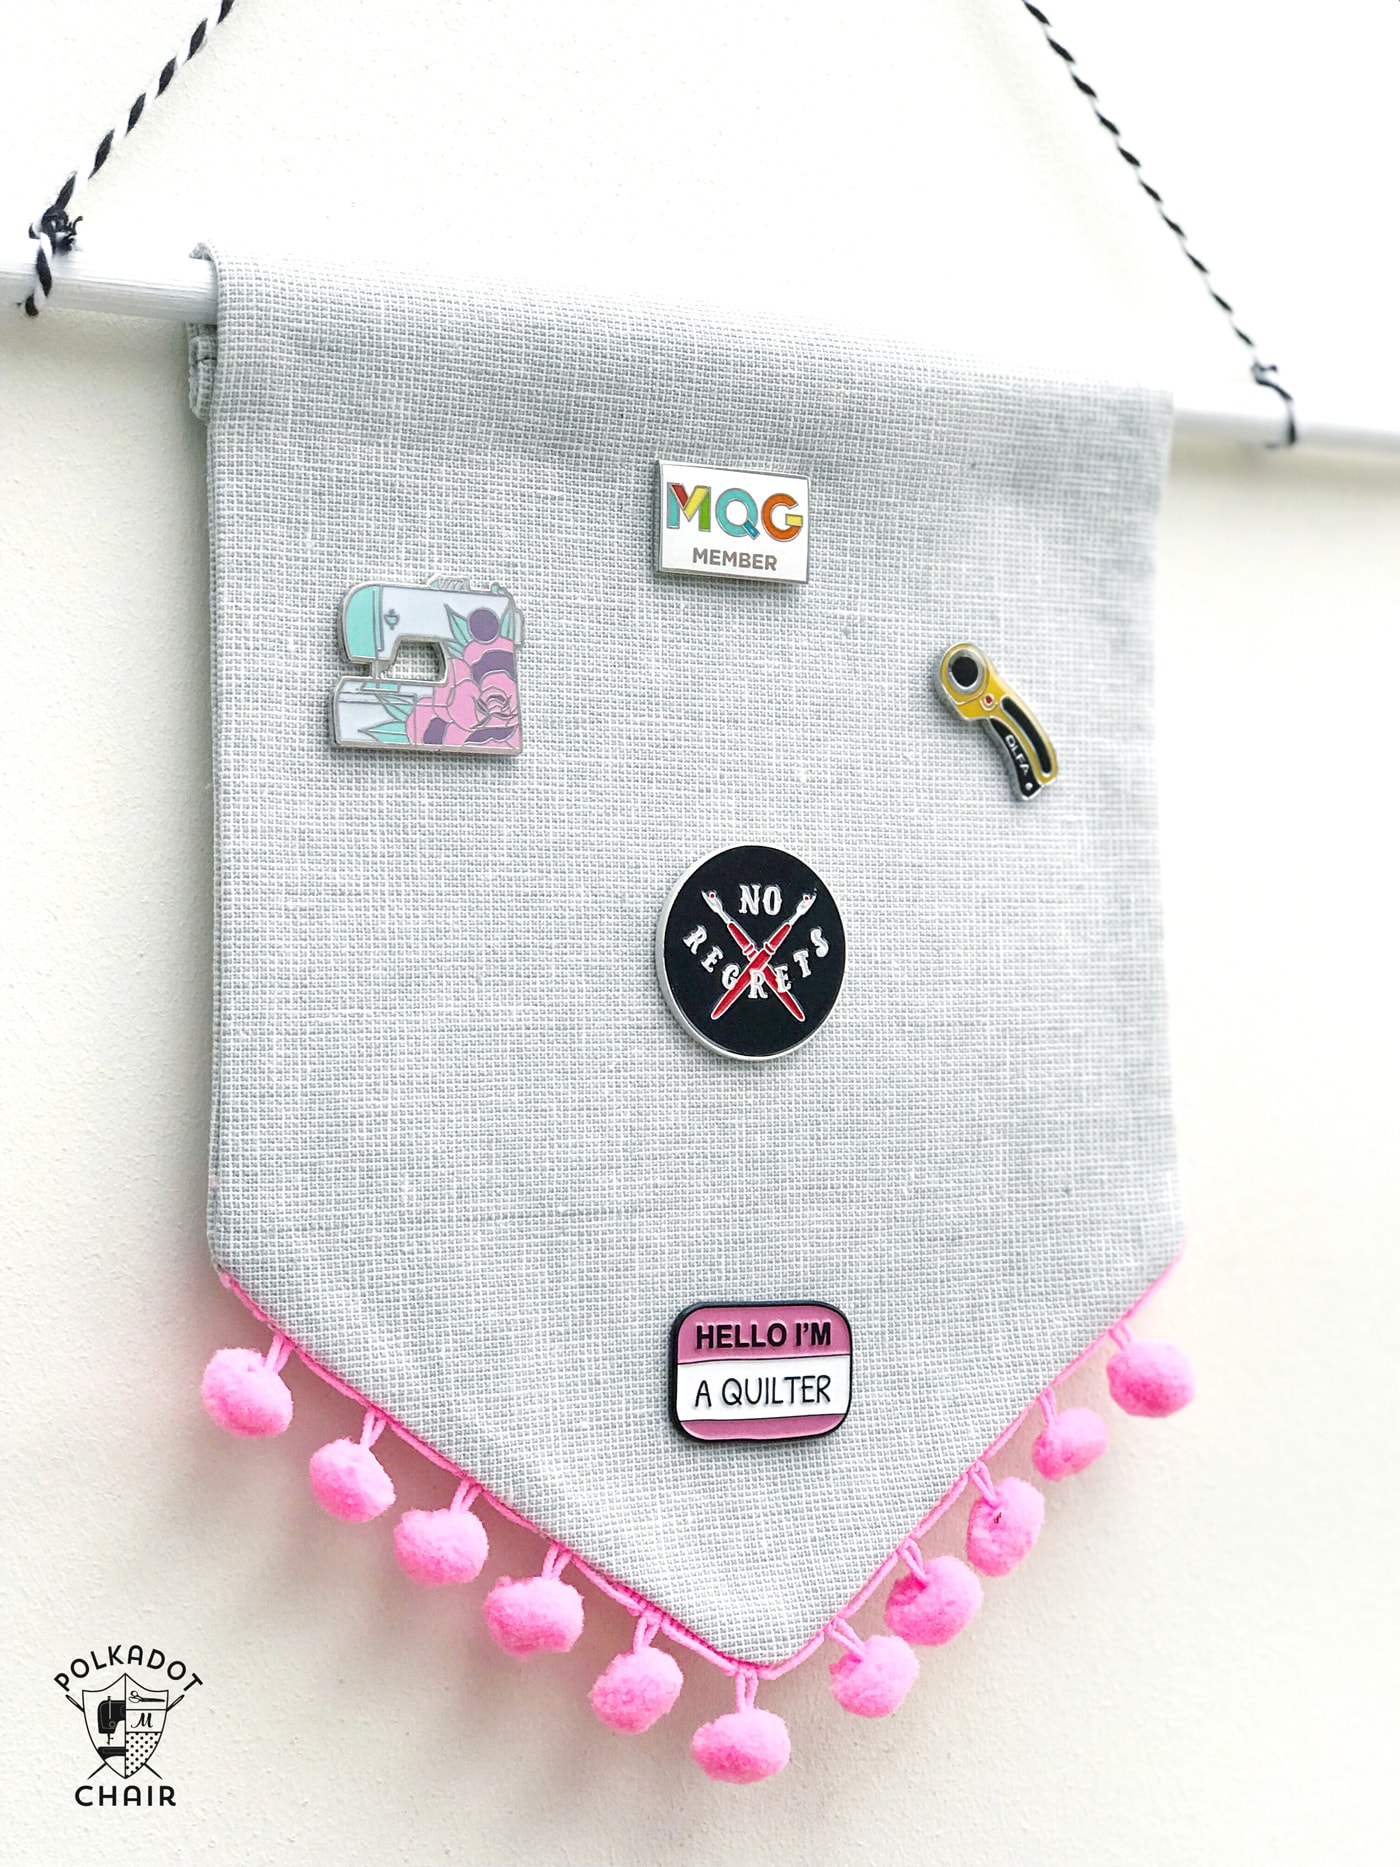
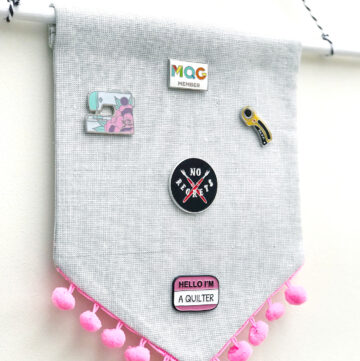
The enamel pins are particularly special, so I thought I’d make a pin badge banner to display them on. I also thought I’d share with you how I’ve made it. Now, I can look at my lovely badges and remember all the fun and people I met every time I look at them.
How to Get the Banner Template
Fill out this form, and we will email you a copy of the pin banner template.
TIP!
If you’re a Disney Trading pins collector, this banner is the perfect way to display your collection of Disney Pins!
DIY Enamel Pin Banner Sewing Tutorial
supplies
- 1 fat quarter fabric for the banner
- 15" piece Pom pom trim
- 40 cm Twine/ribbon
- 1 Wooden dowel rod
- 1 package Medium-weight interfacing
- Banner template fill out the form on this page and we will email you a copy of the template.
Instructions
Sewing Directions:
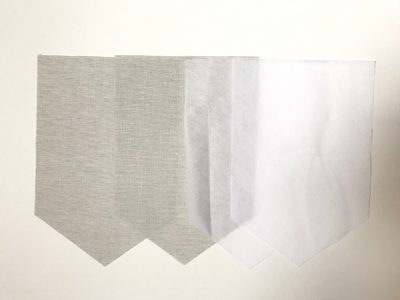
- First, print the template and cut it out. Then, draw around the template onto your chosen fabric twice, once for the front panel and once for the back.
- Then, draw the template onto the medium-weight interfacing twice, again one for the front and one for the back. Cut out all four banner shapes.

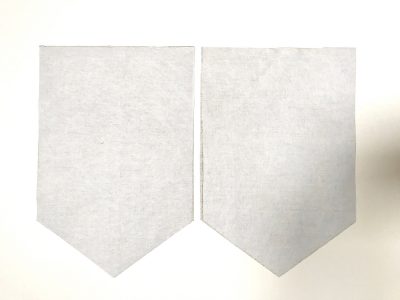
- According to the manufacturer’s instructions, two fabrics and two interfacing cut-out irons are on the interfacing to the wrong side of the front and back banner fabrics. This will stabilize the fabrics.
Add the Trim:
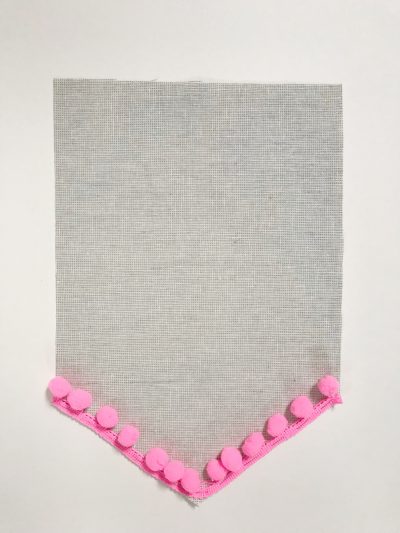
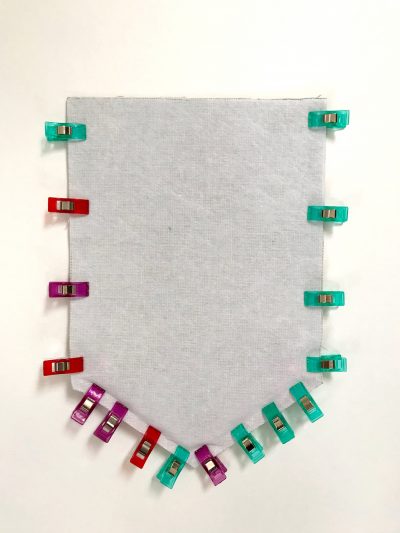
- Take the pom pom trim and baste along the tip of the back banner piece on the right side, using large stitches to ensure the pom poms face inwards. (You might find it easier to clip it in position with binding clips first.)
- Now, the two flags need to be stitched together. Place the back piece right side up (with the pom poms facing) and the front piece right side down. Use basting clips to hold the two pieces together, using extra clips across the edge where the pom poms are.

Assemble:
- Using a 1/4” seam, start at the top corner and stitch down the side, across the bottom, and back up, but not across the top. Reinforce the seams at the beginning and end.
- Turn right side out and press all over.

Finishing:
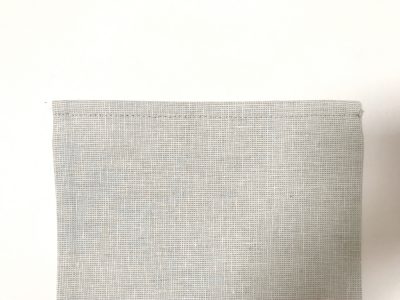
- Fold the top over ¼” and then fold again. Use binding clips to hold it in place and stitch along the edge of the fold to secure it. Tie off the ends.
- Take your dowel rod and use this as a guide to fold over the top to create the sleeve. Use binding clips to pin in place at each side.

- Remove the dowel rod and, using a matching colored thread, carefully slip stitch the sleeve to the banner, taking care to only take the stitches through the back panel of the banner and not the front.
- (You can paint the dowel rod a color that coordinates with your banner. I used two coats of acrylic white paint, which seemed to do the job perfectly!)
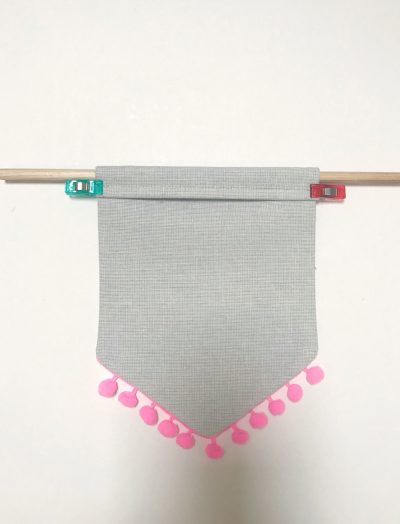
- Thread the dowel rod through the sleeve and tie on the twine or ribbon on either side.
- And you’re done! Now it’s time to pin all your special enamel pins to your banner, step back, and admire them!

About the Maker:

Sarah Ashford is a British Quilter, embroiderer, and founder of the GreatBritishQuilter challenge on Instagram. Sarah regularly contributes projects to magazines and loves to spread the joy of quilting everywhere she goes. Follow her on Instagram at @sarahashfordstudio and be sure to check out her beautiful sewing room decals in her Etsy shop www.etsy.com/shop/sarahashfordstudio
You May Also Like:
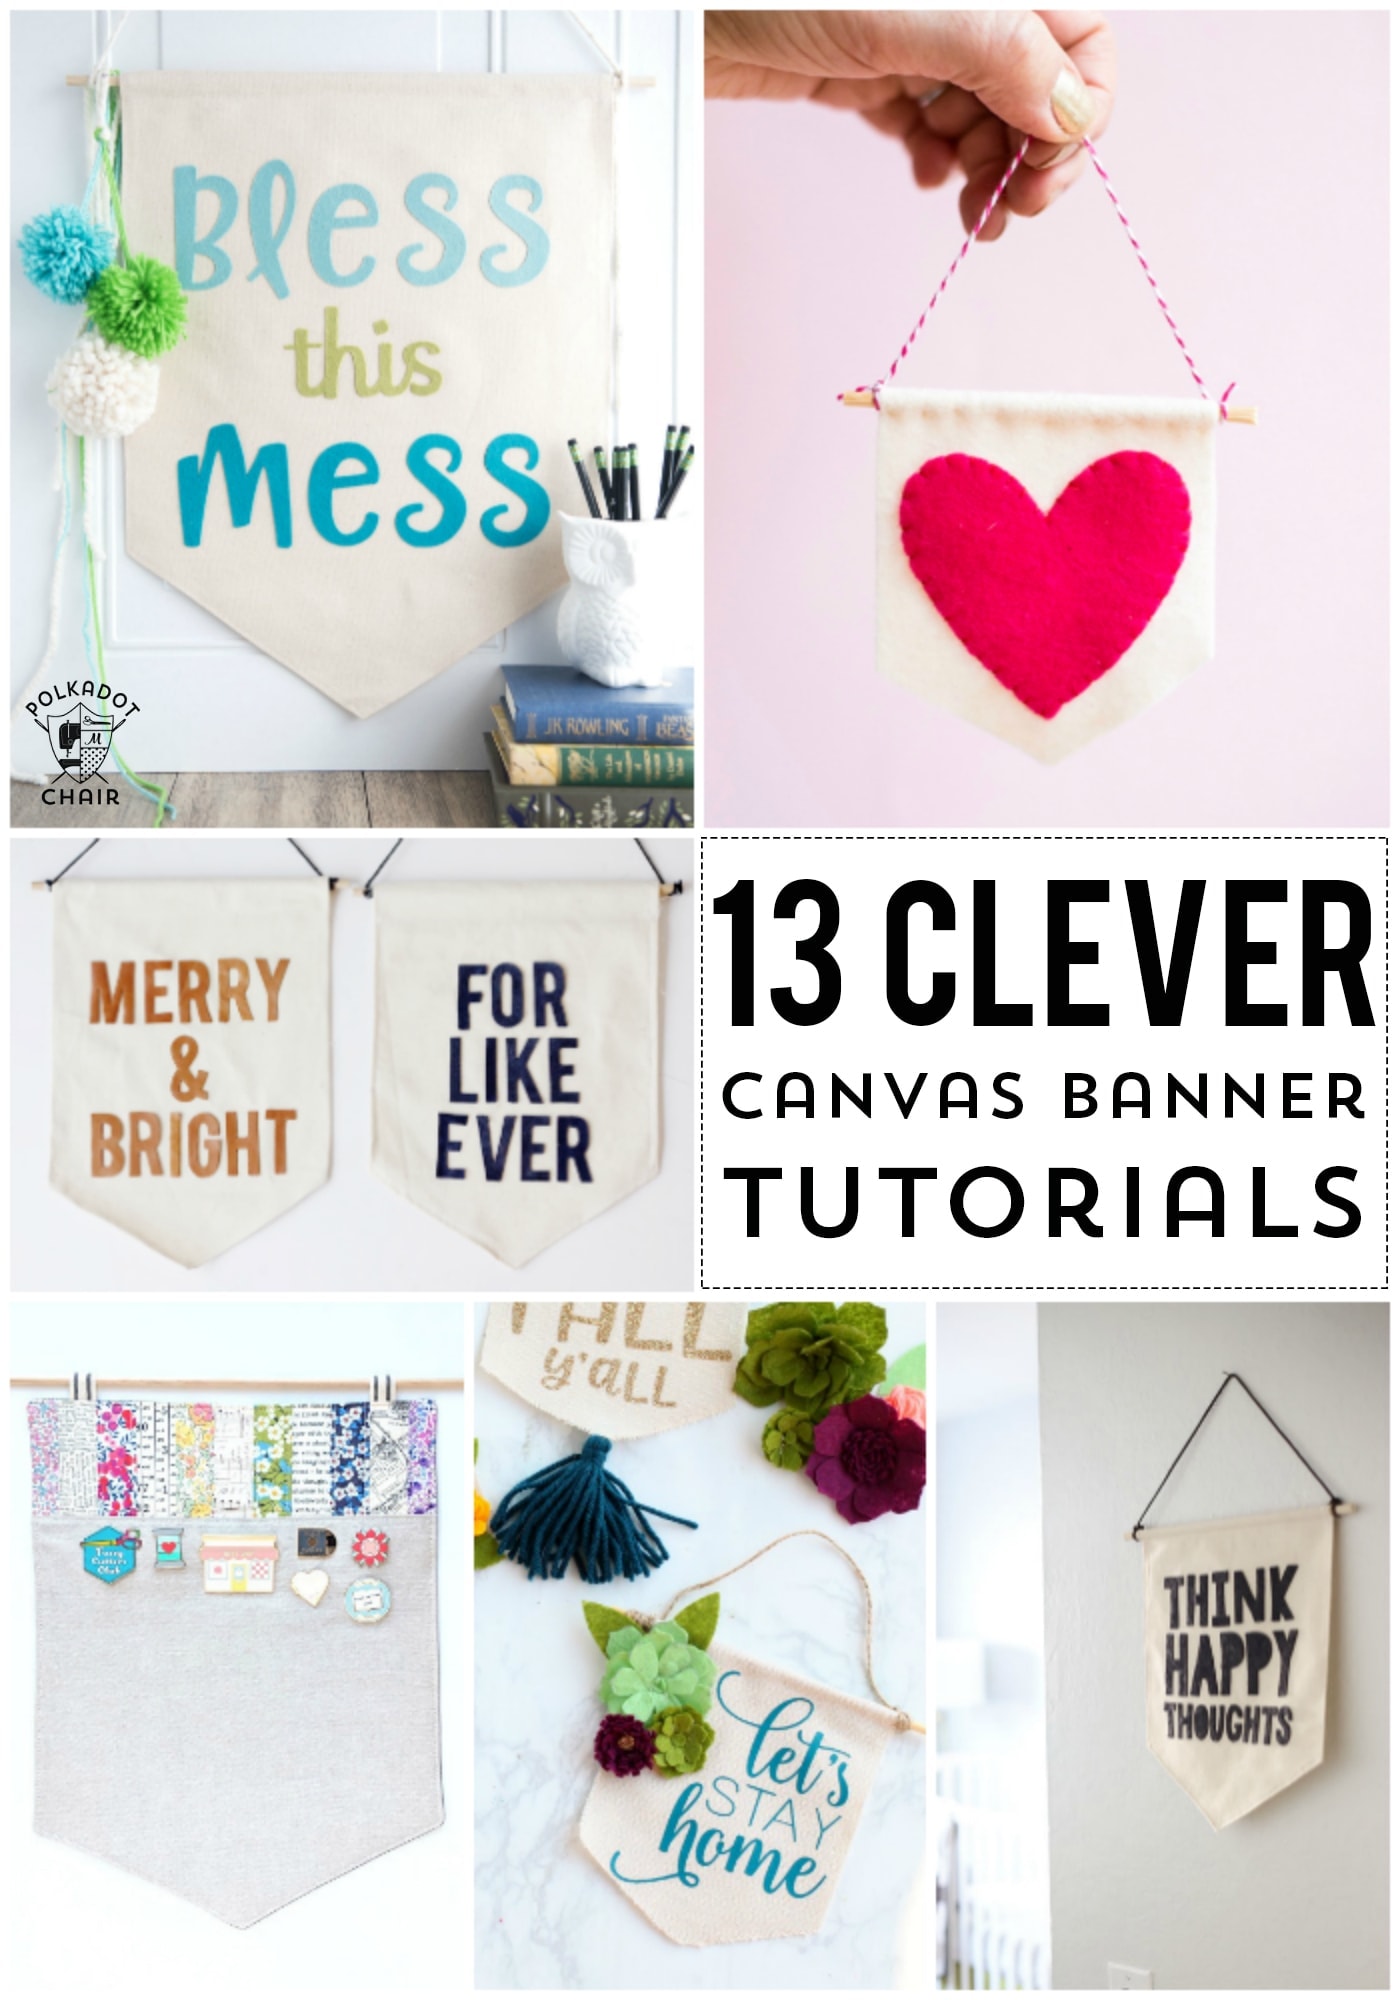
- 13 Canvas Banner Tutorials
- DIY Dorm Room Banner & Free Cricut Cut Files
- Canvas Christmas Banner Tutorial
- DIY Disney Enamel Pin Display Ideas & Tutorial
- How to make Canvas Banner