Halloween Party Ideas; How to Make a Paper Crown
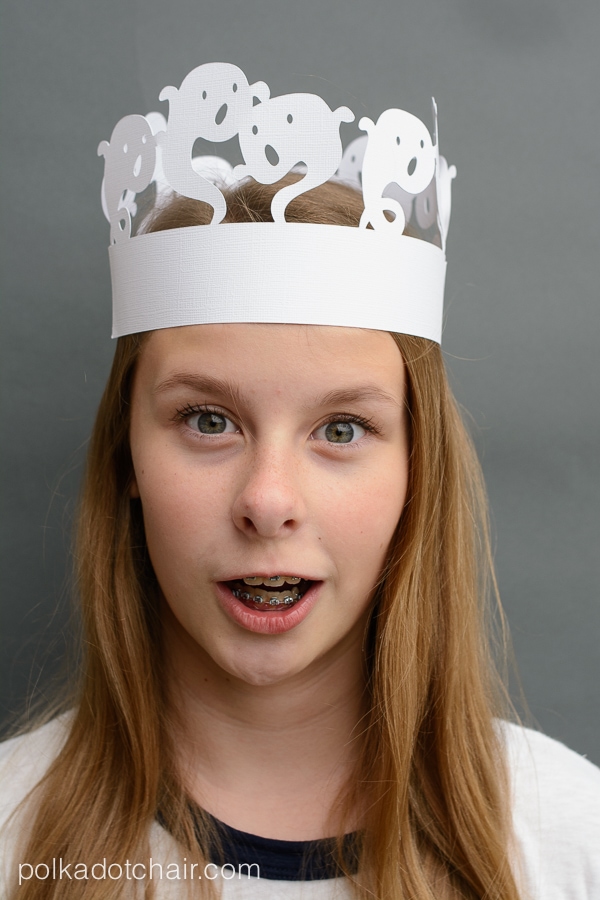
I’m excited to show you how to make a Paper Crown perfect for a Halloween Party. These cute crowns also make adorable Halloween Photo Booth Props. A big thanks to Cricut for sponsoring this post and providing me with the machine to create this project!
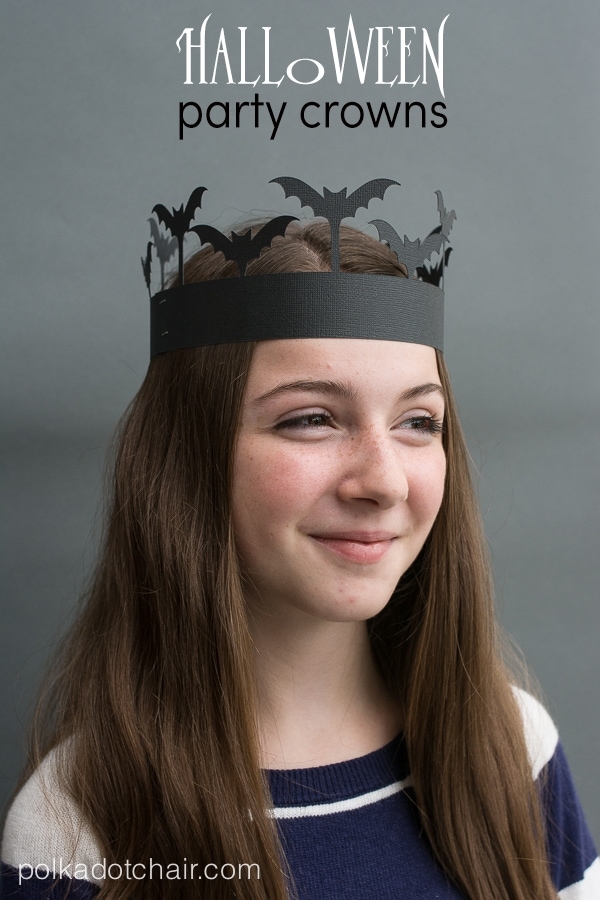
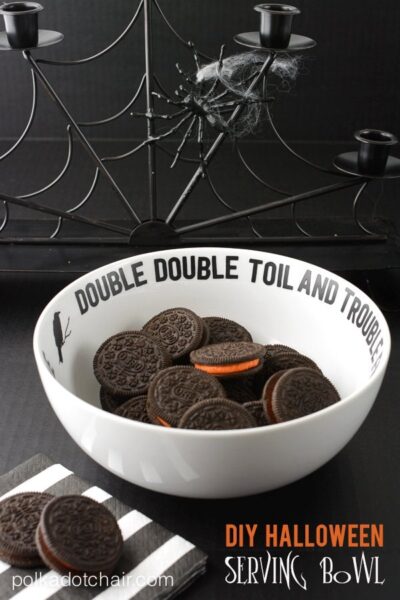
Today I have a couple of fun Halloween Celebration ideas to share with you as a part of the Cricut Design Space Star Competition! The first one is this DIY serving bowl found here and the other are these cute and fun Halloween Party Crowns!
Each year our family has a special Halloween party and sit down dinner. Sometimes it’s on Halloween and sometimes it’s a day or two before.
I started thinking about this year’s dinner and trying to come up with ideas for cute party hats to wear at dinner (my big kids are not usually in costume). I love how, in England, it’s traditional to wear paper crowns for Christmas dinner, and I thought that I’d take that idea and twist it a bit for Halloween.
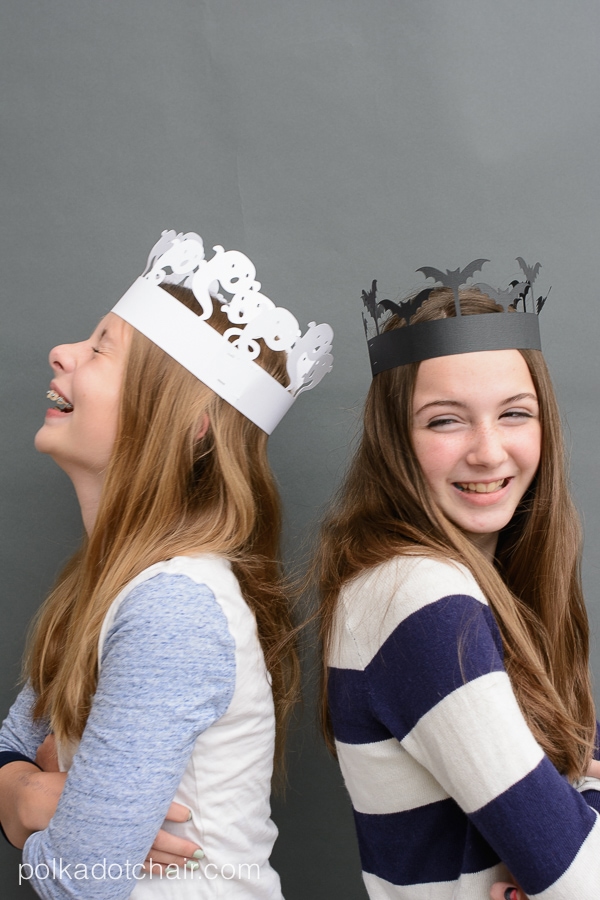
These paper party crowns are easy enough to make that you can make a bunch for your Halloween party quickly!
How cute would a bunch of kindergarteners look running around in these at a party!
I think they are super cute for teens and tweens as much as for little kids and even adults.
You can make the crowns to your liking depending on which Halloween character is your favorite. You could use spiders, bats, ghosts, witches skulls or even Frankenstein. They also make really cute and unique Halloween Photo Booth Props!
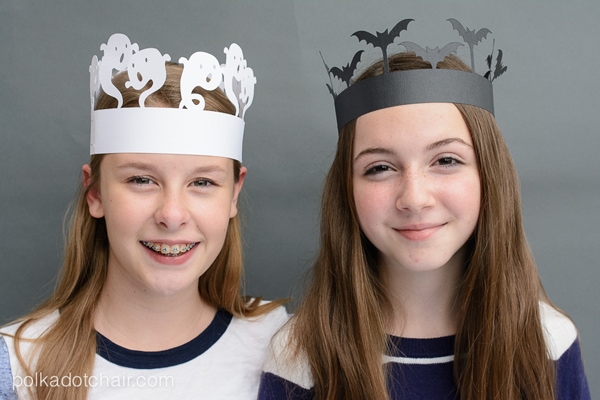
Halloween Party Ideas & Props; How to Make Paper Party Crowns for Halloween
To make them you need:
1 Piece of Cardstock per Crown (I like textured cardstock)
Cricut Machine
Halloween Images and Rectangle Image in the Cricut Design Space
Paper Party Crowns Directions
To create the crowns in the Cricut design space, simply line up the Halloween images with a 1 1/2″ x 11 1/2″ rectangle. Make sure all of the pieces are touching, then click on all of them and click “weld” in the Design Space software. You’ll get one continuous cut piece.
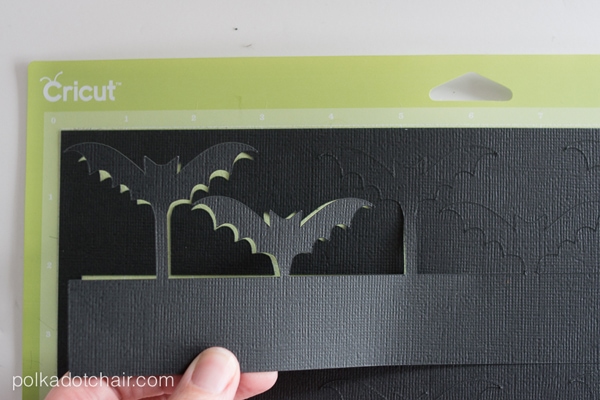
Cut out your images with your Cricut. You’re going to need two strips per crown as most people’s heads are larger than 11 1/2″ around.
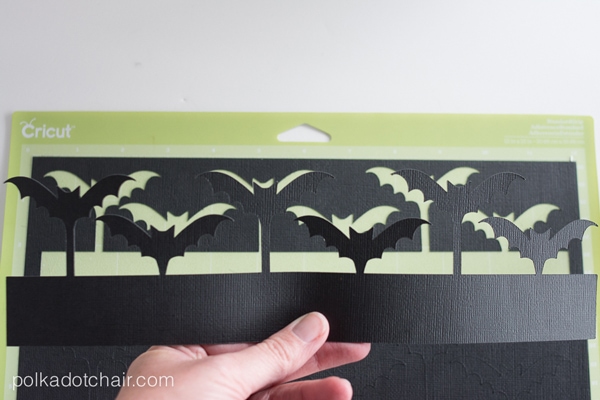
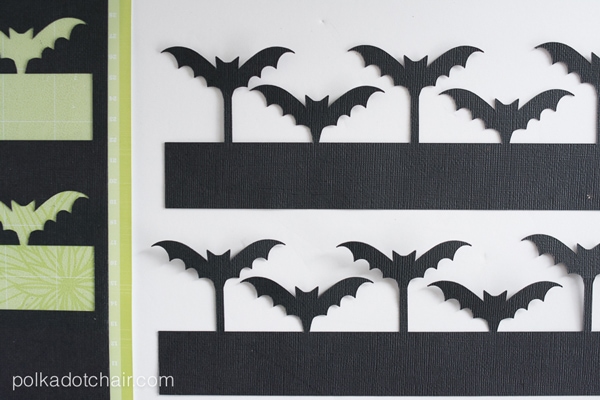
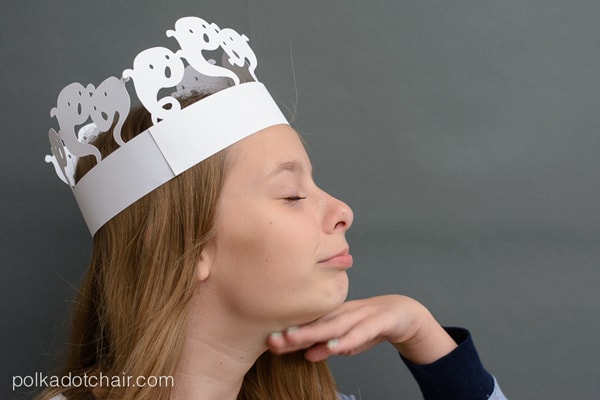
After you’ve cut them out simply staple one end together. Then put the crown on the lucky wearers head and staple the other side to fit.
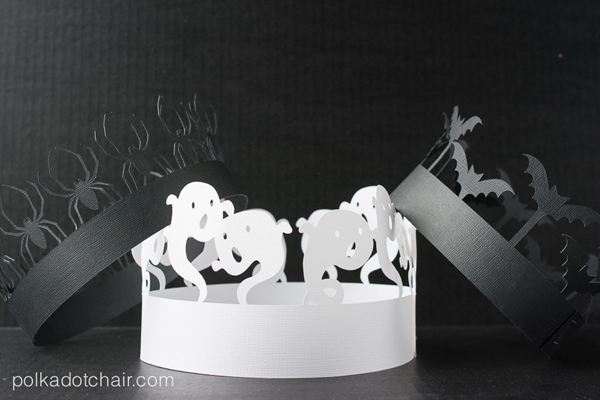
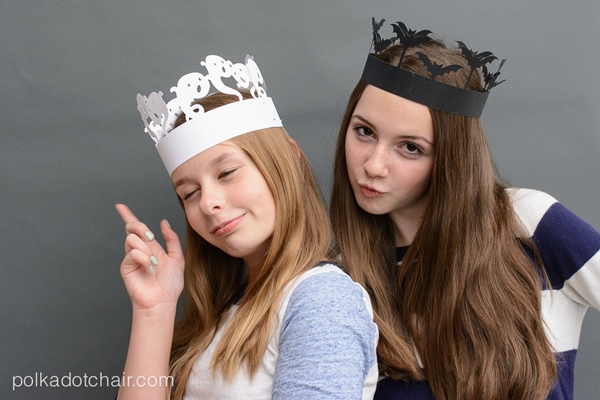
We had fun making all kinds of crowns. I love how the spider and bat crowns look so regal!
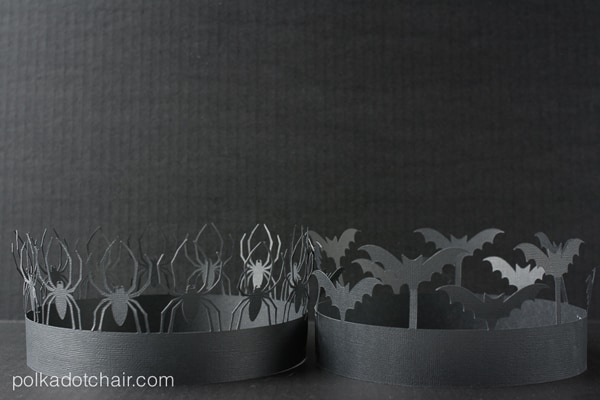
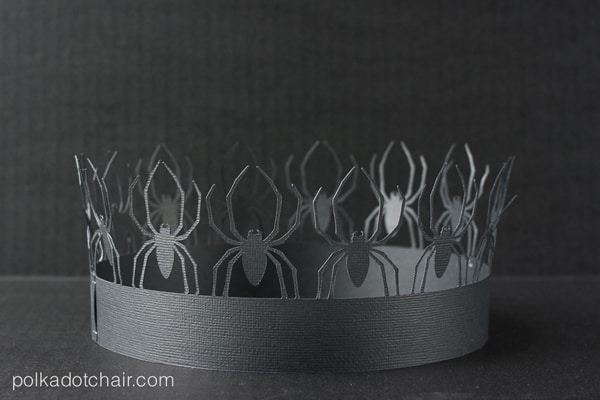
They also make great props for a Halloween Photobooth!! Just set a few out and let the kids go to town making funny faces!!
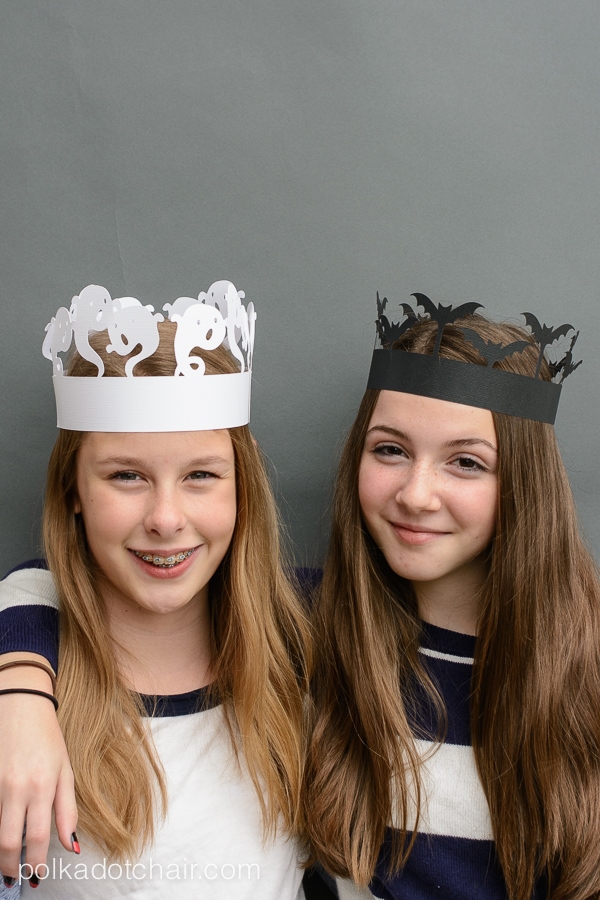
I can’t decide which one is my favorite.. which one’s yours??
More Halloween Party Ideas:
DIY Halloween T-shirts made with Cricut EasyPress
No Sew Alice in Wonderland Costume Ideas

