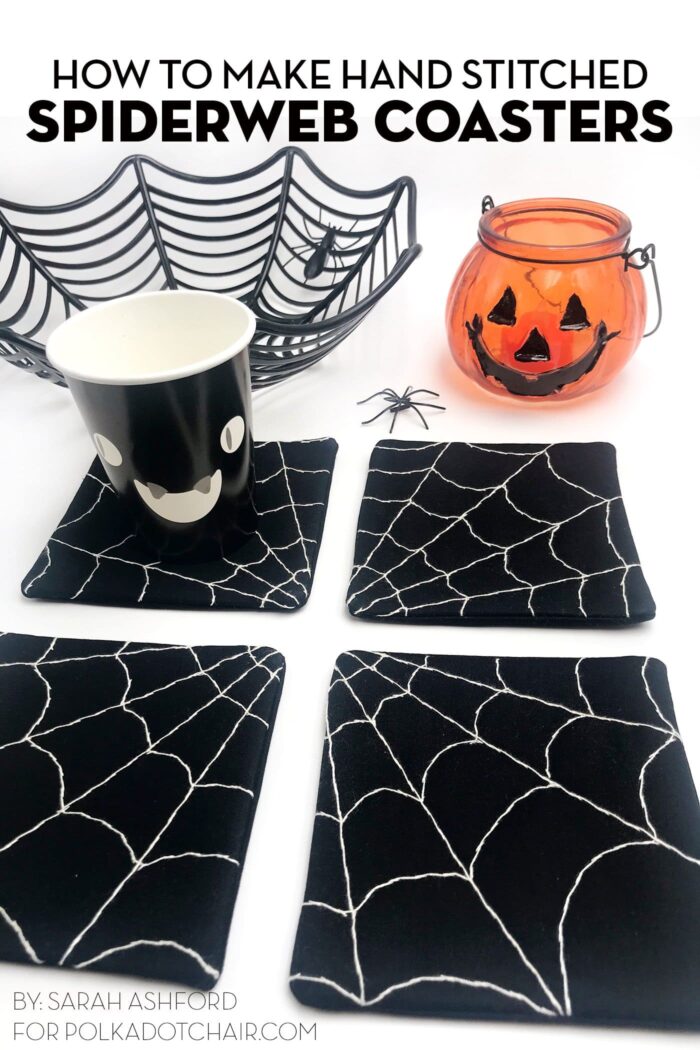
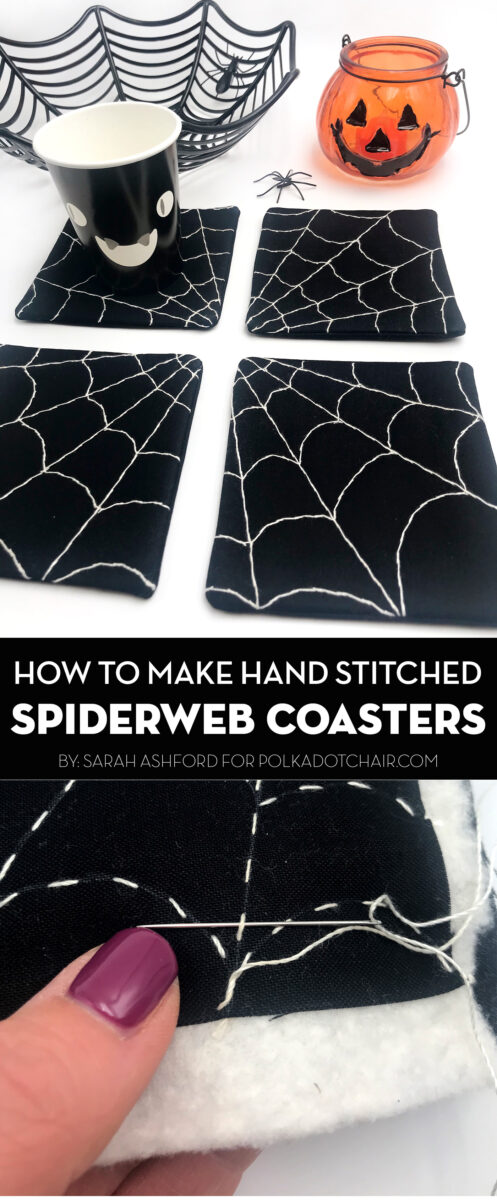
Hand Embroidered Spiderweb Coaster Tutorial
Stitch up a set of spooky coasters for your Halloween table with this easy to follow tutorial. Learn how to make hand embroidered spiderweb coasters!
Hi! Sarah Ashford here, it’s October already and it’s fair to say it’s been a spooky year. Halloween festivities might look a bit different this year, but as long as can still have fun, even if it just means turning the house into a spooktacular scene for the night, the children will love it!
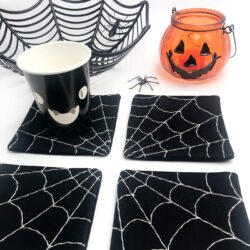
Last year I made a Halloween table centerpiece, which you can find here and I thought this year it would be fun to add to the table with some spooky spiderweb coasters. I’ve made a set of 4, and when you put them all together they complete the spider’s web!
There are no templates for this; I will show you how to draw a spider web step by step. And I think I’ve invented a new technique to stitch the spider’s web – I can’t wait to show you. I’ve also used a technique called ‘faced binding’. It’s way easier than it sounds and it is a lovely alternative way to finish your coasters and showcase your lovely stitching.
Hand Embroidered Spiderweb Halloween Coasters
supplies
- 4 pieces 4 1/2” Squares of black fabric for coaster top note; materials are listed to create 4 total coasters.
- 4 pieces 6” Squares black fabric for coaster back
- 4 pieces 6” square batting
- 8 5” x 2” strips folded in half and pressed lengthways
- 8 4” x 2” strips folded in half and pressed lengthways
- White or cream embroidery thread
- Chalk pencil
- Basting spray
Instructions
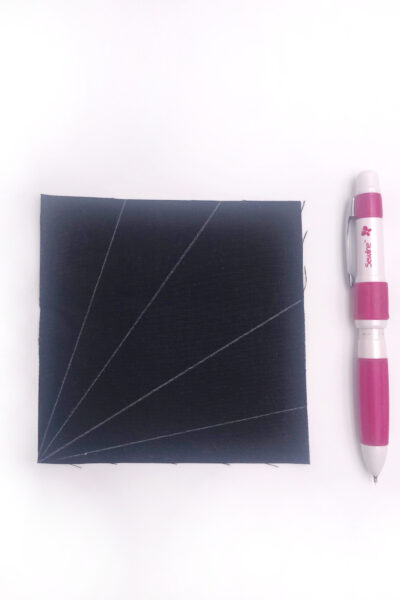
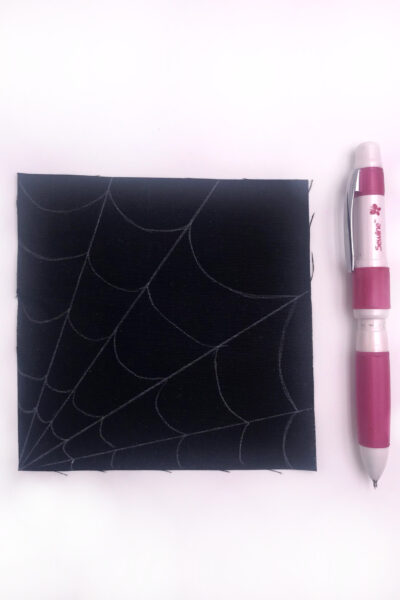
Draw the Spiderweb
- First of all draw the spiders web onto the top fabric. Using a chalk pencil and ruler, draw 4 lines from the bottom left hand corner, as shown.

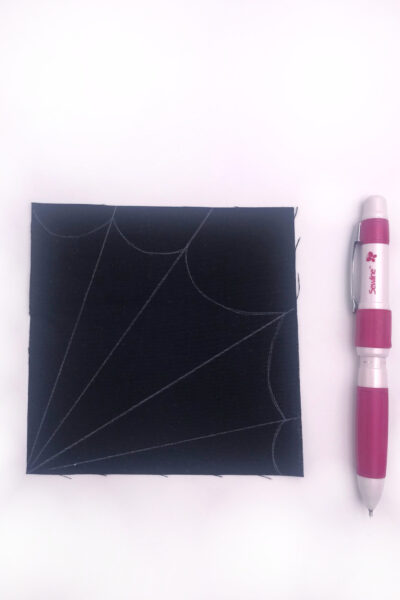
- Now to draw the arcs between the web. Start with the outside of the web, and swoop from one line to the next.
- Now draw 4 more arc lines, getting smaller each time.
- See, wasn’t that easy!
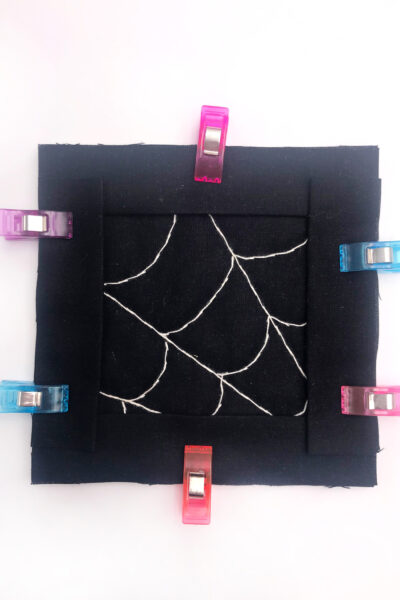
Create the Layers
- Now we need to layer up the coaster. Take your backing fabric (I've used black) batting and spider web top and create your mini 'quilt sandwich'. I like to use basting spray to hold the layers together, but you could also use quilting pins. If you have used spray, iron on the front and back to better activate the glue.
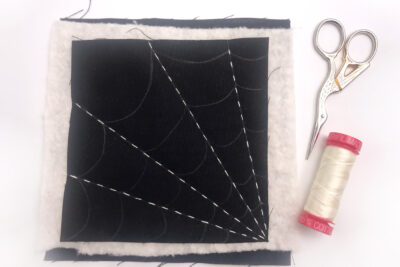
Hand Quilt the Web
- Now we need to stitch the spooky spider web. Take a length of embroidery thread in either white or cream and tie a knot in the end. I like to use Aurifil 12 weight thread. Starting at the left straight line of the web, quilt a running stitch down to the centre of the web. Bring your knot up so it sits under the top layer of the coaster. Do not worry if you're stitches aren't as even as you would like, they are going to be hidden in a later step, I promise!

- TOP TIP: Try to make sure you end your stitches and tie off at the edge of the coaster. This will make things a lot easier!
- Keep going with the hand quilting, this time stitching the arcs of the web.
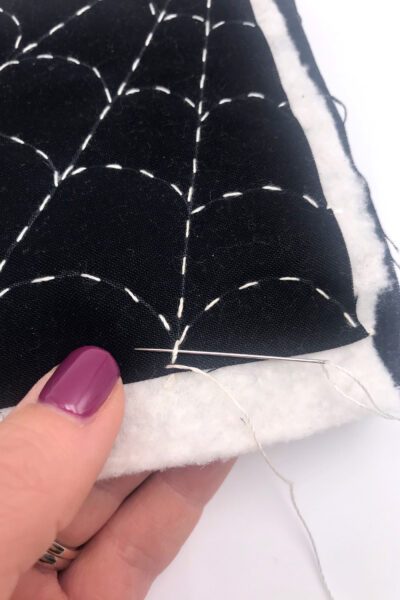
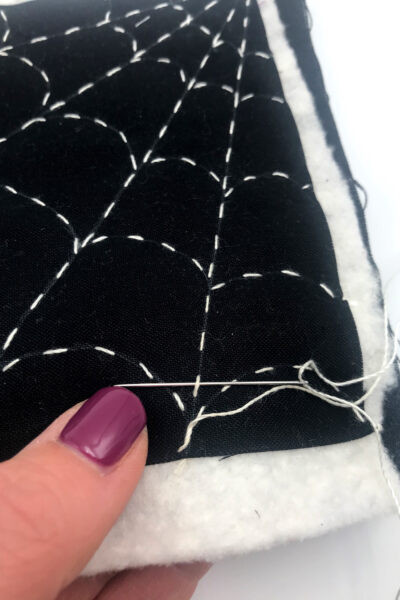
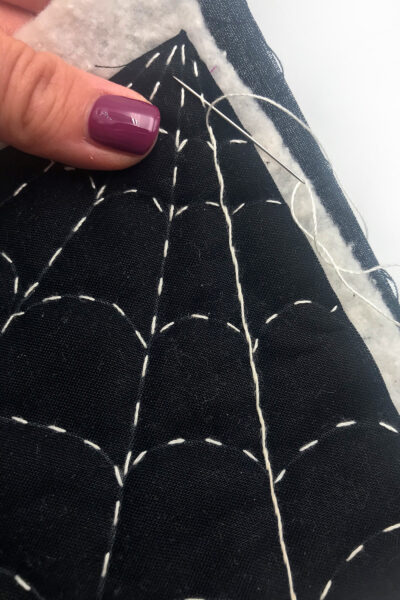
- Next to the clever bit, and it’s possibly a technique I think I invented myself, but it works! We are going to ‘whip’ the hand quilting, with a second thread, to create the spidery effect and give the web more definition. Starting at the edge of the coaster, we are going to ‘whip’ the straight lines first. Take the needle and come up at the base of the stitch. Take the needle through the stitch and pull through.
- Then repeat, going into the next thread from the right, and then into the next stitch and next stitch.
- You will see the line suddenly take shape and definition.
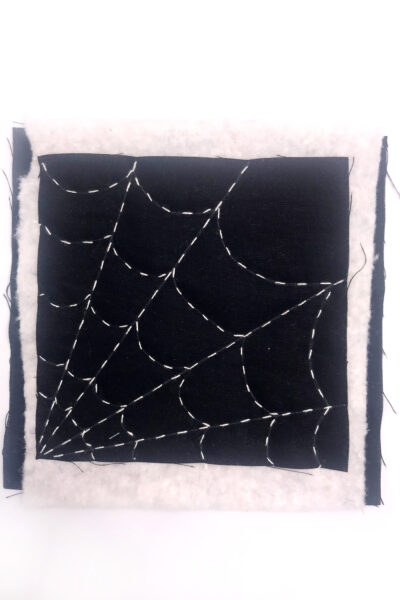
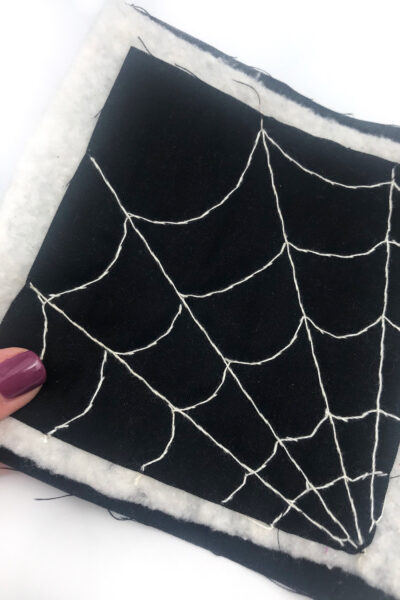
- Keep going like this for all of the lines, and then all of the arcs, to complete your spooky spiderwebs.
- Trim off the excess batting.
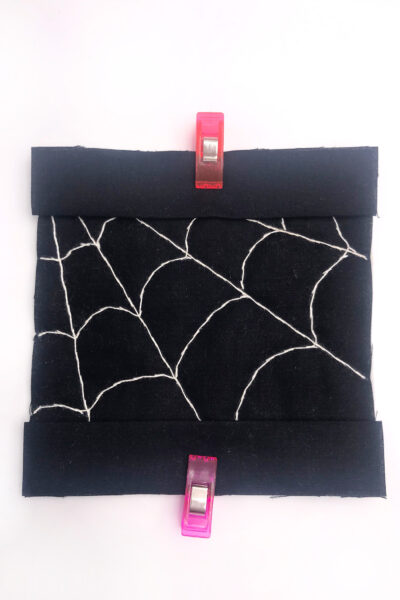
Create the Faced Binding
- We are now going to make the faced binding. Take your 5” binding strips and using binding clips to attach to the top and bottom of the coaster. Make sure the fold is on the inside.
- Next, take the 4” binding strips and clip them on the left and right sides.
- Stitch all the way around the edge with a ¼” seam and carefully clip the corners.
- Turn right sides out, using a pointy tool to help you. Iron the binding to the back of the coaster and hand stitch the binding to the reverse using a slip stitch and black thread.
- TOP TIP: Use a lint roller when you’v’e finished to get rid of any excess white ‘fluff.’
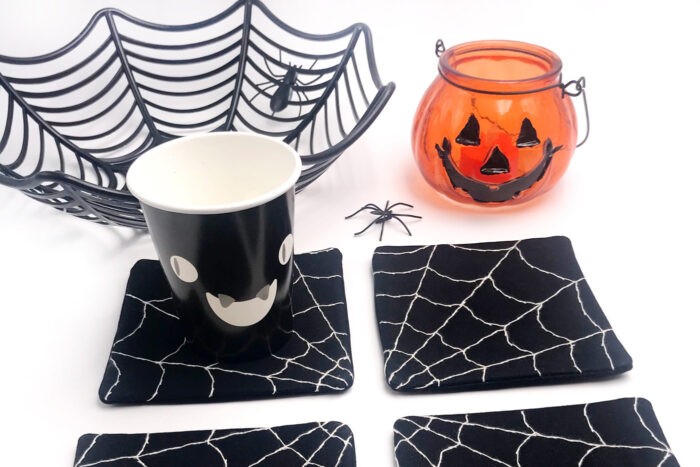
And there you have it. A lovely set of hand quilted spooky spiderweb coasters. Now all you need to do is plan some Halloween fun!
About the Designer

Sarah Ashford is a British Quilter and embroiderer and founder of the GreatBritishQuilter challenge on Instagram. Sarah regularly contributes projects to magazines and loves to spread the joy of quilting everywhere she goes. Follow her on Instagram at @sarahashfordstudio and be sure to check out her beautiful sewing room decals in her Etsy shop www.etsy.com/shop/sarahashfordstudio
More Cute Halloween Sewing Projects
Jack O Lantern Halloween Pillow Pattern
More than 25 Cute Things to Sew for Halloween
Tic Tac Cat; A Cat & Witch Quilt Pattern


These coasters look great. What a fun project!