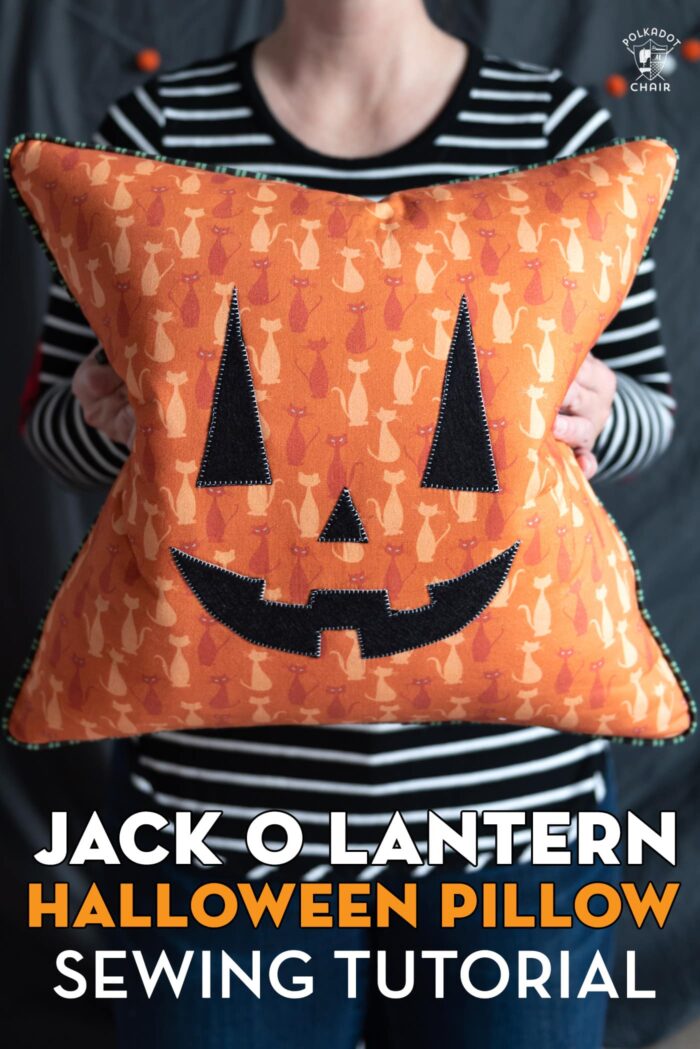
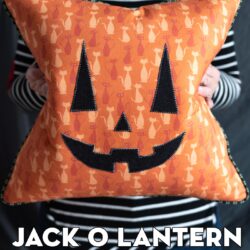
Jack O Lantern Halloween Pillow Sewing Pattern

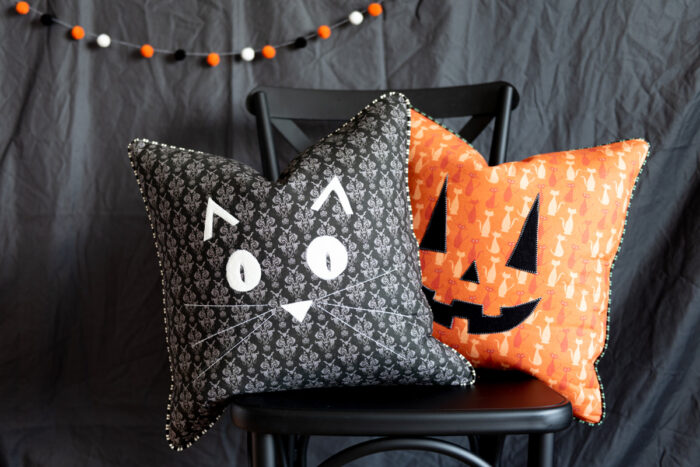
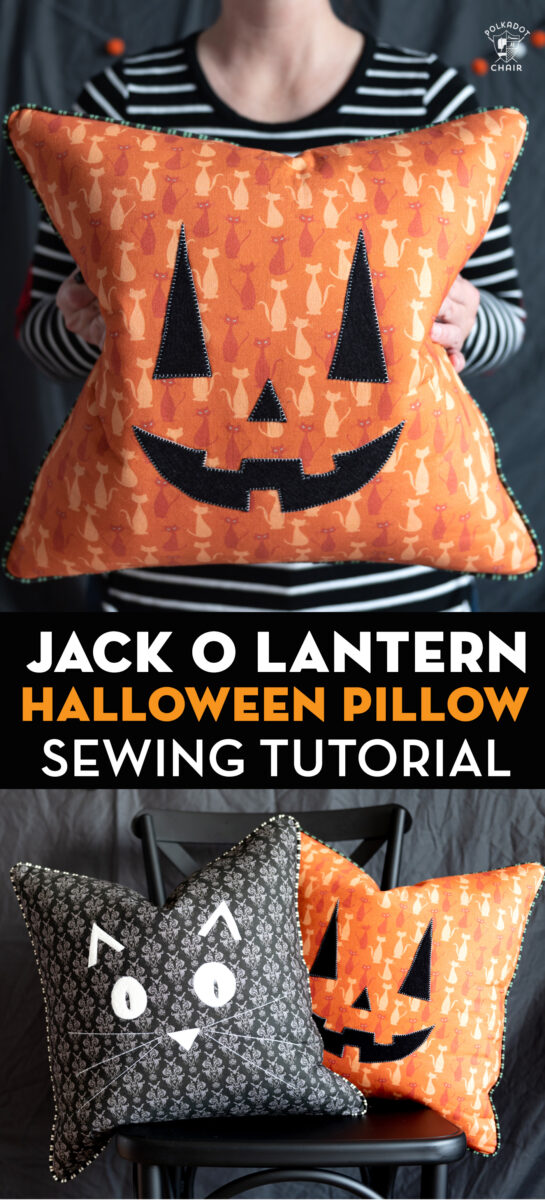
Stitch up this no so spooky Halloween pillow to add to your Halloween decorations with our free Jack O Lantern Pumpkin Pillow Sewing Pattern.
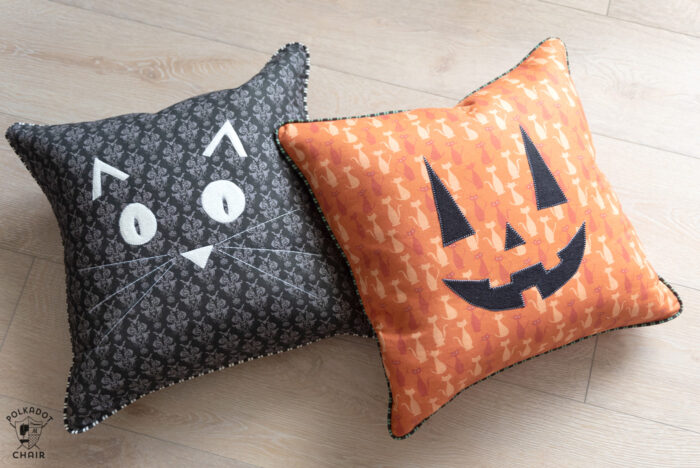
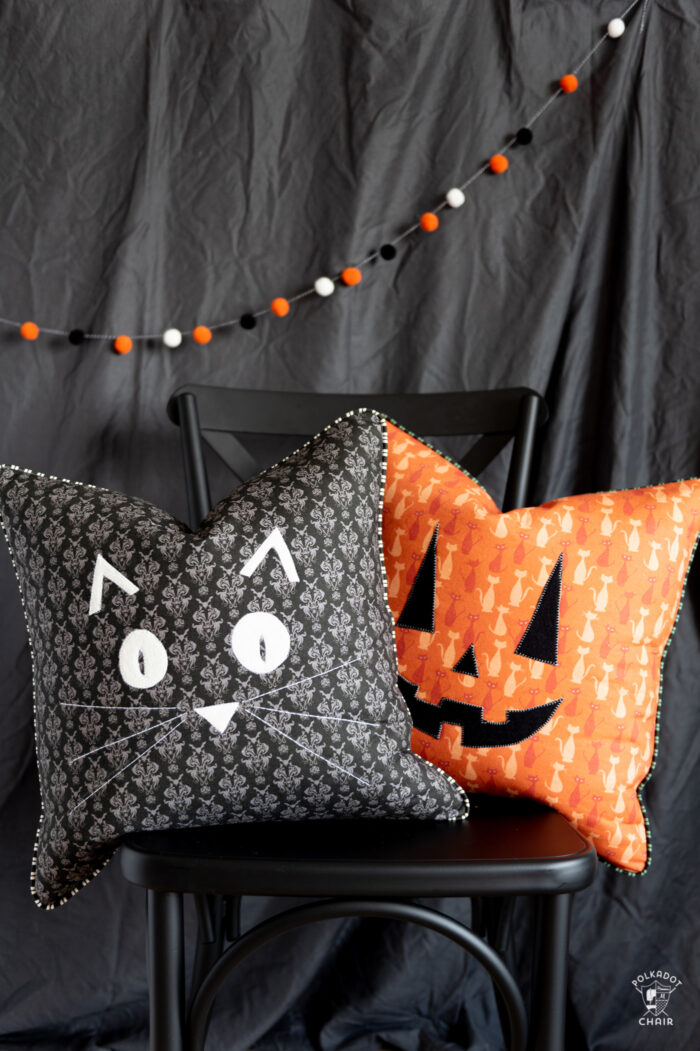
Every year I try to sew a few things to add to my Halloween decorations collection. In the past, I’ve made quilts, ghastly pillows, table toppers & table runners. This year I thought that I’d stitch up a couple of big fluffy Halloween pillows to put on the sofa in my living room.
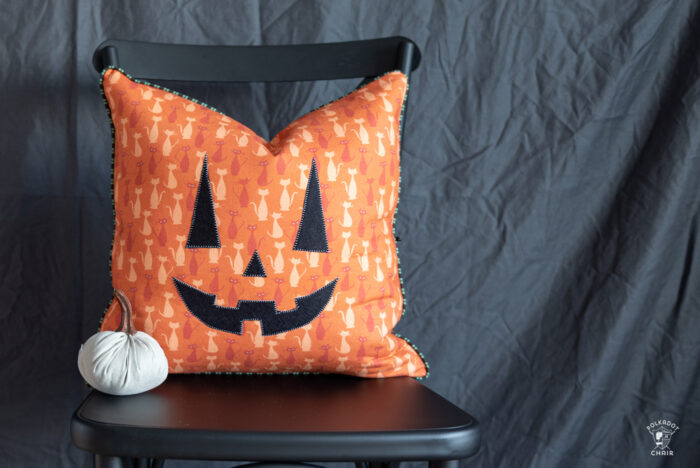
These pillows are pretty easy to stitch up. Don’t be intimidated by the piping. I walk you through the steps in the tutorial. Did you know that the trick to getting piping to look good every time is to keep sewing on the same stitching line over and over again?
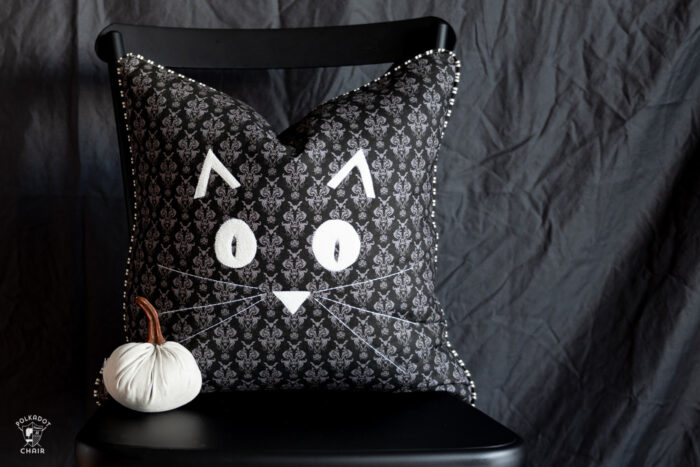
Today I’m sharing the tutorial for the Jack o Lantern pillow. The cat pillow pattern can be found on BERNINA’s WeAllSew blog.
Which Pillow Forms are Best for Sewing Projects?
These pillows call for 18″ pillow forms. I used 20″ pillow forms from IKEA and they worked great. The IKEA pillows are filled with down feathers and not as “dense” as other pillow forms so they fit in the smaller size pillow covers.
You should easily be able to find 18″ pillow forms. I’ve linked my favorites below, I prefer down pillow forms since they give a nice “fluff” to the finished project.
If you add a zipper to the back of your pillow, you can use the same pillow form for multiple pillows during the year. Especially if you make all your pillow covers to fit an 18″ pillow.
How to Get the Printable Template Pieces
We have a downloadable template for you to create the pumpkin face on the pillow. Since the internet is a crazy place, it’s in a special section of the website just for our newsletter subscribers. (Trust me, crazy things have happened when we just leave the download link out for all the internet to see!).
Subscriptions to the site are TOTALLY FREE. You get an email a week from us where we share all the fun new stuff posted that week. We hear from so many readers who tell us that they look forward to that email each week! So give a subscription a try; you might like it.
Halloween Pillow Sewing Pattern
Jack O Lantern Halloween Pillow Sewing Pattern
Equipment
- Piping Foot for Sewing Machine
supplies
- 1/2 Yard Fabric for Pillow Outside
- 1/2 Yard Fusible Fleece
- 1/8 Yard Fabric to Cover Piping
- 1 Piece Black Felt I prefer Wool Felt
- 1 Package Purchased Piping Can be any color, you will cover it with fabric.
- 1 Piece Heat N Bond Lite
- 1 18" Pillow Form
- 1 Zipper 18" or Longer – this is Optional You can close the pillow with a zipper or just sew the front and back pieces together. It's up to you.
- 1 Pattern for Pumpkin Face
Instructions
Cutting
- From Pillow Fabric Cut:1 piece 18" x 18 for pillow front. You will cut the back later.
- From Fusible Fleece Cut:1 piece 18" x 18
Create Applique
- Download and print out the pattern for the pumpkin face from our Sewing Templates Library.
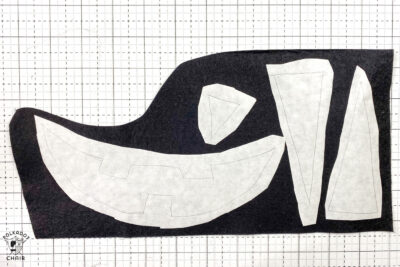
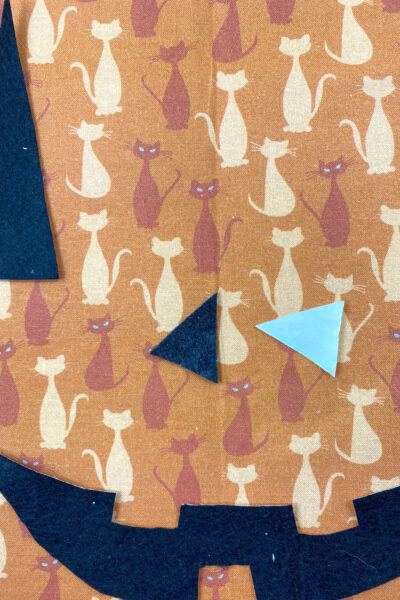
- Trace the pumpkin faces pieces onto the paper side of the Heat N Bond Lite. Cut out loosely.

- Iron the pieces onto the felt.

- Cut out this time precisely. Set pieces aside.


Cover Piping
- Cut two pieces of fabric each 1 1/4" x WOF (width of fabric) from your piping fabric. Sew the two pieces together along the short edge.
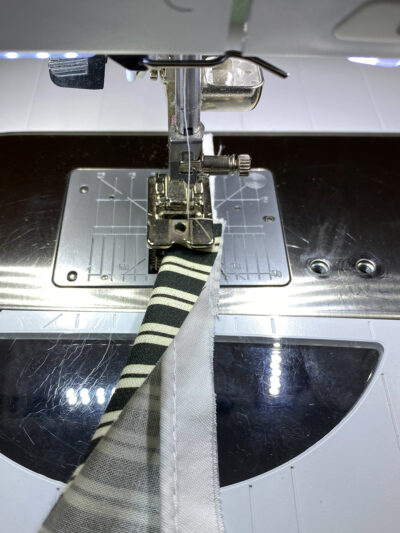
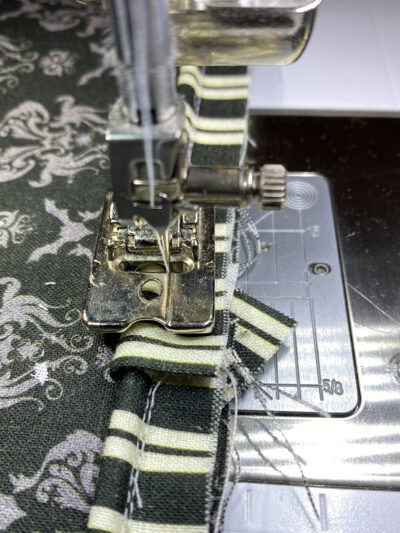
- Install a piping foot on your sewing machine. A piping foot has a groove that lets the piping feed through as you sew. If you do not have a piping foot you can try a zipper foot.

- Fold the fabric over the purchased piping so the ends of the fabric are flush and the piping is completely covered.
- Adjust your needle so that it hits right next to the cord section of the piping.
- Sew the fabric to the piping. You will not have enough fabric to cover the entire package of piping but you will have plenty for our pillow project.
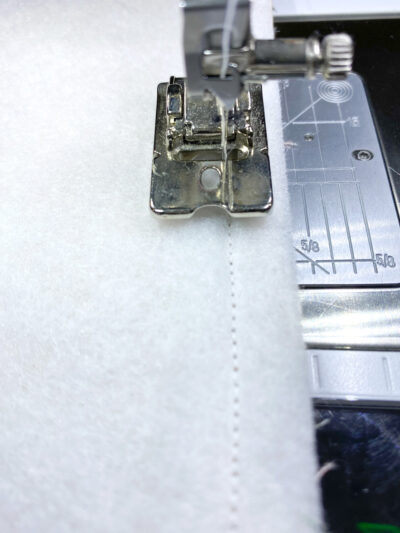
- Iron the fusible fleece onto the wrong side of your pillow front piece.
Sew the Piping to the Pillow Front
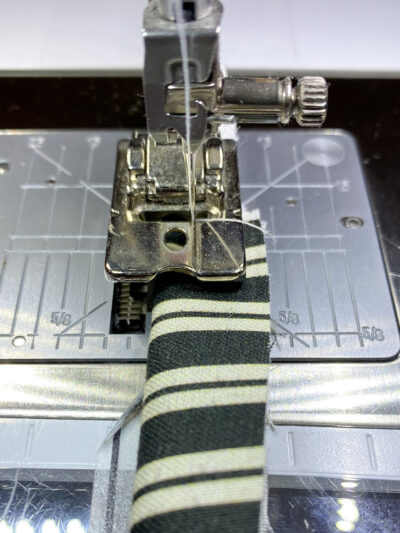
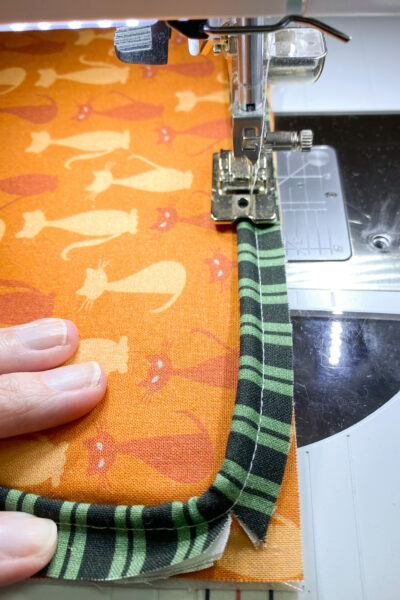
- With the piping foot still on your machine, stitch the piping to the pillow front. The raw edge of the piping will be flush with the edge of the pillow
- As you turn the corners while sewing the piping, clip the excess fabric so that it can turn the corner easily.
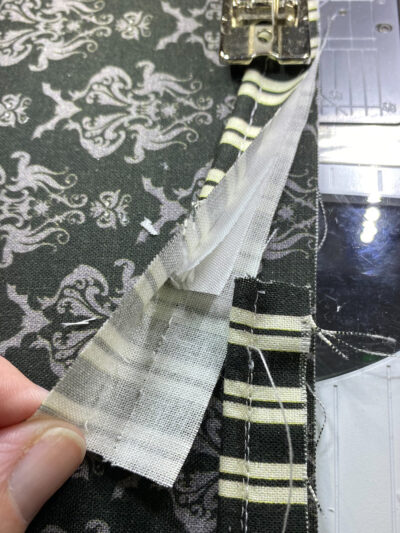
- When you get back to where you started, unpick some of the piping and cut out the cord so that you can overlap the pieces easily. If you need more help with this step, refer to the "how to join piping ends" blog post linked below.
Sew Face on Pillow
- Peel the paper from the back of the cut out face pieces.
- Place them on the pillow front. Press in place.
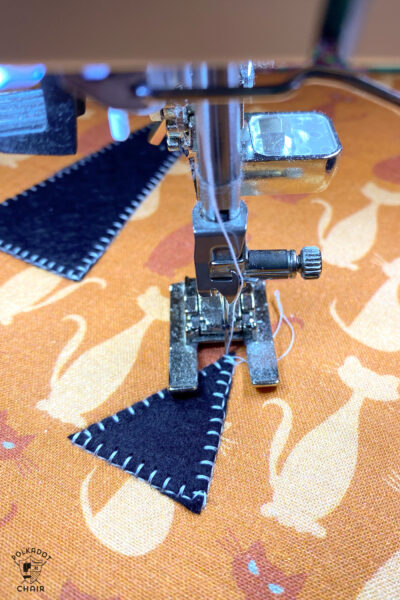
- Set your machine for an applique stitch. It is different for every machine but looks a bit like a ladder without one side.
- Install an open toe foot on your machine if you have one. If not you can use your standard presser foot.
- Stitch around the edge of the felt face pieces.
Finishing
- If you would like to add a zippered back to your pillow, please follow the instructions linked below.
- If you do not want to create a zippered back, cut another piece of fabric 18" x 18.
- Pin this piece to your pillow front piece, right sides facing.
- Sew together. To ensure that your piping looks good on the outside of your pillow, make sure you stitch on the same stitching line that you created when you sewed the piping to the pillow front.
- Leave a 10" opening at the bottom of the pillow. Turn the pillow right side out. Slip pillow form inside. Hand sew the opening closed.
Notes
You May Also Like:


I just can’t wait to make these cute faces!
Love these pillows! Thanks for the tutorial! I’m making them now and need to order more pillow forms. I thought I’d check out the ones you use, but the link isn’t working. It takes me to Amazon pillow cover, no insert.
Didn’t realize they had changed the listing! Thanks for letting me know. I’ve updated it.
Is there a template for the cat face?
Thanks!
It’s hosted on BERNINA’s website, I’ve linked to them in the blog post.
I don’t see the template for the pumpkin face in the template library. I noticed entrees are by date, so it should be at the top, am I right?
It’s there! It’s on the second page, like it mentions at the top of the page, there is more than one page of templates, you need to use the number buttons at the bottom to scroll through. If I kept them all on the same page it would not load, it would be so large!
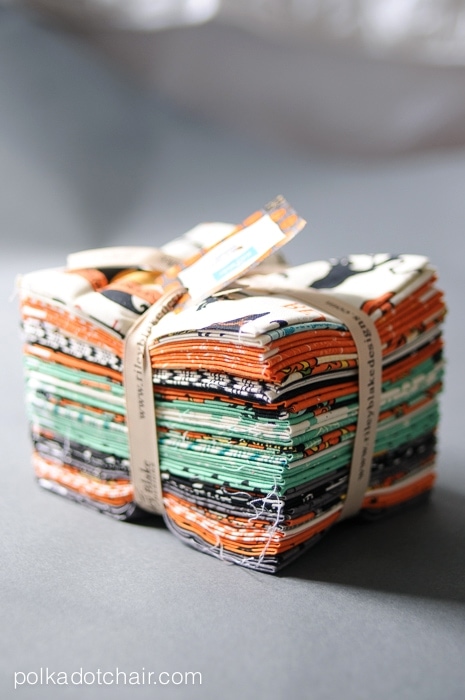
The orange cat fabric used for the pumpkin, could you tell me where you found this?
It’s coming soon! I’ll be sure to let everyone know when it’s available.
So cute – I have a bench outside in front, and this is just the item to cheer it up for Halloween. Thank you.
they are adorables and looks very confortable . I always like creating things like that and I have a collection by my own . i will try to create somethings like that once. thanks you for your beautiful ideas.