Jockey Silks Placemats
A free sewing tutorial to make a set of colorful Jockey Silks placemats perfect for the Kentucky Derby!
Hi! I’m Lori! I have my own blog, dedicated mostly to sewing projects, called love hazel. I would love for you to visit me there! I’m so excited to be a guest blogger today, and I am so flattered that Melissa asked! Thanks, Melissa!
So… the Derby. aaaah, the Derby. I lived in Louisville for several years before I got married, then moved to TX for 1 year, and returned to live in Louisville for several years after I got married. I actually attended the Derby 2 years.
The first year I went to the infield. There are some things I saw that day that will be burned in my memory forever. Wow. The next year I went with my family, and we stayed in the paddock area, which was much more my speed and a much more enjoyable experience.
I must say, though, that either way, the excitement is palpable, and there is no place better for people watching! Now that I live in NC, I miss Derby time, but in the years since I have left, I have never missed a Derby race! It’s something that becomes a part of you once you live there.
I always loved looking at the jockey silks in the racing booklets at the track. They are so colorful and bright.
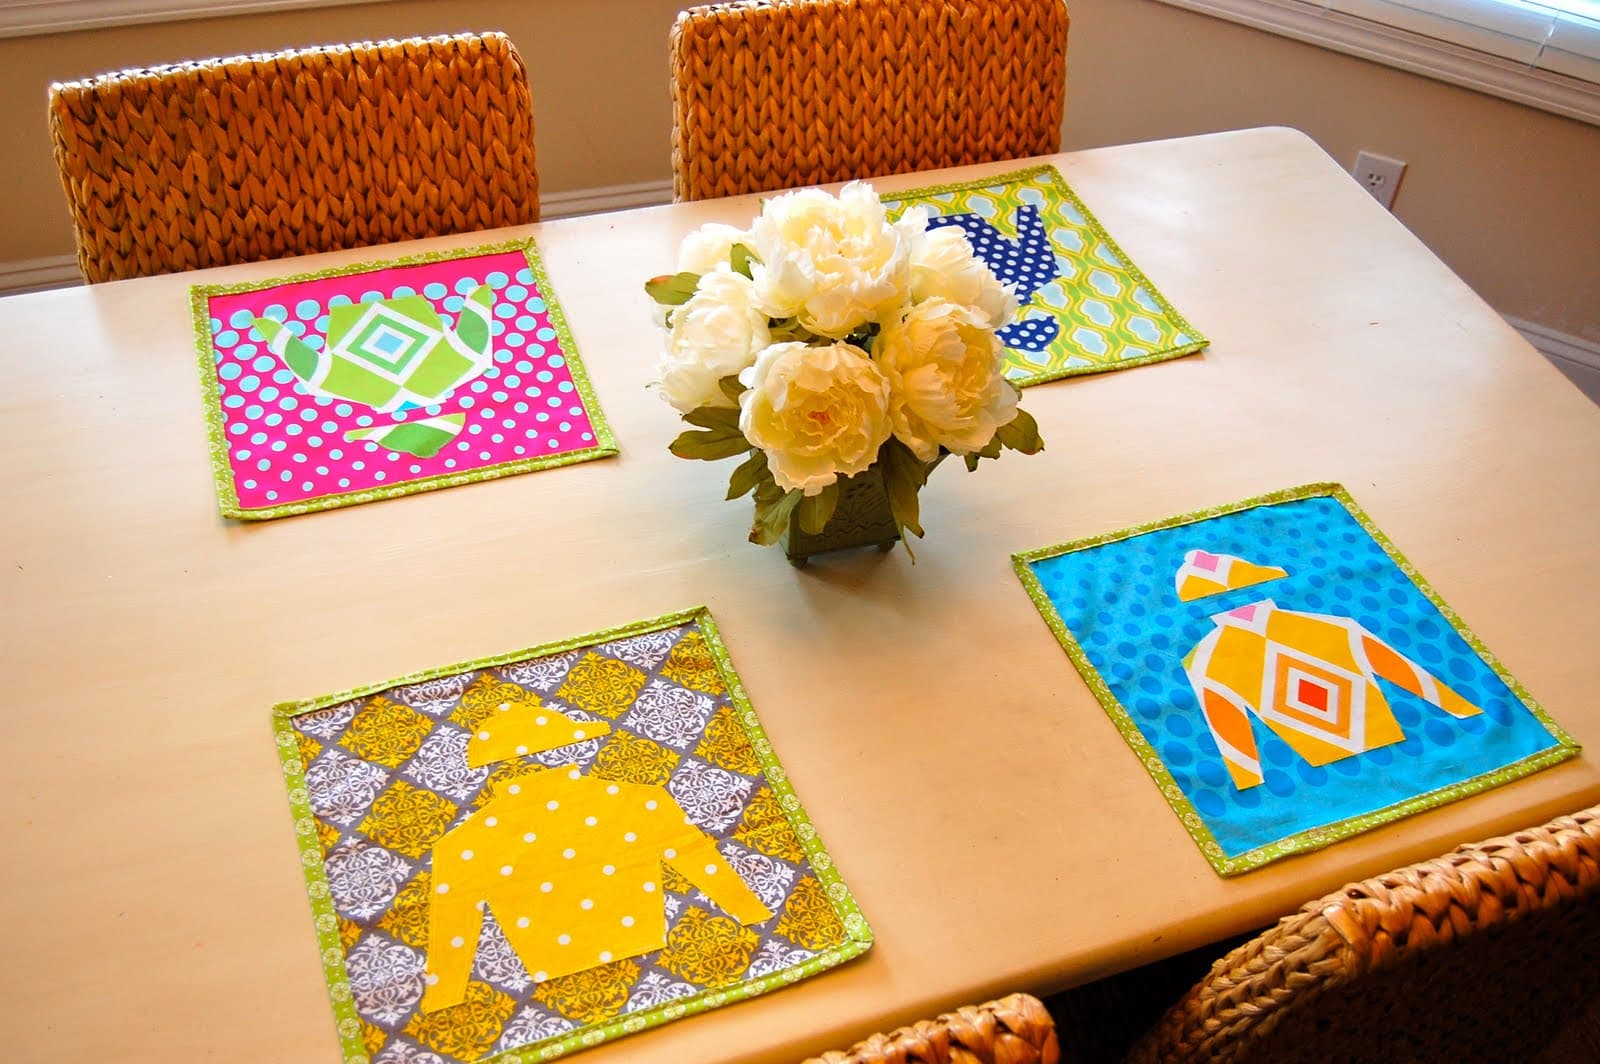
I also like to keep placemats on our kitchen table, which pertain to whatever the current holiday is. I’m always at a loss after Easter, and my table usually remains bare again until fall. So, this idea was born. Derby Placemats. They were very easy to make.
Supplies for each placemat:
- Two 12″ x 12″ pieces of colorful fabric
- One Fat Quarter of Fabric for the Jockey Silk
- Paper Backed Fusible Web
- 50″ of 2 1/2″ wide binding
Step One:
Draw a jockey silk and cut it out of some colorful fabric.
Use a fusible web that you can sew on to adhere it to a 12×12 square of another colorful fabric.
Optional: if you’d like your placemats to be heavier, you can add a layer of heavyweight fusible interfacing to the wrong side of the placemat front piece.
Step Two:
Sew around the edges of the silks, back it with 12×12 squares of white muslin, then sew the border around each edge.
Step Three:
Make the bias tape for the border (I used 2 1/2″ wide binding and bound it the same way you would bind a quilt).
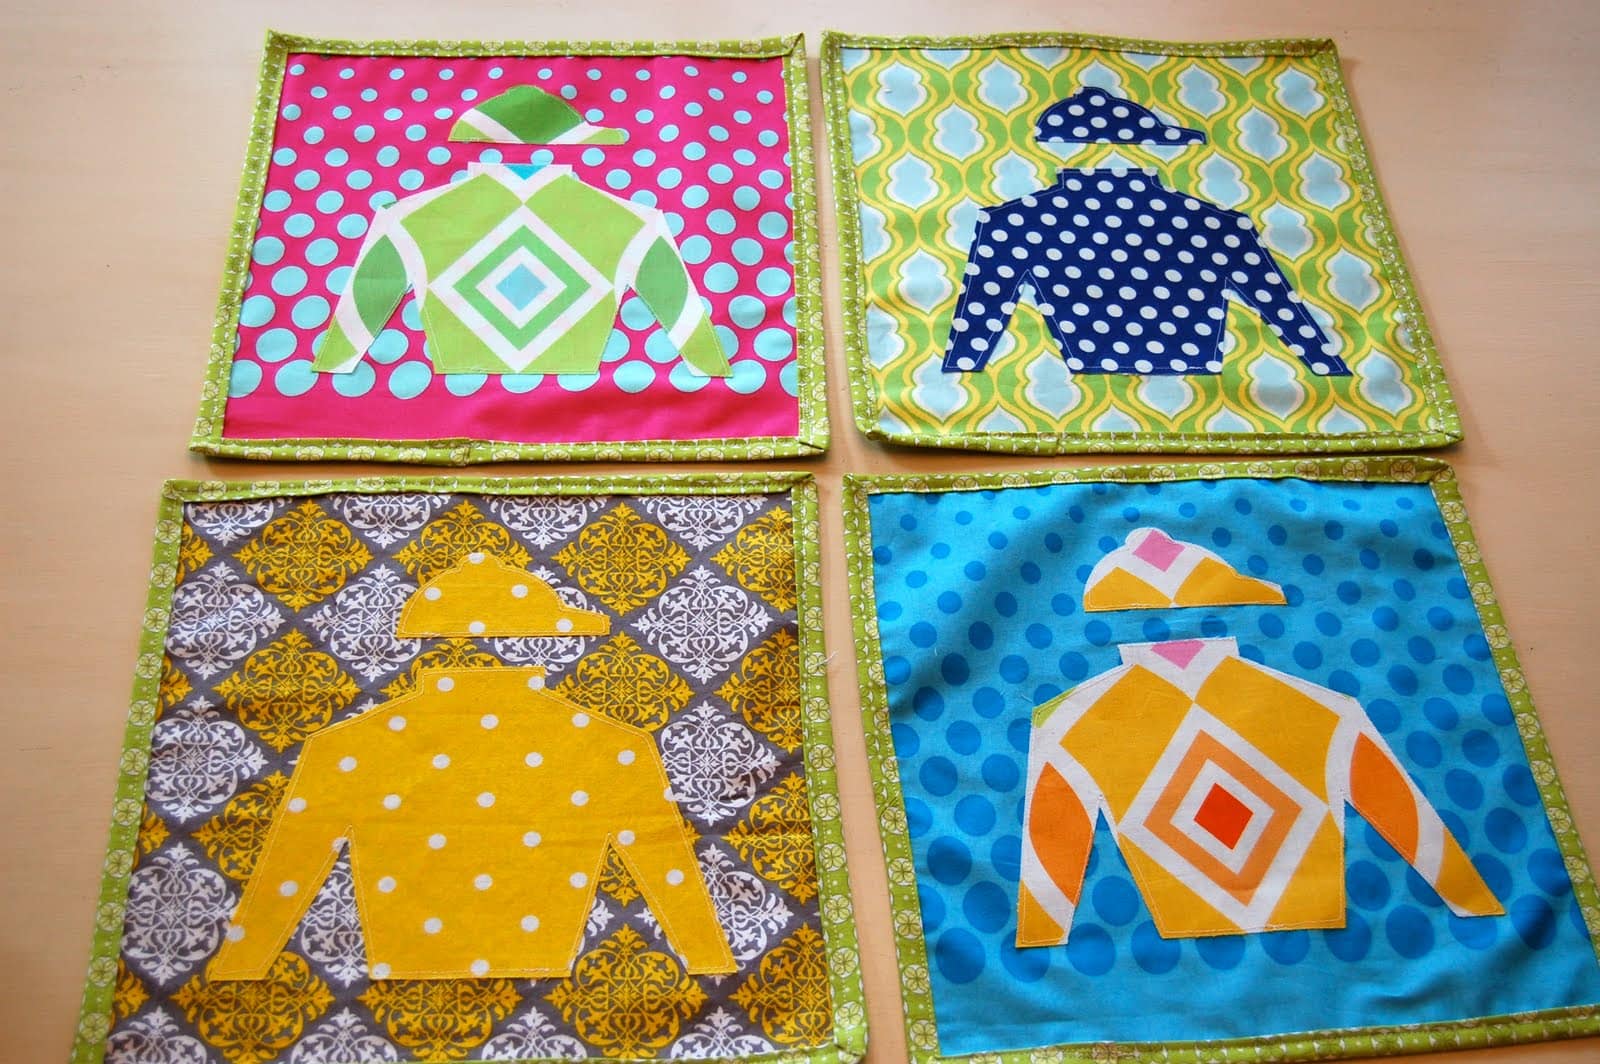
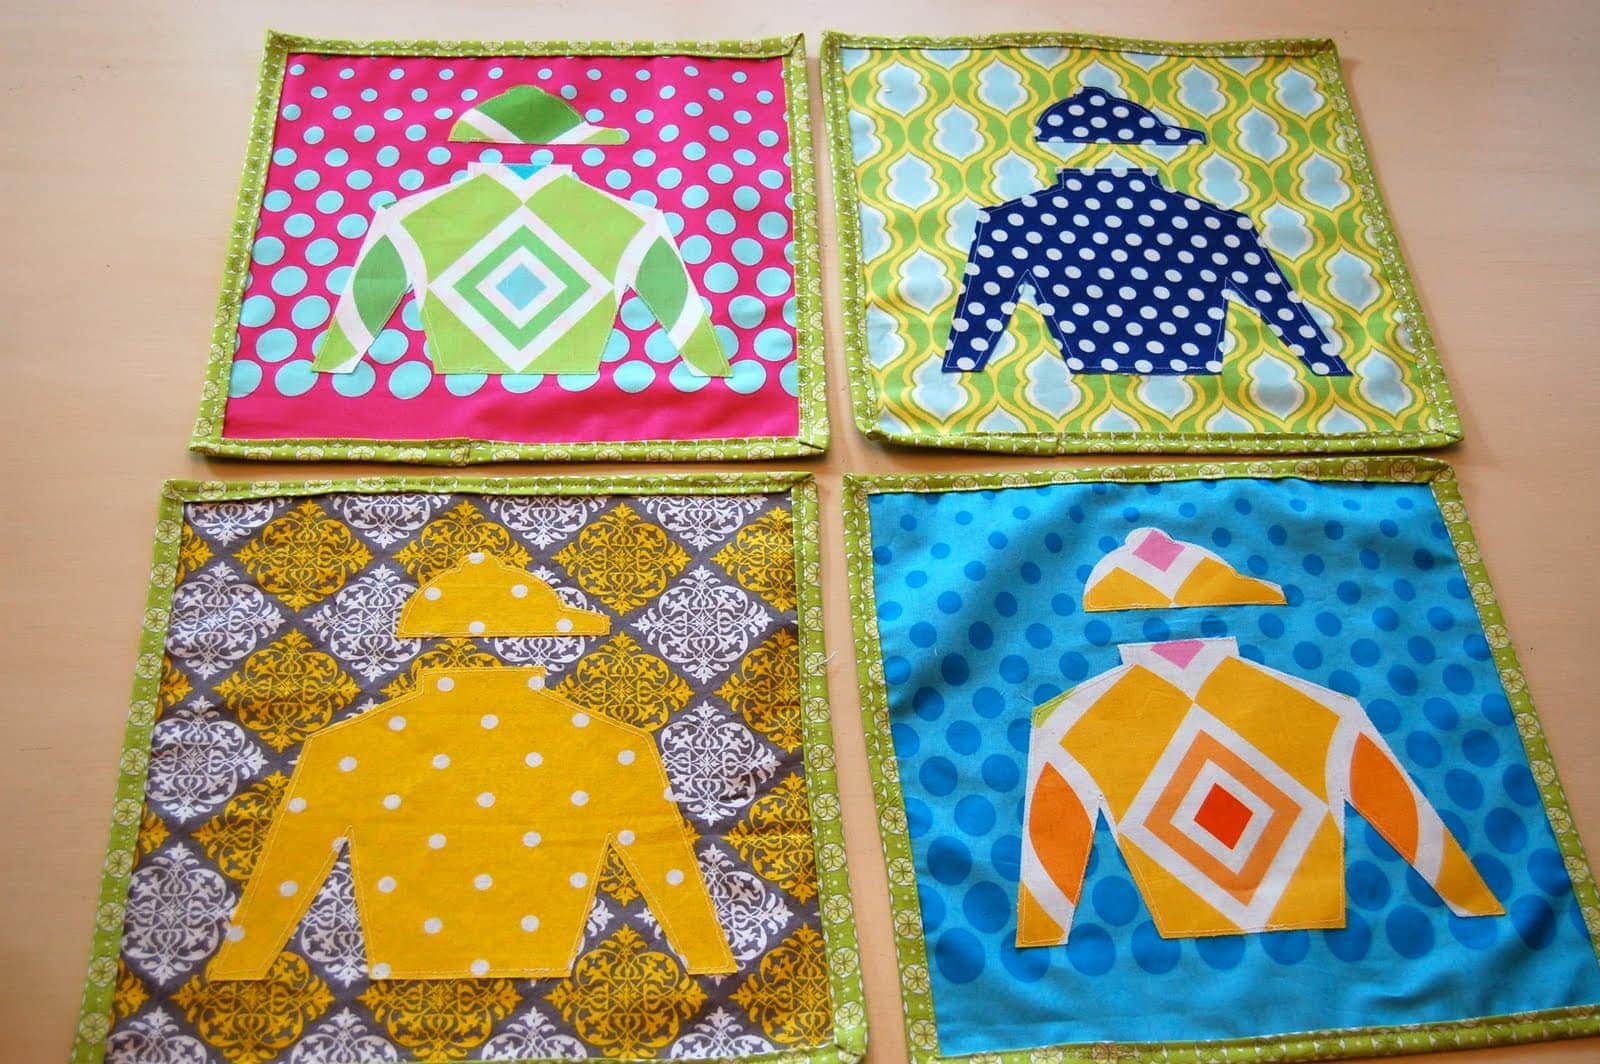
Below is a close-up of the 4 placemats I did. I loved how they turned out. I think you could also totally do a quilt with these as the blocks if you so desired. Just a thought.
Our Derby Glass Collection
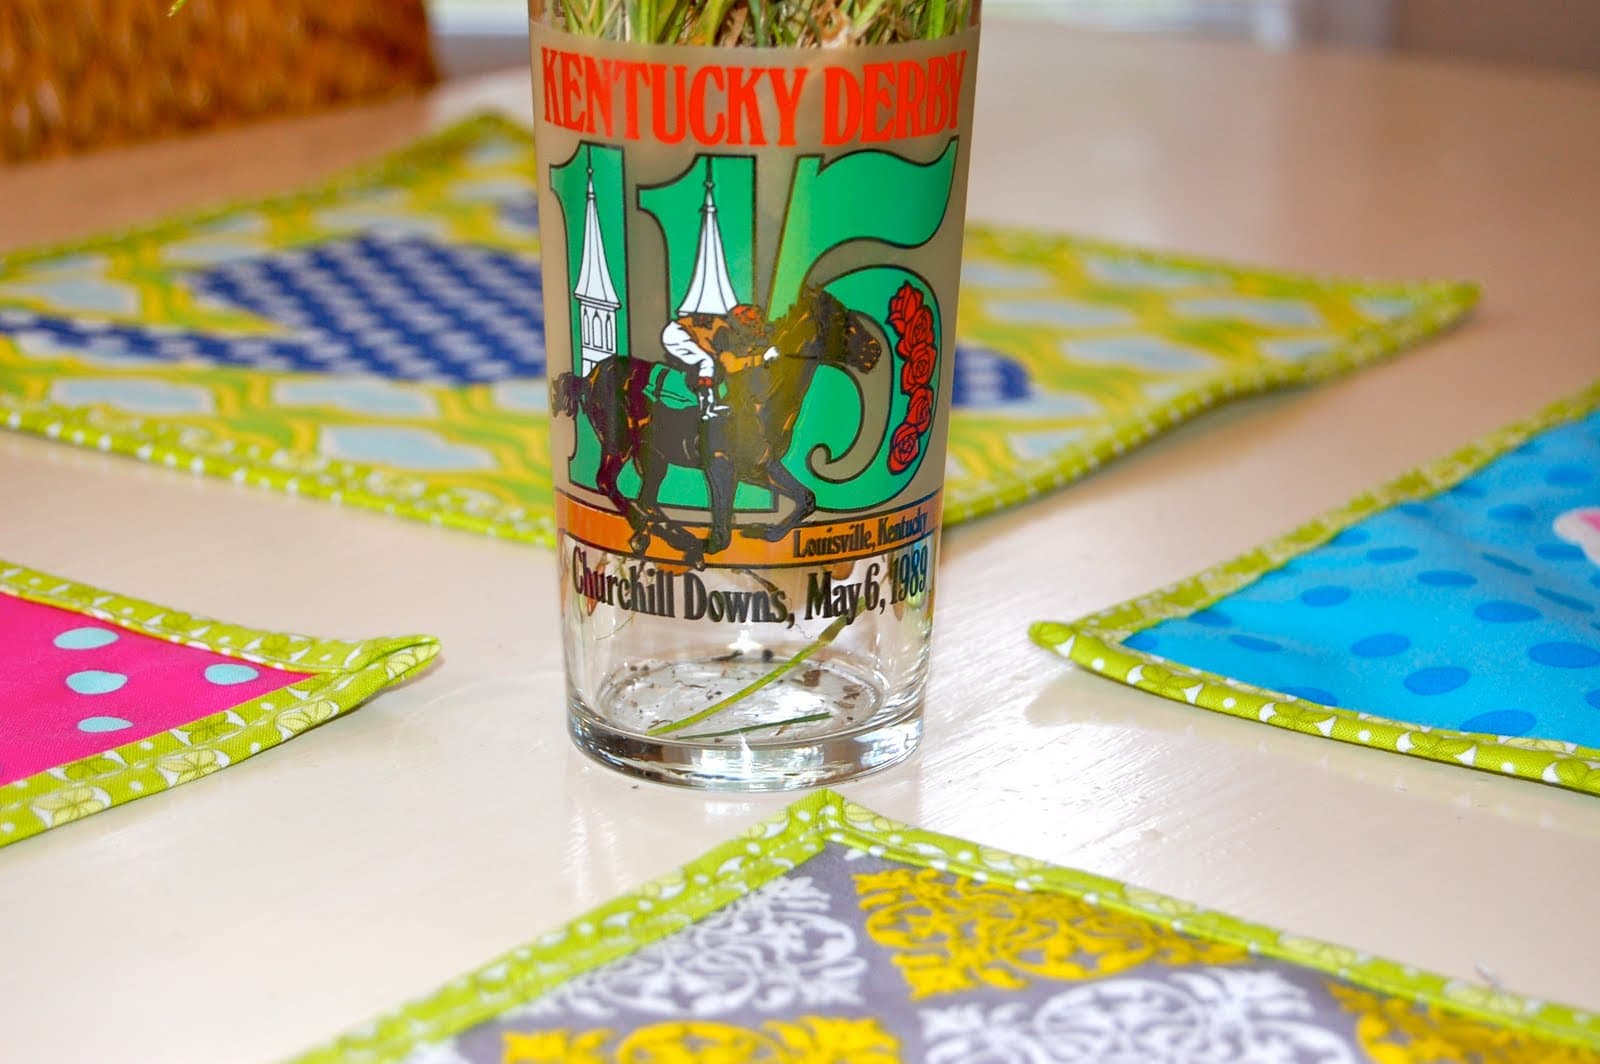
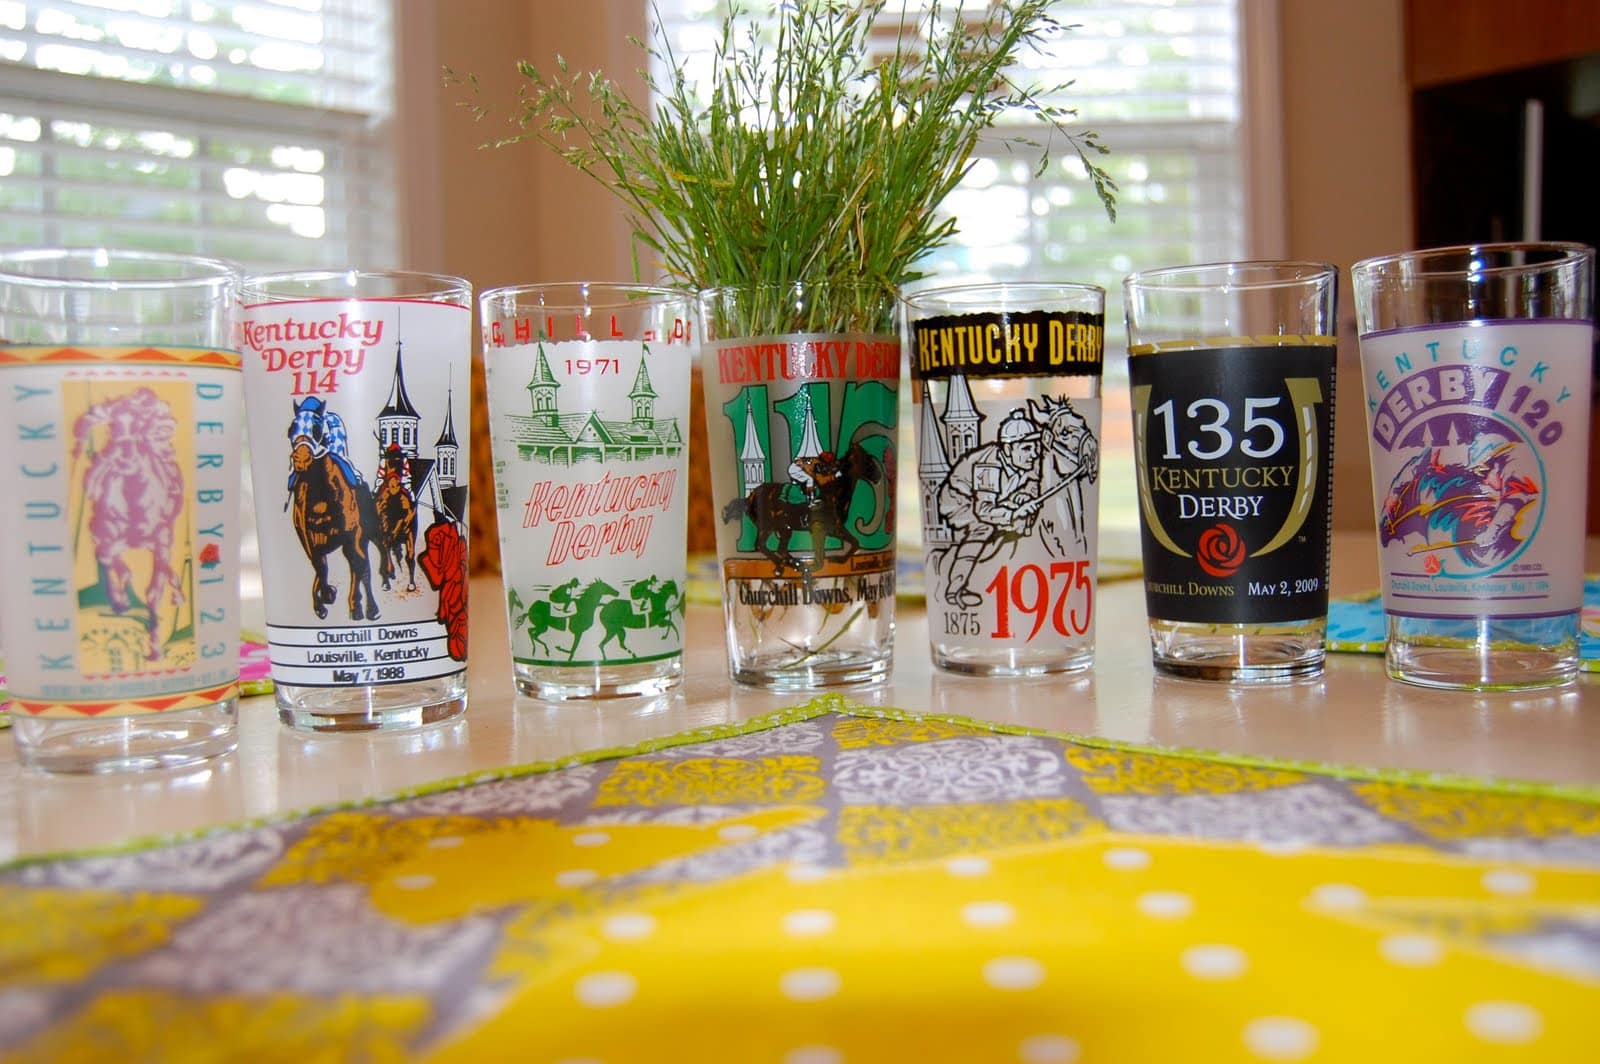
Another thing that I think is worth mentioning, since we are talking about table decor, is the collectible Derby glasses. I have quite the collection!
These are actually the glasses we use to drink out of daily as they are such a nice size. I started collecting this way back when I lived in Louisville as a single woman! They make different ones each year and sell them at local stores.
The winners from every Derby are listed on the back of each one up to the current year.
Below I have pictured glasses from the year I was born, the year I graduated from high school, and May 3, 1997, the day I got engaged (Derby 123)!
My sister still lives in Louisville and gets me new glasses each year. This year she is getting me an Oaks glass, too, so I will start to add those to my collection! Love the Derby glasses and actually use them on my table every day, although they are a great addition to any Derby decor.
Hope you enjoy this Derby idea. Right now, the placemats are on their way to KY. I decided to give them to my sister (who also likes to decorate with themed placemats) to thank her for all the Derby glasses she has purchased for me over the years!

