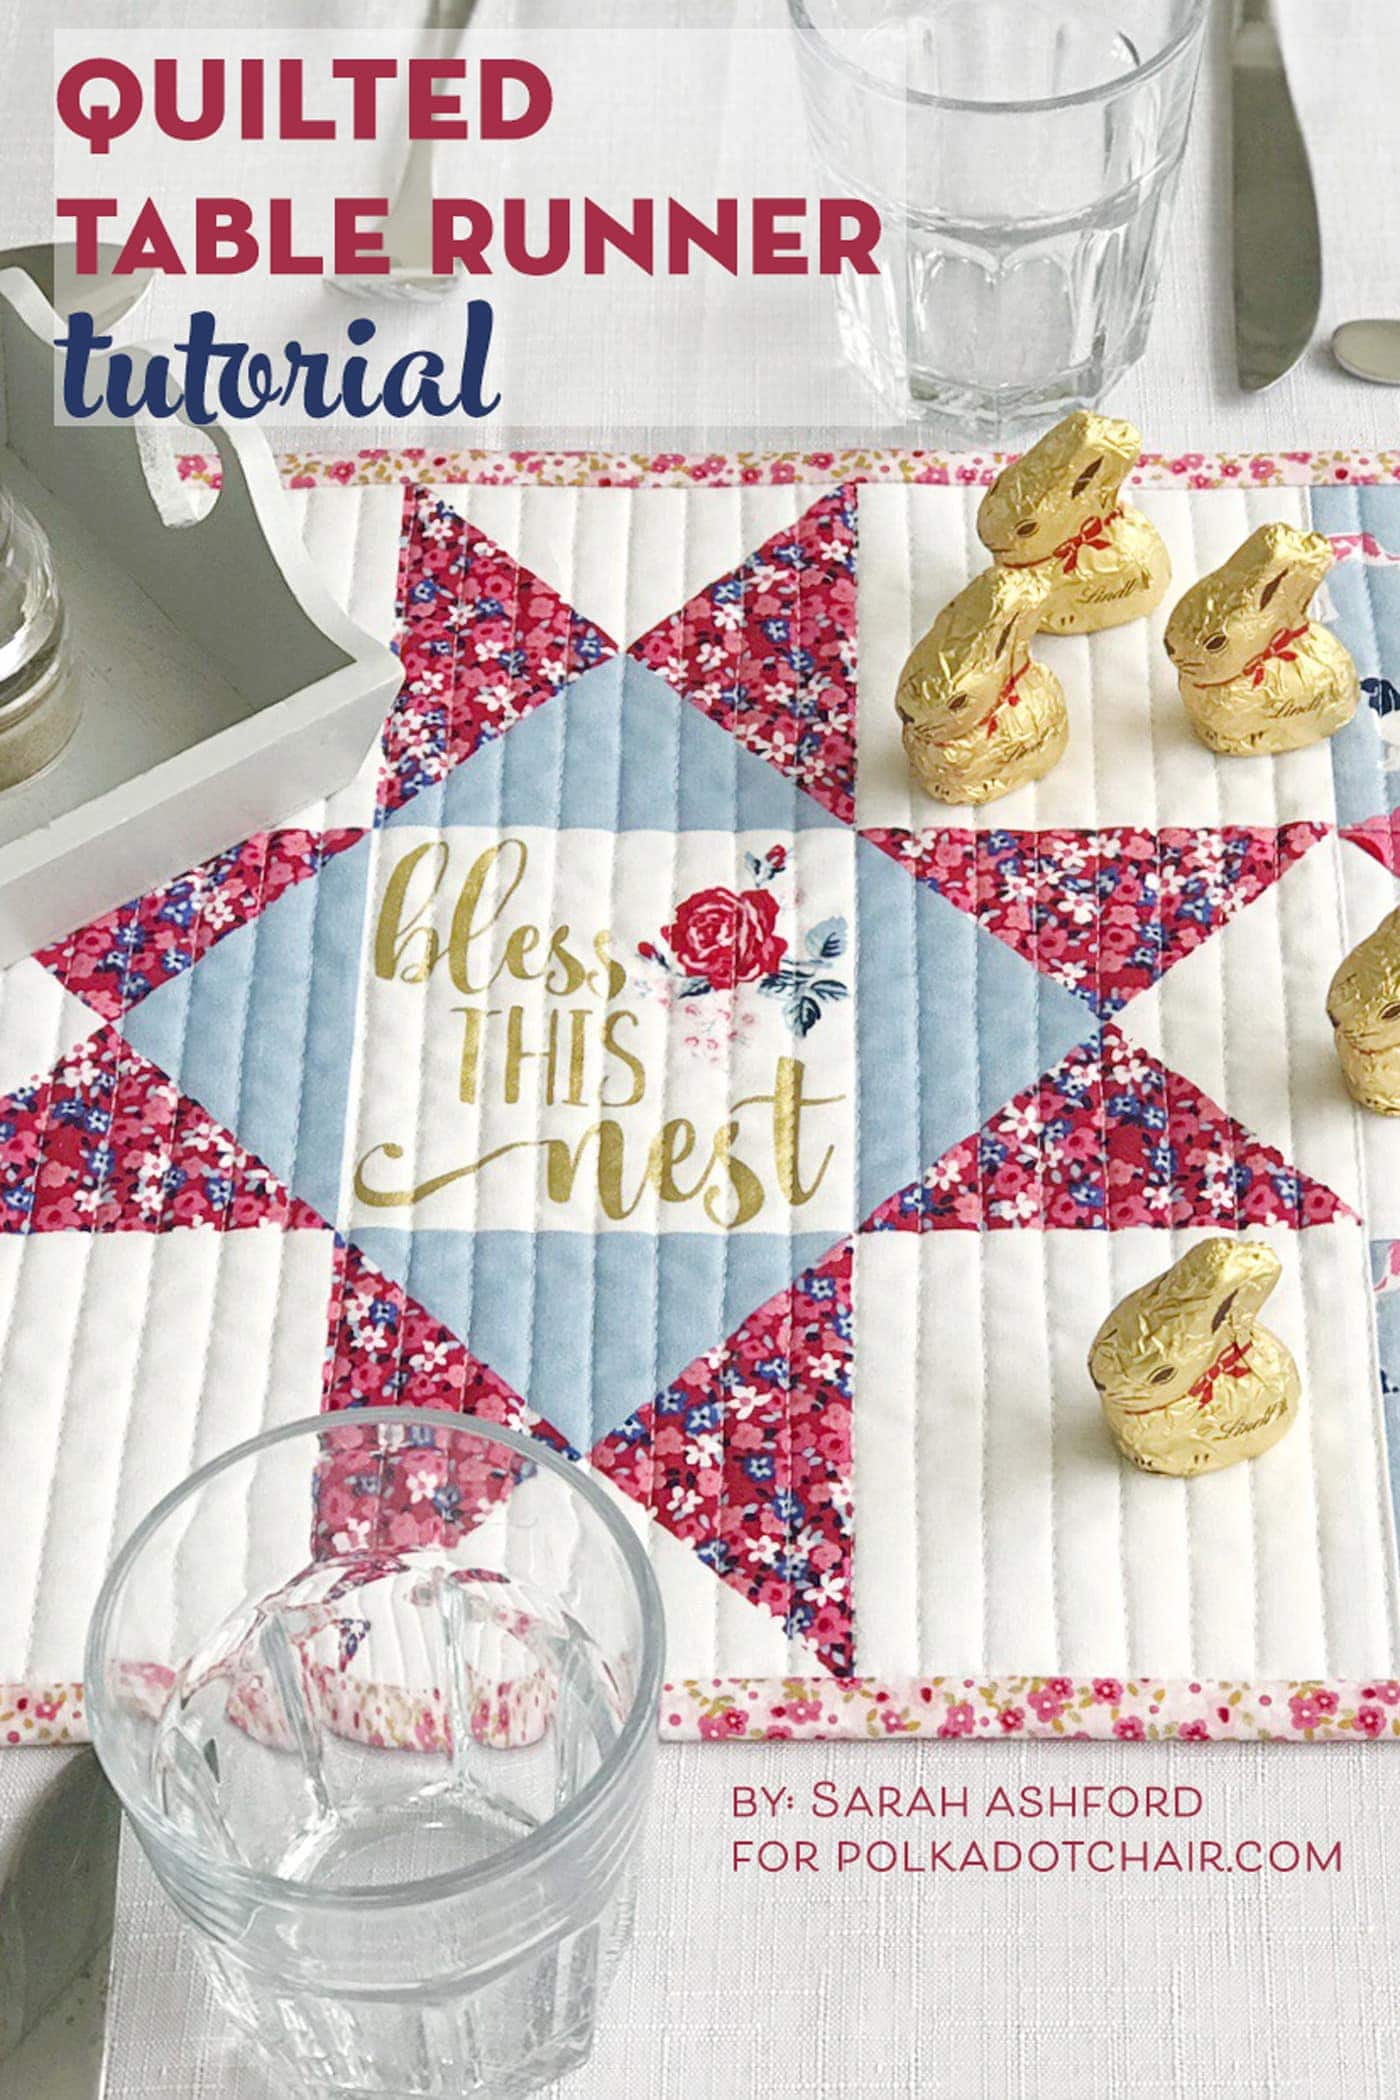
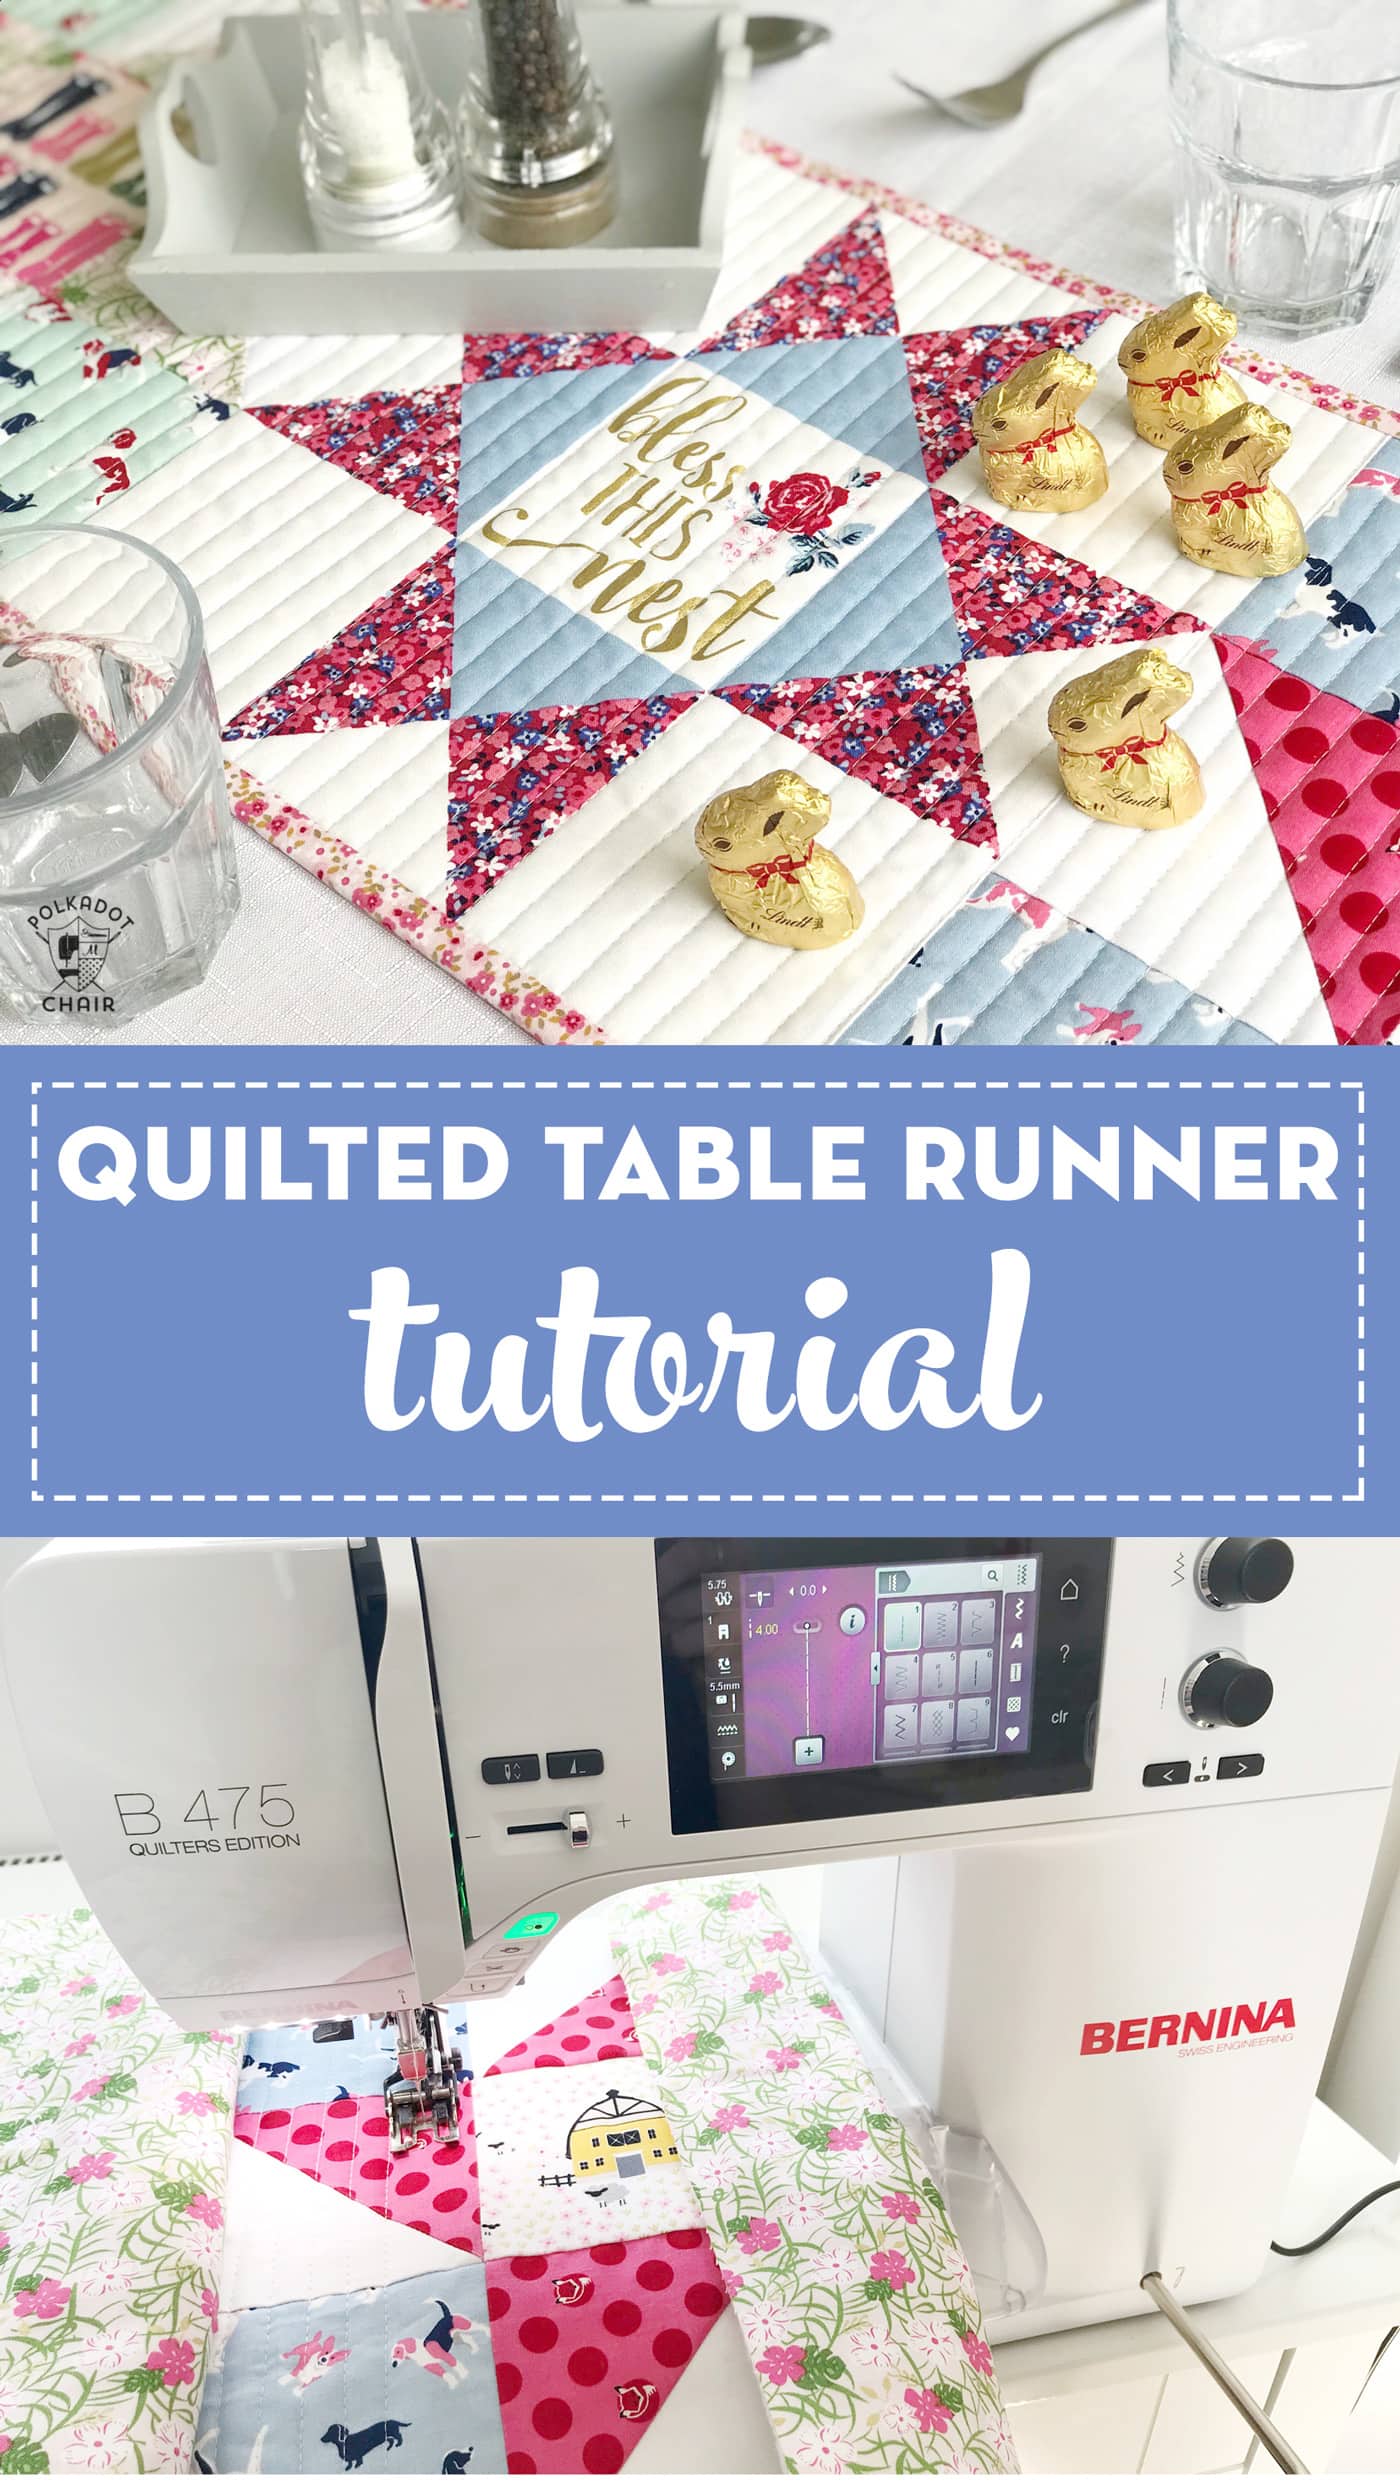
How to Make a Quilted Table Runner
Learn how to make a Bless This Nest table runner with this Quilted Table Runner Tutorial by Sarah Ashford.
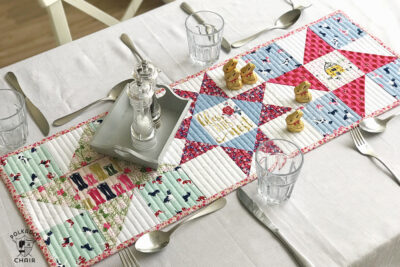
Spring is upon us at long last, and Easter is nearly here, which usually means it’s time to get the family together. And what better way to welcome everyone into your home than by sitting around the table, sharing a meal, and catching up on all the news?
I’ve decided this month to make a runner this month to decorate the table.
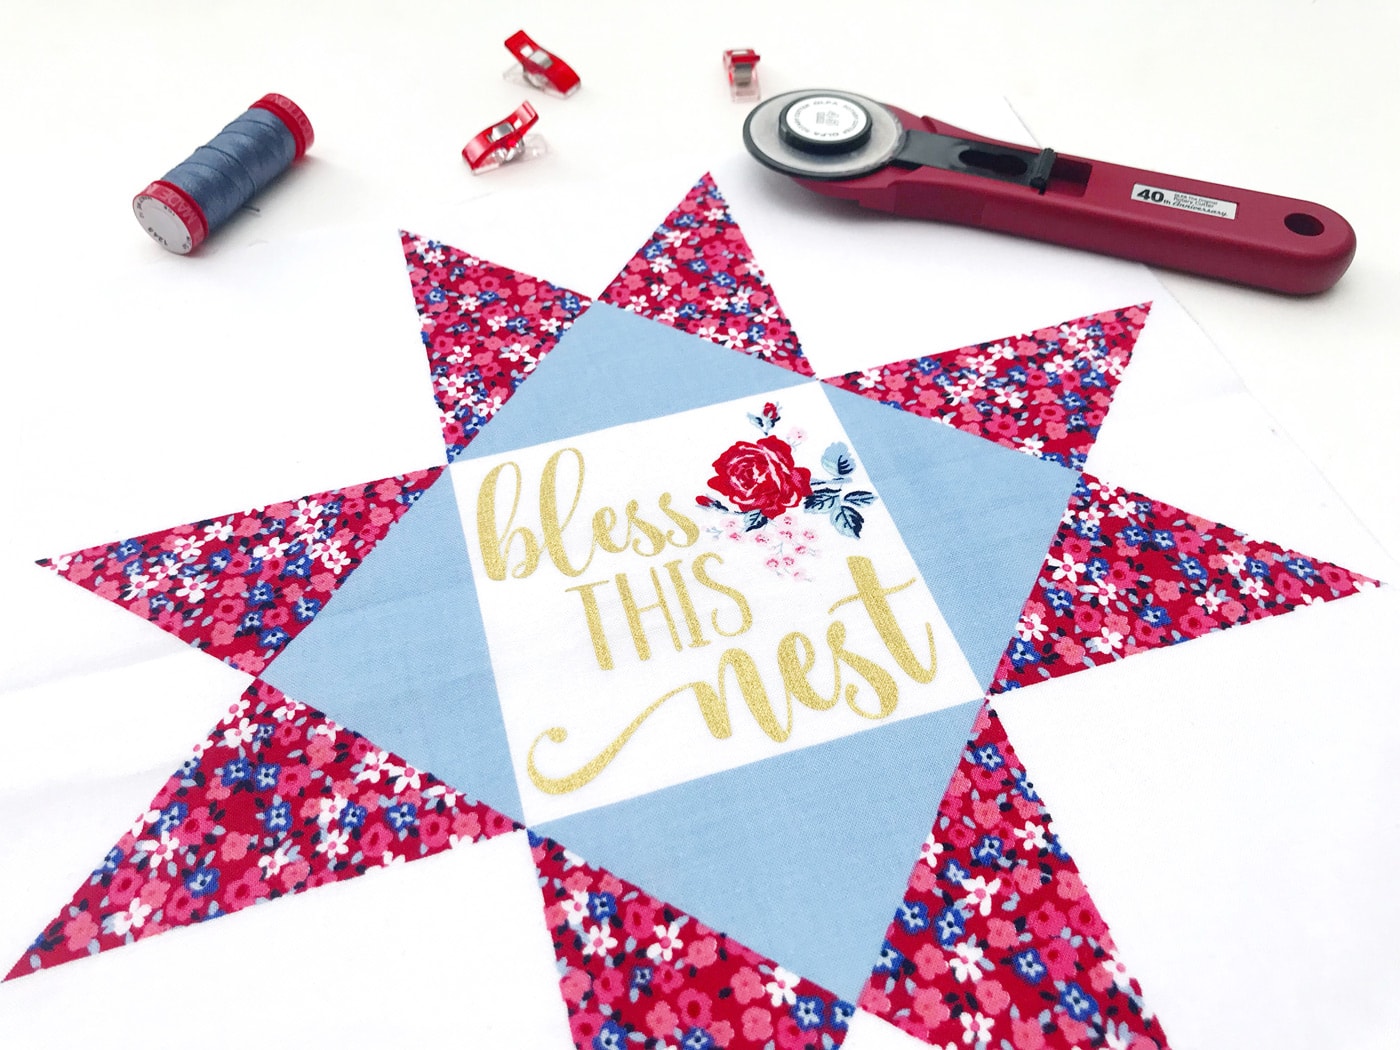
Bless this Nest Quilted Table Runner Tutorial:
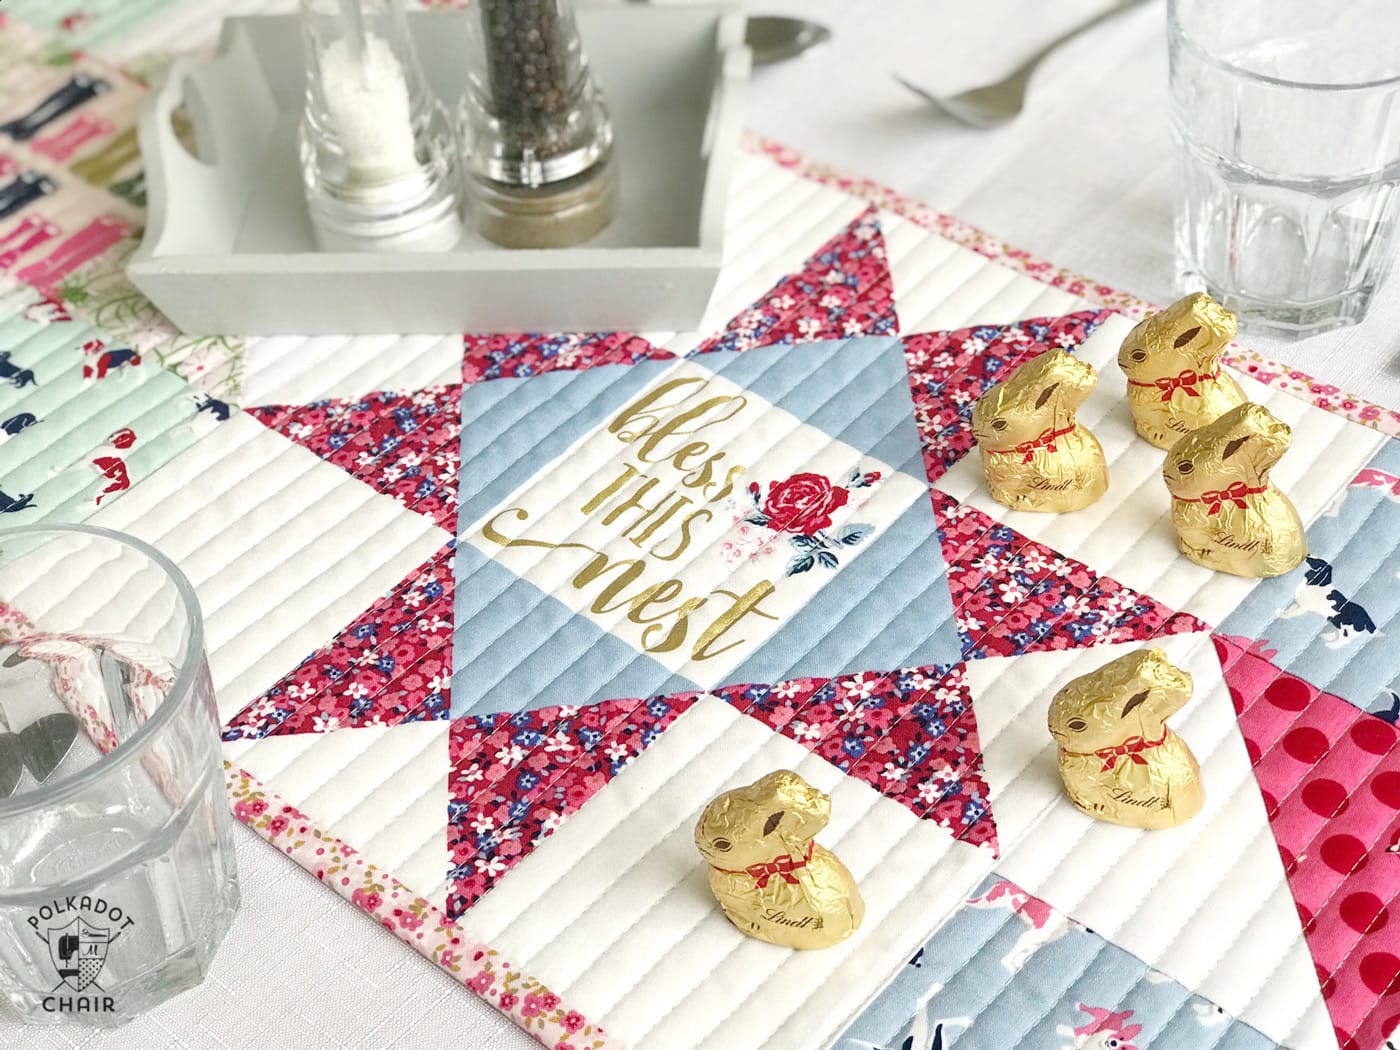
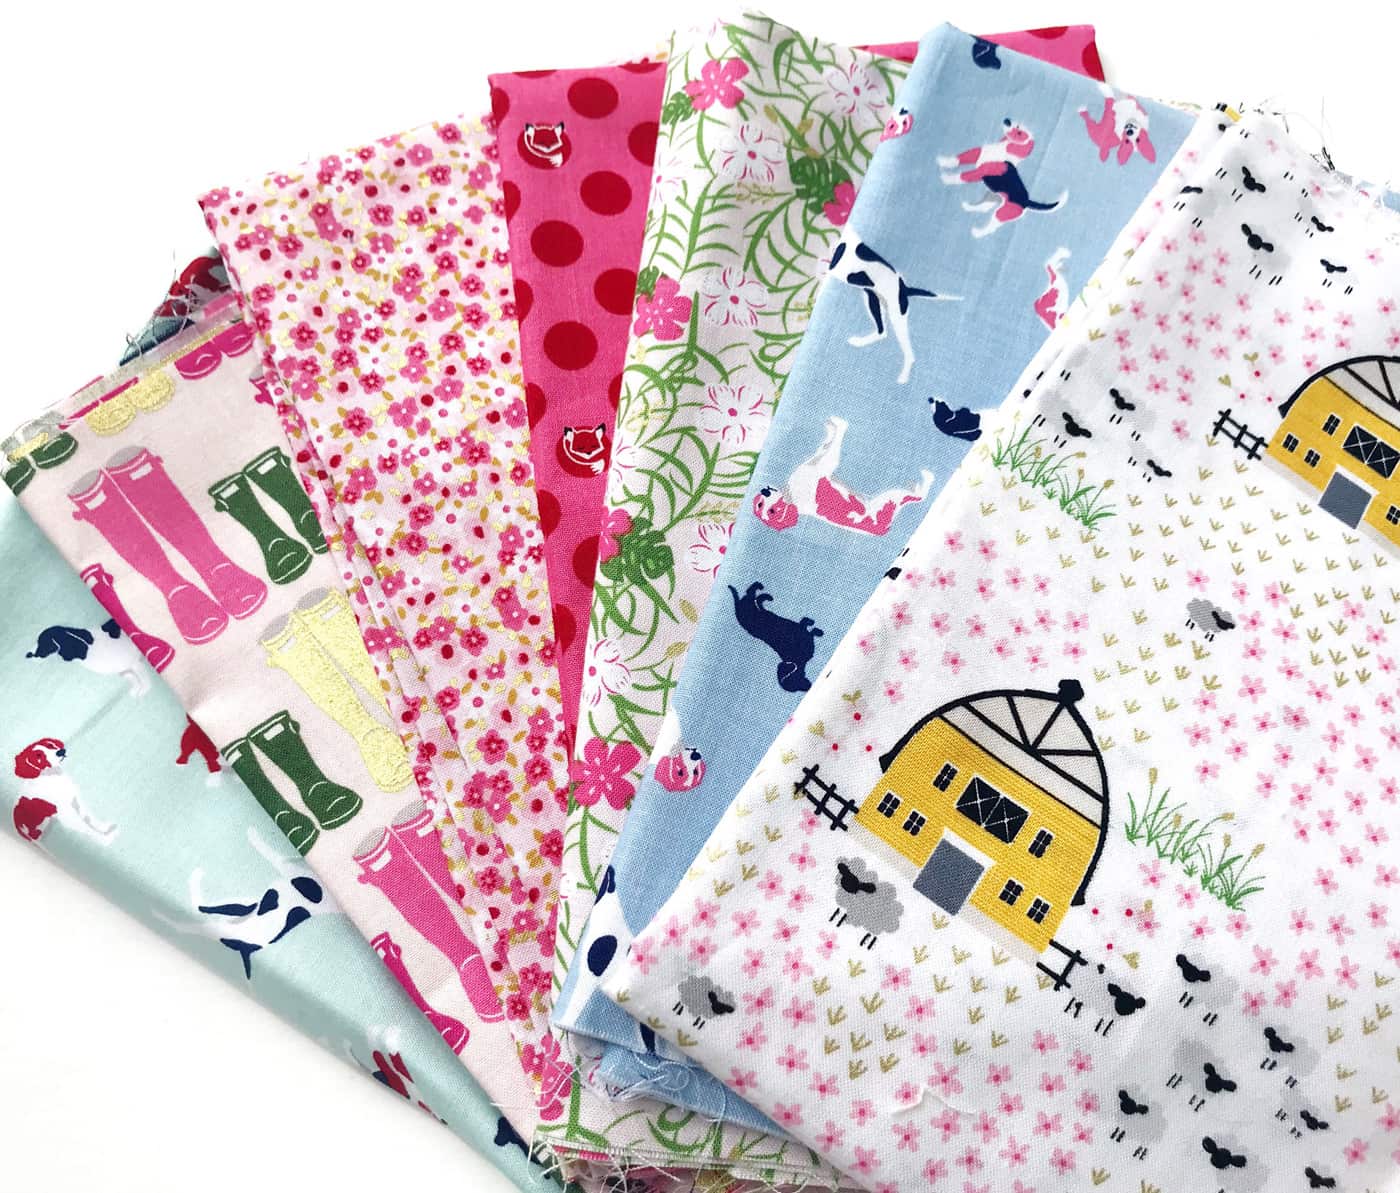
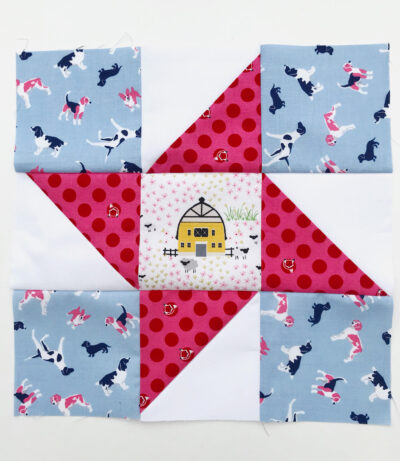
It was an excellent opportunity to use Melissa’s adorable new fabric line, Fox Farm (with a little bit of Let’s Be Mermaids fabric thrown in for good measure), and I was really keen to include the ‘Bless this Nest’ fabric panel as I thought it made the perfect centerpiece.
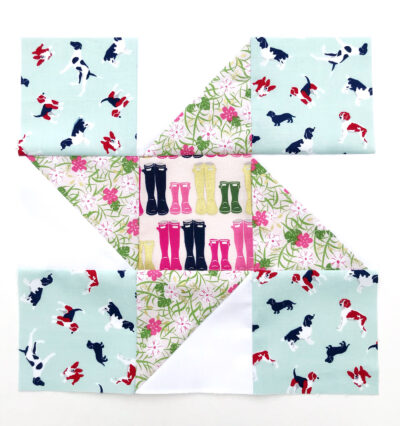
Don’t worry if you don’t have a fabric panel for the center; you can make an extra star block for the center instead.
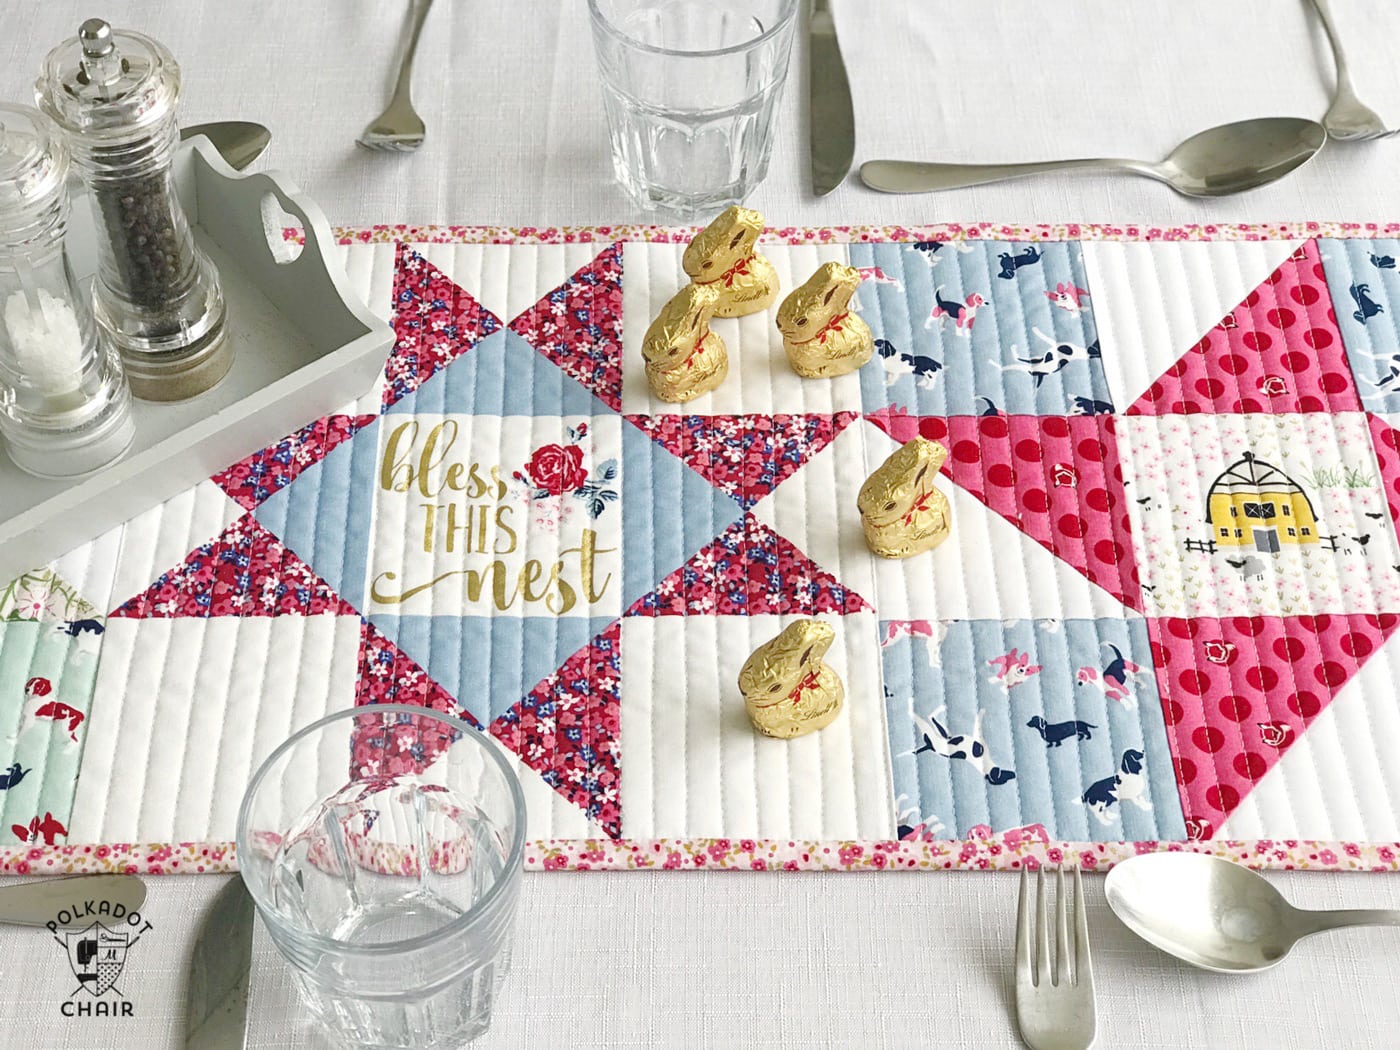
Before you go and purchase Easter eggs and lots of delicious food, why not make this quick and simple table runner to add a homemade touch to the festivities? If you have a large table, consider adding extra blocks to make it longer!

How to Make a Quilted Table Runner
Equipment
- 505 Spray Baste
supplies
- 1 piece Fox Farm fabric panel or make an additional block
- 1 piece 40” x 16” Backing fabric
- 1 piece 40” x 16” Batting
- 1 3/4” x 110” Single fold Binding approximate measurement
- 1 square 4 1/2" Fussy cut centre for each star block.
- 4 squares 4 1/2" Corner squares for each star block.
- 2 squares 5 1/2" Star points for each star block.
- 2 squares 5 1/2" Star backgrounds in white for each star block.
Instructions
- For this star block, I’m going to show you how to get perfect half-square triangles every time. The secret is to oversize them, then evenly trim them all around to get the ideal HST. I shall show you how!
Step One: Make Half Square Triangles
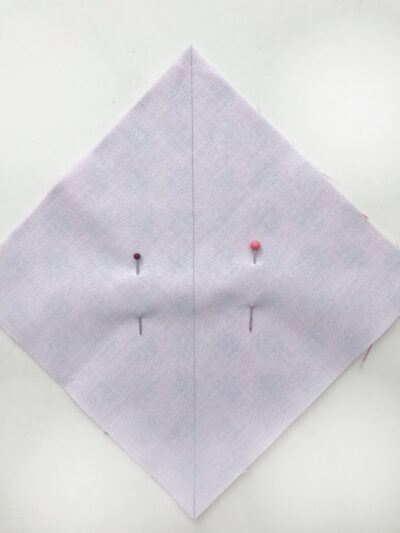
- We’re going to use the sandwich method to make HSTs, which will form the points of the star. Take a 5 1/2” coloured square and a white 5 1/2” square and place them right sides together. Draw a pencil line down the middle from opposite corners and put a pin on either side.

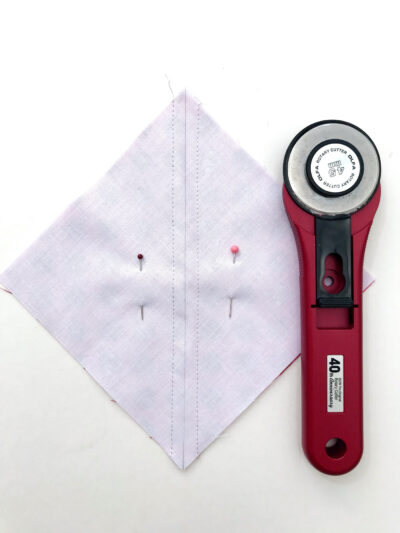
- Stitch a 1/4” seam on either side of the stitched line.
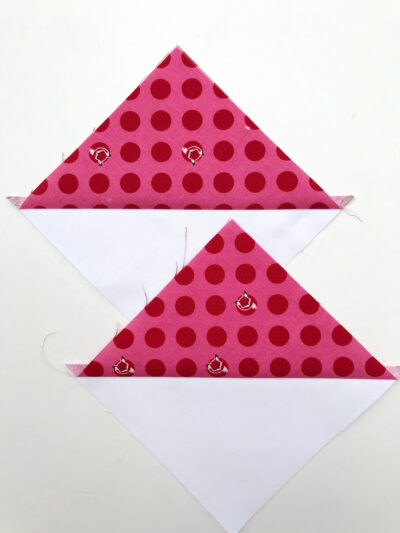
- Using a rotary cutter, cut down the drawn line and open out each piece, revealing 2 HSTs. Press the seams to the dark side. Repeat with the remaining squares to complete all 4 points of the star.
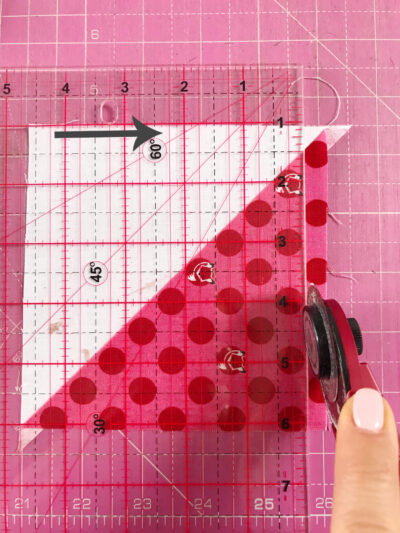
- At the moment, they are too big, so we need to trim them evenly.
- Take one HST and fold it in half, and make a crease at the top edge. This is your centre point. Put your ruler at the 2 1/4” inch position on this crease and trim the right side.
- Now rotate the triangle 180 degrees, and this time align the left-hand side of the ruler with the
- 4 1/2” position and trim. Do the same for the other two sides, to form your perfect 4 1/2” HST.
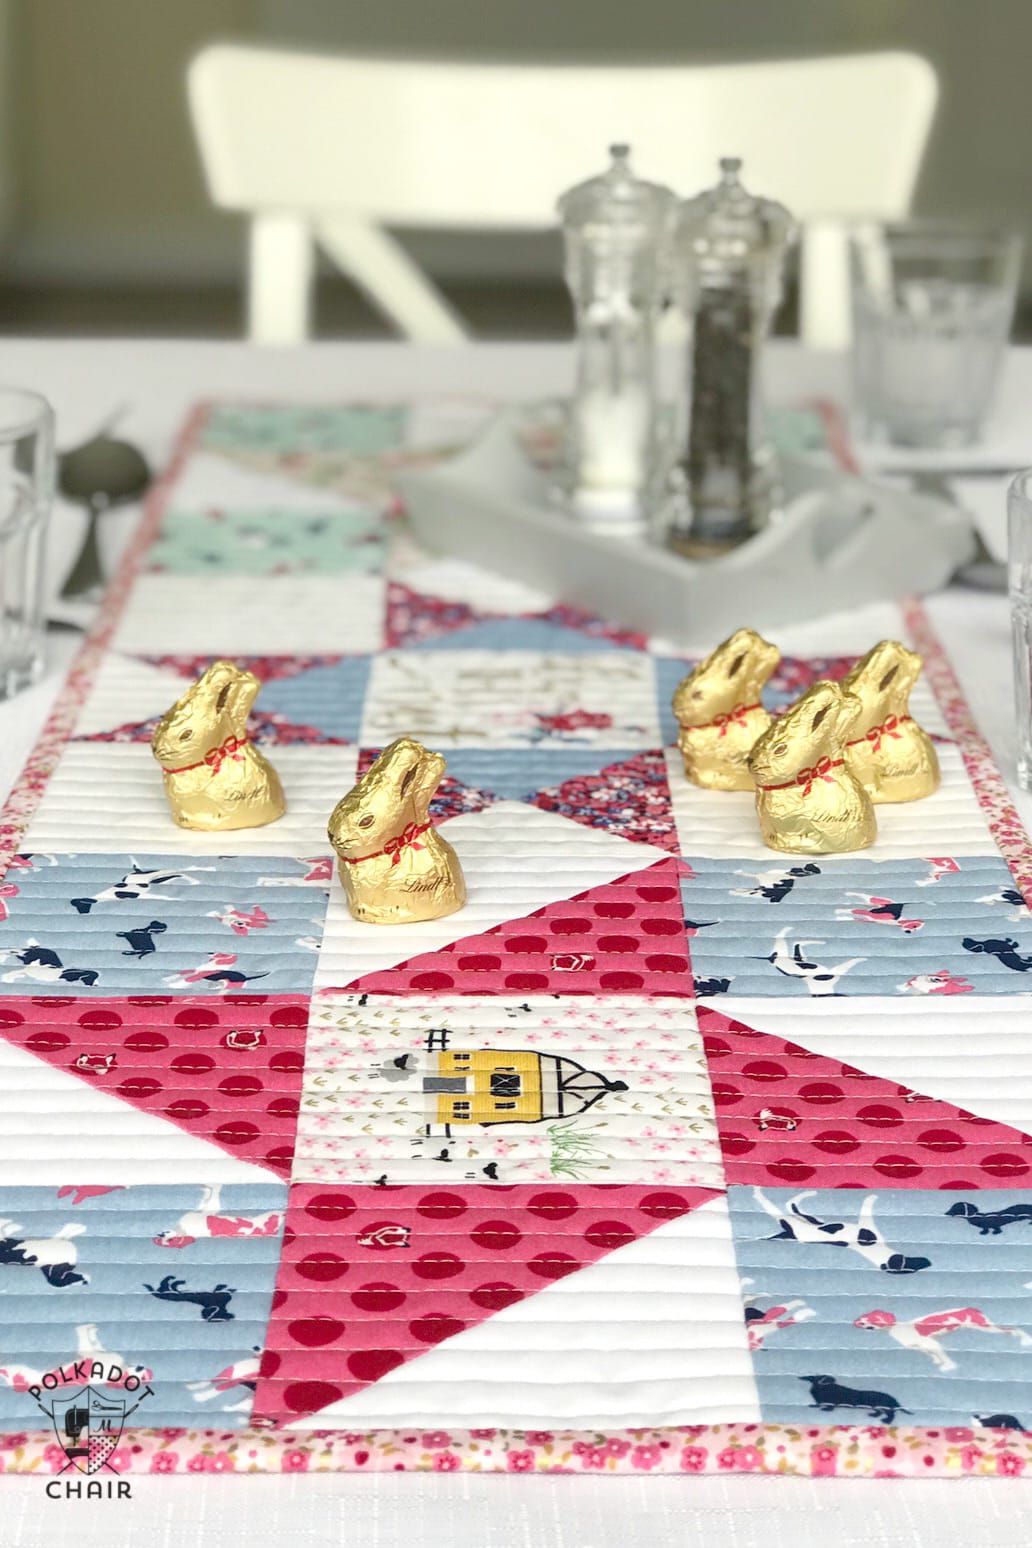
- Orient the star points as shown in the photo, along with the centre and background pieces. Join all the blocks in the rows together, and then join the rows together.

TOP TIP:
- When you join the rows together, don’t iron them until all the rows are stitched. Iron the top row with the seams to the left, the next row with seams to the right, the next row with seams to the left, etc. By doing this, you can nicely nest the seams when the block is sewn together, and it helps everything lay nicely and flat.
- Once you’ve completed the first block, do the same with the second block.

- Take your centre panel (or pieced centre) and stitch the two blocks on either side of it to complete the top of your table runner.

Finishing the Quilted Table Runner:
- Baste using your preferred method. I use spray baste all the way these days because it’s so much quicker, and it makes it effortless getting it through the machine; no more having to hurt my fingers putting in all those pins and taking them out again. But of course, it is entirely personal preference.
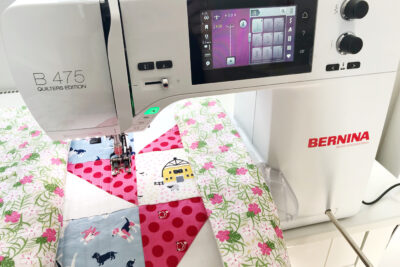
- Quilt as you wish; I’ve gone for vertical straight line quilting to add to the modern aesthetic.

- Trim up the quilted table runner and add your binding. I prefer single-fold binding because it uses less fabric and is less bulky, especially on a small item like this. But again, bind it in a way that suits you!
- All that remains is for you to invite your family over, decorate the table, and have a wonderful celebration!
About the Maker:

Sarah Ashford is a British Quilter and embroiderer and the founder of the GreatBritishQuilter challenge on Instagram. Sarah regularly contributes projects to magazines and loves to spread the joy of quilting everywhere she goes. Follow her on Instagram at @sarahashfordstudio and be sure to check out her beautiful sewing room decals in her Etsy shop www.etsy.com/shop/sarahashfordstudio
More Simple Quilted Tutorials:
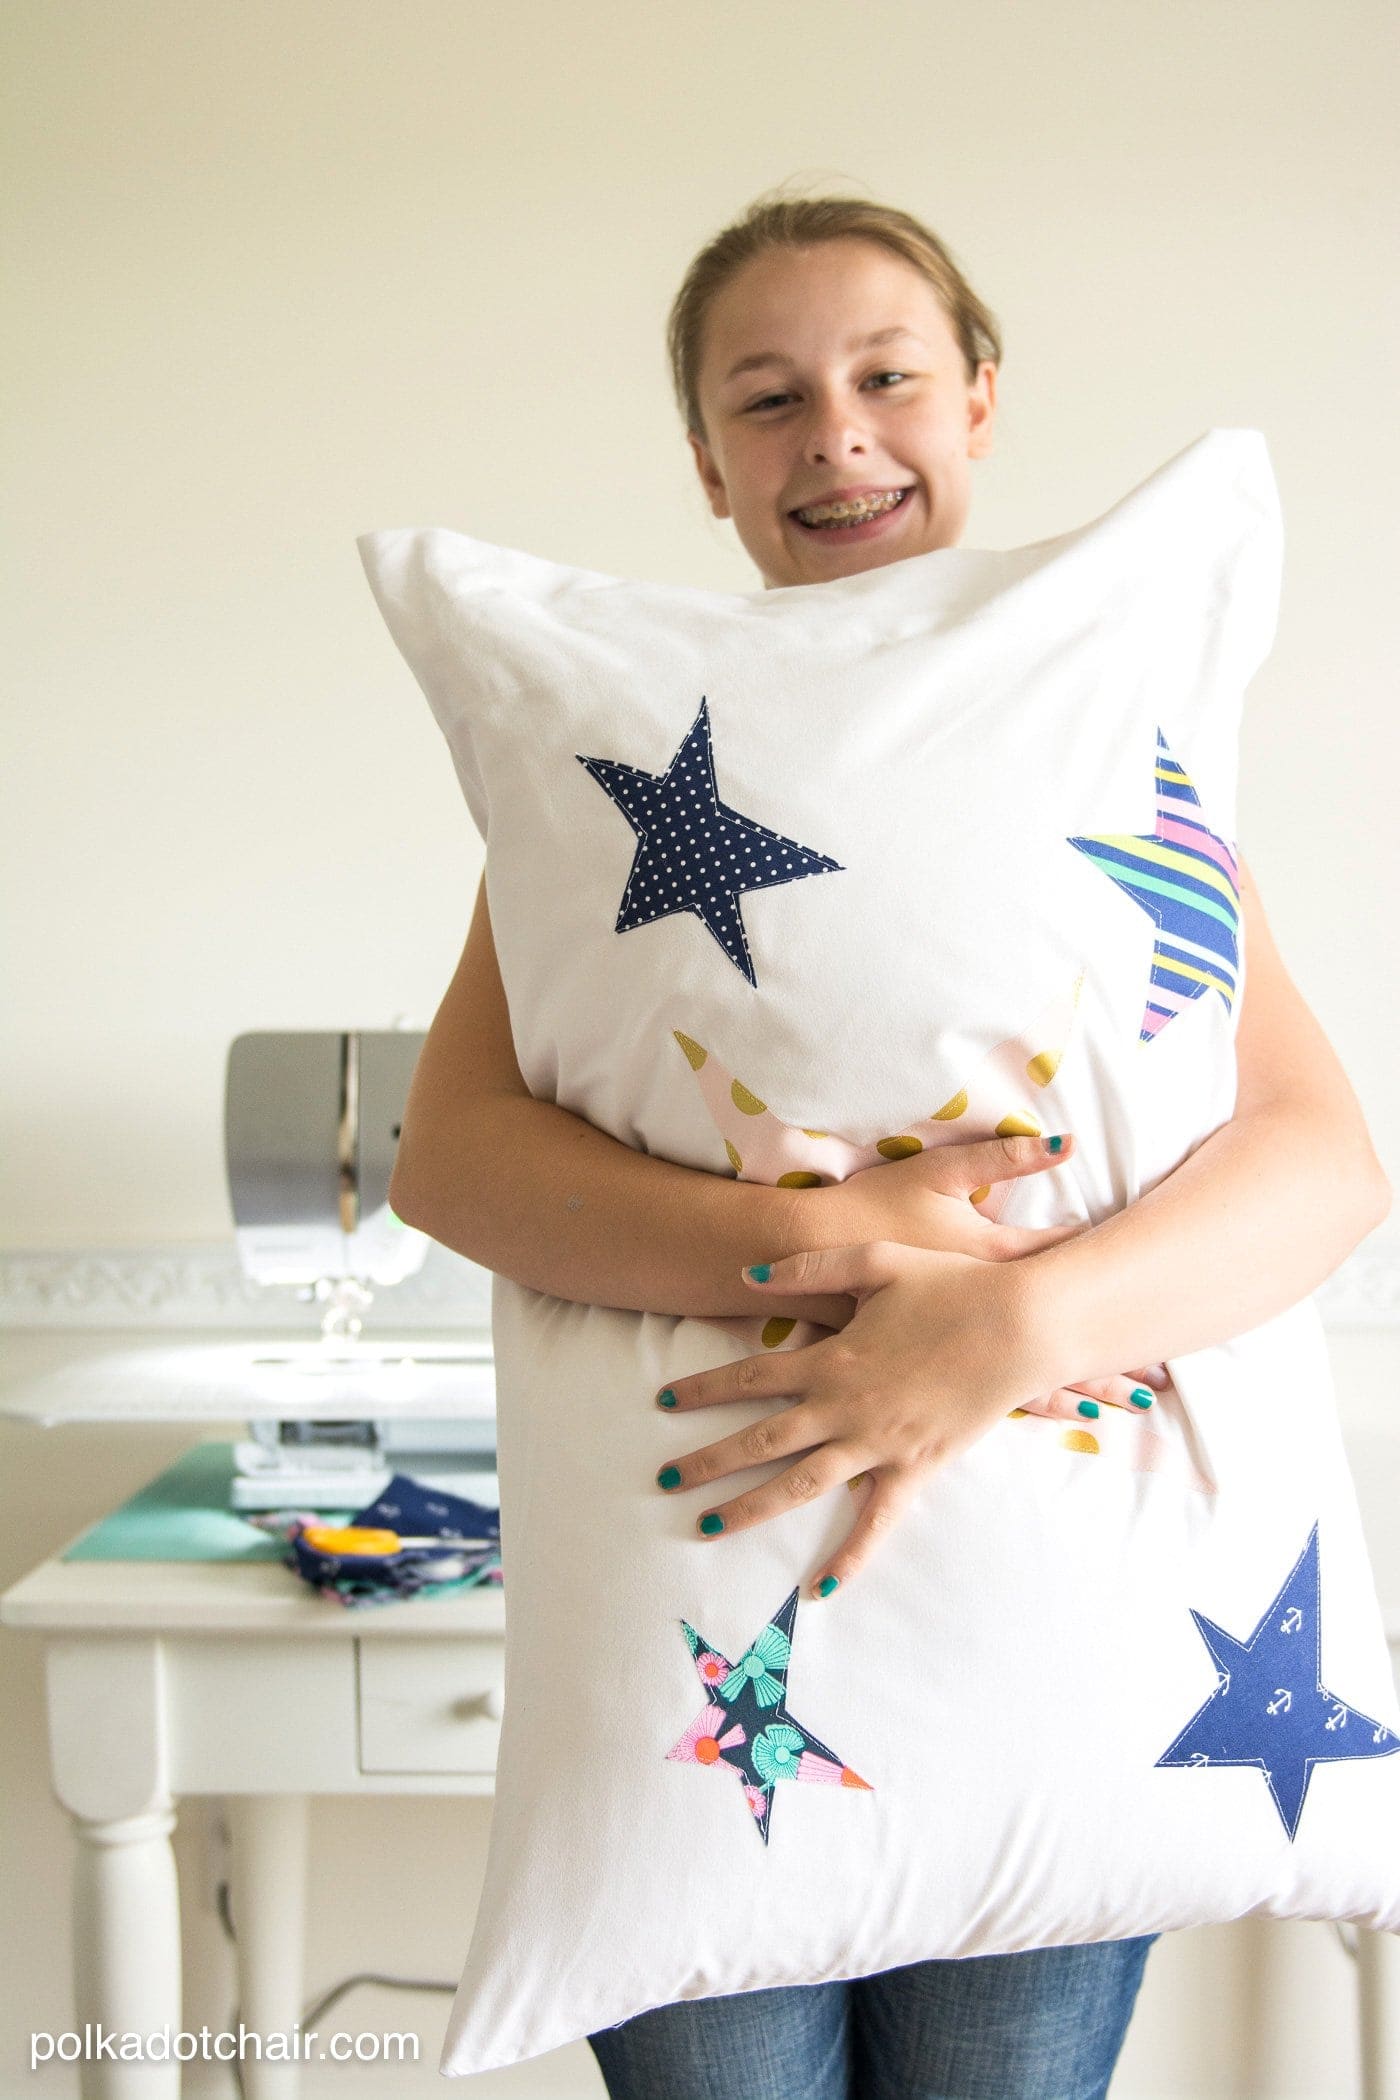
Quilt as you Go Patchwork Pillow Tutorial
45+ Beginner Quilting Projects & Tutorials
Scrappy Halloween Table Runner
Can I buy the square that says bless this nest? Love the pattern.
I love this, but I have to admit I was a little disappointed (for myself) I thought the “bless this nest” was iron on (HTV) and you had used it to create the center of the block. Then I was excited because you had quilted through it, because I’m always on the fence as to quilt through the HTV or around it.. Thank you for the wonderful tutorial.
Melissa, this table runner is cute and adorable. I love the colors.
I like “Bless this Nest” That is so sweet.
During my shopping duties last week, there were so many times I was tempted to
buy goodies. I did not buy any goodies. I was persistent in avoiding the urge.
My grand babies are too tiny for treats, and the rest of the family is really trying to
stop with the goodies so often. Every month there is something to celebrate but THIS Holy Week is my favorite celebration
Thank you for sharing your friend Sarah Ashford. She is very inspiring
Lovely table runner…thanks for the tutorial! I need to purchase the panel….I love the center block!
Happy Spring!