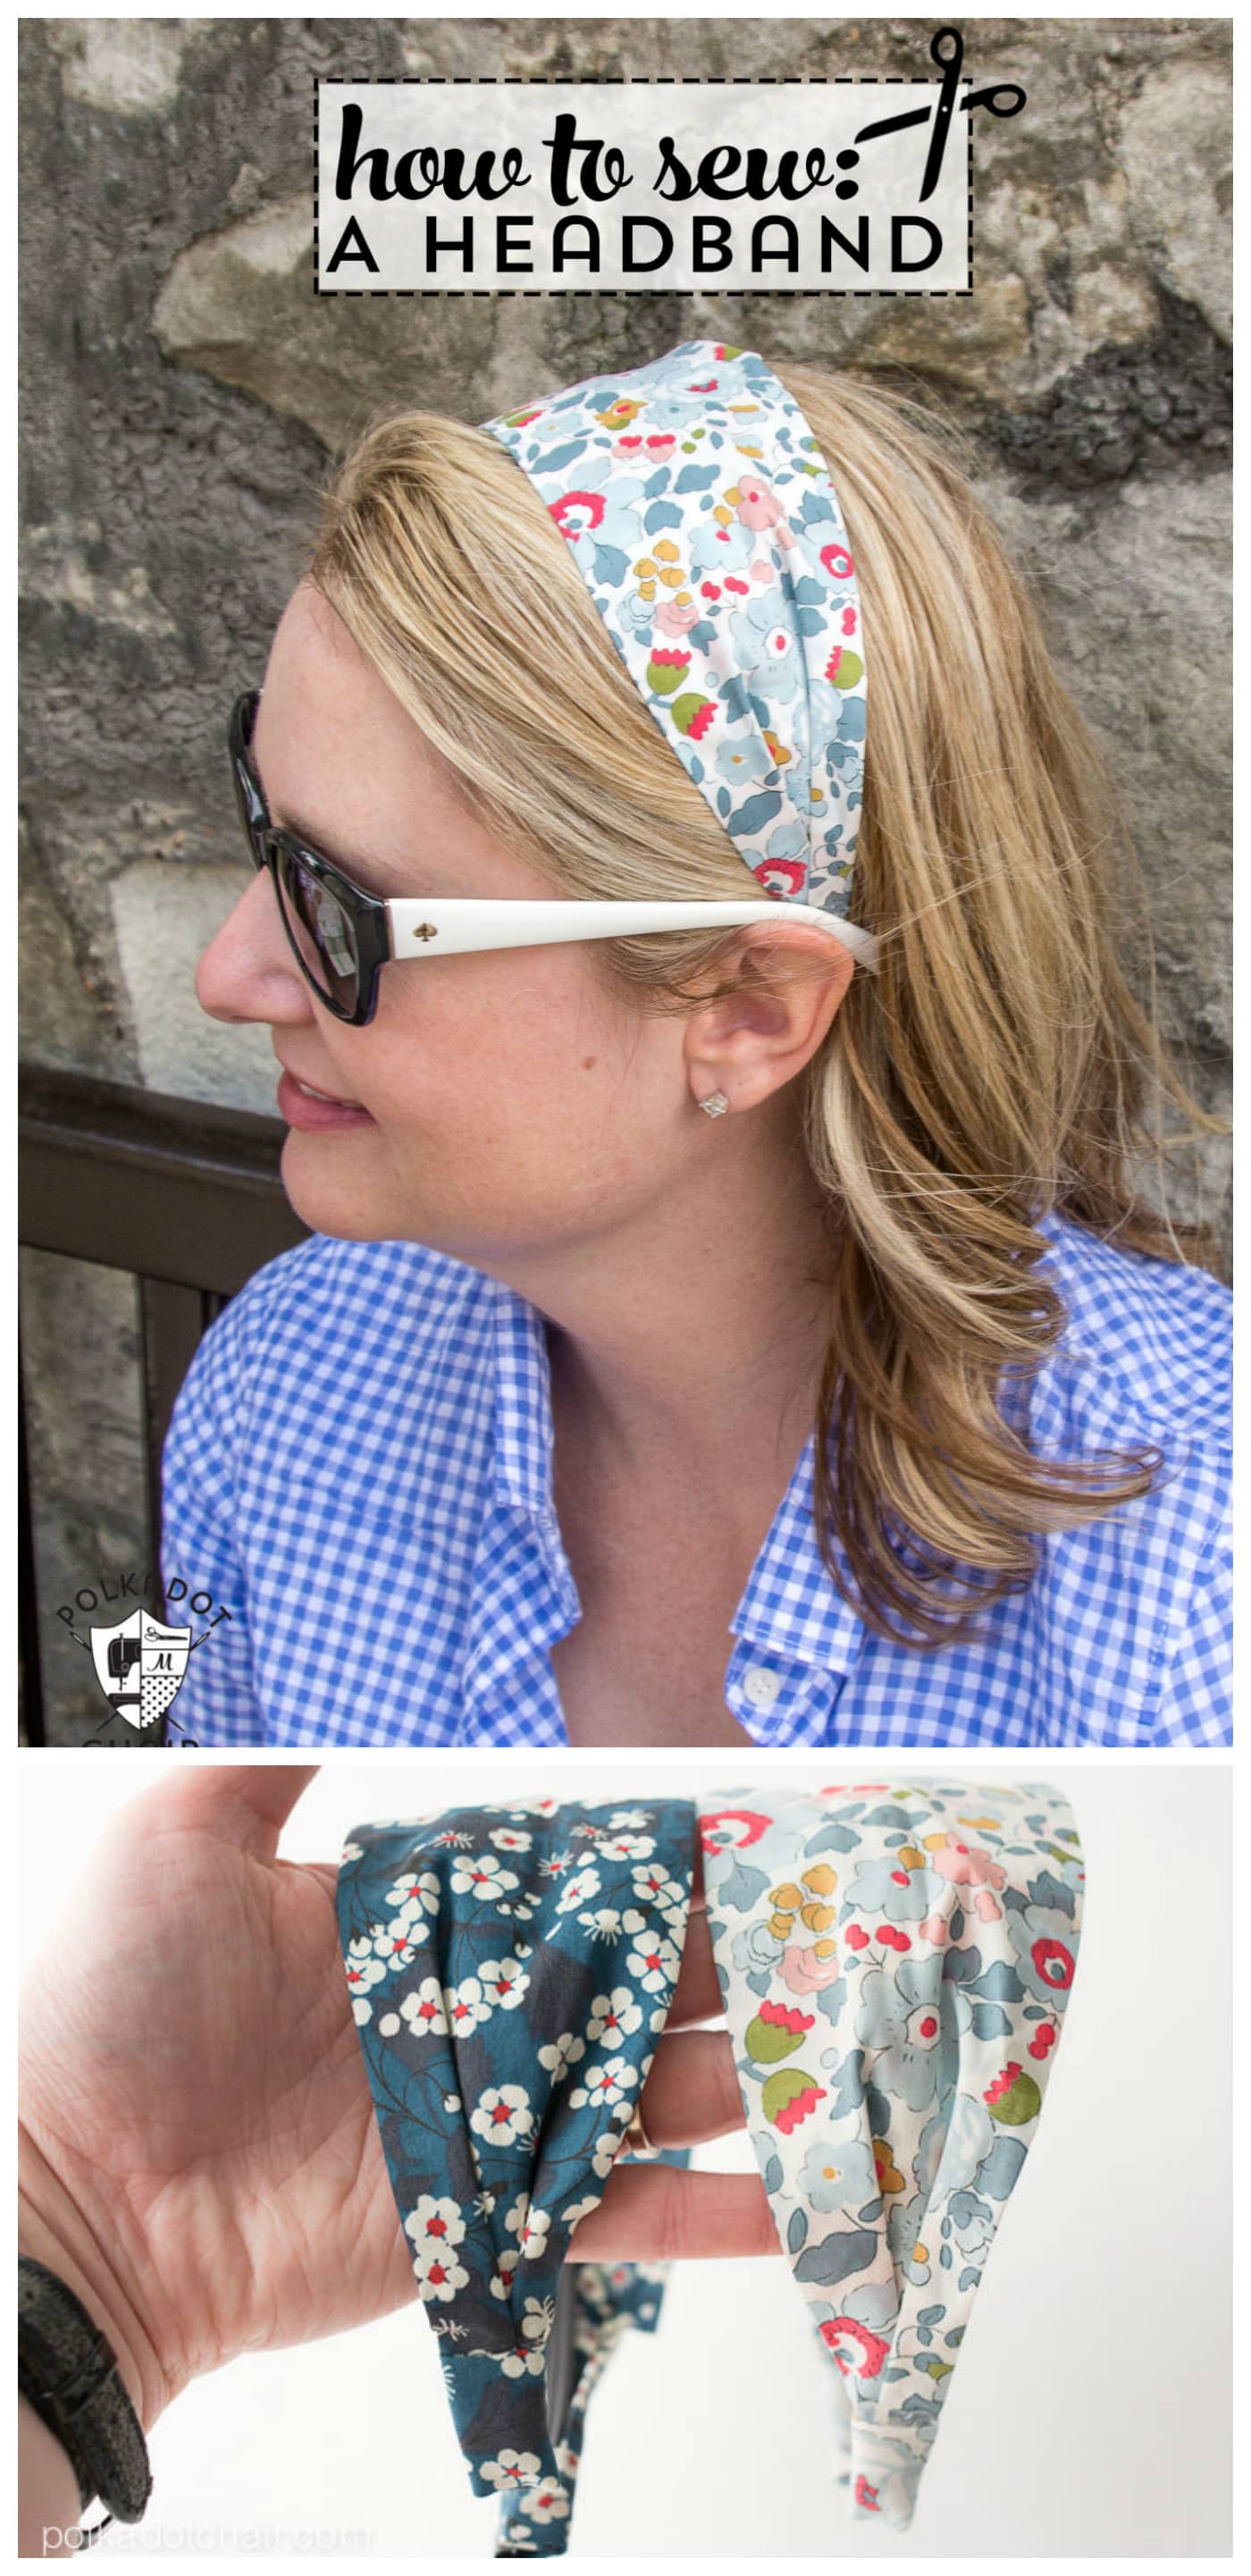
How to Make Fabric Headbands
Learn how to sew simple fabric headbands with our free sewing tutorial. These easy to sew headbands feature a fabric top and a plastic headband base for additional structure.
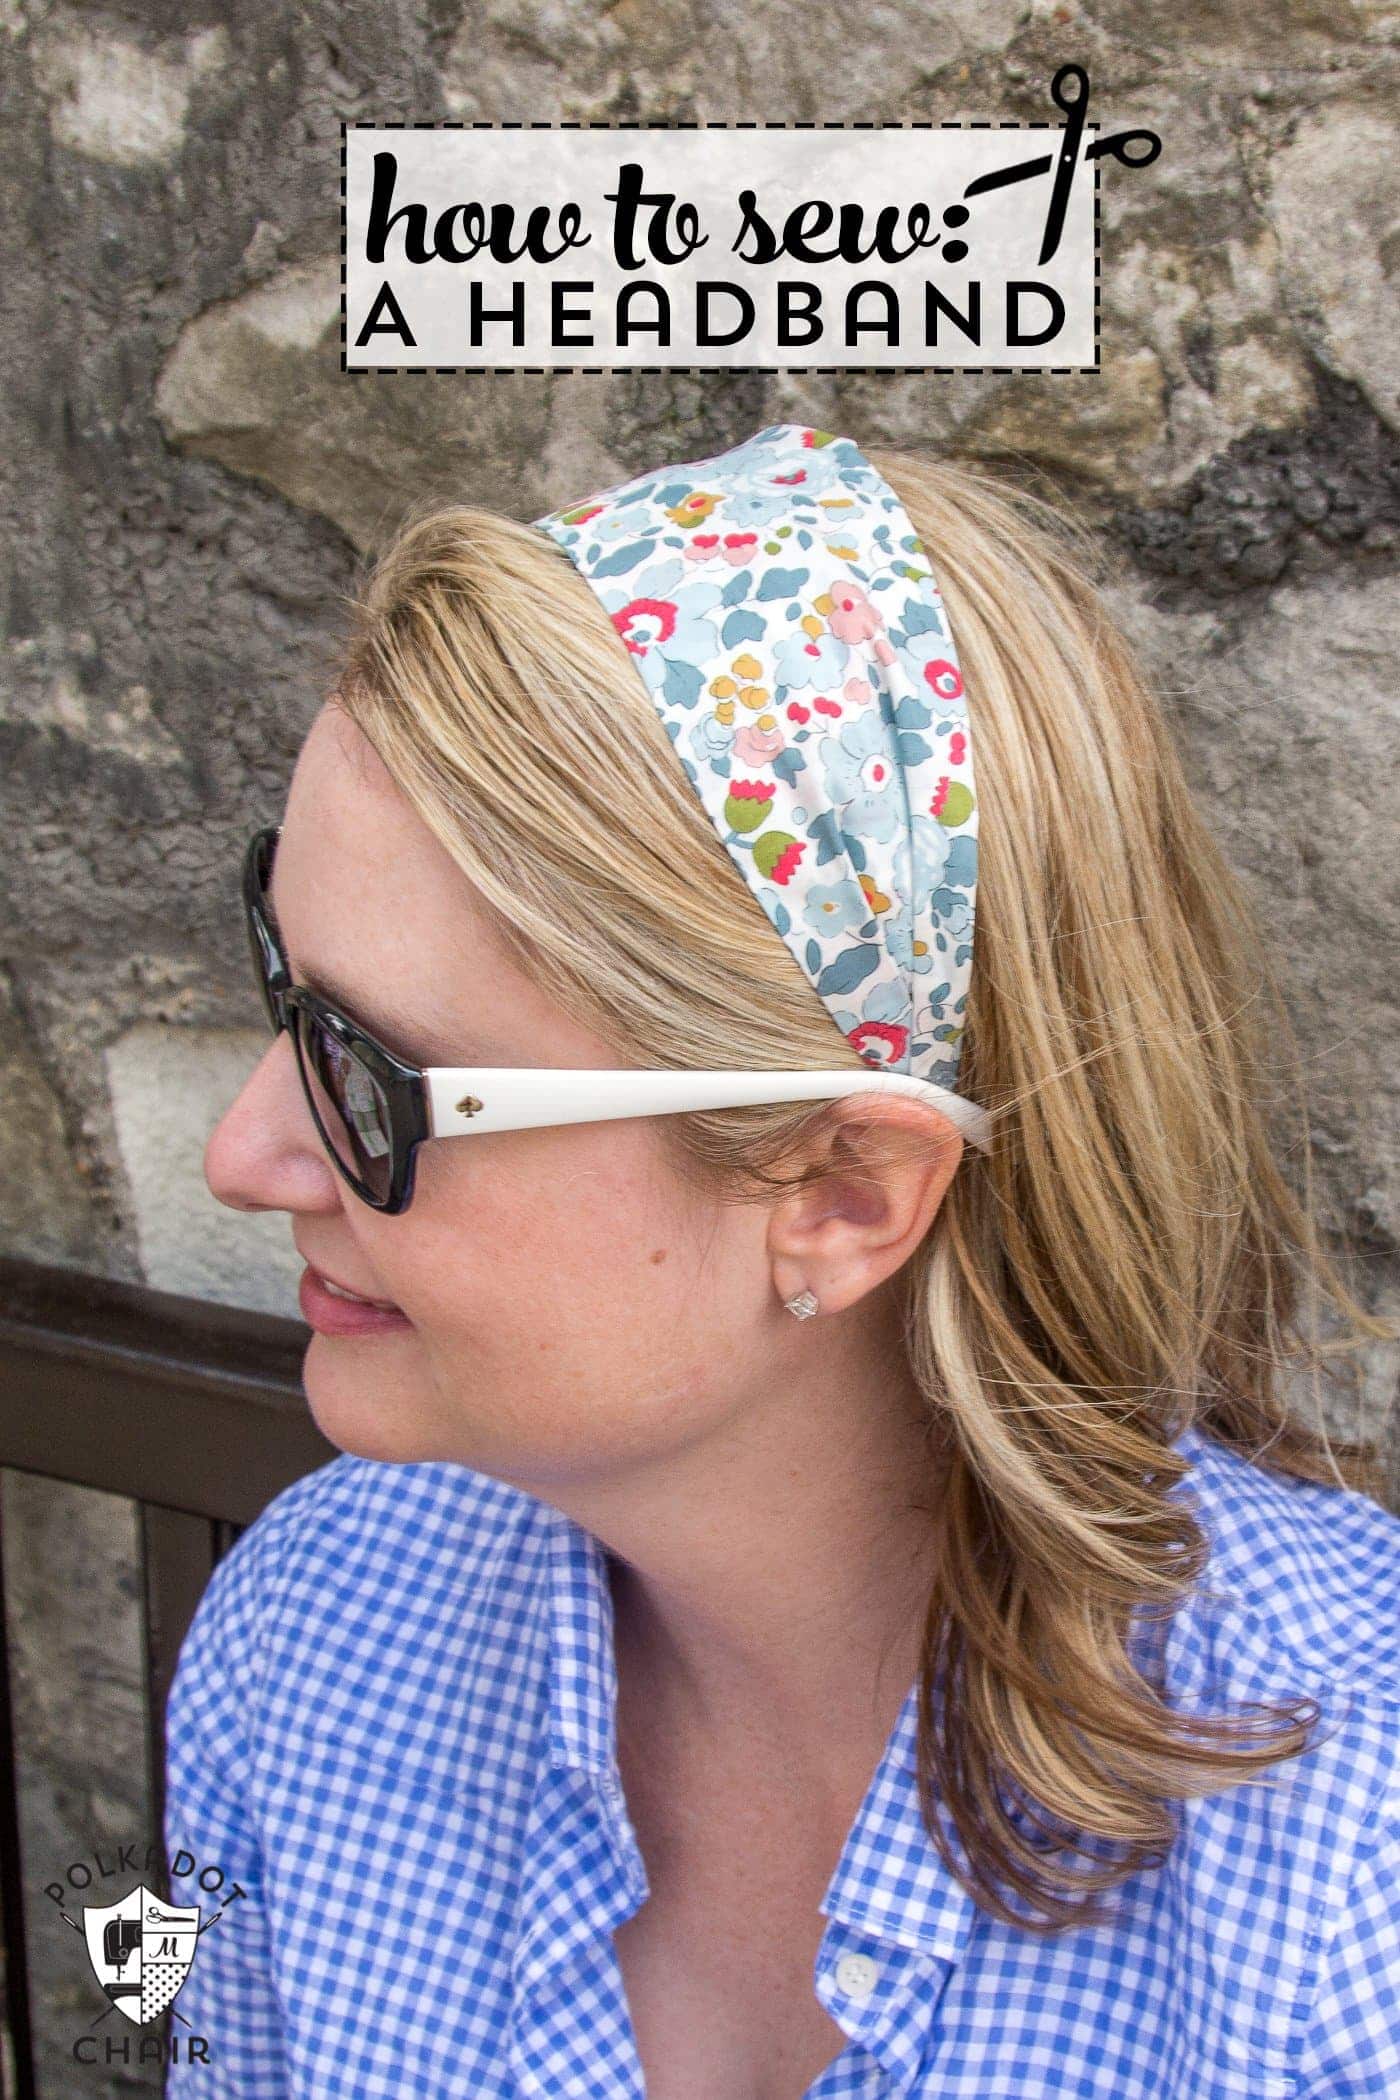
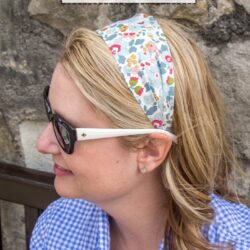
Don’t you hate deciding how to fix your hair when you’re on vacation or during warm summer weather? I designed these DIY Fabric headbands using Liberty London Fabric to help me tame my hair while traveling. This headband tutorial shows you how to make a fabric headband that does not require elastic.
If you like this sewing tutorial, you may also like this Liberty T-Shirt Sewing Project and these cute printables you can attach to hair ties to make a sweet gift.
A few years ago, my oldest daughter had the opportunity to study abroad in London. Once I found out she was going, I decided that I was absolutely going to pick her up. Coincidentally, the last time I was in London was in 1998, when Princess Diana passed away.
I had wanted to go back ever since I left. I loved England on that first trip, almost twenty years ago, and loved it even more when I visited that summer. Today, I thought I’d share a simple sewing project I made to take with me on the trip.
How to Make Fabric Headbands
Whenever I travel, I get stuck between wanting to look nice and dressing practically enough to walk around a city all day. I default to my standard ponytail hairstyle when I travel, and I try not to do that as much. I love headbands, but they don’t stay on my head for some reason (I must have an oddly shaped head).
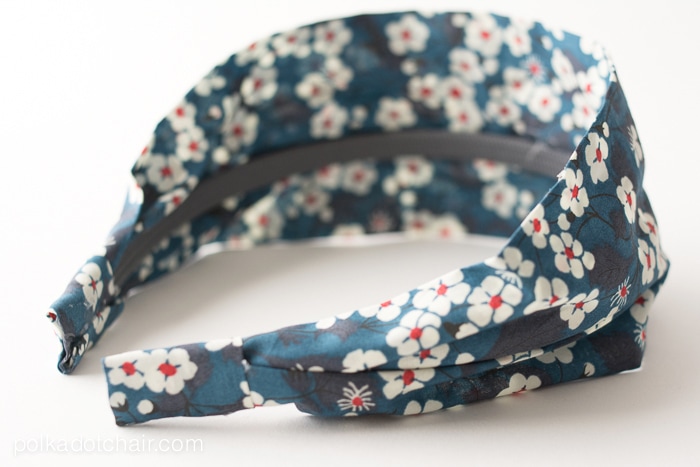
A few years ago, I bought a fabric headband that was glued to a skinny headband. It stayed on my head all day and didn’t give me a headache.

The morning I left for the trip (yes, genius timing, I know), I sat down and made two headbands. So, when I say this is a simple sewing project, I’m not kidding. It’s fast.
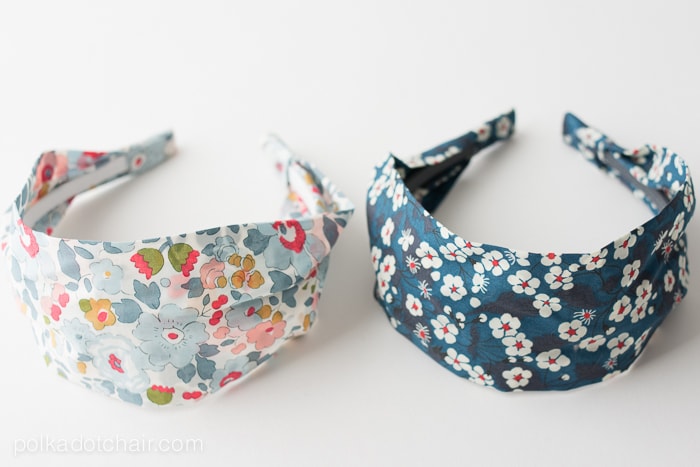
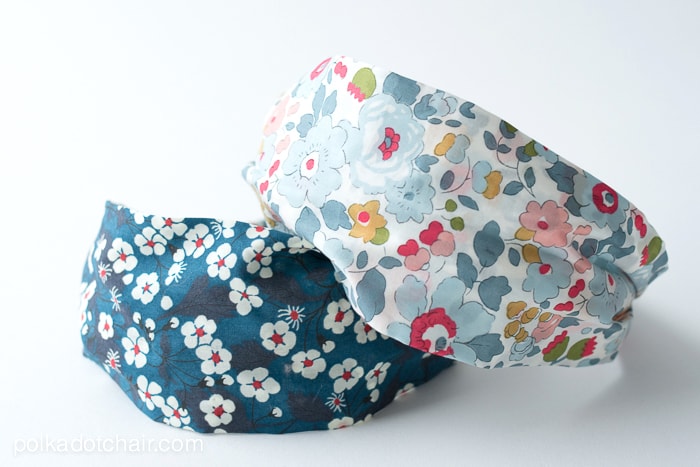
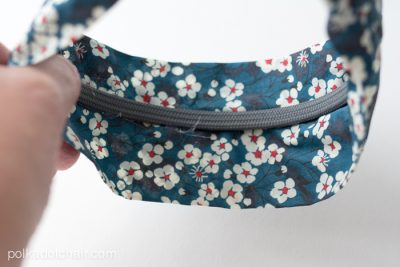
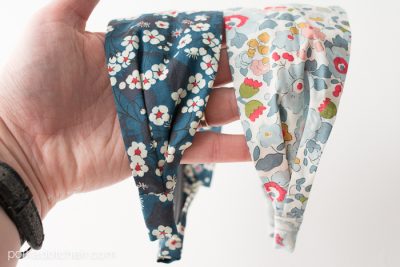
I chose two of my favorite Liberty of London prints (the one on the right is leftover from my Liberty t-shirt project) that I thought would match some of the clothing I had packed for the trip.
Fabric Headband Sewing Tutorial
Equipment
- Hot Glue & Hot Glue Gun
supplies
- 1 piece Lightweight cotton fabric; 14" x 16' I used Liberty Lawn but you could also use a Voile or simple cotton fabric.
- 1 Skinny headband
Instructions
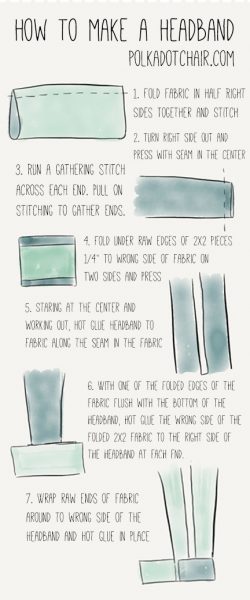
- I’ve added a fun illustration for you! So reference it as necessary.

Step One:
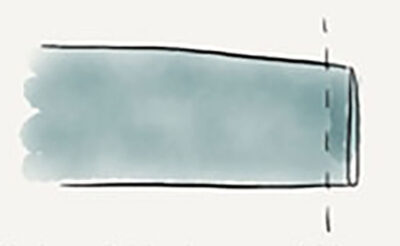
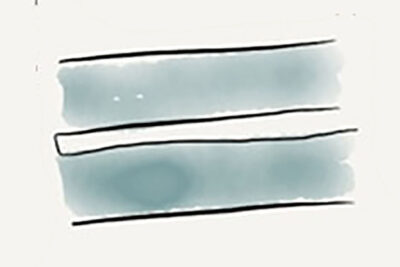
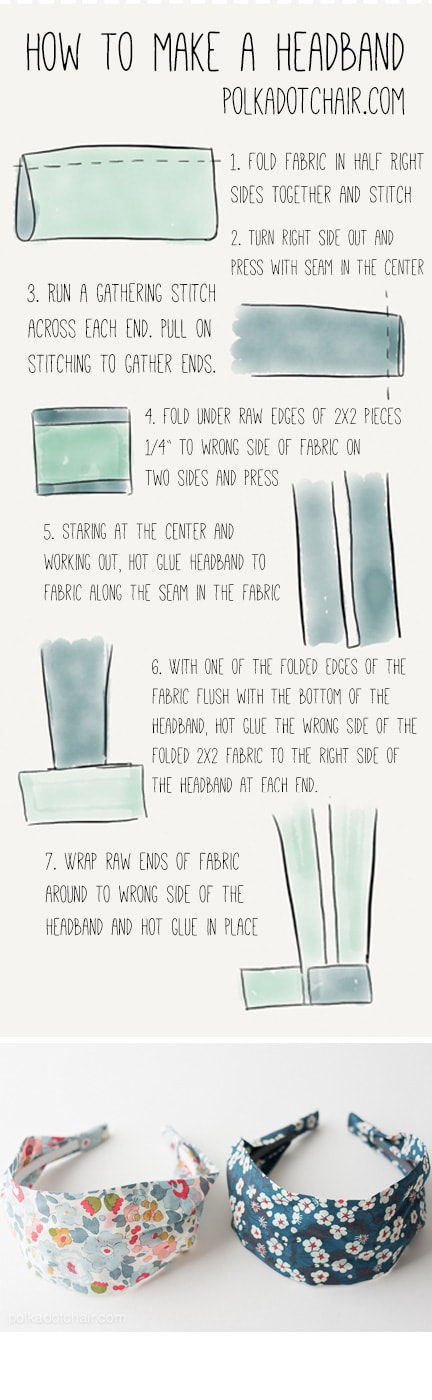
- Fold the fabric in half lengthwise, right sides facing, and sew along the long edge with a 1/4″ seam allowance.


Step Two:
- Turn the right side out and press with the seam in the center.

Step Three:
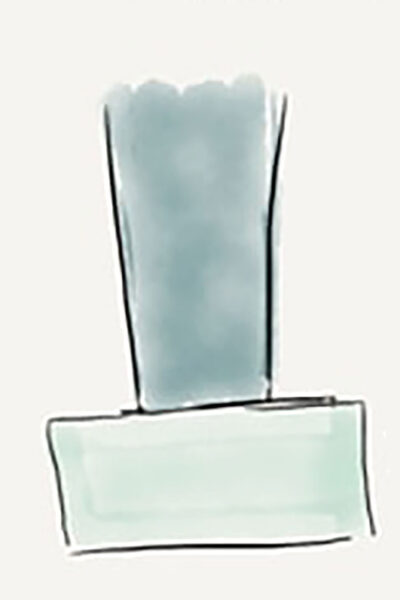
- Run a gathering stitch along both ends and pull up on the gathering stitches to gather the fabric.
Step Four:
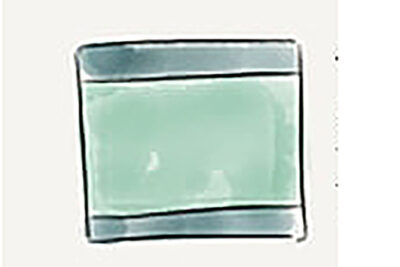
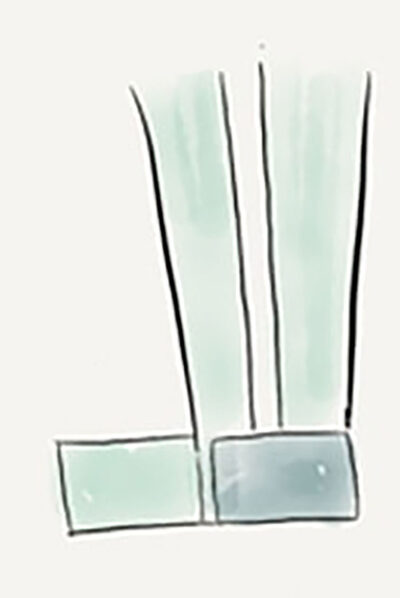
- Cut two pieces of fabric to 2″ x 2″. Fold under two of the raw edges 1/4″ towards the wrong side of the fabric.

- Press
Step Five:
- Glue the fabric to the purchased headband when starting at the center and working out.
Step Six:
- With one of the folded edges of the fabric flush with the ends of the headband, hot glue the wrong side of the folded 2×2 piece to the bottom of the headband.

- Wrap the raw edges of the fabric and secure it in place using hot glue.

- That’s it!!
- Easy peasy, huh!! I’ve worn them several times over the years and have it on my “list” to make a few more to have on hand this summer.
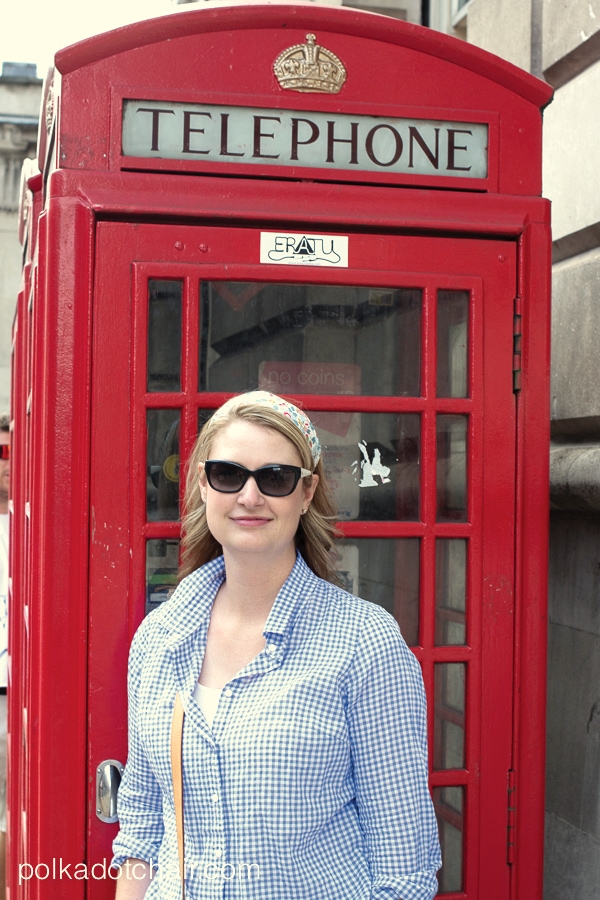
Yep, I wore them in London, and they came in VERY handy!
FAQ about the Headbands
Do they stay on your head?
Yes, I have found they stay on my head, and the skinny headband is more comfortable for me to wear than the wider headband.
Can you Use Knit Fabric?
Personally, I would not use knit fabric. But it won’t matter because the fabric does not hold your headband. It’s the skinny plastic headband that is glued to the fabric.
More Simple Sewing Tutorials:
5 Simple Weekend Sewing Projects
60+ Simple Summer Sewing Projects
How to Make a Braided Headband; A Free Sewing Pattern

I wish you had a video where you go step by step on how to do this.
You are brilliant! I immediately made one for myself. It’s cute and stays on my head!
What a great concept! I love to accessorize, and now I have something new to do with my scraps 🙂 🙂 :). I wear cochlear implants, so the metal headband will not work for me. Any words of wisdom about how to convert the pattern and attach elastic around the bottom? Thanks so much for sharing your wonderful ideas!!
Thank you for sharing your fabulous project ! I am researching for a 10 years old sewing theme party. This is something we can do! Please , can you provide more details about fabric dimentions? I will appreciate! Liz,
The dimensions are listed in the tutorial! Have fun sewing.
I love this tutorial and Love the way this headband updates my do! Only thing is that in your supplies list i think you forgot to add that we need 2 2×2 squares of fabric. It took me a minute to figure out that i was missing something. Otherwise Awesome!!!!
Oh thank you! I’ll add it to the supply list! Don’t know how I forgot about that.
Thanks so much for this tutorial! I was looking for just this kind of thing while growing out a short hair cut. I made three tonight and I love them all!
You’re Welcome! Enjoy your headbands!
Love these! Will have to source some skinny bands that don’t give me headache, I think I have a biggish head! By the way London phones are in boxes, never booths 😉
I love these! And so clever! I must get some Liberty fabric next time I am in London (can’t buy those fabrics over here) and make one. London is just the greatest place, one of our favorite cities and only a 45 mins flight away for us. So we do try and go at least once a year for a weekend. Each time there are new things to discover. Thank you for the patter and you look lovely when you travel by the way!
These look great & you make them look so easy to make. I love your drawing. Coming by from Blogher. Lots of love, Lisa