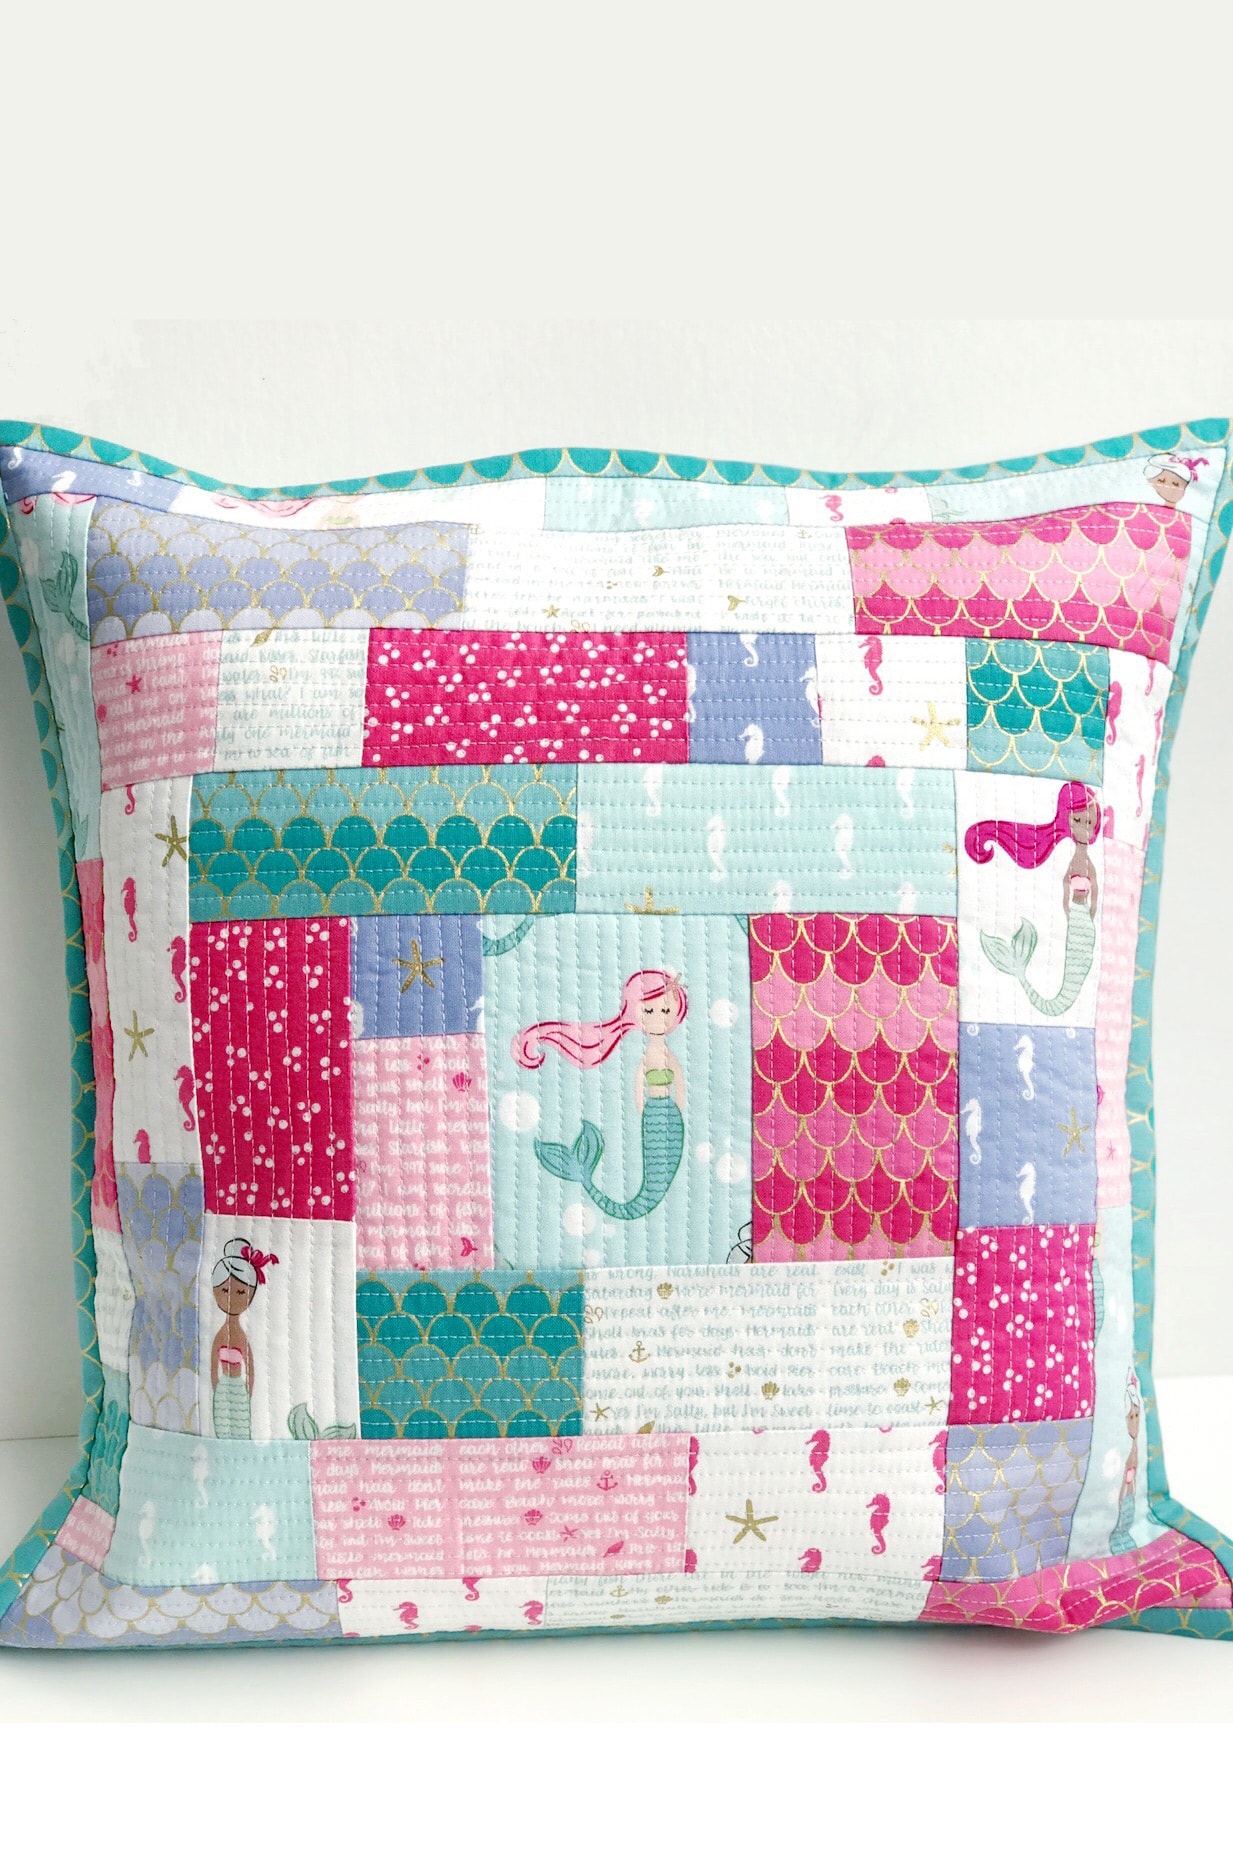
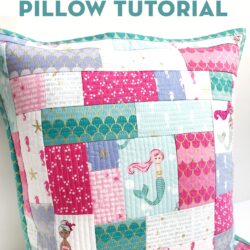
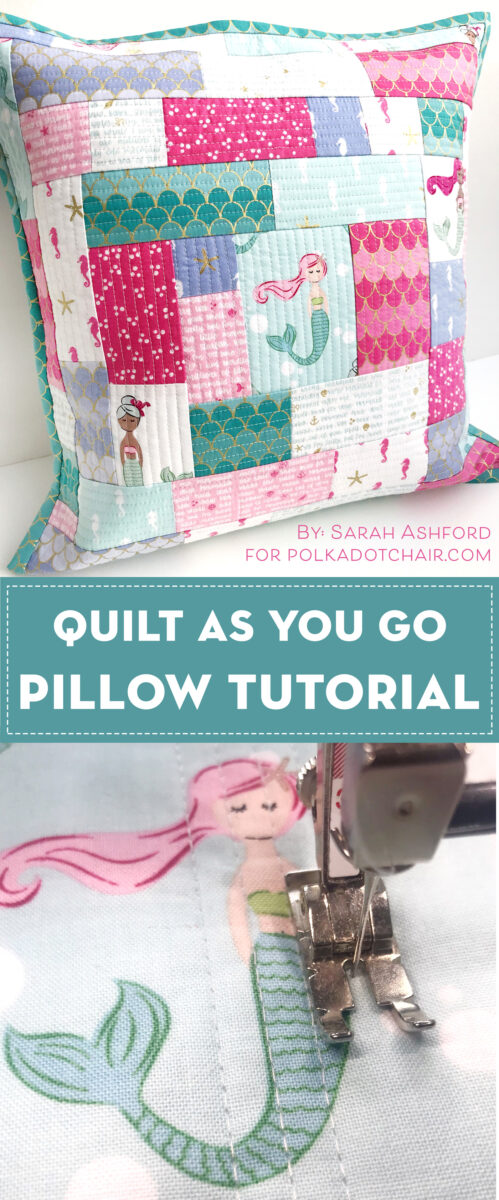
How to Make a Patchwork Pillow using Quilt As You Go Method
Learn how to “Quilt As You Go” when making this simple patchwork pillow using our free patchwork pattern.

Back in February 2019, Quilt Con was in Nashville, and I was so lucky to attend all the way from England! Even luckier, I met Melissa, which was just wonderful. It was a pleasure, especially after about 18 months of knowing and working together online.
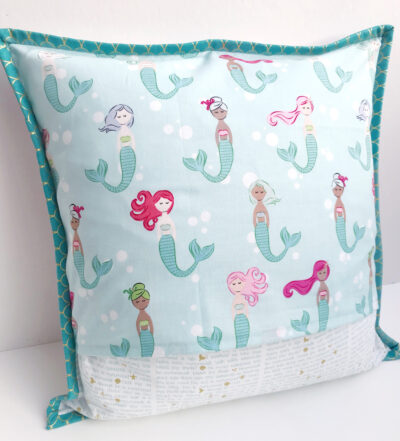
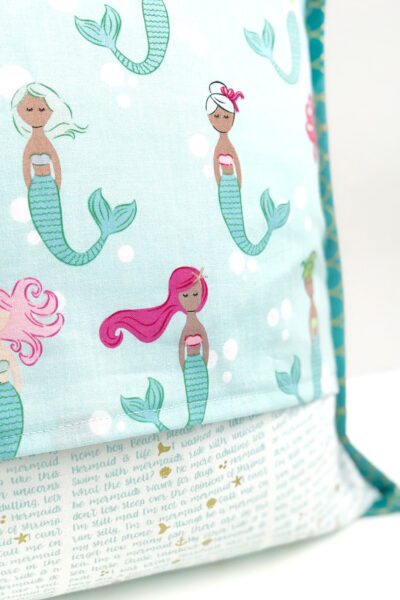
So, what better way to celebrate than to create a project using Melissa’s latest fabric collection, Let’s Be Mermaids? My goodness, what an adorable collection it is. There are so many beautiful prints and designs to choose from that it was tricky to determine which ones to use.
This is why I decided to opt for a scrappy improv quilt: to showcase a little bit of everything!
I also wanted to introduce a new to me, technique to you—”quilt as you go”. This method is really fun because you do all the work as you piece and go along. Then, there’s no quilting at the end—just a quick envelope back, some binding, and ta-da; you have a finished cushion!
What is the Quilt as You Go Method (QAYG)?
The Quilt-As-You-Go (QAYG) method is a quilting technique that allows you to piece and quilt sections of a project simultaneously. Instead of creating a full quilt top (or pillow sham in this case) before layering and quilting, this method breaks down the quilting process into smaller, more manageable sections.
By sewing your patchwork pieces directly to your batting and backing, you can piece AND quilt your piece at the same time! If you’re making a larger quilt, once quilted, these smaller blocks or sections can be joined together, eliminating the need to handle an entire quilt under a sewing machine.
QAYG is especially useful for larger projects. It makes the quilting process easier and more accessible, particularly for those who use a standard domestic sewing machine. This technique also allows you to add quilting details to each block without the hassle of maneuvering a large quilt under a domestic sewing machine.
How to Make a Patchwork Pillow Using Quilt As You Go Method
Equipment
- Hera Marker
supplies
- 1 piece Fabric for Central motif for the fussy cut center
- 20-50 pieces Fabric Scraps from your stash or a fabric collection
- 1 piece Batting 18" x 18"
- 1 piece Envelope back top 16” x 13”
- 1 piece Envelope back bottom 16” x 8”
- 1 piece Binding fabric 70” x 1 3/4” wide
- 1 piece Cushion pad: 16” x 16”
- 1 spool Neutral thread
- 1 can Basting spray optional
Instructions
How to Start:
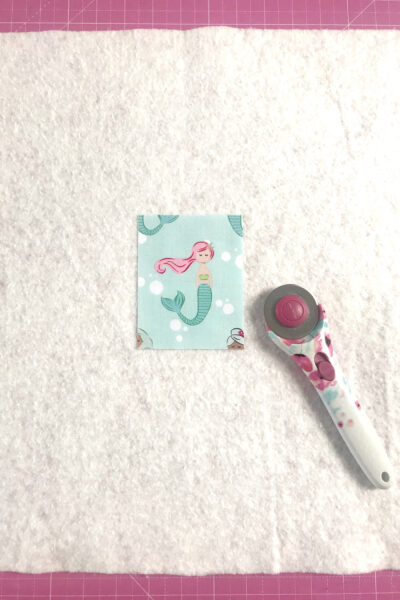
- First, fold the batting in half and in half again to find the center. Then, take your fussy-cut centerpiece and place it in the center. You may wish to fuse this first piece with basting spray.

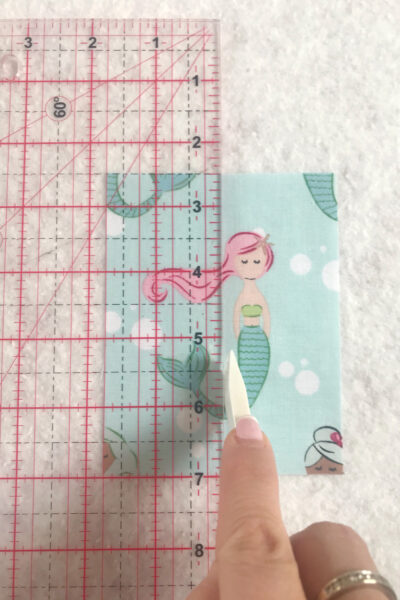
- Use a Hera marker to draw a line down the centre of the fussy-cut motif. I’ve chosen a vertical line, but you may wish to have horizontal lines. This line will be your first quilting line and then your guide for subsequent lines.
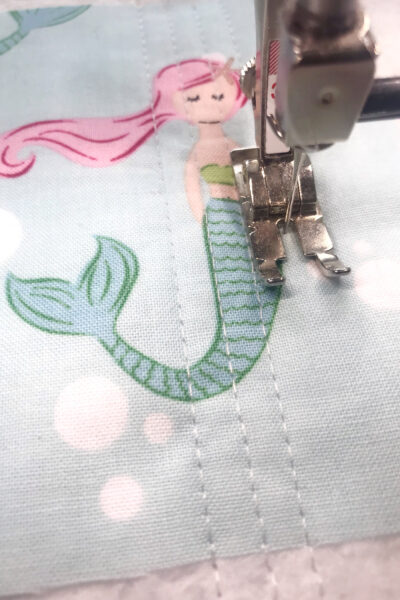
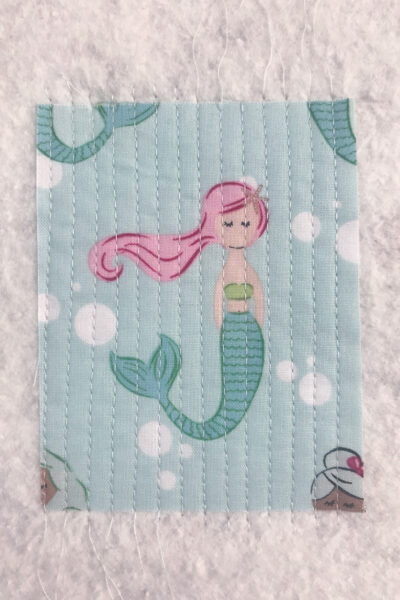
- Using a neutral thread, stitch down this line using a slightly longer length. (I’ve used a 3.25 stitch length.) Using this line as your guide, stitch either side of the line until all the fabric is quilted.
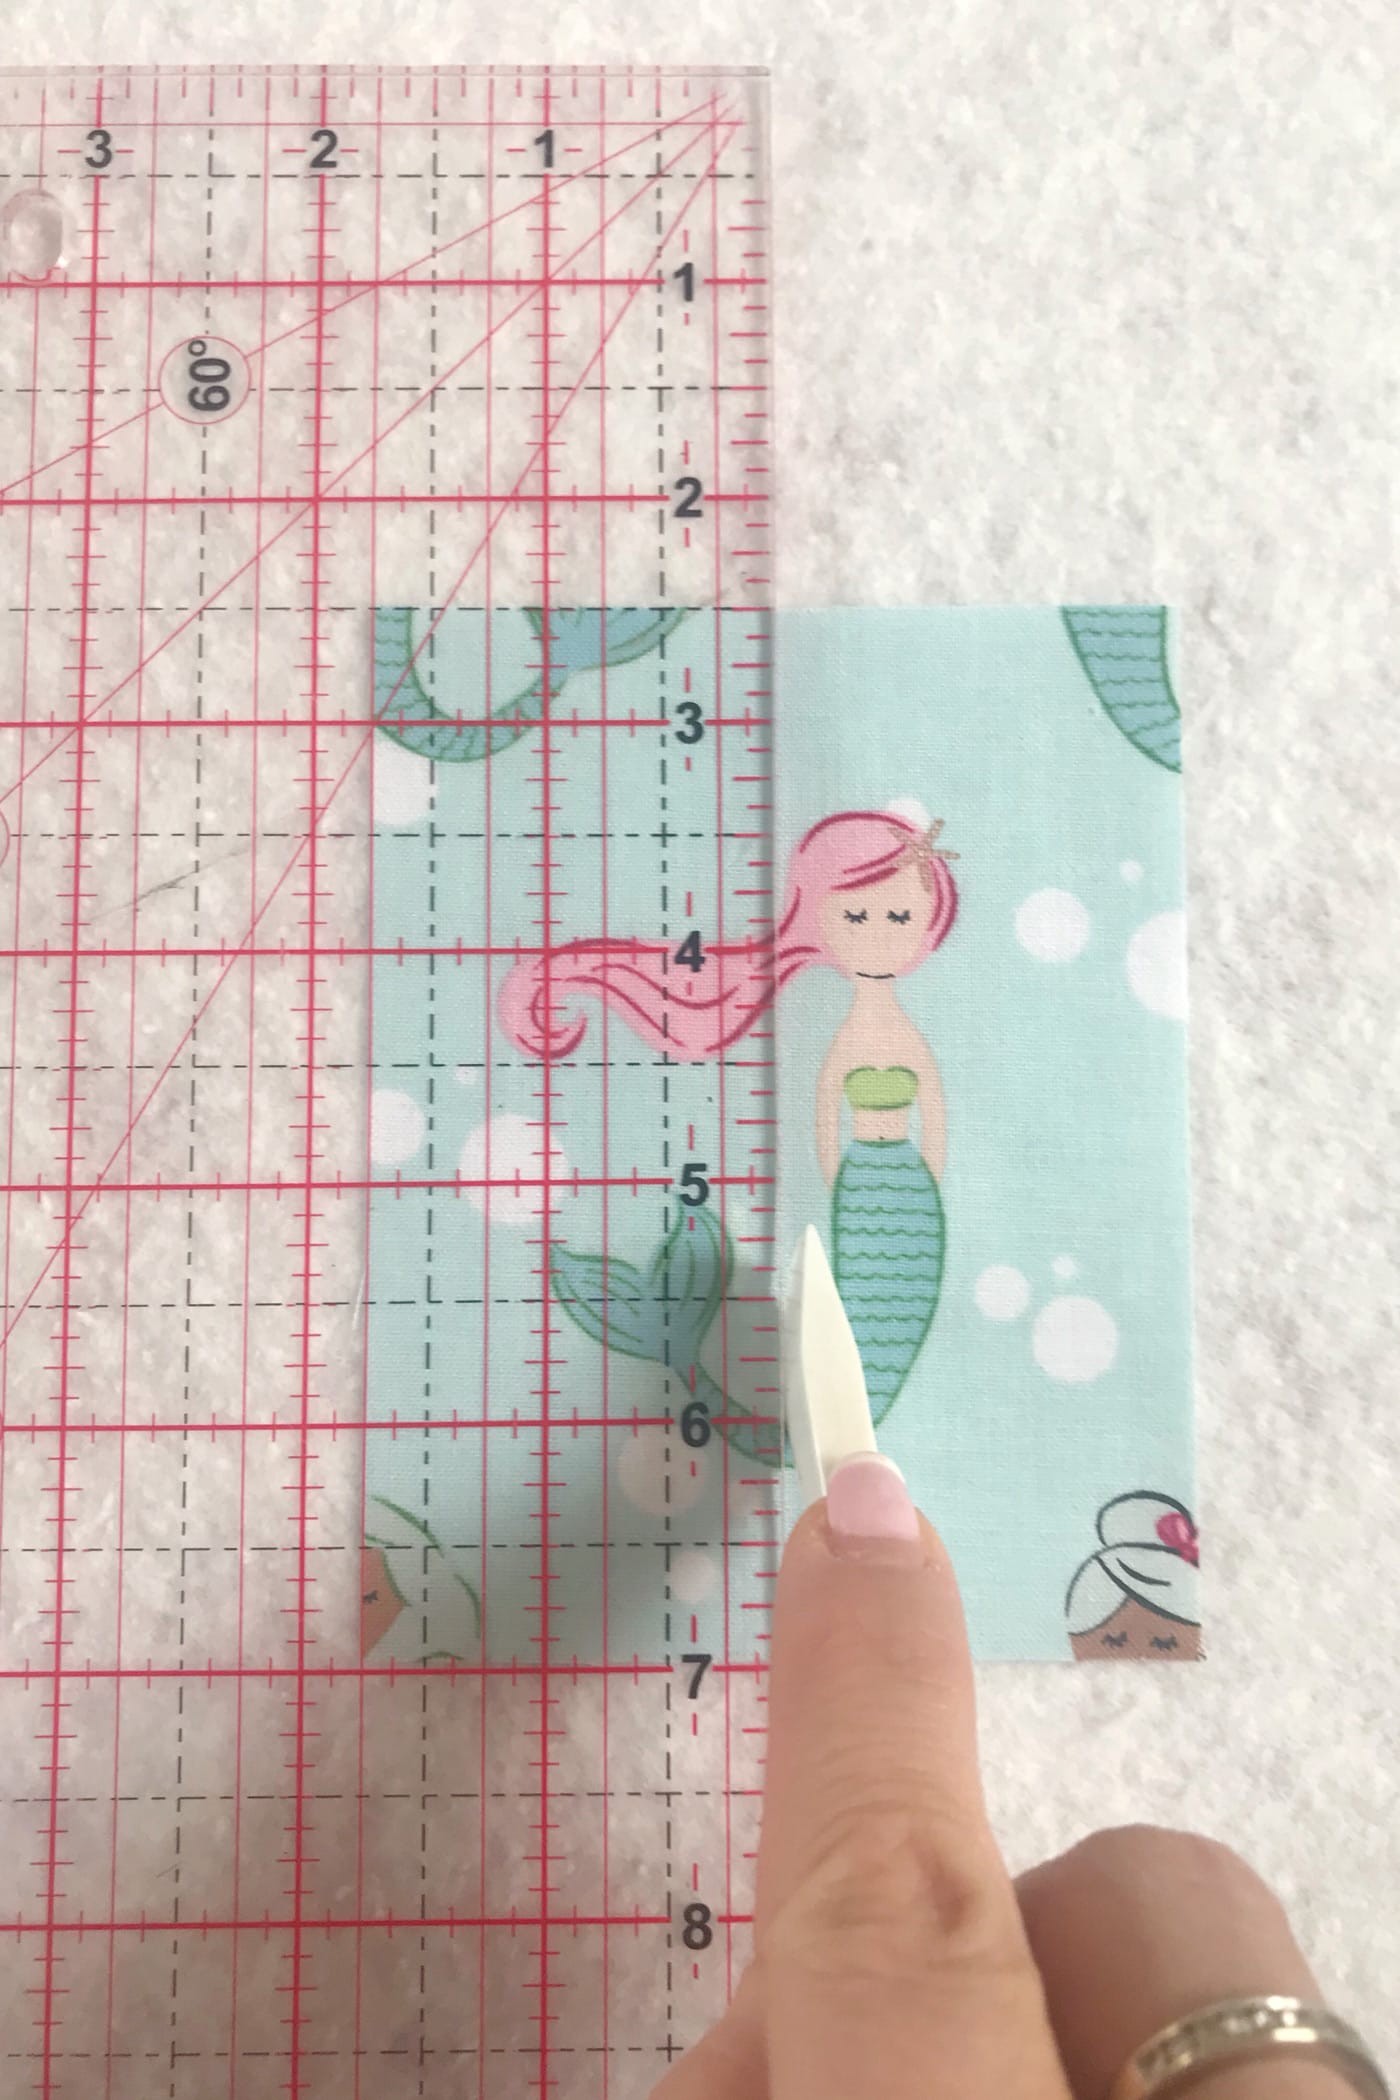
- Now, you can add to any side of your central motif. I’m going to add a section to the right. Since my mermaid motif measures 4 1/2” in length, I’m going to cut a piece of fabric 4 1/2” in length. I can decide how wide it is, ideally using a whole or half number to make it easier. (Don’t forget to consider your quarter-inch seam allowance all the way around.)
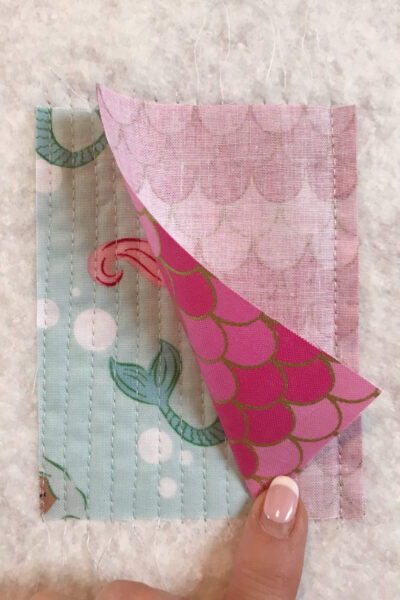
- Place your second piece right sides together with the first section, lining up the edge of the fabric to the side you want to join. Stitch a quarter-inch seam along that edge.
Adding the Second Piece:
- Open out and press, then quilt horizontally or vertically according to your preference.
- You might want to avoid having to pull seams to the back, which is why I’ve opted to quilt vertically again.


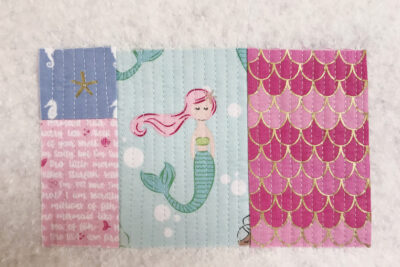
Adding Additional Pieces:
- This time, we will add a section to the left of the central motif. But instead of using just one strip, I’ve taken two pieces and stitched them together. As long as the length is 4 1/2” inches, this strip can comprise as many pieces as you like. Attach it with a quarter-inch seam and quilt in the same way.
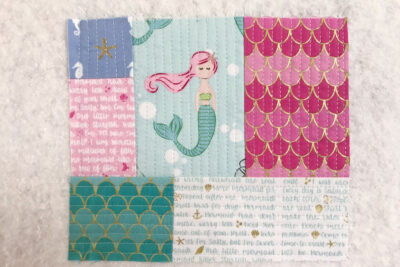
- Now, keep adding to the central section. I’ve added below by measuring the length of the central section and creating a strip made of two fabrics that is the same length as the central section. Add in the same way and quilt. This time, I changed the direction of my stitching and quilted horizontally.
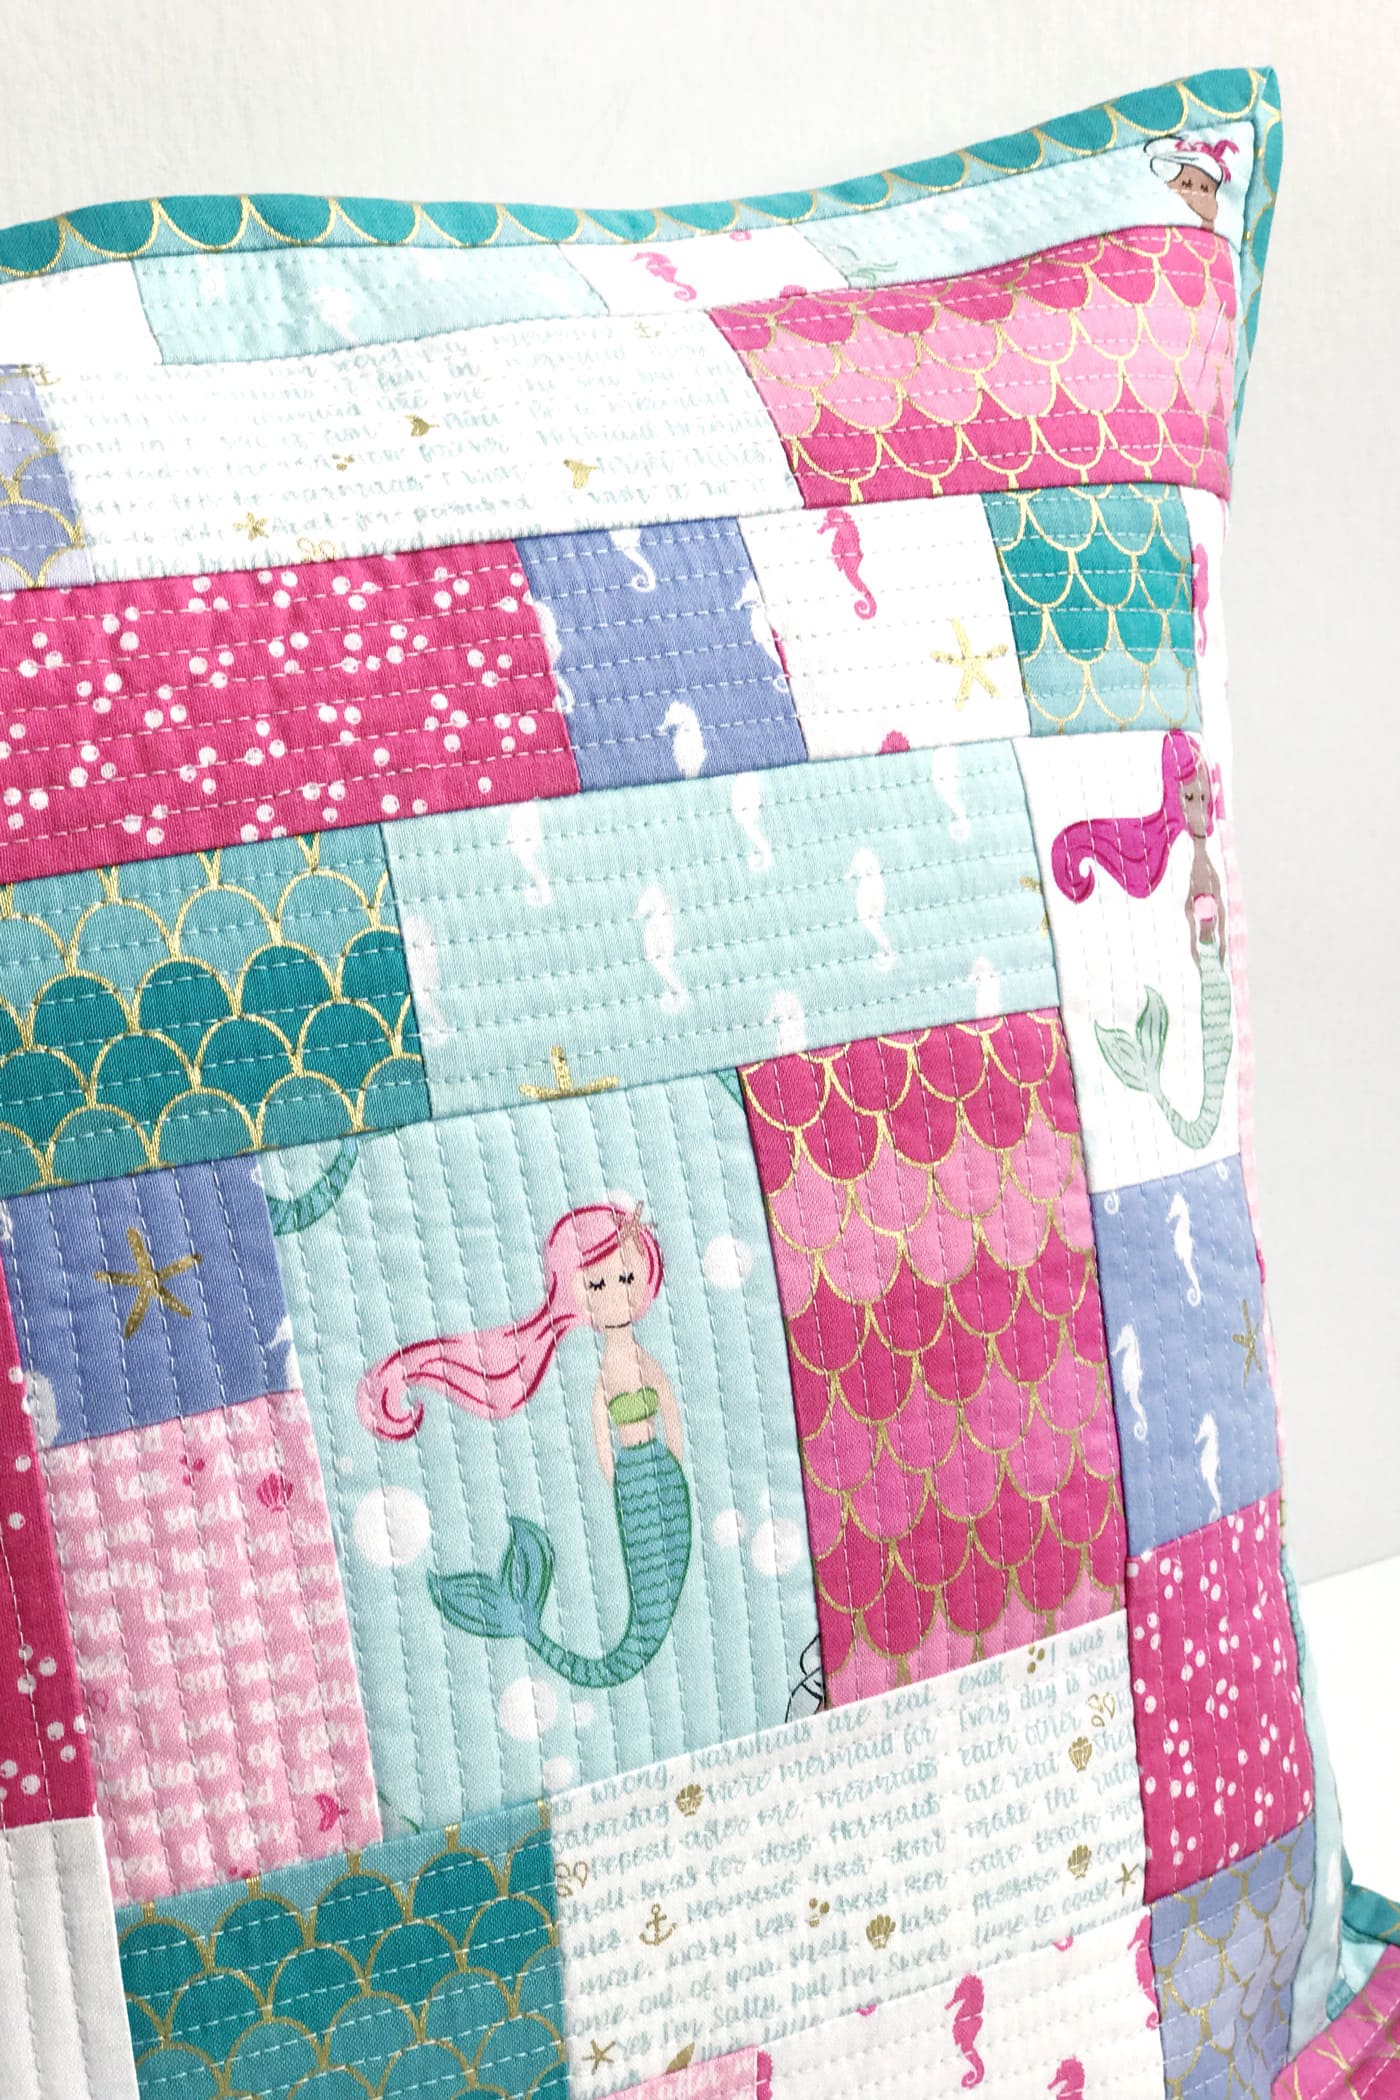
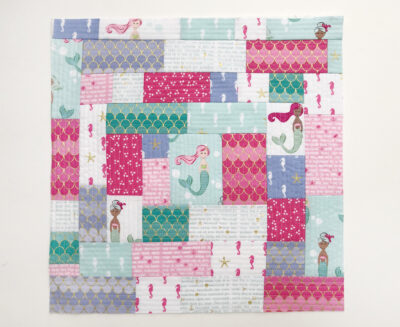
- Keep adding to the patchwork the same way until you have covered all the batting.
- Don’t plan too far in advance; just try to work organically, step by step. I’ve also tried to offset my seams. I purposely don’t want things lining up for this project.

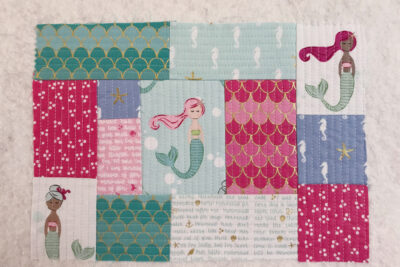
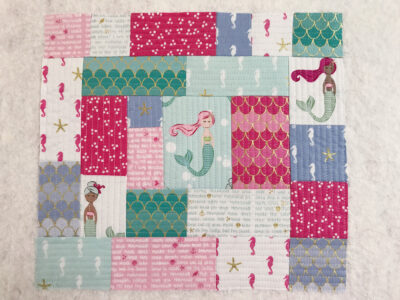
Finishing:
- Once you’ve covered all the batting with patchwork and quilting, you need to trim it to 16” square. Find the center of the cushion (this will be the middle of your fussy-cut center) and measure 8” from the center to each edge. Mark the edges and trim with a rotary cutter and ruler.

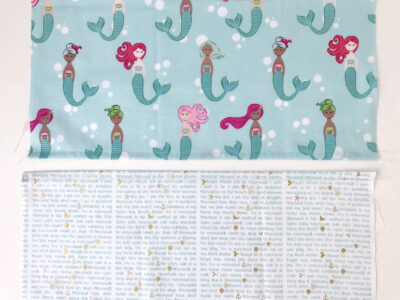
How to Make an Envelope Back for the Pillow:
- Now, to make the envelope back, if you’re using directional fabric, you need to cut it 16” wide across so that your motifs are upright. This is the case for me, as I’m using the beautiful mermaid fabric for the top piece and a text print fabric for the bottom.
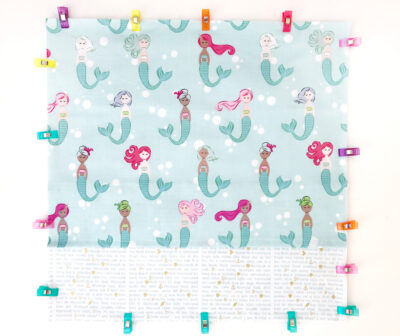
- Turn again to hem the bottom of the top section and the top of the bottom section. Once the pin is in place to secure it, stitch it close to the fold. Press for a flat finish.
- Take your cushion in front and place the right side down. Lay the raw edge of the bottom panel right side up along the raw edge of the bottom of the cushion front. The hem will be in the middle.
- Place the large top panel on the top right sides up, aligning the top raw edge with the top of the cushion front. Again, the hem will be in the middle. Use binding clips to clip in place.

- Stitch around the edge using a quarter-inch seam. Reinforce where the top and bottom panels overlap, as this will cause extra strain when the cushion pad is inserted.
Top Tip:
- I always like to put my cushion pad in the cushion at this point to check that it is the right size. You can always make the cushion cover smaller by stitching it a little further from the edge. Personally, I don’t like baggy cushions, and I’m pleased to say my cushion fits perfectly!
- I like to use single-fold binding for cushions, as it’s less bulky and uses less fabric. Stitch the binding strips together, then machine stitch to the front of your cushion, mitering the corners. Hand stitch to the back of the cushion for a neat finish.

- Oh my goodness, I’m so in love with this fabric! I’ve also enjoyed this quilt-as-you-go technique. I hope you give it a try; it’s a lot of fun!
Notes
About the Maker:
Sarah Ashford is a British Quilter, embroiderer, and founder of the GreatBritishQuilter challenge on Instagram. Sarah regularly contributes projects to magazines and loves to spread the joy of quilting everywhere she goes. Follow her on Instagram at @sarahashfordstudio, and be sure to check out her beautiful sewing room decals in her Etsy shop www.etsy.com/shop/sarahashfordstudio
More Simple Patchwork Projects You May Like:
How to Make Quilted Potholders
Scrappy Strips Baby Quilt Tutorial

I can’t wait to try this!!😊
Love this pattern and idea. I made this pillow with scraps from a baby quilt I made and it is adorable. I found the instructions to be very simple and easy to follow. The one thing I noticed is that the batting did stretch a little. I’m not sure if that’s normal, but in the end I was able to square it up and my pillow was exactly the size stated. Also, another hint. Make sure your sections of fabric pieces are straight and even before attaching the next section of pieces. Even though I cut all my pieces pieces straight, some may have had a little give to them or I may not have cut on the grain. Either way, I evened them up before putting on the next piece. Thanks for sharing this fun pattern with us.
This cushion cover is fantastic
When you say “cushion pad”……is that a foam pad or is it a pillow form?
Pillow form. Sarah is from the UK, different terminology…
This is darling. I’m relatively new to quilting, but I’m going to try this. I do have a question, though. For your fussy cut center piece, did you add the 1/4 inch seam allowance to it or just the added pieces? Thanks for a great tutorial.
No, but 1/4 will be covered so plan for that.
beautiful fabric and project! I definitely will give this a try ♥♥
Fabulous. i will be looking out for this fabric. x
I’ve seen this fabric a few months ago and I’m waiting for it’s arrive in the EU. I couldn’t find the fabric until now. Do you know if I can buy it now in the EU (including the UK)?
I love this pattern! I want to make my niece a pillow in this fabric. Thank you for the tutorial!
You can find a list of EU Stockists for Riley Blake Fabric here: https://www.rileyblakedesigns.com/international-distributors