How to make a Pillow Cover with an Invisible Zipper
Today I’m going to teach you a simple way to make a pillow cover with a zipper closure. I love to finish my pillows off with invisible zippers, that way the covers can be easily removed for washing. If you like this project then you may also like this tutorial (and free pattern) teaching you how to make summer pillows.
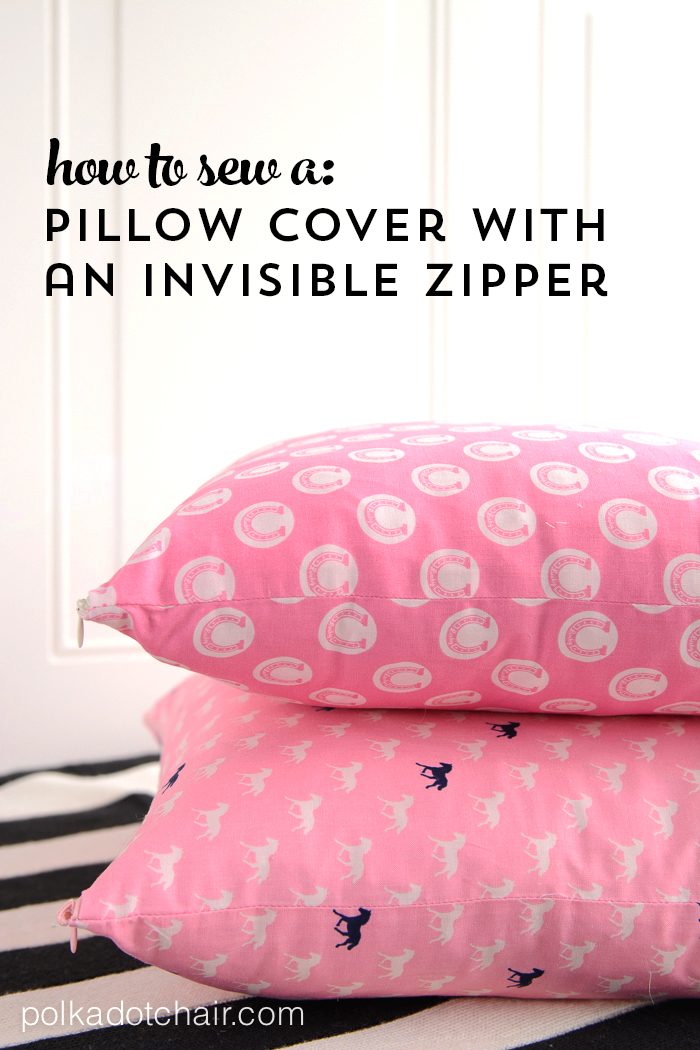
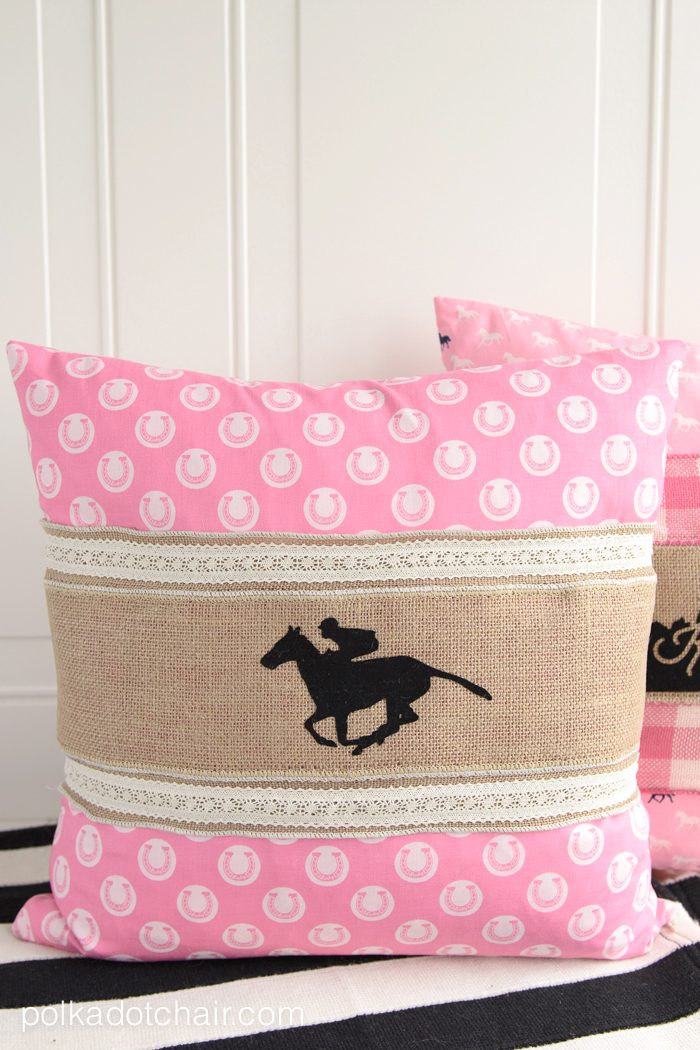
On Friday I shared a simple way to dress up a pillow by adding a customizable pillow wrap. Today I’m going to show you how to sew the pillow cover for the pillows. This pillow cover has an invisible zipper which not only gives it a professional finish, it also makes it easy to swap out the cover of the pillow at a later date.
To see the tutorial for the pillow covers just click here
I’m going to show you how to make a pillow cover for an 18″ pillow form. You can adjust the size for any size pillow. Just keep in mind that generally, a pillow cover is the same size as the pillow. (i.e. to sew a cover for an 8″ x 10″ pillow, you cut 2 pieces of fabric 8″ x 10″). However when working with a down filled pillow you’ll want the cover a smidge bigger, so I recommend adding 1/2″ – 1″ to your standard measurement.
How to make A Pillow:
To make the pillow cover you’re going to need…
Supplies:
- 2 pieces of fabric each cut to 18 1/2″ x 18 1/2″
- One invisible zipper 20-22 or longer
- 18″ pillow form
- Invisible Zipper foot for your sewing machine
Instructions:
This process is very simple but can easily be a bit confusing. Just follow the directions and go a step at a time. I will tell you every time I do this I end up unpicking at least one seam, so do feel bad if you sew your zipper the wrong way the first time.
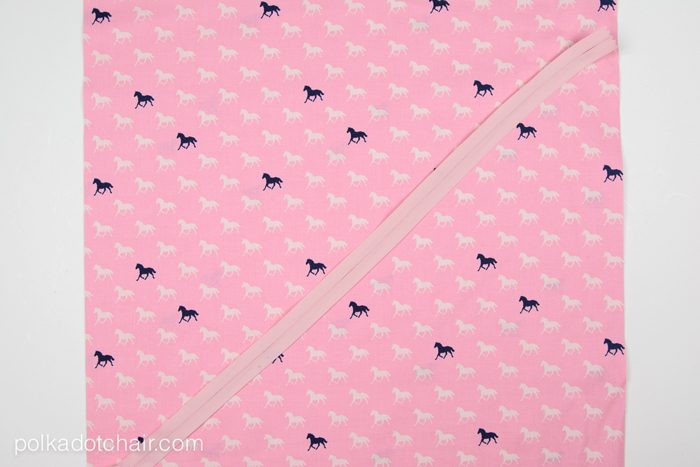
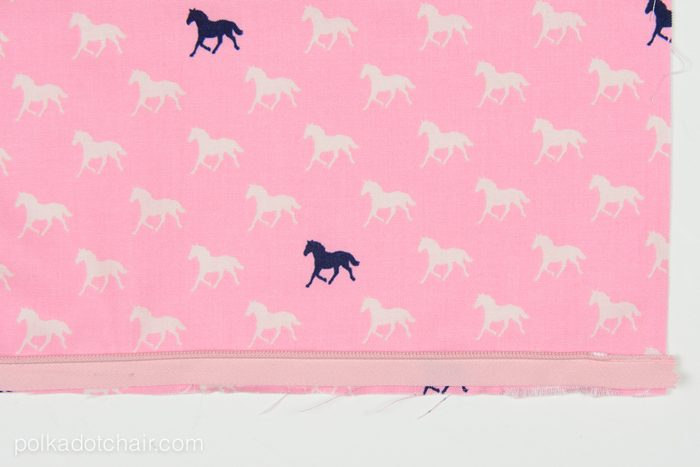
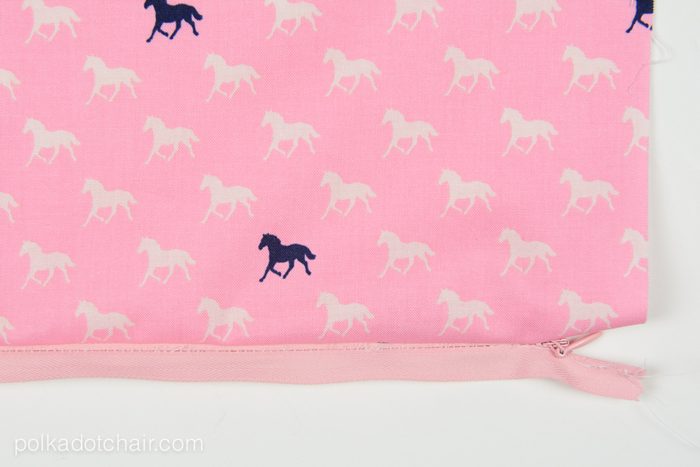
Pin your zipper to the bottom edge of one of the pillow cover pieces. The raw edge of the zipper will be flush with the raw edge of the fabric and the right side of the zipper will be facing the right side of the fabric.
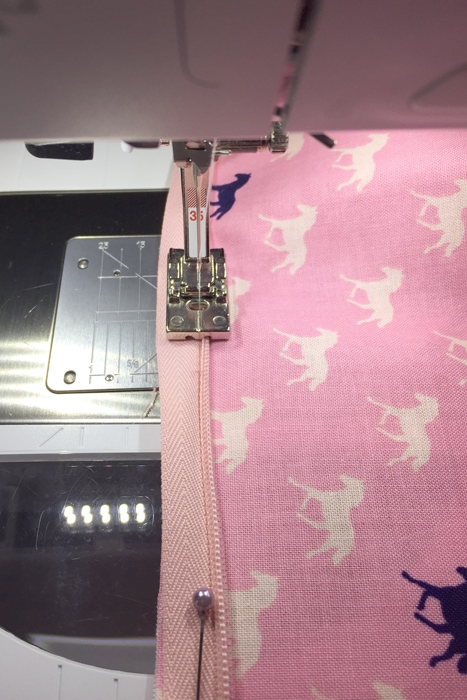
With the zipper foot on your sewing machine, stitch the zipper in place. Adjust your needle if necessary so that it stitches right up to the edge of the zipper teeth. The groove in the bottom of the zipper foot will “pull” the zipper through as you go. Make sure the teeth of the zipper stay in that groove.
NOTE: you need to make sure that your zipper foot is catching the entire zipper in the groove. Otherwise, the zipper won’t really disappear when you zip it.
After you’re done, check that the zipper was sewn correctly.
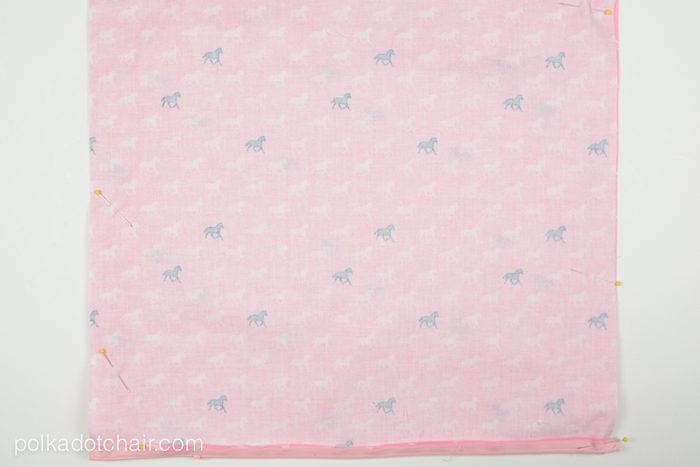
Next place the right side of the other pillow cover piece on top of the other right side of the zipper. Pin in place. Make sure that the side edges of the pillow cover pieces are lined up.
Stitch down as you did for the first side of the zipper. Double check your zipper. Make sure it zips and unzips and looks correct.
If all well then unzip the zipper 3/4 of the way and trim off the excess portion of the zipper. DO NOT unzip the zipper all the way, you’ll never get it back together again.
Pin the pillow around the 3 remaining unstitched sides. Stitch around the perimeter of the pillow with a 3/8″ seam allowance. Clip the corner, turn right side out and press.
and you’re done!!!





Pretty pillows! I’ve got a Craft Gossip most scheduled for this evening that links to your tutorial: http://sewing.craftgossip.com/tutorial-pillow-cover-with-an-invisible-zipper-2/2015/04/20/
–Anne
Where did you get that great material? I am making my daughter a dress for Derby (it is her first, she is 9 months old), but I could not find any material with “cute” horses or horseshoes on it.
The fabric is from my line called Derby Style. If you go to https://www.polkadotchair.com/templates you can find a list of shops that carry it.
Did you allow for seam allowances correctly when you stated 18-1/2 x 18-1/2? Doesn’t that only allow for 1/4″ seam? And isn’t that too short for zipper placement?
I’ve made so many pillow covers, but have been afraid of zippers! But with your wonderful tutorial, I successfully made a couple of zippered pillows. I am now confident that I can make zippered pillow covers from now on! Thank you!!
One mistake that I made is that I pinned the zippers on “upside down.” I should have looked at your picture more closely! I didn’t feel like picking them both off and starting again, so I just left them. Makes them a little harder to unzip, but I can do it!