How to Quilt with a Sewing Machine
Learn how to quilt on a home sewing machine with our complete guide to machine quilting for beginners. A step-by-step guide.
Today I’m sharing with you another post in my Sewing Lessons Series. This lesson is on the Basics of Machine Quilting, or How to Quilt on a Sewing Machine.
You can find previous lessons on, How to Sew a Zipper, How to Make and Sew Piping, Curves & Corners, How to Finish Seams, and What to do when you get a New Sewing Machine.
When I asked what you wanted to learn, you overwhelmingly told me that you wanted to learn how to Machine Quilt. This is a very basic and simple machine quilting method. It works for me. Hopefully, it will work for you too.
Dorm Room Pillow Project on We All Sew.com
I want you to feel like you CAN quilt your own quilts at home. I think it makes the process seem so much more “doable” when you feel confident to complete all of the steps yourself.
Simple Skinny Table Runner Tutorial
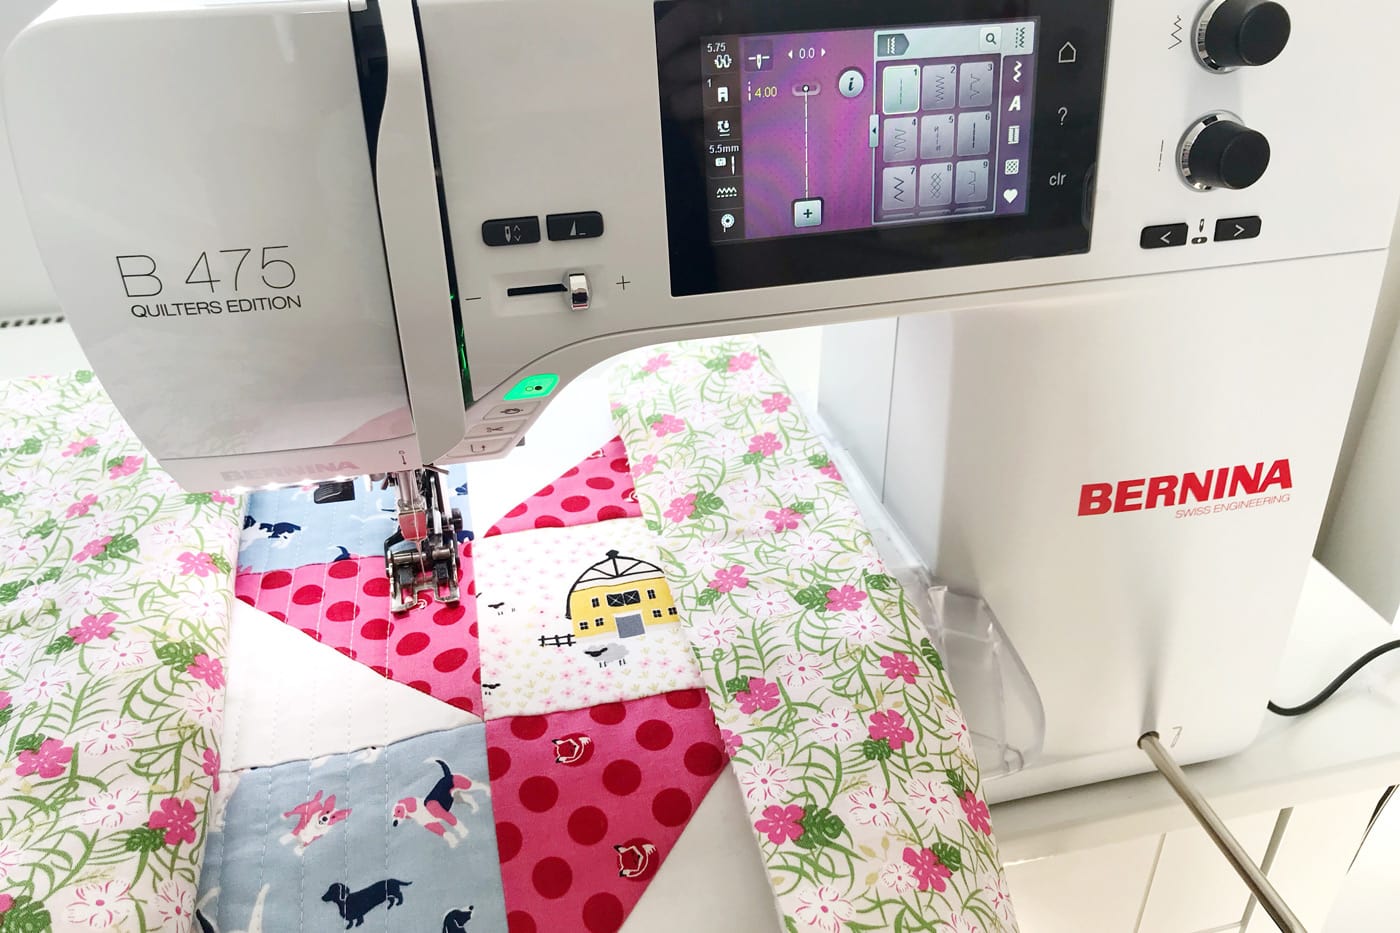
I’ve machine quilted on four different machines, my current BERNINA 770QE, a 710, a Husqvarna Viking, and a very, very basic Singer.
I was able to machine quilt on all of the machines, but since the BERNINA is made to handle a quilt, it was by far the easiest! That machine quilts like a DREAM! But I want you to know, you can do this regardless of your machine brand.
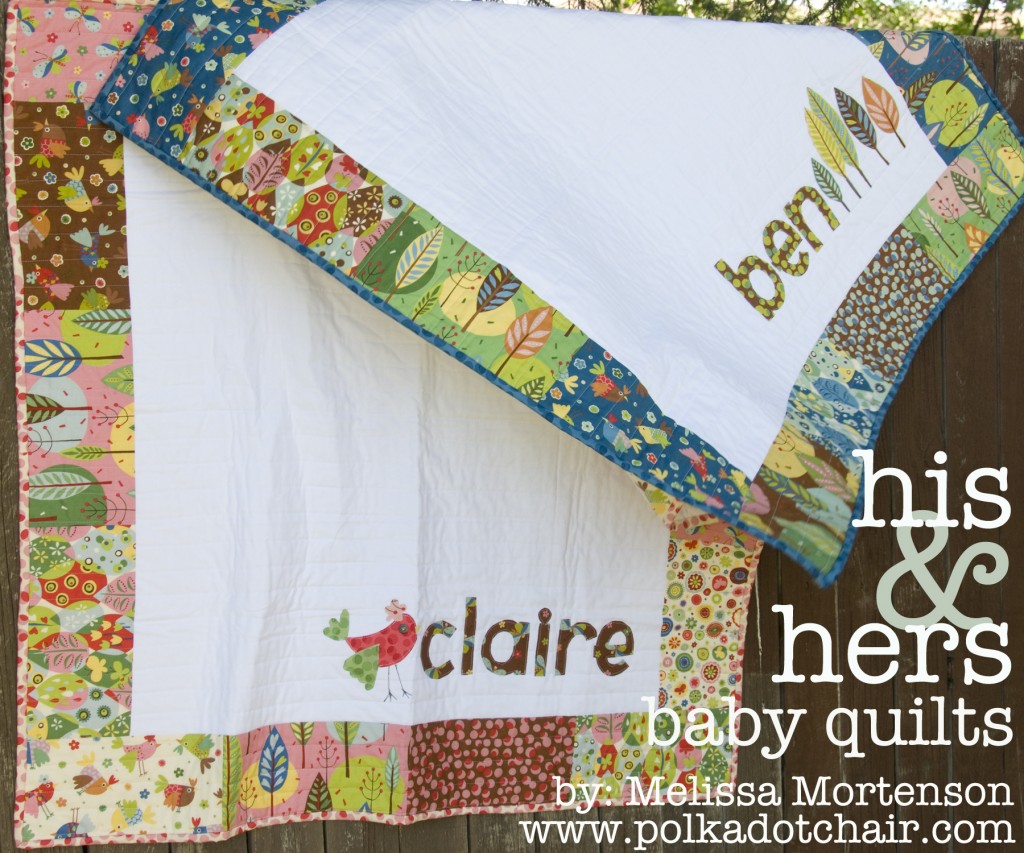
His & Hers Baby Quilt Tutorial
Machine Quilting Tips
One: Use a Walking Foot
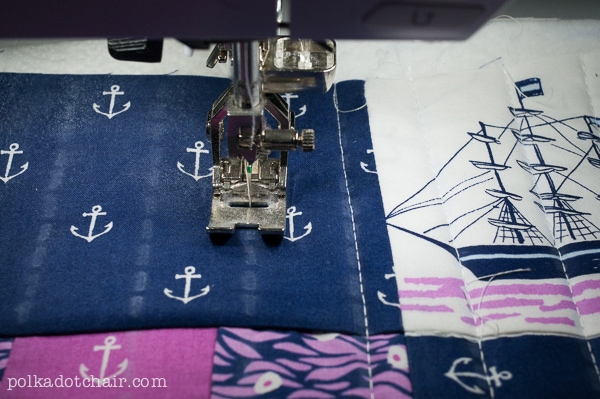
You need a Walking Foot: This is a MUST. If you don’t have one, the layers of your fabric and batting will bunch up, and you’ll be FRUSTRATED! Not fun. They are brand specific, so get one that will fit your machine. Just a tip: they are great for more than just quilting; I use mine when sewing handbags, as well.
Two: Start with Something Small
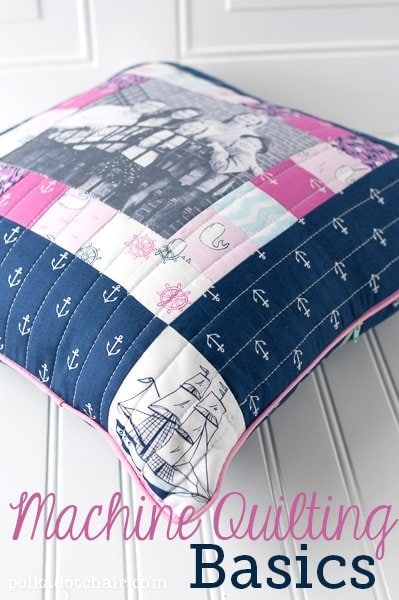
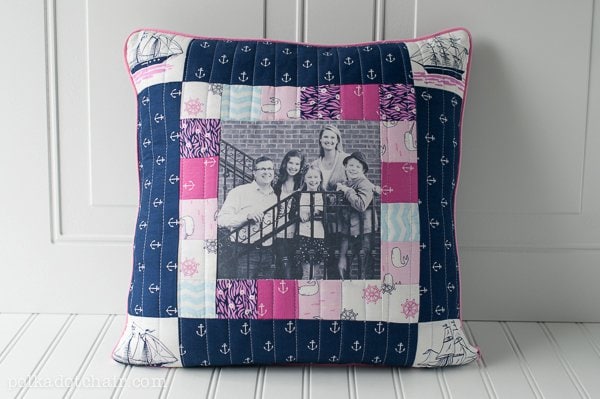
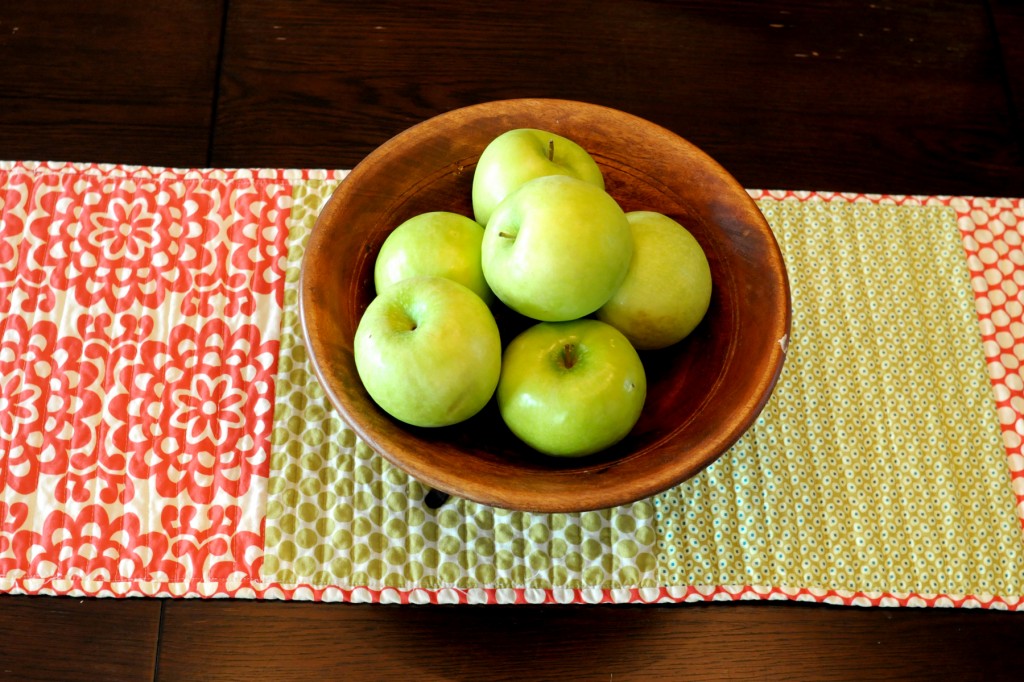
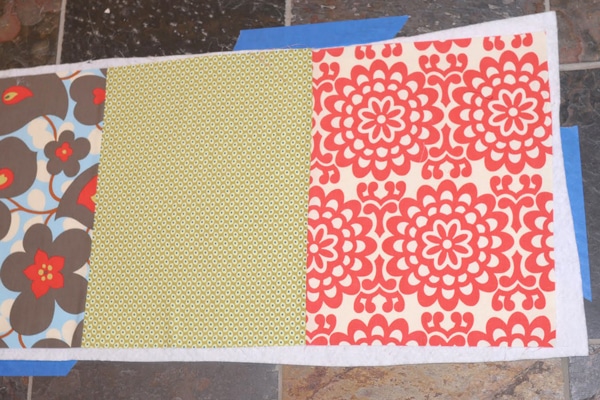
Start on something small: The example I’m working with today is a pillow. I also quilted lots of table runners BEFORE I tackled a quilt. Half of what’s hard is wrangling your fabric, so start on small projects until you’re comfortable.
Three: Test your Stitches First
Always have a test piece. Make a little square of your fabric and batting, and test out your machine and thread to make sure it’s working before you start your quilt.
Four: Use the Right Needle
You need a Machine Quilting Needle. It’s sharp and will help punch through the layers smoothly. Rule of thumb, one needle per quilt as they dull quickly. Use a longer stitch length. I like 3.5 – 4, depending on the project.
Five: Baste Your Layers Well
You need to hold the layers of your fabric together; this is referred to as basting. To baste a quilt, you can use spray basting or quilters safety pins or both. We’ll talk about that in a minute.
How to Quilt on a Home Sewing Machine
Step One: Make a Sandwich
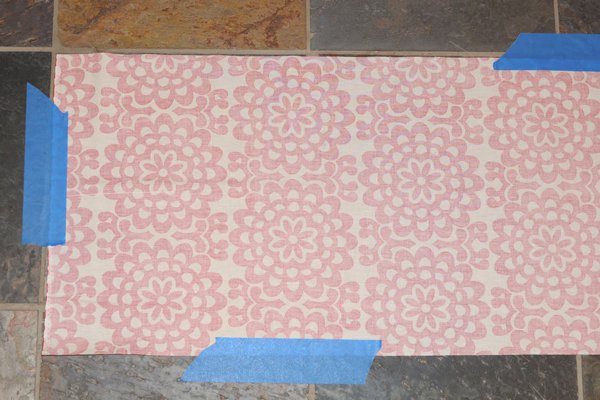
The first thing you need to do is make a quilt “sandwich.” It will consist of your backing fabric, your batting, and your quilted piece. Your backing will be the largest piece, with your batting slightly smaller and your quilt top the smallest piece.
You need these layers to go together FLAT. To do this, I prefer to baste my projects on my tile floor. I start by taping my backing fabric to the floor wrong side up. You don’t want this fabric to move around at all.
Next spray a layer of spray basting on your backing fabric. Then layer on your batting and smooth out all your layers. Spray more basting on and layer on your quilted piece right side up.
Get all your layers flat again. Now it’s not shown here, but I’ve started adding safety pins to the perimeter; at times when I machine-quilt the fabric moves around too much. I like to add a few safety pins for extra stabilization.
Step Two: Mark the Fabric
Before you mark your fabric, you will need to settle on a design. Simple parallel lines are always a great choice; if you’re looking for additional suggestions, we have several design suggestions on our site.
Next, mark your fabric. You can space your stitching lines apart using the guide that comes with your walking foot. However, I find that I get the best results when I mark my fabric before I start.
(I am using a Dual feed foot that is built into my machine, if you don’t have this on your machine, make sure you use a walking foot).
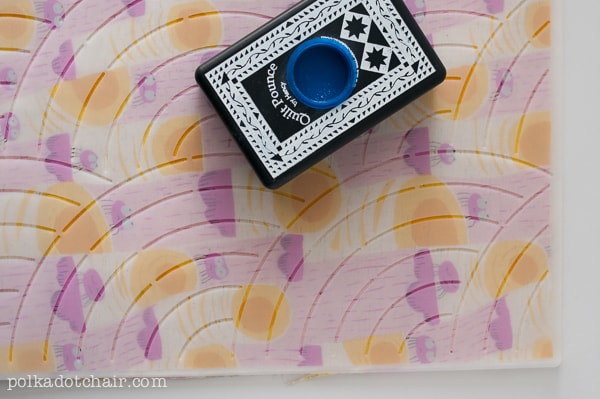
To do this I use a stencil and quilt pounce. Note, we are straight line quilting, not free motion quilting (like in the pattern shown above), so in the example I used today, I used a stencil with STRAIGHT lines on it, not curves.
You can also mark quilting lines on your quilt top using a Hera tool or masking tape.
Another option is to “stitch in the ditch” of a quilt, which means to quilt on top of existing seams. With this technique, there is no marking necessary.
Step Three: Quilt
Roll up your quilt/pillow/table runner to make it easy to work with.
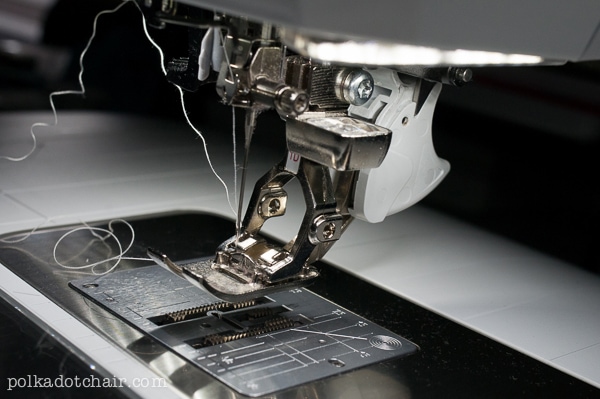
Put a quilting needle on your machine and a walking foot.
I like to use 100% cotton thread 40 wt thread in my machine, and 50wt thread in the bobbin.
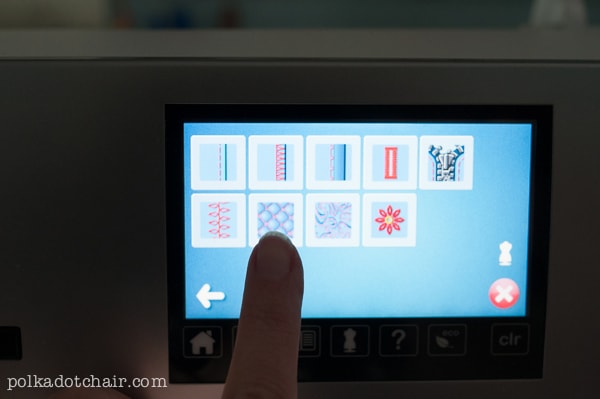
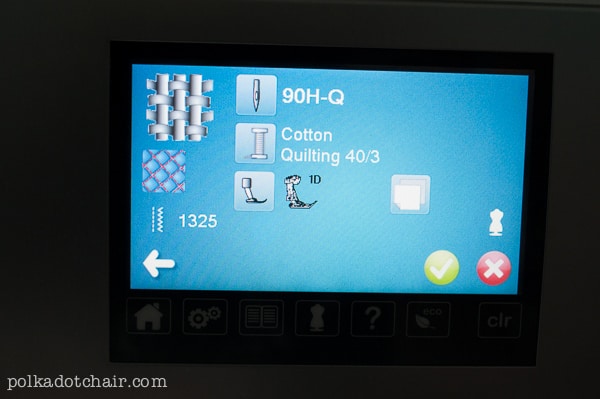
Take a moment and open the manual that came with your sewing machine. Check to see if there is a setting for machine quilting. The examples in this article are from a BERNINA 710; I now sew with a BERNINA 770QE.
On the 710, go to the Sewing Advisor and select the quilting icon. Note it will tell you to use 40wt quilting thread and a 90 needle (smart machine!)
Set your stitch length to 3.0.
Begin stitching. I recommend always moving in the same direction. However, some quilters like to flip their project with each stitching line. However, what you do not want to do is get to the bottom, then pivot and go back up to the top. Stop at the bottom and start again at the top. This will keep the fabric from bunching up.
If you are going to quilt a cross hatch or grid design (a design that is quilted vertically and horizontally), do one line of vertical stitching. Then rotate the quilt 90 degrees and do one line of horizontal stitching. Continue your quilting. This will also help to stabilize your quilt.
TIP: Roll up your project from both sides to make it easier to handle in your machine. As you work your way across your project, roll and unroll the quilt to keep working.
Keep quilting until you’re done.
Now use a ruler and a rotary cutter to trim all of your layers even. Then bind your quilt (or make your pillow).
If you’d like additional information, be sure to check out our complete guide to finishing a quilt.
Hi, tried to machine quilt last night and the machine kept jamming the thread from the bobbin. The material also was just too much to go through it. I could not seem to be able to push the whole quilt through without jamming underneath. Frustrating!! Help!
Are you using a walking foot? Also make sure you’ve got a new needle in your sewing machine.
Thank you. This is really helpful. I like the idea of taping down the backing first. I recently bought a Bernina 710 and LOVE IT. I will be taking the class when it starts, so that will help. Your lessons are helpful, and I have been sewing for many years, but I was also in the dark ages. I love the new technology.
Thank you for an informative and encouraging post!
thank you for such a informative lesson, I am new to machine quilting and this has been a great help
Thanks for the tutorial. I am making a quilt-lap size, I would say. I am straight line quilting it and I was going along great until I got closer to the middle. I am really having a hard time maneuvering it because there is so much fabric bunched up at once. Any good tips or suggestions? I got frustrated and just stop so it is only about 1/3 of the way done. Thanks!
Hi!
I’ve got some tips for you. First make sure you roll your quilt, if you’re working on the middle roll each side in so that only a small amount shows. You’ll have to re roll your quilt several times as you move across. I notice the more time I take to re roll the quilt the easier it is , even though it takes more time. Also if possible quilt on the kitchen table or move your sewing table away from the wall, so the quilt has lots of room to move. Also, make sure everything is off the table. Either way it does get frustrating in the middle… you just have to plow through those parts!