T-Shirt Dress DIY
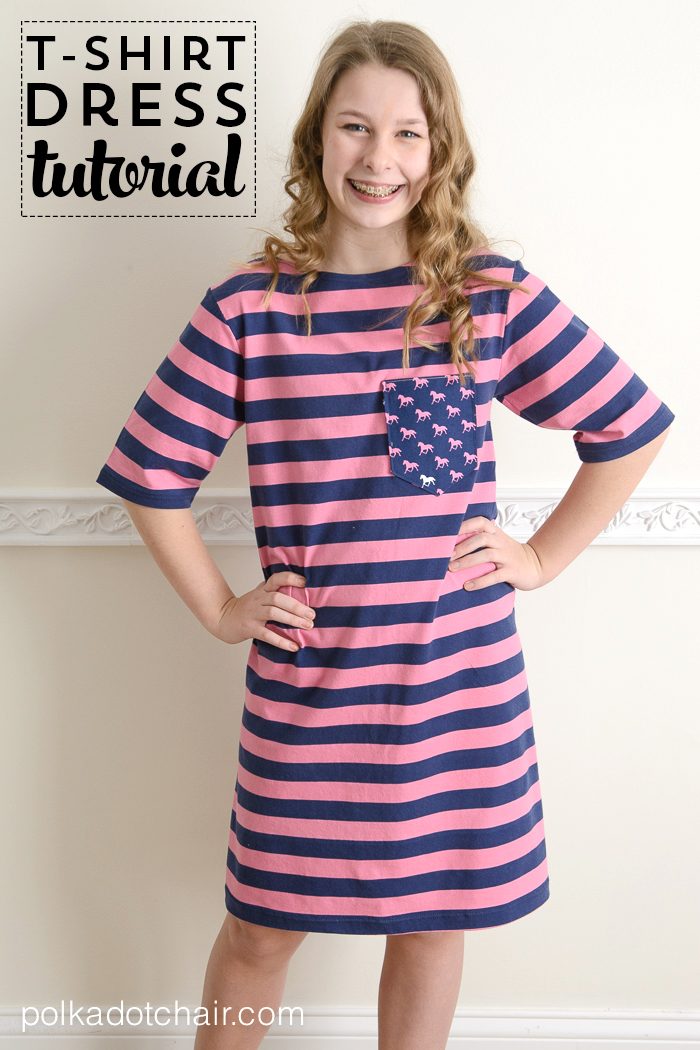
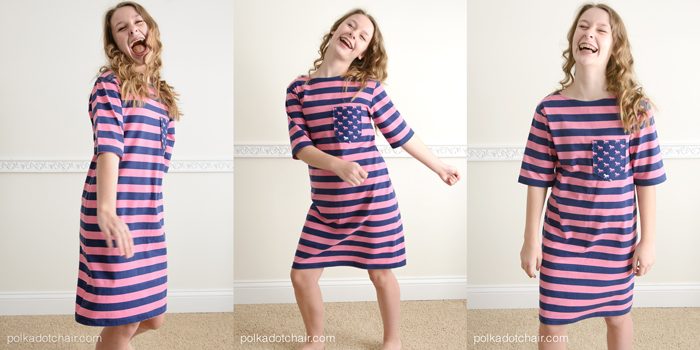
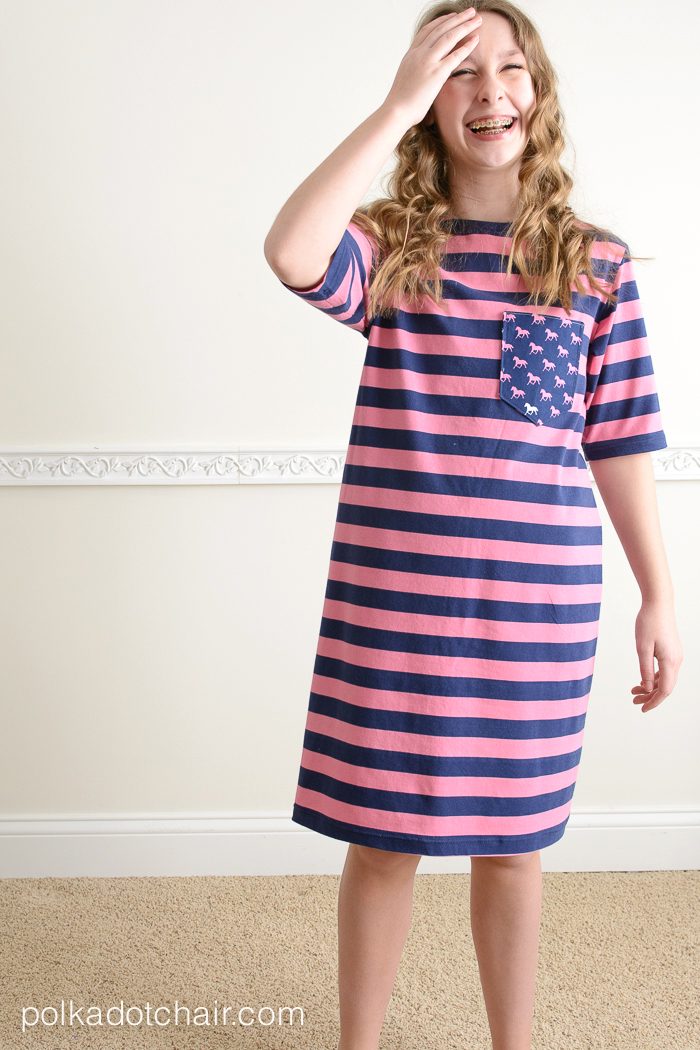
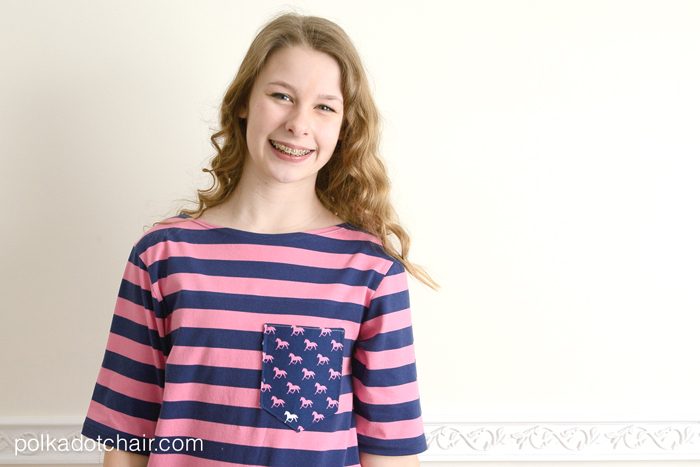
Today I’m going to show you how to make this simple t-shirt dress by using a t-shirt that you already have as a pattern! This dress is made from Riley Blake knit fabric with a little bit of my own Derby Style line thrown in as a fun accent. If you’re not sure about sewing with knits or don’t know quite what to buy, check out this explanation of shopping for knits, and this roundup of knit sewing tips.
Also, If you don’t feel comfortable drafting your own pattern for this dress, don’t worry. Just hop on over to this post too see a few sewing patterns that you can purchase which will give you a similar look.
Okay, now on to the tutorial! This dress is super easy to make and really comfy and fun, and as you can see totally perfect for a little impromptu dance session.
This dress is for my 13 year old daughter who is smack dab in the middle of a big growth spurt. It’s also ZERO degrees outside so she won’t be wearing it anytime soon. I deliberately made it a bit bigger on her so that it will still fit when it warms up. If it still a smidgen too big then I’ll taper the arms more and take in the side seams a bit. But, like I said I’m waiting for Spring before I do anything else.
Do you want to make one? Here’s what you’re going to need:
Approx. 3 yards of Riley Blake Knit Fabric (wash and dry before use)
1 Fat Quarter of Derby Style Fabric
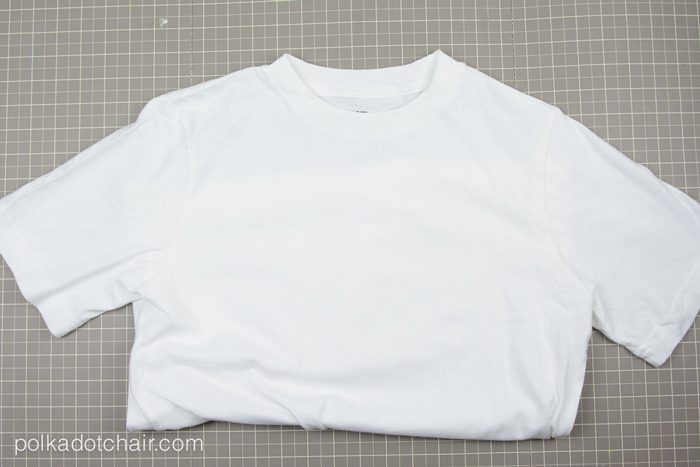
An old t-shirt that fits your model that you can cut apart
A stretch needle for sewing machine
A double needle for sewing machine
Seam Reinforcement Tape
Paper to trace a pattern on (I use medical paper on a roll)
Pattern for Pocket Piece (you can download this for free on my blog)
Polyester Thread to match your fabric
First up, find a t-shirt that fits your model. It can be cheap, you’re going to cut it apart. You want the shirt to fit her shoulders and fit a bit loosely around her hips. Don’t buy a tapered or fitted t-shirt. You want a basic tee.
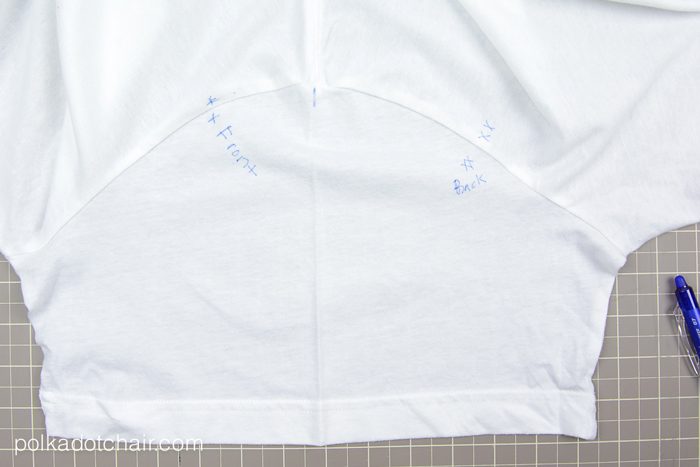
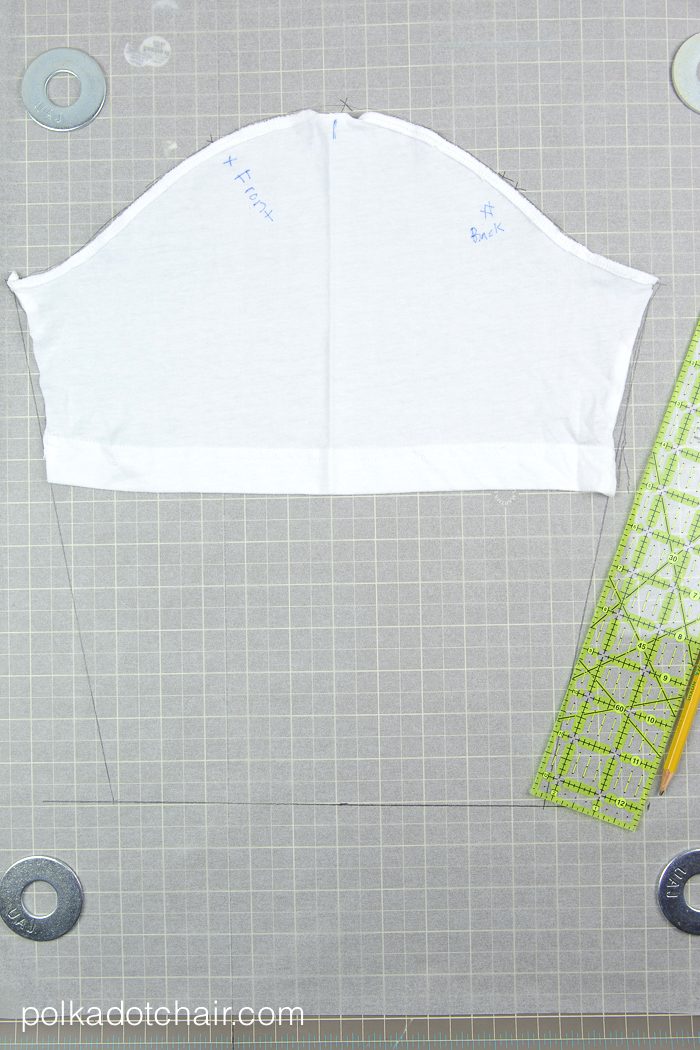
Cut the t-shirt apart at the underarm and side seam. On the t-shirt use a pen and mark the point where the sleeve meets the shoulder seam. Also mark the front and back of the t-shirt on the sleeve. Use one X for the t-shirt front and two X’s for the t-shirt back. Mark the same spot on both the sleeve and the t-shirt.
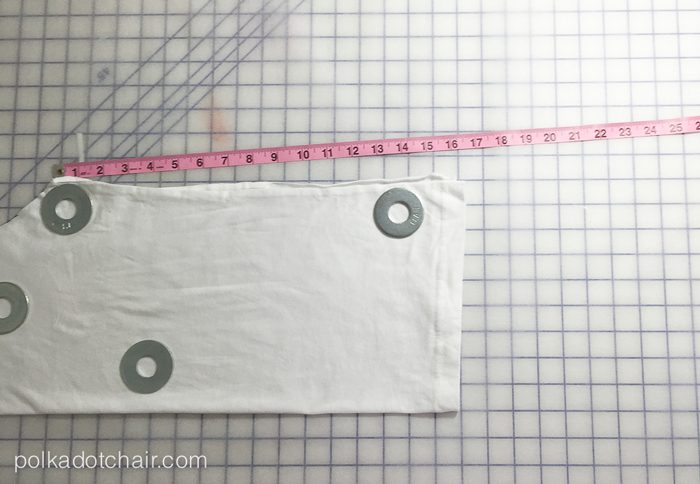
Cut the rest of the sleeve out carefully. Lay the sleeve flat on top of your pattern paper, and trace the sleeve. Make sure to mark the shoulder seam and front and back markings on the paper. Next measure on your model how long you want the sleeve to be from her shoulder seam to the bottom. Mark that measurement on your pattern piece.
Continuing the same slope as the sleeve underarm seam, extend the sleeve to the desired length. If you like you can taper the sleeve a bit more than the existing seamline. But just know that it’s easy to taper a sleeve more when you’re done, but you can make it any less tapered.
Set pattern piece aside.
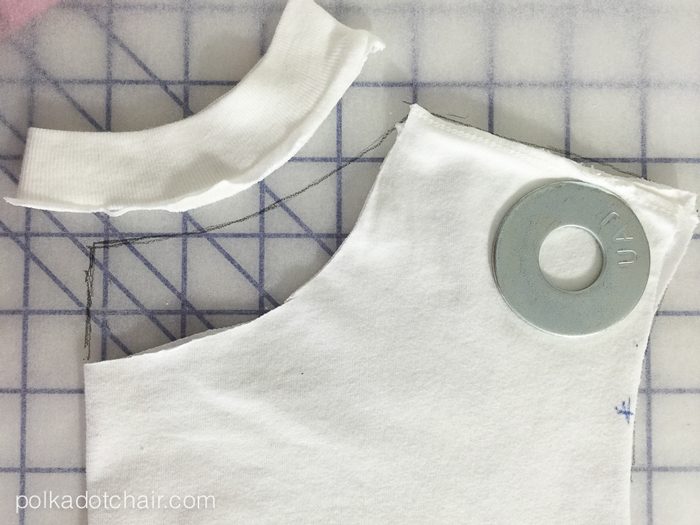
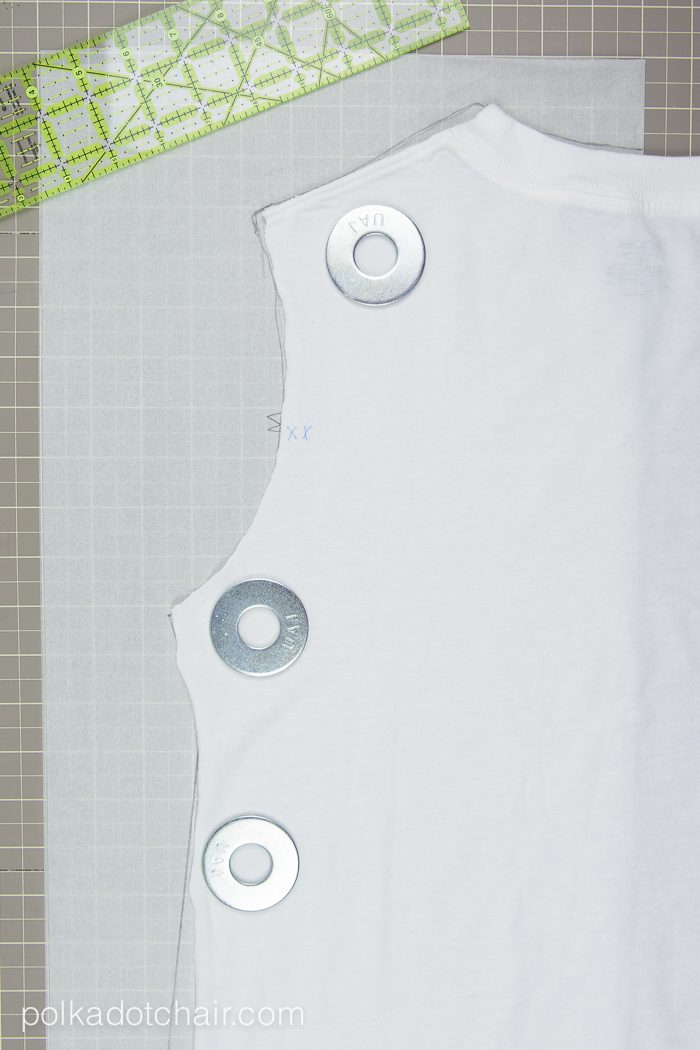
Cut the t-shirt apart at the shoulder seams. Fold the t-shirt front piece perfectly in half and place on a piece of pattern paper. Cut out the neck facing. Trace the t-shirt onto the pattern paper. Bring the neckline up and make it so that there is less of a curve. This will create a bit of a boat neck silhouette.
On your model measure from the point where her neck meets her shoulder to the length you want the dress. For example my daughters length was 38″. Then mark on the pattern paper 38″ from the neckline/shoulder point down. Draw a straight line. Trace a straight line all the way down from the center front seam to this point on the paper (along the edge of the t-shirt that is folded). Now measure out 2″ from the bottom outside corner and place a mark. Use a ruler to connect this mark to the underarm seam and draw a line. This will create a slight A-line in the dress. If your model is much younger, you may only want to create a 1″ A-line.
Cut the neckline facing out of the t-shirt back and trace it in the same way that you traced the t-shirt front piece. Don’t forget to transfer your markings. (you don’t need to bring the neckline up, as it will be in the correct spot after you cut the facing out).
You should how 3 pieces. Front, Back and Sleeve. The dress front and back pieces are cut on the fold. Add the desired seam allowance to each piece. I added 1/4″, but add whatever you’re comfortable working with.
Cut out the dress front and back. Make sure that the underarm seam on the front and back starts on the same stripe (so your pattern will match when sewn together). Transfer your sleeve markings when you cut.
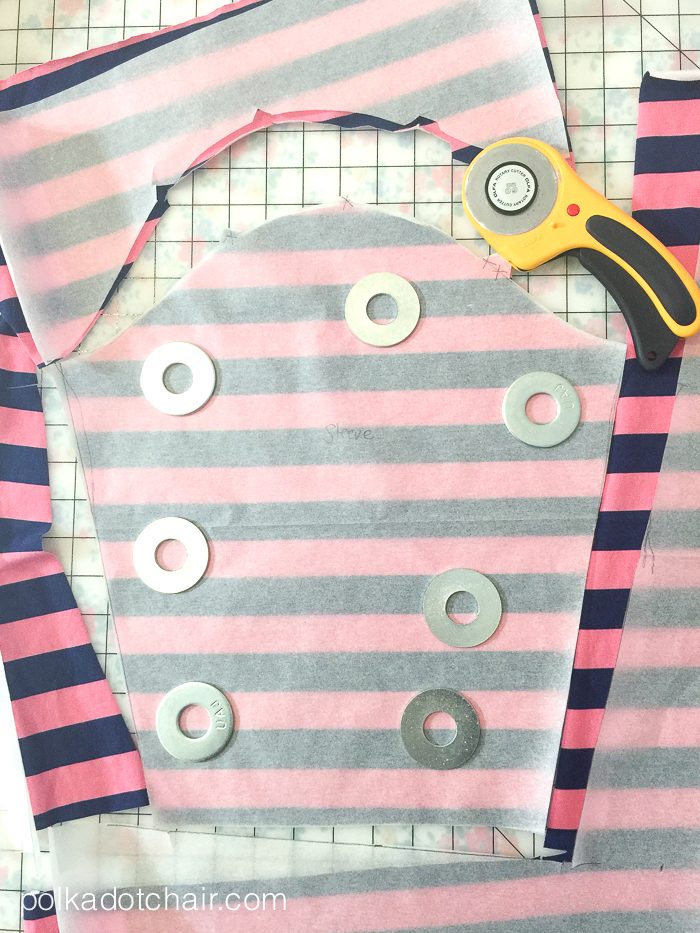
Cut out each sleeve piece separately. I like to use pattern weights and a rotary cutter when cutting out knits. I think it’s easier. Again make sure that the underarm point starts on the same stripe as the front and back pieces. Also make sure that you flip the sleeve piece over when you cut out the second sleeve.
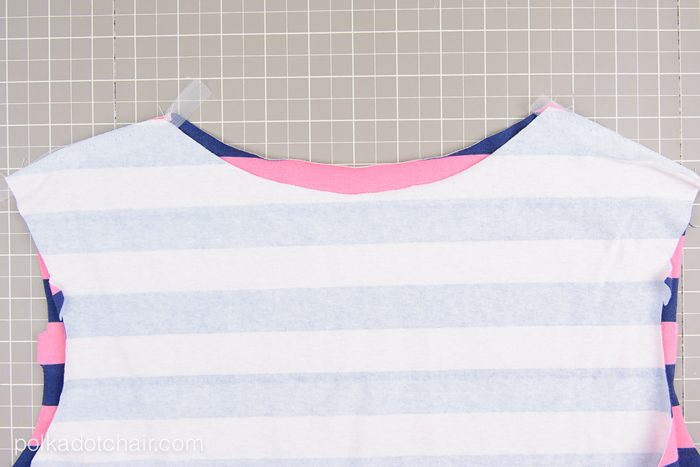
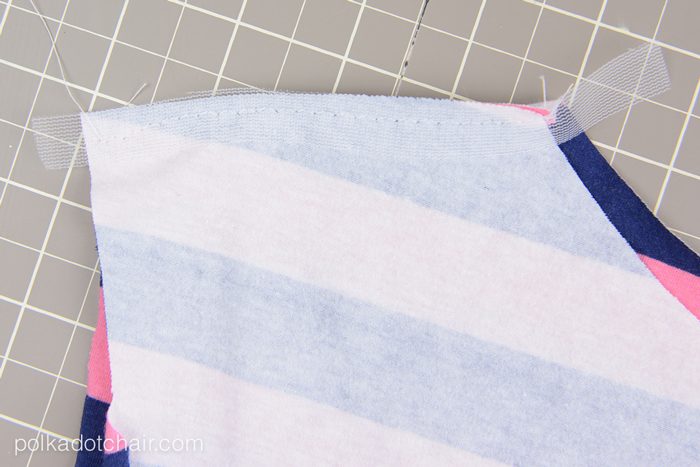
Sew the dress front and back pieces together at the shoulder seams. Use a strip of seam reinforcement tape on the wrong side of one of the seams. When I sew with knits I like to use a stretch needle on my sewing machine and sew with a very slight zig-zag stitch. You want the little bit of a zig zag to give the seam some flexibility so that it can move with the fabric as it stretches.
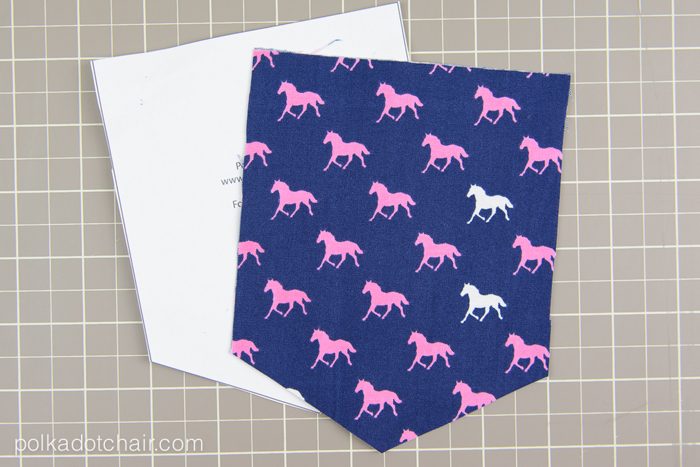
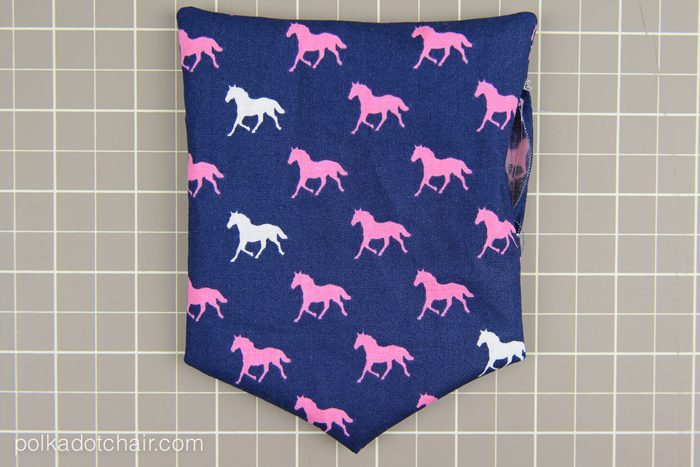
Print out the pocket template (found on my blog here), and cut out two pieces from the Navy Derby Style Fabric.
Put a regular needle back in your sewing machine. Sew the two pocket pieces right sides together. Leave a 2″ opening in one side to turn pocket right side out. Press and top stitch along top of pocket.
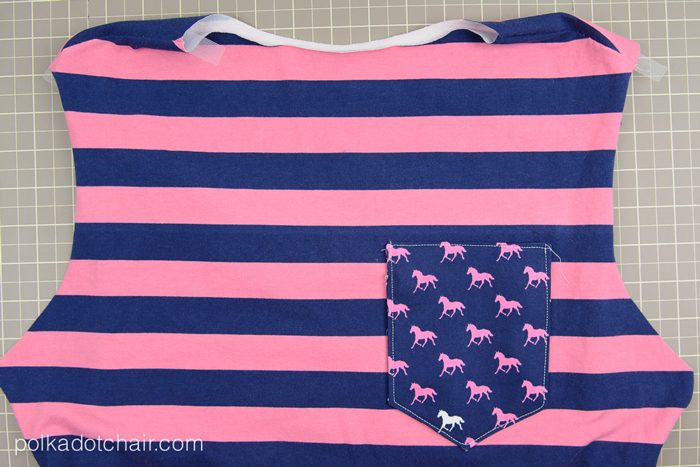
Pin the pocket to the dress front piece in a location that looks good to you. Stitch pocket to the dress.
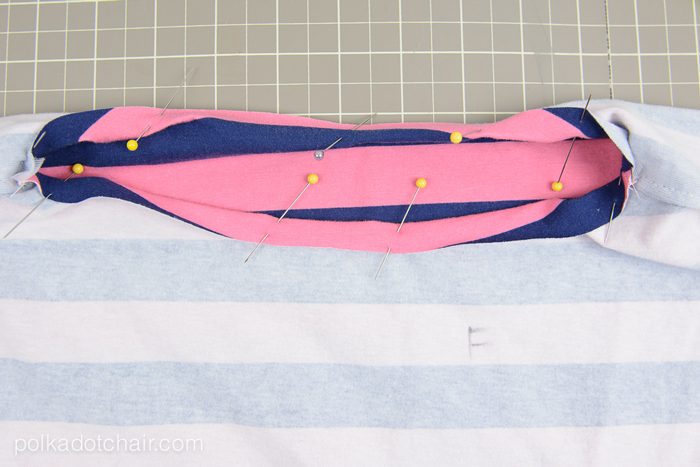
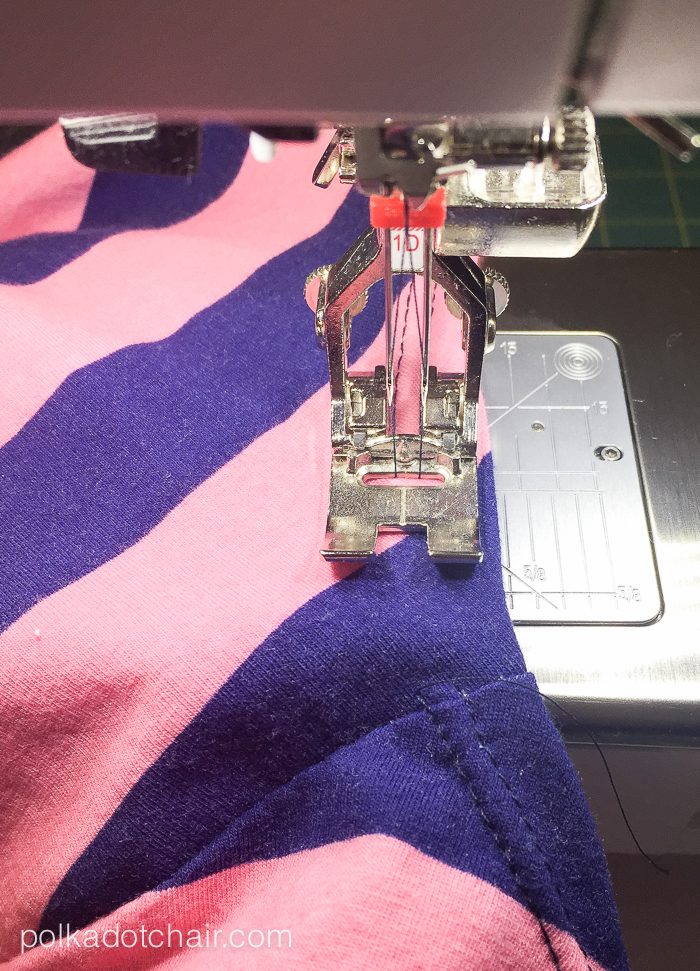
Turn under the neckline and secure with pins. Using a double needle on your machine, stitch the neckline. You may need to lighten up the tension on your machine to get a good looking double needle stitch. Test it on scrap fabric first.
Press neckline.
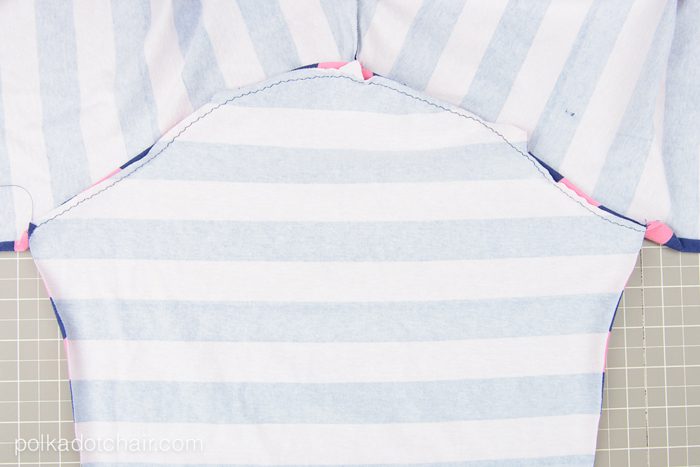
Put the stretch needle back in your sewing machine. Pin one sleeve piece into the dress matching the shoulder seam and the marks on that you made when you created your pattern. Stitch in place. Repeat for other sleeve.
Sew the underarm/side seam of each side of the dress.
Hem the dress and sleeves to the desired length using a double needle. Just fold under the fabric, press and stitch in place.
I really like how this one turned out, but now I’m ready to make a second one. Watch later in the week for a simple tutorial to add a drawstring waistband to this dress.
This project first appeared on the Riley Blake Designs Blog.

