Patchwork Heart Quilted Pillow Tutorial
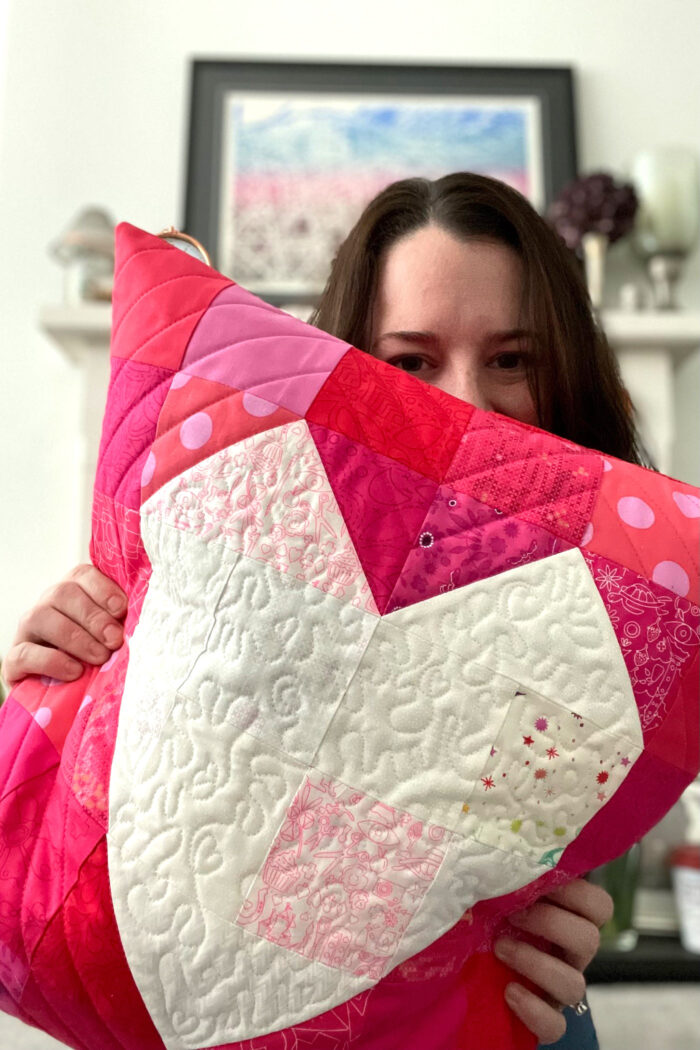
Amy is sharing another free pillow pattern with all of you today! In celebration of Valentine’s Day, create a beautiful heart pillow with this Patchwork Quilted Heart Pillow pattern!

I hope that you’re enjoying our “Pillow Pattern of the Month” series! This month is our second month of the series, in January, Amy shared a Patchwork Plaid pillow pattern. This month she has designed a beautiful scrappy patchwork heart pattern.

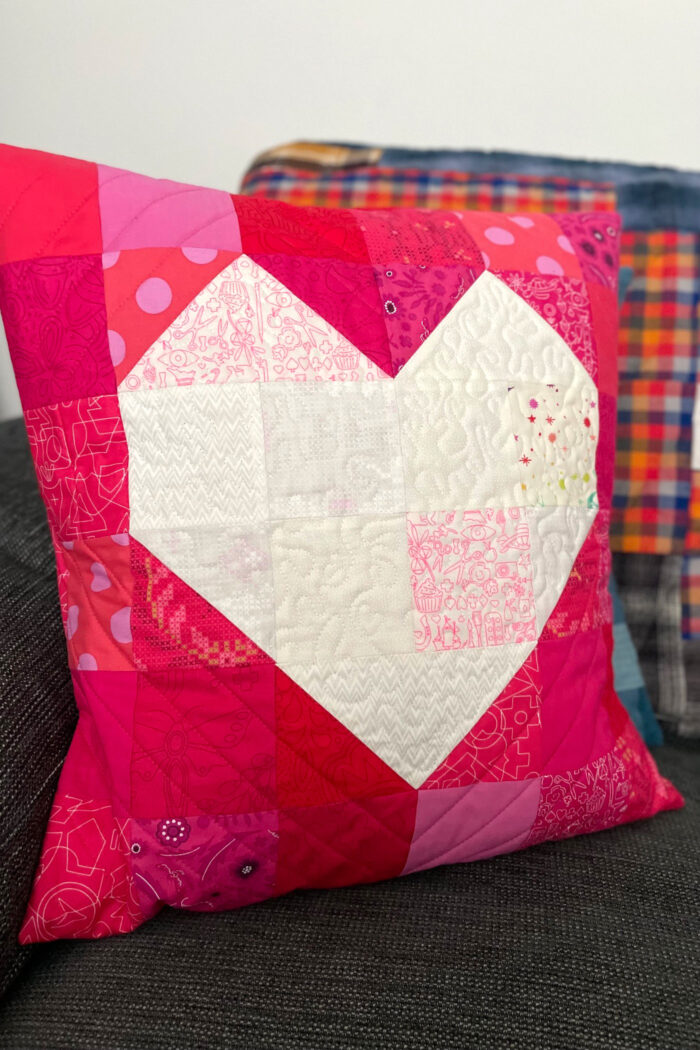
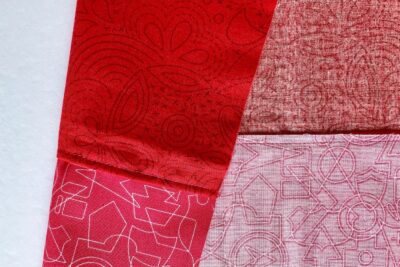
I love that this pillow uses a variety of fabrics, it really makes the project “glow”! It’s a great project to use up some of the scraps in your fabric bin!
About the Pillow Pattern
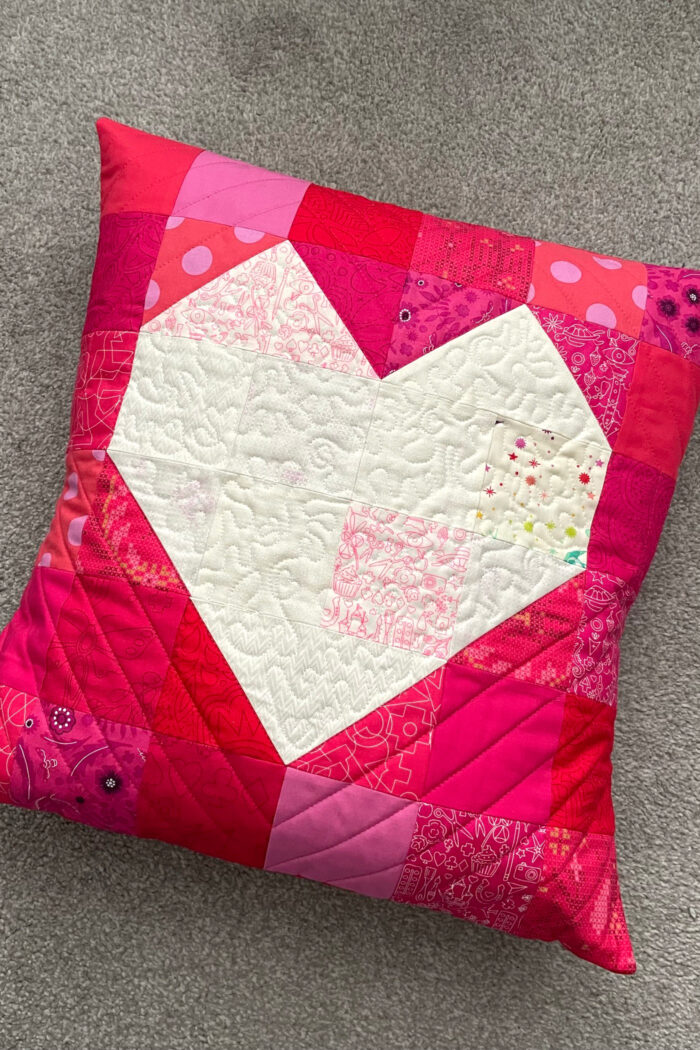
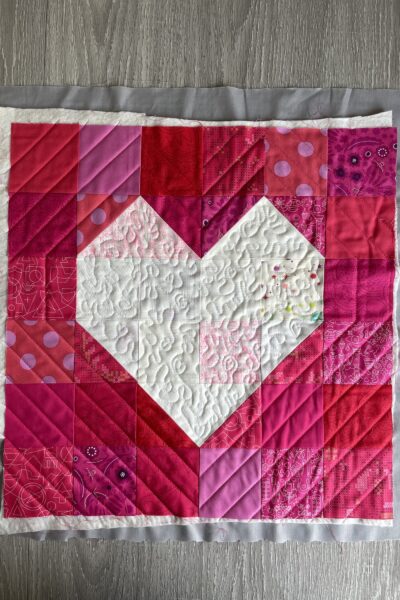
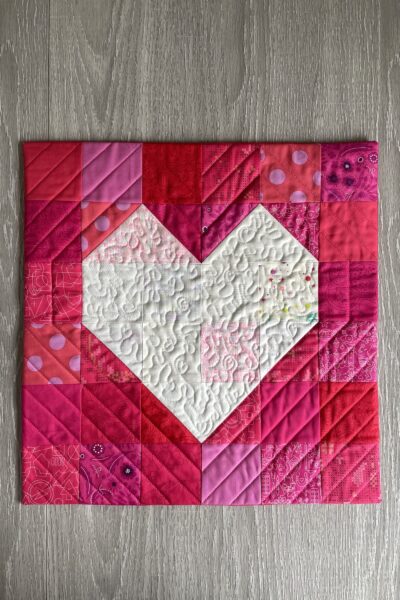
I couldn’t let February go by without a heart-themed make. Patchwork hearts are really fun because there are lots of different ways to make the shape out of squares, rectangles, or triangles. In this design, I’m using half-square triangles and flying geese.
Choose reds and pinks, like my pillow, to give this pillow Valentine’s look or use any other colors to make a heart pillow for the whole year.
Quilted Heart Pillow Instructions
Patchwork Heart Pillow Pattern
Equipment
supplies
- 3 Fat Eights Selection of pink fabrics Can use fabric scraps
- 1 Fat Quarter Of low volume fabric or scraps
- 1 piece Light backing fabric 19” x 19”
- 1 piece Batting: 19” x 19”
- 1 piece Pillow back fabric 1 fat quarter and 1 fat eighth
- 1 Pillow Form: 18” square
Instructions
Cutting:
- From pink fabric cut:3½” square (22)4” square (6)4½” square (1)
- From low volume fabric cut:3½” square (6)4½” square (1)7” x 4” (3)
- From Cushion back fabric cut:18½” x 9” (2) 18½” x 6” (1)
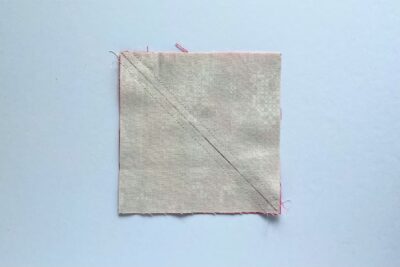
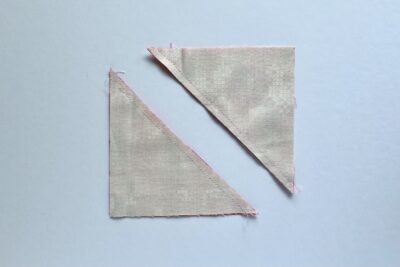
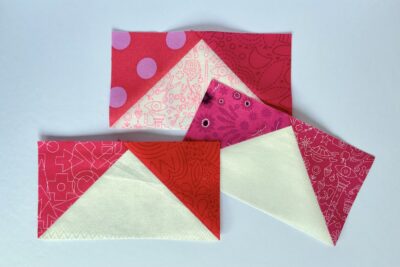
Preparation: Make half square triangles
- Pair one pink 4½” square and one low volume 4½” square right sides together. Draw a diagonal line on the wrong side of one square and sew ¼” either side of the drawn line.

- Cut along the drawn line to make two half square triangles and press the seams.
- Trim both half square triangles to 3½” square. Set aside.

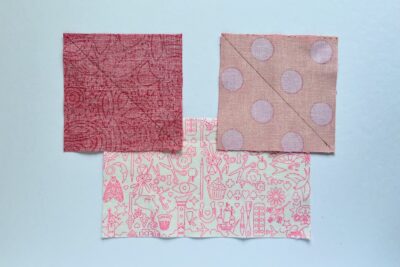
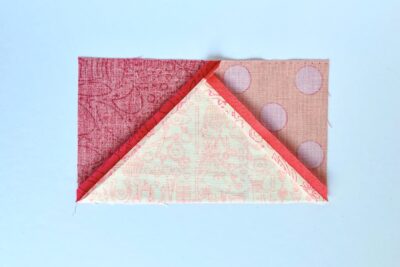
Make flying geese
- Take one low volume 7” x 4” rectangle and two pink 4” squares.
- Draw a diagonal line on the wrong side of both squares.
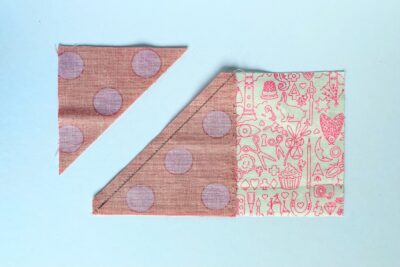
- Pin one pink square to the left edge of the low volume rectangle (right sides together) with the drawn line running bottom left to top right.
- Sew just to the outside of the drawn line and the trim away the excess fabric leaving a ¼” seam allowance.
- Press the corner into place then press the seam open.
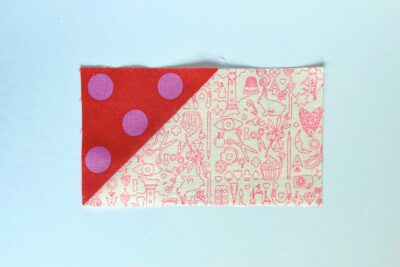
- Now pin the second pin square to the right edge of the low volume rectangle (right sides together) with the drawn line running top left to bottom right.
- Sew just to the outside of the drawn line and the trim away the excess fabric leaving a ¼” seam allowance. Then press the corner into place and press the seam open.
- Now trim the flying geese unit to 6½” x 3½”. Be careful to trim evenly around all four edges making sure the centre point stays in the centre with a ¼” seam allowance above it, and the diagonal seams run right into the bottom two corners.
- Repeat steps 4 to 11 to make two more flying geese units. You should have three in total.

Construction Steps
- Use a ¼” seam allowance.
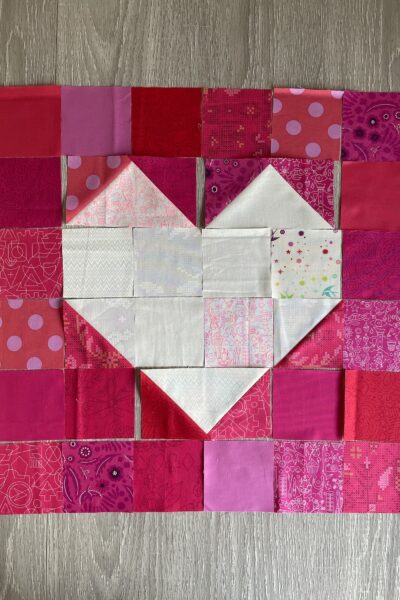
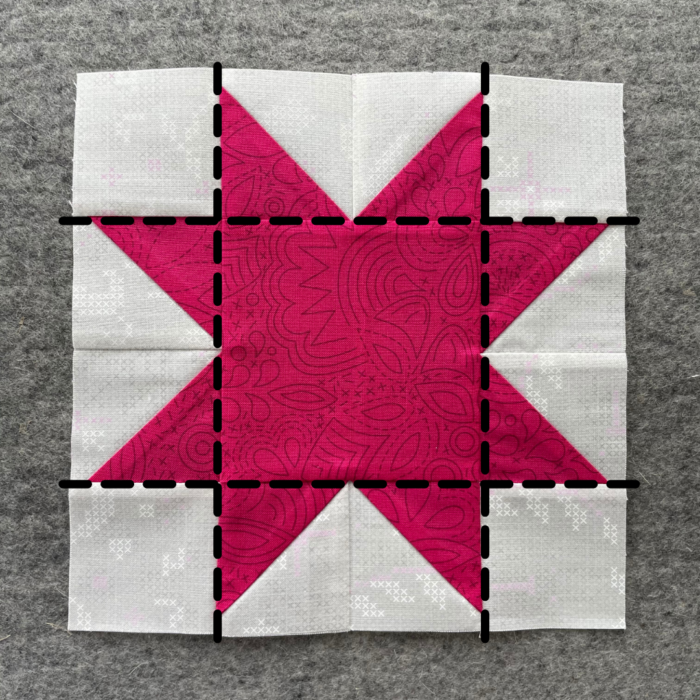
- The pillow front is made in six rows. I recommend laying out all the rows first to check that your colours are evenly spread and everything is in the correct position before you start to sew the rows together.
- The six rows are positioned as follows: Row One – six pink 3½” squares Row Two – one pink 3½” square, two flying geese (both with the central point at the top edge), and one pink 3½” square Row Three – one pink 3½” square, four low volume 3½” squares, and one pink 3½” square. Row Four – one pink 3½” square, half square triangle (with pink at the bottom left), two low volume 3½” squares, half square triangle (with pink at the bottom right), and one pink 3½” square. Row Five – two pink 3½” squares, one flying geese (with the central point at the bottom edge), and two pink 3½” squares. Row Six – six pink 3½” squares

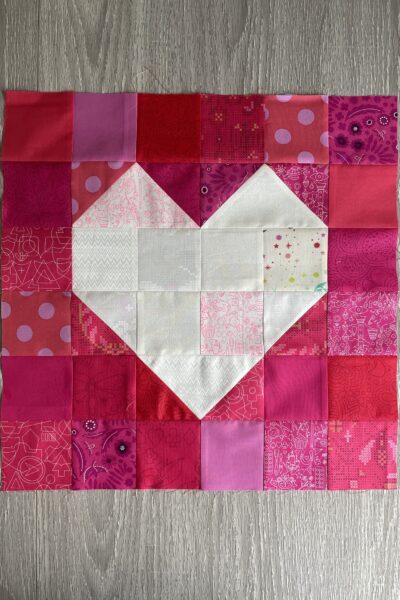
- Sew the six rows together and press well.
Quilting:
- Now it’s time to make a quilt sandwich. Place your light backing square (right side facing down) with your batting on top, then add the patchwork pillow front with the right side facing towards you. Make sure all the layers are smooth and flat then baste the layers together using your preferred method.
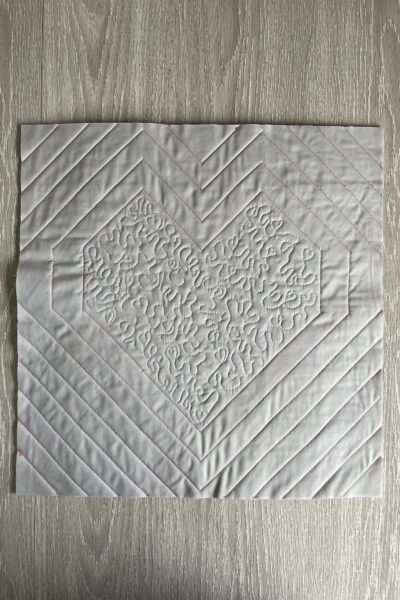
- Quilt as desired. I have used straight line quilting at 1” spacing echoing the heart shape on the pink background areas of the pillow front plus free motion quilting inside the heart.
- Other quilting ideas: diagonal straight lines across the whole pillow front or all-over free motion quilting with different motifs for inside the heart and the pink background.
- Once you have finished quilting, trim off excess backing fabric and batting and square up your pillow block if required.

Finishing:
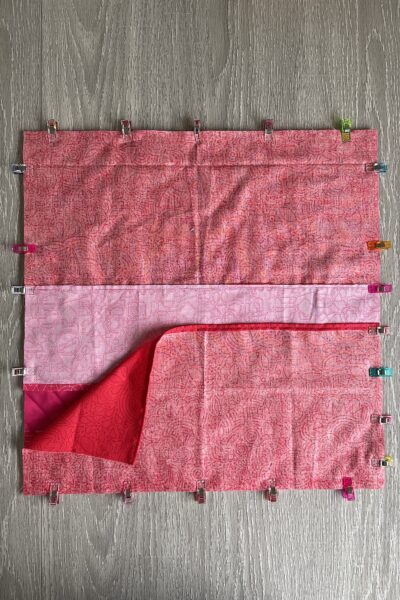
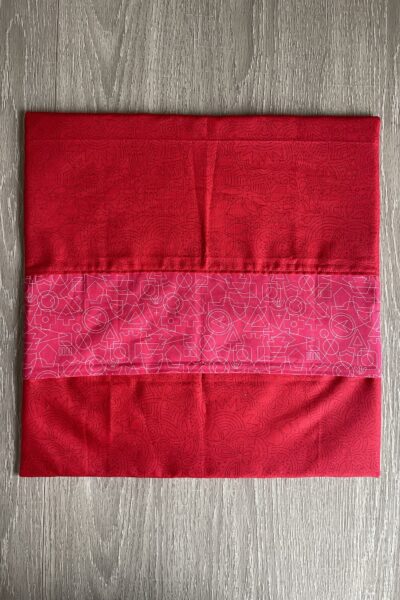
- Take one cushion back 18½” x 9” rectangle and hem one long edge by pressing the raw edge to the wrong side by ¼” then again by another ¼”. Press well and sew. Then repeat for the second cushion back 18½” x 9” rectangle.
- Now take the cushion back 18½” x 6” rectangle and pin it with its right side to the wrong side of one of the hemmed cushion back pieces from step 19, lining up the long raw edge to upper hemmed edge of the larger cushion back piece. Sew in place following the line of stitches on the already-hemmed edge.
- Press the raw edge of smaller cushion back piece to the wrong side by ¼” then again by another ¼”. Press well and sew.
- Pin or clip the cushion back pieces to the quilted block, right sides together, all around the four side. Make sure the two-tone, longer cushion back piece is underneath the second back piece.
- Sew around all four edges using a ¼” seam allowance, securing the start and finish with some back-stitching.
- Trim the corners, turn the pillow cover the right way out, carefully poke out the four corners and then press.
- Stuff with an 18” pad and enjoy your new Patchwork Heart pillow!
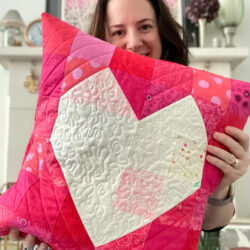
About the Designer

Amy lives in the north of England with her husband and son. When she’s not sewing and quilting, Amy can usually be found baking or reading. You can find her on Instagram @amyatthegate
More Projects by Amy:
Straight Line Quilting | How to guide
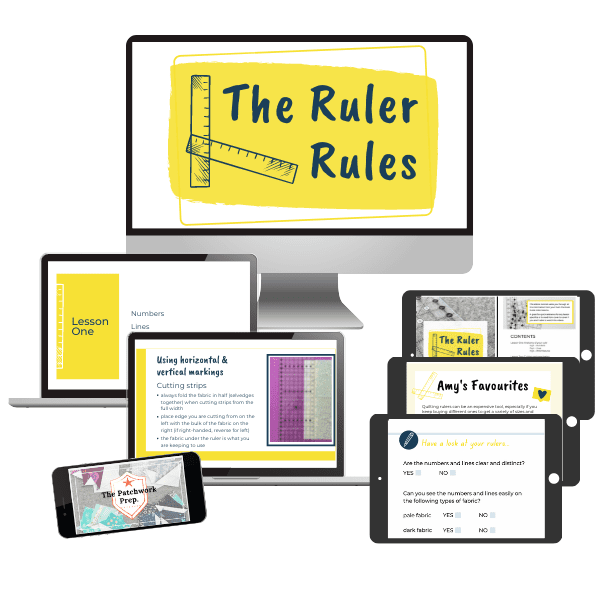
The Ruler Rules: Online course – get the measure of your quilting rulers and learn how to use them with confidence and accuracy.
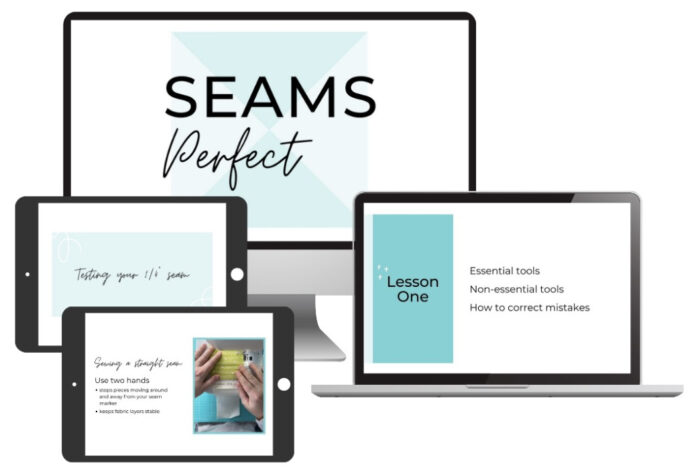
Seams Perfect: Online course – create spot-on patchwork seams with precision and confidence.

So much great content in this post regarding sewing pillows. Thank you for sharing. Your ideas are unique & colourful
Your blog is wonderful!!