In be “tween” Skirt Tutorial
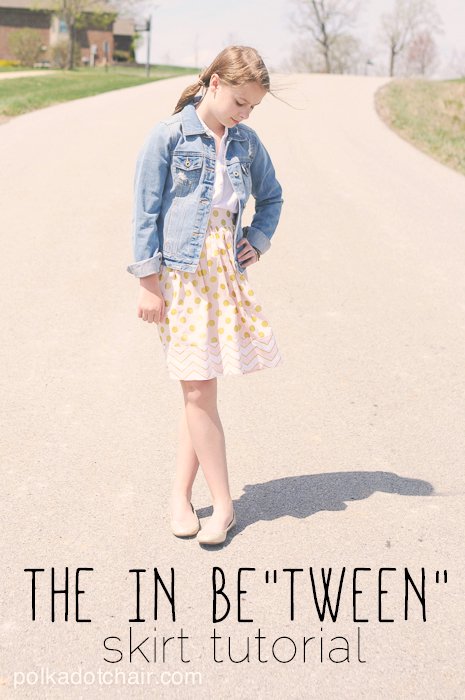
As my children have grown I’ve tried to adapt my sewing projects to grow with them. This year my youngest turned 13, when the kids were younger I used to sew for them voraciously. I loved making little dresses and skirts for my girls for all of their special occasions, and just for every day. Now that they are getting older I still want to sew for them but have had to adapt the projects that I make.
We have always had a particularly hard time finding church clothes for my girls when they hit the teen and tween years. I found that they were very literally in between- wanting something a bit more grown up than the kids clothes but not quite ready to leap in to the teen section of the department stores.
This year I’ve started experimenting with skirt designs for my youngest daughter. She doesn’t like her skirts as full as the ones I’ve made her in the past and is staring to move away from all elastic band waists.
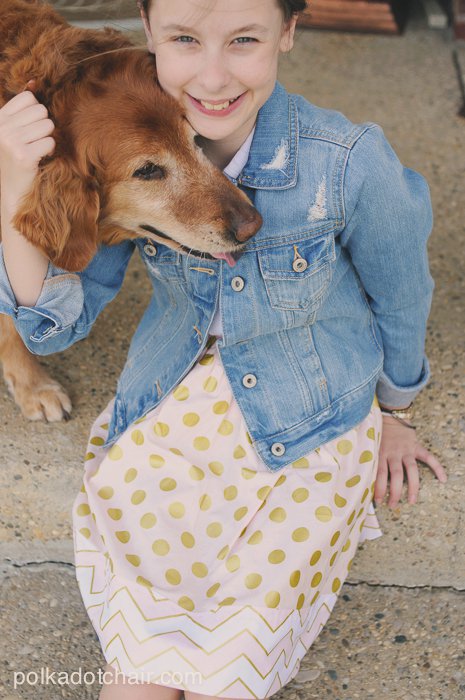
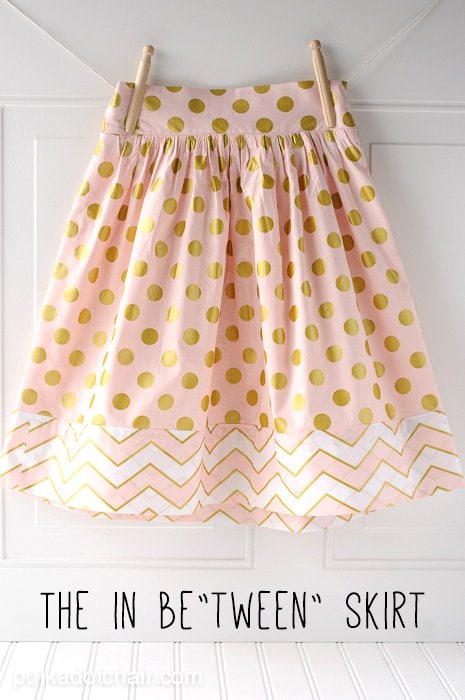
I designed this skirt to hopefully work for her and be a great staple for school and church this summer. I envision her throwing it on with a t-shirt to run to the mall or dinner and dressing it up a bit more when it’s time for church.
This skirt has an elastic waistband in the back but a flat front. It also has a side zipper to make it easier to pull on and off. Don’t be taken back by the zipper, I’ll walk you through step by step how to put it in.
Just a note- this skirt is high waisted- meaning it hits just at her natural waist- if you want a skirt that sits lower you can simply change the width of the waistband.
I’ll share with you the measurements I used to make my daughters skirt and I’ll show you how to adjust the measurements to fit different girls. For reference she is about a size 12, and is a bit short for her age. There’s a bit of math (algebra dare I say??) but like I said don’t be scared away.
Complete Supply List – Many have asked and I’ve found all of the supplies online for you to and make your own at home! (may include affiliate links)
1 yard of fabric for the skirt and the waistband – Michael Miller Glitz Metallic Quarter Dot Pearlized Confection
1/2 yard of fabric for the band of the skirt – Michael Miller Glitz Metallic Chic Chevron Pearlized Confection
1 7” – 9” invisible zipper – 7/9″ Poly Invisible Zipper White
1 package of double fold bias tape – Double Fold Bias Tape Extra Wide 1/2” x 3 Yards Pink
Lightweight fusible interfacing – Pellon SF101 Shape-Flex Woven Fusible Interfacing White
3/4” wide elastic – 3/4″ Non-Roll Ribbed Elastic White – By the Yard
Invisible Zipper Foot
Hook and Eye
Measure the width of your models waist. This measurement is now called A (my daughters waist is 26″, I’ll include this measurement for you as reference as we go)
Divide this number in half. This measurement is now called B (it was 13″ for me)
Cut 2 pieces of fabric (for the skirt front and back) A + 1″ for seam allowances x 15″ (27″ x 15″)
Cut 1 piece of fabric B + 1″ for seam allowances x 6” (14″ x 6″) for the waistband front
Cut 1 piece of fabric A + 1″ for seam allowances x 6” (27″ x 6″) for the waistband back
Cut 2 pieces of fabric A + 1″ for seam allowances x 9” for the skirt bottom band. (9” x 27″)
First construct the waistband
Cut a piece of fusible interfacing 3” x B. Apply the interfacing to the wrong side of the front waistband piece.
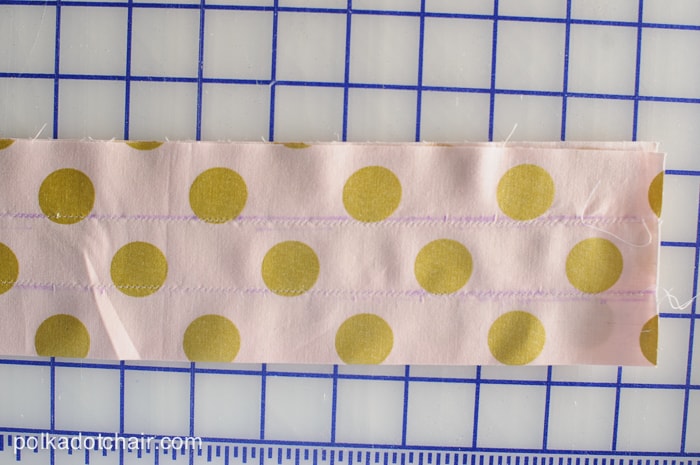
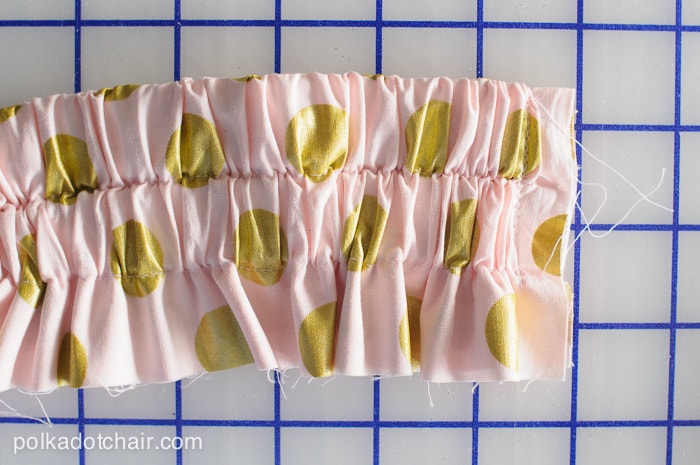
Fold the waistband back piece in half lengthwise and press. Draw a line 1” down from the fold. Draw a second line 1” down from this. Stitch along both of these lines. These will form the casing for the elastic in the back of the skirt.
Cut 1 piece of elastic the length of B (13″). Cut 1 piece of elastic 2” shorter than this. (11″)
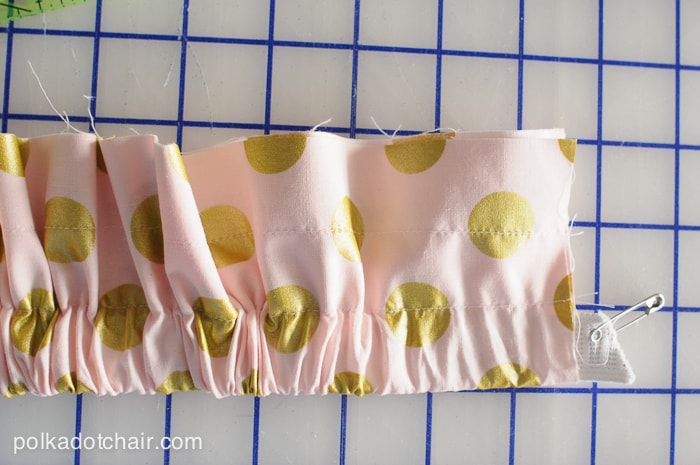
Feed the shortest piece of elastic through the casing to the fold in the waist band.
Feed the longest piece of elastic through the next casing.
Stitch the elastic in place at both ends of the back waistband piece.
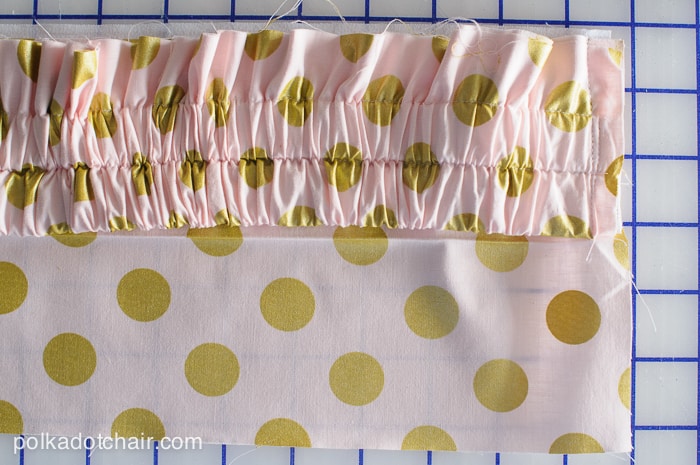
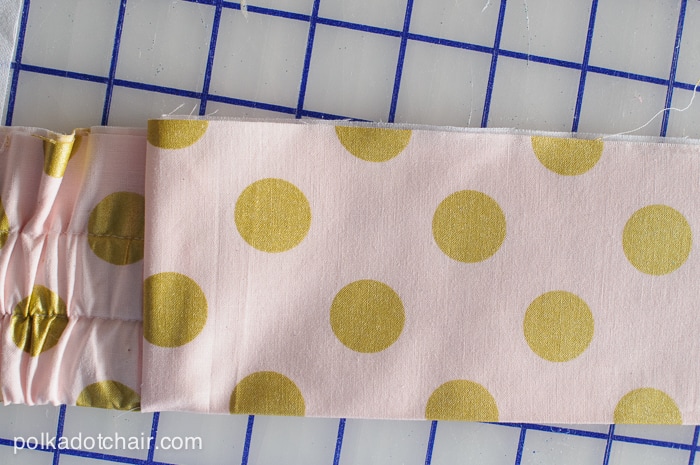
Fold the front waistband piece in half lengthwise and press. Open back up.
Sew the front waistband piece to the back waistband piece along one of the side seams. (see photo)
Refold front waistband piece and press under the raw edge next to the back waistband piece. Hand-stitch down.
Sew the two skirt pieces together along one side seam.
Press seam open
Run two rows of gathering stitches along the top of the skirt pieces.
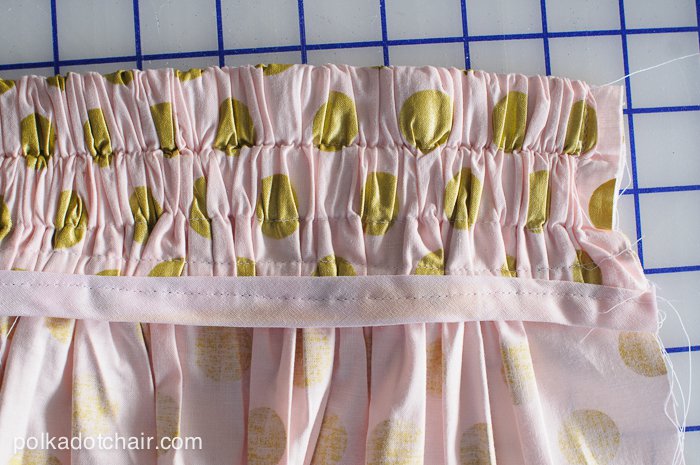
Pull on the gathering stitches until the skirt pieces are the same size as the waistband pieces. Match the side seam. Stitch. One side of the skirt is open at this point.
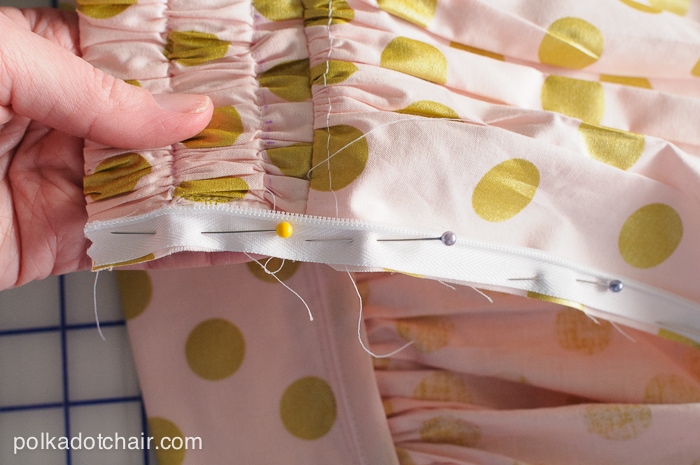
Fold under the raw ends of the double fold bias tape and apply double fold bias tape over the seam allowance between the waistband and the skirt. For a tutorial on the proper way to apply bias tape click here.
Unzip your invisible zipper. Place the raw edge (the edge without zipper teeth) of the zipper flush with the raw edge of the fabric on the non sewn side seam. The top of the zipper will be even with the top of the skirt. The right side of the zipper will be facing the right side of the fabric.
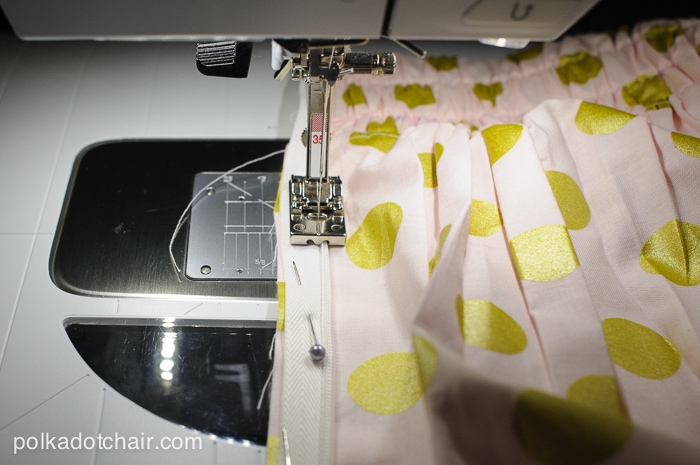
Using your invisible zipper foot stitch the zipper to the skirt.
The teeth of the zipper will fit right under the groove in the invisible zipper foot.
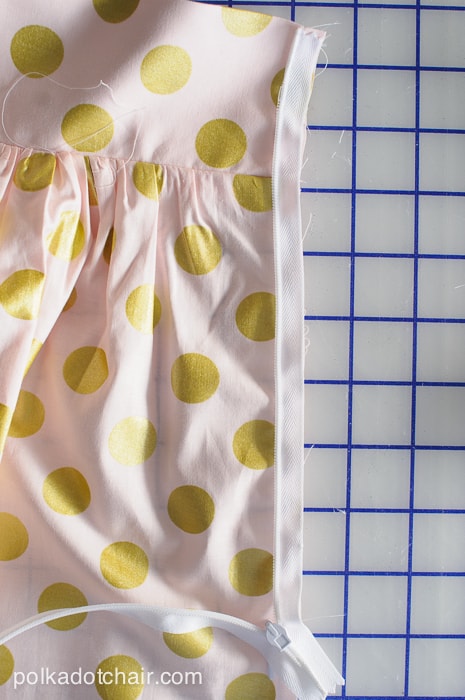
Repeat with the other side of the zipper. Zip up your zipper to make sure that everything fits together correctly.
With the zipper still zipped, sew the remaining side seam in the skirt. You will start where the zipper ends and go all the way down to the bottom of the skirt. Be sure to back stitch at the top and bottom of your seam.
Press this seam open.
Note if you don’t want to use an invisible zipper you don’t have to. You can use a standard zipper. To install it you can see my tutorial for “how to sew a zipper” here.
Sew the two skirt band pieces together at the short sides. Press seams open.
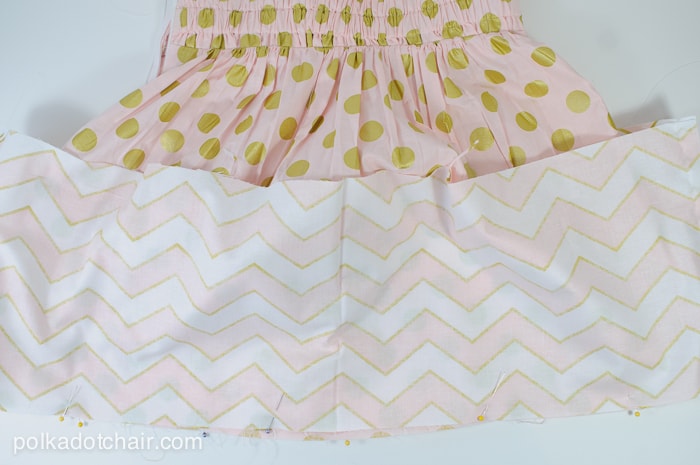
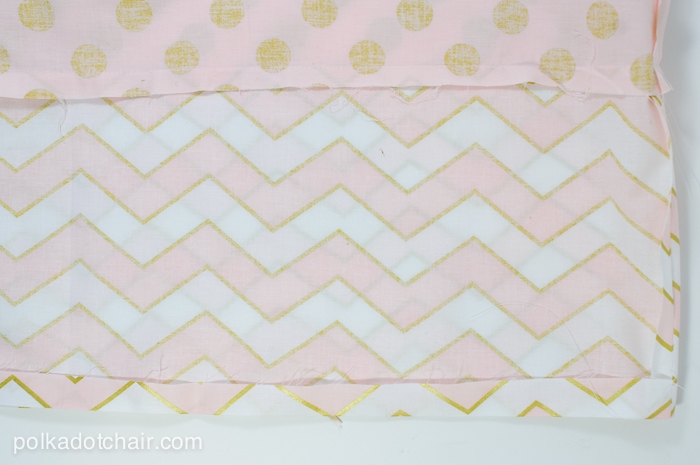
Sew the top of the skirt band to the bottom of the skirt. Press the seam towards the skirt band.
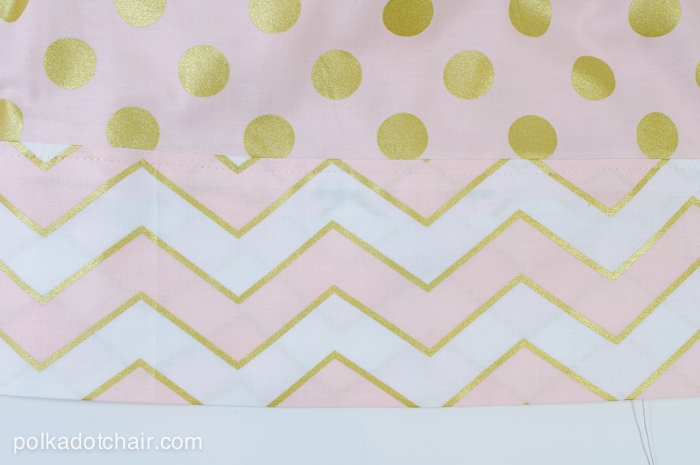
Turn under the raw edge of the skirt band 1/2”. Press. Fold the skirt band so that the folded edge of the band is just under the seam between the skirt and the skirt band. Press well. Pin in place.
Stitch the skirt band just under the seam between the skirt and the skirt band. Sew on the right side of the fabric to ensure that you have a neat looking seam.
Finishing:
Sew a hook and eye closure onto the skirt just above the zipper.
Notes:
This skirt has a 19″ drop from waist down. To lengthen or shorten, you can adjust either the skirt pieces or the skirt band pieces.
This fabric has a metallic gold coating. You’ll need to press it with a pressing cloth to avoid the pigment getting on your iron.
As with all of my free sewing tutorials, this pattern is for personal, at home use only. No commercial applications are allowed.
Connect with me:

